Gluten Free Desserts

Happy Almost 3rd Birthday My Sweet, Loving Little Girl

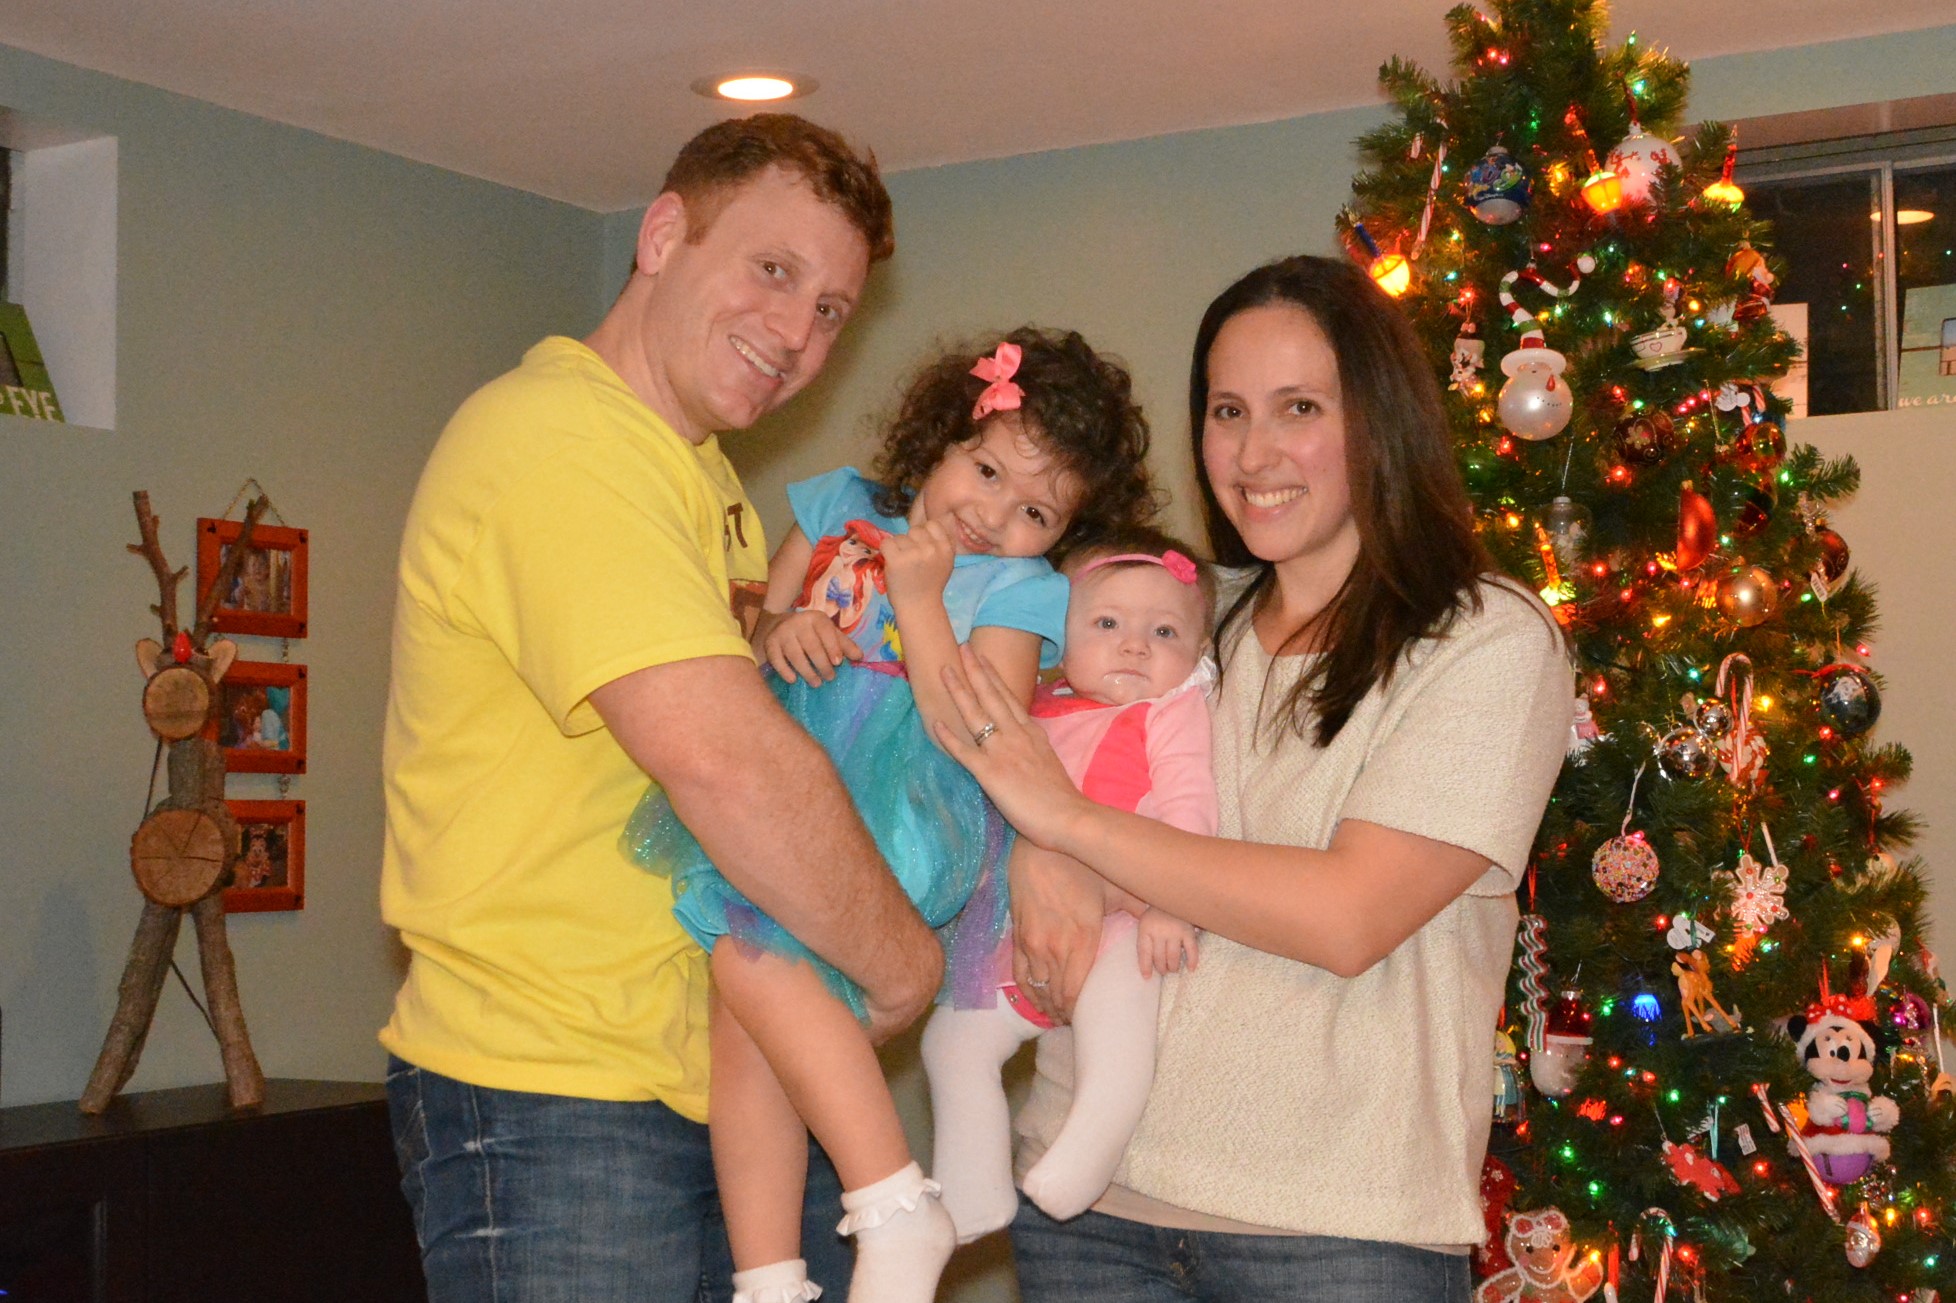
The holidays wouldn’t be complete around here without an extra special birthday. Our little Christmas miracle is what we called our first little girl. She was due only a few days after Christmas and made an early appearance days before our favorite holiday. She’s had the biggest heart and smile to match since she was born, and as she turns three very very soon, I can’t help but look back on all of the beautiful moments we’ve shared with such an amazing little person. And now here we are, about to celebrate our first baby girl turning 3 with a little sister by her side. So much has changed and so many amazing memories are being made, I just wish they’d slow down with this whole growing up thing. 

Anyway, to commemorate this momentous day we’ve given our little girl an extra special birthday party that’s just about her. The past few years we’ve had a couple wonderful parties that Mommy and daughter have loved putting together, but this one I think was my favorite so far. Turning 3 meant going from baby to big girl, looking forward to and loving the party idea and let’s just say the presents, well she jumped on opening those the second we announced that it was time. This time around she completely understood the wonderfulness of a birthday party and loved every second of it. From planning to the big day itself, she had a tiny hand in every part and I wouldn’t have it any other way. So without further ado, Come Join Us Under The Sea Because My Little Mermaid Is Turning 3!

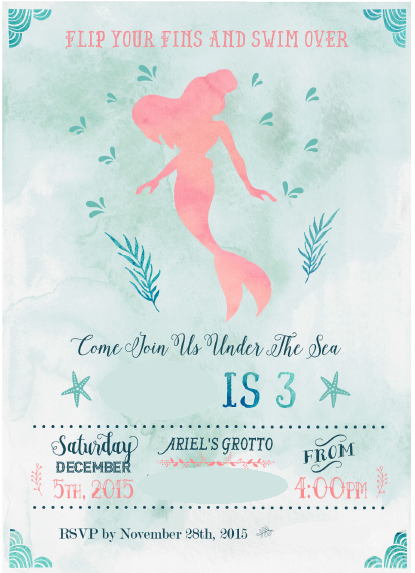
Picking a theme was the toughest part. She threw out a few of her favorite ideas for party themes until she settled on Little Mermaid. It’s one of her favorite movies right now and conveniently includes her favorite pastime, the beach! Once the theme was chosen, onto the invitations. I normally love to do a photo invite but I couldn’t pass up this adorable option on Etsy by ZPartyDesigns, conveniently in the party colors. With an adorable tweak on the wording and a little addition of our address as Ariel’s Grotto, voila this two sided invite was born! 

Little Mermaid invitation

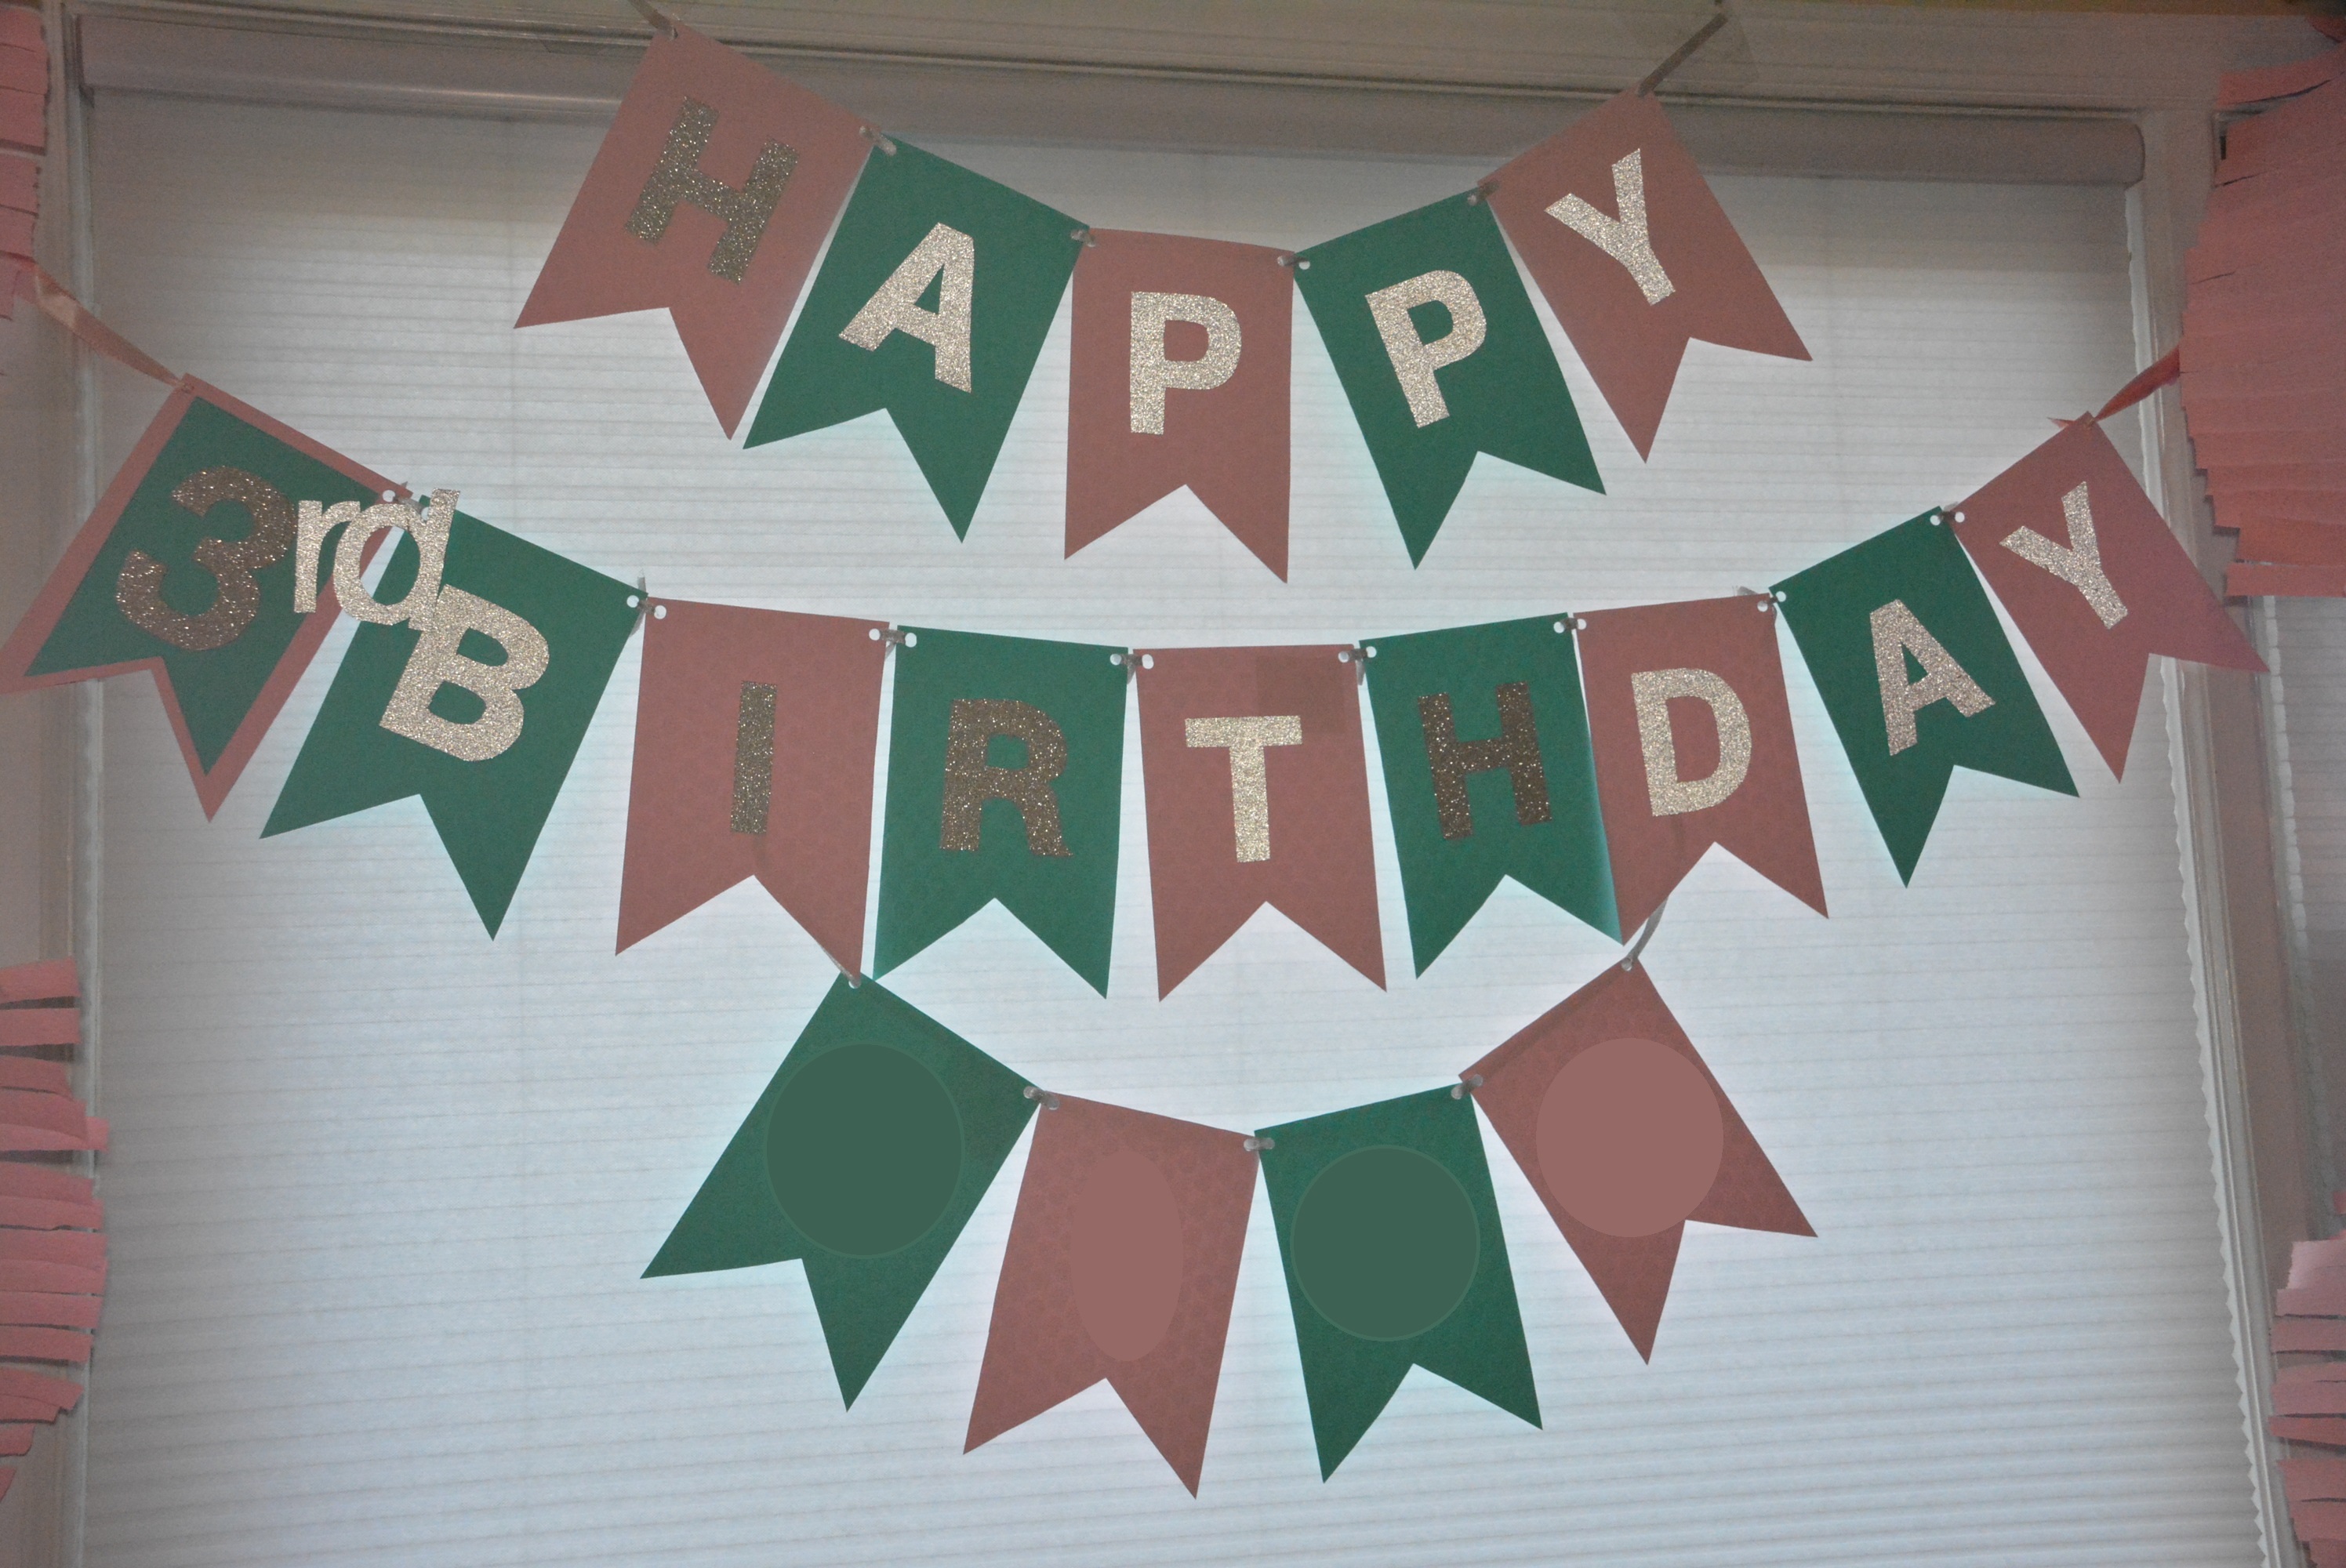
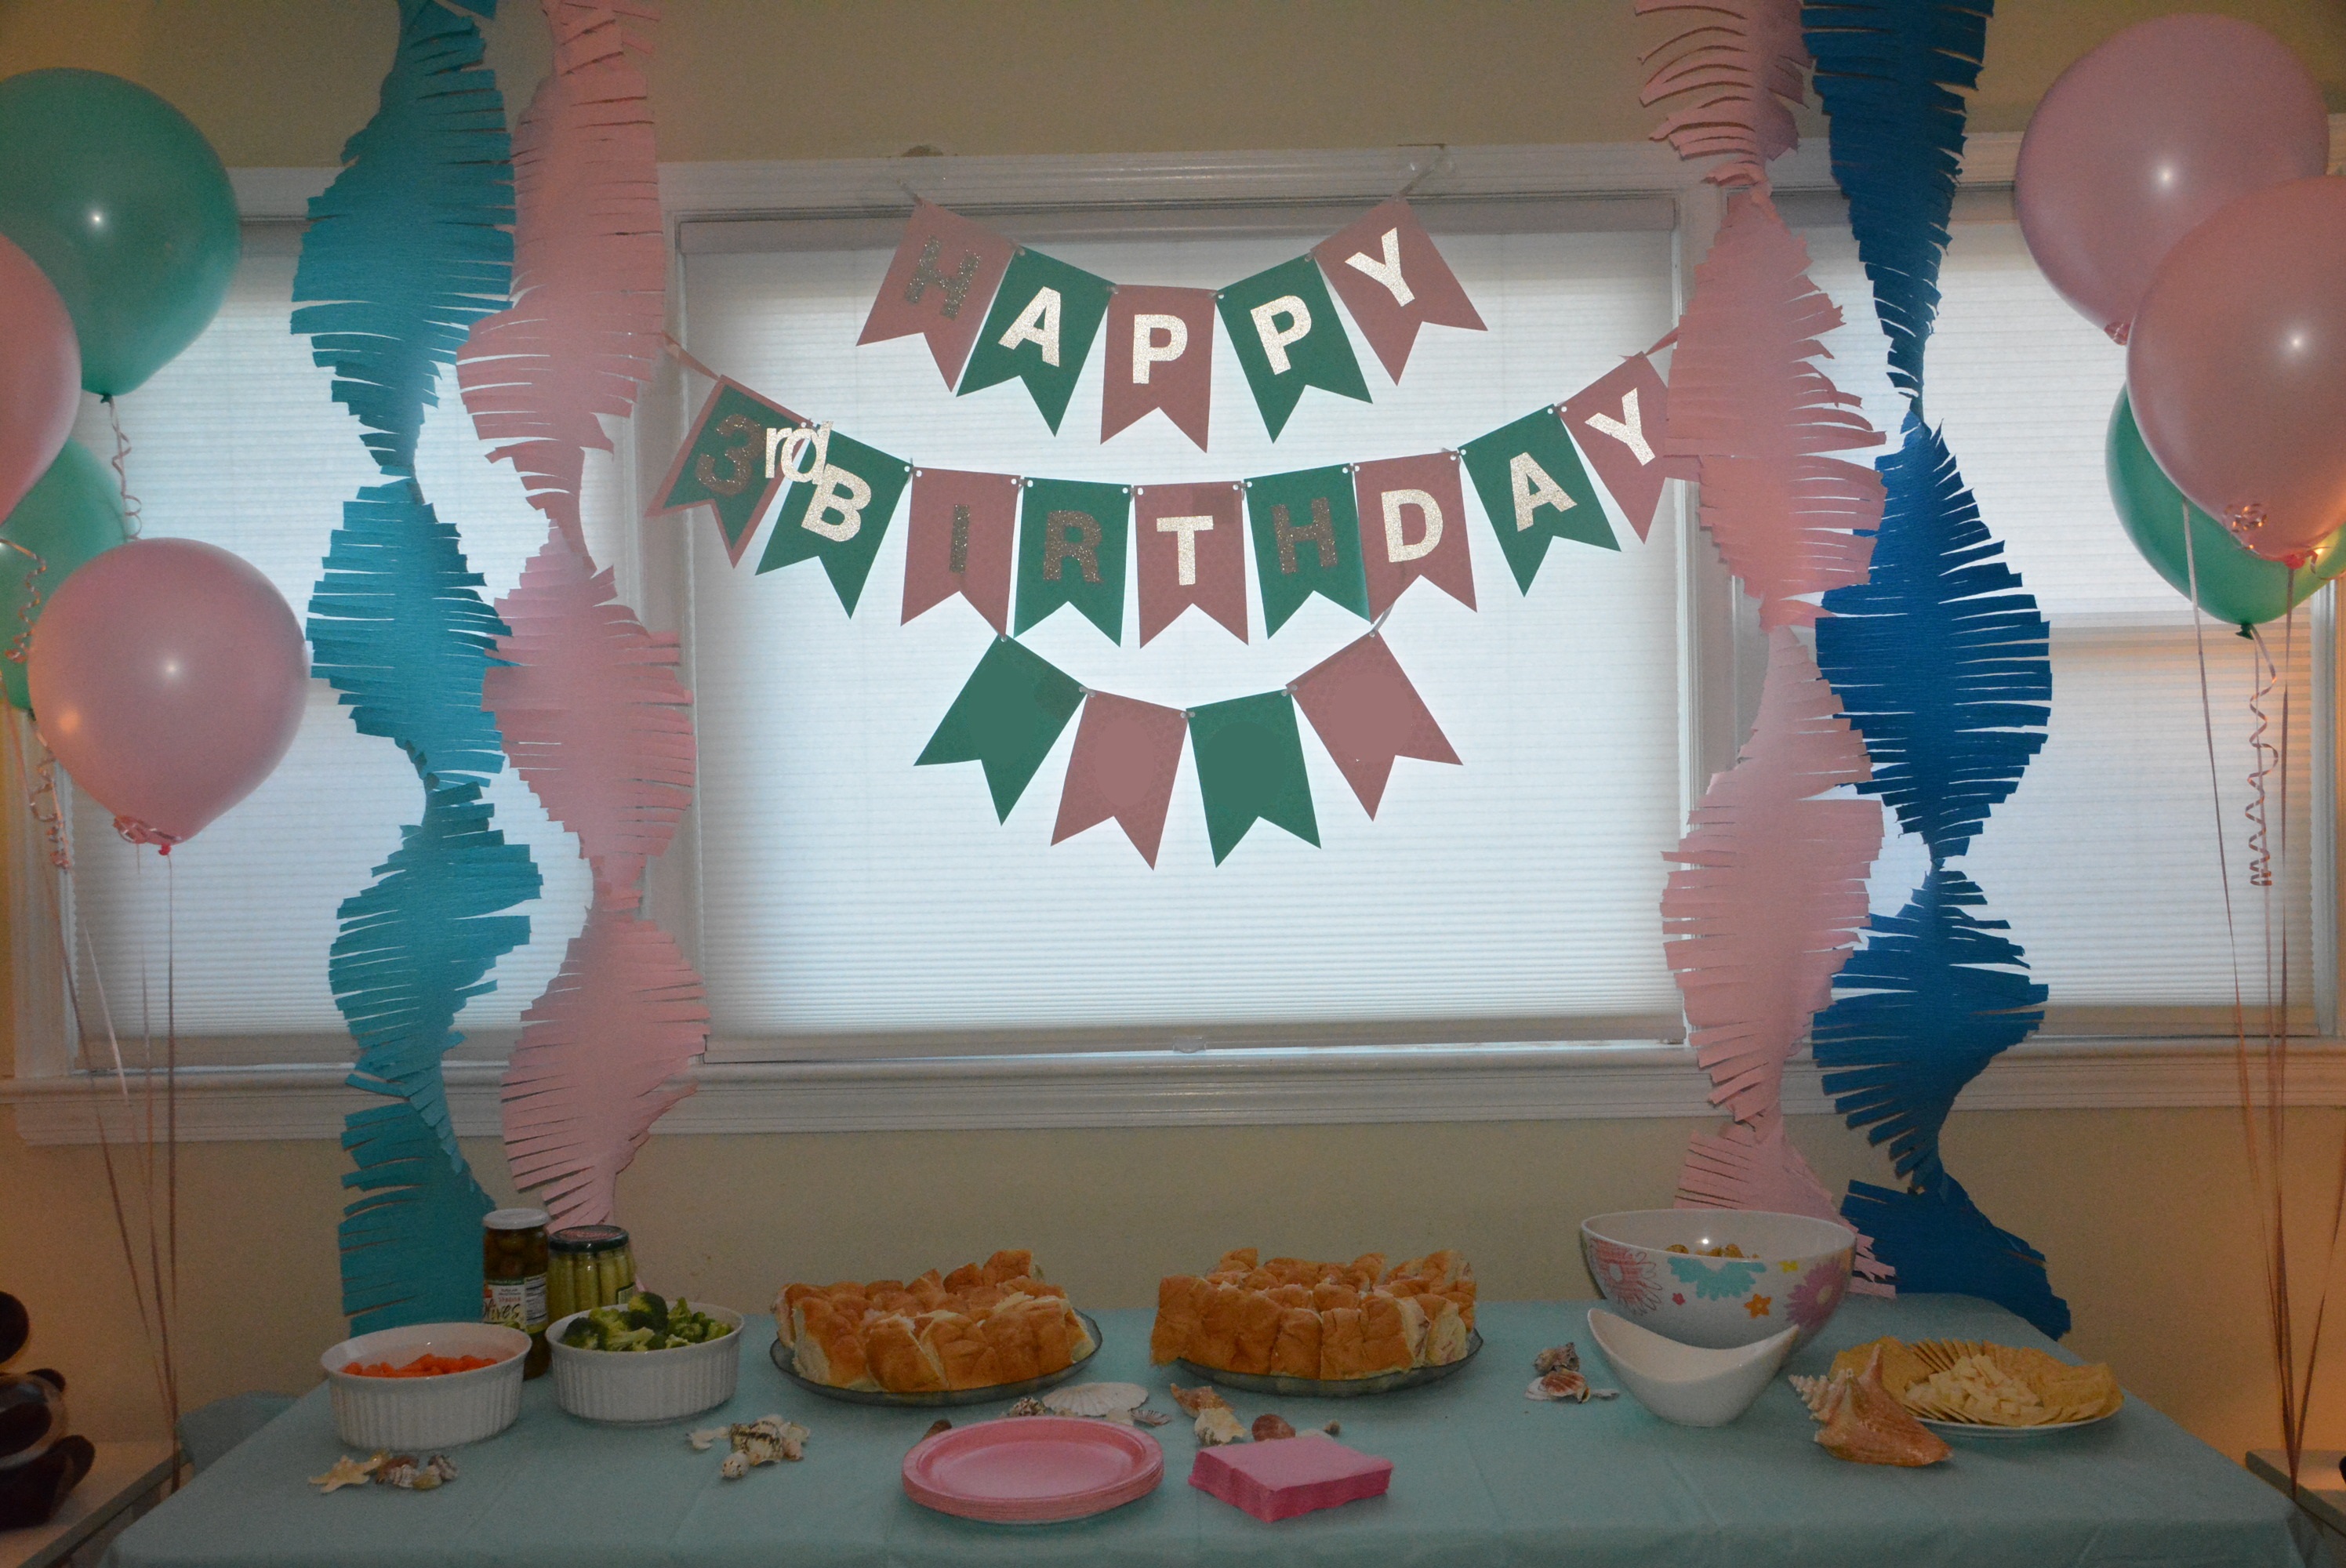
Once the invites were sent in their hot pink envelopes chosen by the birthday girl, it was onto the decorations. The party colors were light pink, aqua, blue, and silver, which made for adorable, sparkly decorations that were very under the sea and very birthday girl. First up was the birthday banner. I couldn’t find a banner that fit the color scheme so I added a DIY birthday banner to my to do list. This was totally doable, a little time consuming yes, but the end result was so beautiful. Plus, the birthday girl got to help with the gluing part which was an added bonus for my eager helper. With some scrapbook paper, glue, and ribbon, and some help from some tiny hands, the birthday banner was made (and now saved in a memory box). 3rdbday

You can’t have a birthday party without some balloons! The life size silver 3 and Ariel were just too cute to pass up and were obvious favorites with the birthday girl, but we also decided to mix in a few aqua and light pink balloons which were perfect play toys for days after (Win for Mommy!). Okay, so we opted for the dessert table in the kitchen this time around so I knew I wanted to make it look as under the sea as possible, equipped with fish, seahorses, and starfish all cut and painted by Mommy and daughter. It was crafting central around here the week of the party, from the birthday banner to the fish, we were busy girls! My toddler had tons of fun painting the fish and I think they added just the right touch to the coral looking garland (And yes, that’s flounder you see in there, Mommy may have painted that one!).

The balloons and fish were great but my favorite part of the decorations was the Big Fringe Garland (idea courtesy of Oh Happy Day). A lot of cutting went into these massive rolls of crepe paper but I can’t help but feel like we’re under the sea with multi colored coral or seaweed flowing around us. Thankfully my husband and I teamed up on this one the night before after the little ones were in bed, cutting either side of each color and then tackling the hanging (that was a project and a half but totally worth it). The end result though we loved, and the next morning when our soon-to-be 3 year old walked into the room she smiled and jumped around in excitement, the best reaction a Mommy could ask for! 

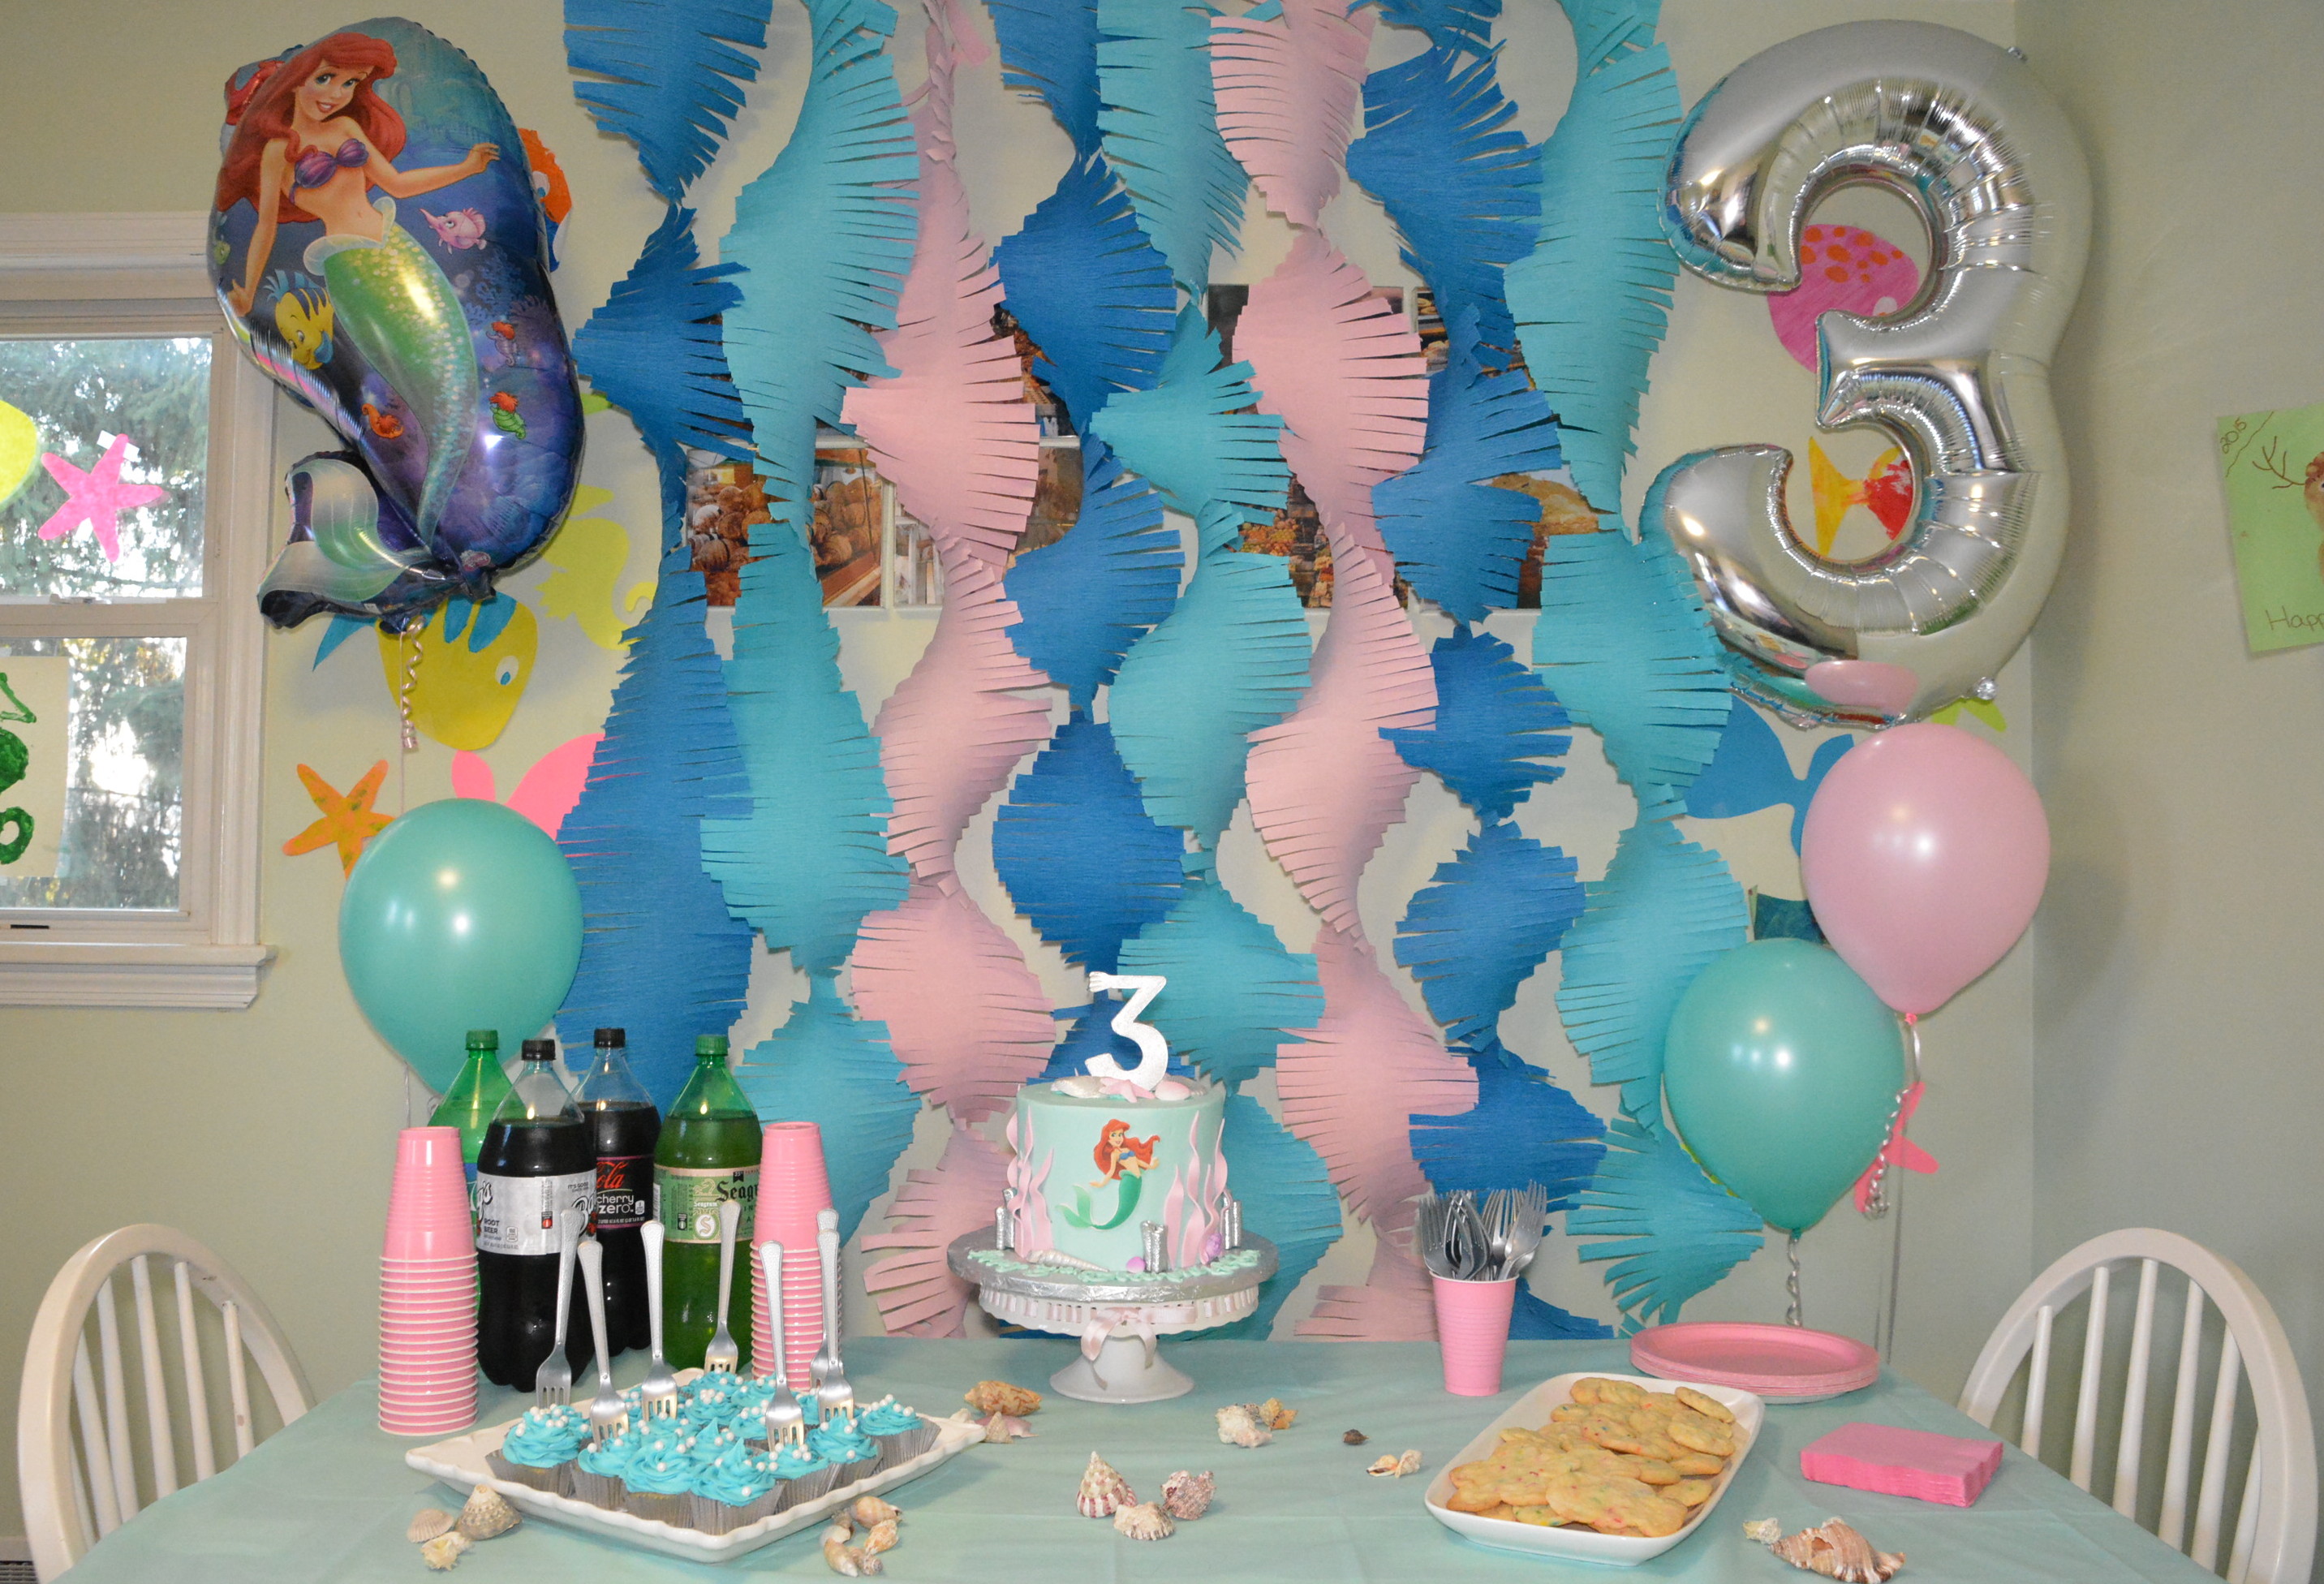
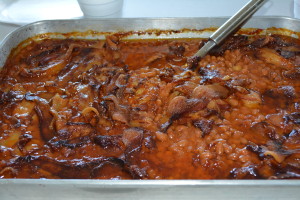
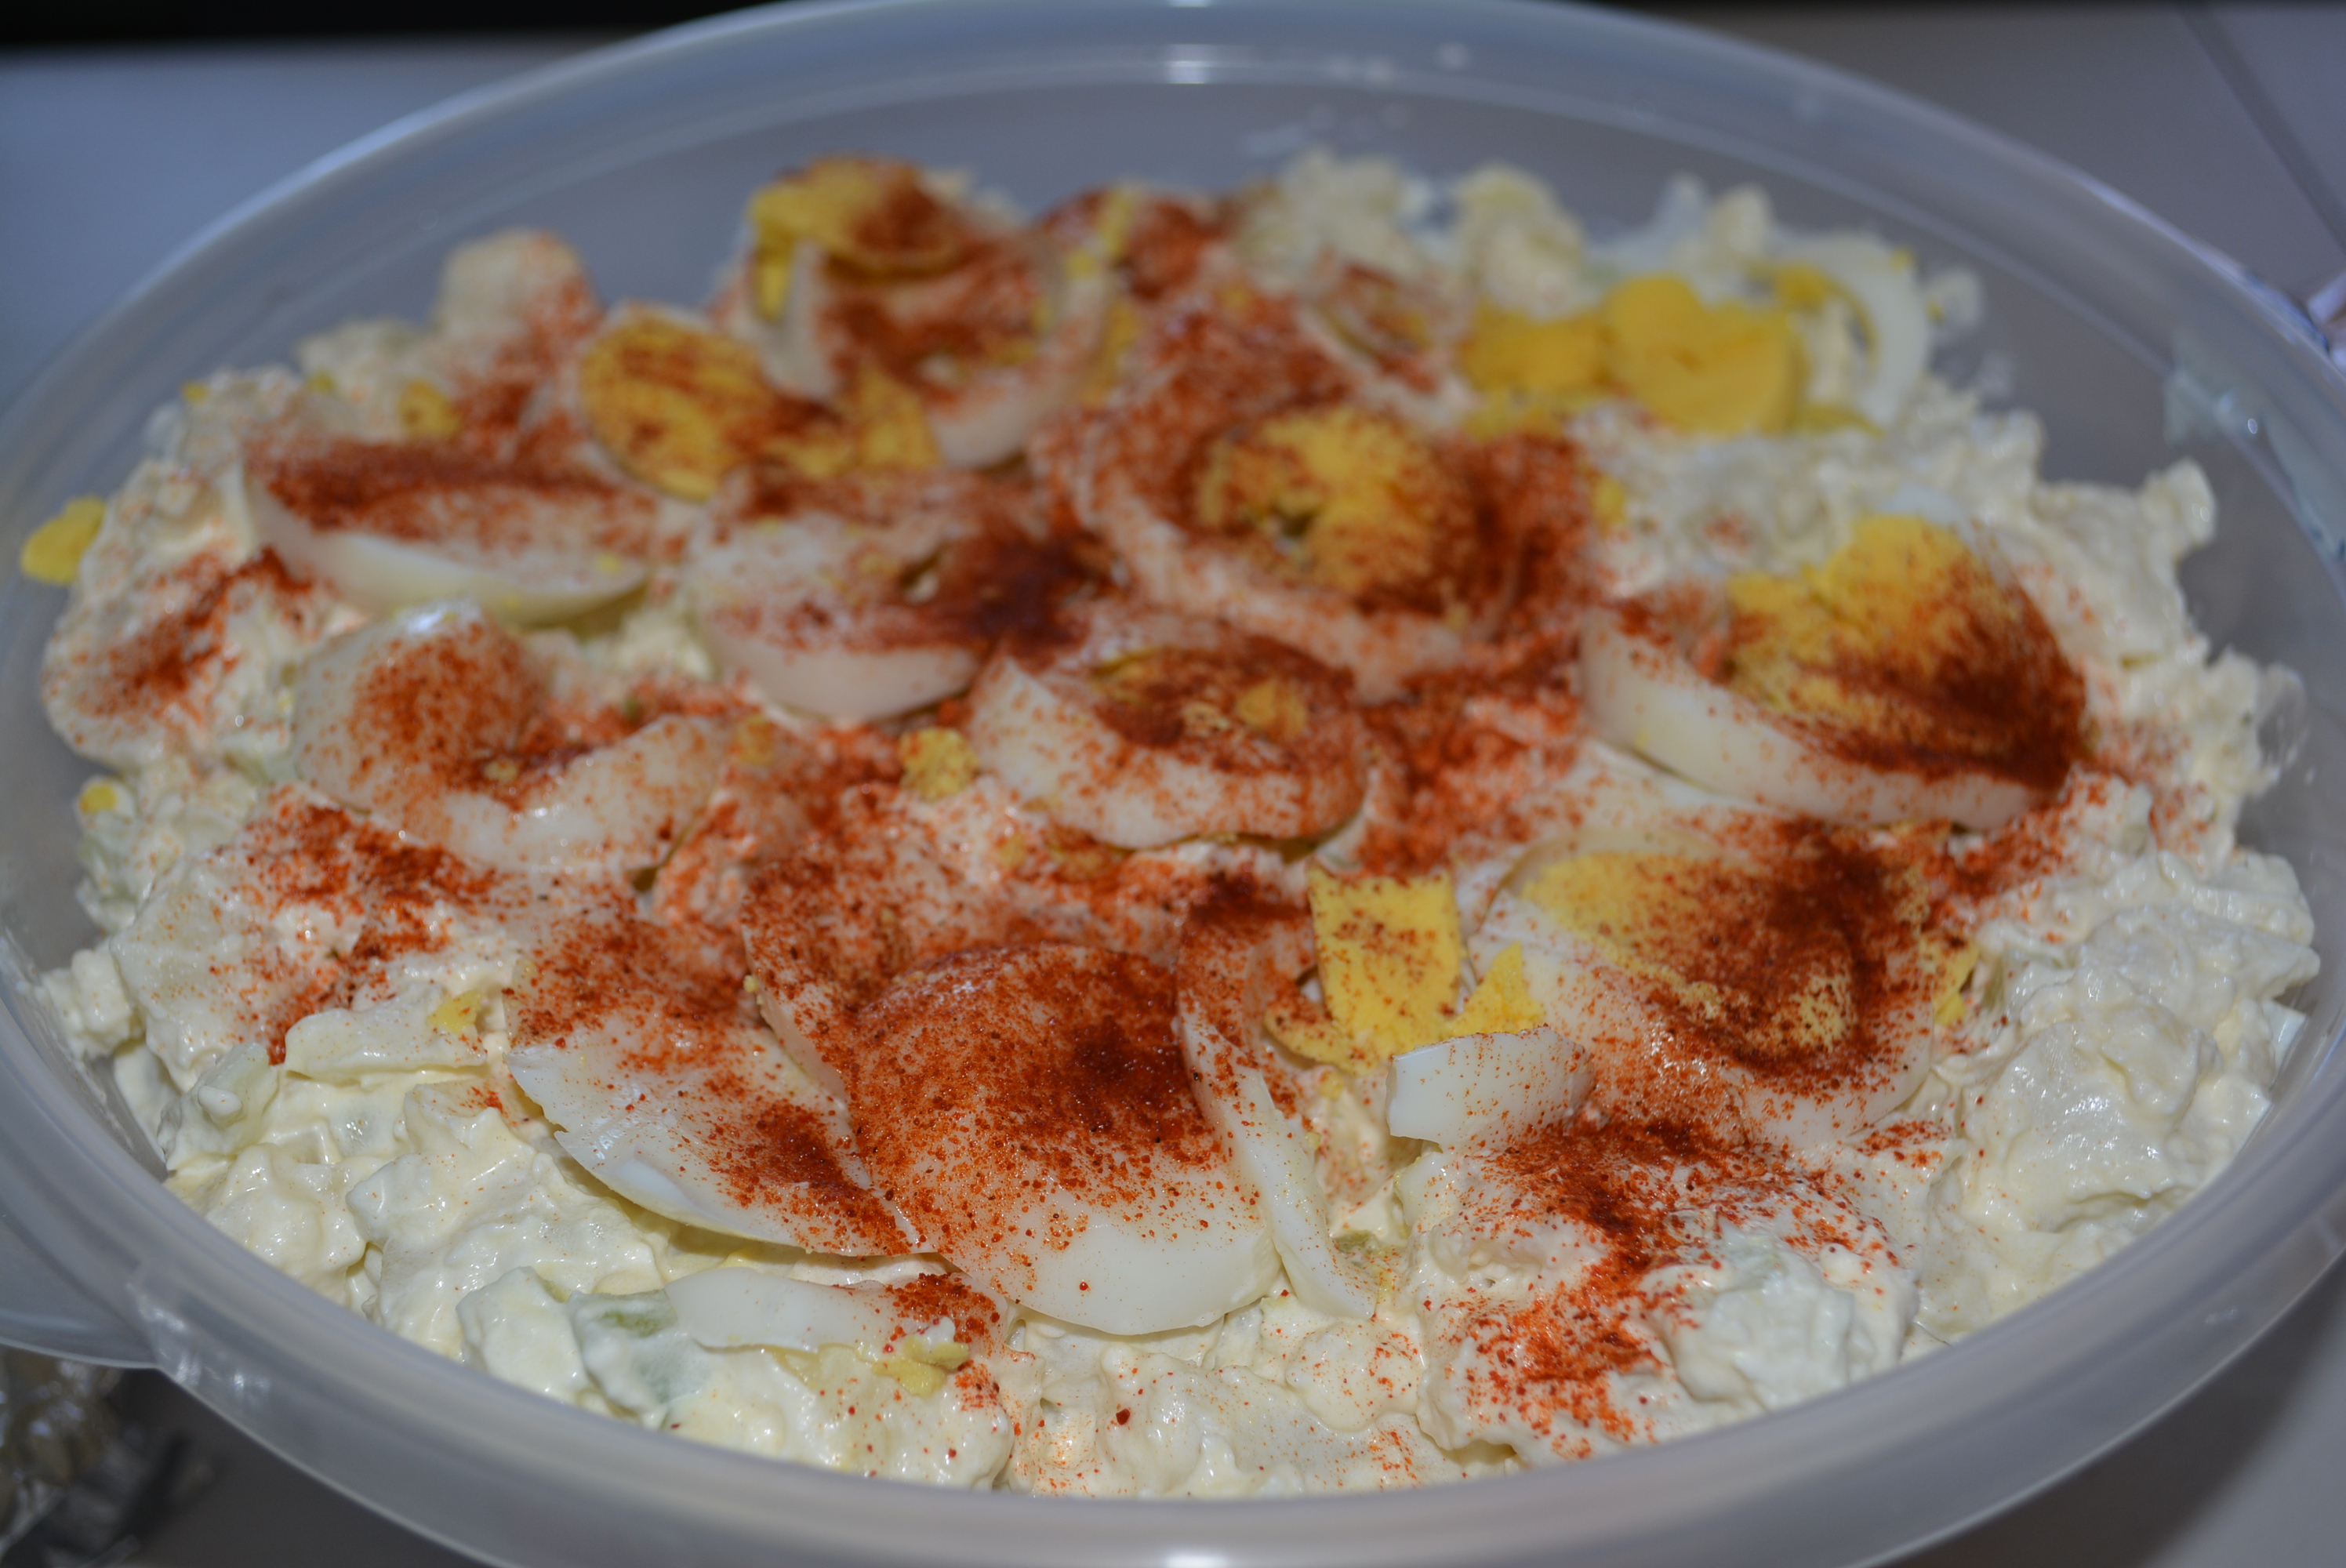
Some big fringe garland, balloons, and a birthday banner decorating the dinner table! A little mix of gluten free tortilla chips, cheese, carrots, and broccoli with definitely not gluten free sandwiches and crackers, don’t worry I kept some safe versions of each of these snacks to the side for myself.  3rdbday (5)

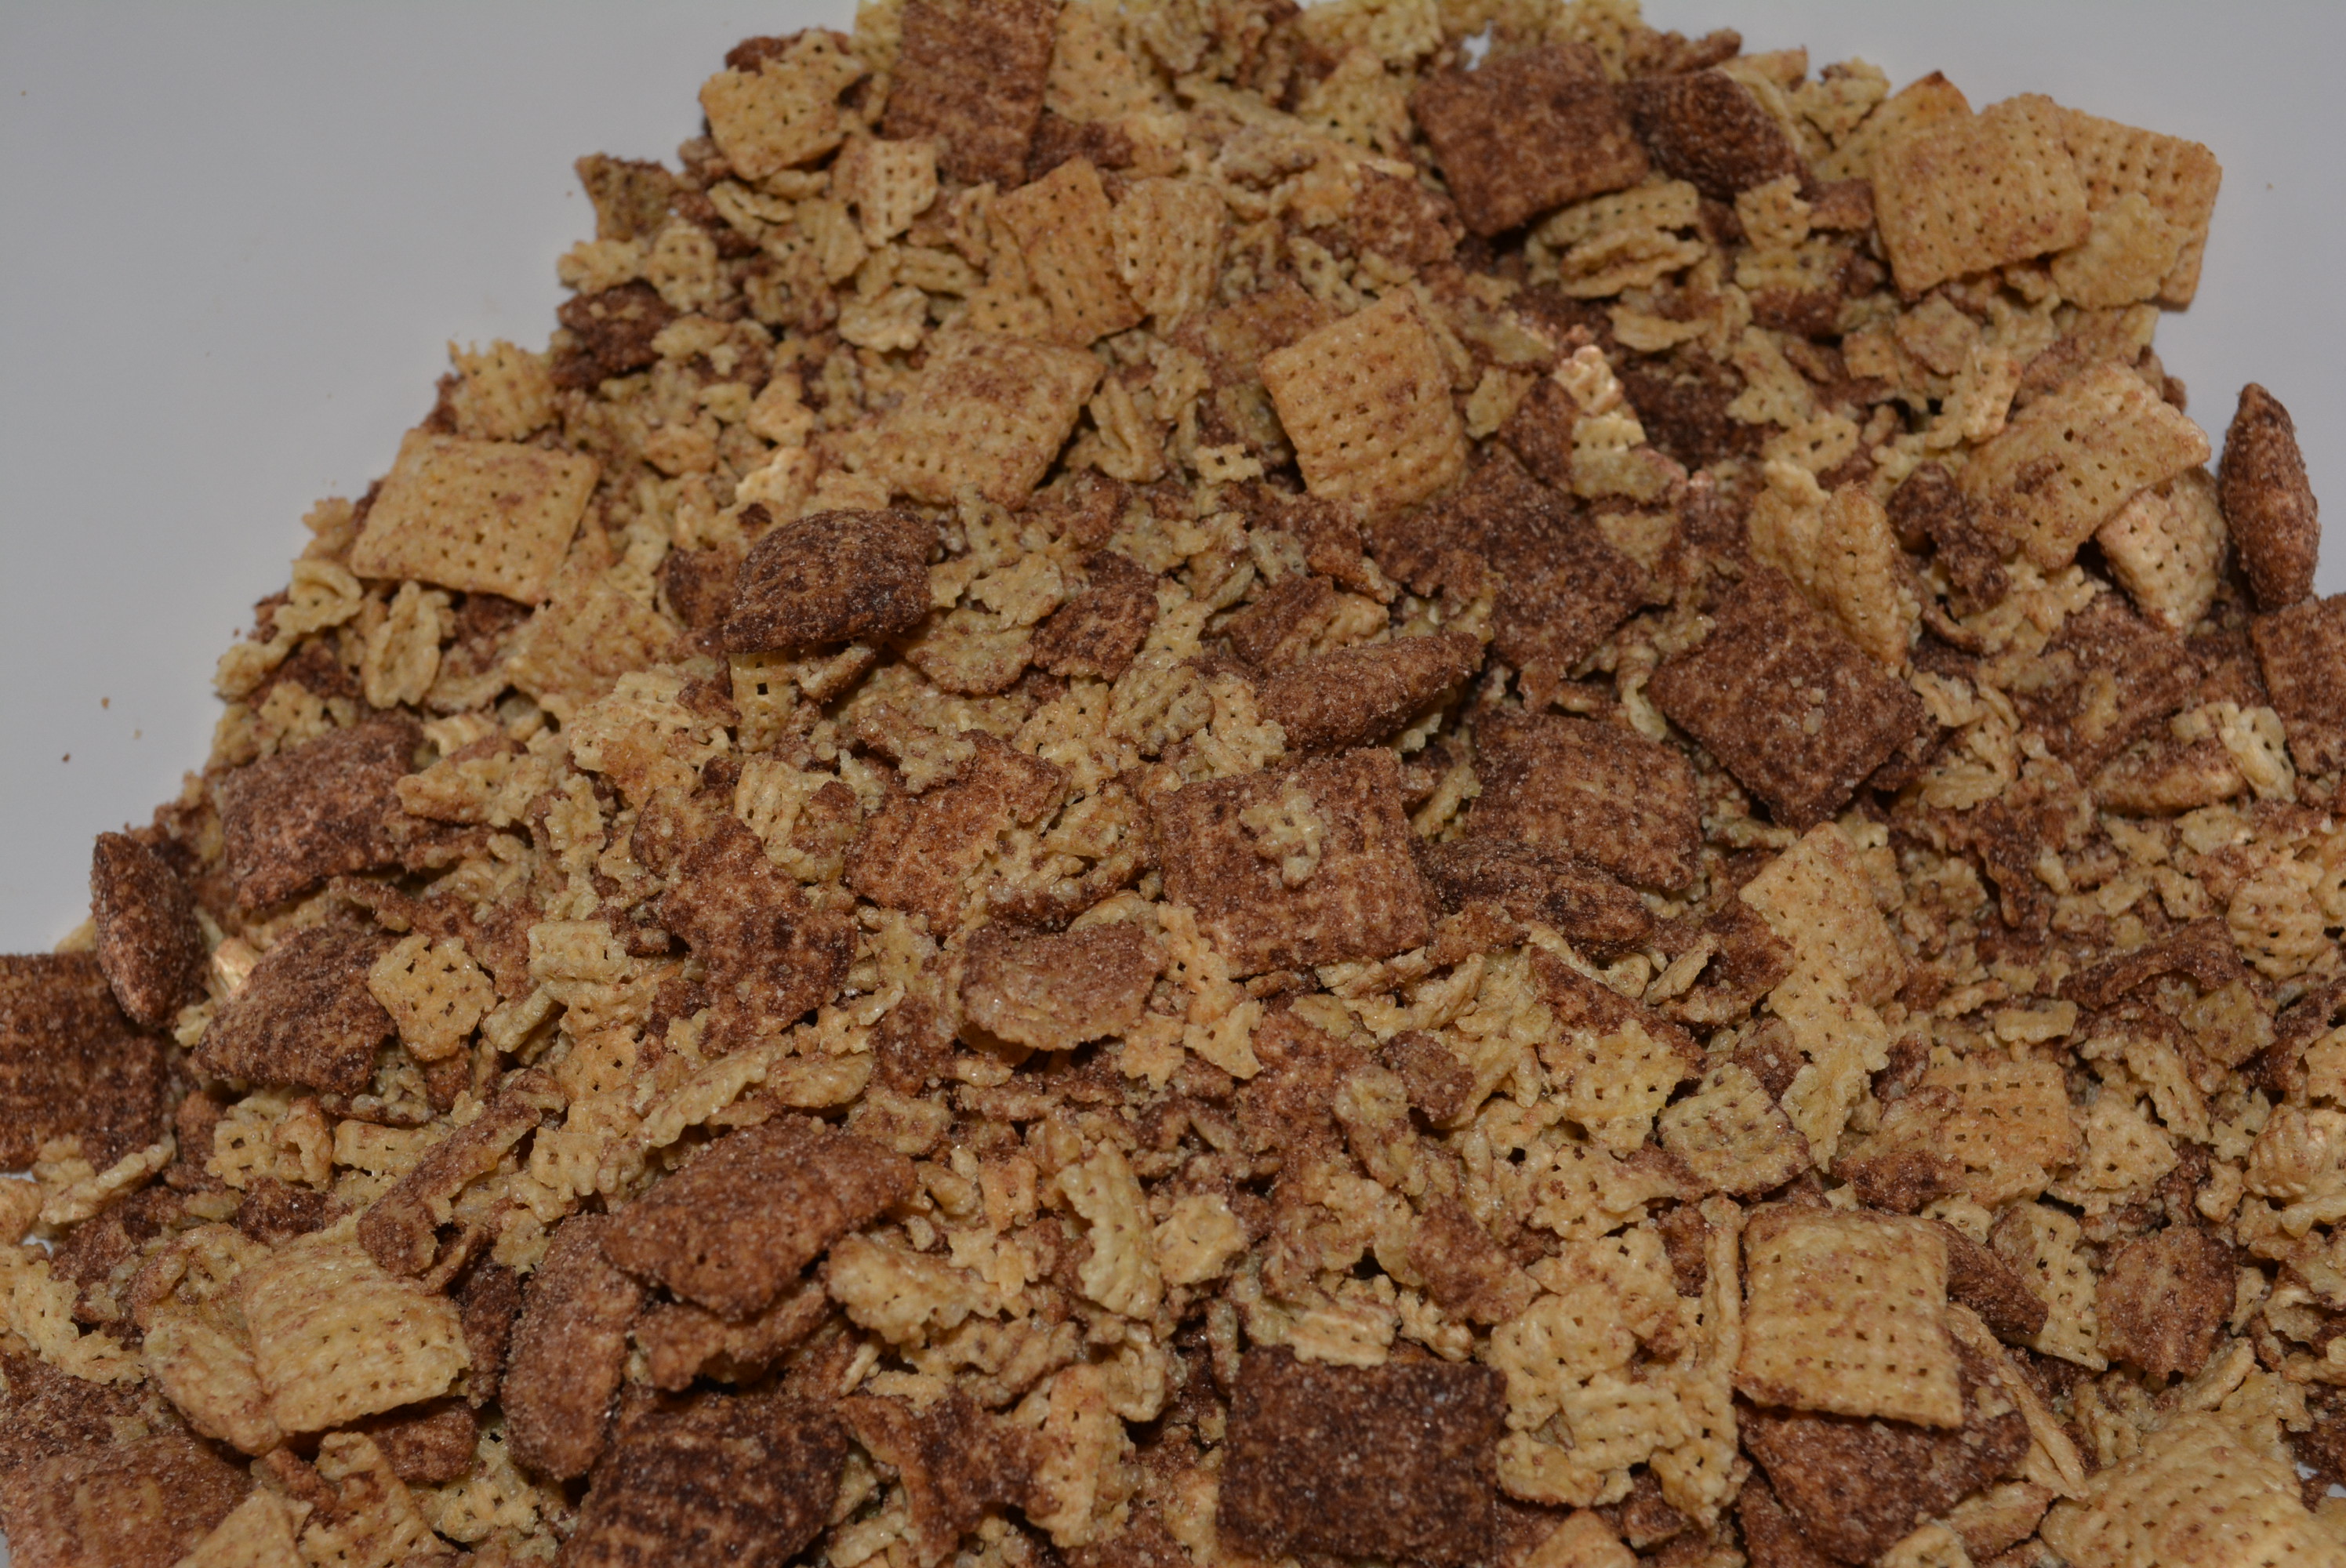
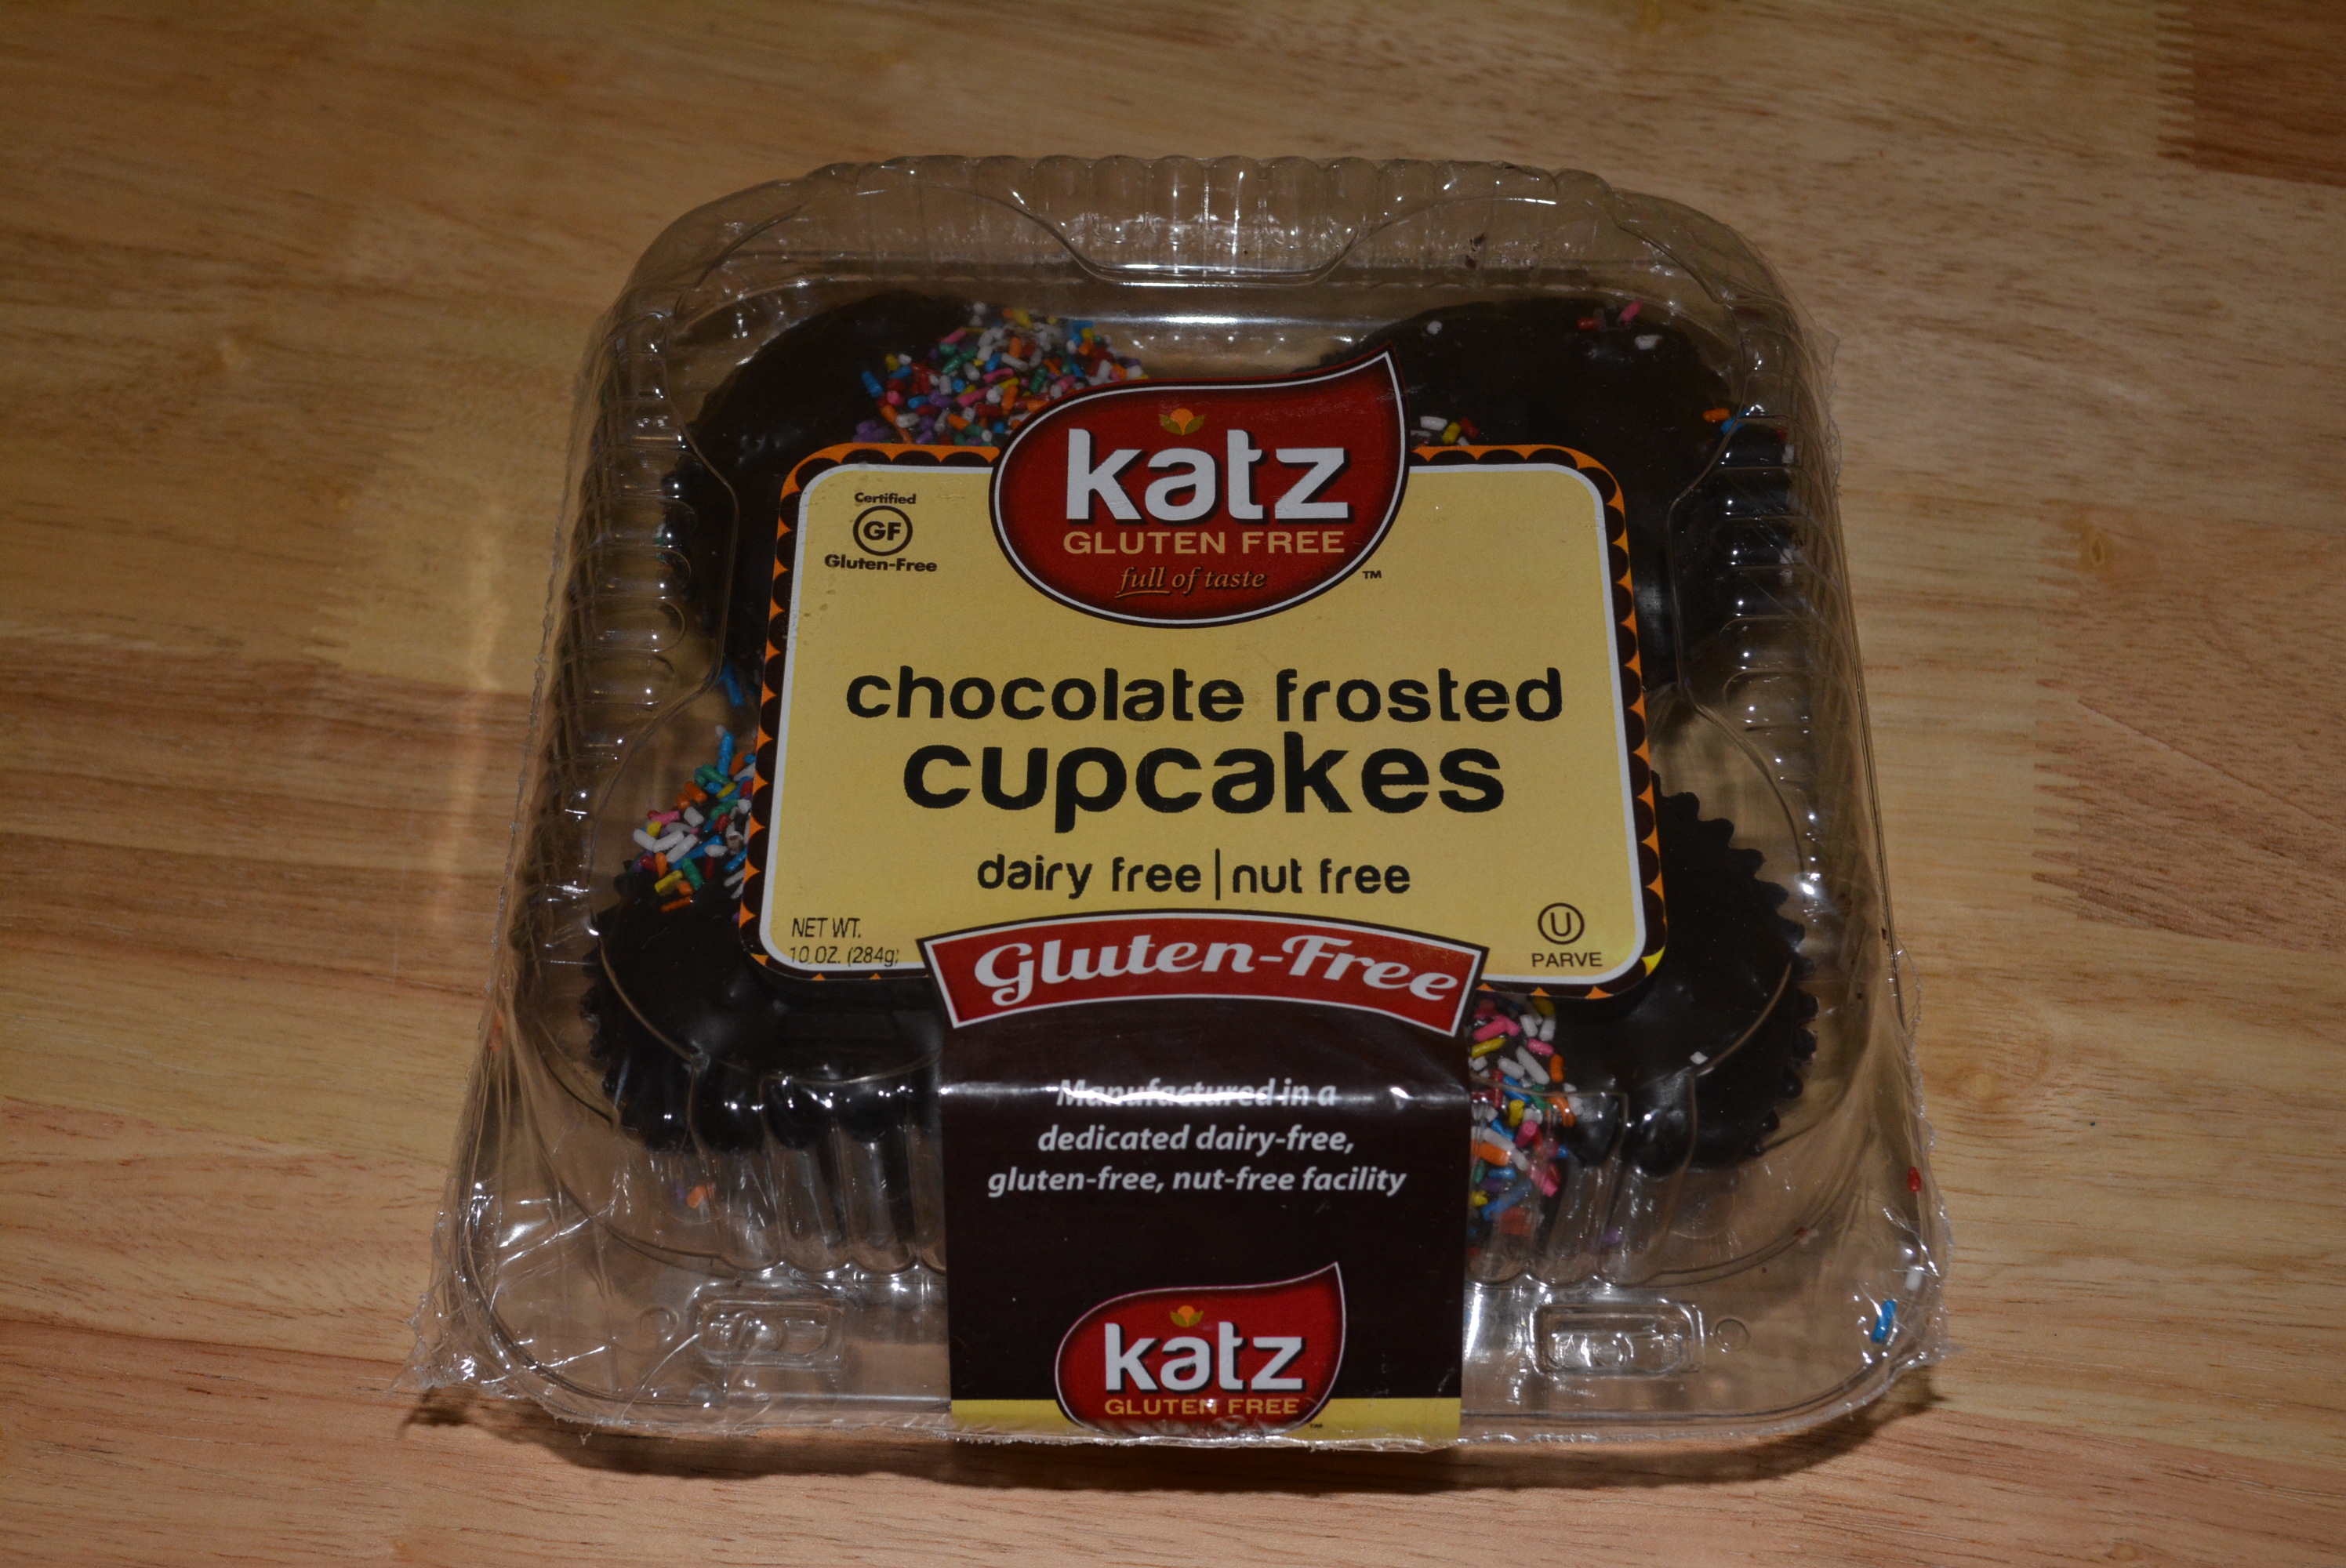
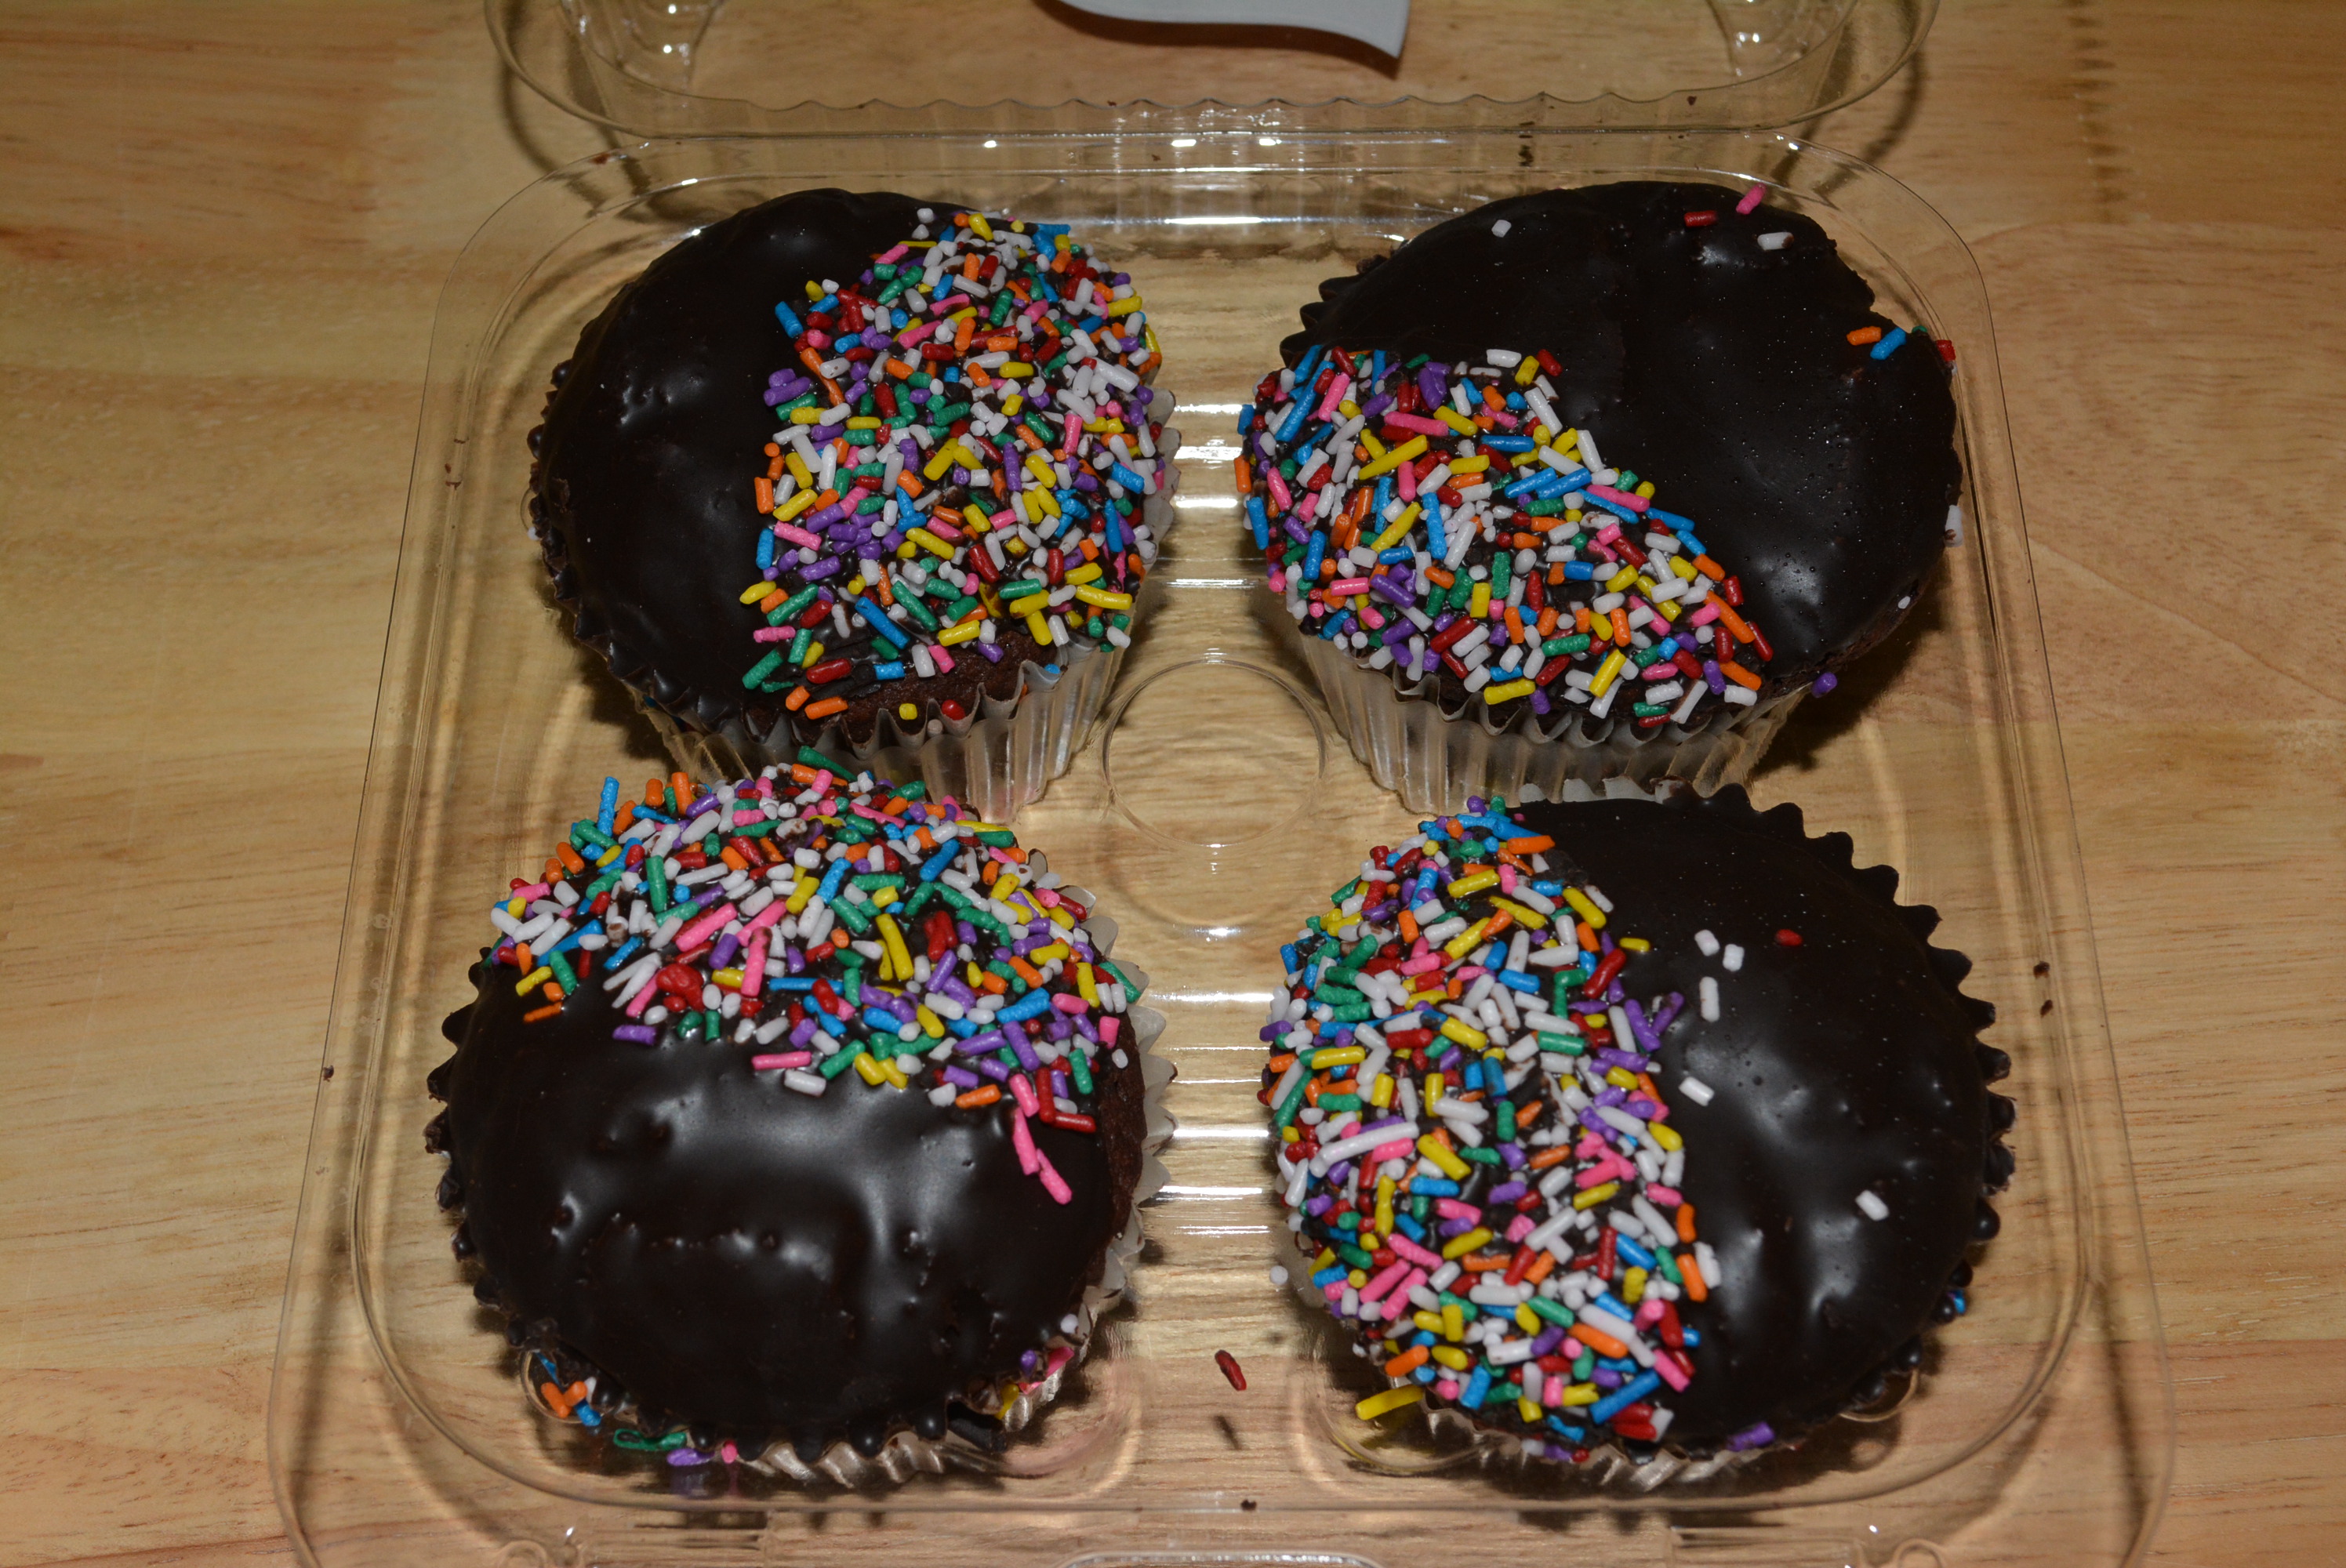
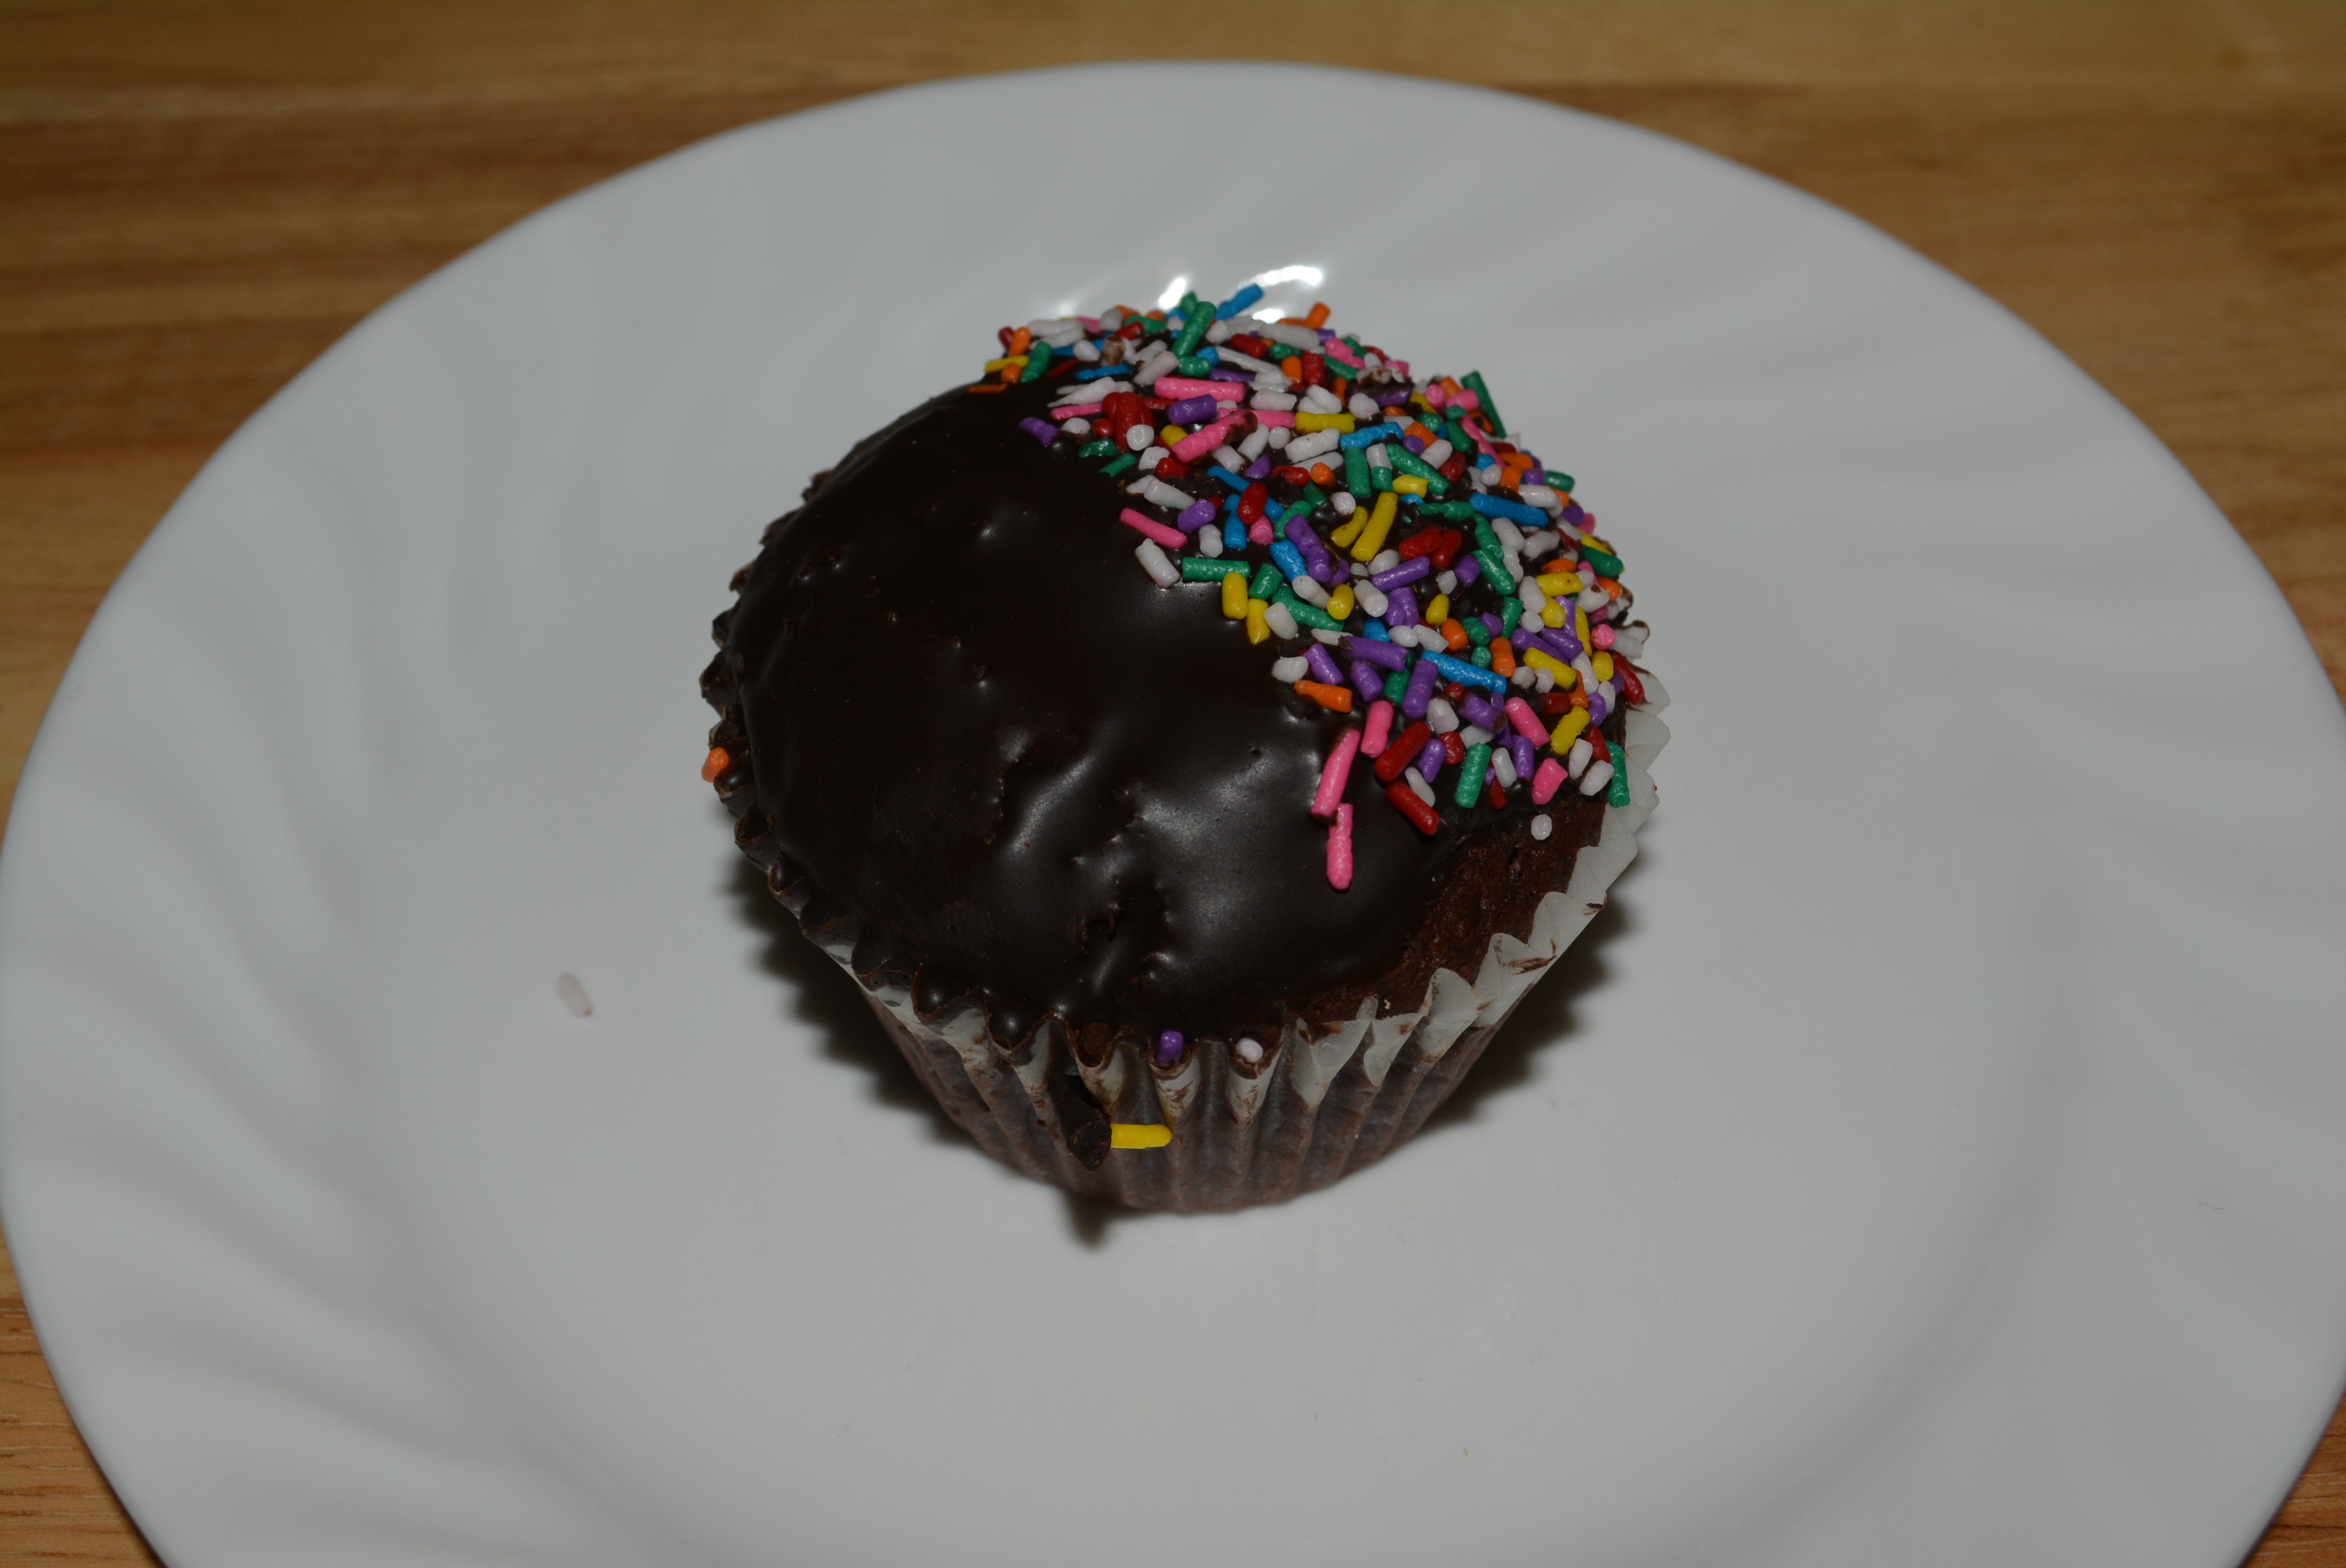
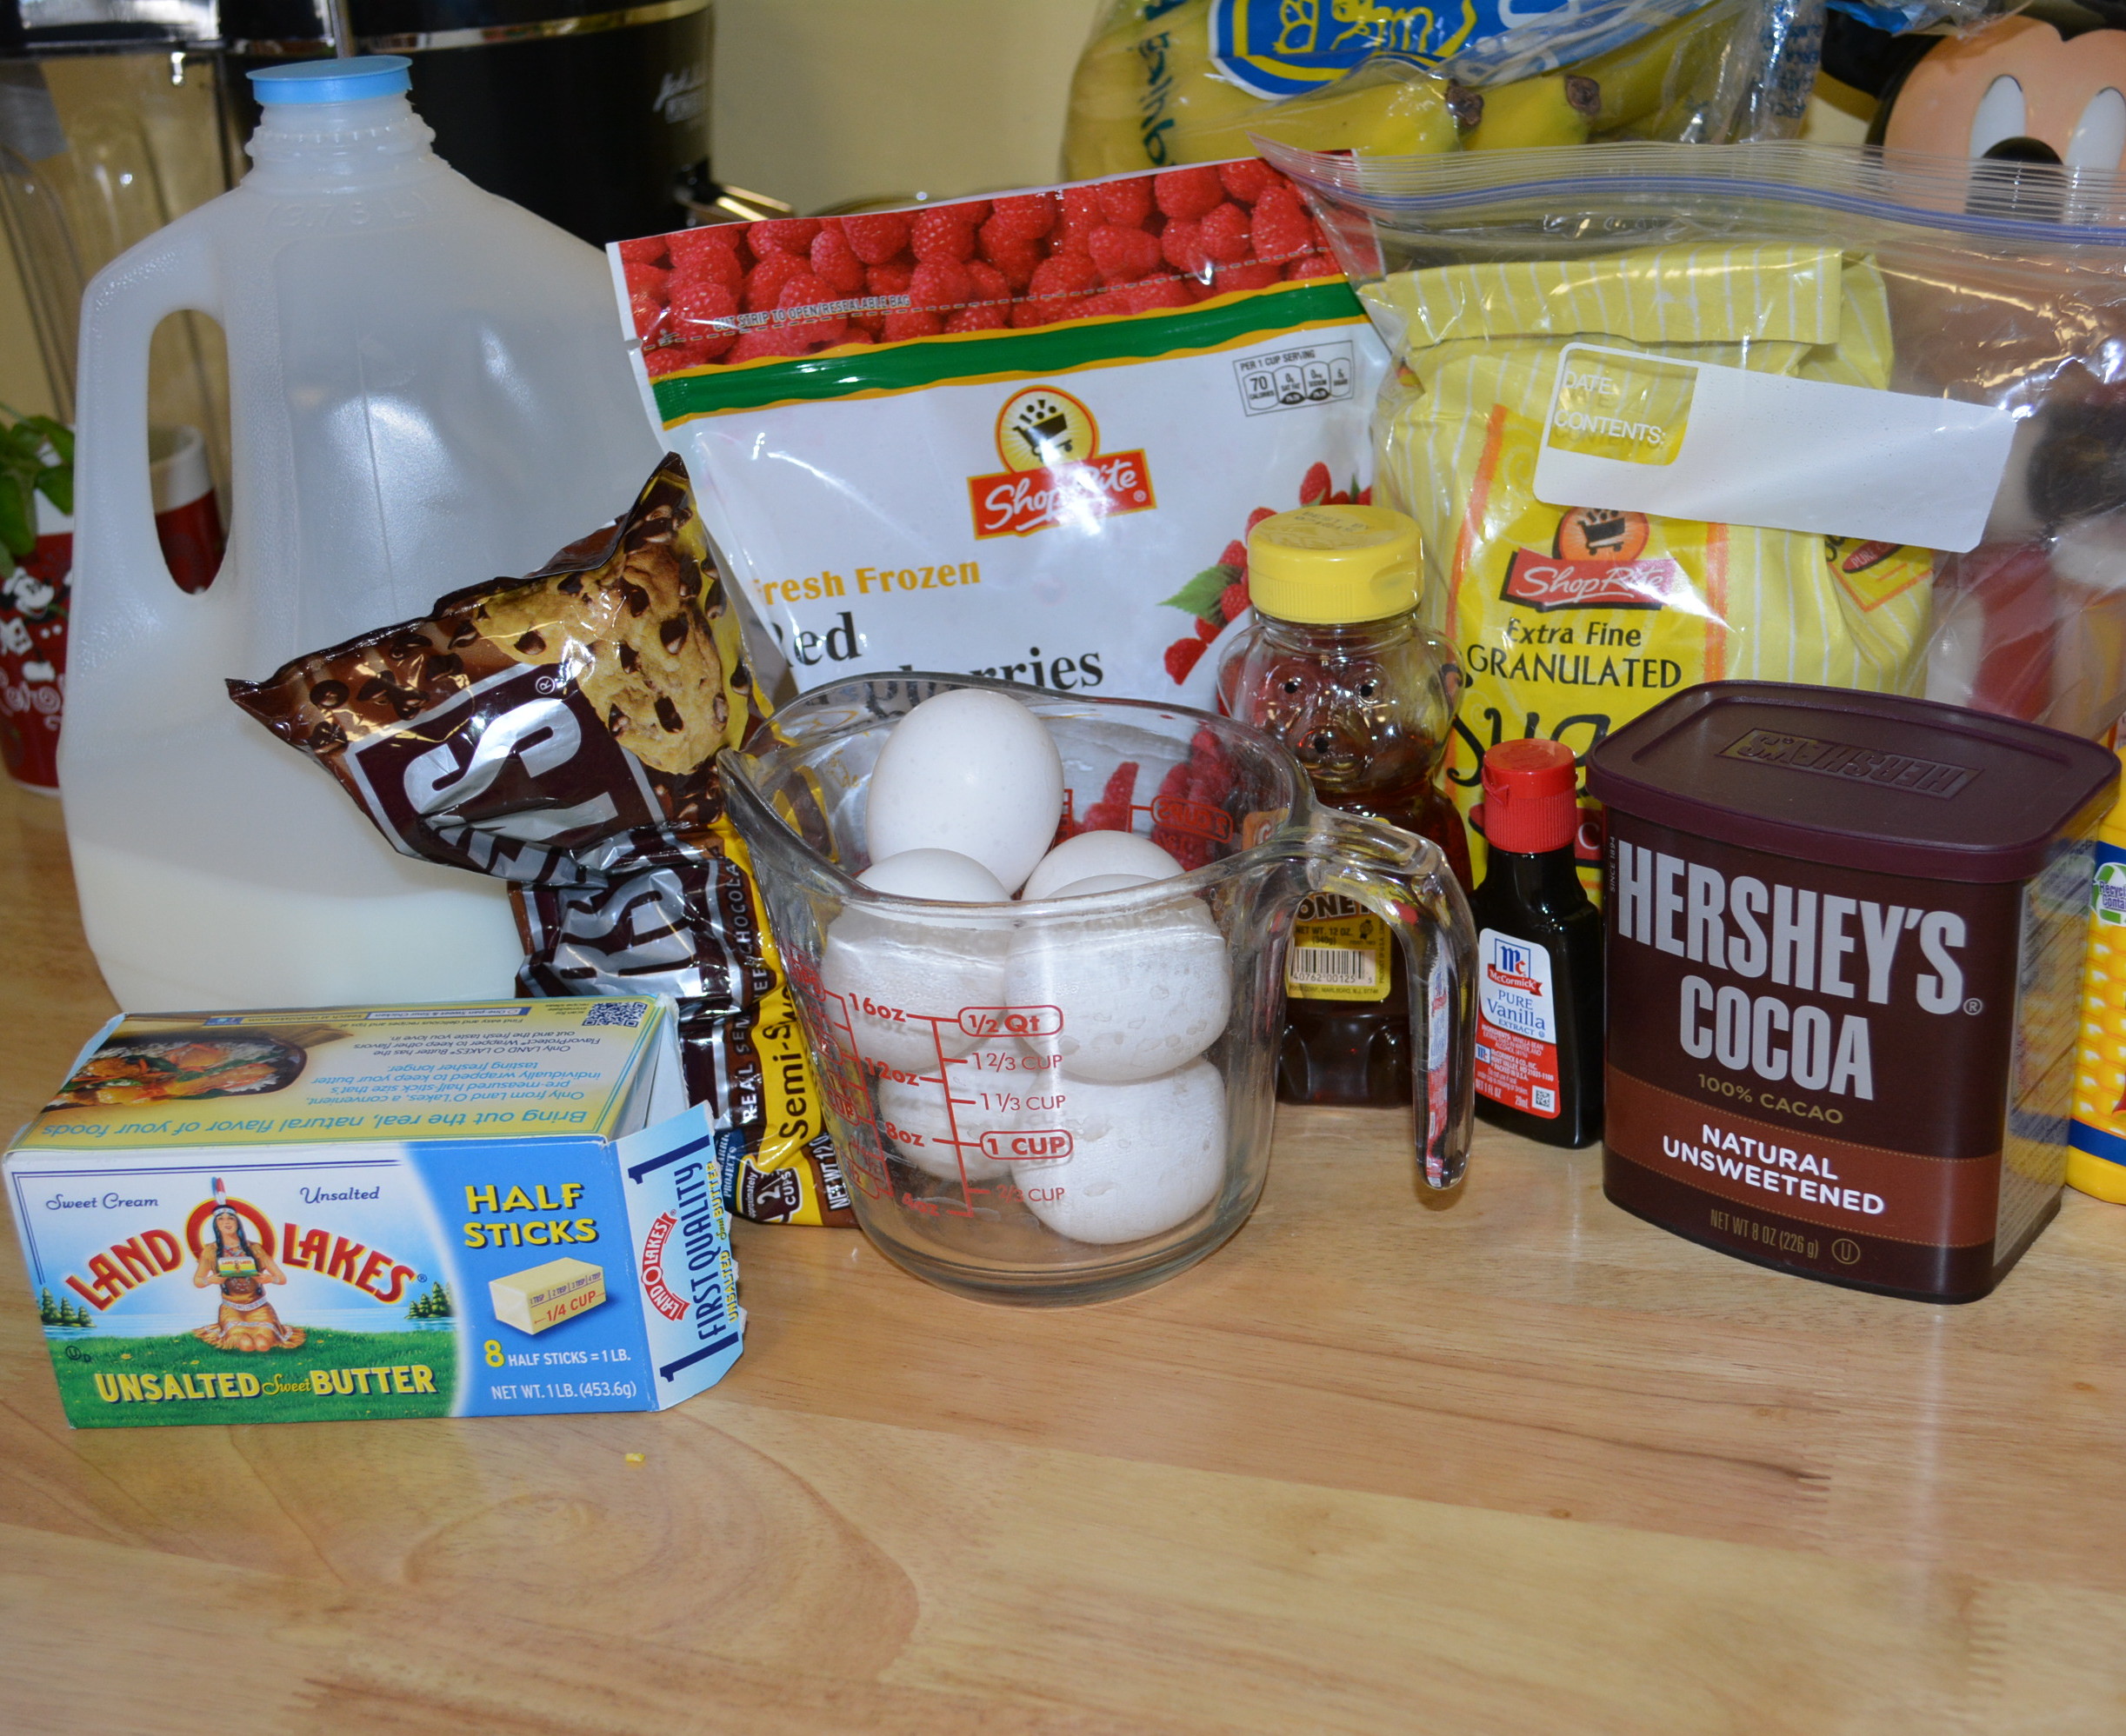
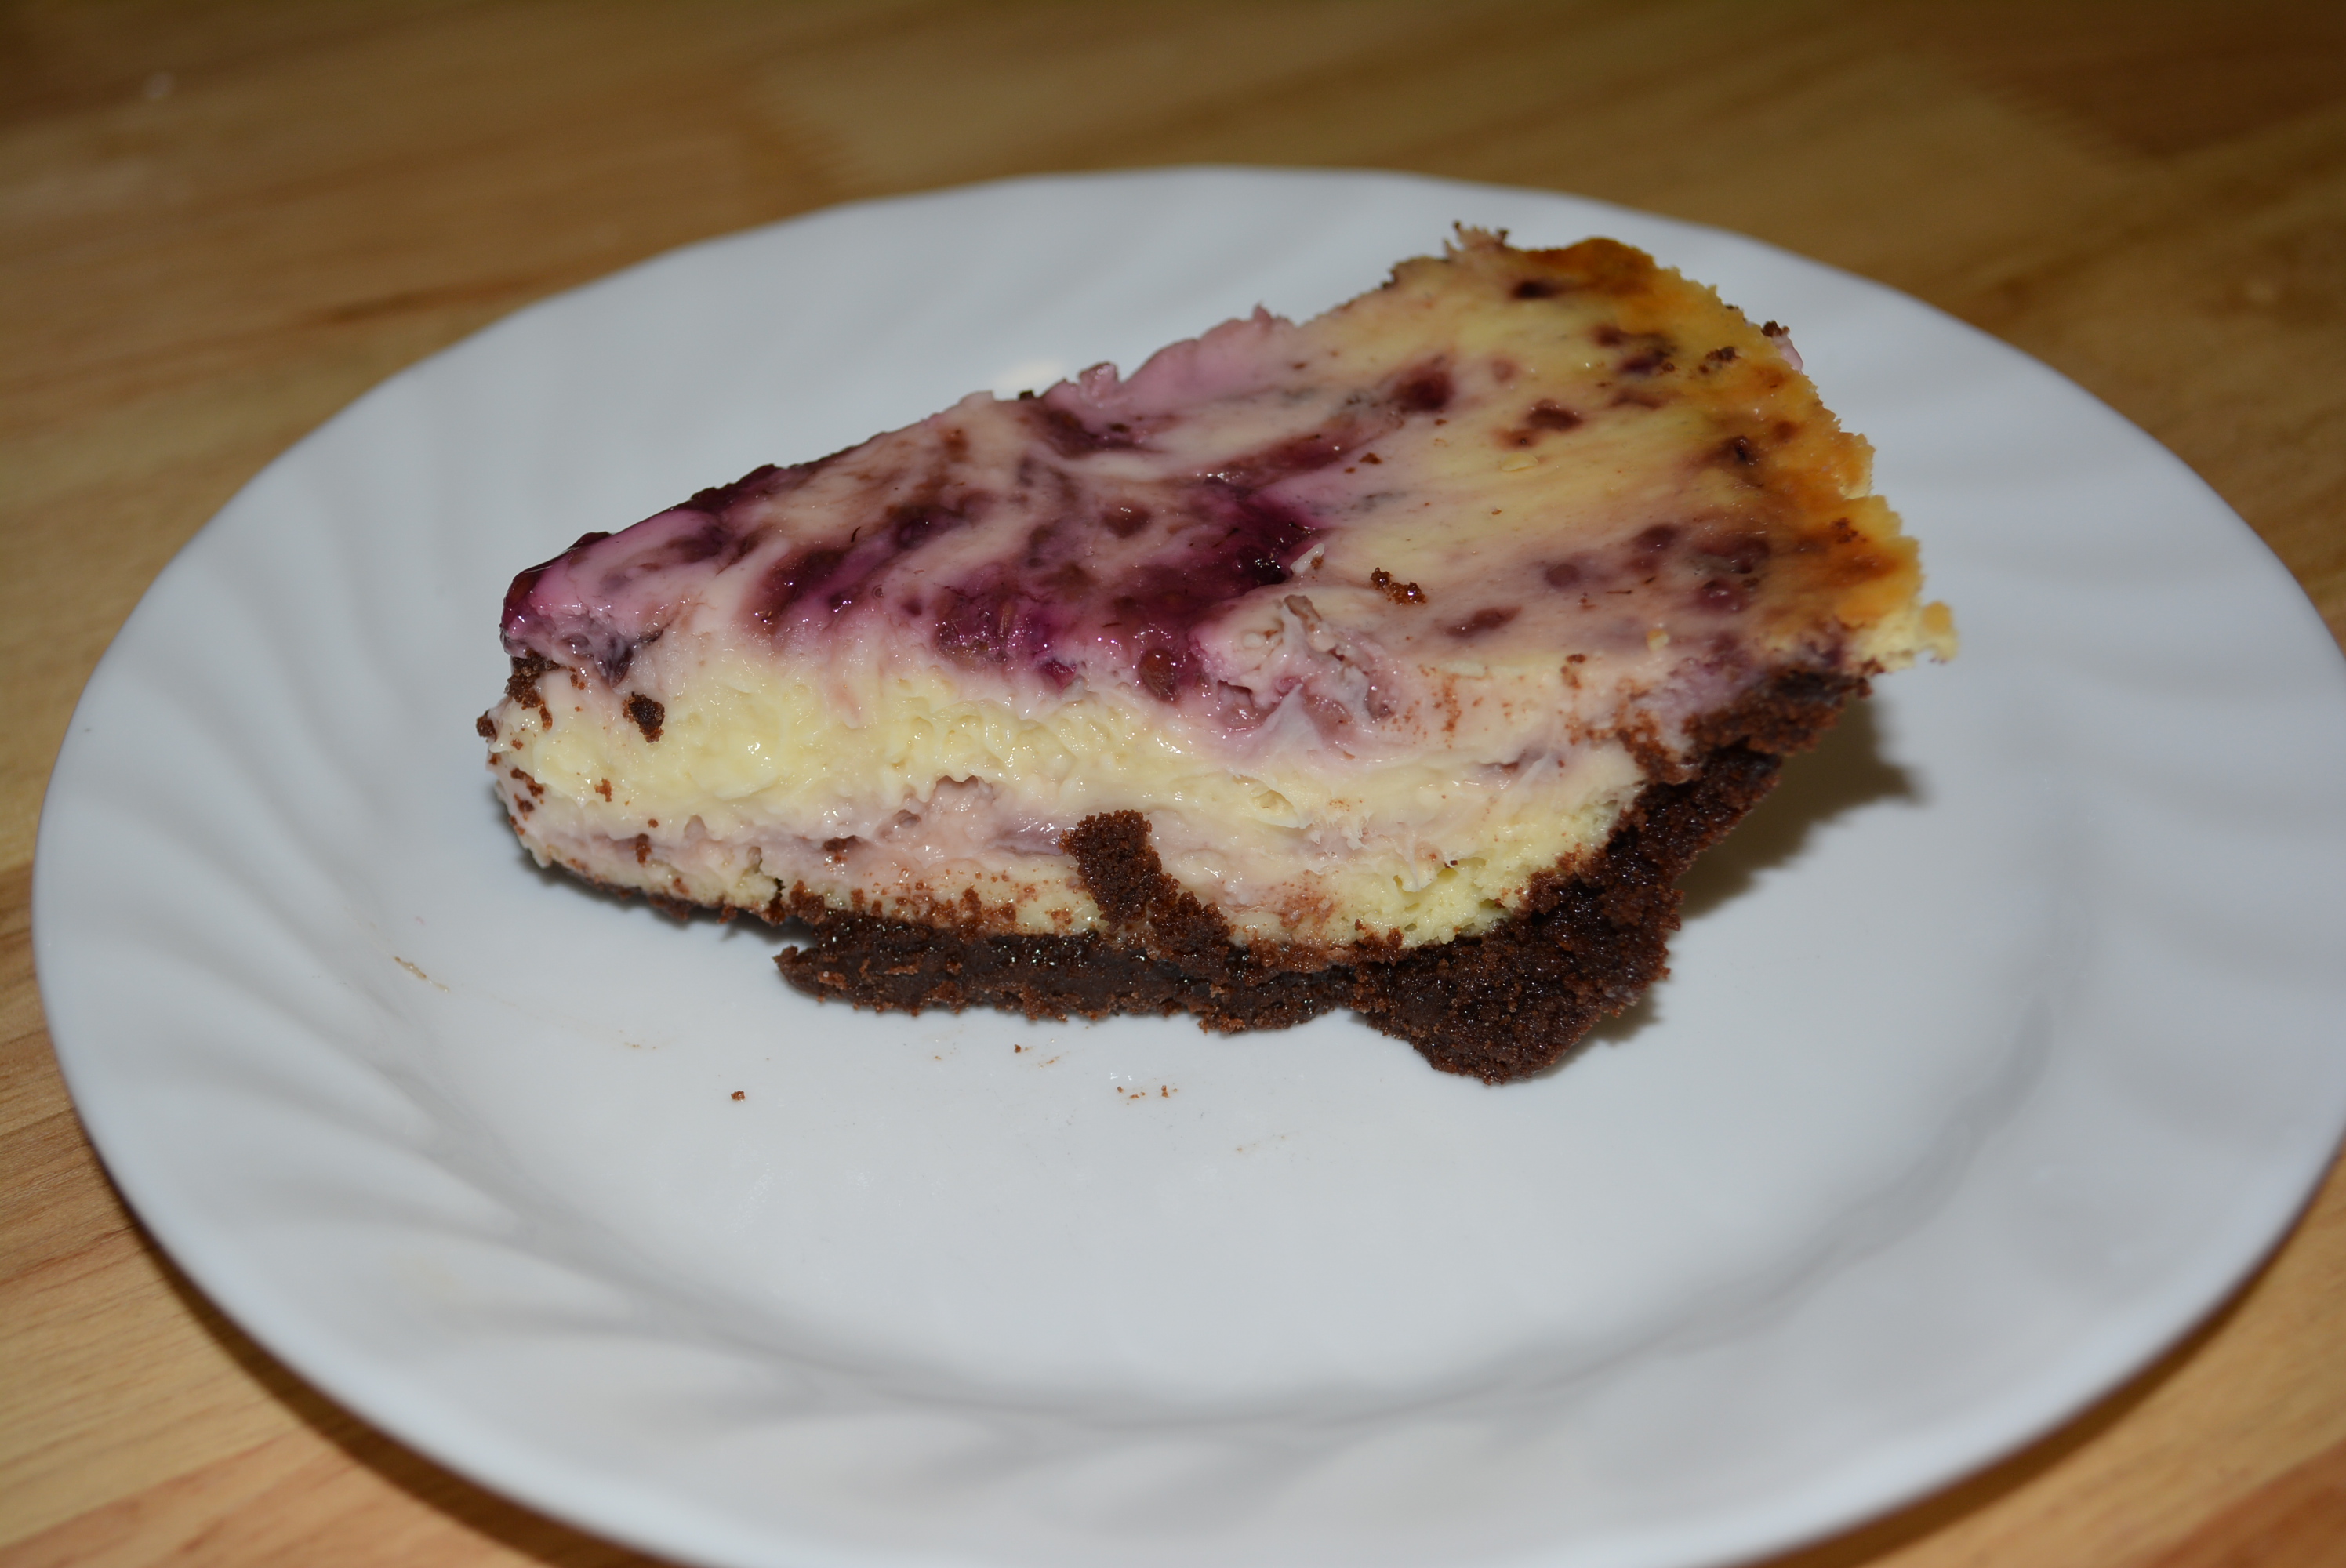
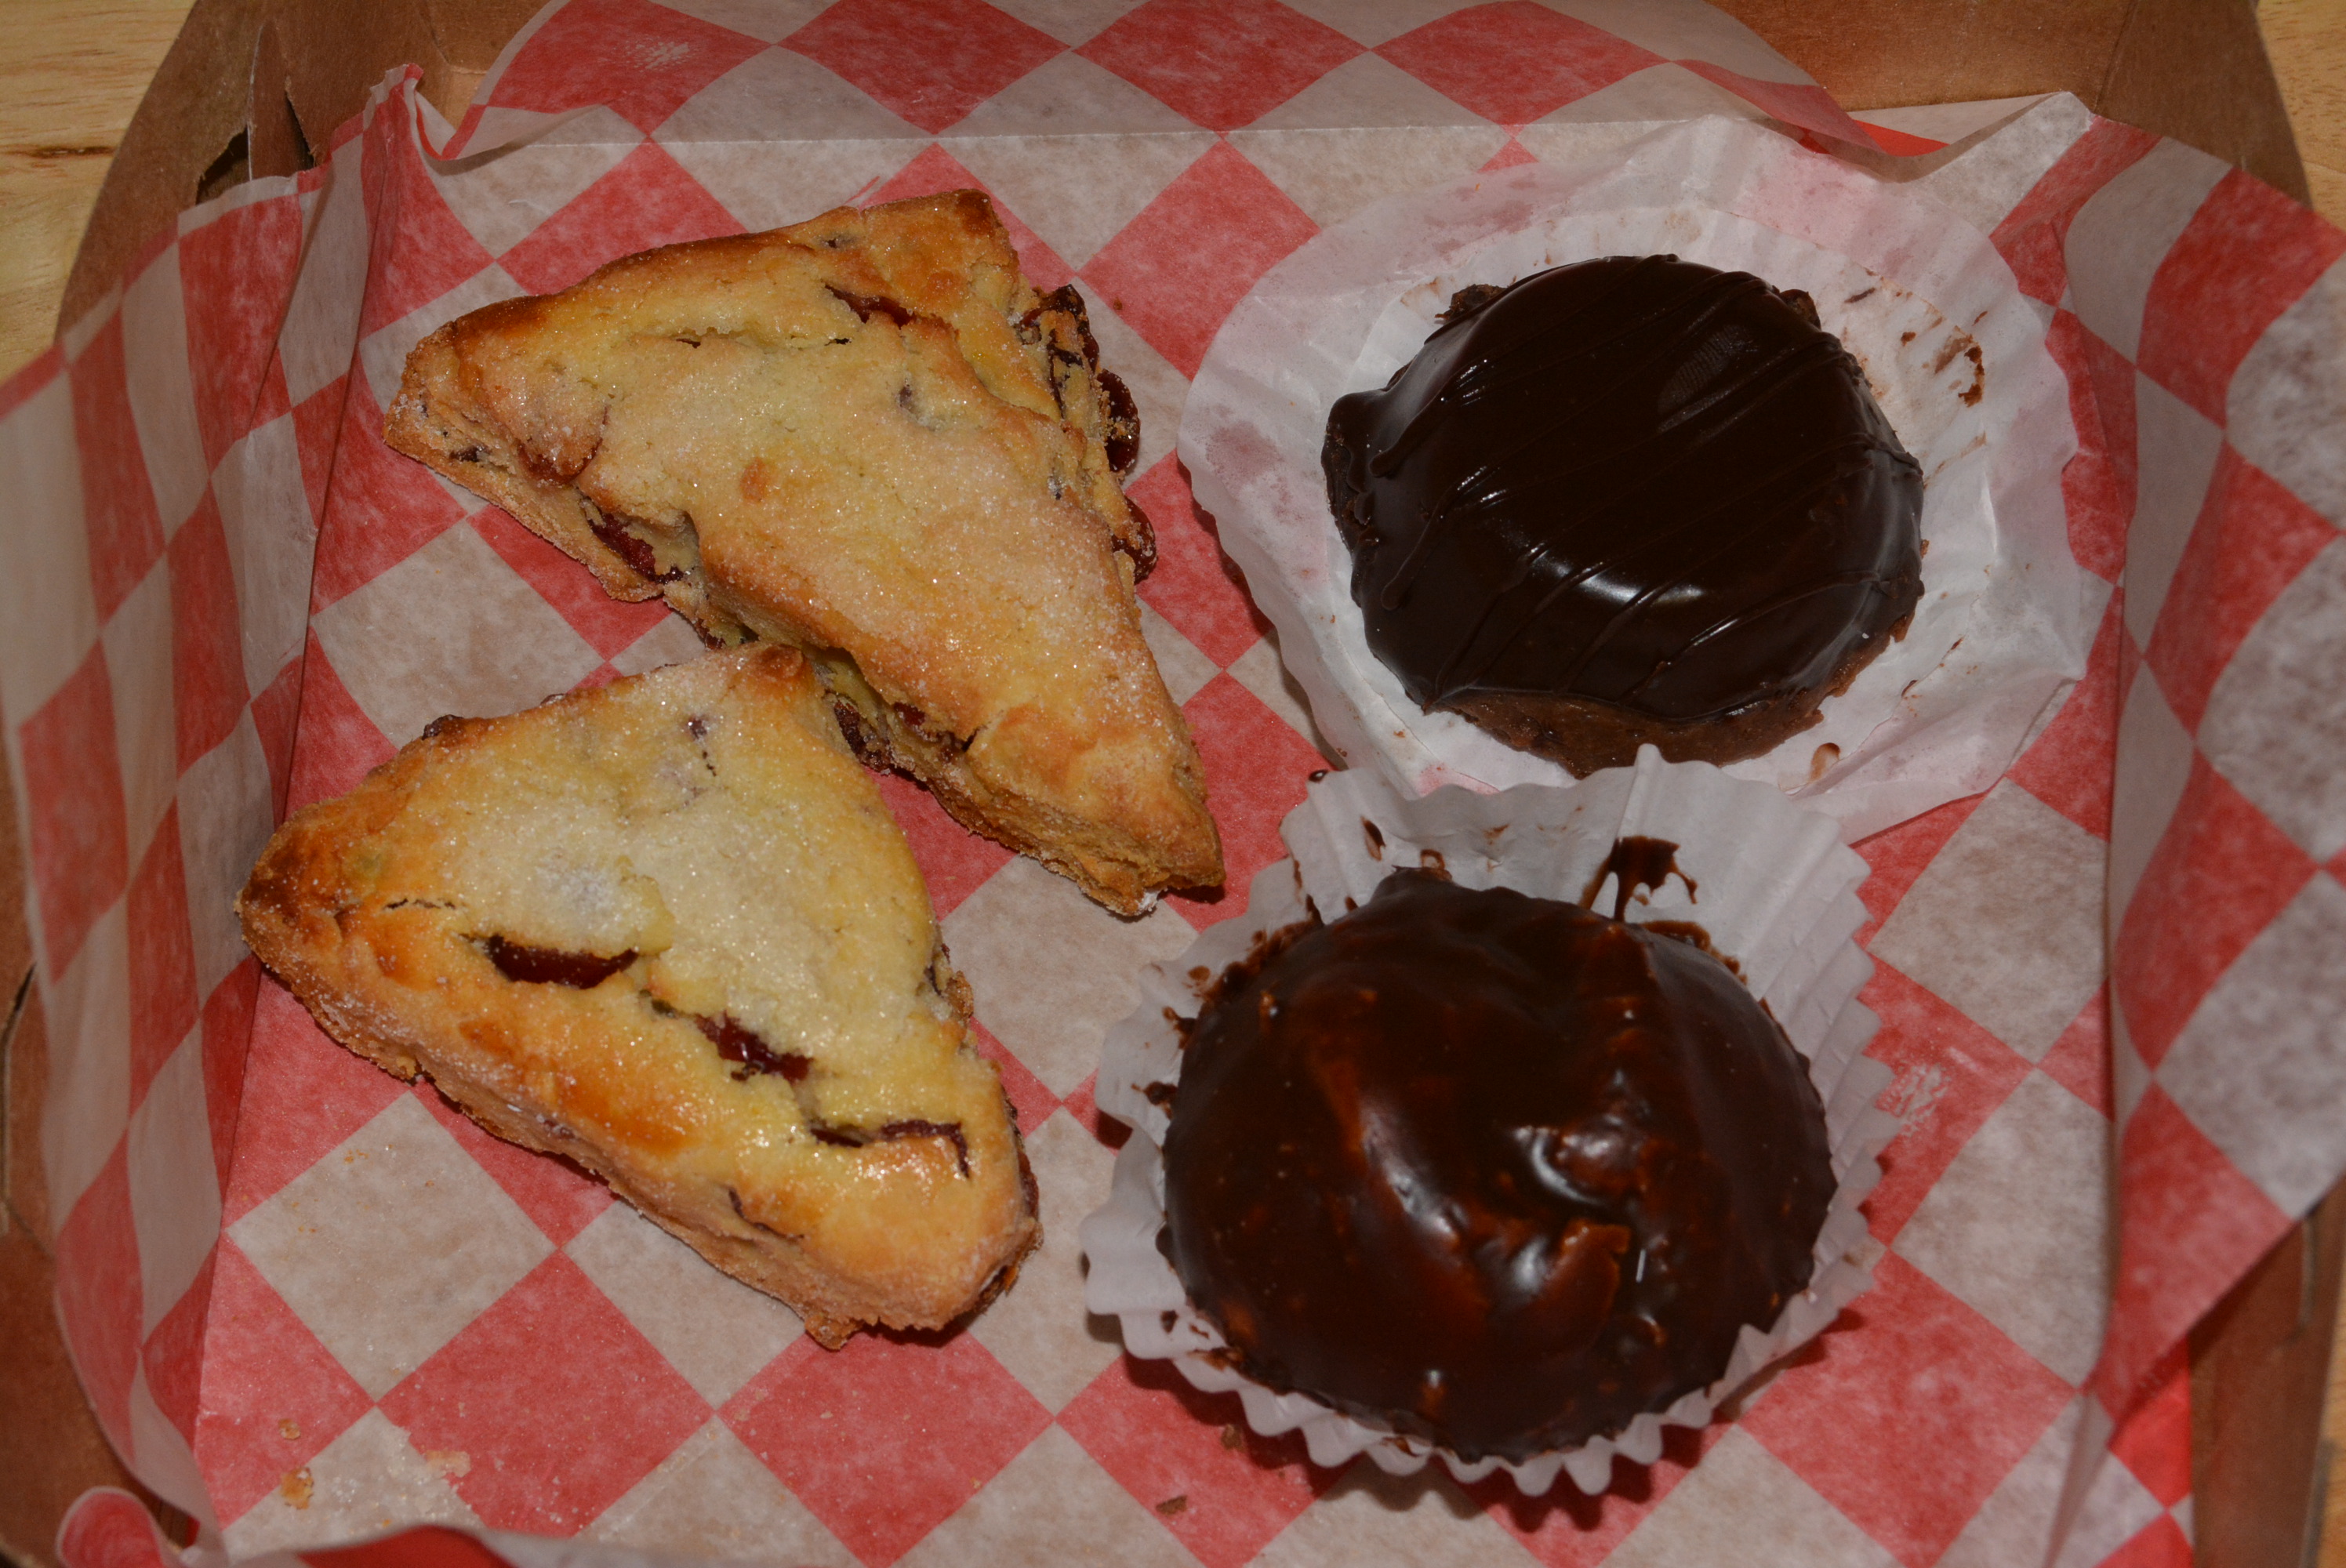
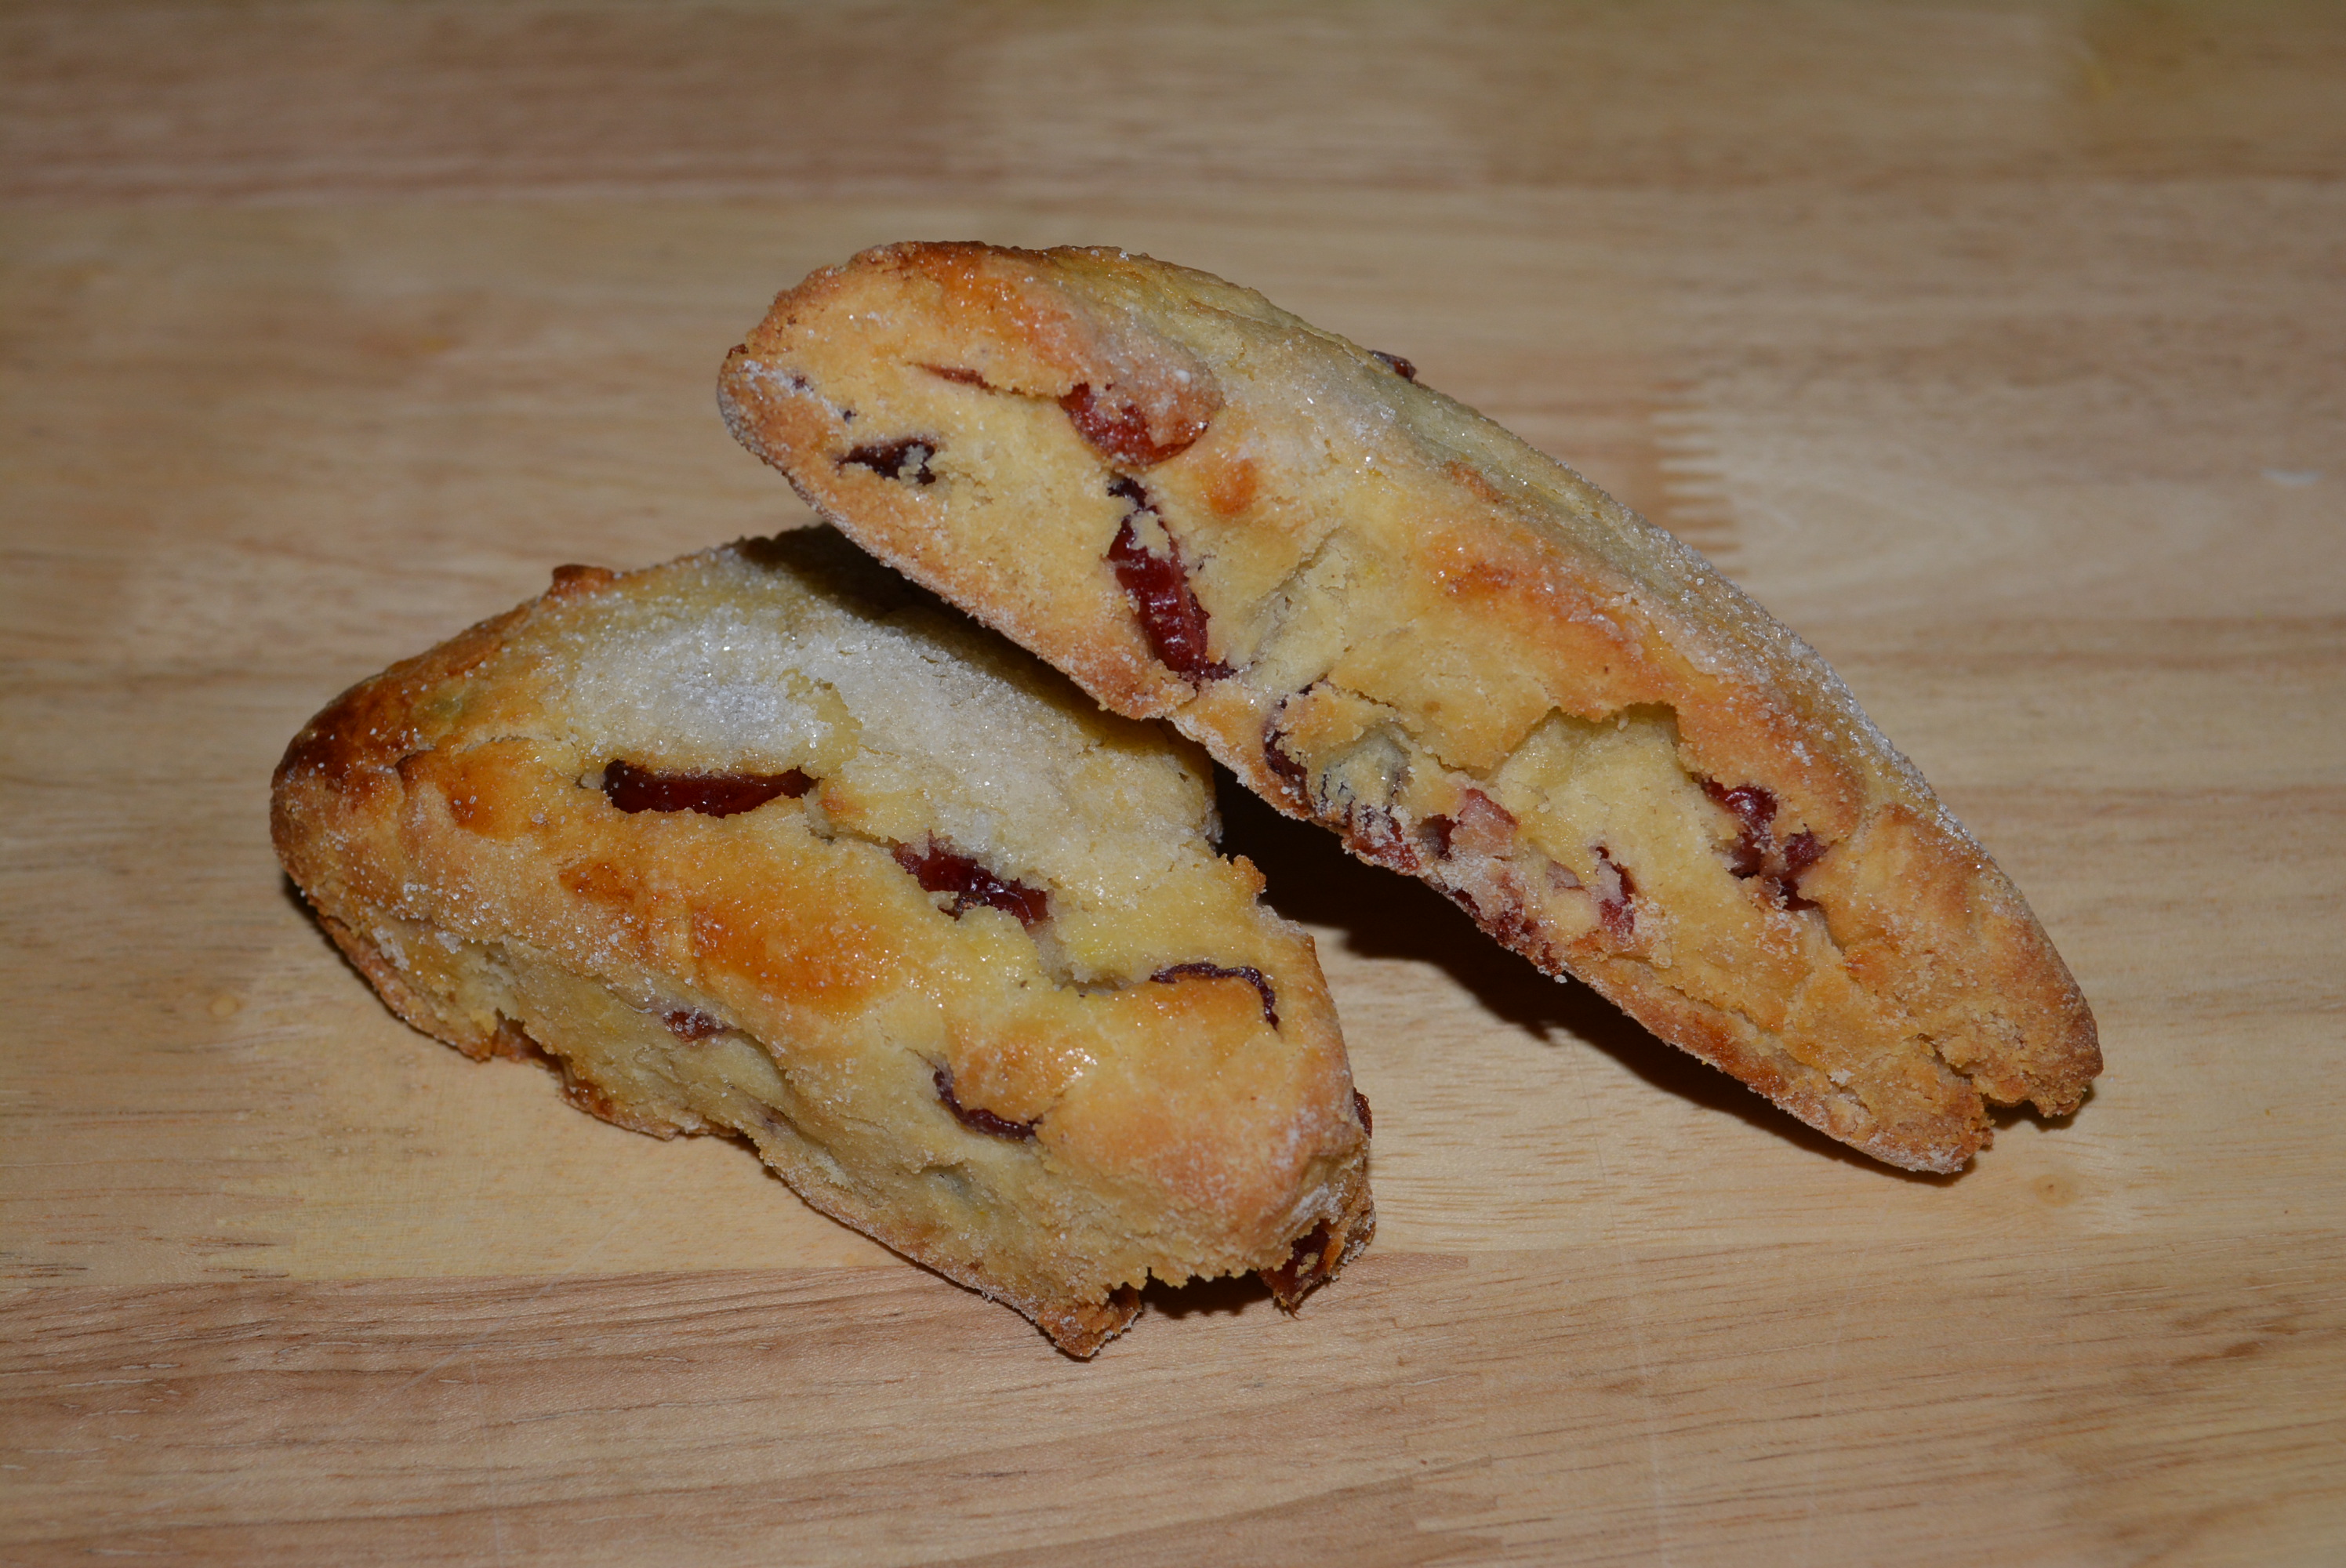
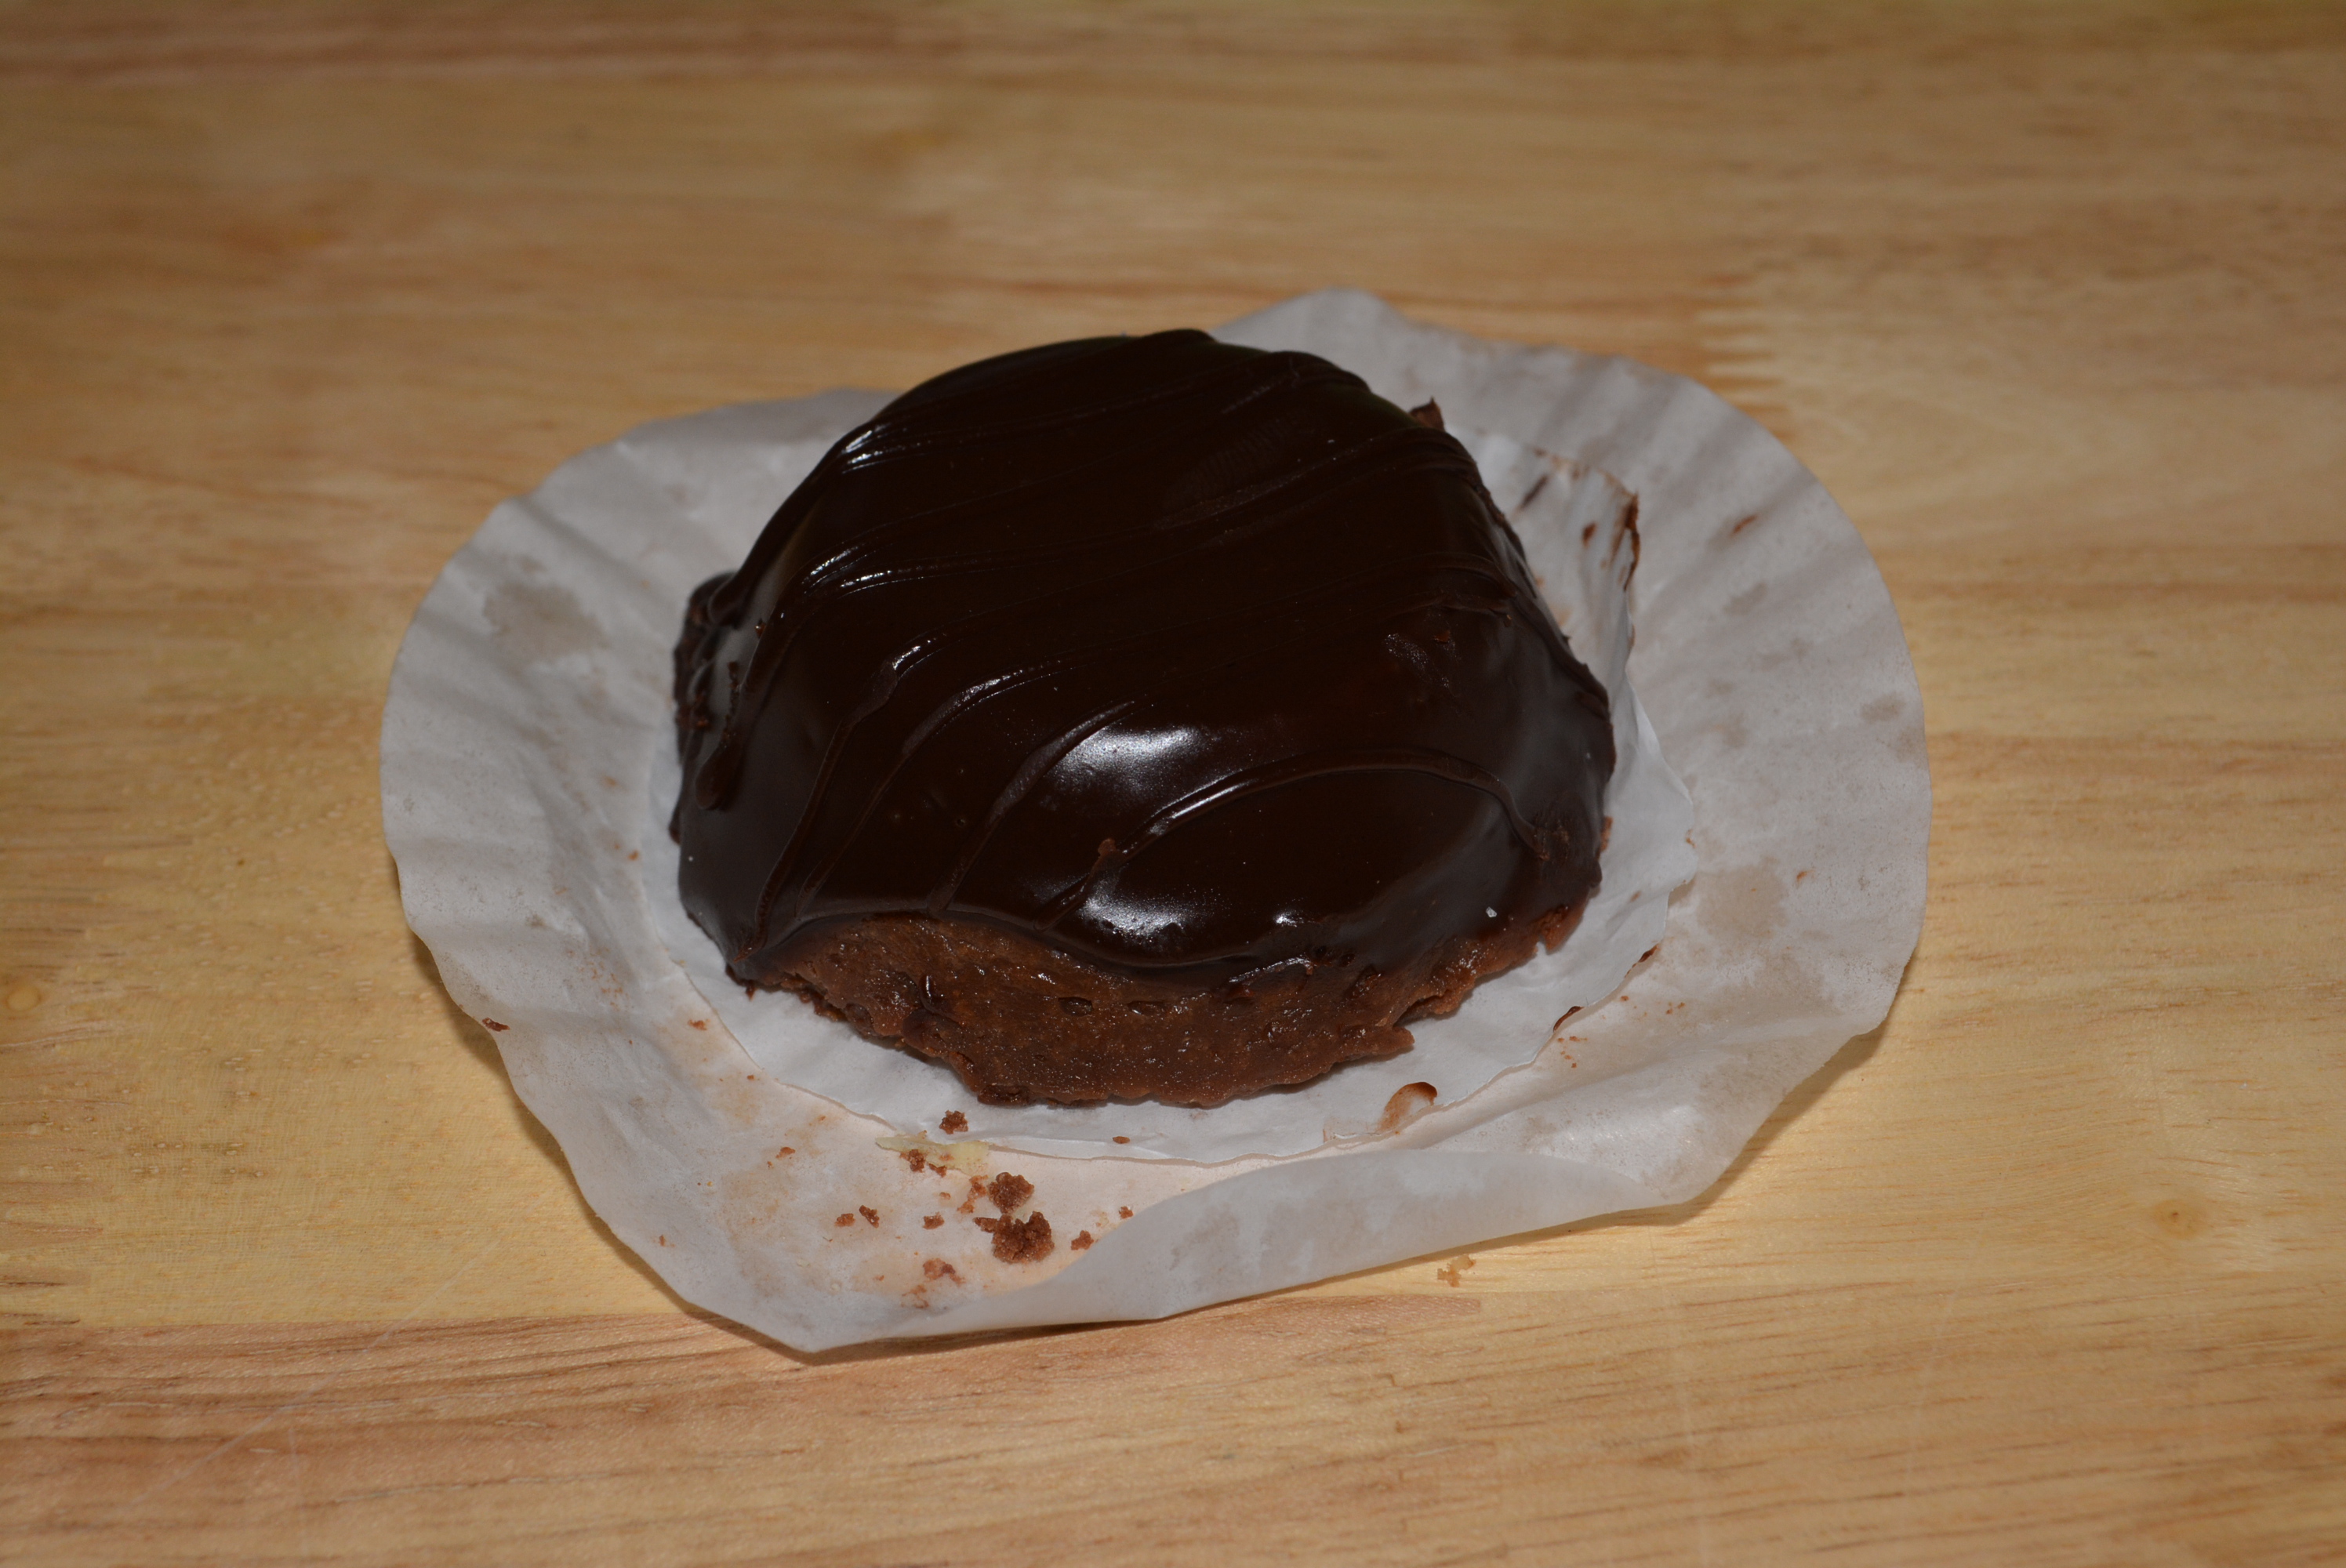
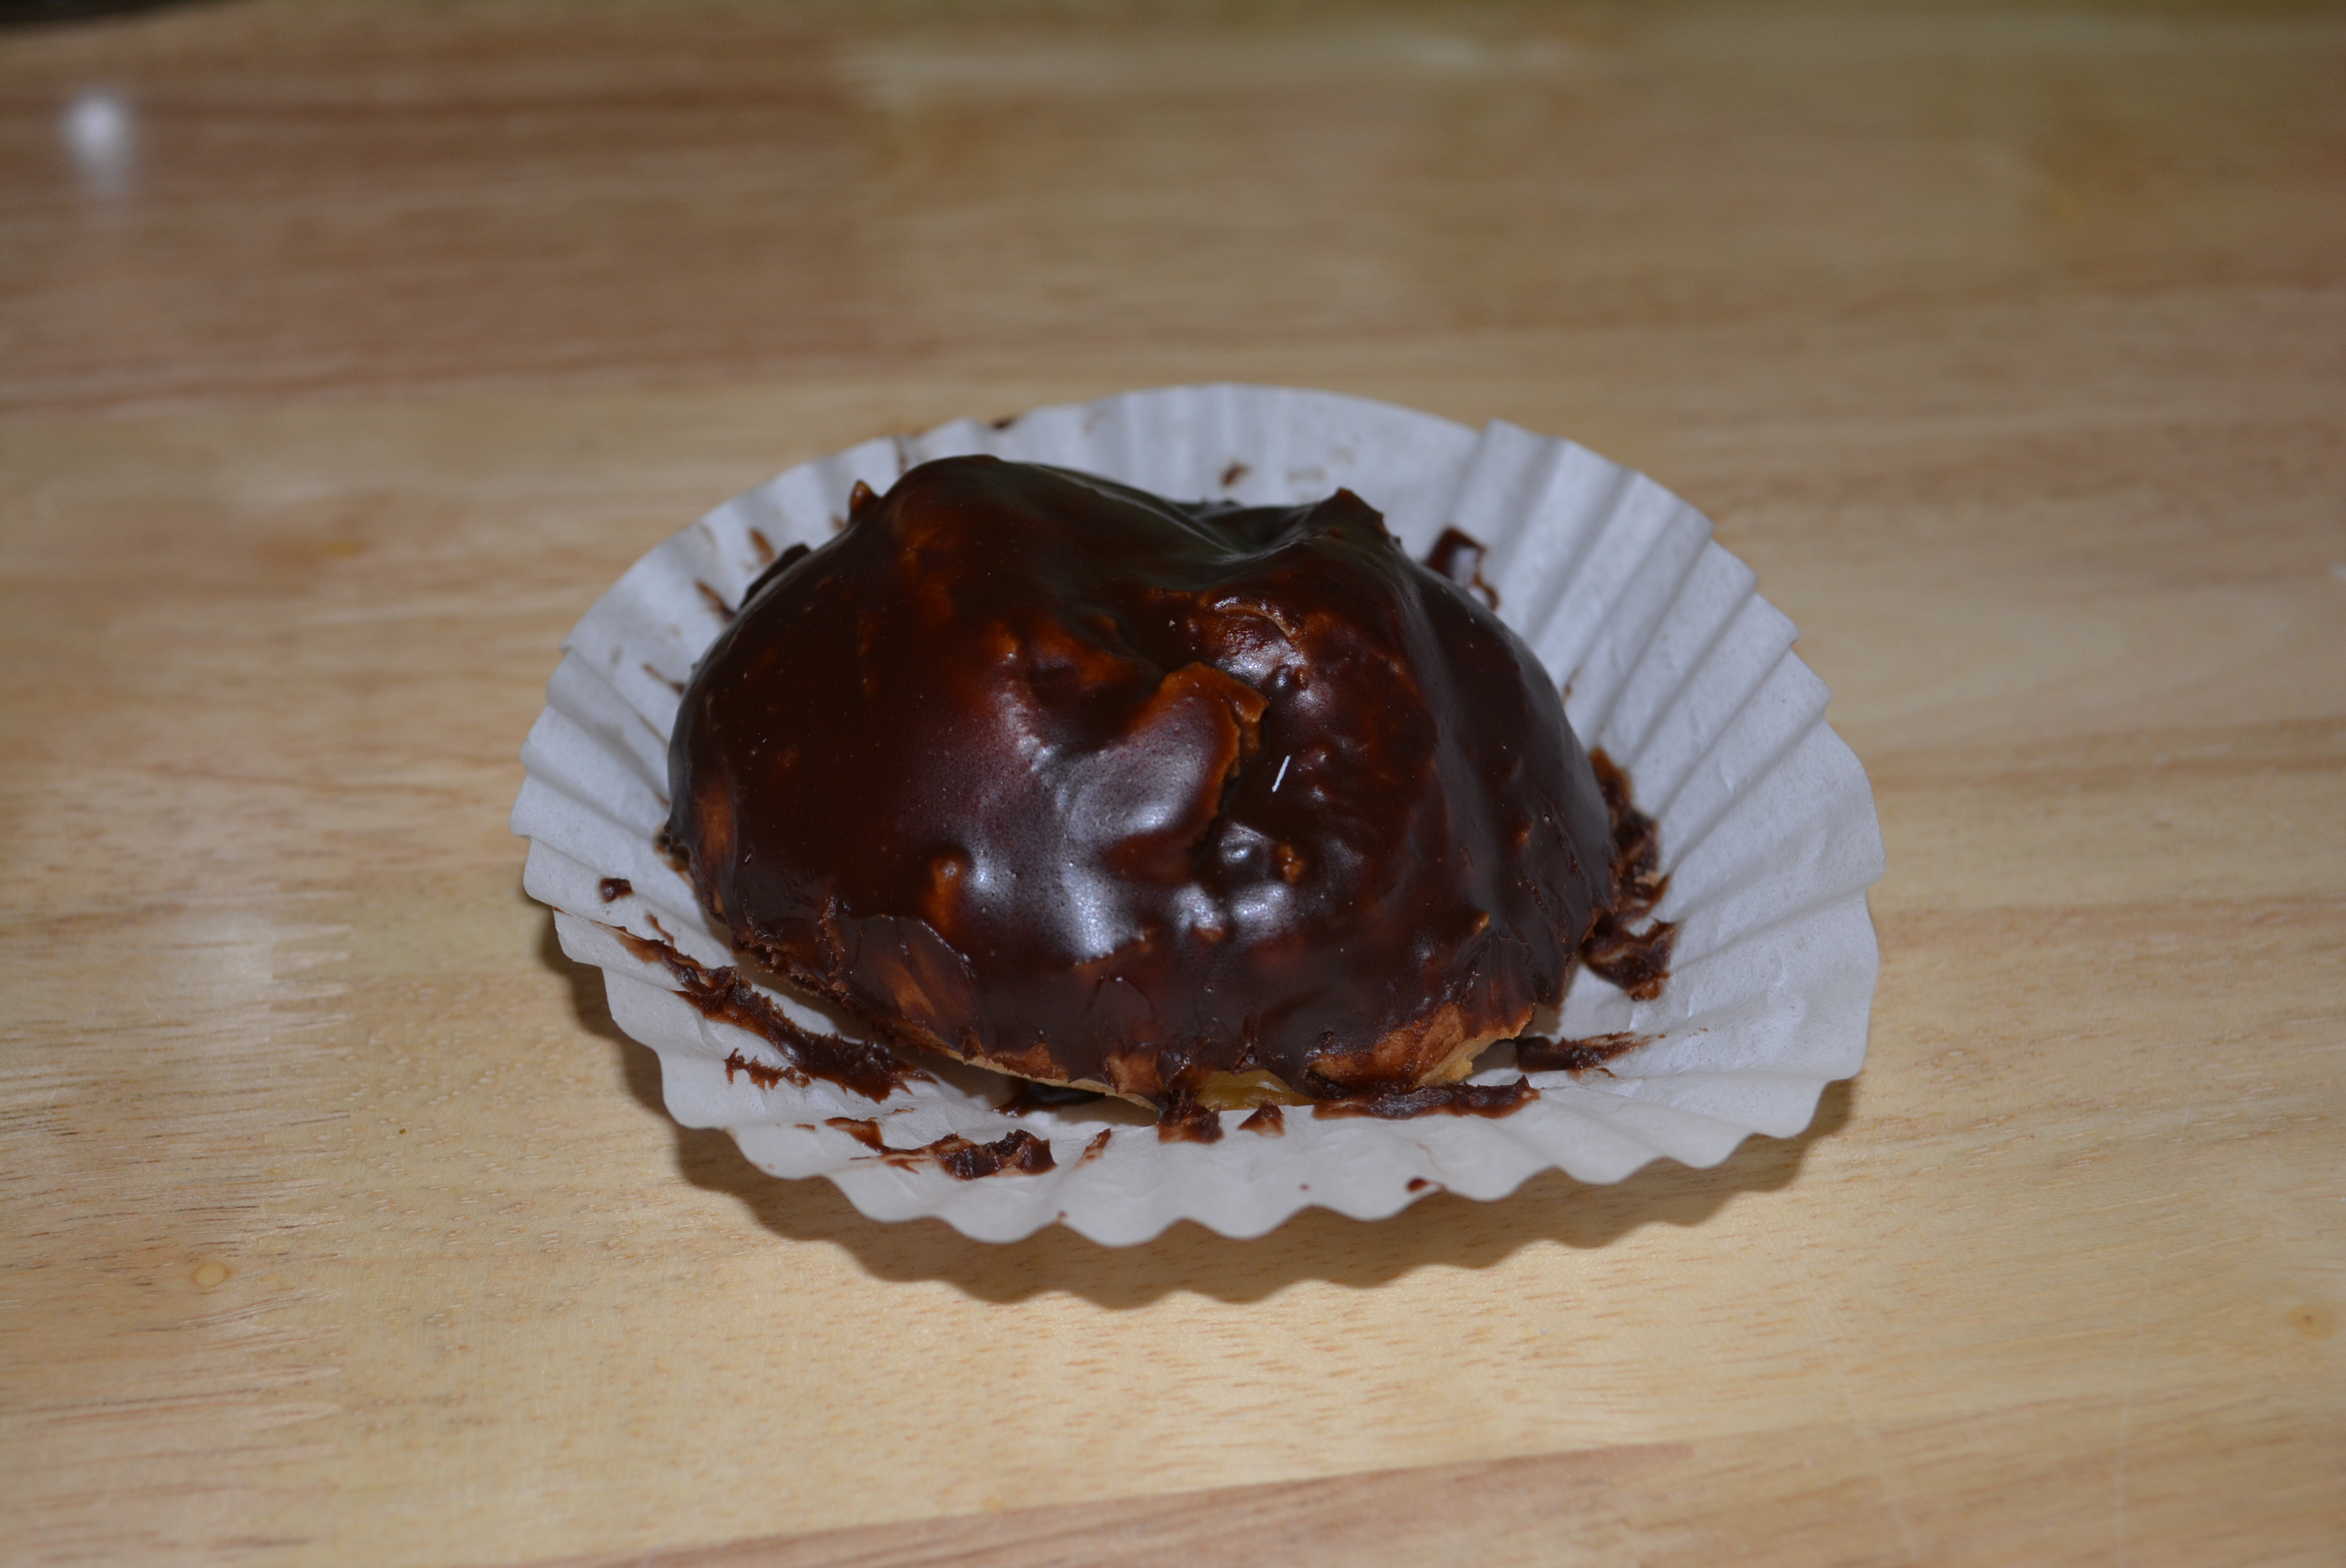
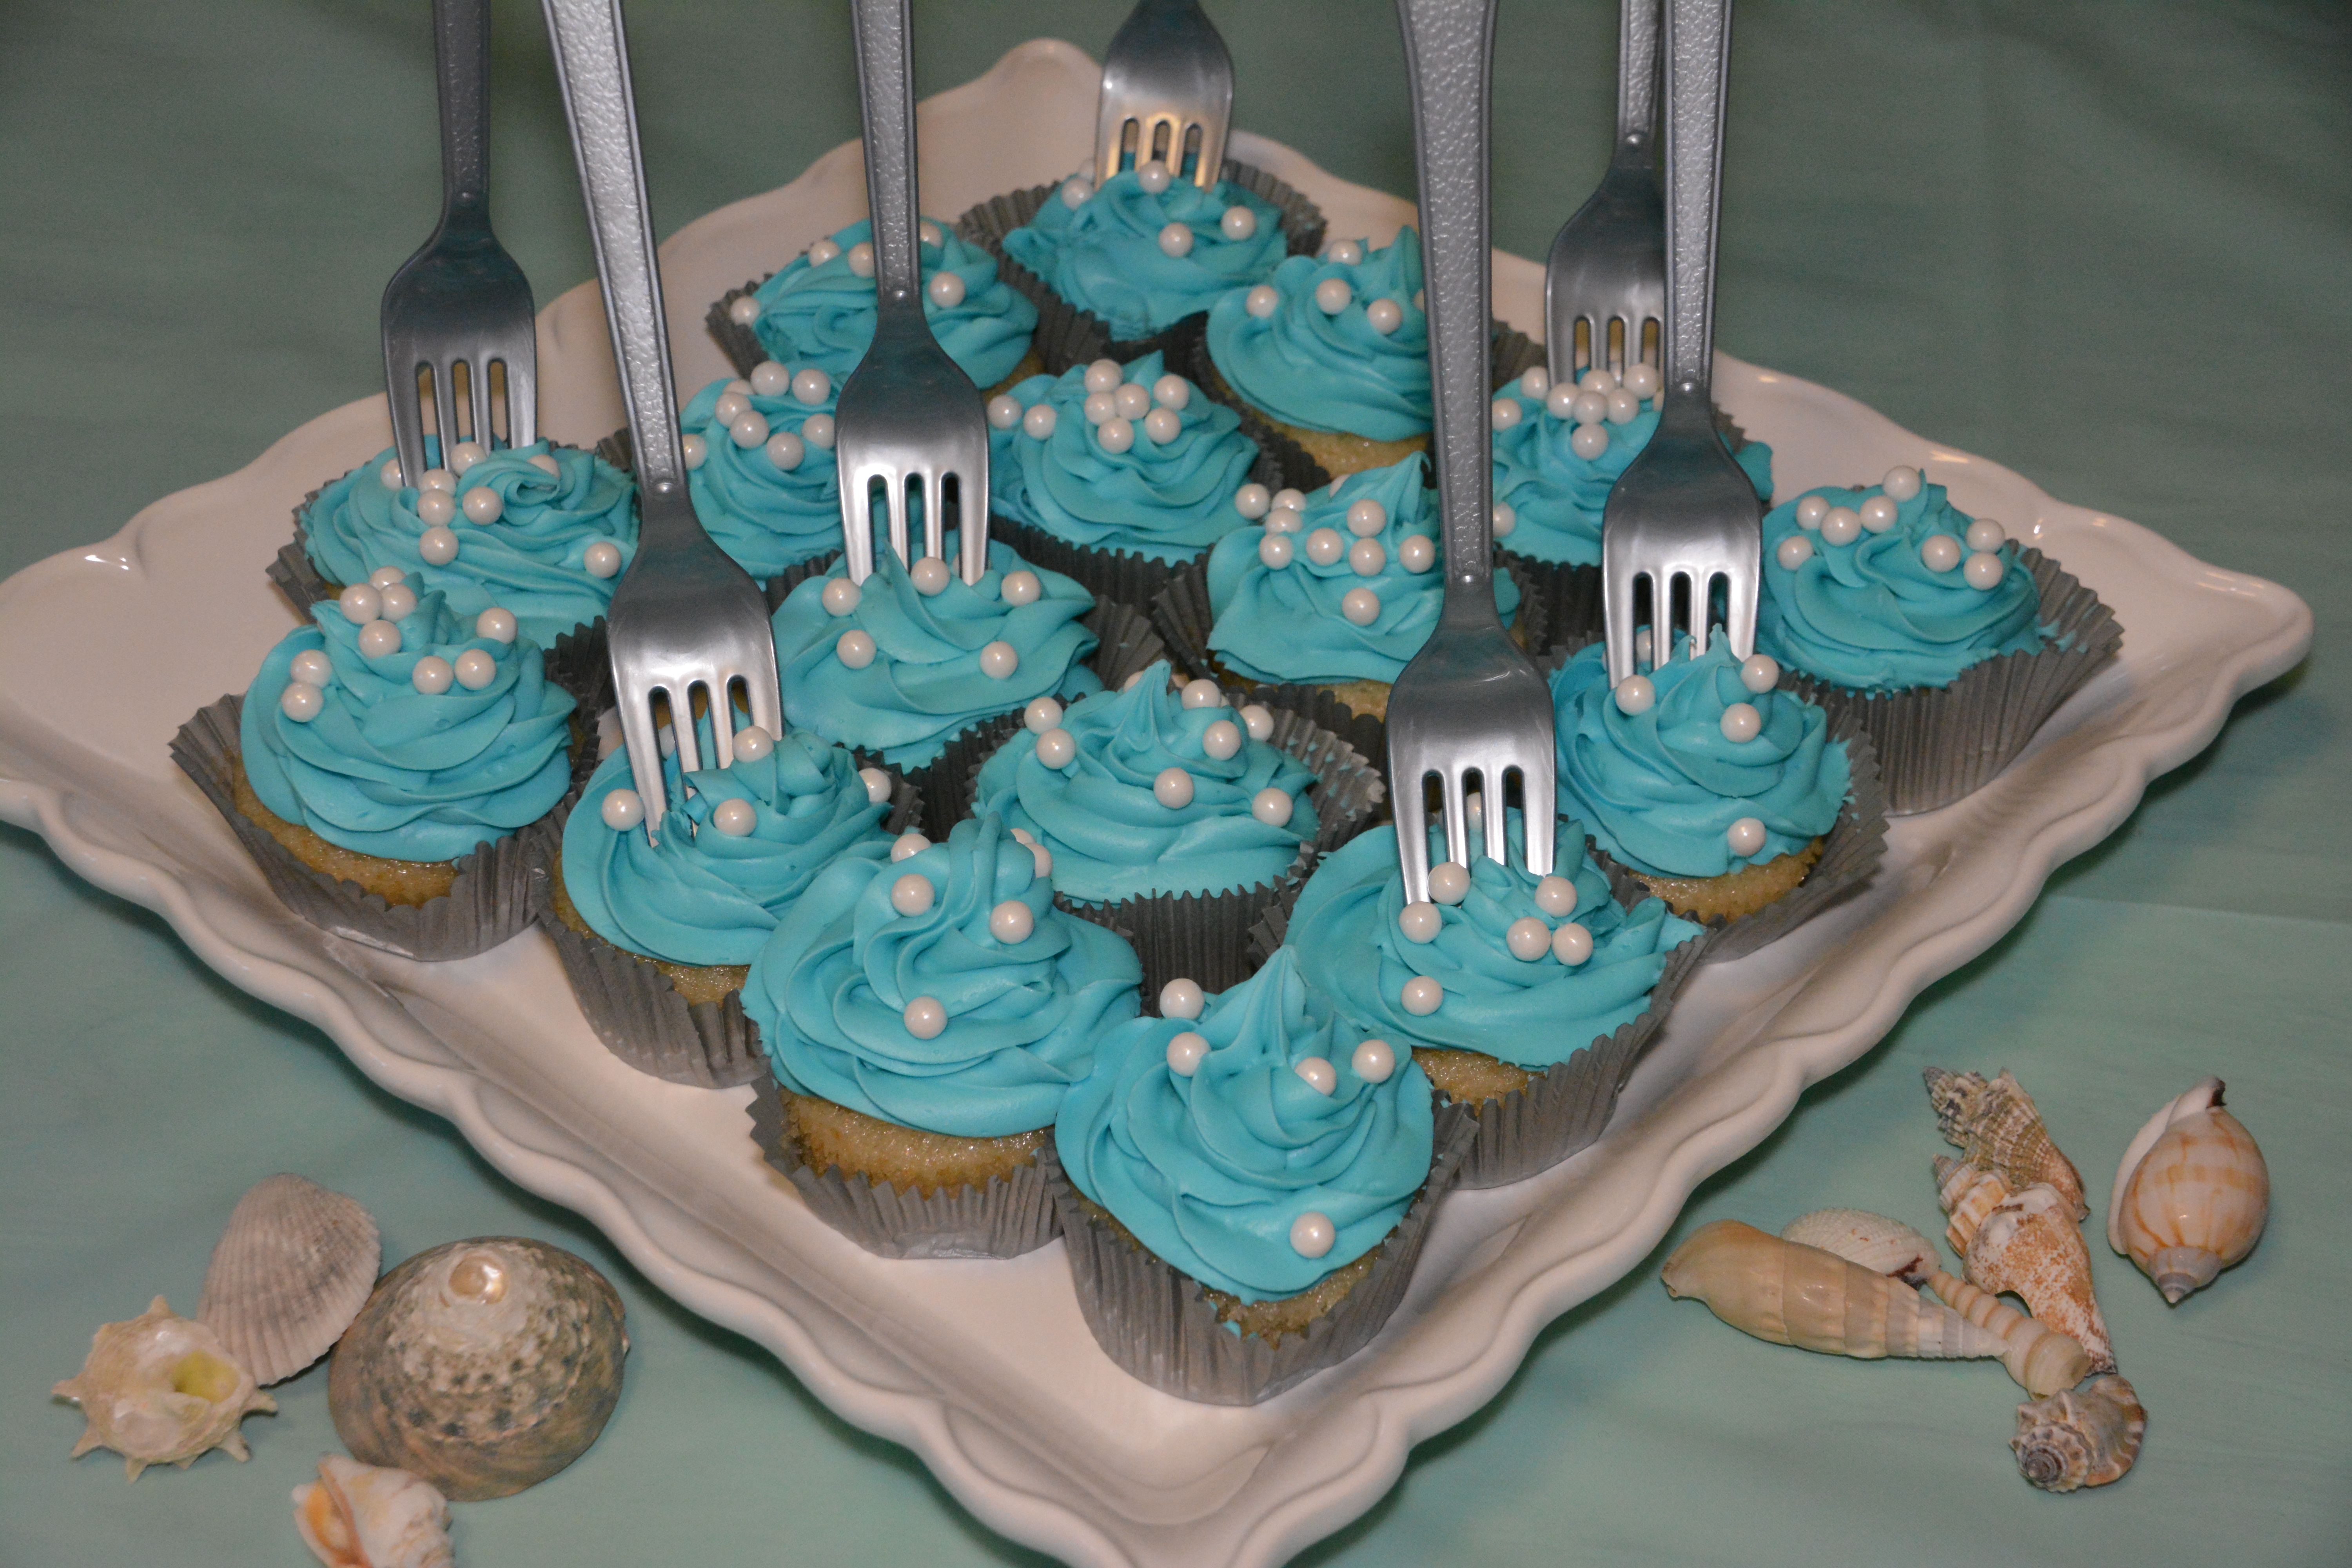
Now onto the sweets, the highlight at least I know for the birthday girl. First up, Mommy made gluten free cupcakes, actually everything free, decorated with love, pearls, and dinglehoppers of course. Even though my little girl can eat gluten, all baking in our house is now strictly gluten free. I on many a holiday and birthday watched the dust from cake mixes or regular flour fly up in the air and I literally cringed thinking about where it was landing, so no more gluten baked goods around here. And with our resident allergy nephew in attendance I decided to just go all the way and make them everything free (gluten, milk, egg, and nuts), And I must say they looked and tasted great thanks to Bob’s Red Mill vanilla cake mix and the applesauce/egg substitution.  3rdbday (1)

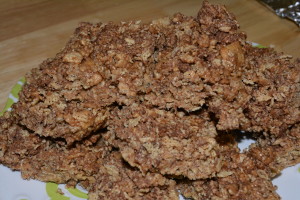
Thanks to Pillsbury Gluten Free Funfetti, Mommy and daughter baked some delicious cookies that we could add to the sweet table. This was my first trial with the new mix and I have to say these turned out delicious! They were soft and chewy and reminded me of their regular sugar cookie mix from many years ago. 3rdbday (4)

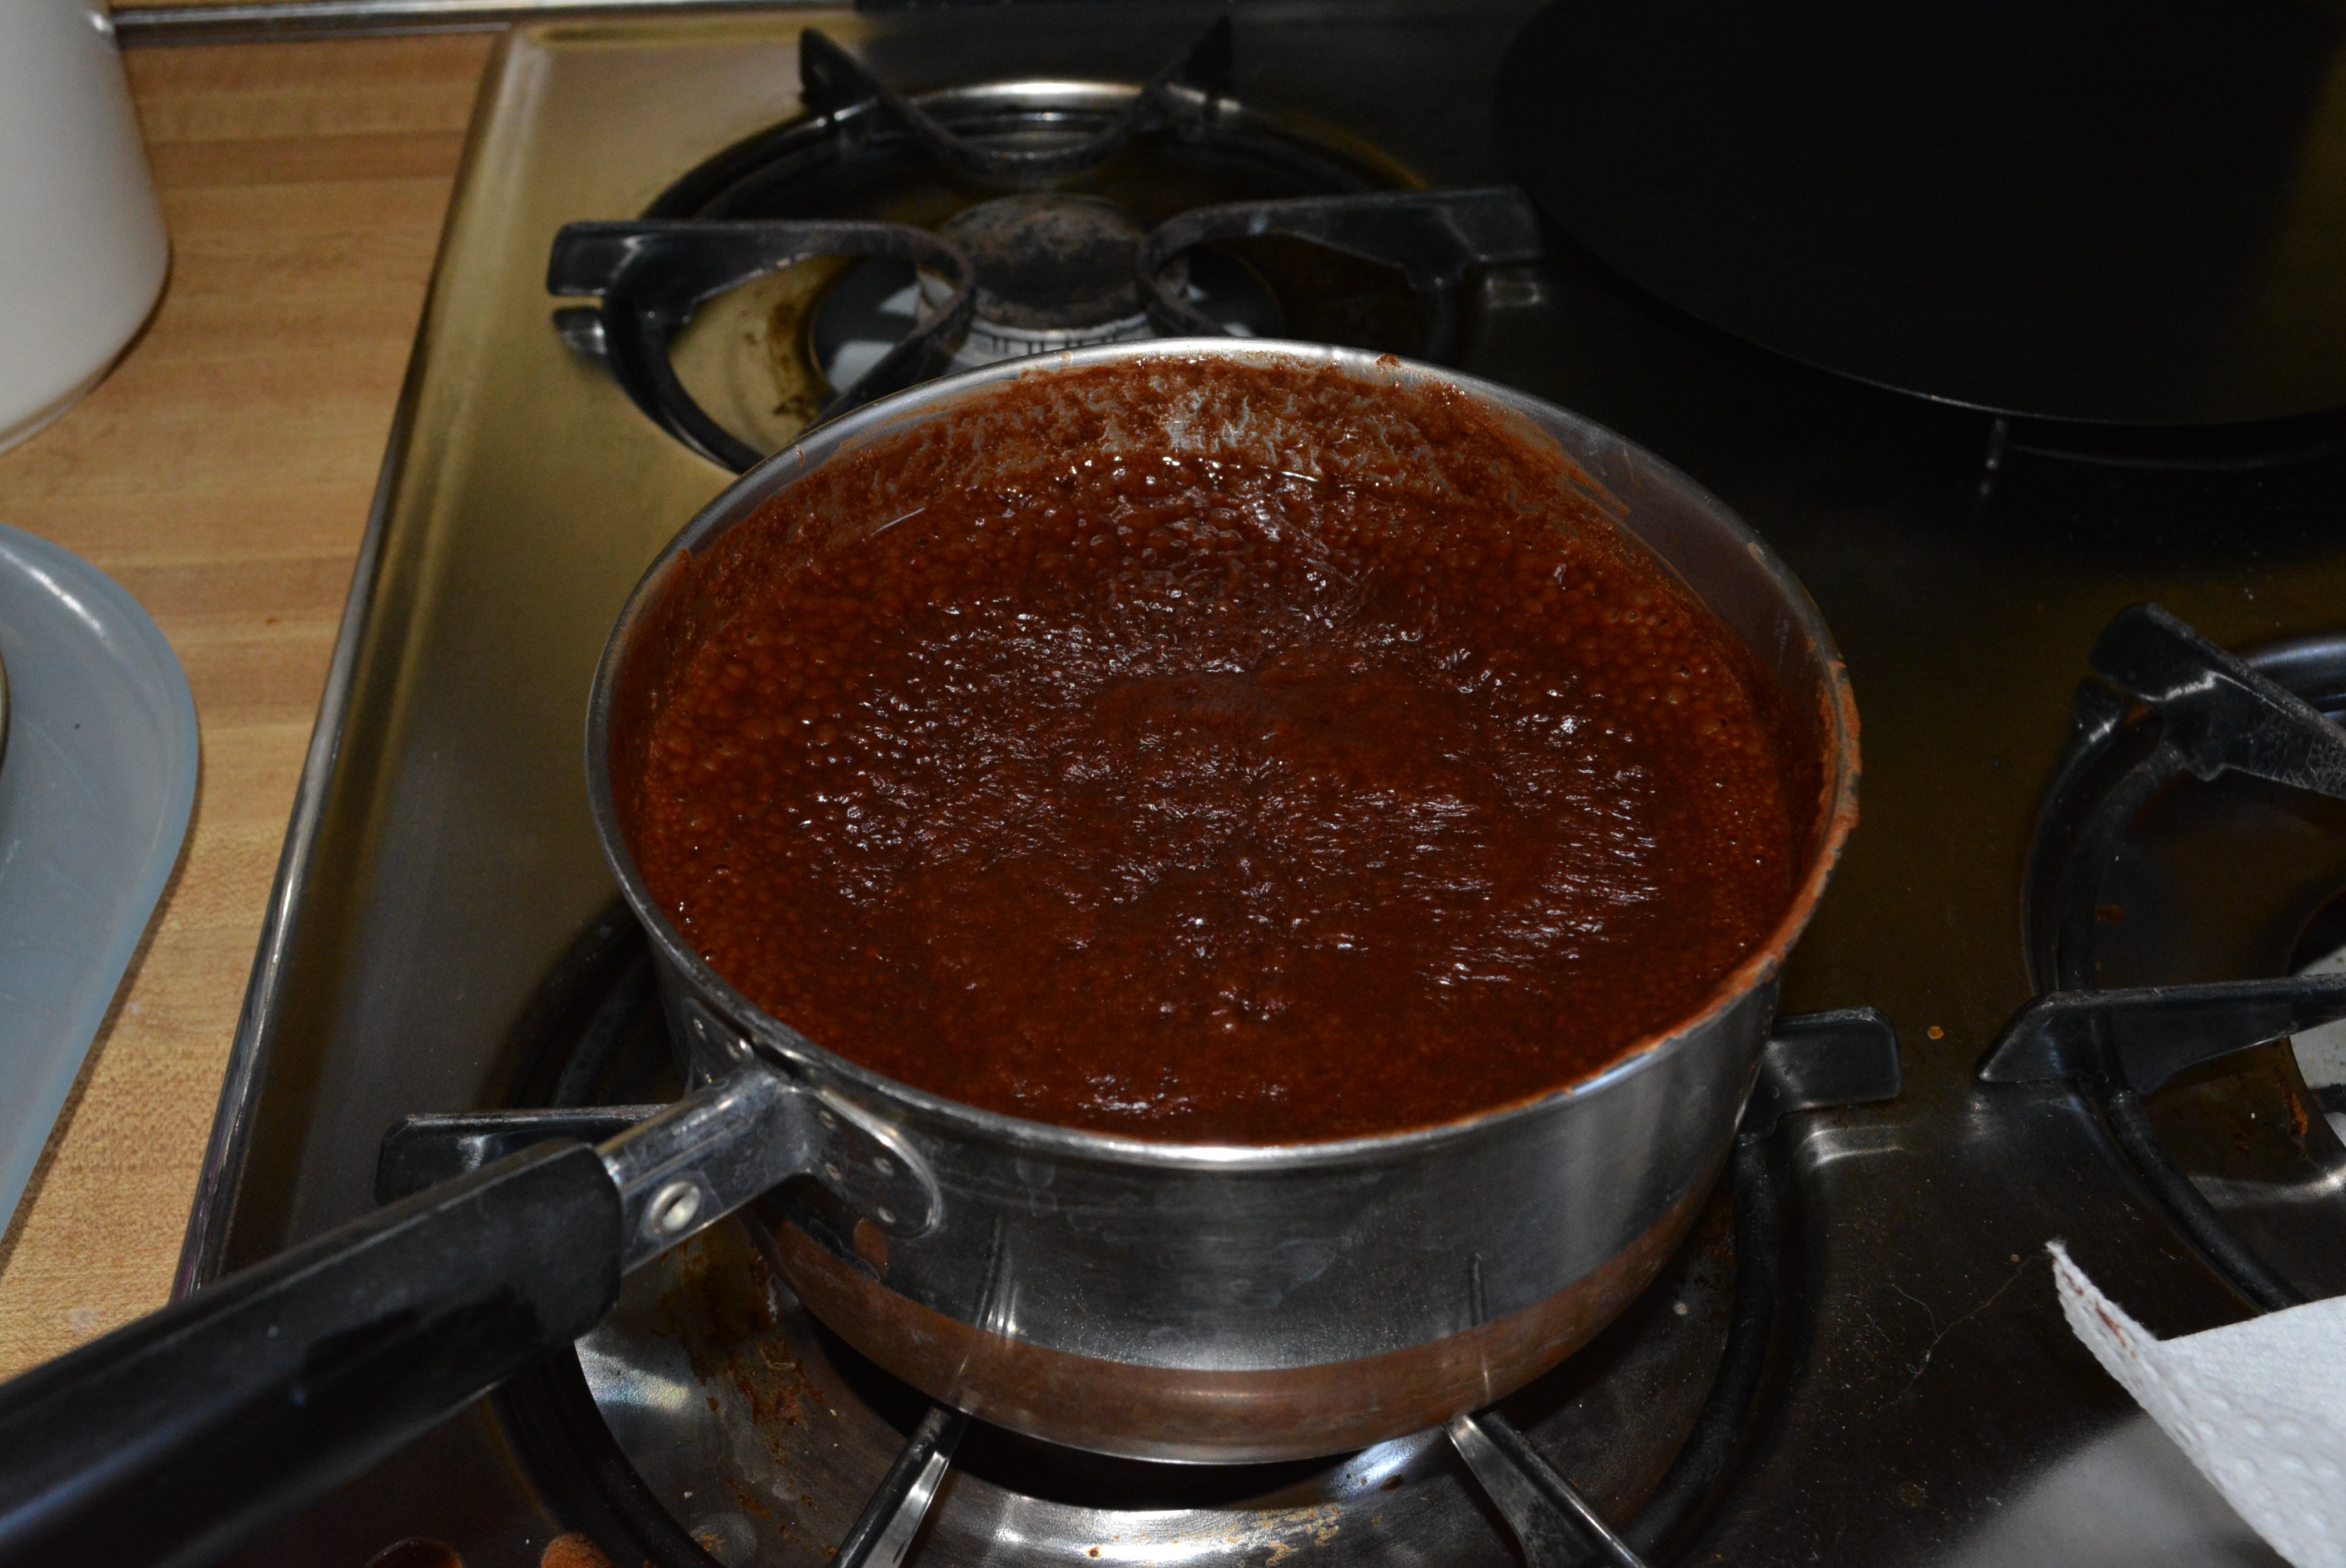
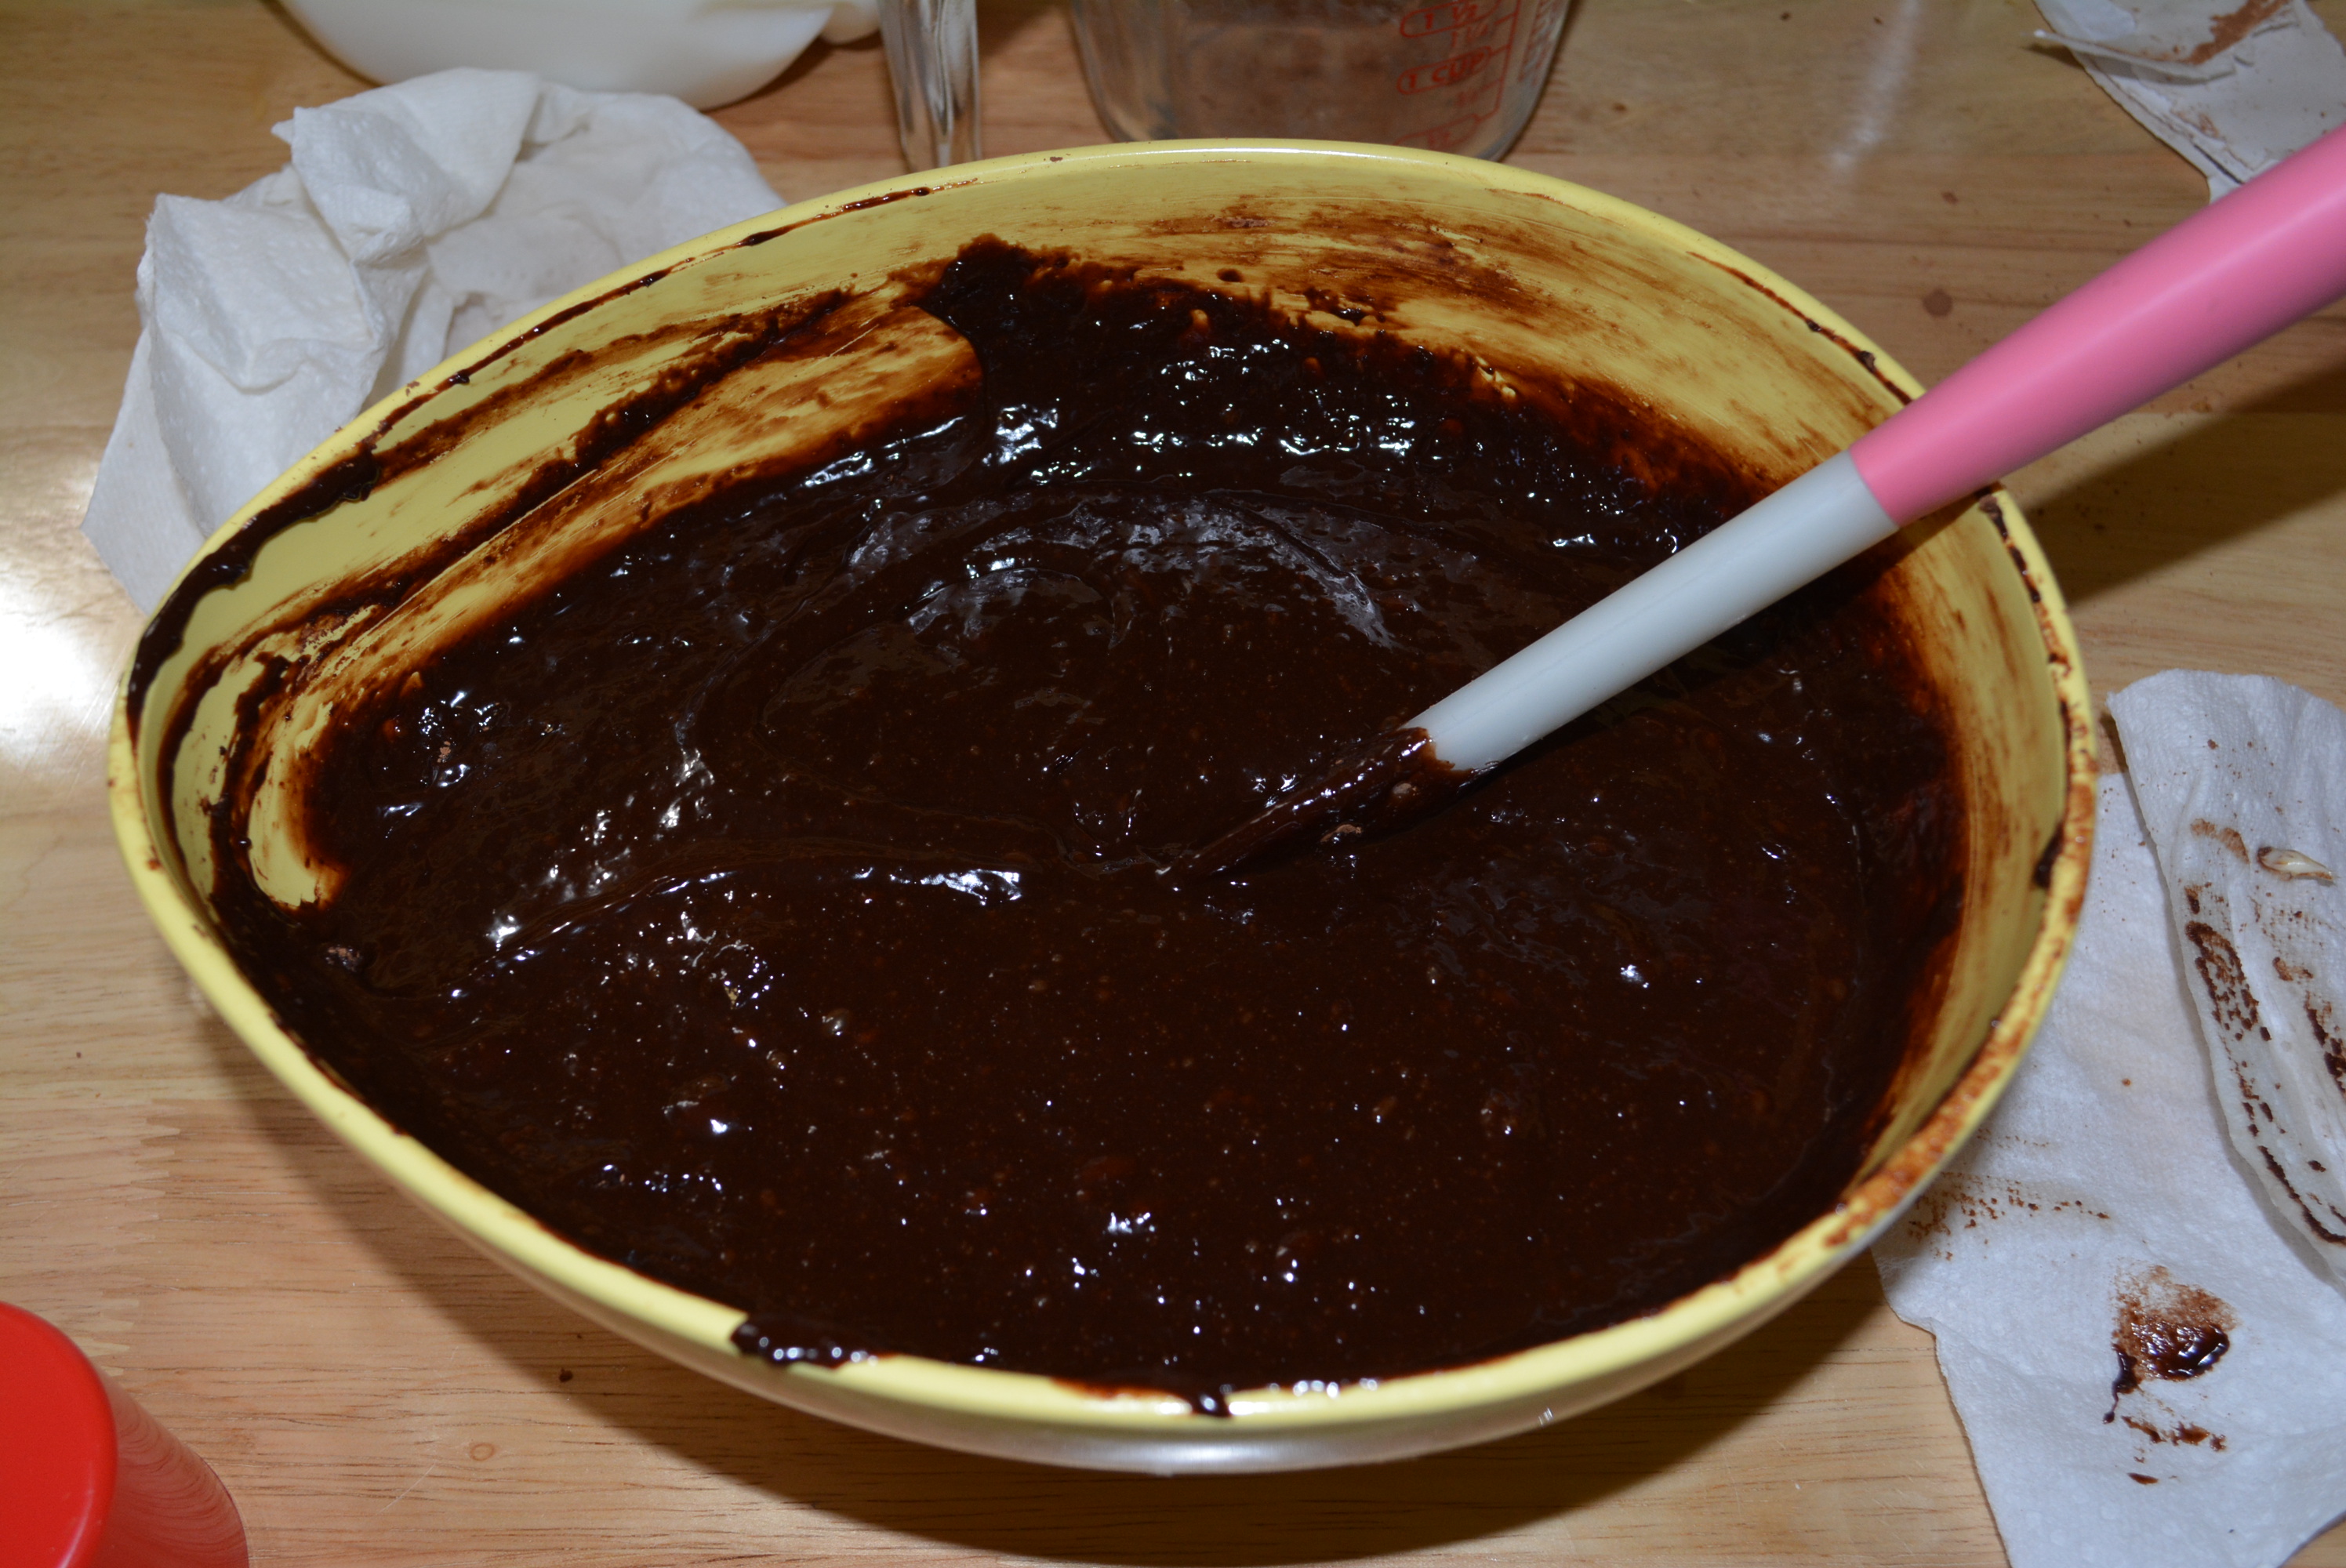
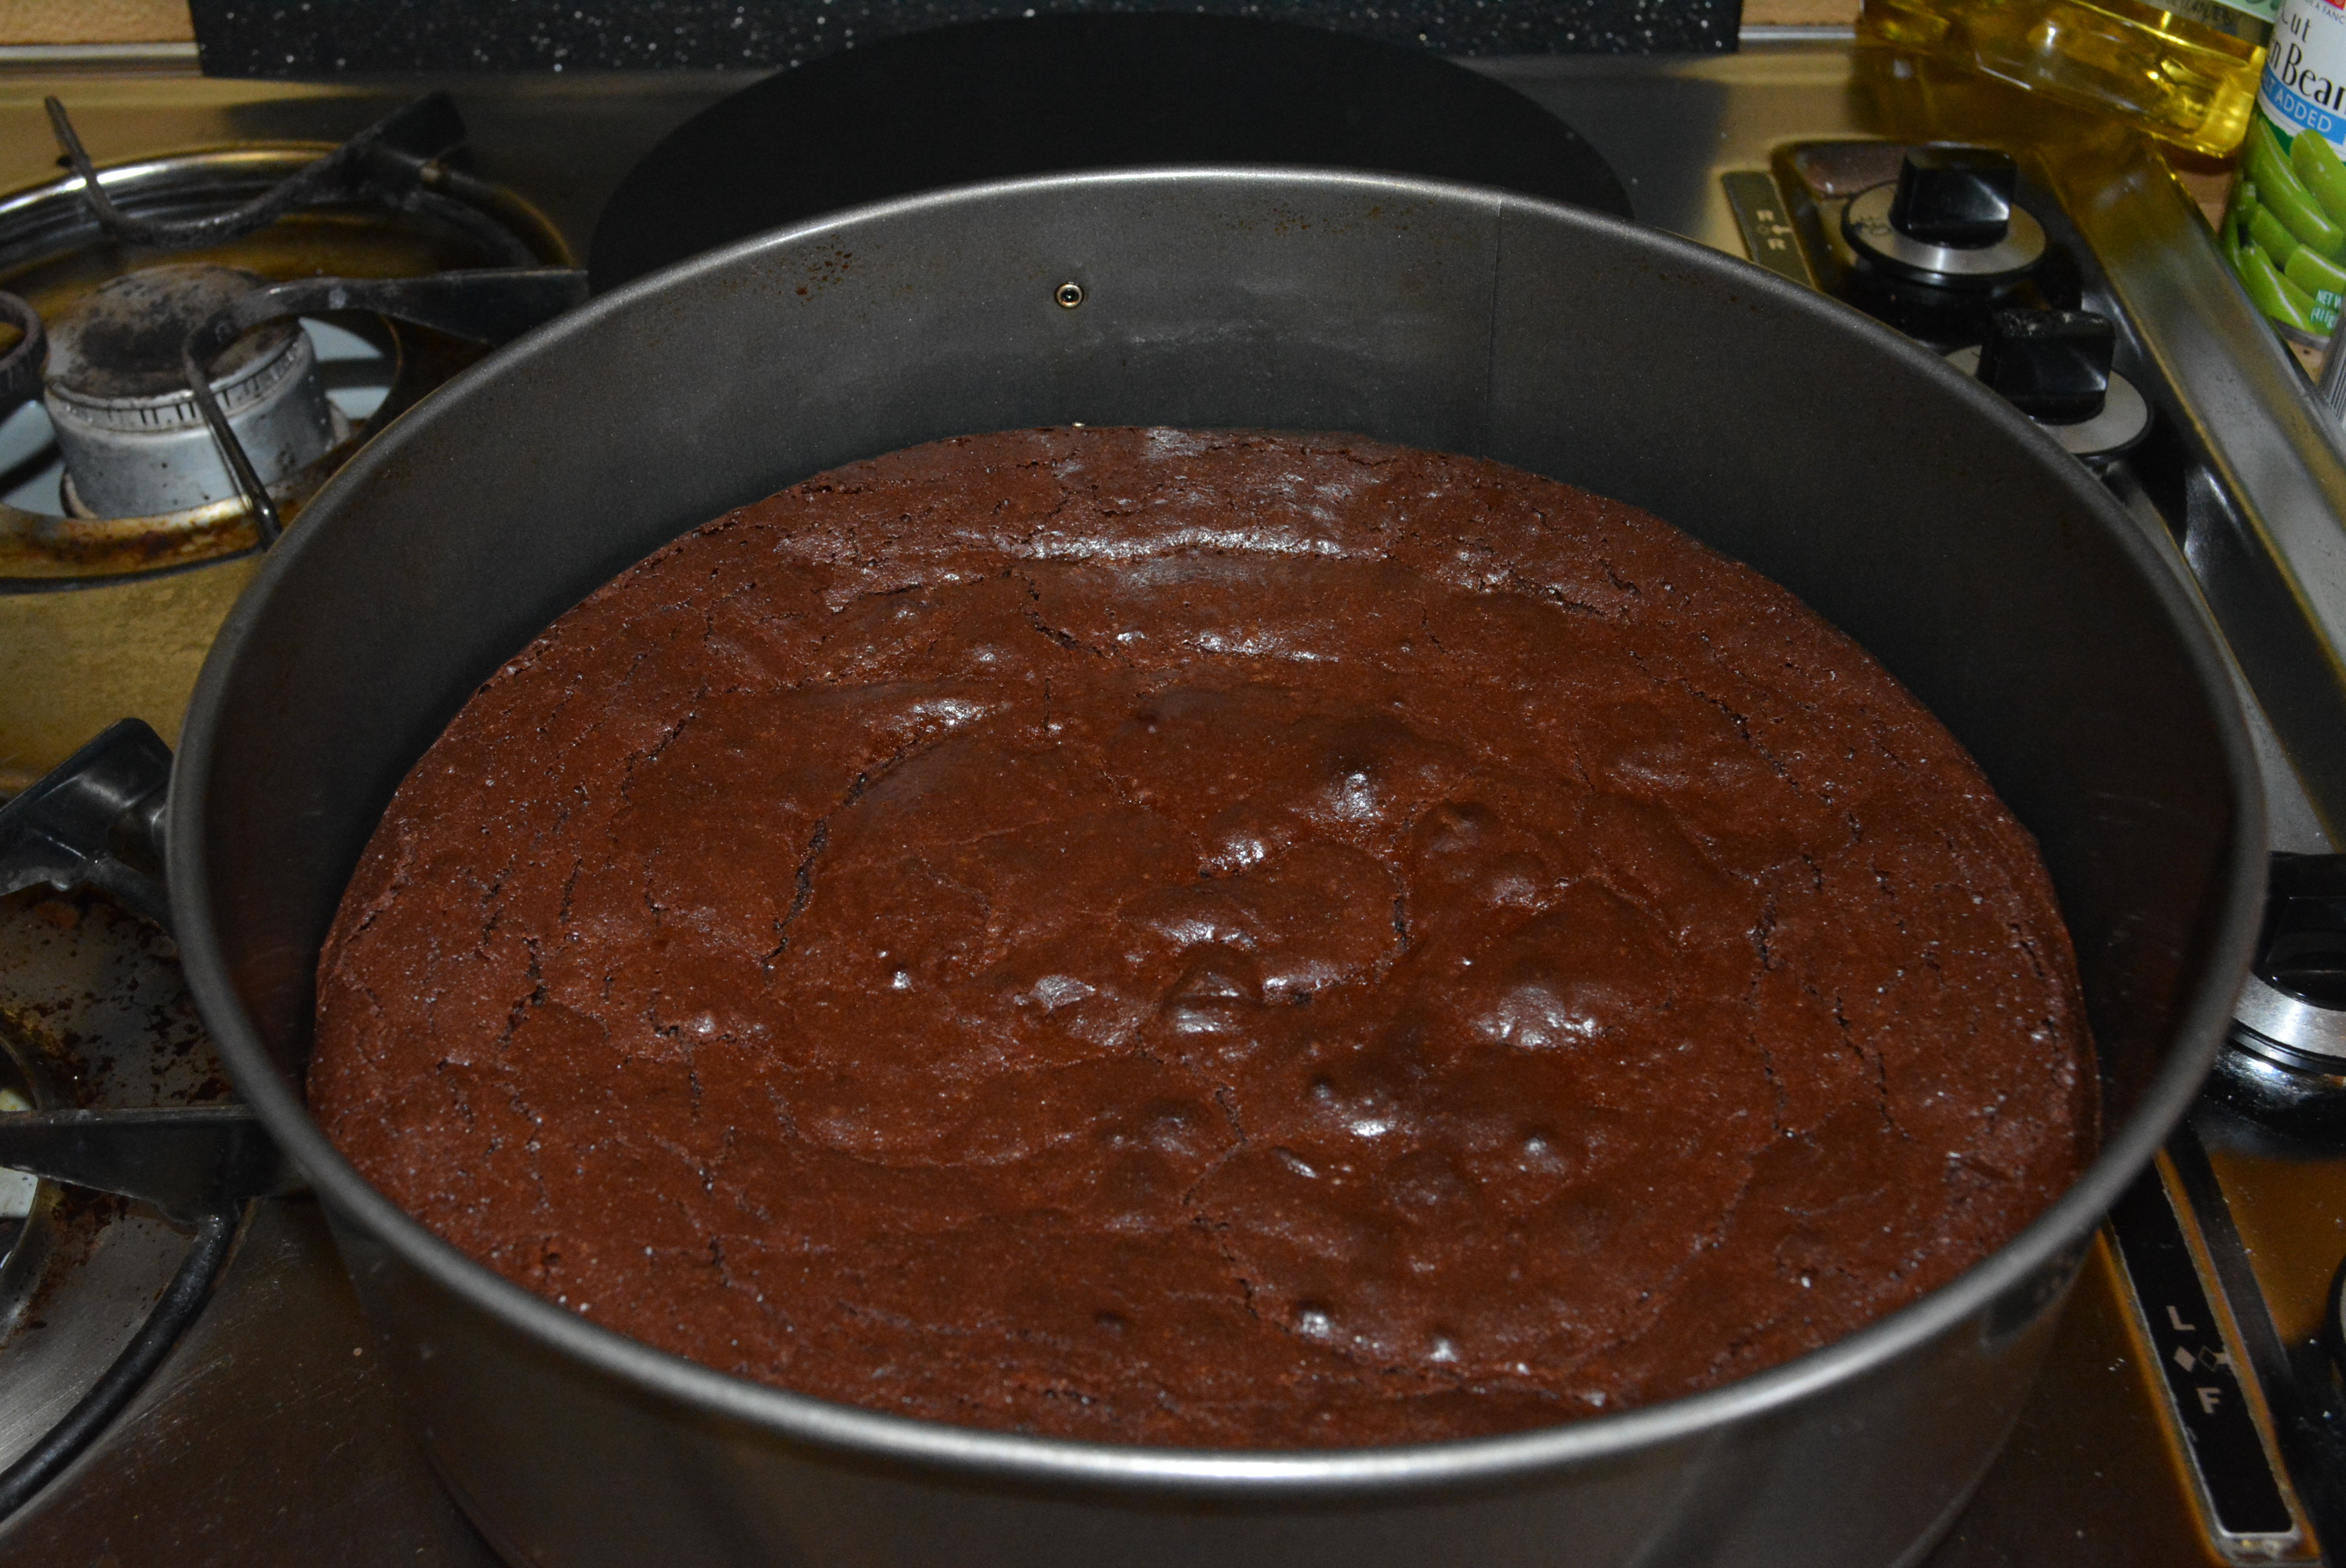
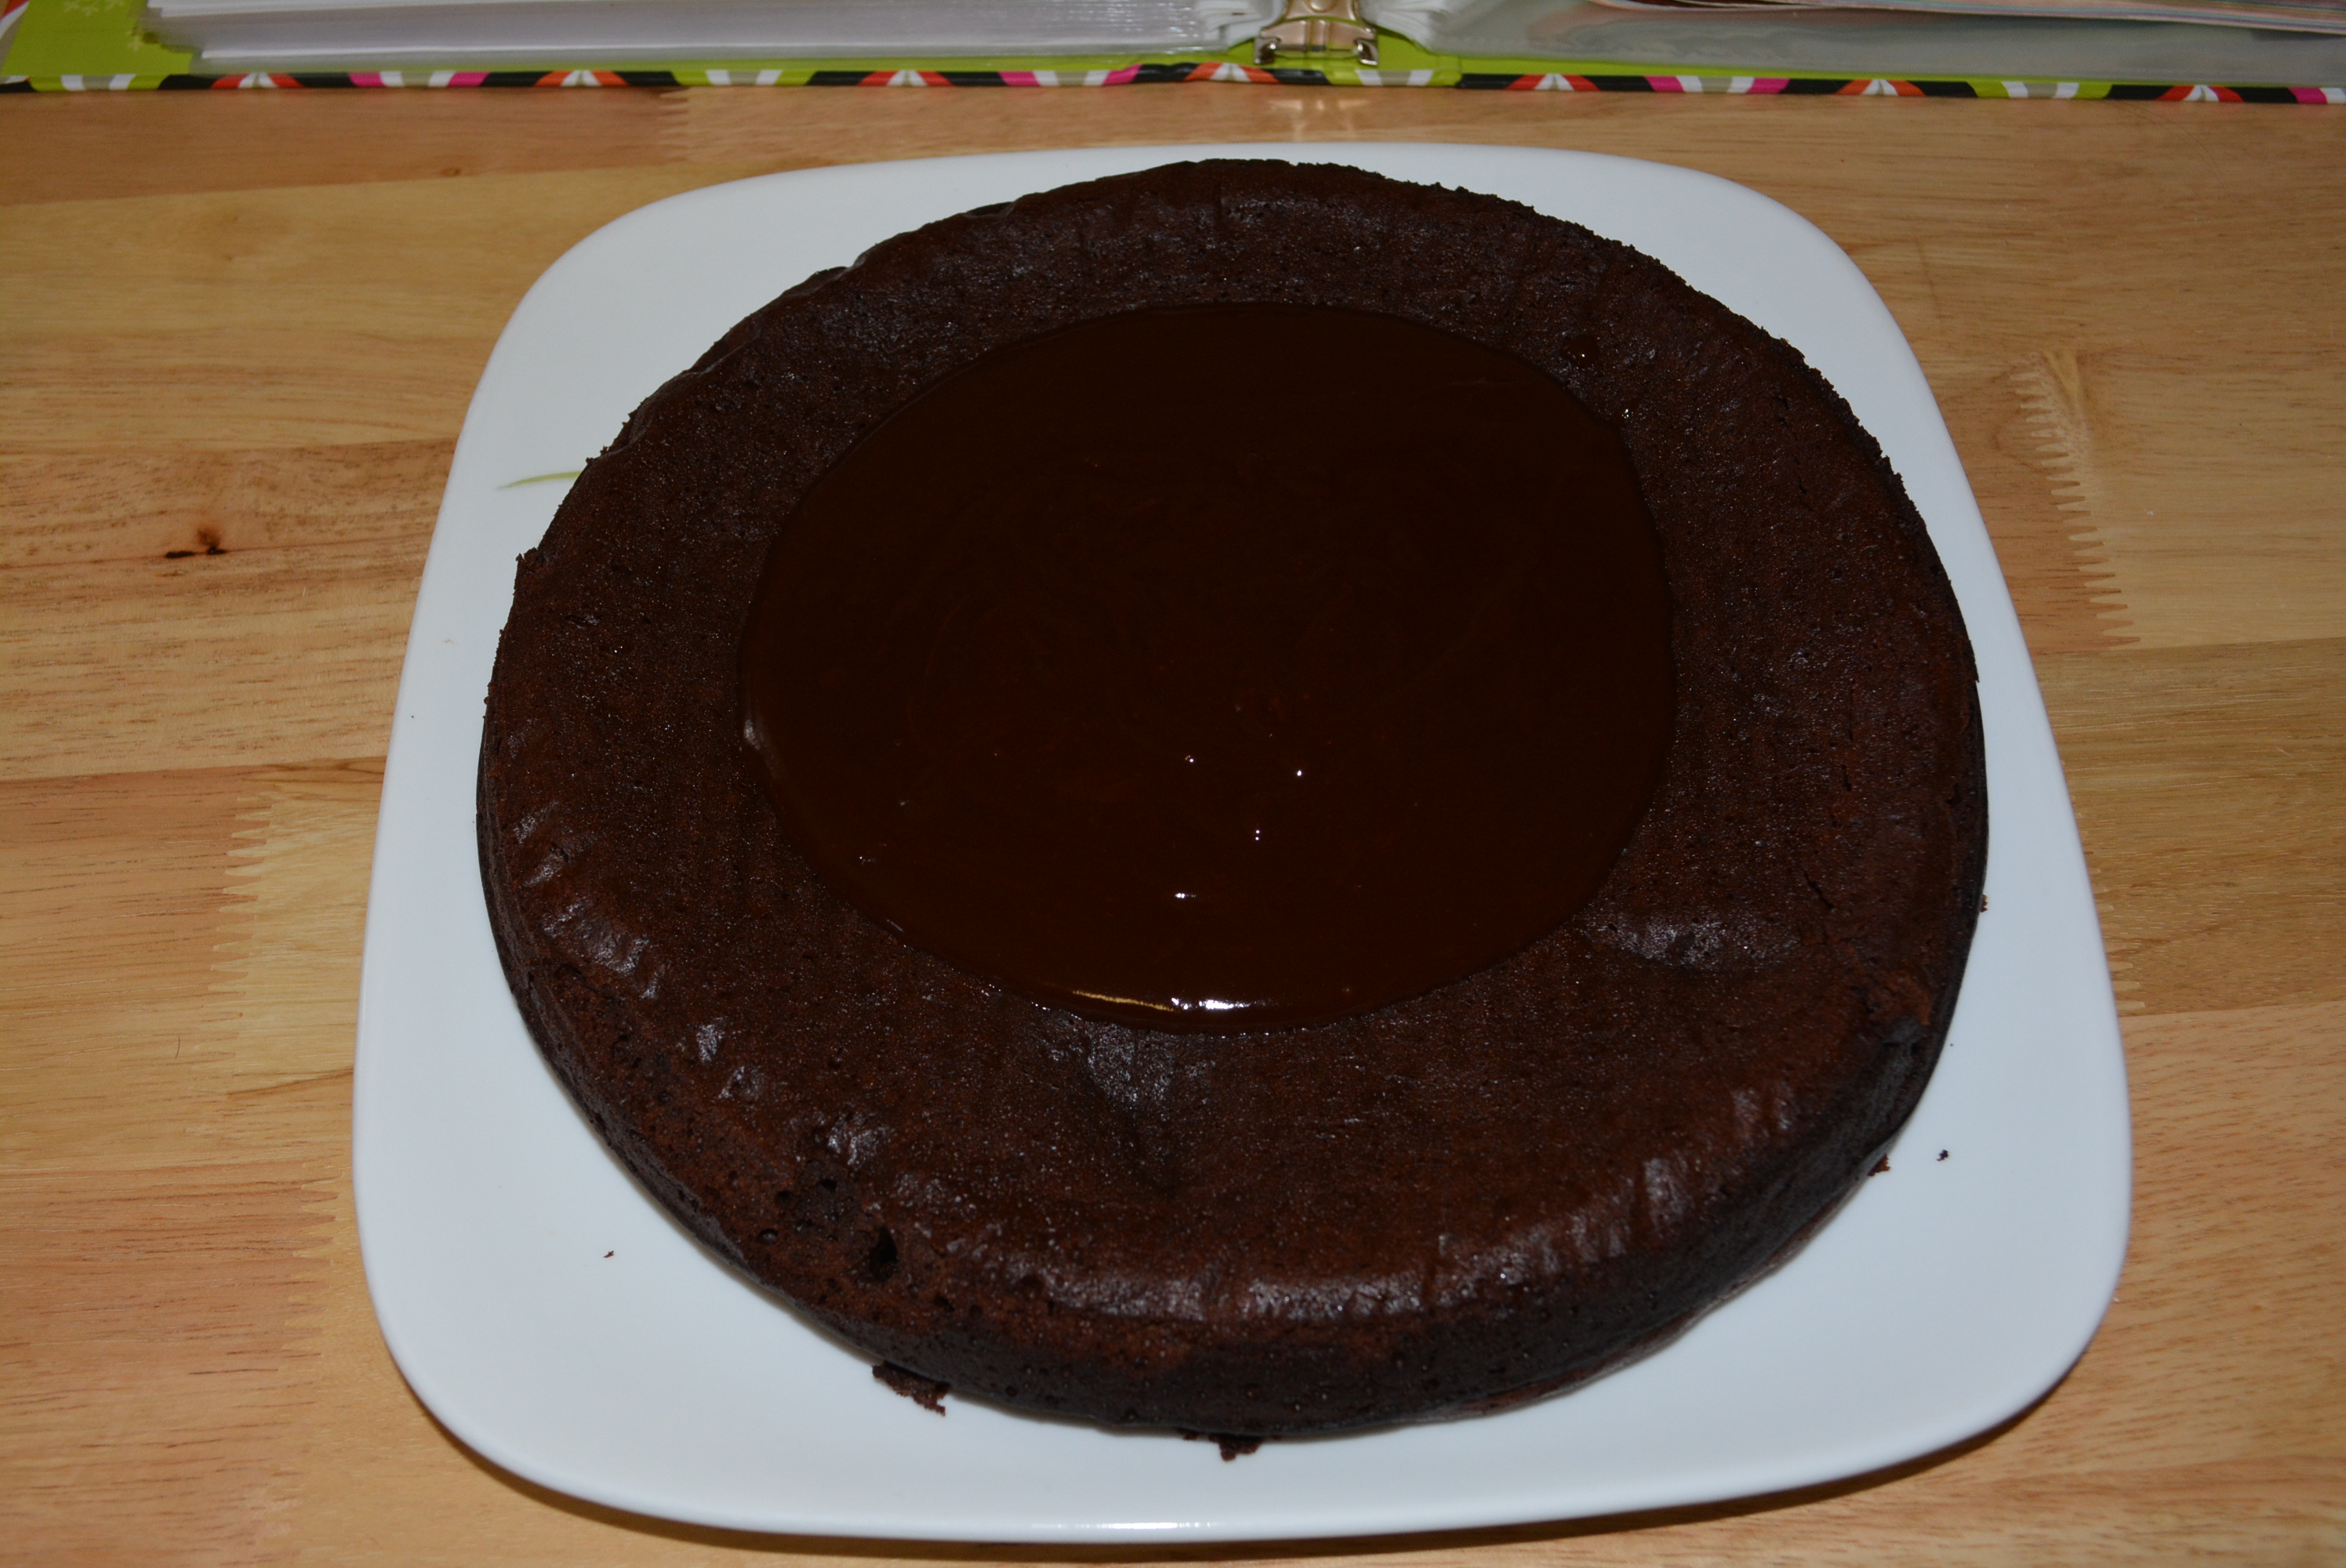
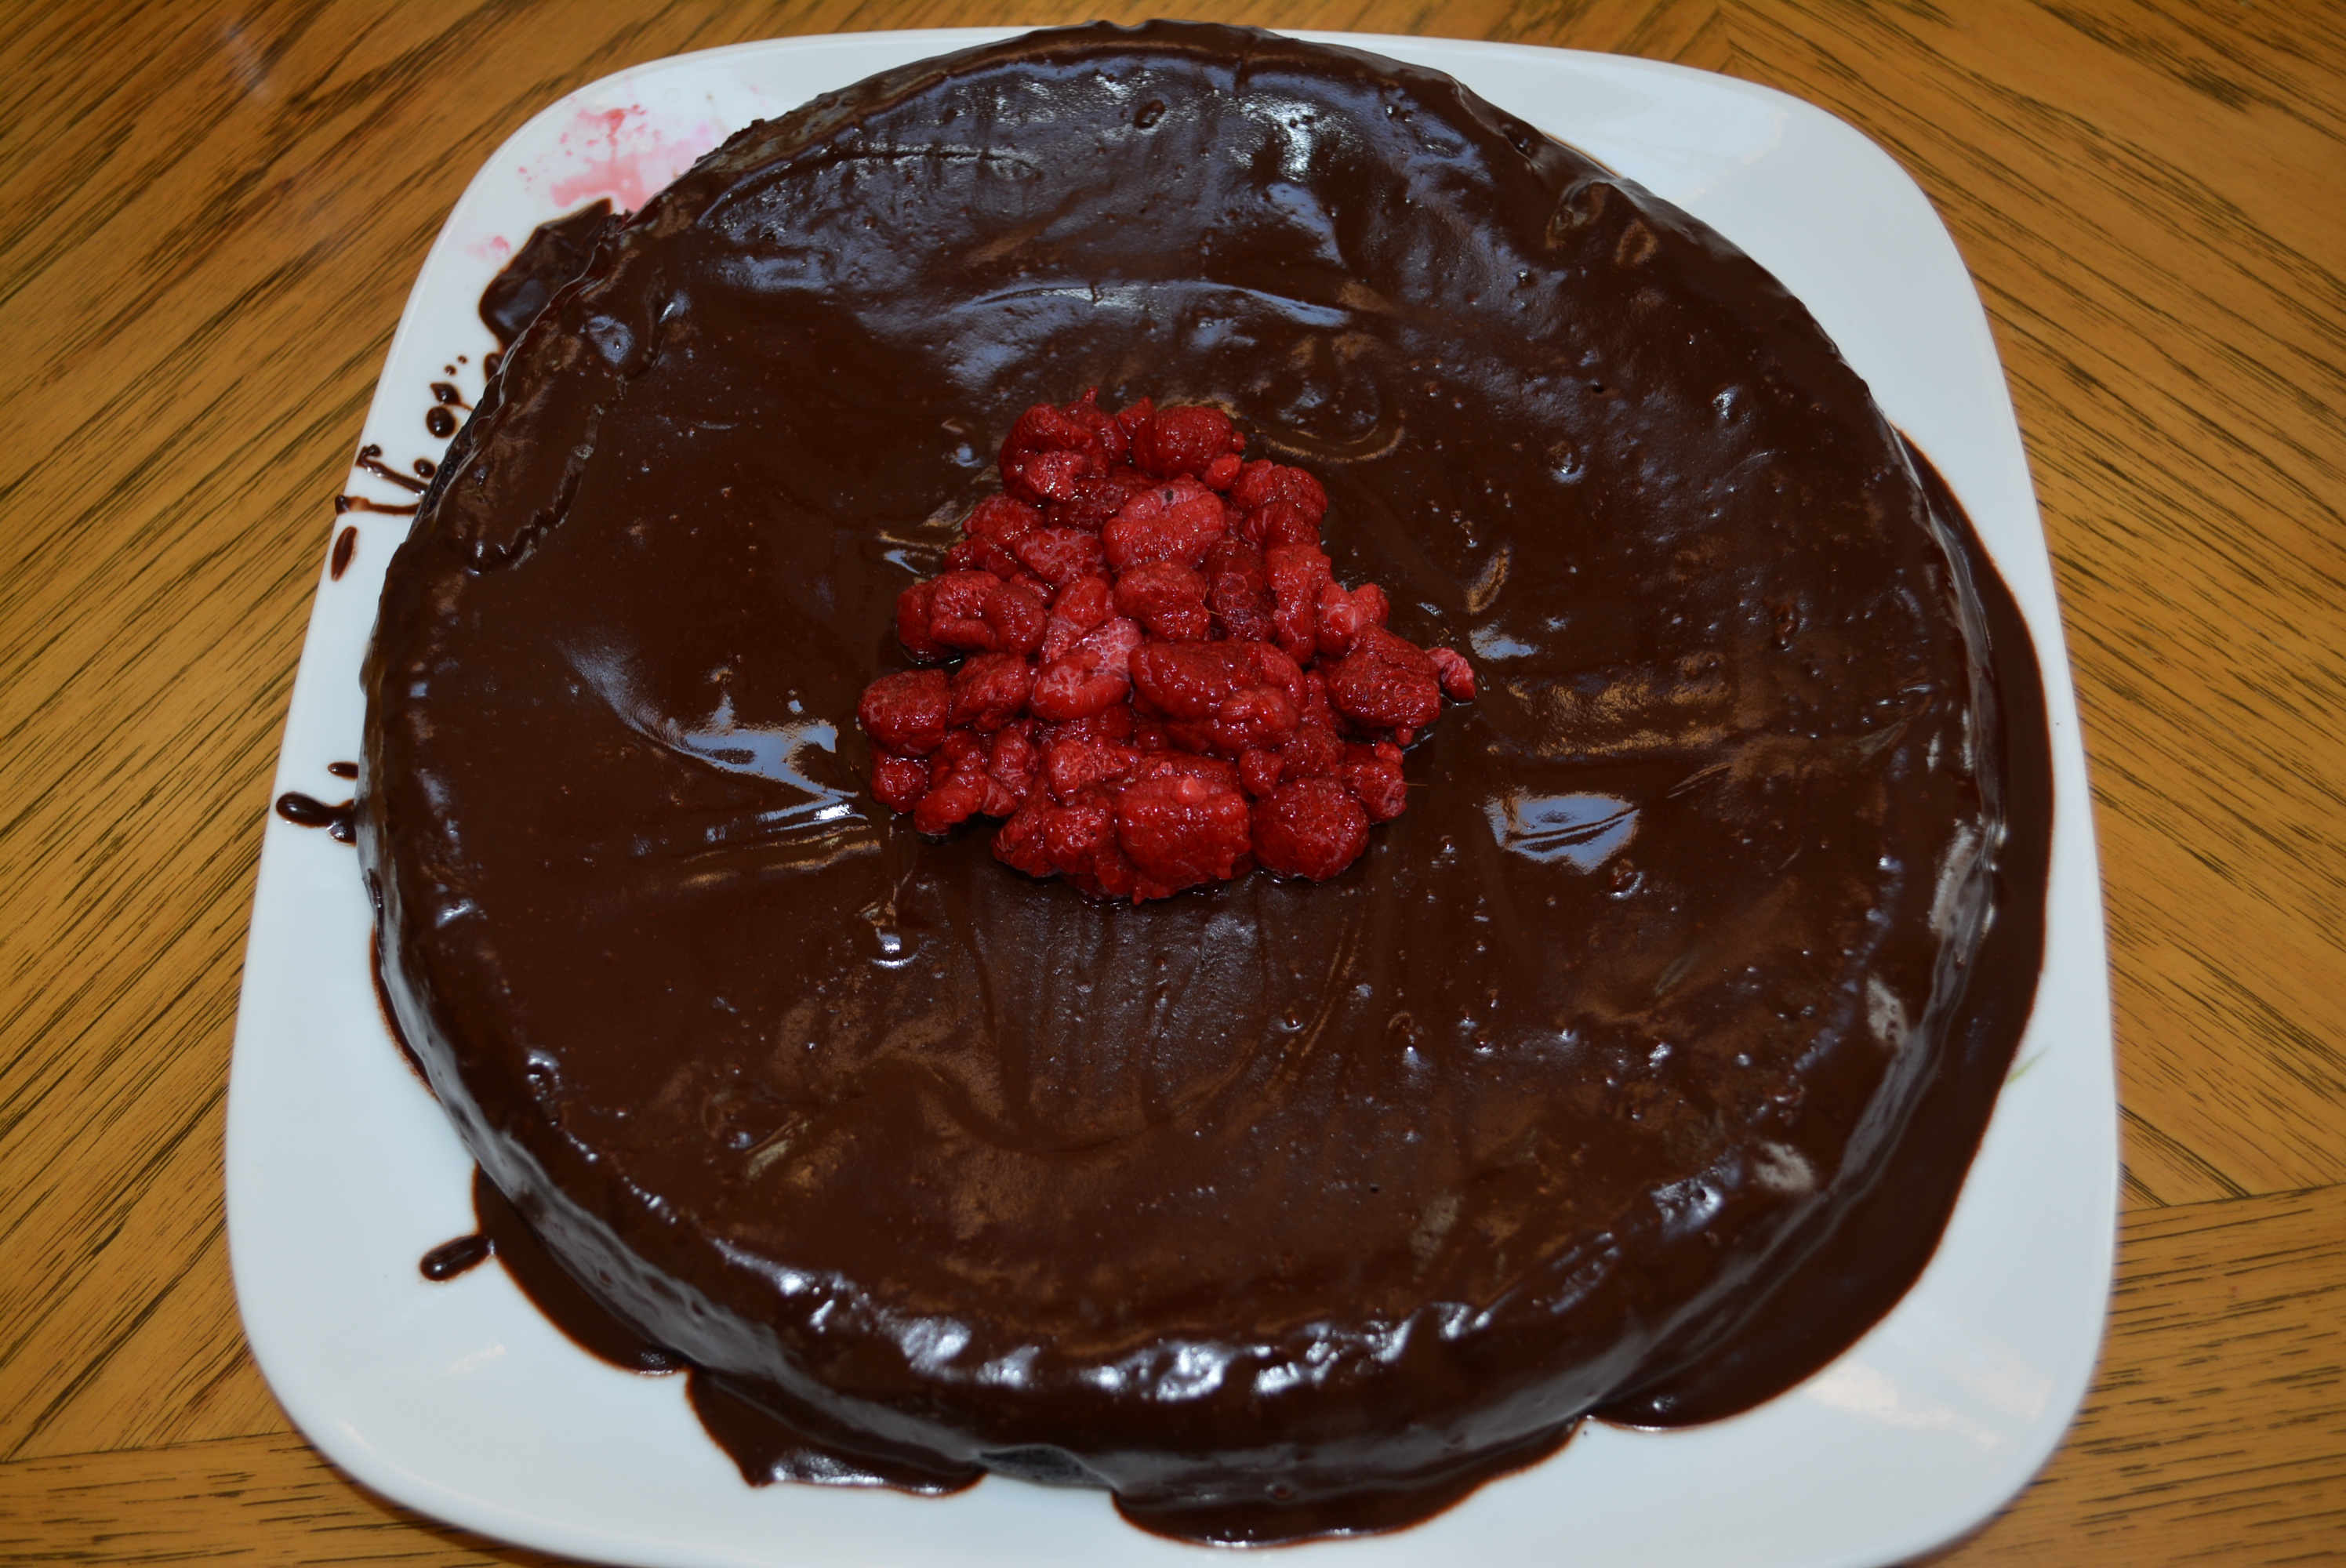
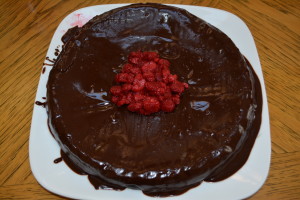
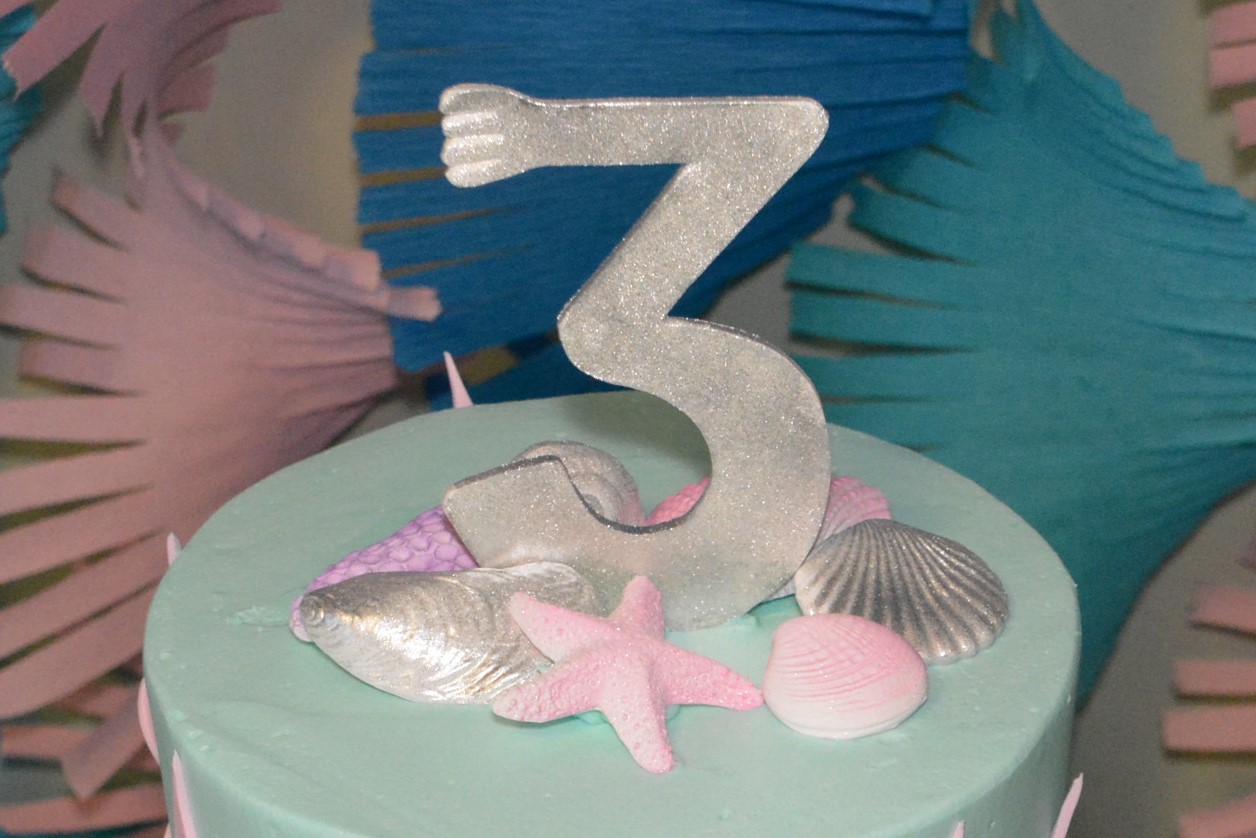
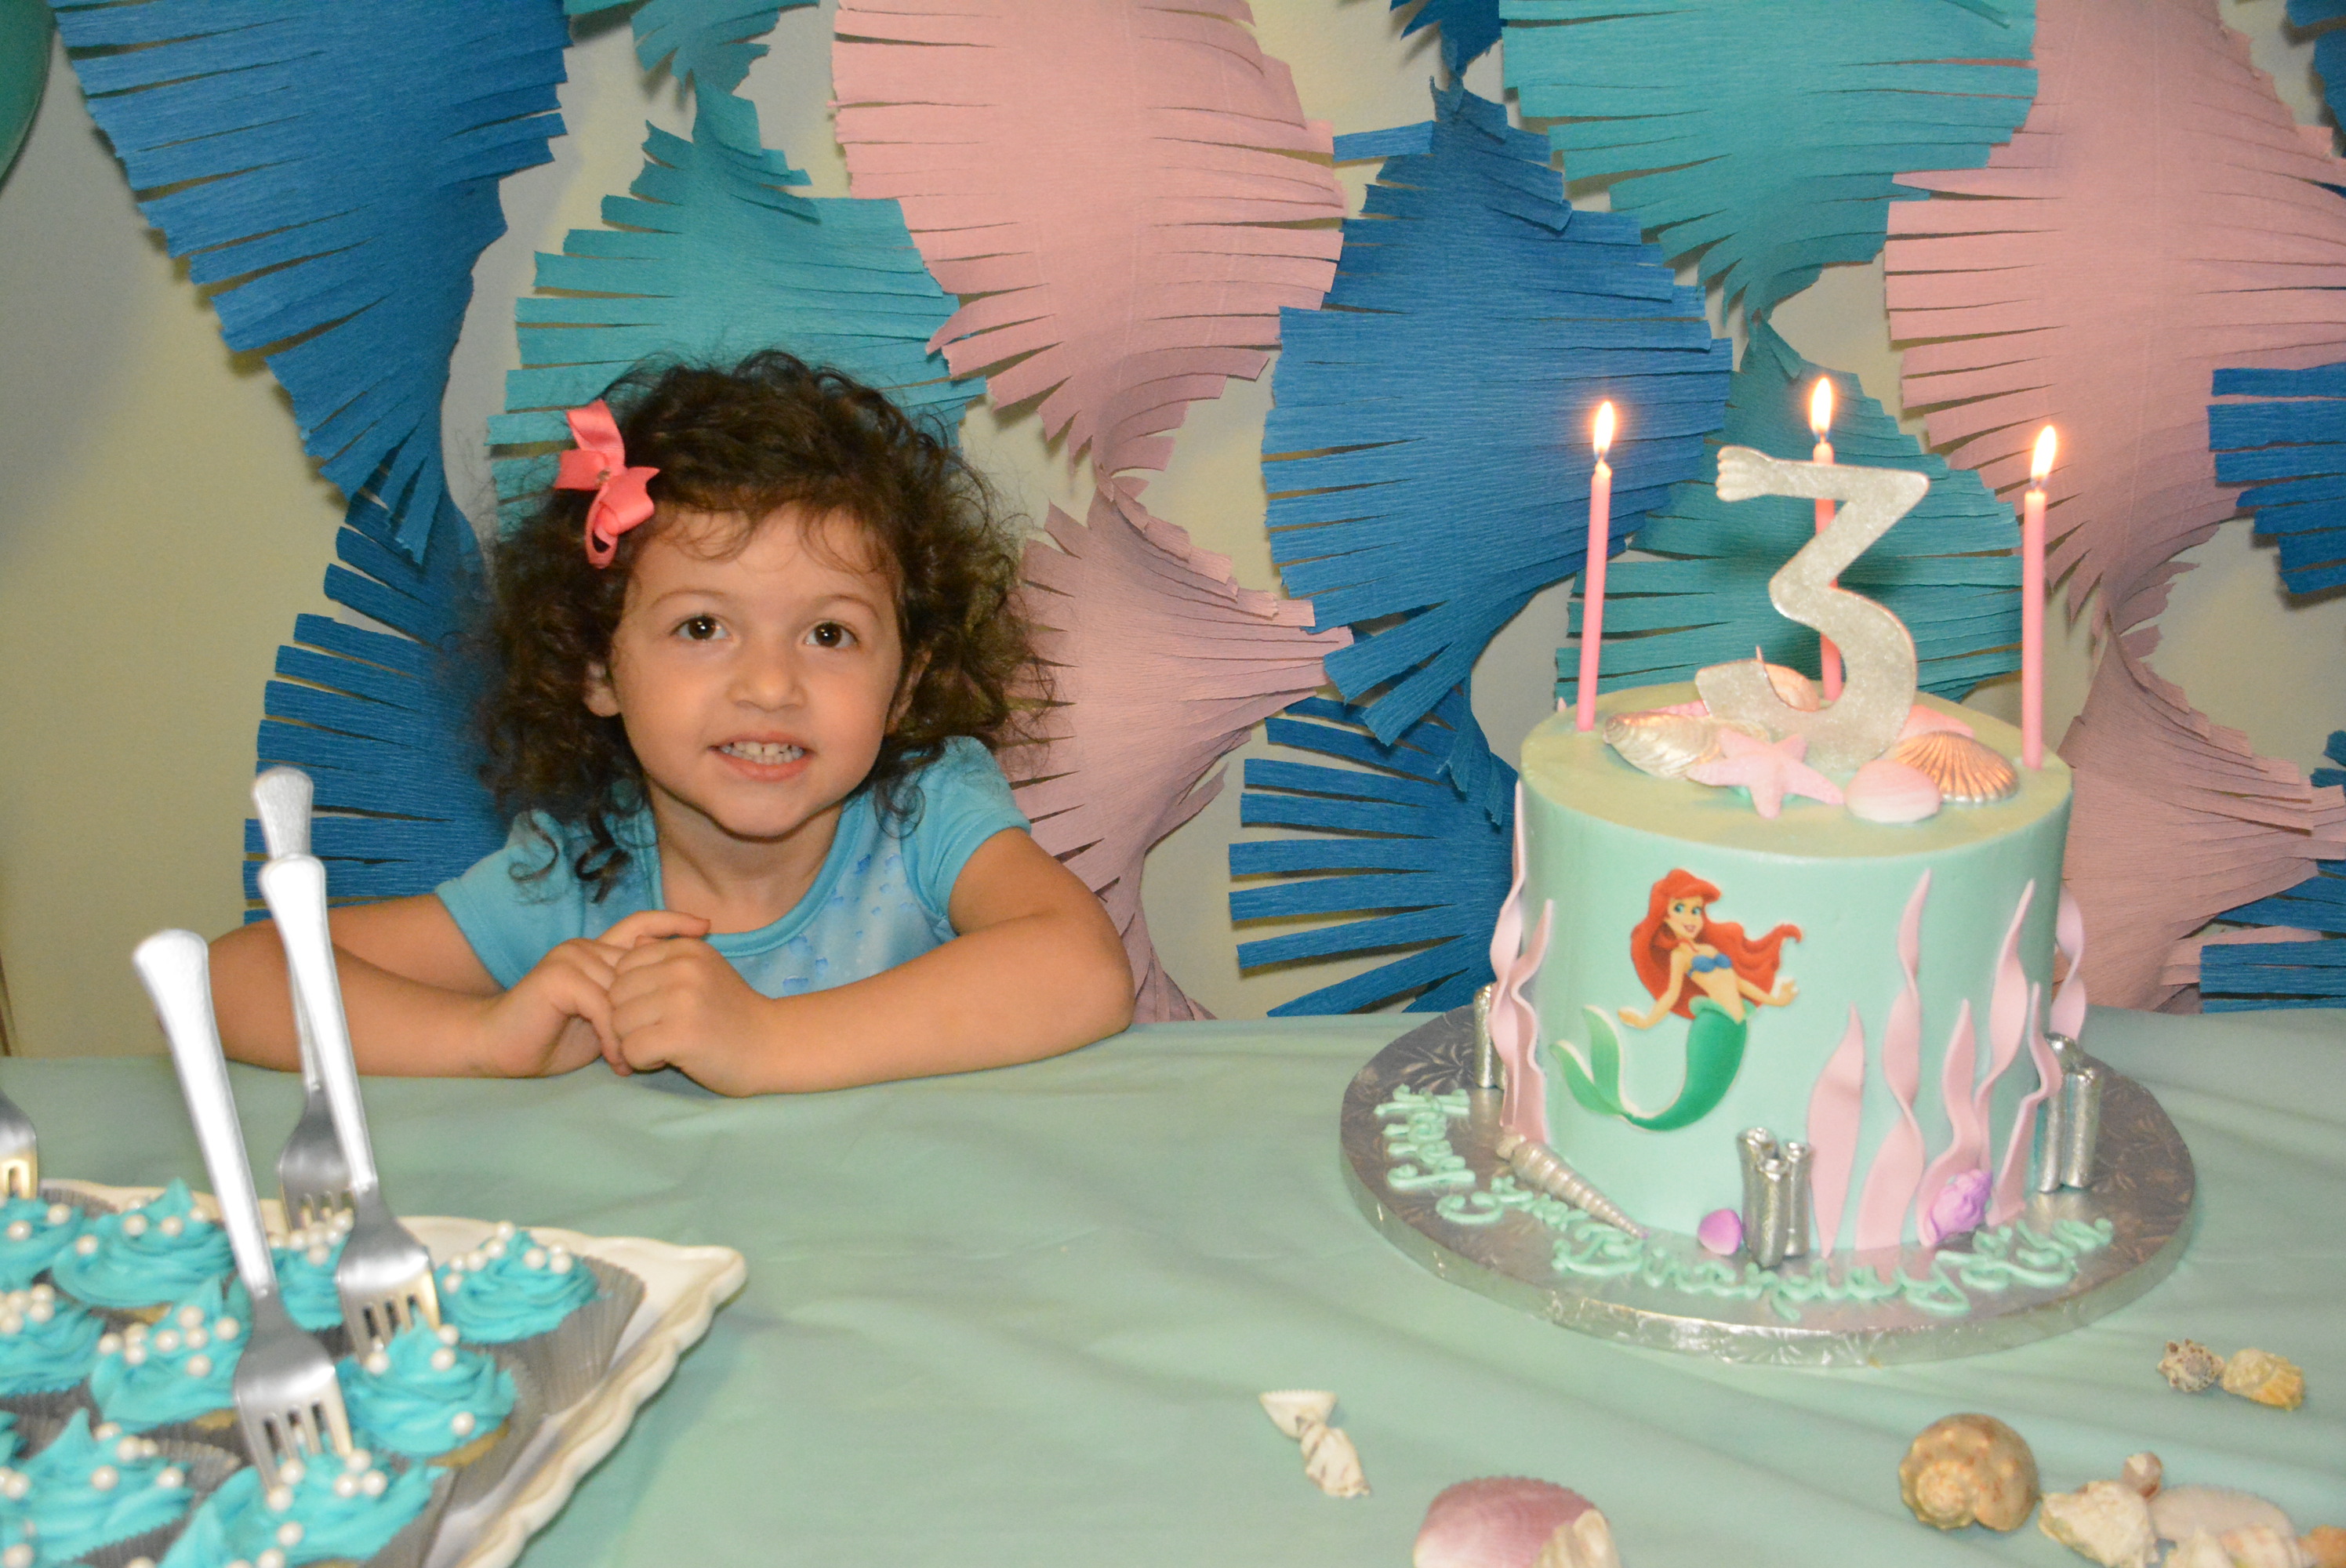
The piece de la resistance though is this beauty made by Classic Cake Company. The good news though Classic Cake Company could’ve easily and safely made a gluten free version of this amazing cake but my daughter is safe with gluten so we went that route. I absolutely LOVED how this cake turned out! They really take my ideas and turn them into beauty. Now if only I could brave putting together a cake of my own one of these times, that’s a little too scary for me right now with these two little munchkins around but maybe by their 18th birthday I’ll surprise them. Okay so back to the Ariel masterpiece! From the deliciously tall chocolate on chocolate stacked cake and gorgeously made seashells, coral, and starfish to the silver 3 on top that’s shaped like a, yes it’s a fork, (idea courtesy of my dear husband) to my favorite edible Ariel image on the front, every bit of it was just gorgeous and delicious according to the birthday girl herself!  3rdbday (10)

The sparkly, silvery dinglehopper 3 was such an amazing topper, and with those realistic, shiny shells around it, it was such a great combo of under the sea and Little Mermaid.  3rdbday11 (2)

With three tall, pink candles lit and the lights dimmed our curly haired little mermaid was ready for her big moment. A smile from ear to ear and big eyes studying the glowing candles, she waited for her wish patiently and when the time came her little self huffed and puffed (and with Mommy’s help at the end) blew her three candles out. It was a magical moment, one that brought tears to my eyes and reminded me of the little baby that we were celebrating only three years ago.    3rdbday (7)

Dinner, check! Cake, check check! And then the announcement my miniature had been waiting for, “Time for presents!”, her cue to head straight to the family room to start ripping them open, and that she did before anyone else got there. Thankfully she takes her time opening gifts because she only got halfway through her first one when I caught her red handed and paused her for just a few seconds until everyone was in place. And when she was given the official go ahead, nothing could stop her. She was a polite, present opening machine who responded to each and every one with an excited “Oh my gosh!” and huge smile. Responses that are exactly who my little girl is and give her Mommy and Daddy the warmest feeling, reminding us of every ounce of her that is always that sweet. 3rdbday (9)

It was a wonderful party, equipped with two Disney princesses, a lot of fun, and so much love. It was a party I hope she’ll always remember because I certainly know we will. And even though I’m a little sad that we just celebrated our baby’s 3rd birthday, when to us she’s still that squishy newborn, I’m so happy and grateful for the little person that she’s becoming and I couldn’t be a prouder Mommy! 3rdbday10

So to my baby girl who’s not such a baby anymore, 

Your year of 2s have flown by and you’ve changed so quickly from baby to little girl. As you turn 3 very very soon your Daddy and I just wanted to tell you a few things. First, always stay true to who you really are, the smiley, energetic, funny, and loving little girl that you were born to be. God has given you some amazing gifts with a smile and sense of humor that light up a room and a heart that’s bigger than I’ve ever seen. And even though you’re becoming a bigger kid as you say, bear with Mommy and Daddy because we still see you as our first little miracle. No matter how big you get, we’ll always see that sweet little baby staring back at us.

Second, as you turned 2 1/2 this year we gave you a best friend for life, a sister, family that’ll stick by you no matter what, cherish her. You’ve become an amazing big sister, caring for your sweet baby sister with more love than I ever thought you had in that little body. Always love her that way, keep protecting her like you do now when you cover her with a blanket to keep her safe, and always keep her smiling, you light her up with your kisses, your smile, and your love, never stop sharing that.

Finally my sweet baby girl, stay innocent as long as you can. Live in your world of Disney, where magic is real, your best friends are squishy and fuzzy and make perfect bed buddies, and where giving these friends big hugs and kisses live in person is a dream come true. Stay in that world as long as you can my precious baby because it’s a beautiful one. Keep those dreams and all of the magic in your heart always.

Love always,

Your Mommy

Happy 3rd Birthday My Christmas Miracle!

Sincerely,

Lindsay 

Print Your Enjoy Life Coupon Today And Try An Allergen Free Treat!

I first met Enjoy Life foods many years back when we found out that my dear little nephew suffered from severe, life threatening allergies to some of the top allergens including dairy, egg, wheat/gluten, nuts, shellfish, and a few other more minor allergens. Little did I know that I myself would be enjoying Enjoy Life foods several years later but I must say that I truly do enjoy their products. The best part about Enjoy Life products though is that they are free of the 8 most common allergens, which makes people of ages, especially little ones like my nephew, extremely happy to be able to safely enjoy snacks and treats.

One of my now favorite products that I just stumbled upon at Target are the Cocoa Loco Baked Chewy Bars. My favorite part about purchasing these products is that their allergen information is clear and concise on their packaging, leaving no mystery as to what is contained within that product. In fact they include symbols as well, which always makes identifying allergy free products easier, that indicate a product being free of the 8 top allergens. Check out their extensive list of allergy free products here and pick your favorites that you’d like to try! Also make sure you print a 55 cents of any Enjoy Life Product coupon to save on your gluten free goodies! 

Sincerely,

Lindsay

Gluten Free Chocolate Peanut Butter Chex Treats

Growing up, I absolutely adored Rice Krispie Treats. They were so fun and easy to make with my mom and even better to eat. They were the perfect treat to bring in for birthdays at school or make for any holiday. Years later and I still could go for a good rice krispie treat, especially when I see those delicious, gourmet versions in Disney World at the Main Street Bakery. Hate to disappoint but these treats that are termed “Rice” Krispie Treats have a hefty amount of wheat in them, not quite what you’d think coming from a rice named treat.

Good news though, since going gluten free I’ve been witness to the release of Gluten Free RIce Krispies. I was so excited when I first purchased these but wasn’t overly thrilled with the taste in a bowl of cereal. They are probably pretty decent in treat form, covered in melted marshmallow but I like to stick with a cereal that I love plain or dressed up. Ever since my early gluten free days I’ve loved Chex cereal, from their chocolate, vanilla, and apple cinnamon flavors to rice or corn versions, each are equally as tasty and delicious but even better Gluten Free! I enjoy these so much that I once decided to try my hand at Chex treats rather than the traditional Rice Krispie versions.

These came out amazing! I crushed up the Chex cereal a bit so there were a few whole Chex scattered throughout small and dense cereal bits, all coated with marshmallow. They were incredibly delicious and perfectly gluten free while safely reminding me of the childhood treats that drew a smile many a day. Since my first trial with these I’ve tried many versions since, but one of my favorites combines chocolate and peanut butter. Today I’m introducing you to Gluten Free Chocolate Peanut Butter Chex Treats that remind you of the marshmallow treats that you once enjoyed while you were younger but with a new and delectable flair. FYI these are incredibly simple and easy to make!   

Ingredients:

  • 14 oz box Chocolate Chex
  • 10 oz bag mini marshmallows
  • 4 tbsp butter (I use Smart Balance or Land O’Lakes)
  • 3 heaping tbsp peanut butter (I like Skippy Natural or Smart Balance)
  • Non-stick cooking spray (I use Smart Balance)

Directions:

  • Spray 9″ x 13″ baking dish with non-stick cooking spray.
  • Add the whole 14 oz box of Chocolate Chex to large mixing bowl. I like to crush them a bit while they are still in their bag so they resemble rice krispie size with some whole Chex still floating around. 
Chocolate Chex
Chocolate Chex
  • Melt 4 tbsp of gluten free butter in a microwave safe bowl (about 30-60 sec).
  • Add 10 oz bag of mini marshmallows to melted butter and stir to coat. 
  • Melt marshmallows in microwave (about 1 – 1 1/2 minutes). Keep an eye on these in the microwave, as they do expand and can overflow the bowl easily.
  • Remove the bowl from the microwave and stir melted marshmallows until smooth. 
  • Add 3 heaping tbsp of gluten free peanut butter and stir until combined completely with marshmallows. Mixture should be smooth. 
Melted marshmallow mixed with peanut butter.
  • Pour melted marshmallow/peanut butter mixture into Chex and stir to combine, making sure all cereal is coated with marshmallow. This is going to be very sticky; I like to use a spatula and spray it with non-stick spray to limit sticking a bit.
  • Scoop sticky marshmallow/cereal mixture into baking dish and use a spatula or spoon sprayed with non-stick spray to press into an even layer.
jflkd;sajf
Chocolate peanut butter marshmallow treats pressed into baking dish.
  • Allow mixture to cool and then use a knife (sprayed in non-stick spray) to cut into squares.
jdsflkjsd
Cooled and cut chocolate peanut butter chex treats.
  • Enjoy!
lkhl
Enjoy!

Okay, my husband’s absolute favorite candy is the peanut butter cup, so I figured he’d be the perfect person to taste these first. And we have a winner; he absolutely loved them! I made these earlier in the morning so he started his day with a sweet treat before work but right when he got home he couldn’t wait to take another nibble! I have to agree, these are fantastic! I too love the legendary chocolate/peanut butter flavor combo so I knew I would love these but I didn’t realize just how tasty they’d be. So if you’re a peanut butter cup or chocolate/peanut butter ice cream fan, give these a try instead for something a bit different! 

TIP: I also like to make my Chex Treats dairy free as well for my nephew to enjoy. I simply do this by using his dairy free butter (Earth Balance) instead of my butter. So don’t be afraid to adjust this recipe for a different food allergy for instance a peanut allergy, in which case you could add equal amounts of another type of nut butter like almond or cashew or use pea butter which is a nut-free option that my nephew grew up on. 

Sincerely,

Lindsay

Gluten Free Chocolate Peanut Butter Chex Treats
Write a review
Print
Ingredients
  1. 14 oz box Chocolate Chex
  2. 10 oz bag mini marshmallows
  3. 4 tbsp butter (I use Smart Balance or Land O'Lakes)
  4. 3 heaping tbsp peanut butter (I like Skippy Natural or Smart Balance)
  5. Non-stick cooking spray (I use Smart Balance)
Instructions
  1. Spray 9" x 13" baking dish with non-stick cooking spray.
  2. Add the whole 14 oz box of Chocolate Chex to large mixing bowl. I like to crush them a bit while they are still in their bag so they resemble rice krispie size with some whole Chex still floating around.
  3. Melt 4 tbsp of gluten free butter in a microwave safe bowl (about 30-60 sec).
  4. Add 10 oz bag mini marshmallows to melted butter and stir to coat.
  5. Melt marshmallows in microwave (about 1 - 1 1/2 minutes). Keep an eye on these in the microwave, as they do expand and can overflow the bowl easily.
  6. Remove the bowl from the microwave and stir melted marshmallows until smooth.
  7. Add 3 heaping tbsp of gluten free peanut butter and stir until combined completely with marshmallows. Mixture should be smooth.
  8. Pour melted marshmallow/peanut butter mixture into Chex and stir to combine, making sure all cereal is coated with marshmallow. This is going to be very sticky; I like to use a spatula and spray it with non-stick spray to limit sticking a bit.
  9. Scoop sticky marshmallow/cereal mixture into baking dish and use a spatula or spoon sprayed with non-stick spray to press into an even layer.
  10. Allow mixture to cool and then use a knife (sprayed in non-stick spray) to cut into squares.
  11. Enjoy!
Gluten Free Mom To Be http://www.glutenfreemomtobe.com/

Check Out Whole Foods’ Website For Some Great Coupons!

download

Whole Foods is home to a ton of gluten free and allergy free products, from fresh gluten free pasta to store brand gluten free muffins and cupcakes! As a bonus, they offer store coupons via their website for a number of products, including those that are gluten free! During my pre-Easter Easter egg hunt for gluten free ingredients, I took a look at Whole Foods’ website for coupons and couldn’t believe the number of gluten free coupons that appeared on the list. I had to fight temptation to take advantage of all of these savings that particular week since I was on a mission to only find the ingredients for Easter, however now that we’re in a food shopping week, these coupons are fair game.

Some of the highlights in this coupon list

  • $1/1 DREAM Non-Dairy Beverage or Frozen Dessert
  • 50c/1 Back to Nature Juice, Cookie, Cracker, Granola, or Nut Item
  • $1.50/2 Enjoy Life Products
  • $1.50/2 Mary’s Gone Cracker’s Products
  • $1.75/2 MI-DEL Products
  • $1/1 4-pack Whole Foods Market GlutenFree Bakehouse Muffins
  • And many more!

So if you have a local Whole Foods near you, just follow the link above, select which coupons you’d like, print, and save money!

Happy saving!

Sincerely,

Lindsay

Essential Gluten Free Easter Recipes That You Can Enjoy Year Round

Well, Easter 2014 went off without a hitch!!! My favorite part of course was watching my little girl experience all of the holiday traditions for the first time with big bright eyes and a smile to boot. This year was so different than last year when she was a stationary little 3 month old so we were so excited to pack our Easter full of fun and tradition. In the early AM, little one rose extra early than usual, I like to think in the anticipation of wanting to see what the Easter Bunny had brought. After being sprung from her crib she walked out of her room only to go straight for the diaper bag by her toy chest; no surprise that she literally locked eyes on Mommy’s bag that’s strictly off limits, completely overlooking the oodles and oodles of new toys and treats that the Easter Bunny had brought. After a little redirection, her eyes locked onto the mound of Easter fun that awaited her and with mouth open in shock she went straight for her brand new plush Minnie backpack from Mommy and Daddy!

With no problem, she had sorted through her Easter Basket and the toys along with it, scattering everything throughout the entire living room. Onto a quick breakfast and a little playtime and then we were off to church. A lengthy church service later and our little toddler was excited for fun with her cousins at Nanny and Pop Pop’s house! The Easter Bunny had made a stop there too, leaving lots of fun surprises for her and her five cousins. What caught my daughter’s attention there? Well that would be the eggs that we had dyed last weekend there in preparation for the Easter Bunny’s visit. She promptly dug out the dyed Easter eggs from her cousin’s baskets and brought them back to Mommy and Daddy for her to examine and play with…it’s the simple things right!!! After two quick Easter egg hunts, one at Nanny and Pop Pop’s and back at home, which I’ve now learned is probably one of her favorite activities to participate in, it was time for lunch and a much needed nap before dinner.

Being the first year that we actually hosted the holiday dinner at our home, I was so excited to create some gluten free menu items that everyone could enjoy! We usually run our holiday dinners in kind of a potluck fashion where each family member brings along a different dish. So this year, going along with tradition, my parents prepared the ham and baked beans, my grandparents brought along a potato salad, my aunt a fruit salad, and my cousin and siblings added a side dish or dessert and some of the other dinner essentials. As far as my contributions, I prepared my grandmother’s coleslaw, deviled eggs, jello jigglers for my nieces and nephews, and strawberry and vanillla chex treats that I was first introduced to by Iowa Girl Eats.

In preparation this past week for the cooking fest that was about to occur for the holiday, I was so busy running around to multiple food stores, picking up different gluten free items that I needed. Yes I did say multiple food stores, as life cannot be as simple as for my main grocery store located only 10 minutes down the road to have everything. Can you tell that this is a huge sticking point for me? Do any of you have to frequent multiple food stores to collect your favorite gluten free products? Anyway, little one and I made our way to some of my favorite gluten free havens, Wegmans, Whole Foods, and Trader Joe’s, where the aisles are much more welcoming to the gluten free shopper. Although I try to only make occasional trips to these, mainly because of their appealing gluten free selection always causing more of a small grocery shopping trip than a quick stop, unfortunately for my grocery budget this week, I also stocked up on a few other different gluten free items that hadn’t made an appearance in our house in quite awhile. Finally all stocked up and ready to go, I was ready for our Easter dinner and couldn’t be more excited for our awaiting menu. 

I must say this year, our dinner did not disappoint. We had a ton of variety for all of our diners, gluten free and non-gluten free. Take a look at some of our menu choices below and feel free to give some of the dishes a try for dinner tonight, your next cook out, or even one of the next holidays!

  • Main Dish: a Cook’s spiral ham…This one unfortunately was not gluten free. In past years it has been, but Cook’s has indicated now that although their ham is inherently gluten free, the suppliers of spices and other ingredients can alter their formulations thus changing gluten content as well. Sadly, Cook’s indicates that they cannot guarantee that their hams are 100% gluten free, which for me makes it 100% off limits. To read their gluten statement, take a look at their FAQs section on their website here. For my gluten free substitution I contemplated making my own small ham or ham steak but to be honest I was short on time and was really in the mood for a lunch meat kind of ham (not very special and holiday like, but it was tasty to me). So instead of a potential gluten run in, I ate a gluten free Black Bear Virginia Ham sandwich substitute, delicious! 
  • Gluten Free Baked Beans: This one is one of my dad’s signatures. He’s been making these ever since I can remember, definitely making them a holiday tradition. In recent years, he’s had to adapt a little and make sure all of the ingredients are allergy friendly and gluten free, but still follows the same recipe! 
Baked Beans topped with bacon.
Gluten Free Baked Beans
Write a review
Print
Prep Time
10 min
Cook Time
3 hr
Total Time
3 hr 10 min
Prep Time
10 min
Cook Time
3 hr
Total Time
3 hr 10 min
Ingredients
  1. 7 lb 2 oz can Pork and Beans (our store brand is gluten free, but choose whichever brand is gluten free that is available to you)
  2. 1/4-1/3 cup French's Mustard (gluten free)
  3. 3/4 cup Heinz Ketchup (gluten free)
  4. 1/2-3/4 cup Vermont Maid Maple Syrup (gluten free)
  5. 1 lb Bacon Ends (choose a brand that is gluten free that is available to you)
  6. Brown Sugar to dot top of baked beans
Instructions
  1. Preheat oven to 325 degrees.
  2. Spread baked beans in a 16 x 13 baking pan.
  3. Add 1/4-1/3 cup of mustard to center of beans and stir to combine. Add either amount depending on personal taste, i.e. if you love a mustard flavor go with the 1/3 cup.
  4. Place 3/4 cup of ketchup to center of beans and stir.
  5. Stir in 1/2-3/4 cup of maple syrup until all is combined with baked bean mixture. Again, add either amount depending on personal taste, i.e. if you like a sweeter baked bean than go with the 3/4 cup.
  6. Dot top with brown sugar and use a knife to swirl into bean mixture.
  7. Lay 1 lb of bacon ends evenly across the entire surface of the baked beans.
  8. Place prepared baked beans on the middle rack of your oven and bake for 3 hours or until bacon is crisp on top.
  9. Enjoy!
Gluten Free Mom To Be http://www.glutenfreemomtobe.com/
  • Gluten Free Potato Salad: This one along with my coleslaw, are family staples. We always have a potato salad and coleslaw for our holiday meals. Now that I’ve inherited the coleslaw recipe from my grandmother, I get to make that one a few more times throughout the year along with each holiday. The potato salad though is still my grandmother’s favorite and is a special treat for everyone just on holidays; she even makes sure to use gluten free ingredients for me (Love that!)! 
A family favorite thanks to our grandmother!
Gluten Free Potato Salad
Write a review
Print
Ingredients
  1. 5 lb bag of Yukon potatoes (use 1-2 potatoes per person)
  2. 4 hardboiled eggs (or more if desired)
  3. 1 cup celery (about 4 stalks; adjust this number if you prefer more celery)
  4. 1 medium yellow onion chopped
  5. Hellmann’s Mayonnaise (either regular or light, both are marked gluten free; amount varies depending on number of potatoes used)
  6. Light Sour Cream (check the label and call the company of whichever brand you choose unless it states gluten free explicitly on the label; amount varies depending on number of potatoes used)
  7. Paprika
  8. Salt to taste
Instructions
  1. Wash and clean as many Yukon potatoes as needed.
  2. Add potatoes to pot and cover with water.
  3. Bring to a boil and cook until potatoes are fork tender.
  4. While potatoes are cooking, prepare hardboiled eggs.
  5. Pour off water and leave potatoes in pot until cool enough to handle.
  6. Peel and cut potatoes into quarters or bite size pieces and add them to a large bowl.
  7. Peel and slice two of the hardboiled eggs for adding to the top of the salad and chop remaining two and mix in with the potatoes. (Feel free to adjust this if you'd like.)
  8. Chop about one cup of celery (4 stalks); this amount can vary according to personal taste, add more if you're a celery lover or less if you prefer.
  9. Mix celery in with the potatoes and eggs.
  10. Chop one medium yellow onion and combine with the potato mixture.
  11. Prepare mayonnaise and sour cream mixture, similar to the dressing used for my coleslaw, creating a 2:1 ratio of mayo to sour cream. Taste mixture, making sure there is a good balance between mayonnaise and sour cream. Prepare plenty of dressing to make sure the potato salad is nice and creamy. Amounts will vary depending upon how many potatoes you need but my best advice would be to start with a larger amount and add what is needed; don't be afraid to make more later, just make sure you taste as you go!
  12. Mix in dressing with the potato mixture, making sure all is coated and creamy. Make sure you add plenty of the mayo and sour cream mixture, as the potatoes are sure to absorb some of it and you don't want a dry potato salad.
  13. Taste and add salt as needed.
  14. Top with sliced hardboiled eggs.
  15. Dust top with paprika.
  16. The secret to this one is to use enough dressing to keep it creamy!
Gluten Free Mom To Be http://www.glutenfreemomtobe.com/
  • Gluten Free and Dairy Free Deviled Eggs: These are by far one of my favorite side dishes for holidays or everyday. They’re such a tasty little side that always remind me of family get togethers and summer cookouts, making them perfect for any dinner! Check out my recipe here for these wonderful gluten free bites that are easy to make and enjoyed by all.
Deviled eggs dusted with paprika.
  • Gluten Free Coleslaw: This a perfect combination of finely chopped cabbage, mayo, and sour cream. Just season with salt and top with paprika and you’re ready to enjoy. This year I received the stamp of approval from my grandmother, this recipe’s founding mother, making it taste just that much better. Give this one a try this summer or for any holiday dinner. Check out my gluten free coleslaw recipe here.
Gluten free coleslaw, perfect for any holiday.
  • Gluten Free and Dairy Free Pasta Salad: This year my sister-in-law treated us allergy folk as well as all the other diners to two versions of a pasta salad, only difference was the pasta used! Gluten free pasta, tomatoes, cucumbers, onions, and carrots all topped with Wish Bone Italian Dressing! Just simply cook your pasta of choice according to the box directions, chop up any type of add ins you’d like, and top with the desired amount of Wish Bone Italian Dressing (or really any gluten free dressing)! So simple, yet so delicious!
Gluten free pasta salad courtesy of my sister-in-law.
  • Gluten Free and Dairy Free Strawberry and Vanilla Chex Treats: I came upon this recipe just in time for Easter thanks to Iowa Girl Eats. Instead of making a strictly gluten free version though, I made a dairy free one as well, perfect for my little allergy ridden nephew! These are absolutely delicious with the combination of the freeze-dried strawberries and the Vanilla Chex! I’m so glad I have some leftover for my family to nibble on today!
Gluten Free and Dairy Free  Strawberry Marshmallow Treats
Gluten Free and Dairy Free Strawberry Marshmallow Treats

Gluten Free and Dairy Free Strawberry and Vanilla Chex Treats
Write a review
Print
Ingredients
  1. 4 tbsp gluten free, dairy free butter (I used Earth Balance)
  2. 10 oz bag mini marshmallows (I used my store brand)
  3. 13.5 oz box Vanilla Chex
  4. 1- 1.2 oz bag freeze-dried strawberries (I used Crunchies brand, purchased at Wegmans, and actually may try two bags next time I loved the addition so much)
Instructions
  1. Spray 9 x 13" baking dish with nonstick spray.
  2. Melt 4 tbsp butter in microwave safe bowl (about 30-60 sec)
  3. Add marshmallows, stirring them to coat with butter.
  4. Microwave for 1- 1 1/2 minutes to melt marshmallows.
  5. Add chex and freeze-dried strawberries to a large mixing bowl and combine.
  6. When marshmallows are done, stir until smooth and mix into chex and strawberry mixture.
  7. Mix until all ingredients are combined and coated evenly.
  8. Scoop sticky mixture into baking dish and use a spatula or spoon sprayed with nonstick spray to press into an even layer.
  9. Allow mixture to cool and then using a knife sprayed with nonstick cooking spray, cut into squares.
  10. Enjoy!
Adapted from Iowa Girl Eats
Gluten Free Mom To Be http://www.glutenfreemomtobe.com/
These are just some of the highlights from our Easter dinner this year! I’d love to hear what everyone else’s gluten free dinner tables looked like! 

I hope you enjoy all of these dishes as much as we did! Feel free to bring these out anytime, not just on holidays too! Happy Belated Easter!

Sincerely, 

Lindsay

A Delicious Gluten Free Sweet Treat By Katz

I first met the Katz brand on one of my very hungry days in my 2nd trimester of my pregnancy. I was meandering through my local health food store scouting out new and potentially delicious gluten free products when I zoned in on these delicious looking chocolate cupcakes covered in chocolate frosting and sprinkles. While I was pregnant, the baking me kind of took a back seat, so you can understand my excitement when these little beauties came into my sight. Selling for about $5.99 for a pack of 4 cupcakes I was willing to give them a try and I was so glad that I did!   

dfg
Pack of four Katz cupcakes.

These cupcakes are divine. The chocolate cake portion is textured more like a moist brownie which I am a huge fan of. Atop the cupcake is a thin layer of sweet chocolate frosting, just enough to add a sweet frosty finish to the cupcake. Finally, what cupcake is complete without sprinkles; so to finish theirs off, Katz has dusted half of the frosted cupcake tops with sprinkles. And let me just add that these sprinkles are the good kind, the long, soft sprinkles that add a little extra something to your bite! My only complaint, is that I wish that the whole cupcake top was covered in those delicious sprinkles! Ever since I was little, I always loved sprinkles on top of cookies, cupcakes, cakes, you name it, it was sprinkled. More sprinkles, the better! Such a perfect finish to a sweet treat! 

These are simply delicious!

Over the past few years, I’ve tried my fair share of gluten free cupcakes. Overall, the mixes that are available now produce exceptional products and are becoming more affordable as more brands join in. As fantastic as the mixes are, however, every pregnant woman would agree that there are certainly days that go by that you would love to just bite into a perfect pastry without having to make it yourself. Unfortunately, when it comes to purchasing premade gluten free desserts like cupcakes they tend to really lack in the texture department and usually fall apart after just one bite. I’m so happy to share that Katz products have become the exception to this trend! I must say, it was worth every penny to purchase these premade cupcakes that I could enjoy each and every bite of from start to finish without them crumbling apart, thanks to their brownie texture!

iuo
Just take one out of the freezer and enjoy!

Similar to many of their other products, these cupcakes should be stored in the freezer and therefore have an extended expiration date. This is an added bonus if you wish to take advantage of one of Katz’s many special offers and buy these ahead of time for a special event or just to stock up on treats for the little ones for months to come. When you’re ready to enjoy these, you only have to pop one (or two!) out of the freezer and either take a bite right away or let it thaw for a few short minutes!

Like I mentioned earlier, I purchased these from a small, local health food store for about $5.99. Unfortunately, Katz products aren’t easy to find in stores locally around me so I typically order their products online. On their website, Katz offers a pack of 4 frosted cupcakes for $5.79. A plus with ordering from the website is the amazing promotions that Katz frequently offers. Many a time, I’ve purchased products with significant discounts paired with their flat rate shipping fee of only $7.99 for purchases under $50 (free for orders over $50!). So sign up here today for emails for their new products, coupons, and company information and keep an eye out for sales on products that you’d like to try or have already fallen in love with!

If you’re interested in ordering these cupcakes, you can find all of their nutritional information here (these are also dairy and nut free too!)! While you’re there, make sure you check out many of their other fantastic products, such as their everything bagels or chocolate frosted donuts. To catch a sneak peak at these items, check out my bagel review here and donut review here

As you probably have learned from several of my other product postings, I am a huge fan of Katz’s products and truthfully can say that they helped me through many a pregnant day! Not once have I purchased a product of theirs and come away with any ounce of disappoint. So take advantage of their many special offers and indulge in these special chocolaty delights!!

Sincerely,

Lindsay


Chocolate, Chocolate, and More Chocolate: Gluten Free Flourless Chocolate Cake

Have you ever had a flourless chocolate cake? If you haven’t, you’re missing out on a little slice of gluten free heaven. Thanks to the missing flour, this dessert by nature is gluten free and has become quite popular in the restaurant circuit. A number of restaurants now offer a flourless chocolate cake as a dessert option, my favorite and where I first tried this divine creation is at Salt Creek Grille.

This sweet treat is best described as a very rich, chocolatey dessert. Depending on where you have tasted it, it can either be very fudgy in texture or resembling more of a lava cake. Either way you taste it, equally delicious! If you like chocolate, this dessert is totally for you and lucky for me I am a chocolate lover. As my husband’s birthday had passed, mine was quickly approaching and this year I had decided to go the chocolate route and indulge a little by making a flourless chocolate cake. After some googling I came upon the perfect recipe from Whole Foods Market for a Flourless Chocolate Cake Topped with a Chocolatey Glaze. After a tweak or two, some shopping, and baking away in my kitchen, my flourless chocolate birthday cake was born and was it ever delicious. This recipe is so simple and easy and the product is truly impressive! So give it a try!   

Ingredients:

  • 12 ounces of semi-sweet chocolate chips or bittersweet chocolate (Hershey’s baking chips are gluten free according to the website)
  • 1 cup plus 3 tbsp unsalted butter sticks (Land O’ Lakes states gluten free)
  • 1 1/4 cup sugar
  • 6 eggs
  • 1 cup unsweetened cocoa powder (I use Hershey’s)
  • 1 tbsp skim milk (can use whole milk if you prefer)
  • 1 tbsp honey (Groeb Farms Pure Honey Clover is gluten free)
  • 1/4 tsp pure vanilla extract (McCormick states gluten free)
Gluten free flourless chocolate cake ingredients.

Directions:

  • Preheat oven to 375 degrees.
  • Heat 2/3 (8 ounces) of the chocolate and 1 cup of the butter in a saucepan at medium low heat. Stir frequently, preventing chocolate from burning and combining butter and chocolate completely.
Melt chocolate and butter together.
  • Remove melted chocolate from heat and transfer to a large mixing bowl. Add 1 1/4 cup sugar and mix well.
  • Add 6 eggs one at a time, mixing well after each addition.
  • Finally, add 1 cup of unsweetened cocoa powder to chocolate mixture and stir until completely mixed.
Flourless Chocolate Cake Blog Pics (6)
Flourless chocolate cake batter.
  • Spray 9 inch springform pan with nonstick cooking spray, line bottom with a circle of parchment paper, and spray paper with cooking spray.
  • Pour batter into prepared pan and bake for 35-40 minutes. Cake is finished when it has risen and formed a thin crust (should be firm in the center).
Bake cake in a 9-inch springform pan.
Bake cake in a 9-inch springform pan until center is firm.
  • Cool cake for 10 minutes and then invert onto a plate, remove sides of springform pan.
  • Allow cake to cool completely (an additional 30 minutes or so).
  • While cake is cooling, prepare the chocolate glaze by melting the remaining 4 ounces of chocolate and 3 tbsp of butter in a saucepan over medium low heat. Stir frequently until all is melted and combined.
  • Once chocolate is smooth, remove from heat and stir in 1 tbsp skim milk, 1 tbsp honey, and 1/4 tsp pure vanilla extract. Set glaze aside to cool slightly (only about 10-15 minutes).
  • Pour glaze on top of the cake.
Drop glaze on top of cooled cake.
Add glaze on top of the cake.
  • Using the back of a spoon, smooth chocolate glaze over the top of the cake, allowing it to spill over the sides.
Push glaze around the cake slowly covering the top and sides.
  • Leave cake uncovered for an additional 30-60 minutes for the glaze to set. Then add fresh or frozen berries for serving. I recommend raspberries whose sweetness complement the richness of the cake perfectly. Fresh are preferred but I used frozen which were much cheaper than the fresh.
Leave cake uncovered for about an hour to allow glaze to harden. Top with fresh or frozen fruit (I recommend raspberries) to serve.
Let glaze set and top with fresh or frozen fruit (I recommend raspberries) to serve.

I don’t know about you but when I first even thought of making this dessert my mouth began to water. It turned out perfectly and certainly was a wonderful divergence from my norm of gluten free birthday cupcakes or brownies. My only downside was that I ran short on time and couldn’t try my raspberry sauce that I had planned but no worries topping each slice with some frozen raspberries was a perfect compliment to the richness of the chocolate. Next time though, I will be making a raspberry sauce to drizzle on top which will literally and figuratively be the icing on the cake.

If you’re expecting company, celebrating a special day or holiday, or just craving chocolate than try this recipe. It was so easy and is a truly impressive dessert to make, not only in presentation but also in taste. Tastewise, I always watch my non-gluten free eaters take their first few bites of whatever gluten free dish I prepare. As my opinion, being the only gluten free eater, is slightly bias I like to hear or rather see the reactions of my fellow diners. In this case, as each of my family members tried a slice of my flourless chocolate cake and immediately after taking their first bite drew a smile, I knew for sure that this recipe was a success and will most certainly be repeated on another special occasion for all to enjoy!

Enjoy!

Sincerely,

Lindsay


Gluten Free Flourless Chocolate Cake Topped with a Chocolatey Glaze
Serves 12
Write a review
Print
Ingredients
  1. 9 inch springform pan
  2. 12 ounces of semi-sweet chocolate chips or bittersweet chocolate (Hershey's baking chips are gluten free according to the website)
  3. 1 cup plus 3 tbsp unsalted butter sticks (Land O' Lakes states gluten free)
  4. 1 1/4 cup sugar
  5. 6 eggs
  6. 1 cup unsweetened cocoa powder (I use Hershey's which states gluten free on website)
  7. 1 tbsp skim milk (can use whole milk if you prefer)
  8. 1 tbsp honey (Groeb Farms Pure Honey Clover is gluten free)
  9. 1/4 tsp pure vanilla extract (McCormick states gluten free)
Instructions
  1. Preheat oven to 375 degrees.
  2. Heat 2/3 (8 ounces) of the chocolate and 1 cup of the butter in a saucepan at medium low heat. Stir frequently, preventing chocolate from burning and combining butter and chocolate completely.
  3. Remove melted chocolate from heat and transfer to a large mixing bowl. Add 1 1/4 cup sugar and mix well.
  4. Add 6 eggs one at a time, mixing well after each addition.
  5. Finally, add 1 cup of unsweetened cocoa powder to chocolate mixture and stir until completely mixed.
  6. Spray 9 inch springform pan with nonstick cooking spray, line bottom with a circle of parchment paper, and spray paper with cooking spray.
  7. Pour batter into prepared pan and bake for 35-40 minutes. Cake is finished when it has risen and formed a thin crust (should be firm in the center).
  8. Cool cake for 10 minutes and then invert onto a plate, remove sides of springform pan.
  9. Allow cake to cool completely (an additional 30 minutes or so).
  10. While cake is cooling, prepare the chocolate glaze by melting the remaining 4 ounces of chocolate and 3 tbsp of butter in a saucepan over medium low heat. Stir frequently until all is melted and combined.
  11. Once chocolate is smooth, remove from heat and stir in 1 tbsp skim milk, 1 tbsp honey, and 1/4 tsp pure vanilla extract. Set glaze aside to cool slightly (only about 10-15 minutes).
  12. Pour glaze on top of the cake..
  13. Using the back of a spoon, smooth chocolate glaze over the top of the cake, allowing it to spill over the sides.
  14. Leave cake uncovered for an additional 30-60 minutes for the glaze to set. Then add fresh or frozen berries for serving. I recommend raspberries whose sweetness complement the richness of the cake perfectly. Fresh are preferred but I used frozen which were much cheaper than the fresh.
Adapted from Whole Foods Market
Gluten Free Mom To Be http://www.glutenfreemomtobe.com/


Gluten Free Swirled Blackberry Cheesecake

Over the years, I’ve done my fair share of searches for gluten free breakfast, lunch, dinner, and dessert recipes and usually come up short handed. I’ve now learned and hope to share with you regular recipes that I’ve adapted to be gluten free and produce quality products that please even a non-gluten free eater. I look forward to opportunities to experiment on items that are rarely if ever available in a gluten free form. Here I’ll introduce you to one of those coveted products, the cheesecake! Cheesecakes by nature are composed of a typically gluten free cheesy portion atop a gluten filled crust. Rarely are chain restaurants or bakeries able to produce a gluten free cheesecake option either omitting the crust altogether or creating a gluten free crust base. I’m here to introduce you to my version of a gluten free cheesecake that is both delicious and simple to produce!

While grocery shopping a couple of weeks ago, I stumbled upon a wonderful new product, Mi-Del Gluten Free Pie Crusts coming in chocolate, ginger snap, and graham flavors. I was so excited to take advantage of this new product at only $3.49 (I was lucky enough to purchase it on sale as it’s normally $3.99, still not bad). Although it’s a simple cookie crust that isn’t terribly difficult to put together, its modest cost and convenience persuaded me to try it out and I had just the recipe in mind to do so. With the purchase of the chocolate pie crust and a few other items, as well as Driscoll’s base recipe obtained from their website I’m presenting the Gluten Free Swirled Blackberry Cheesecake!

Wonderful blackberry puree swirled into a gluten free baked cheesecake on top of a chocolate cookie crust.

Note: This recipe makes two cheesecakes using the Mi-Del Gluten Free 9 inch pie crusts. If you’d like to just make one, half all ingredients.

Ingredients for Filling:

  • 2 cups Driscoll’s Blackberries, divided
  • 1 tbsp pure vanilla extract for blackberry filling (McCormick)
  • 1 cup sugar for cheesecake and 2 tsp sugar for blackberry filling
  • 3 packages (8 oz each) cream cheese (I use store brand 1/3 less fat Neufchatel Cheese) TIP: Keep cream cheese at room temperature for a little while before making cheesecake or soften in microwave before use as it will mix much better if softer.
  • 1 tsp pure vanilla extract for cheesecake
  • 3 large eggs
  •  1/2 cup sour cream (I use light Daisy sour cream)

Crust: 2 Mi-Del Gluten Free Chocolate Snap Pie Crusts

Directions:

  • Preheat oven to 300 degrees.
  • Puree 1 cup blackberries in a blender, chopper, or food processor and strain out seeds (discard seeds) leaving about 1/3 cup puree.
  • Add 1 tbsp vanilla and 2 tsp sugar to puree, mix, and set aside.
  • With an electric mixer, combine 3 packages cream cheese and remaining 1 cup sugar at low speed until blended.
  • Add 1 tsp vanilla extract to cheesecake mixture.
  • Add 3 eggs, one at a time on low speed.
  • Add 1/2 cup sour cream and mix until combined.
  • Total volume of batter is enough for two pie crusts so divide into two portions.
  • Spoon half of the first portion into the first pie crust.
  • By teaspoonful, add single spoonfuls of blackberry puree to the filling and swirl around with a toothpick, repeat until half of the puree mixture has been added to the first cheesecake.
  • Add remaining cheesecake filling and blackberry puree to second pie crust and repeat the swirling instruction.
  • Both pie crusts should be filled to just below or even with the top of the crust.
  • Bake on the same rack for about 50-60 minutes or until edges are just set and center jiggles slightly.
  • Turn oven off, prop door ajar with the handle of a wooden spoon, and let cheesecakes cool in oven for about 1 hour.
  • Remove from oven, cool completely, and place in the refrigerator until cold all the way through. (I refrigerated overnight but if you bake in the morning, these should be cold by dinner time.)
Gluten free blackberry swirled cheesecake atop a chocolate cookie crust.
  • You can garnish cheesecakes with remaining blackberries when serving or just enjoy them while baking.
A delicious slice of gluten free cheesecake!

My dear husband has become such a trooper through these past few gluten free years and has become my taster dummy for many of my gluten free concoctions. I knew this cheesecake would definitely be a hit and sure enough he fell in love with this recipe, even with the gluten missing. The cheesecake is incredibly creamy and has just the right amount of sweetness swirled inside of it thanks to the blackberries! And the chocolaty crust, I cannot say enough good things about this one; both the flavor and texture of this crust were the perfect base, complimenting the cheesecake beautifully. I’ll definitely be repeating this recipe for years to come, even making a gluten free cheesecake for myself and a regular cheesecake for my gluten eaters!

Sincerely

Lindsay


Get ready….Gluten Free Pastries Do Exist!

Rarely would a gluten free eater see the terms gluten free and pastries together but it’s true, gluten free pastries do exist! Not only do they exist, but they are deliciously perfect in every way!

Since going gluten free, it’s been a rare occasion that I’ve been able to enjoy a dessert not baked by myself. Although I consider myself handy in the kitchen I am by no stretch a baker so it’s certainly a pleasure to come across not only one gluten free treat but a whole bakery full of them! When I first introduced you to Wildflour Bakery/Cafe here I showed you how talented they were in creating an entire gluten free experience from drinks to enjoying dessert, every part of the meal was a success! Although we had tasted a few of the desserts then, we only brushed the surface of the variety that they had to offer.

As my birthday had approached I had considered suggesting a trip to Wildflour’s to experience more decadence but Dan beat me to it. Much to my surprise, the morning of my birthday I woke up to a unfamiliar sight of a pastry box waiting for me on my dining table. I literally felt like a kid on Christmas morning, not being able to open the box fast enough to reveal the deliciousness inside. Finally, I lifted the lid to reveal a beautiful gluten free sight and smell.

Wildflour GF pastries to go!
Wildflour gluten free pastries to go!

That wonderful husband of mine had read my mind and delivered such a thoughtful gift. In the box were two familiar cranberry scones that were my favorite dessert from our first visit, a great reminder of our lunch experience. All I can say is that these wonderful scones are a perfect breakfast accompaniment to coffee or a sweet finish to a great dinner. This scone has a perfect texture with natural sweetness from the cranberries and a sugary sprinkled top. Scones are such a tasty breakfast pastry without being overly sweet and it is a welcomed surprise to see their triumphant introduction into the gluten free world. Immediately after trying these I began my search for gluten free scone recipes and cannot wait to give these a try, so stay tuned!

Cranberry scones
Cranberry scones dusted with sugar!

Next, Dan had picked out a chocolate cheesecake. I haven’t had a cheesecake in a number of years as the base of the cheesecake is full of gluten. Wildflour’s cheesecake was a chocolaty delight, free of a crust and smothered in a chocolate ganache. I split this with Dan and little one after dinner that night as I knew Dan, a cheesecake lover, would enjoy it as much as I would. After the first teaspoonful, I was instantly reminded of the beautifully light texture of cheesecake but surprised with the uniquely chocolaty flavor of this delight. Both Dan and little one devoured their portions as well, proving Wildflour’s ability to create gluten free food that tastes good and doesn’t carry the gluten free stigma  With no room left after dessert, the remaining scone and cream puff just had to wait for the days that followed.

Chocolate cheesecake covered in chocolate!

After devouring the second scone for breakfast the next day I finally was able to try my last birthday surprise, a chocolate smothered cream puff for dessert the day following. Boy was this a tremendously good dessert worth the wait! Underneath the chocolate, was an oversize cream puff, consisting of just the right lightness and flakiness, filled with a deliciously sweet cream inside. It certainly was a perfect addition in my birthday pastry box! Thanks to Dan and Wildflour’s, my birthday this year has been the sweetest yet! Head to Wildflour Bakery/Cafe today and try them for yourself, take a look here to see many of the bakery treats that they offer!

Large cream puff covered in chocolate.

Wildflour’s continues to raise the bar for gluten free cooking and baking. If only more restaurants took on the task to accommodate all diners in this fashion our dining world would become much bigger and more enjoyable. For now though, I look forward to my next trip to Wildflour’s and to see what tasty culinary experience I’m in store for. Thank you Dan and little one along with Wildflour’s for such a wonderful birthday surprise!

TIP: Search around in your neighborhood to see if you have a hidden gem like this one close by. Don’t be afraid to venture a little distance because you might just unveil a wonderful go to gluten free experience that you can indulge in from time to time.

Sincerely,

Lindsay


1 2