Whole Foods is home to a ton of gluten free and allergy free products, from fresh gluten free pasta to store brand gluten free muffins and cupcakes! As a bonus, they offer store coupons via their website for a number of products, including those that are gluten free! During my pre-Easter Easter egg hunt for gluten free ingredients, I took a look at Whole Foods’ website for coupons and couldn’t believe the number of gluten free coupons that appeared on the list. I had to fight temptation to take advantage of all of these savings that particular week since I was on a mission to only find the ingredients for Easter, however now that we’re in a food shopping week, these coupons are fair game.
This smoothie recipe is a total keeper! Much of making veggie and fruit smoothies is trial and error, figuring out what combinations of things work for you. As I’ve learned, what works for some, may not be so tasty for me. If you happen to love the berry family, including blackberries, blueberries, raspberries, and strawberries, then you will totally fall for this one! Based on my favorite fruit smoothie recipe from Chiquita Bananas, this smoothie has a fantastic combination of berries and banana, but with a few tweaks I boosted the nutritional content drastically without jeopardizing that perfectly sweet flavor. As you’ve probably learned from many of my smoothie recipes I love to add spinach, not only because it’s one of my favorite veggies and has numerous nutritional benefits, but also because it blends in with other ingredients perfectly! My Berry-Banana Flaxseed Smoothie was no exception, I not only added my traditional two cups of fresh spinach, but also used one of my favorite gluten free liquid bases, Dream Blends Unsweetend Rice and Quinoa, along with adding in two tablespoons of gluten free ground flaxseed! This smoothie is incredibly delicious and was gobbled up by myself and my little one in just a few short minutes!
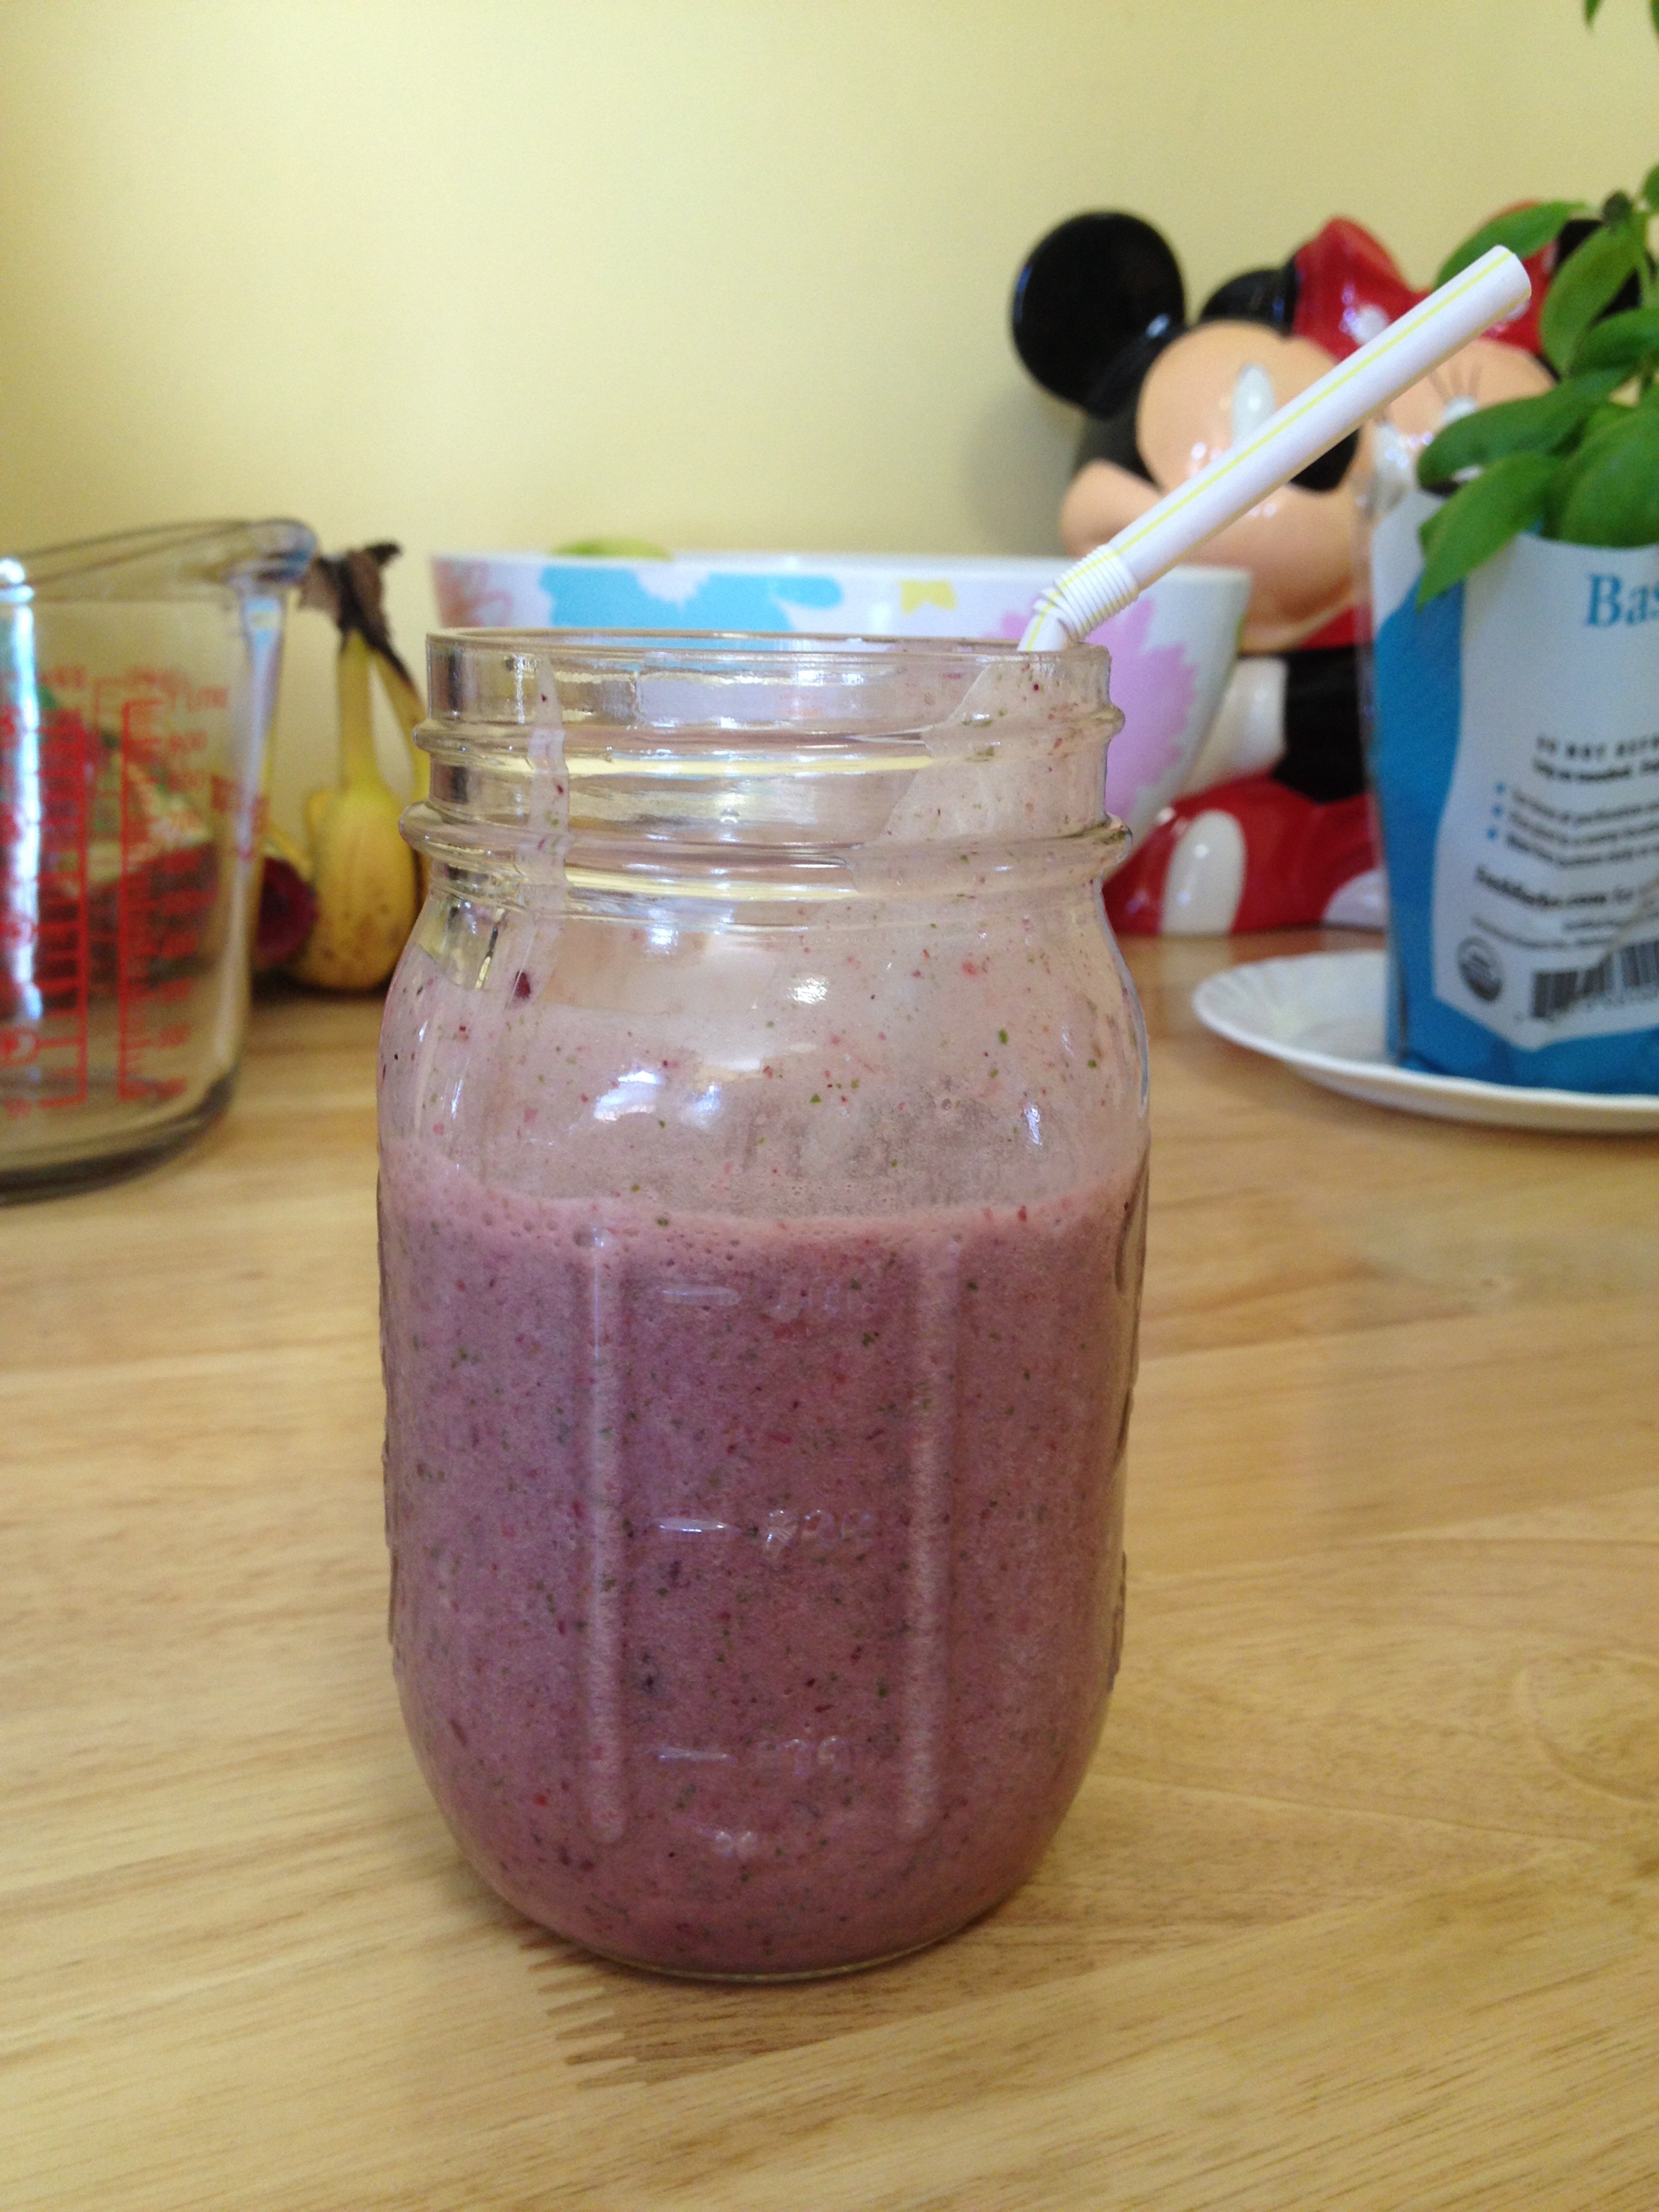
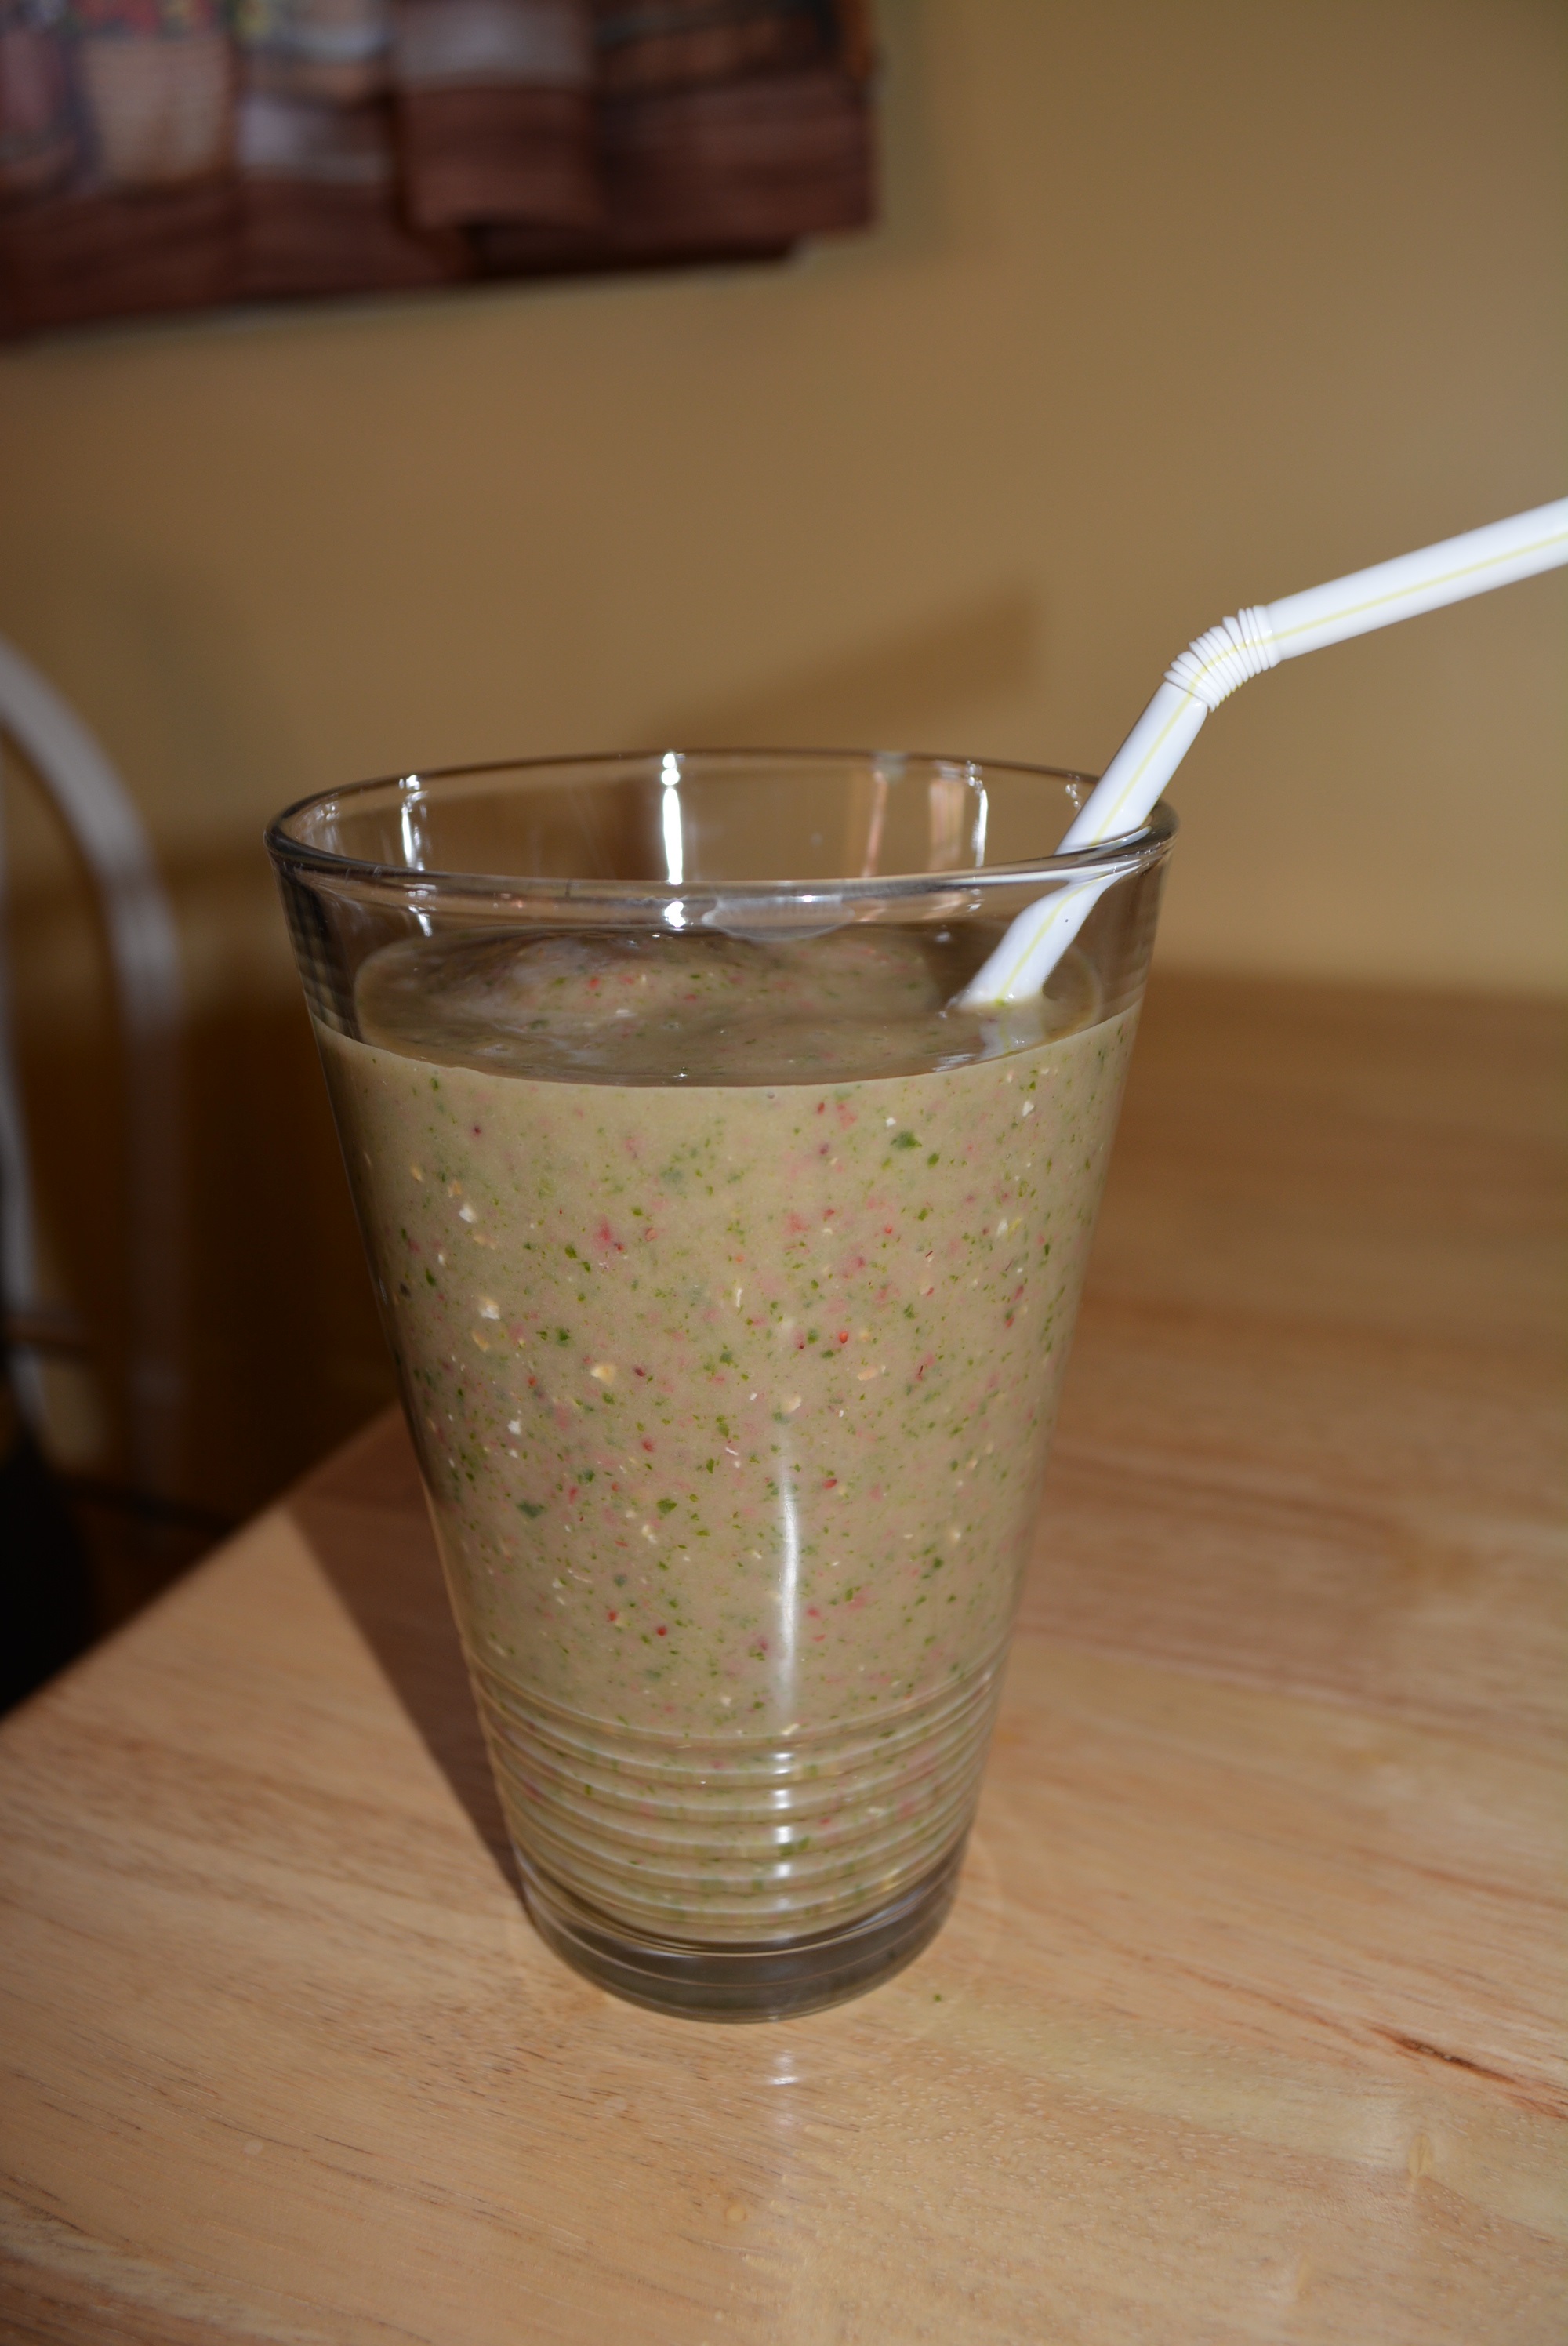
Smoothies are a fantastic start to the day, mid morning or late afternoon snack. While I certainly like my all fruit smoothies, I try to always throw in a handful or two of spinach to sneak in another veggie helping during the day. Adding veggies to smoothies is scary I know but the benefits of adding these to the mix are tremendous. So if you’re on the fence on this one, just give it a try first. Also, for an extra nutritional boost I like to add flaxseed, oatmeal, or chia seeds. In this mixed berry smoothie I decided to add a tablespoon of ground flaxseed which adds a bunch of extra protein and fiber to my daily diet. This mixed berry smoothie was a winner for both myself and my little smoothie buddy so hope you enjoy!
Ingredients:
1 cup mixed berries (ex. frozen Welch’s antioxidant fruit blend: strawberries, blueberries, dark sweet cherries, sour cherries, blackberries)
1/2 cup plain fat free regular or Greek yogurt (Stonyfield or Cabot is gluten free)
1 banana
2 handfuls fresh spinach
1 tbsp flaxseed (Bob’s Red Mill is certified gluten free)
1 tsp honey or agave nectar
1 cup fat free milk
1 cup ice
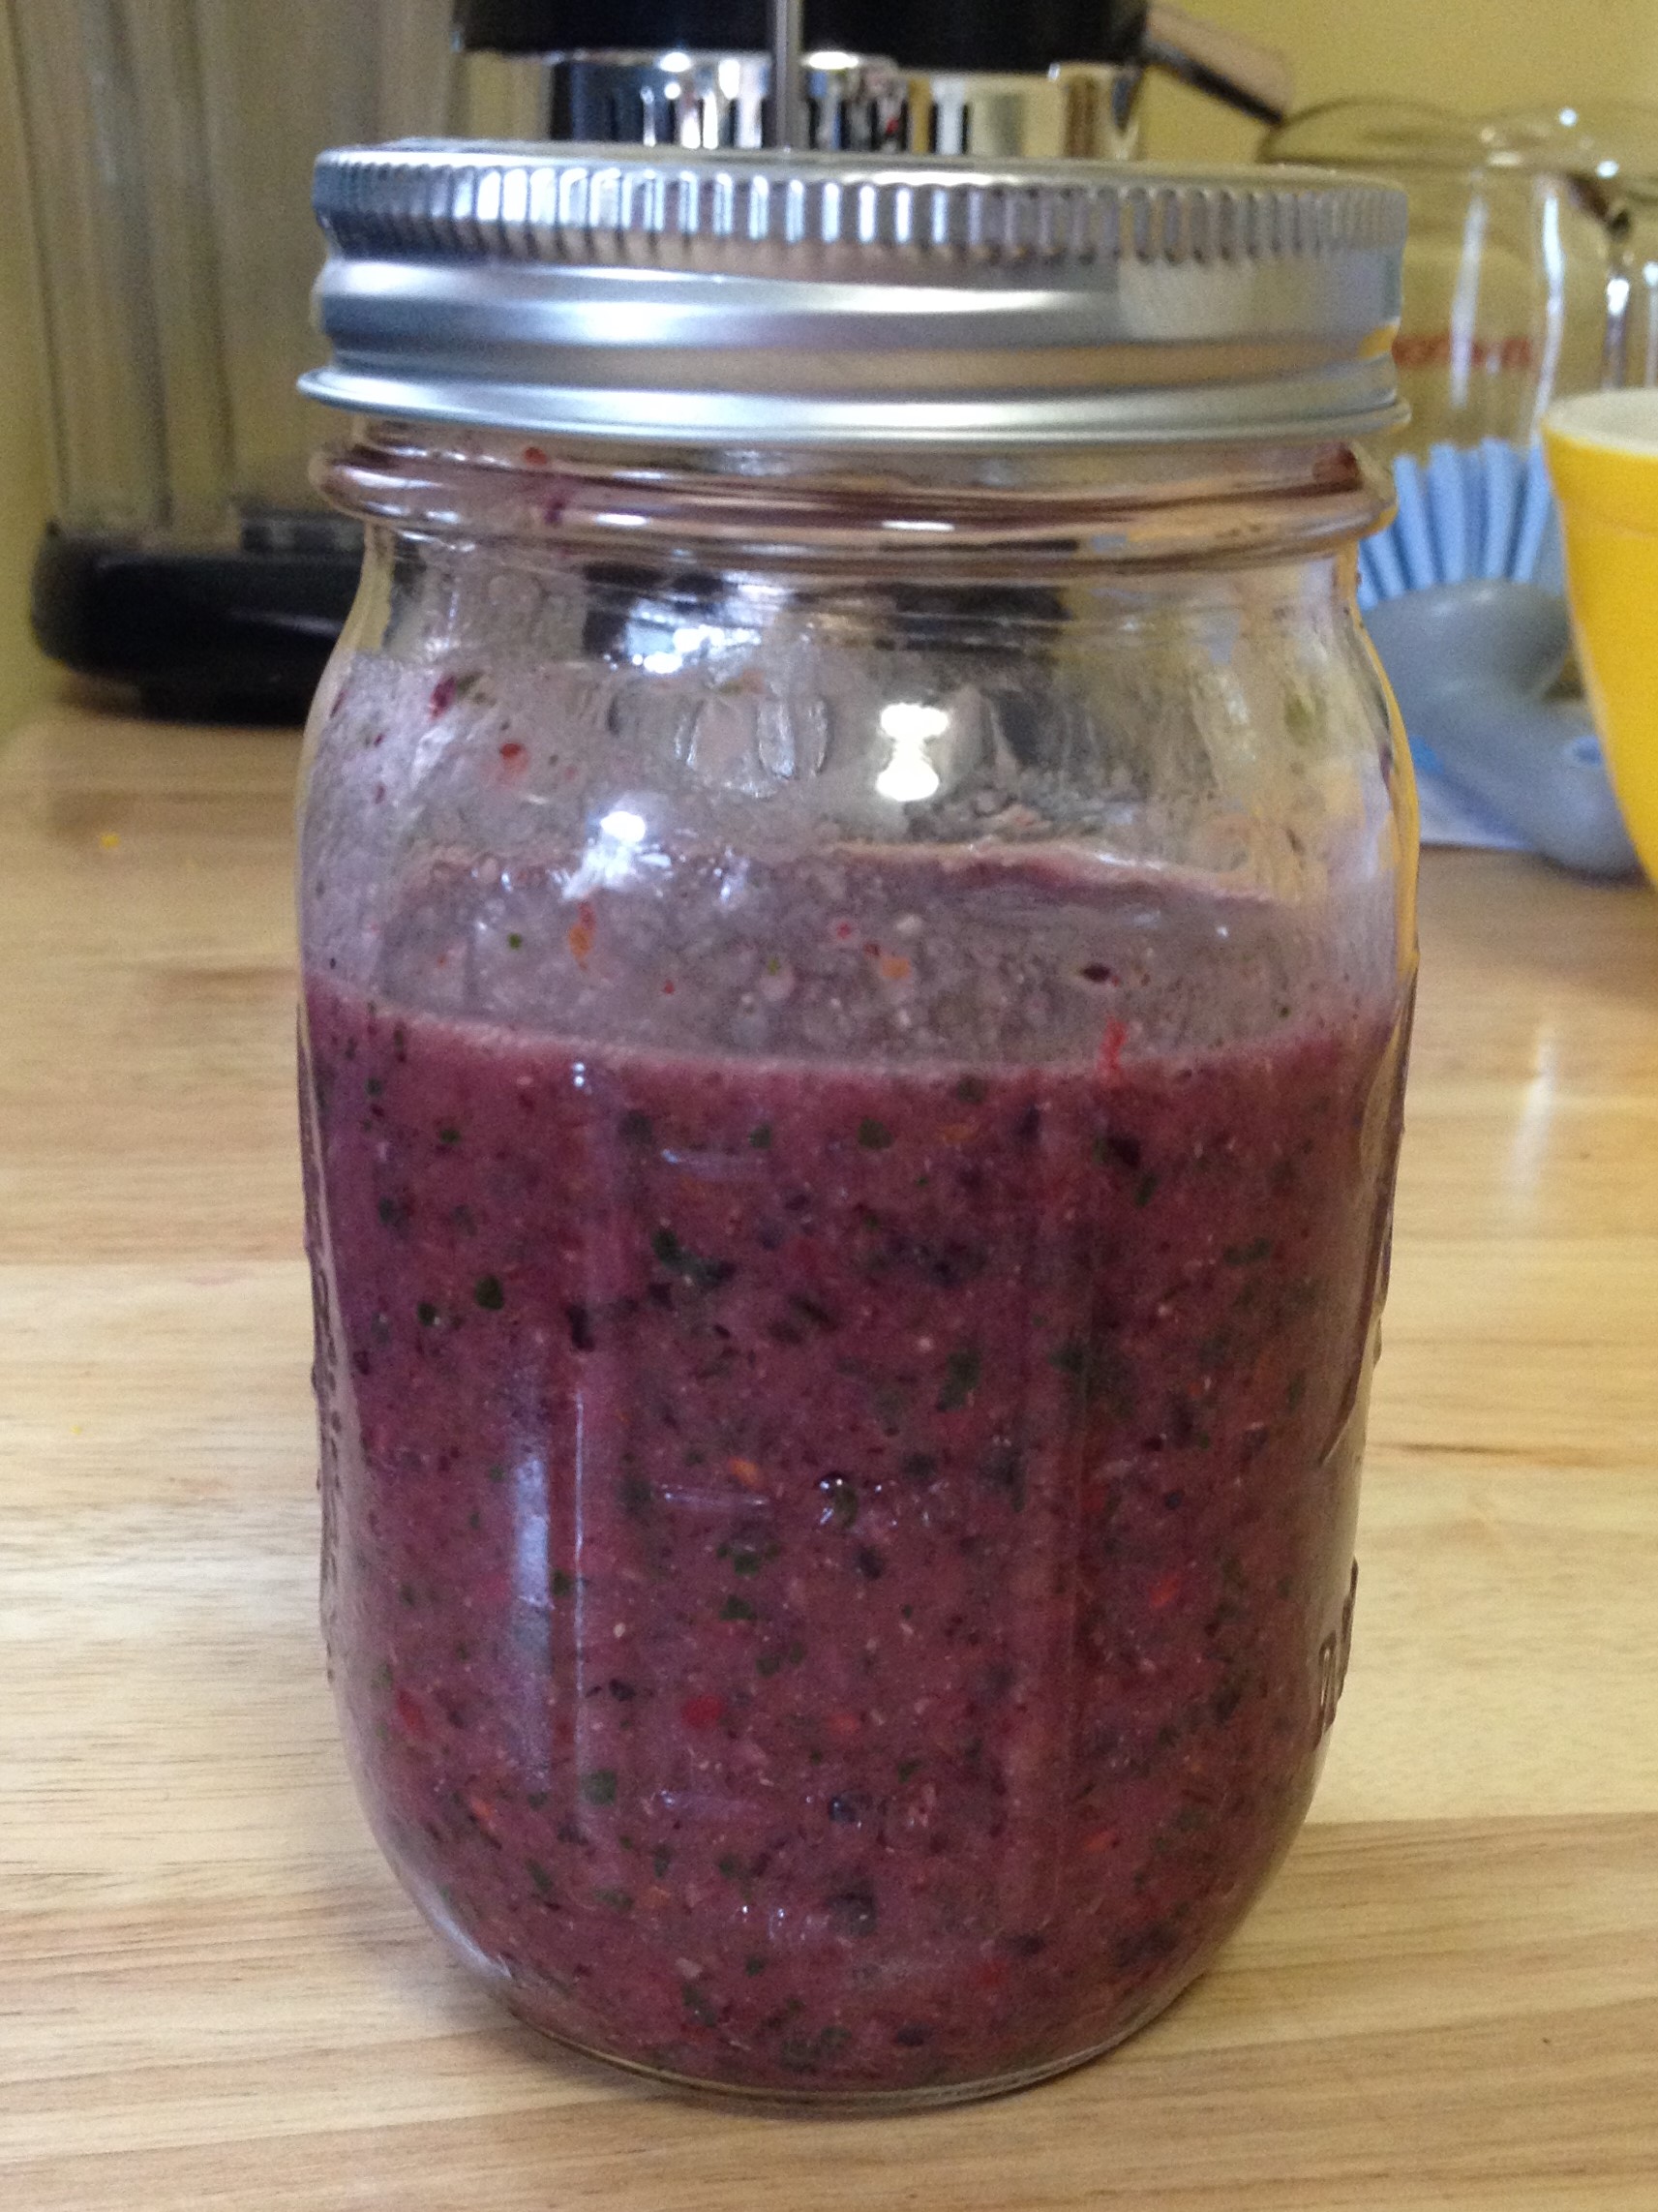
Mixed Berry Gluten Free Smoothie
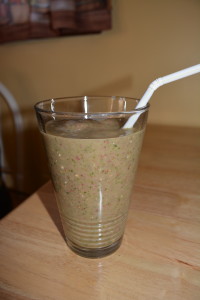
TIP: If you have any extra smoothie, store it in a sealed glass jar like the one above and enjoy the next day!
During my pregnancy, breakfast was always one of my most difficult meals of the day. My non-pregnant breakfast menu usually consisted of a bowl of cereal or either a regular or Greek yogurt both accompanied by a piece of fruit. Unfortunately, this regimen couldn’t stand up to my increased appetite during pregnancy. To bulk up my first meal of the day I turned to gluten free smoothies, Katz bagels, muffins, toast, and occasional treats of donuts. I only wish that I had come across this recipe for these delicious muffins during that time. Muffins are a perfectly filling breakfast item that can be incredibly tasty and very healthy to boot! After making these gluten free Banana Chocolate Breakfast Muffins, thanks to Sarah at Sarah Bakes Gluten Free Treats, I know my breakfasts during my future pregnancies will be filling and also incredibly satisfying.
These muffins are deliciously moist with just the right amount of sweetness, not to mention they treat you to a little bit of chocolate! They are fantastic for breakfast, especially when paired with a piece of fruit or a smoothie. You can even indulge a little and eat a whole or a half of a muffin for a late afternoon snack. Be sure to add this one to your recipe book as you’ll be making these over and over during both your pregnant and not pregnant days!
Ingredients:
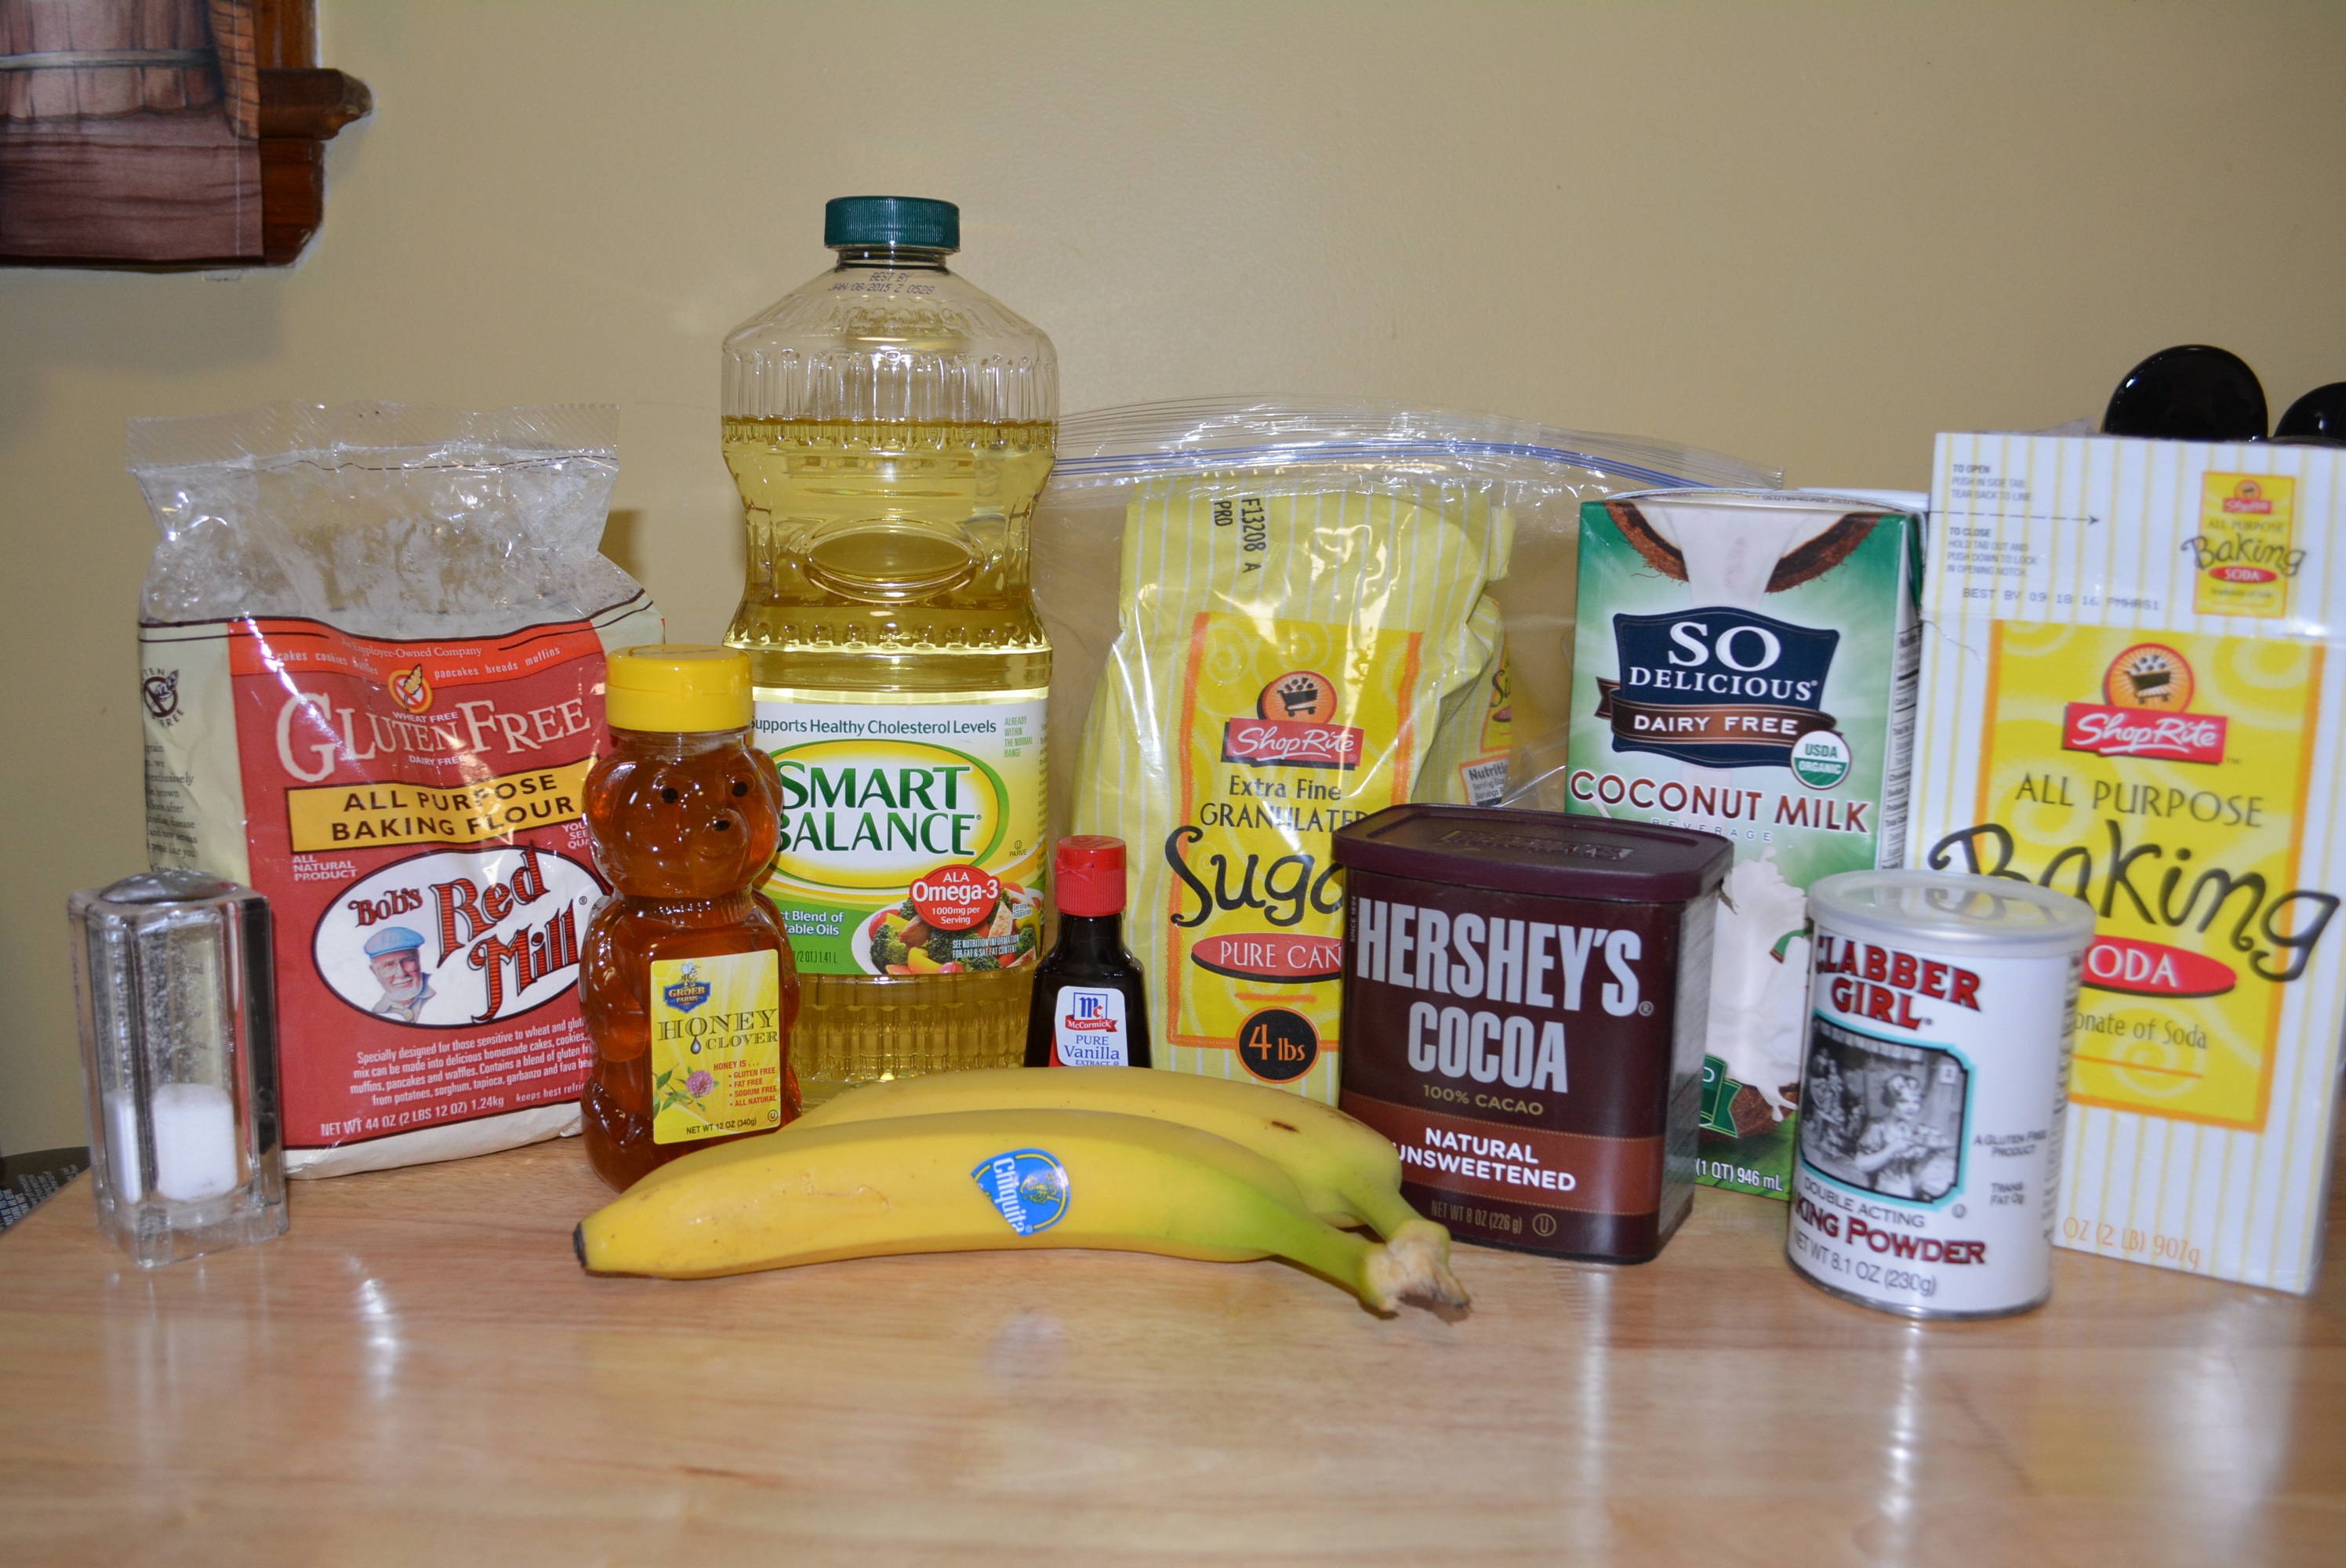
1 1/4 cup and an extra 1/4 cup gluten free flour (I used Bob’s Red Mill All Purpose Flour)
1 tsp baking powder
1/2 tsp baking soda
1/2 tsp salt
2 bananas mashed
1/2 cup unsweetened coconut milk (I used So Delicious)
1/2 cup sugar
1/3 cup canola oil (I used Smart Balance)
1/4 cup pure honey (I used Groeb Farms)
1 tsp pure vanilla extract (McCormick)
1/4 cup unsweetened cocoa powder (I used Hershey)
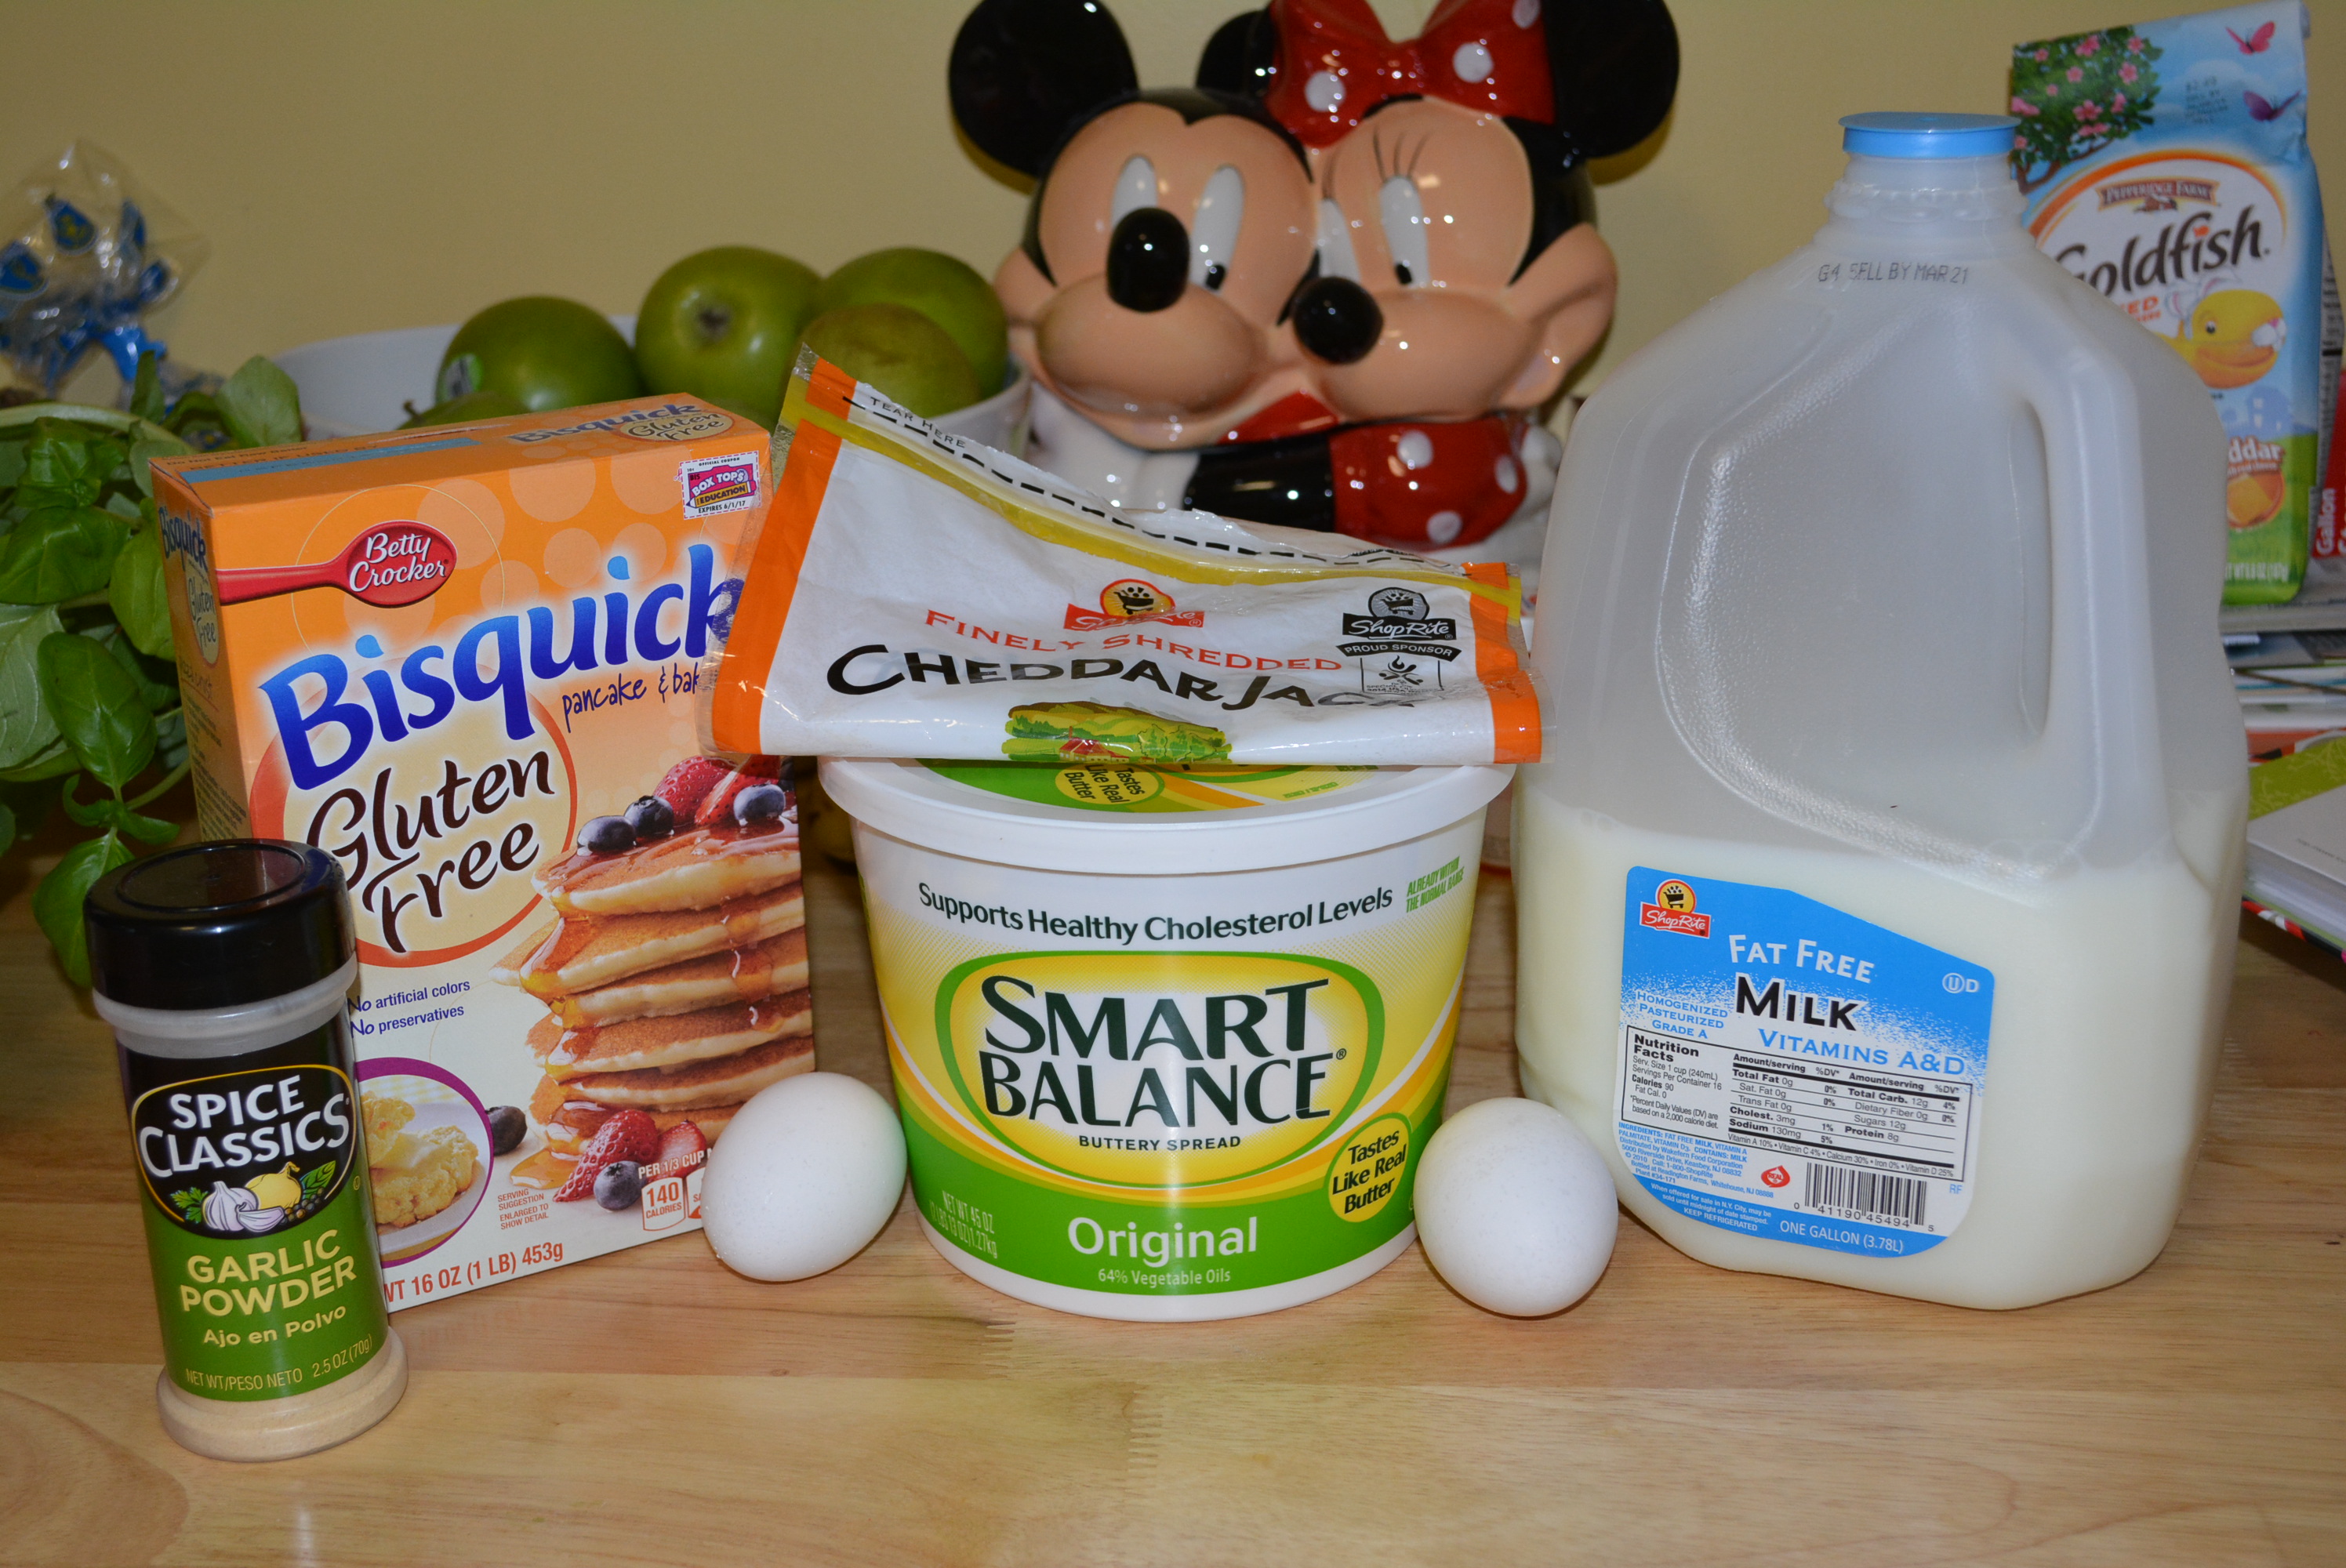
Ingredients for these delicious Gluten Free Banana Chocolate Breakfast Muffins.
Directions:
Preheat oven to 350 degrees. Add 12 paper liners to a muffin tin or spray tin with nonstick cooking spray.
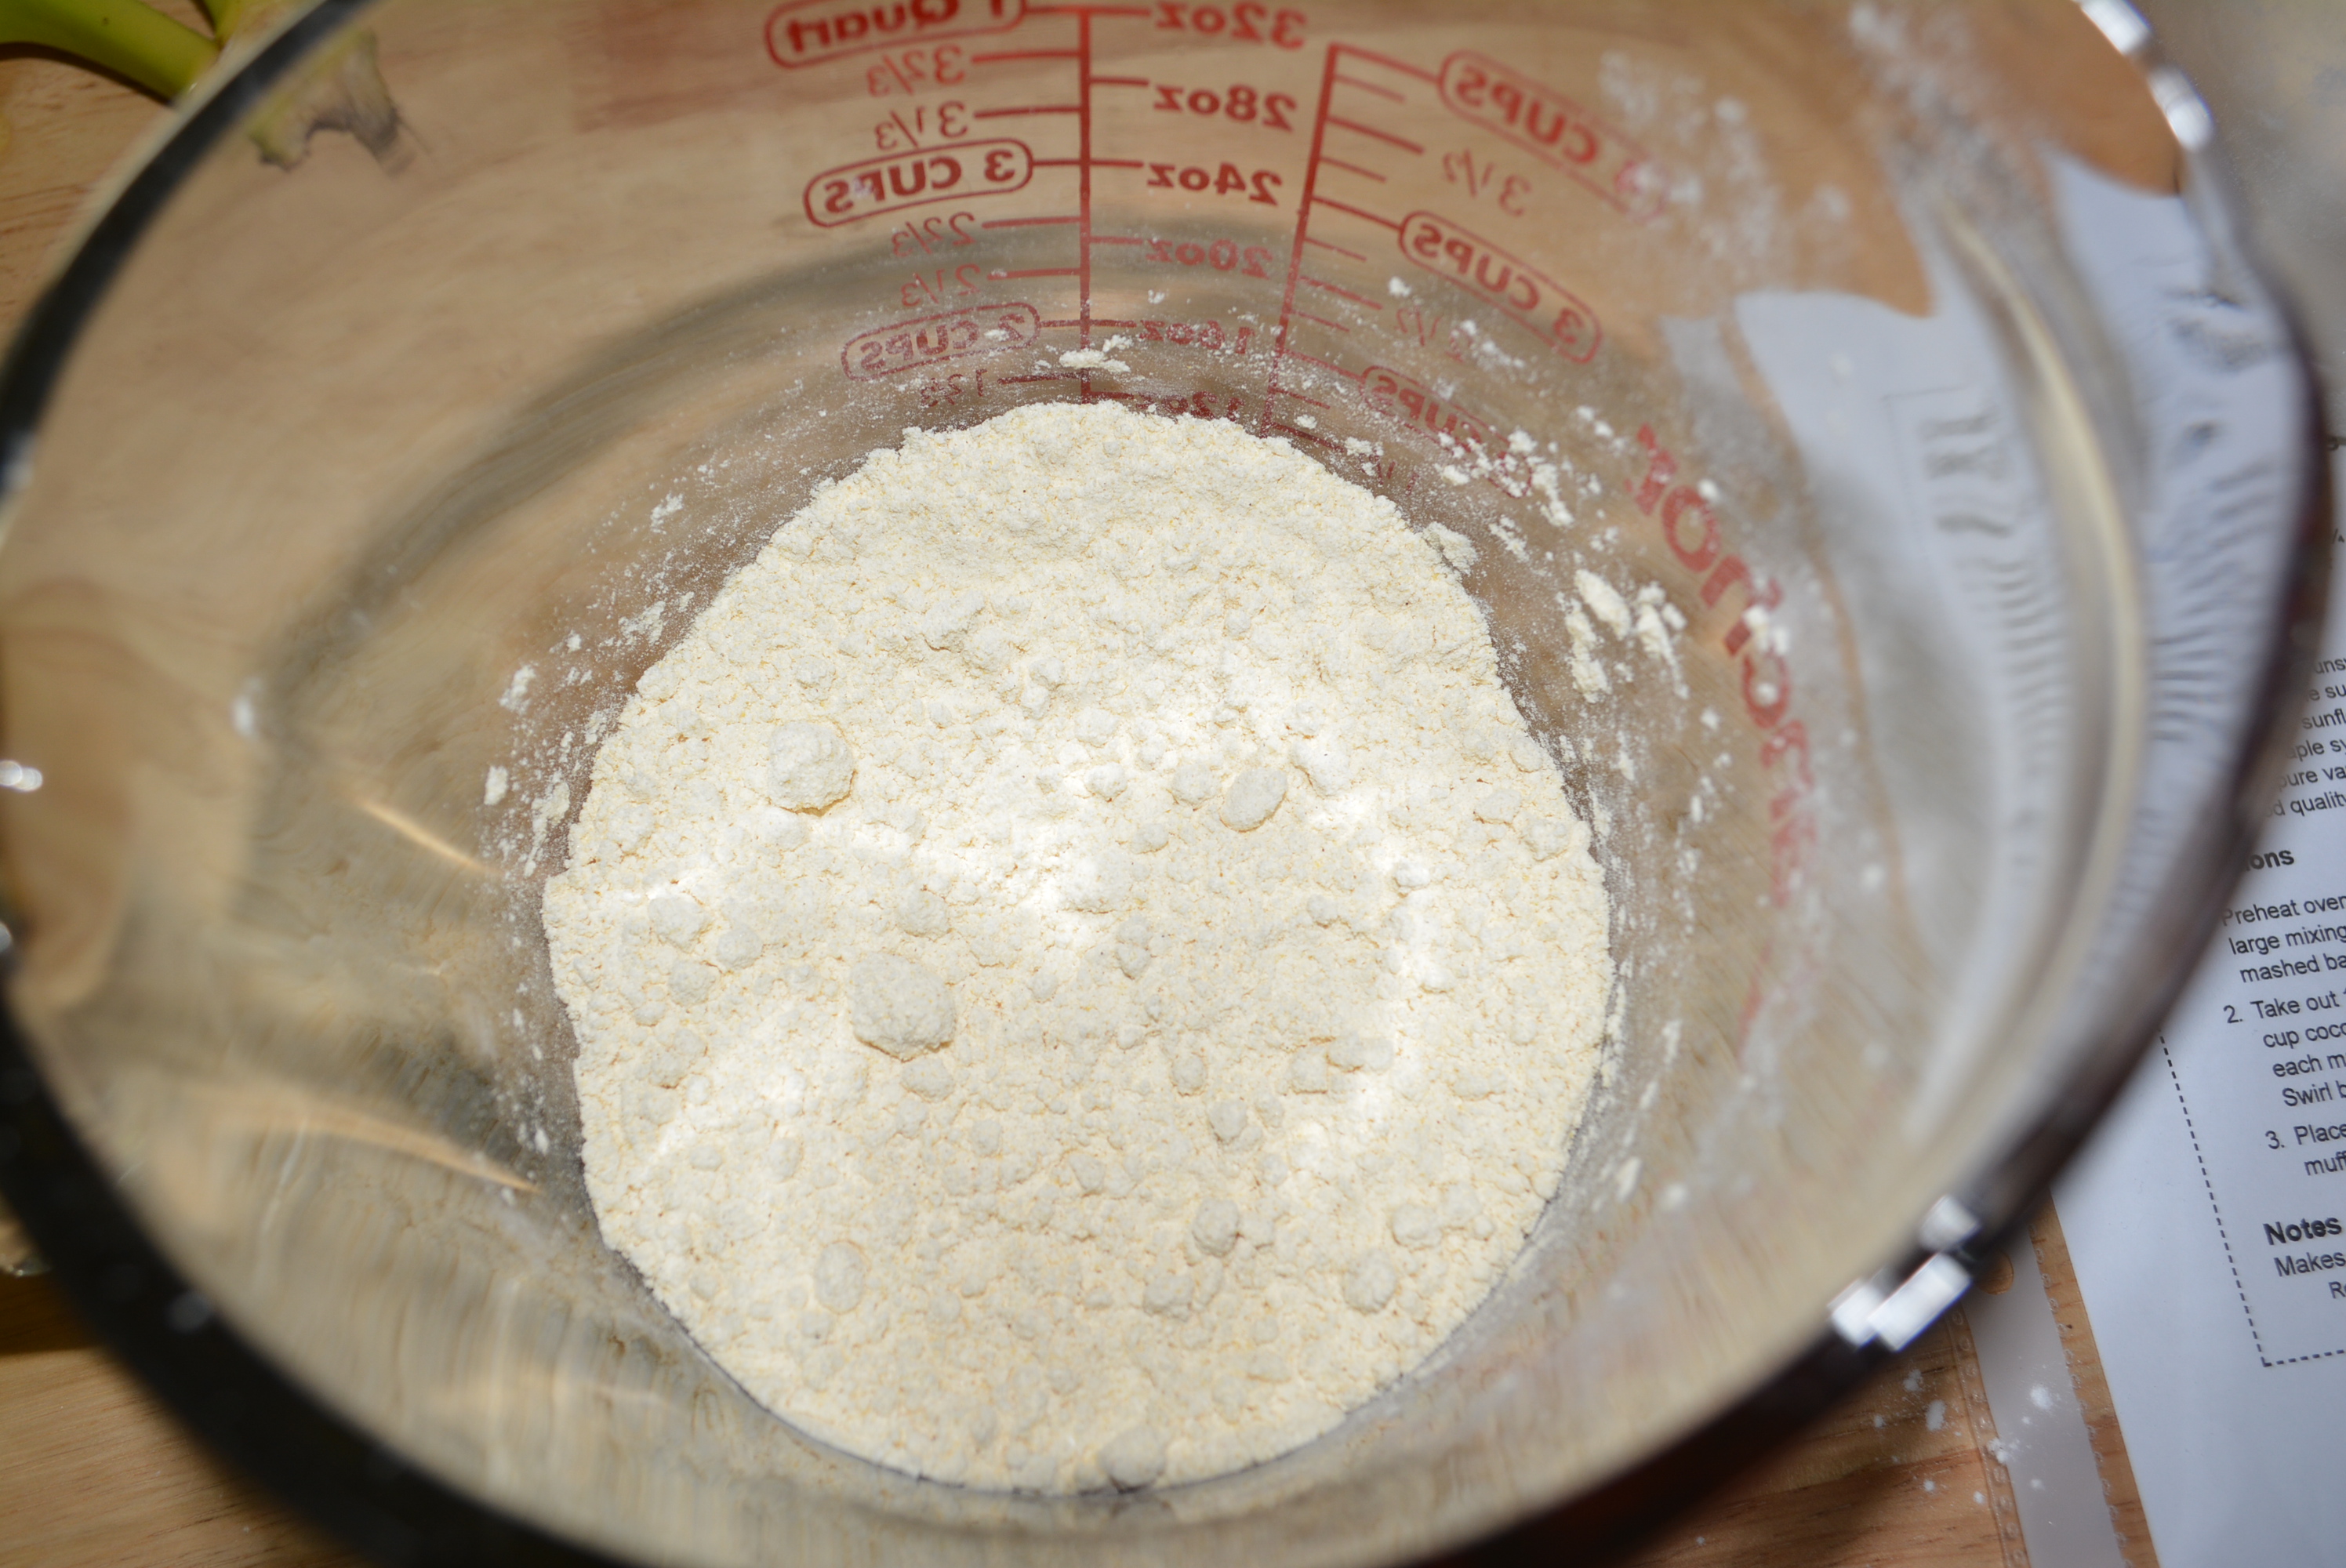
First, combine most of the dry ingredients including 1 1/4 cup flour, 1 tsp baking powder, 1/2 tsp baking soda, and a 1/2 tsp salt. To mix well and also break up any clumps in the mixture, I like to use a whisk.
Mix some of the dry ingredients first.
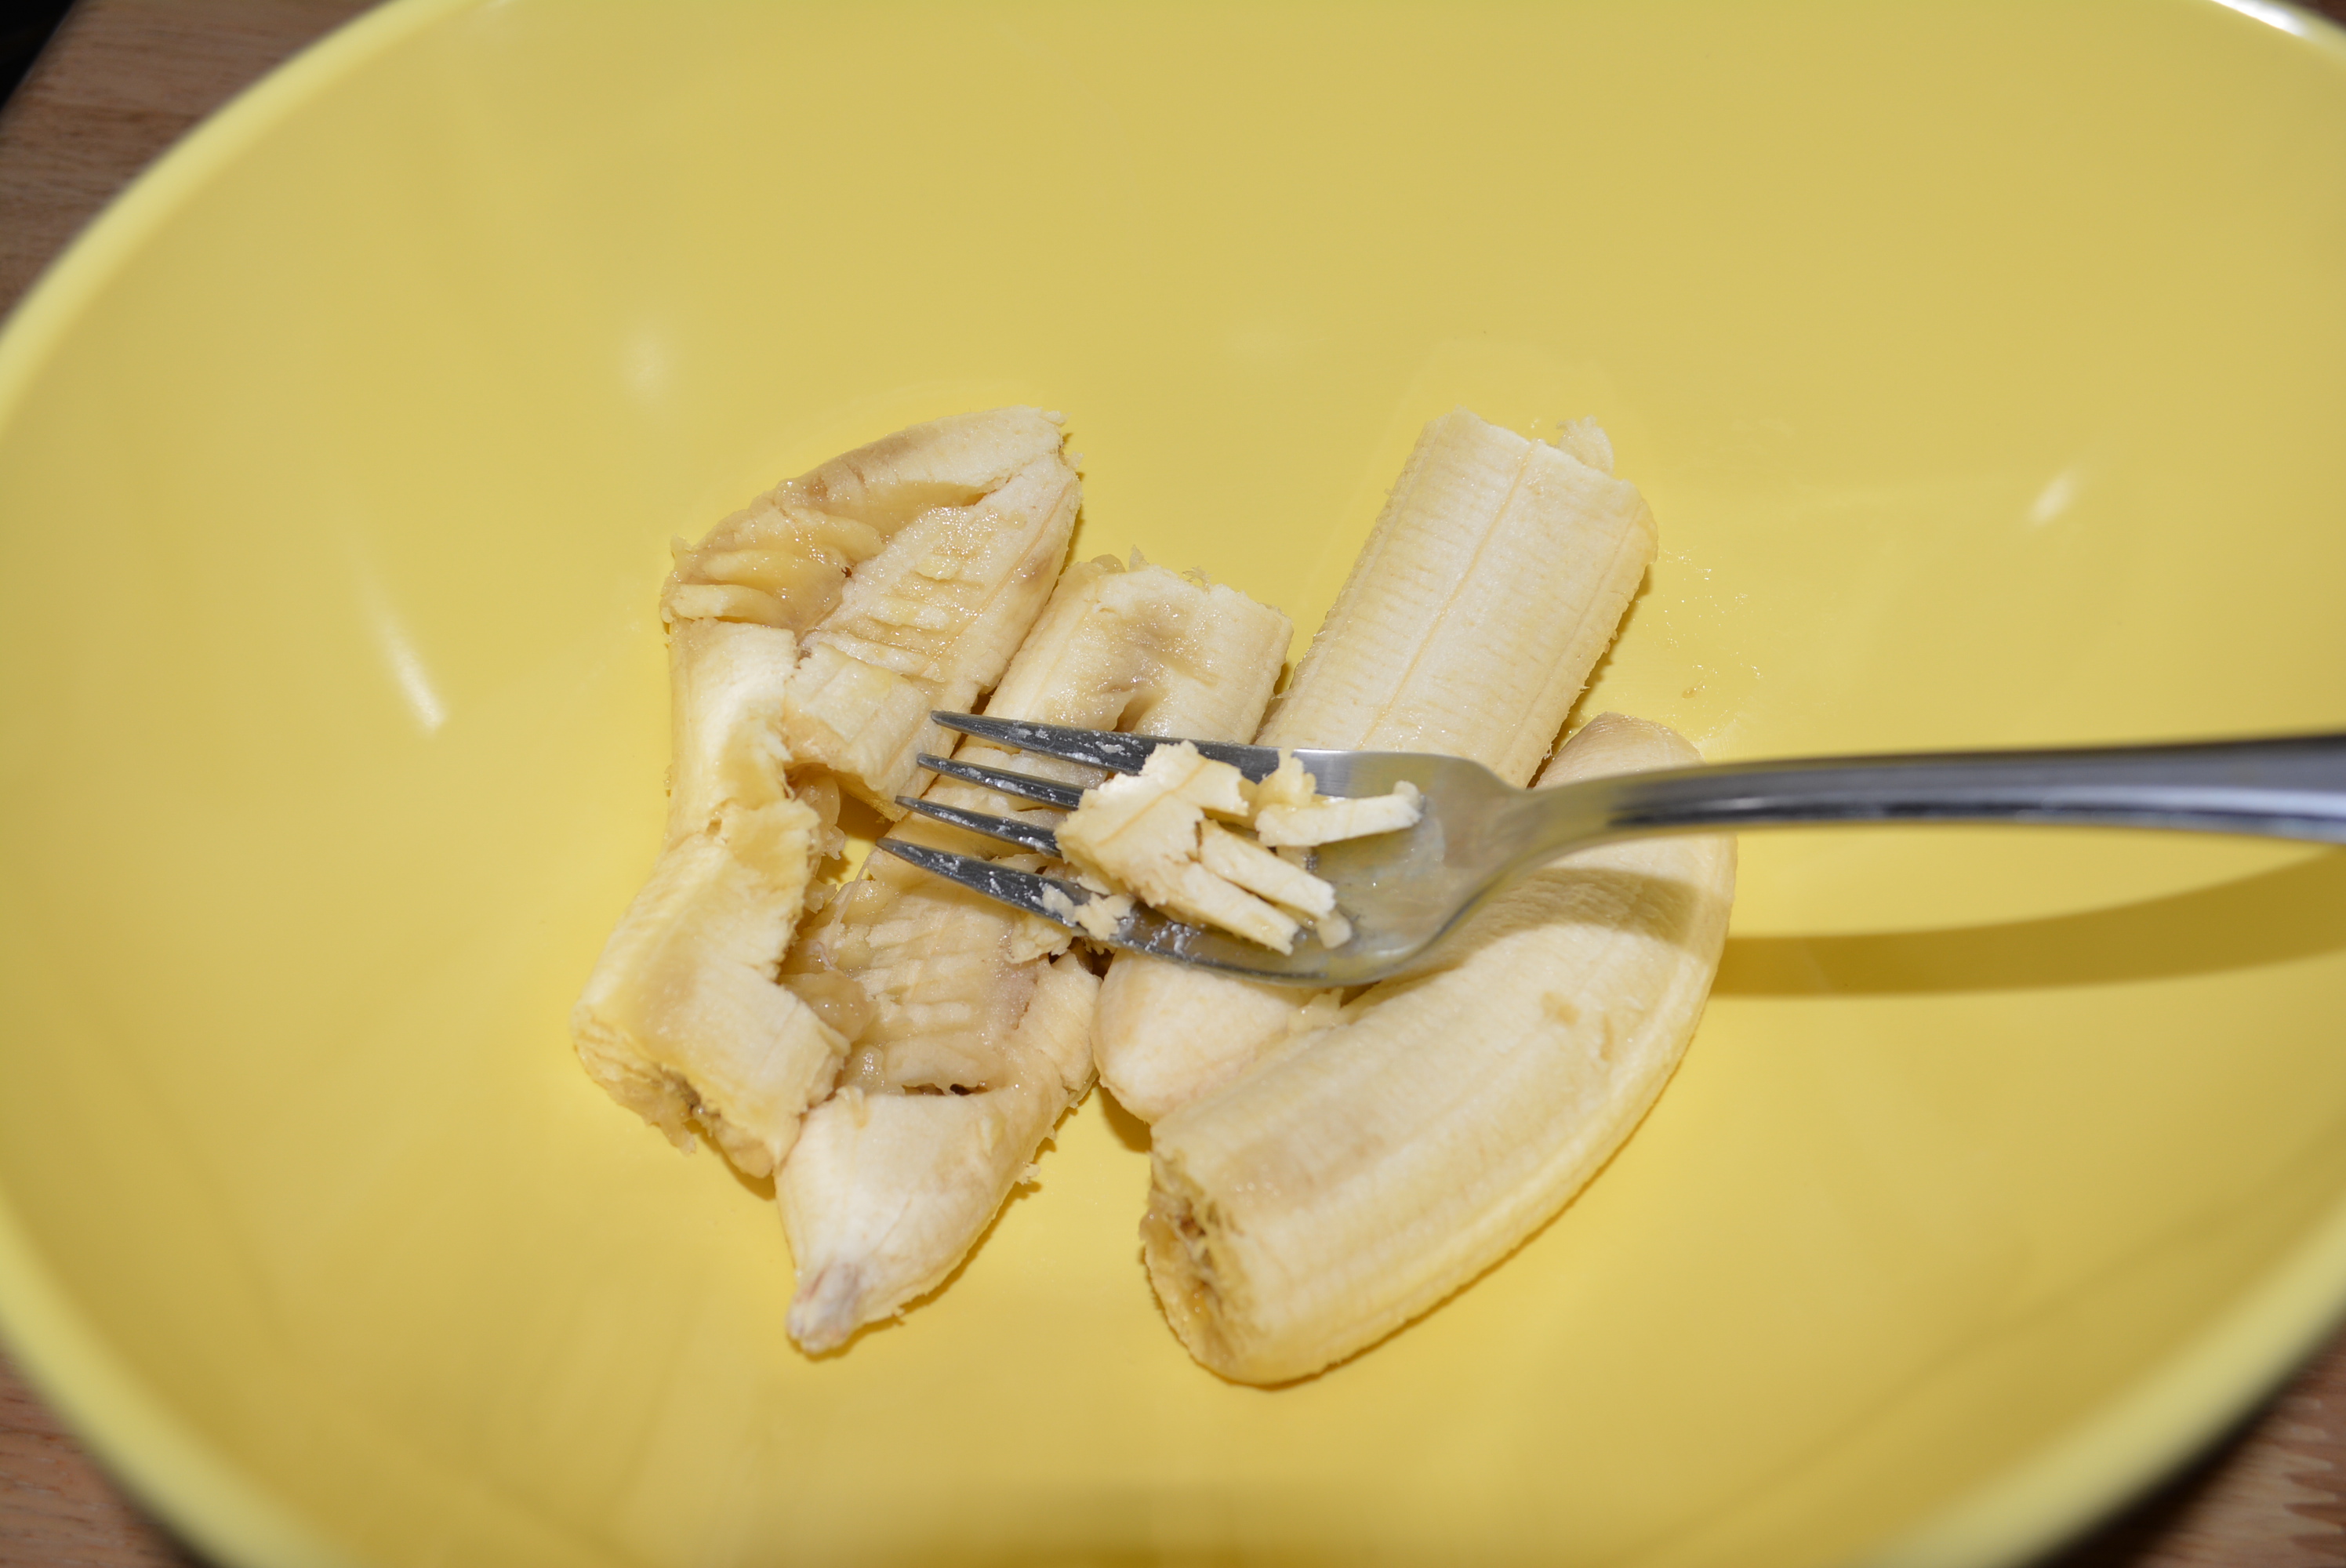
Peel and mash two bananas in a large mixing bowl.
Mash two bananas.
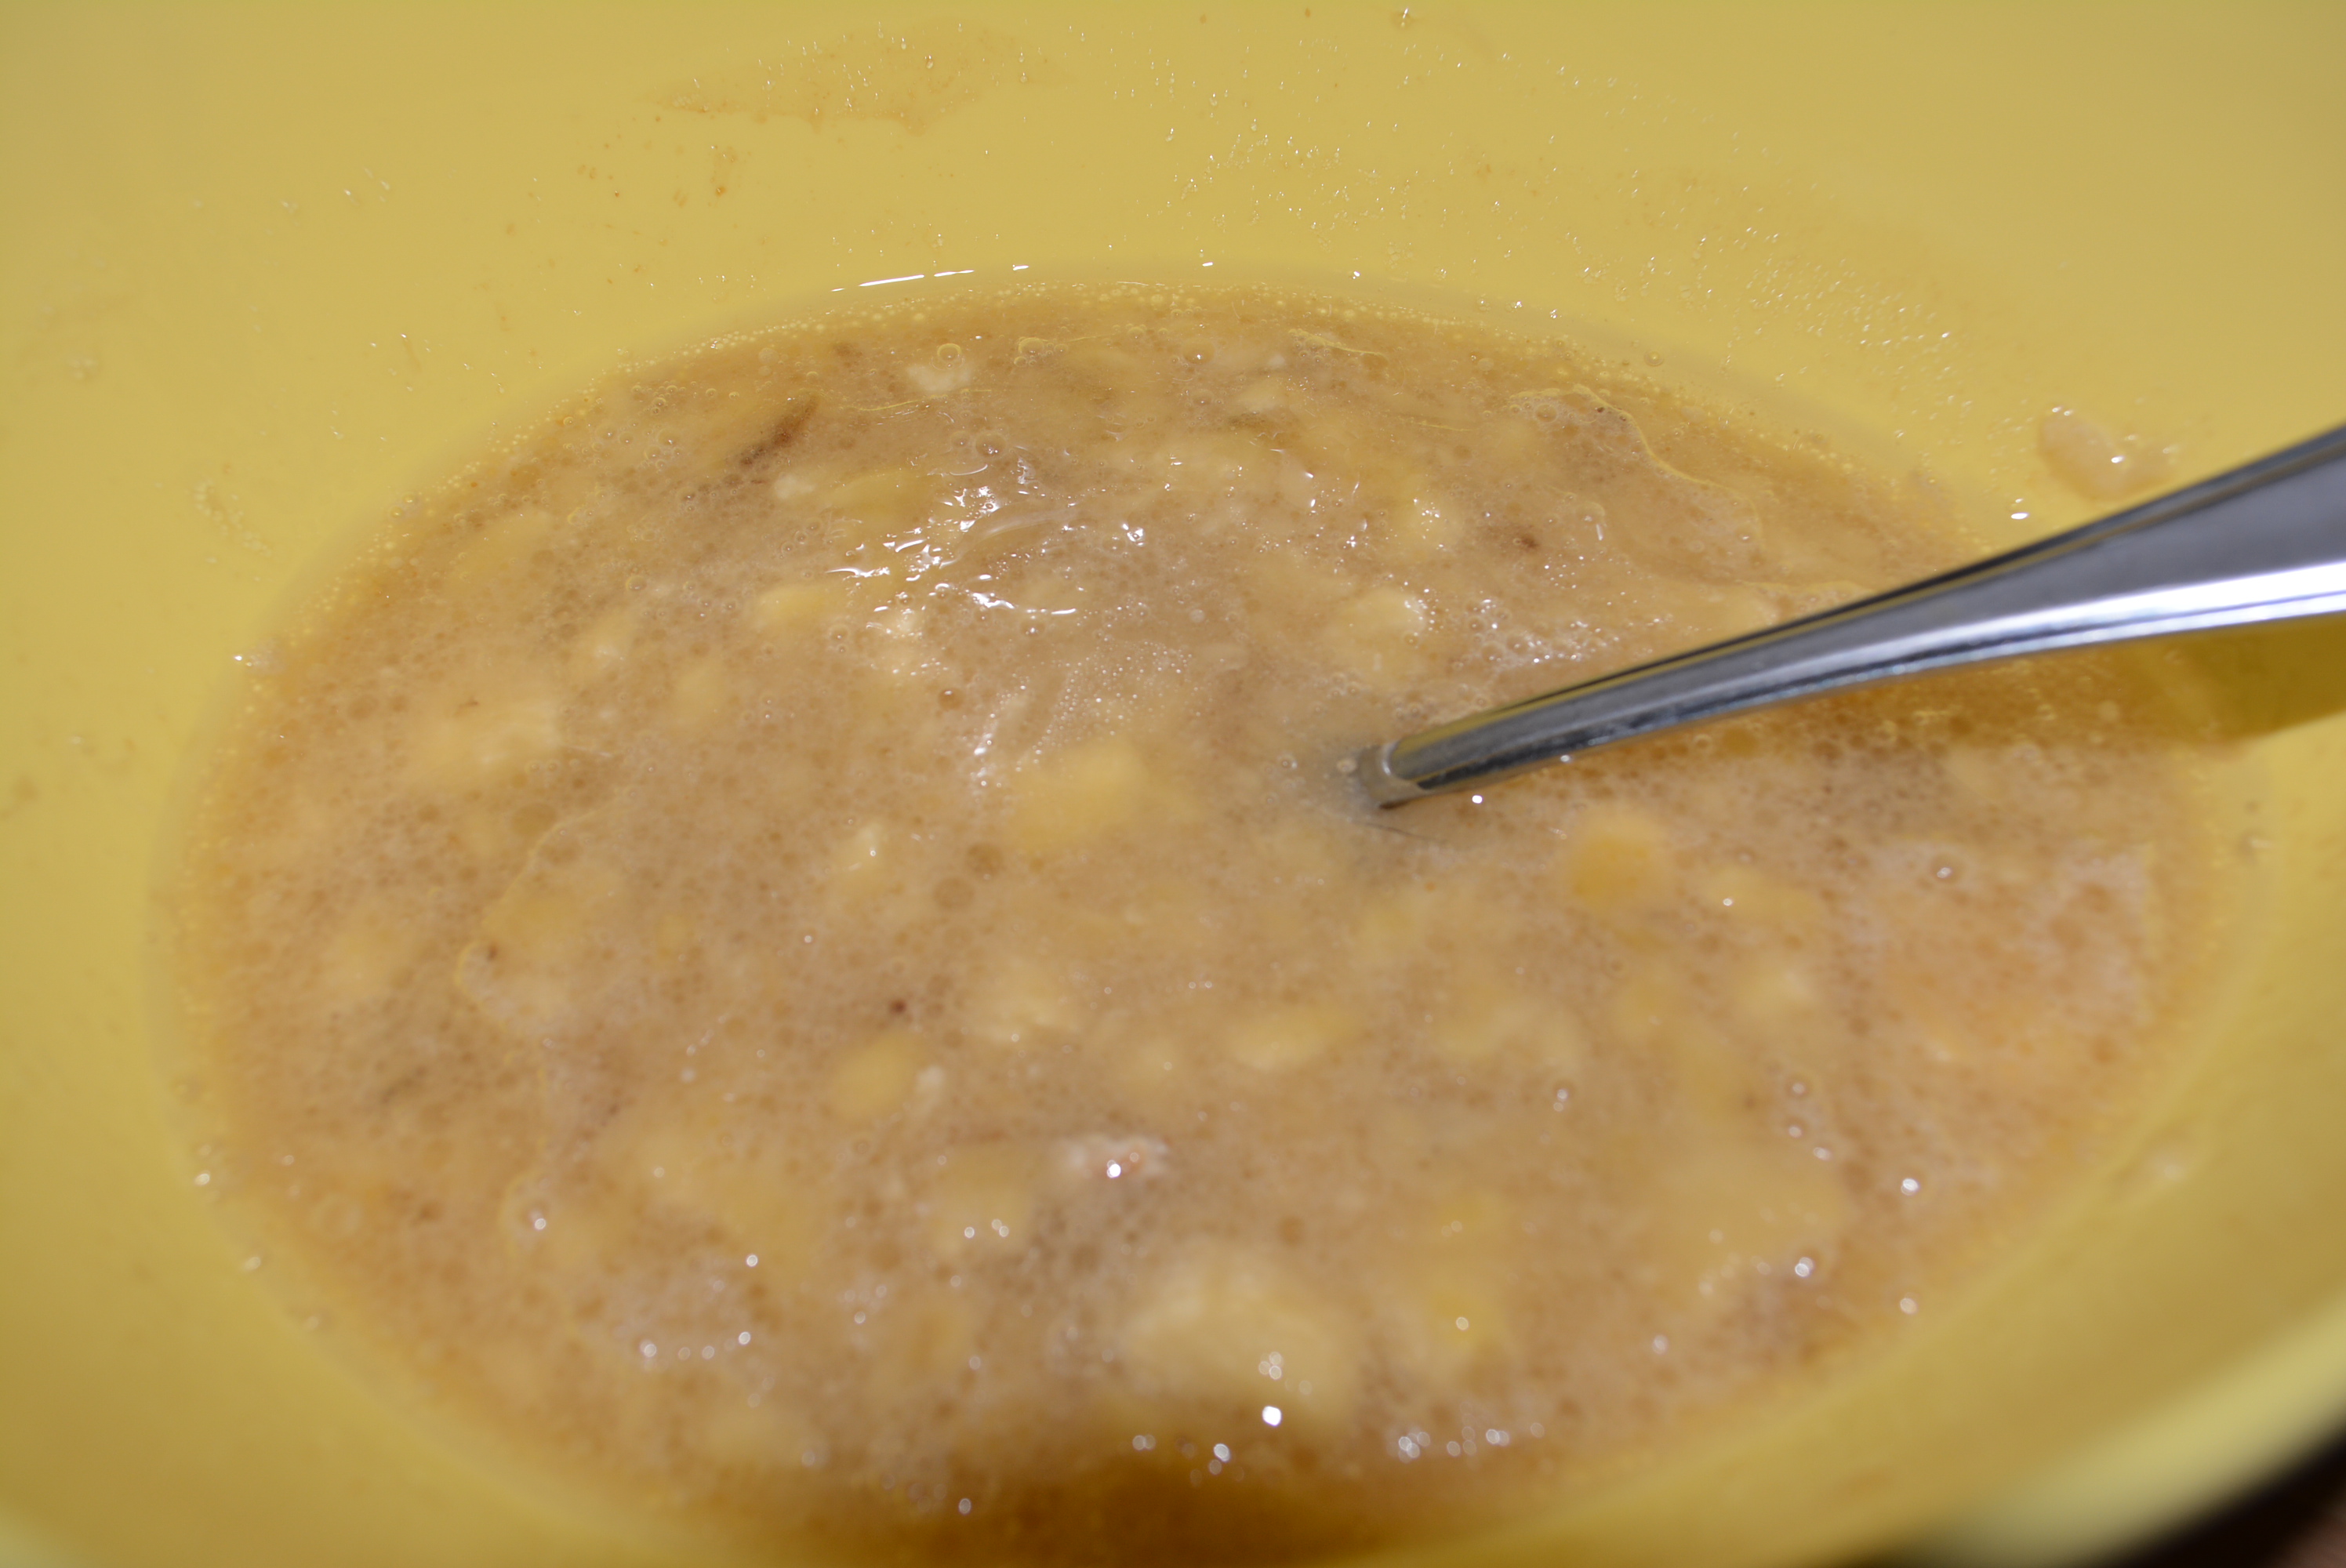
To the bananas, mix in 1/2 cup unsweetened coconut milk, 1/2 cup sugar, 1/3 cup oil, 1/4 cup honey, and 1 tsp vanilla.
Banana mixture.
To the wet ingredients, add in the flour mixture and stir to combine.
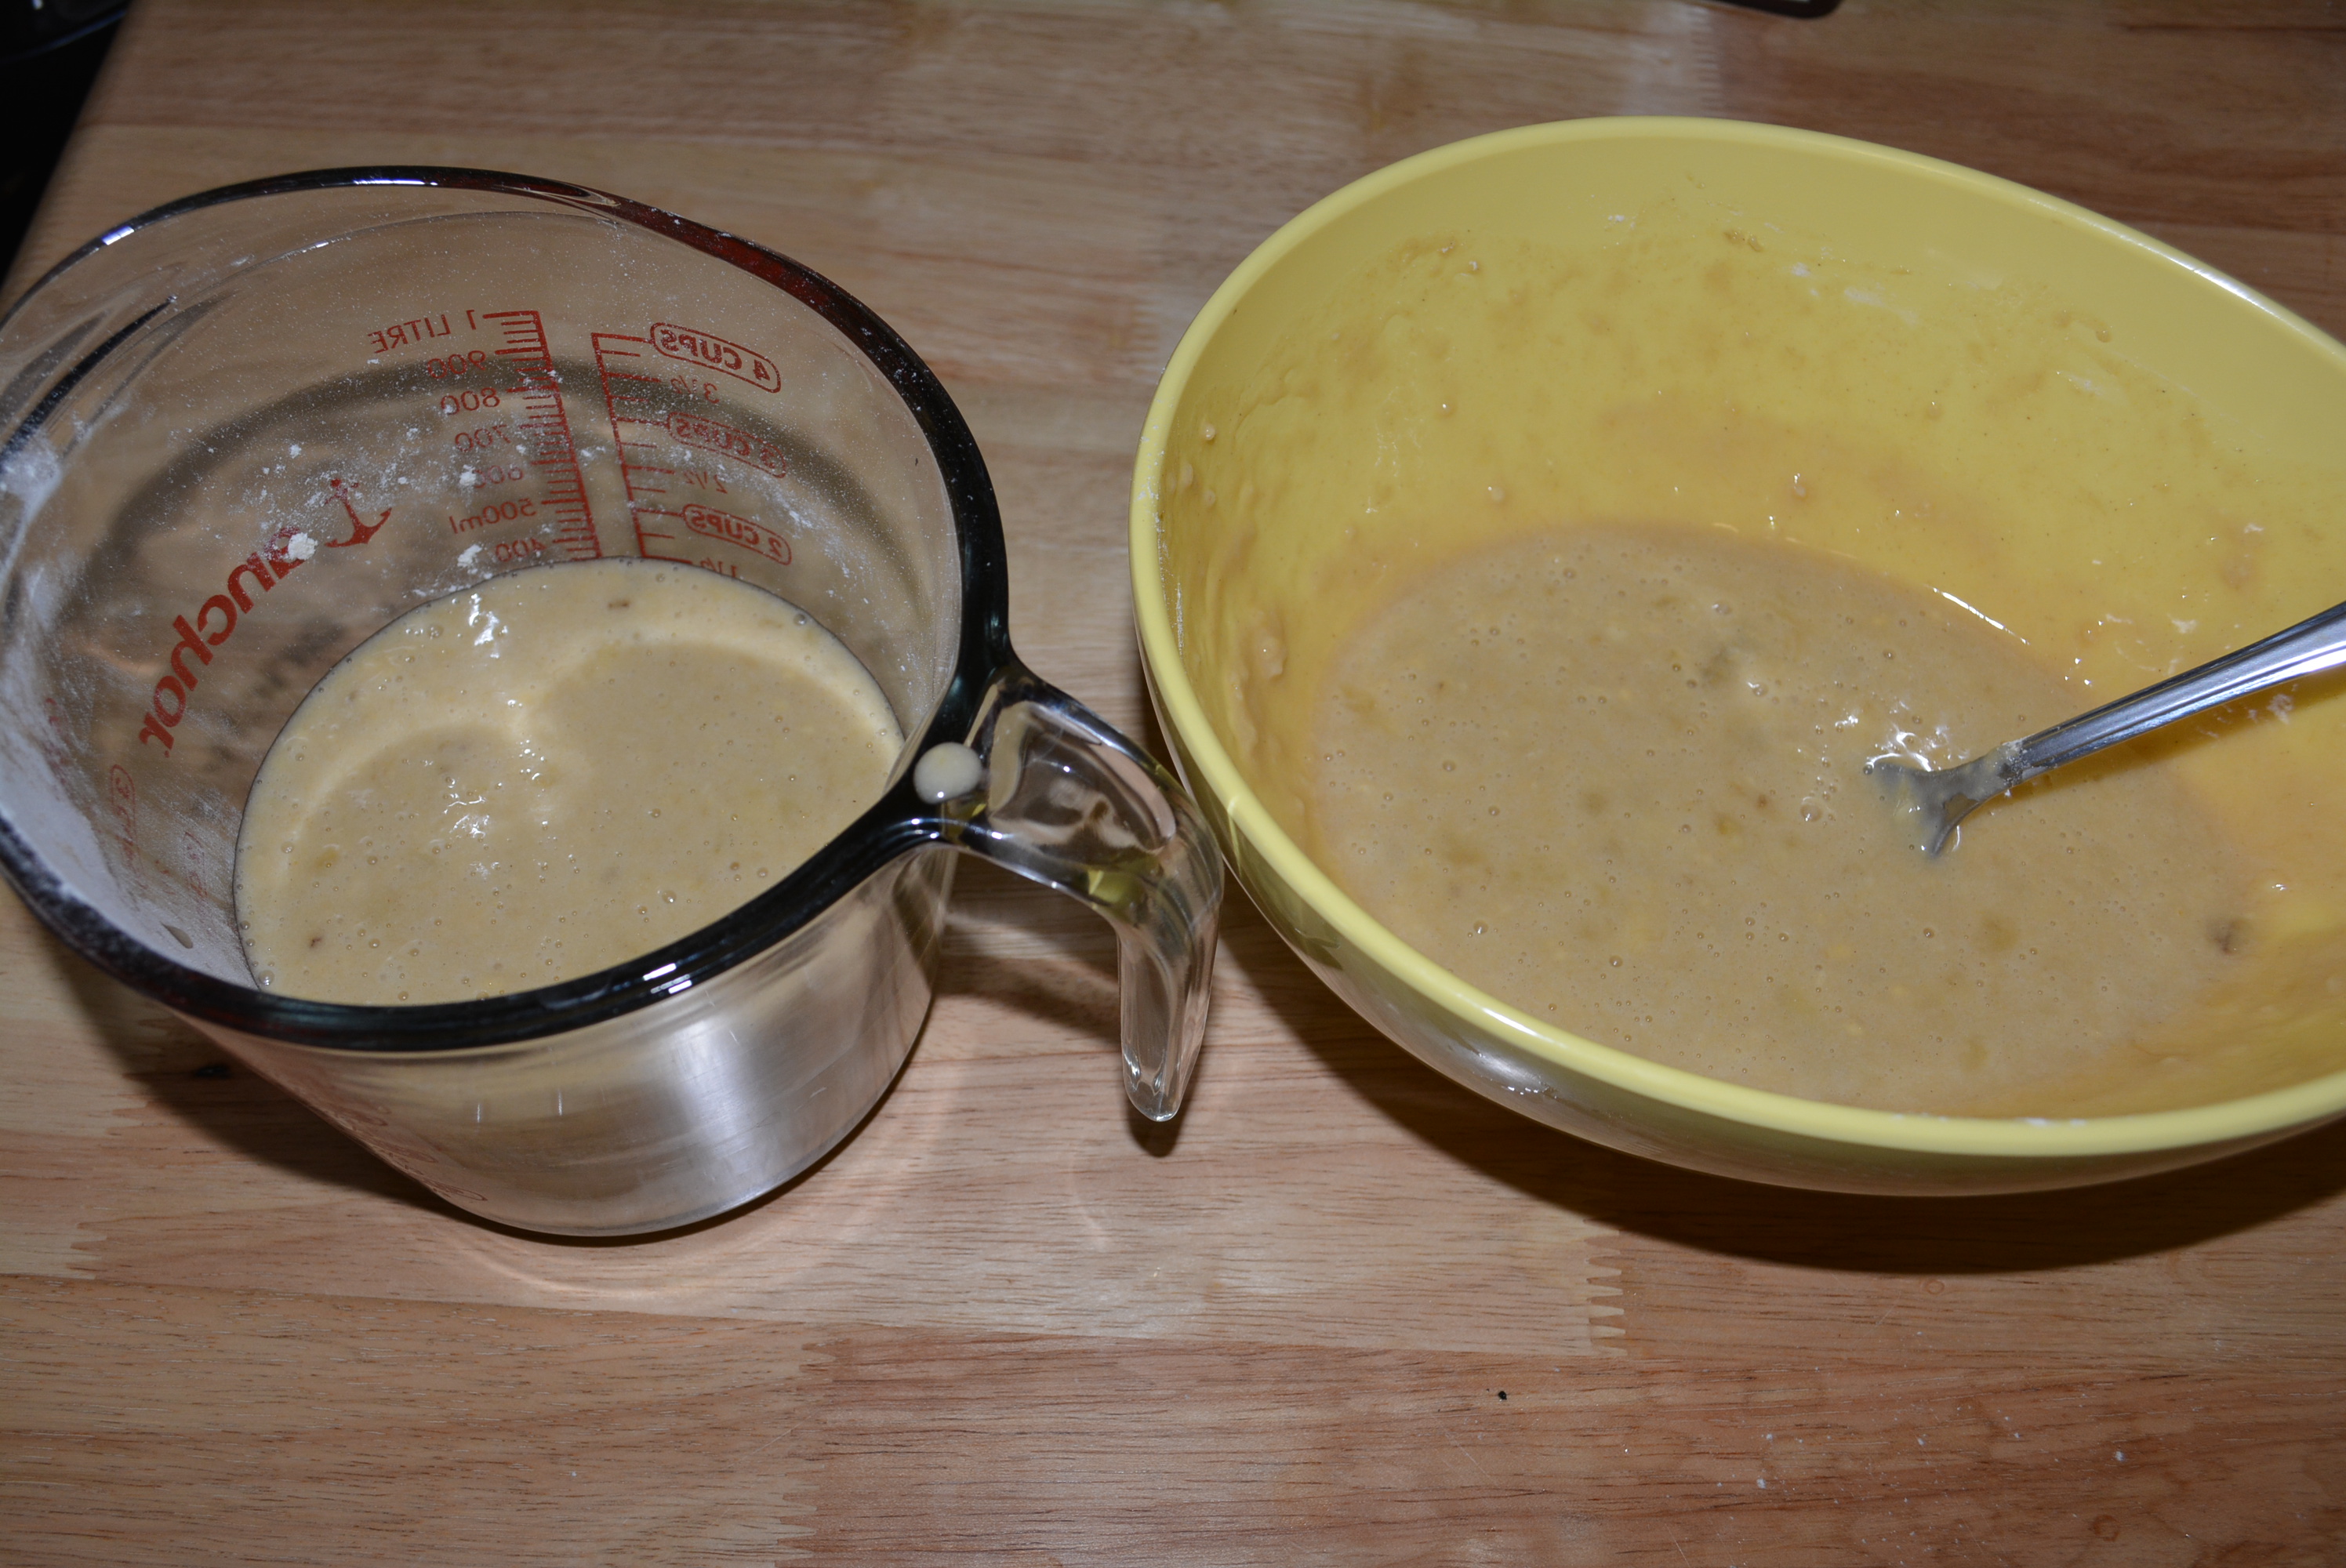
Now you’re going to split the batter into two by removing 1 1/2 cups of the batter and pouring into a separate mixing bowl (I just added this to a larger measuring cup). With these separated batters, you’re going to prepare a chocolaty version and a banana version to eventually mix in the muffin tins.
Divide banana batter into two.
To the new batter, mix in 1/4 cup additional gluten free flour until all is combined.
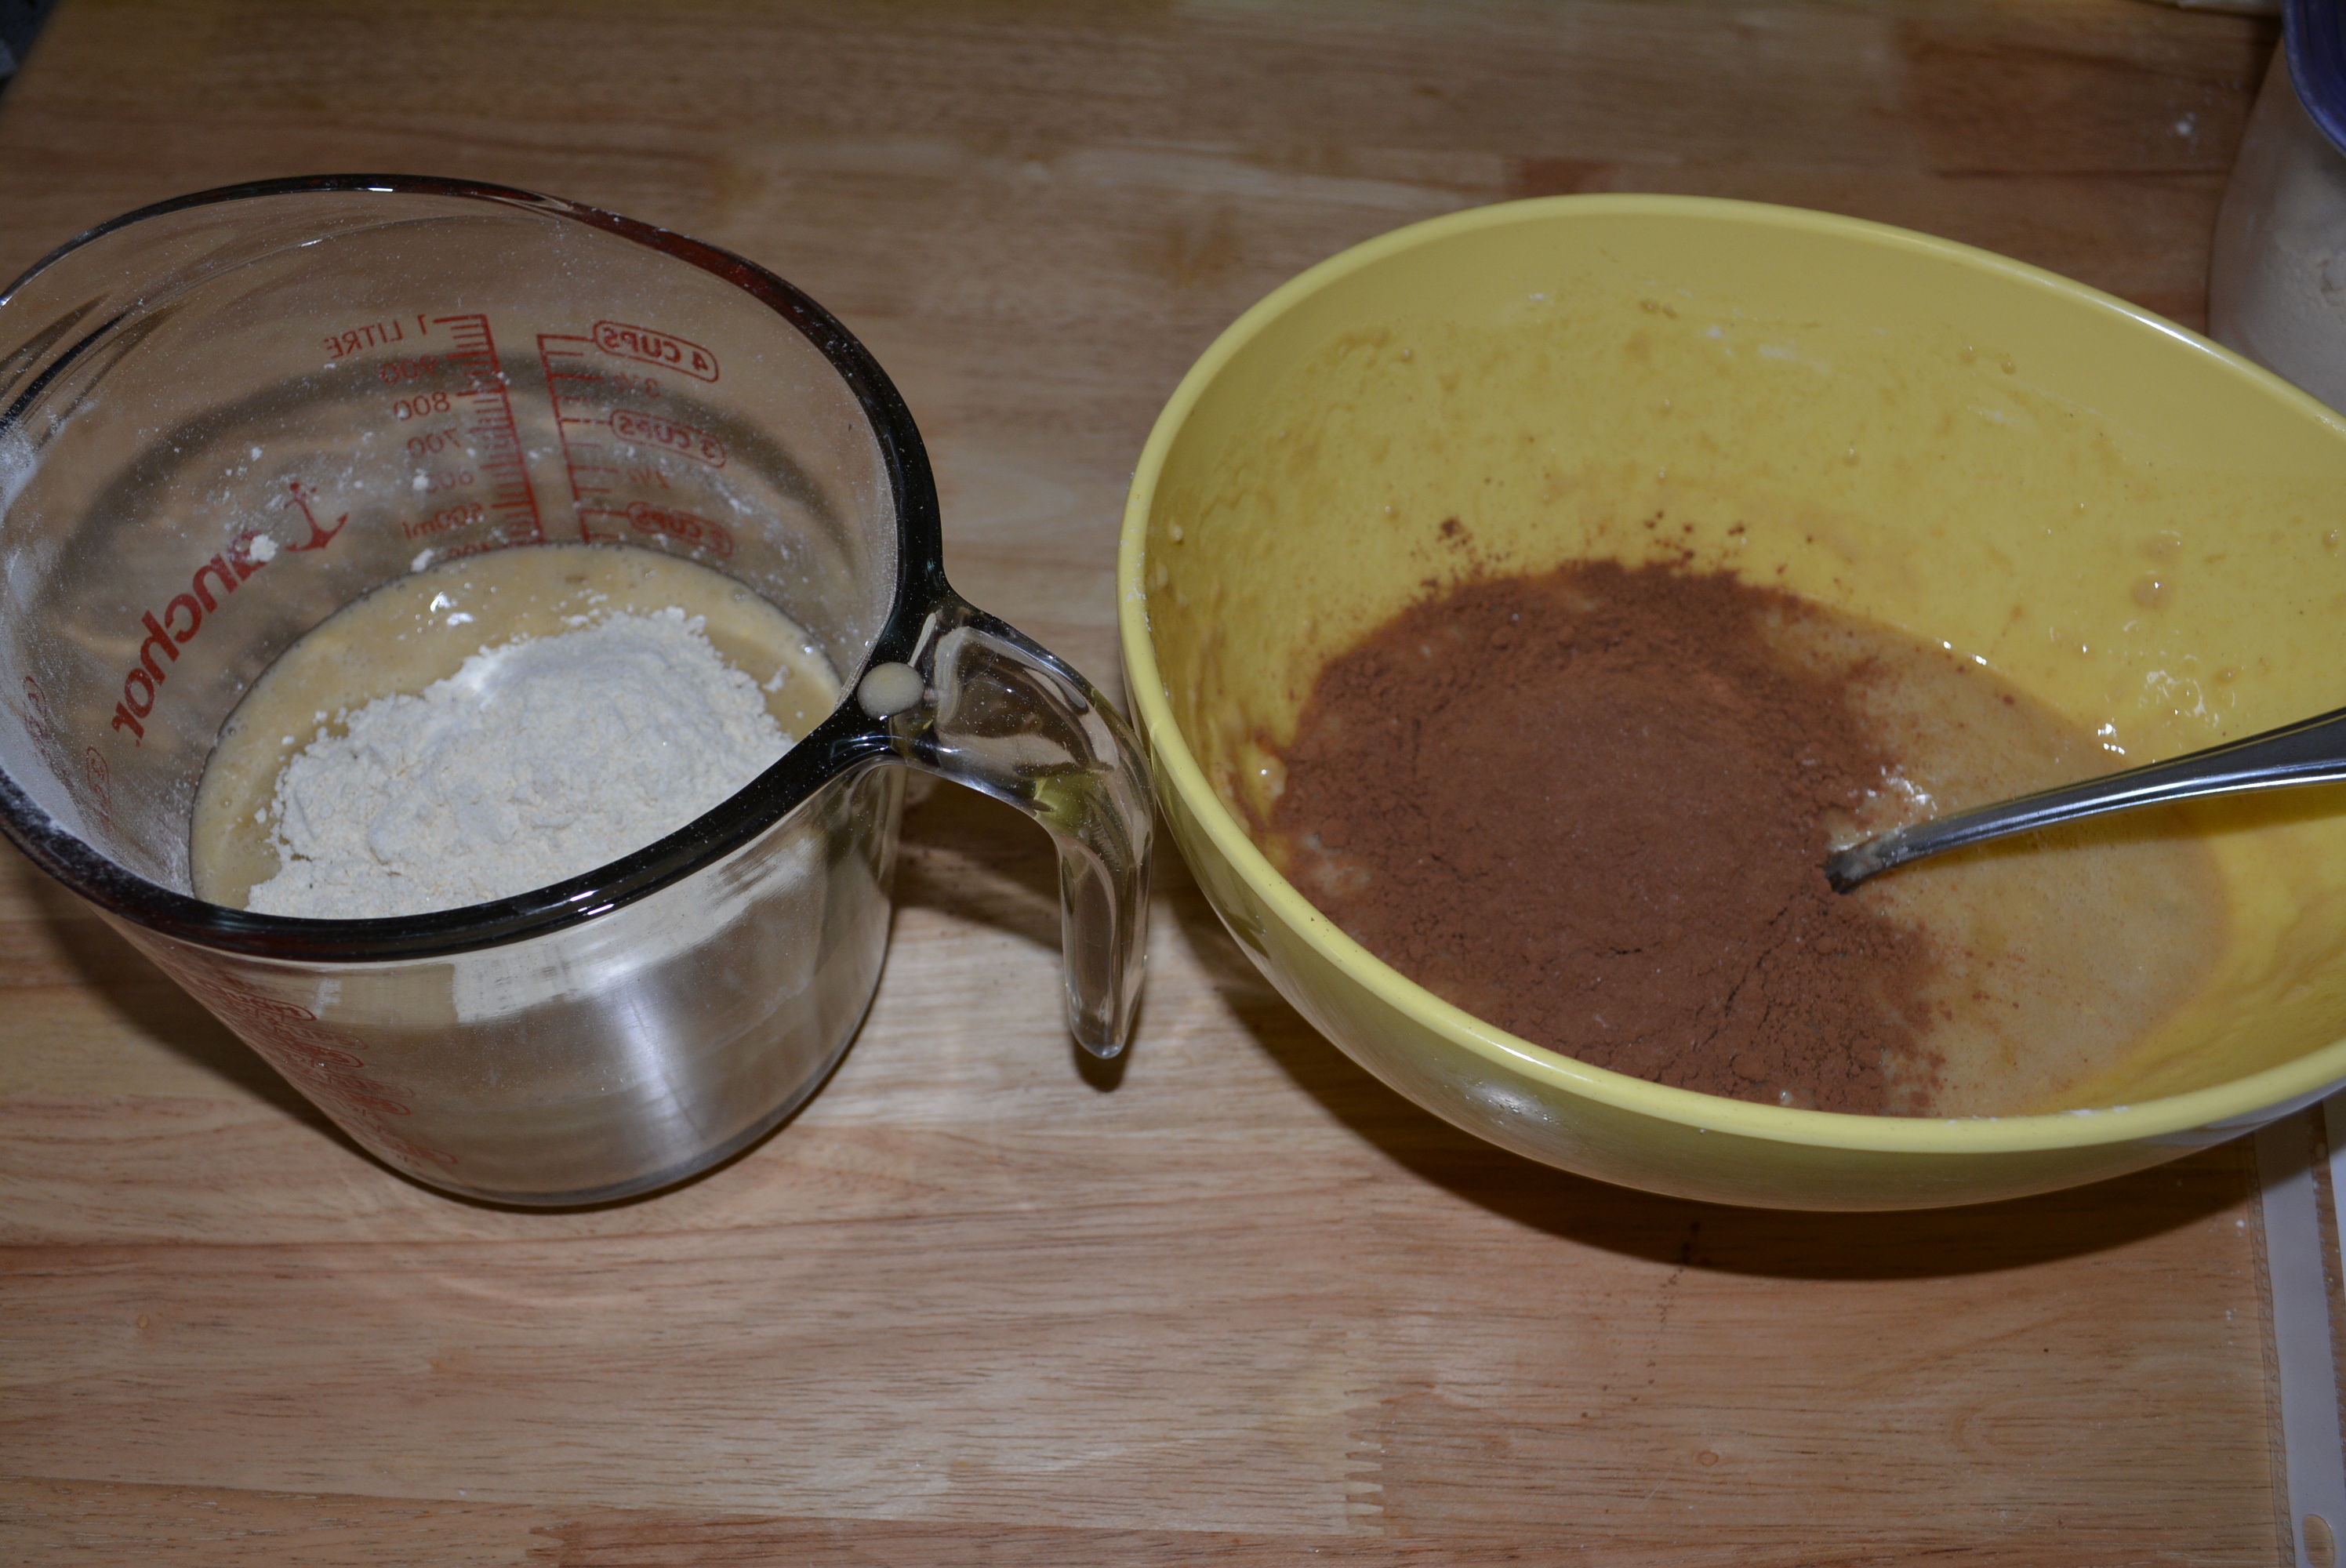
To the original bowl of batter, add 1/4 cup unsweetened cocoa powder and mix well to combine.
Prepare the banana and chocolate batters.
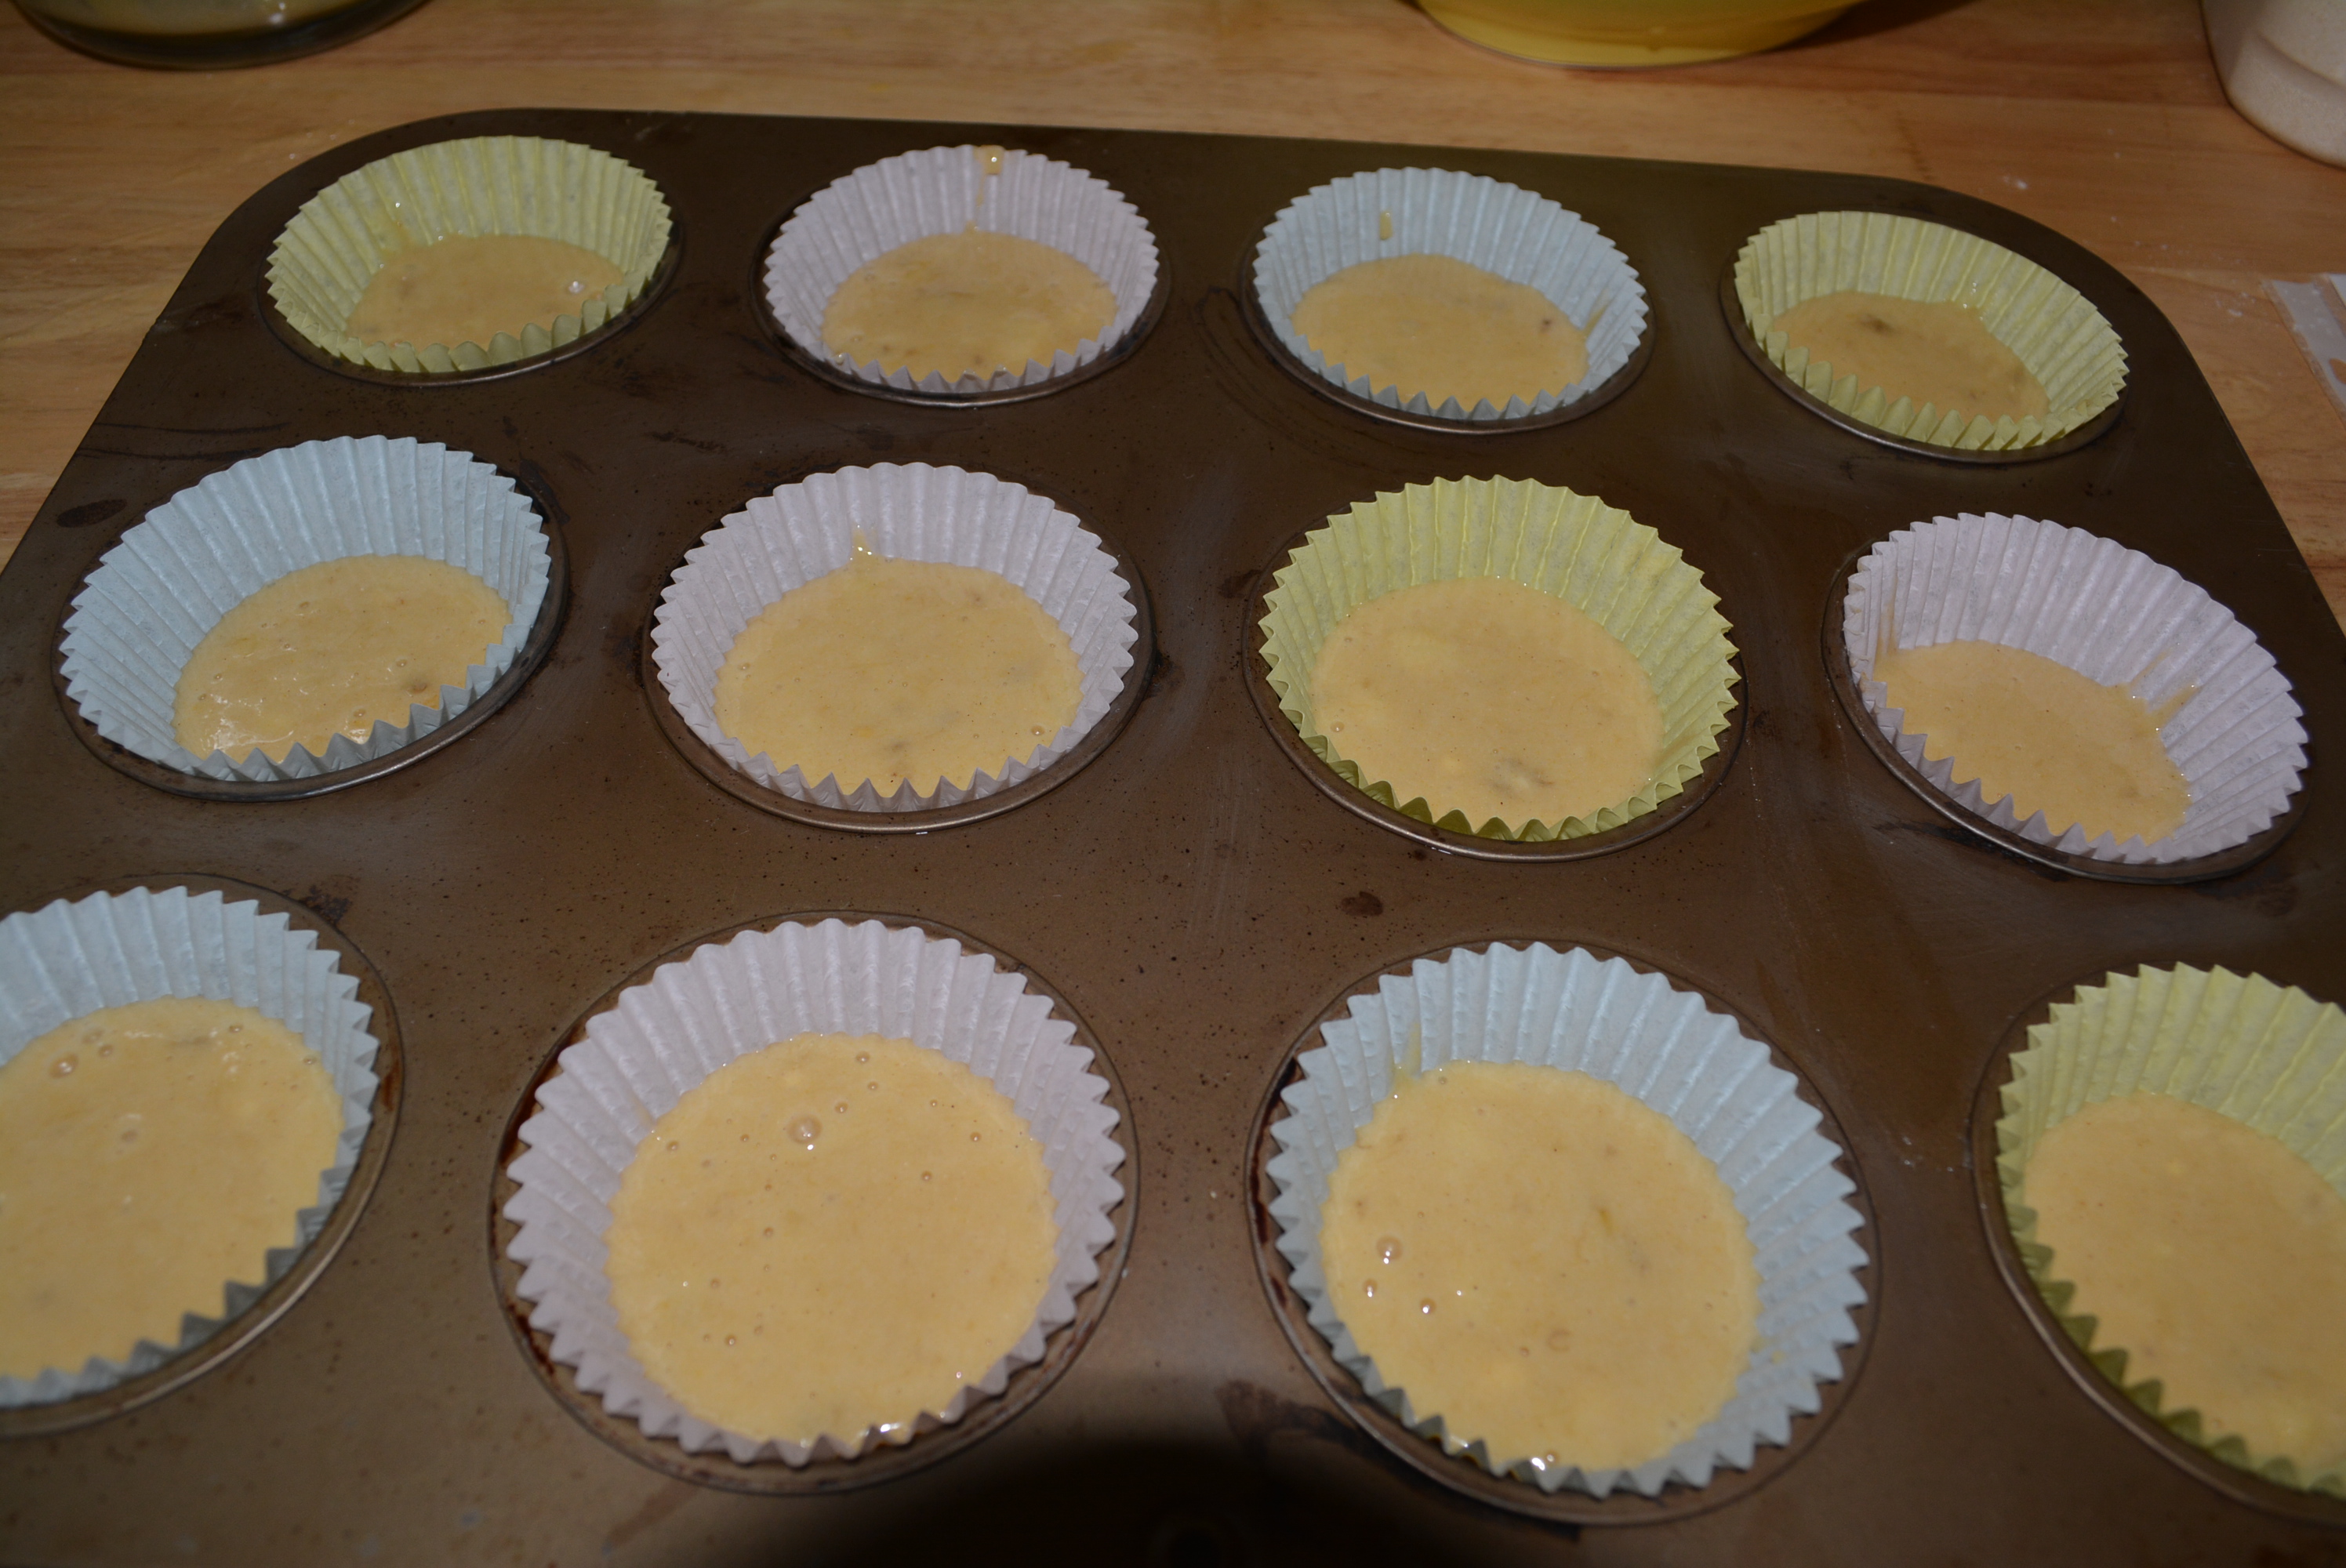
Add 1 tbsp banana batter to all of the muffins (you’ll have just enough for 12 muffins). This should fill each muffin about halfway.
Muffins filled about halfway with banana batter.
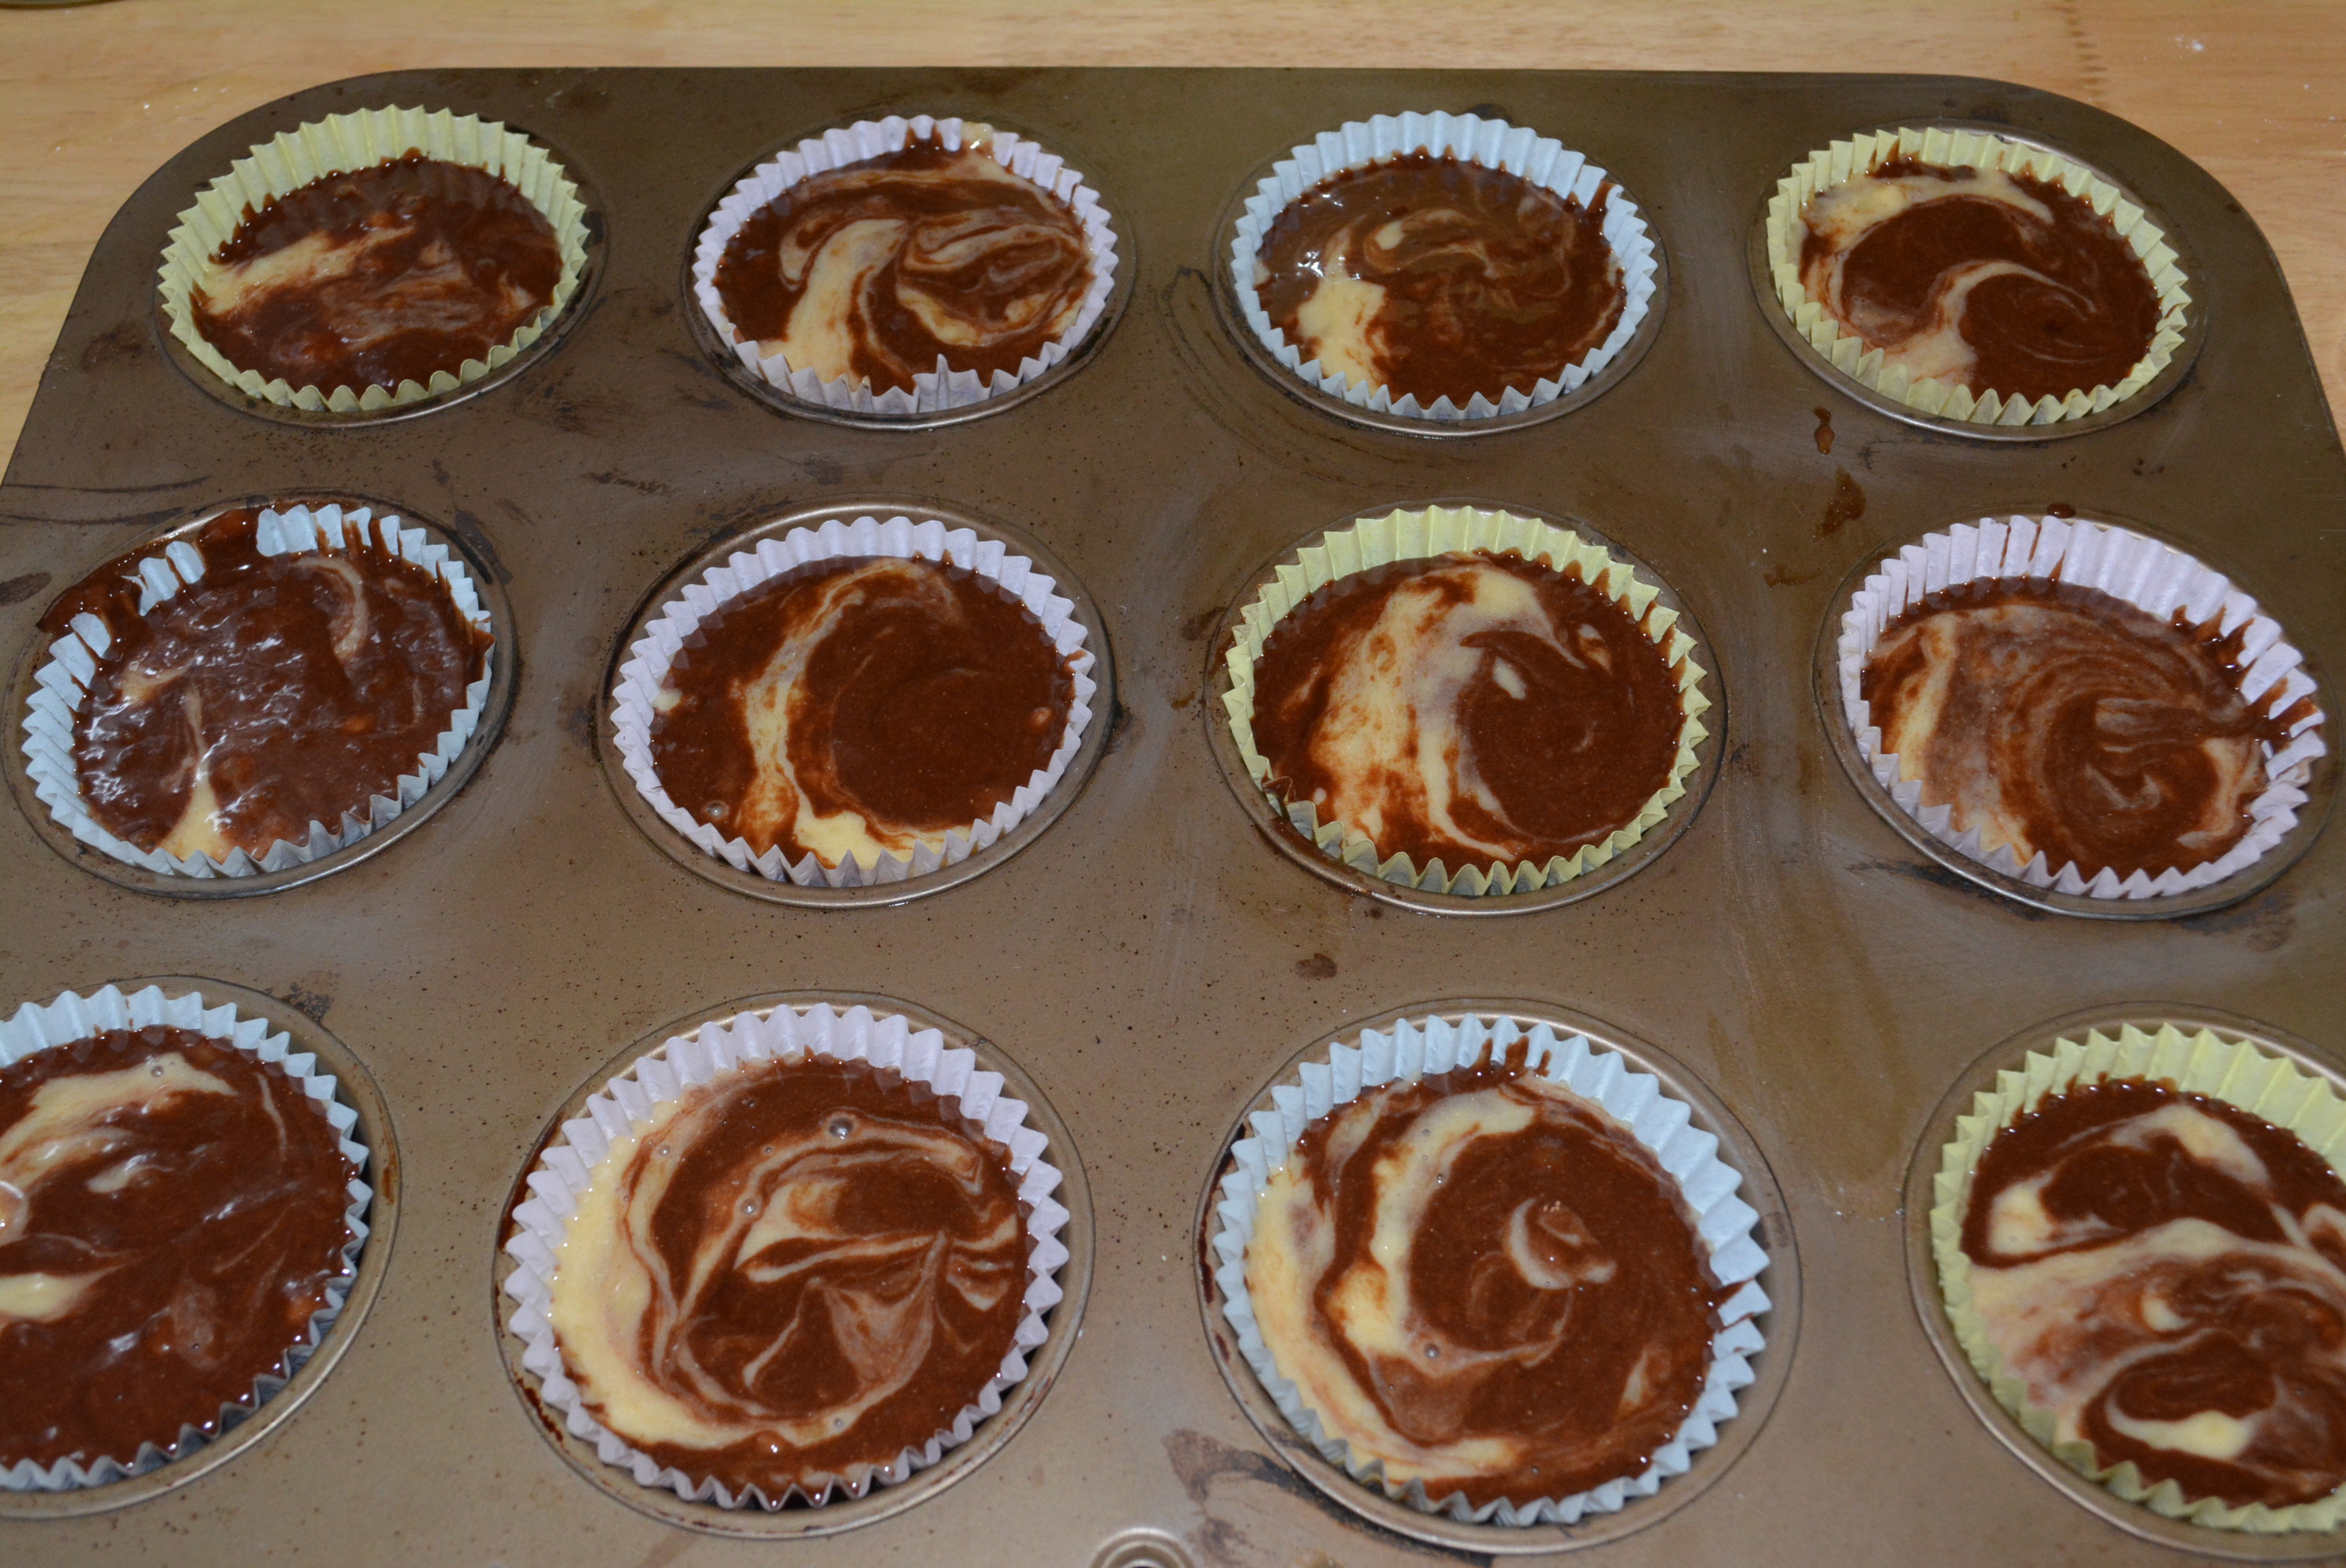
Similar to banana batter, add 1 tbsp of chocolate batter on top of each muffin.
Add chocolate batter on top and swirl.
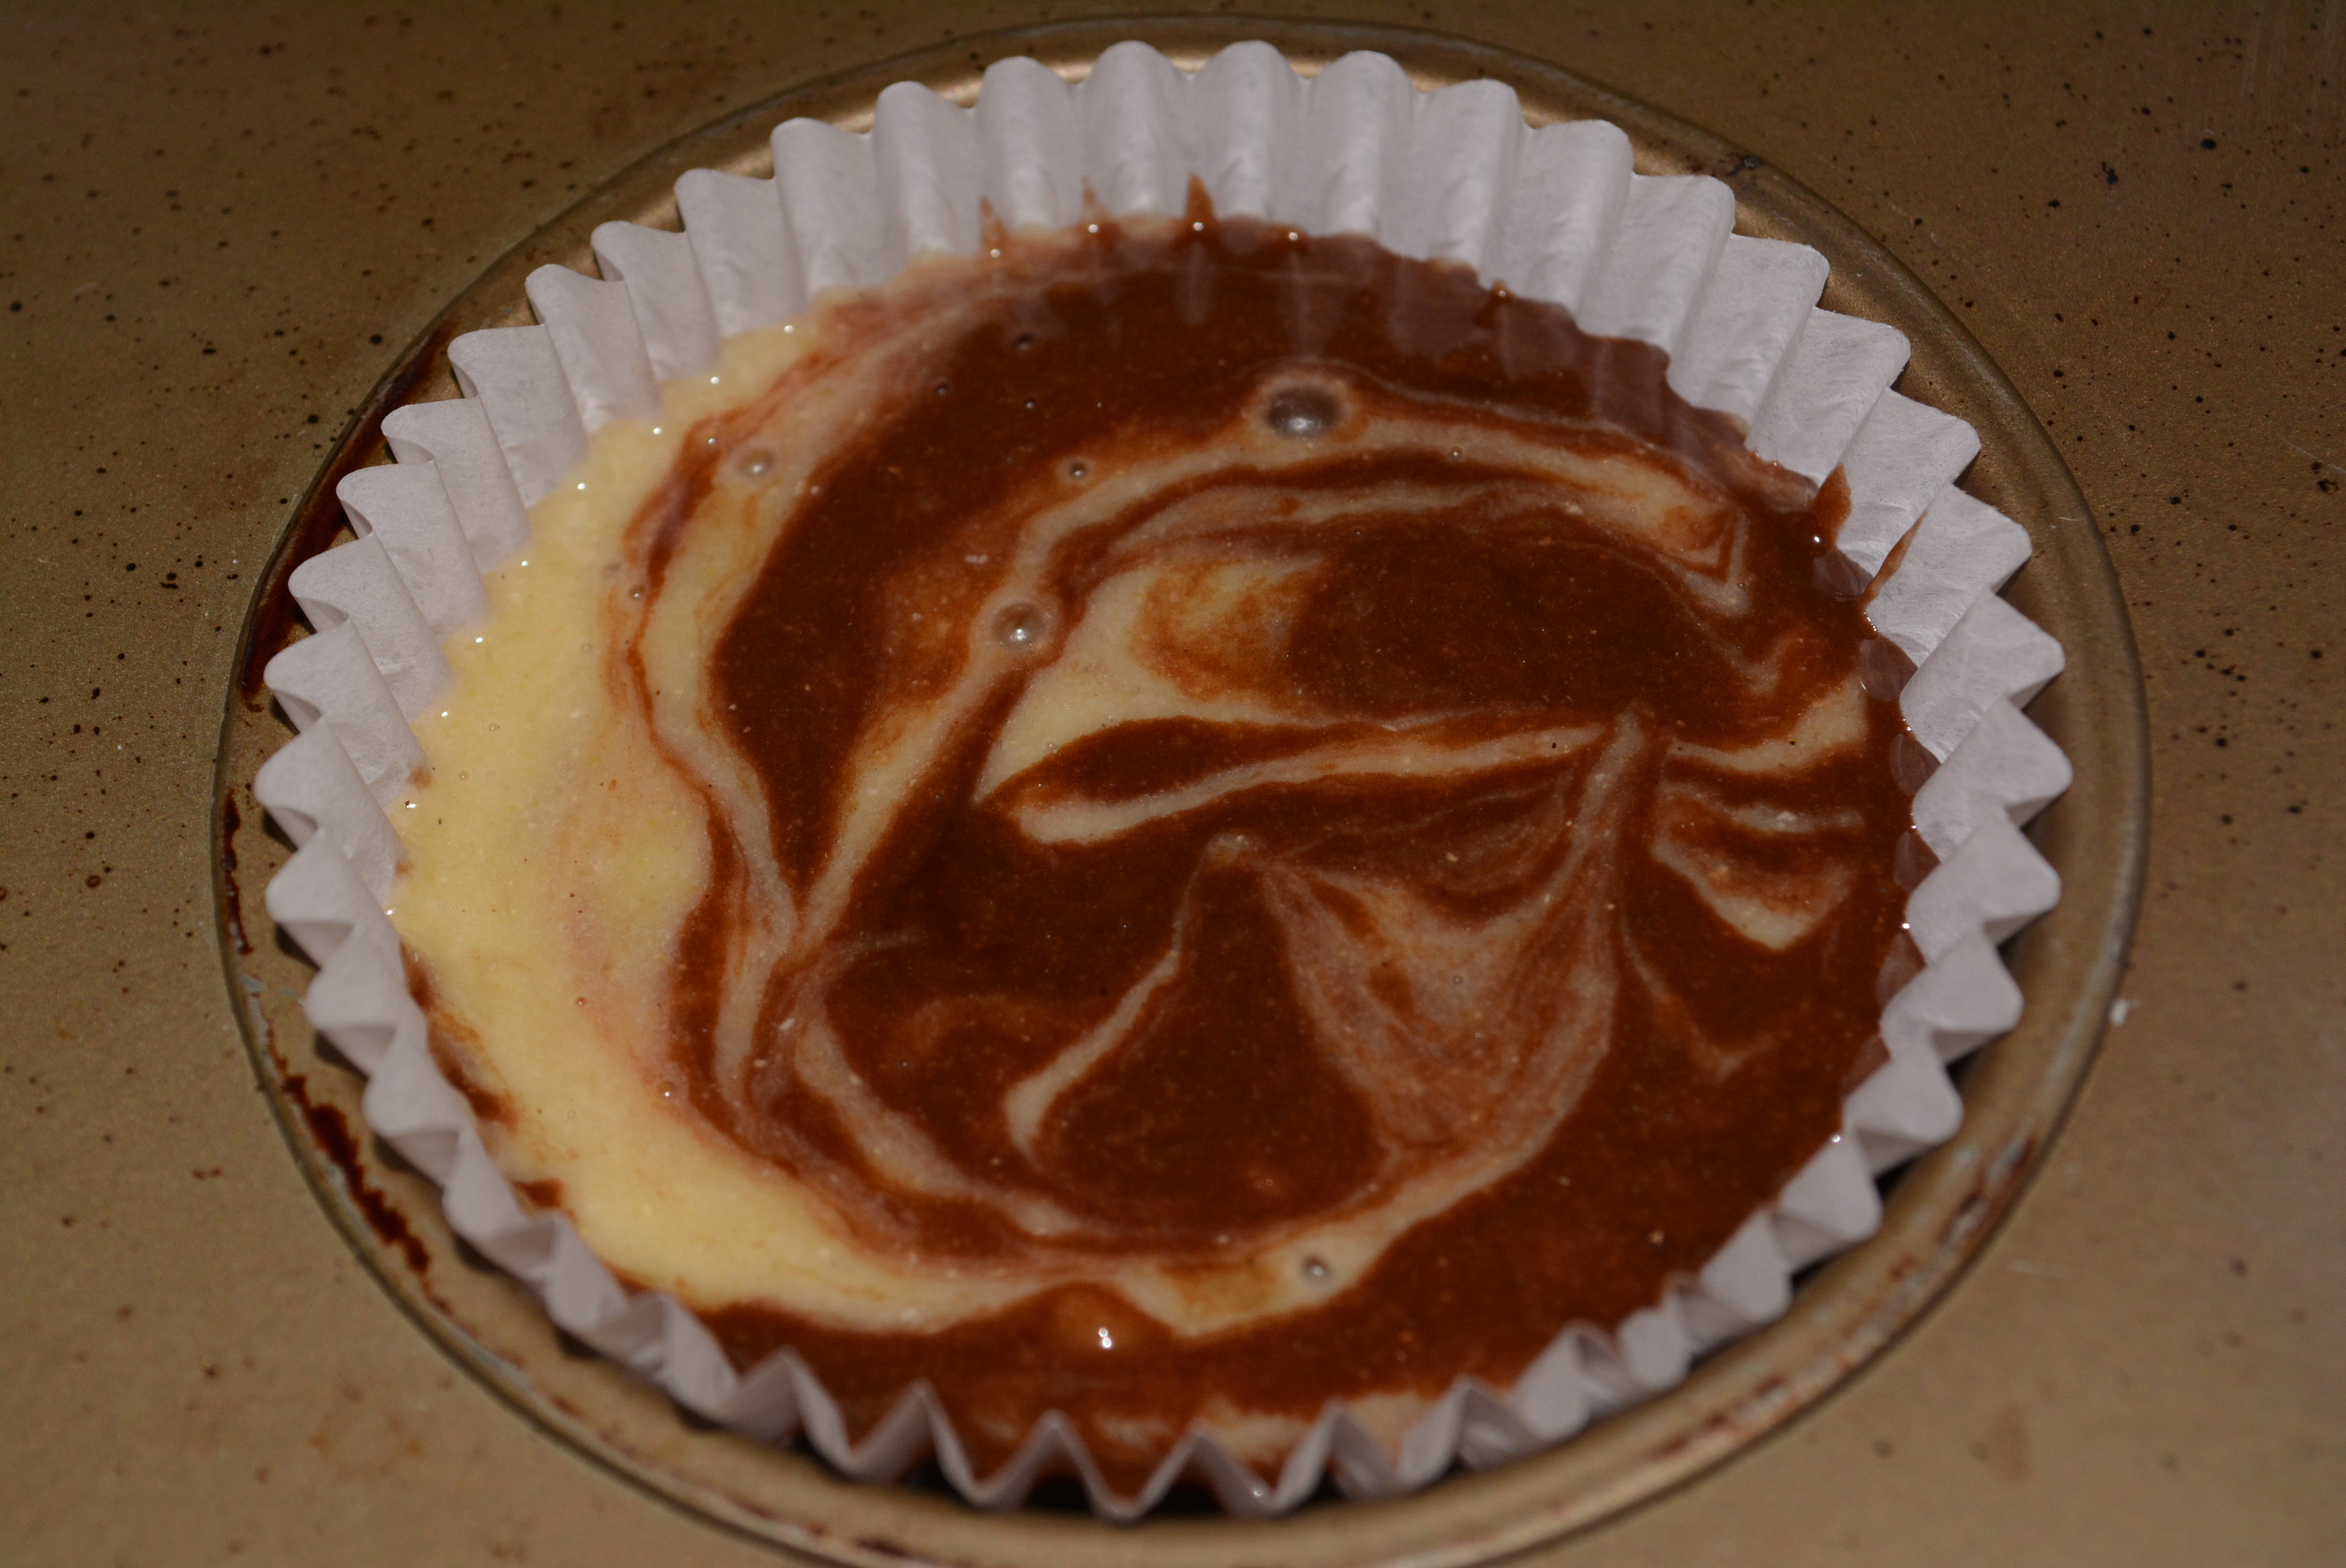
Using a toothpick, swirl batter through muffin.
Banana and chocolate swirled together.
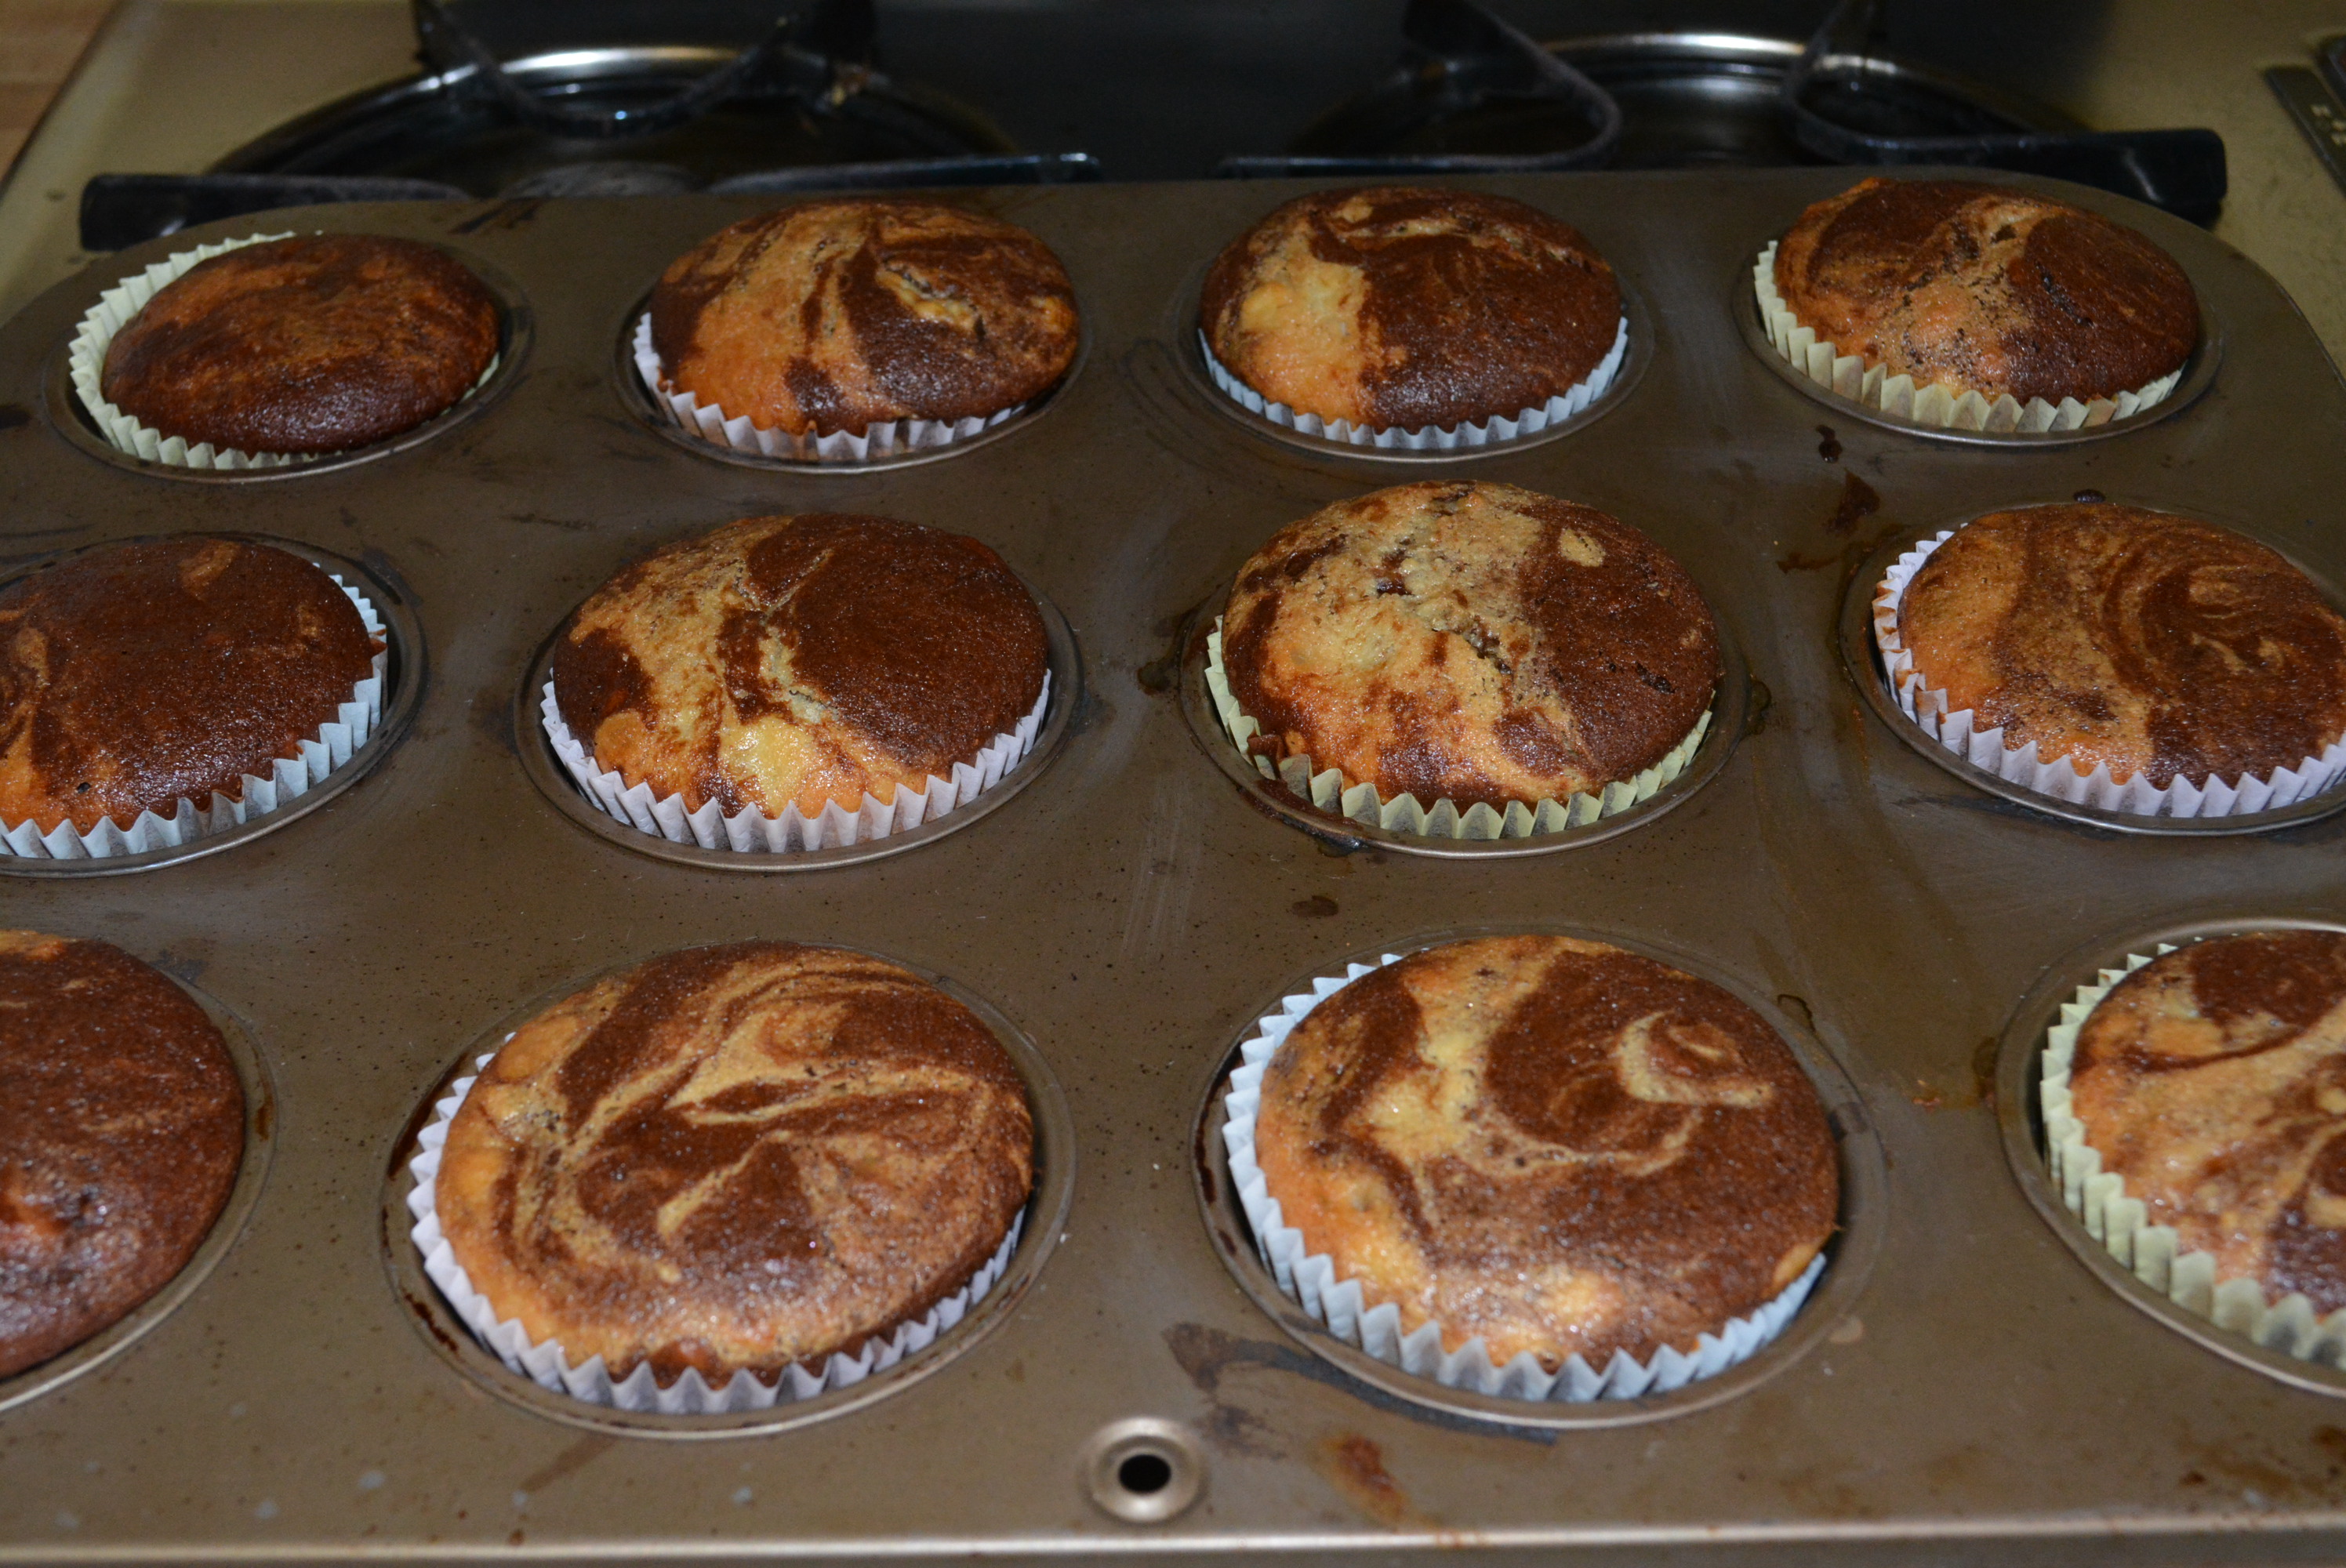
Place muffins into the oven and bake for about 15-17 minutes. To make sure they’re done, insert a toothpick into the center and make sure it comes out clean.
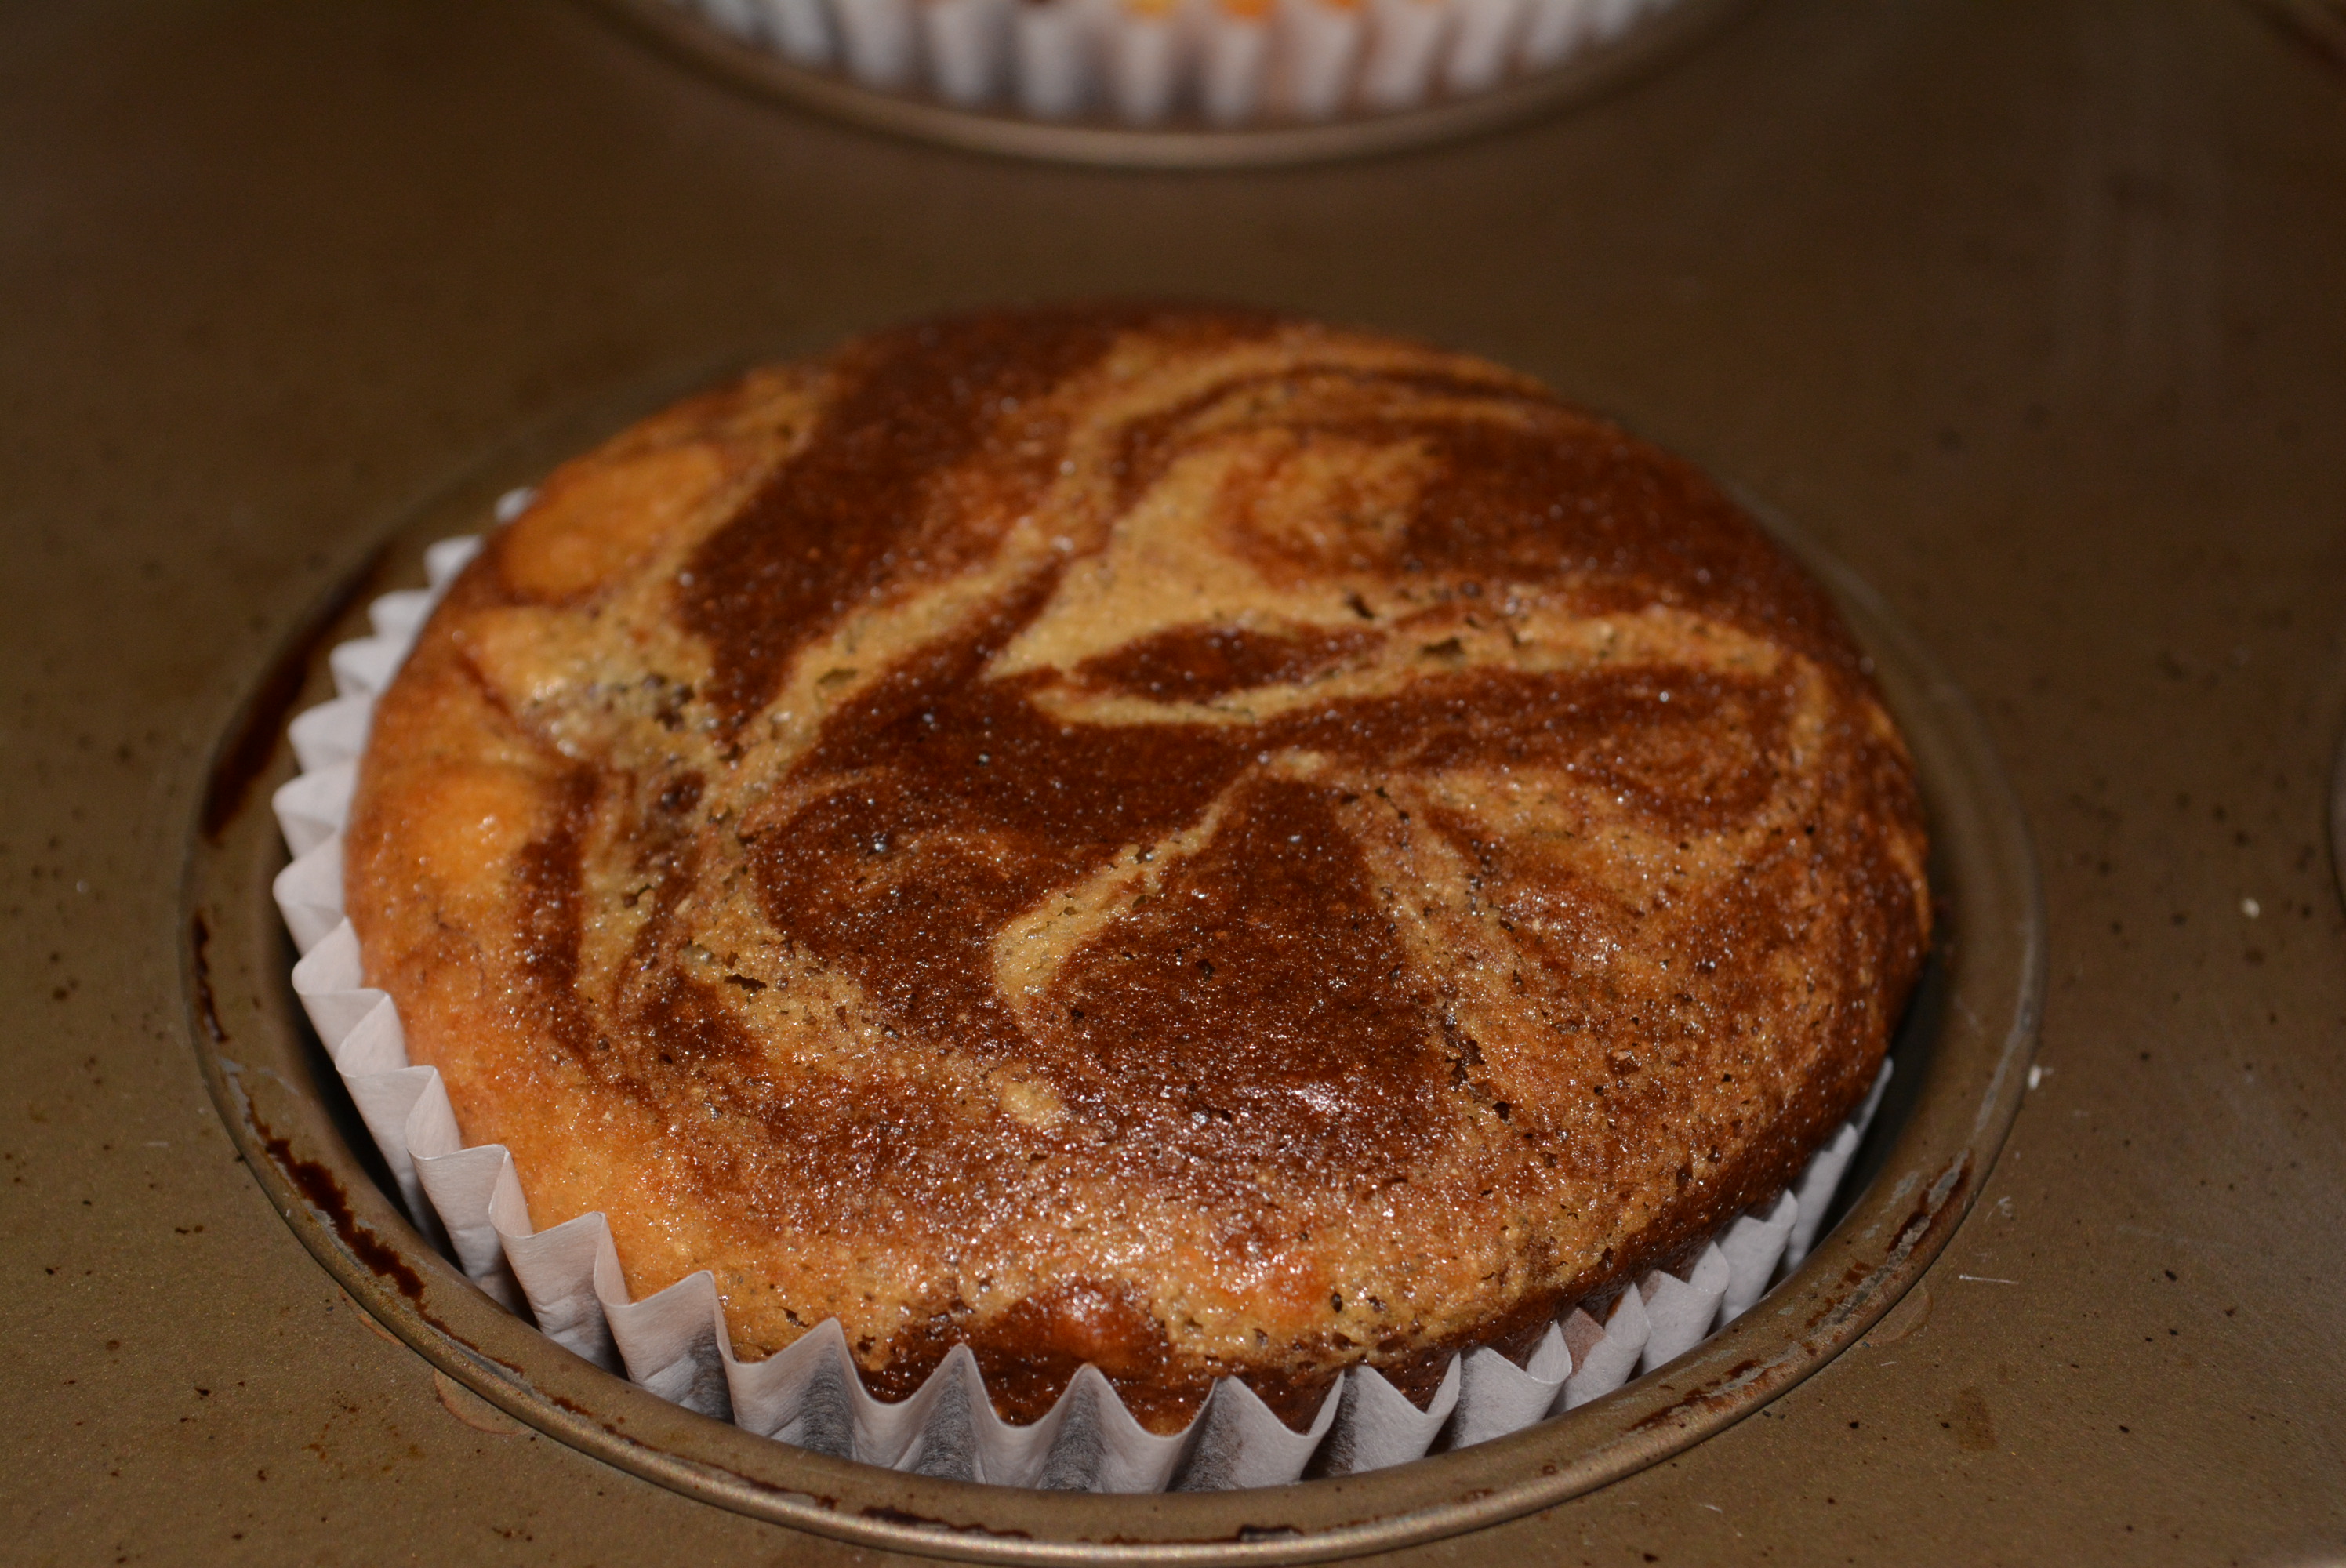
After only 15 minutes, muffins are puffed up and ready to go!
Remove all of the muffins to cool and store them in a container.
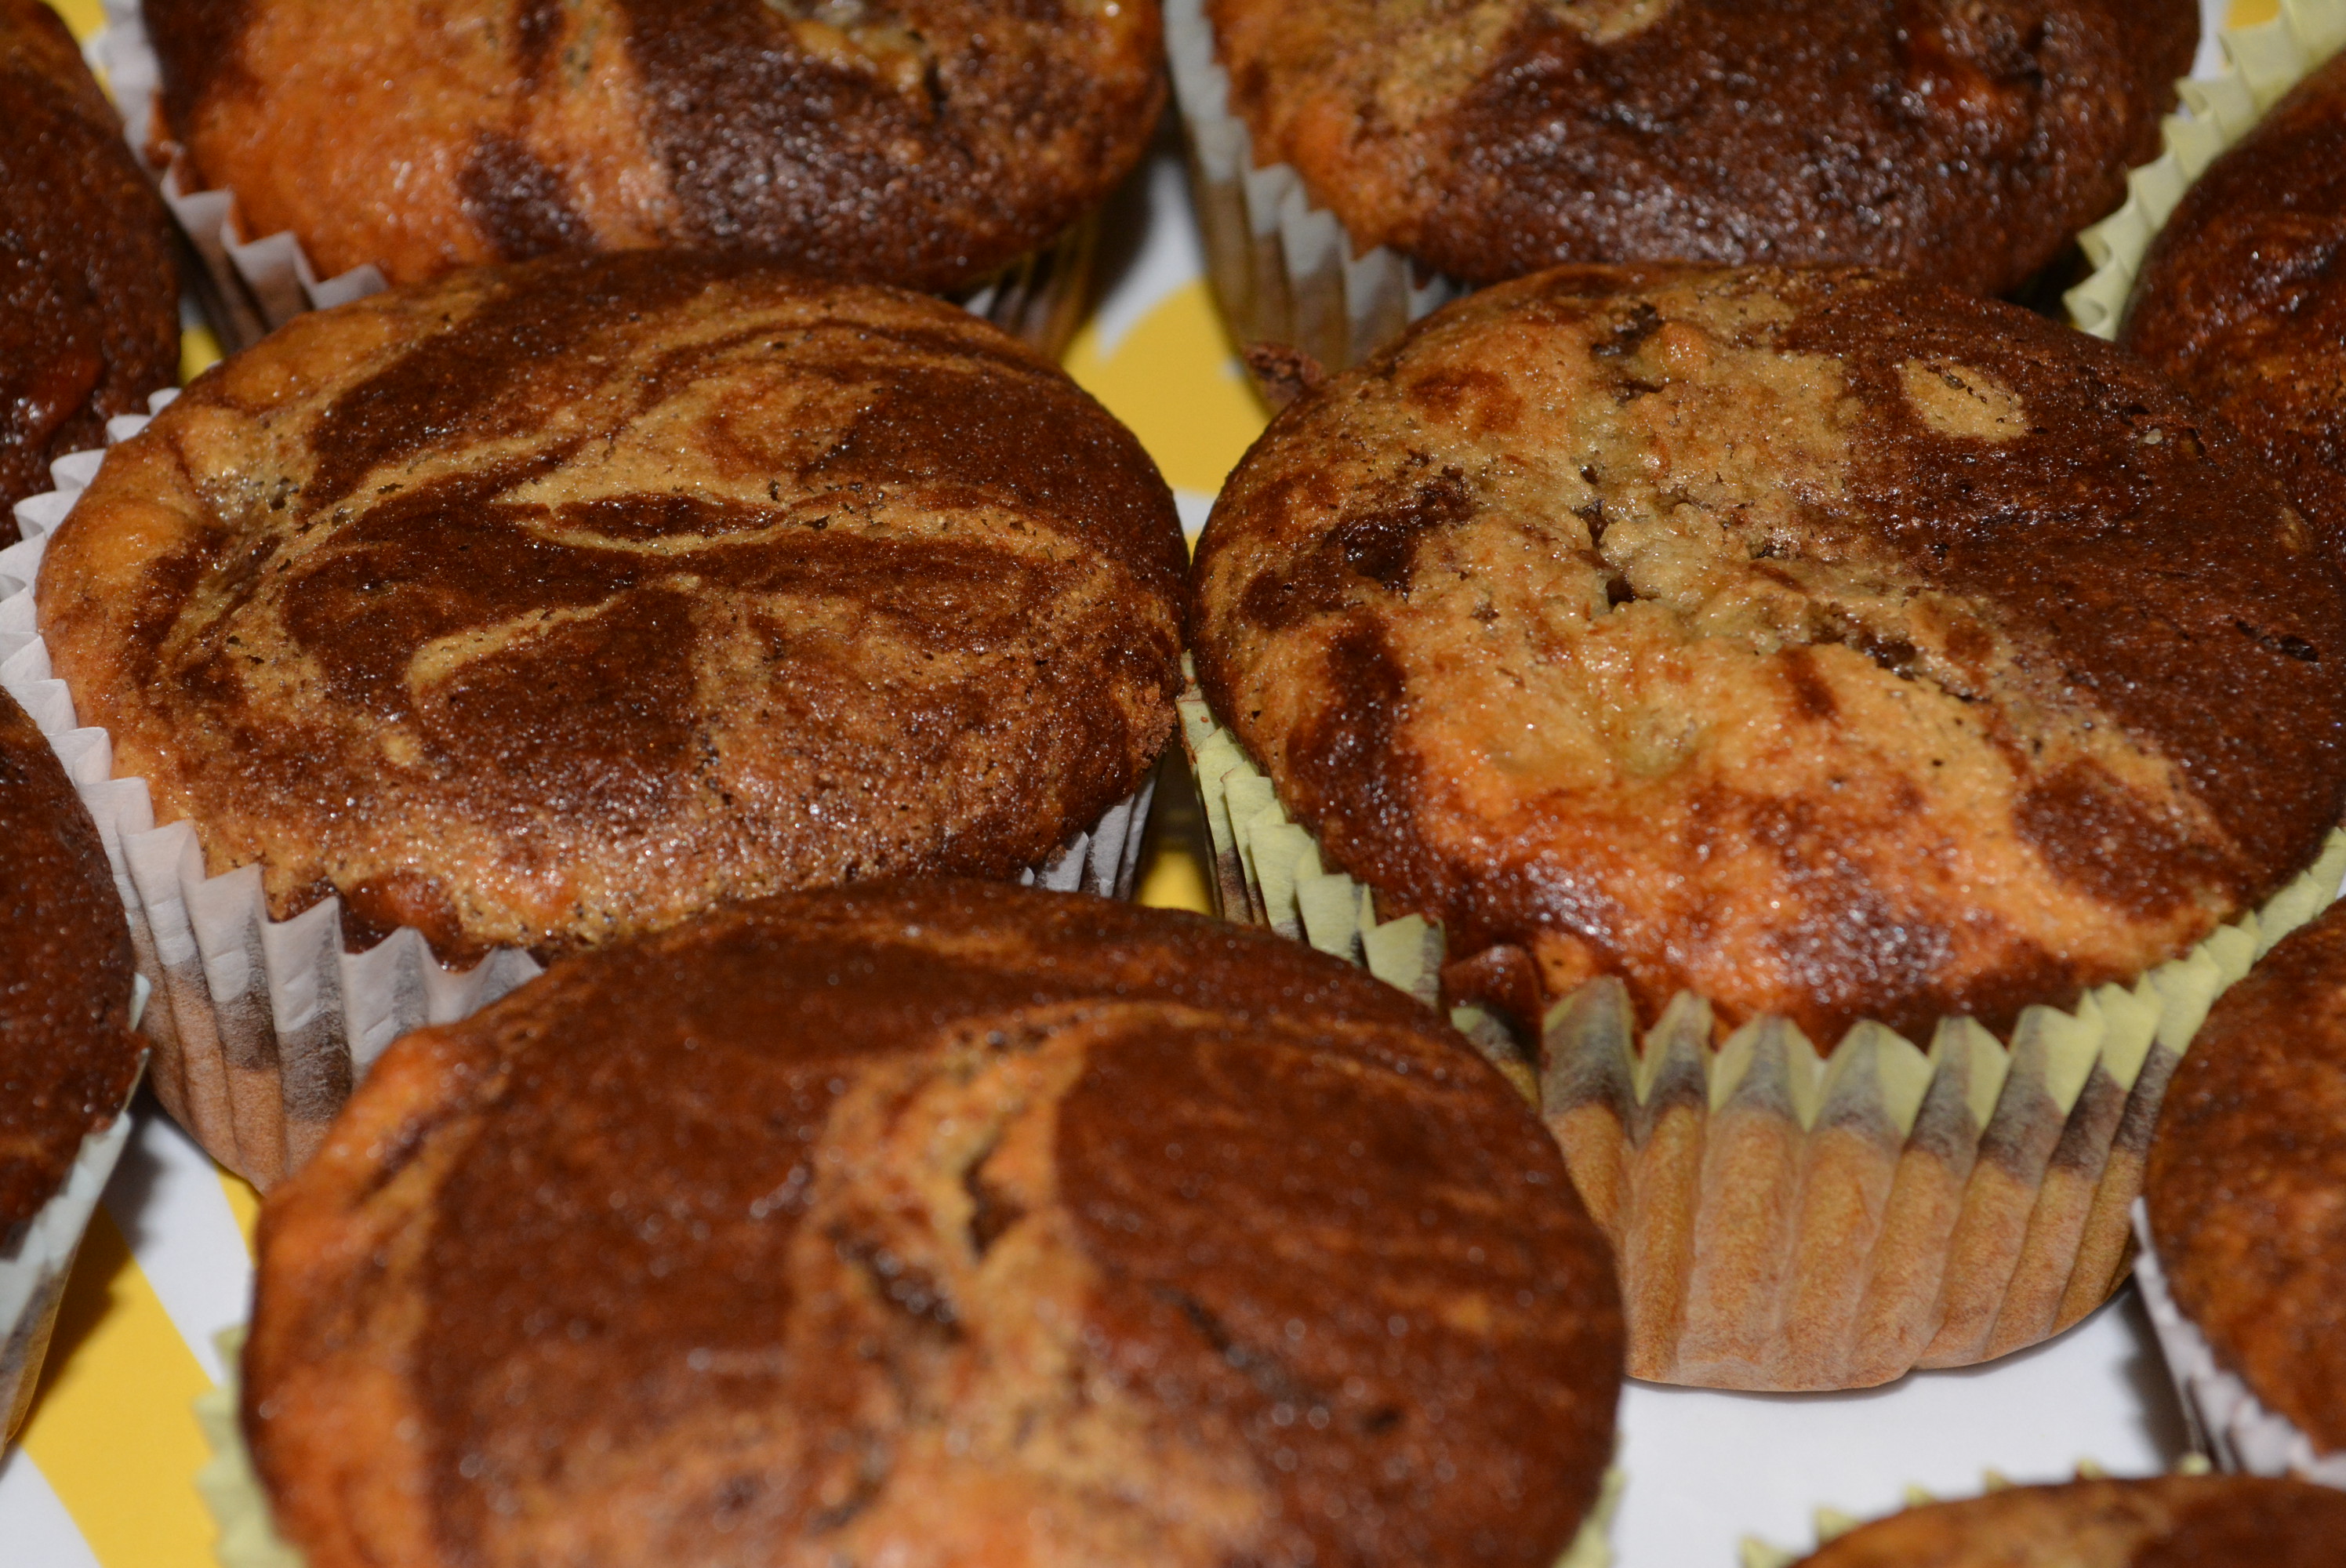
So yummy!
Enjoy!
Banana chocolate muffins perfect for a breakfast or snack.
I made these for the first time on a Sunday morning with my little one and husband Dan in the other room. And the aroma that filled the house while these were baking was intoxicating, making each one of us salivate waiting for our first taste. When I pulled them out of the oven and let them cool a bit, it was just in time for lunch. Dan eagerly grabbed a muffin while I cut one in half for my little girl and I to enjoy. Needless to say, the reviews on this one were fantastic from both the gluten free and non-gluten free diners, as evident by the quiet sounds of chewing and empty plates remaining. In fact, my little one’s new thing is to make a “mmm” sound while she eats, but not for everything, just her favorites like a few dinner and dessert items and apparently these banana chocolate muffins as well! It was so sweet watching her handle the muffin half and shovel in bite after bite, each eliciting that ”mmmm” stamp of approval and a huge toothy smile. As you can see, these were a hit for us and will certainly be making many more appearances in the years to come!
Just a note, these muffins are also dairy free too! I have a nephew who has milk, egg, nut, gluten/wheat, and fish allergies so I’m always searching and experimenting with recipes to make tasty options for him. The poor thing is 7 now and has grown up with a very limited selection of foods that unfortunately are not the most tasty and appealing, especially in the dessert area. So I passed one of these along to my sister to share with him and it received rave reviews from this extremely picky 1st grade food critic! It was so exciting to hear how much he enjoyed the little treat that I sent over, assuring me that these muffins that are gluten and dairy free are truly just as fantastic as I thought they were! So whether you’re pregnant or not pregnant or following a gluten free, dairy free, or even regular diet, give these try! They are truly magnificent and will not disappoint!
TIP: To keep these fresh and moist, store them in an airtight container. I kept them in a large Ziploc container and they were finished within the next 5-6 days!
1 1/4 cup and an extra 1/4 cup gluten free flour (I used Bob's Red Mill All Purpose Flour)
1 tsp baking powder
1/2 tsp baking soda
1/2 tsp salt
2 bananas mashed
1/2 cup unsweetened coconut milk (I used So Delicious)
1/2 cup sugar
1/3 cup canola oil (I used Smart Balance)
1/4 cup pure honey (I used Groeb Farms)
1 tsp pure vanilla extract (McCormick)
1/4 cup unsweetened cocoa powder (I used Hershey)
Instructions
Preheat oven to 350 degrees. Add 12 paper liners to a muffin tin or spray tin with nonstick cooking spray.
First, combine most of the dry ingredients including 1 1/4 cup flour, 1 tsp baking powder, 1/2 tsp baking soda, and a 1/2 tsp salt. To mix well and also break up any clumps in the mixture, I like to use a whisk.
Peel and mash two bananas in a large mixing bowl.
To the bananas, mix in 1/2 cup unsweetened coconut milk, 1/2 cup sugar, 1/3 cup oil, 1/4 cup honey, and 1 tsp vanilla.
To the wet ingredients, add in the flour mixture and stir to combine.
Now you're going to split the batter into two by removing 1 1/2 cups of the batter and pouring into a separate mixing bowl (I just added this to a larger measuring cup). With these separated batters, you're going to prepare a chocolaty version and a banana version to eventually mix in the muffin tins.
To the new batter, mix in 1/4 cup additional gluten free flour until all is combined.
To the original bowl of batter, add 1/4 cup unsweetened cocoa powder and mix well to combine.
Add 1 tbsp banana batter to all of the muffins (you'll have just enough for 12 muffins). This should fill each muffin about halfway.
Similar to banana batter, add 1 tbsp of chocolate batter on top of each muffin.
Using a toothpick, swirl batter through muffin.
Place muffins into the oven and bake for about 15-17 minutes. To make sure they're done, insert a toothpick into the center and make sure it comes out clean.
Remove all of the muffins to cool and store them in a container.
Enjoy!
By Gluten Free Mom To Be
Adapted from Sarah Bakes Gluten Free Treats
Adapted from Sarah Bakes Gluten Free Treats
Gluten Free Mom To Be http://www.glutenfreemomtobe.com/
A given for any holiday meal is a side of rolls. We usually have always had Pillsbury biscuits, you know the kind you have to pop open the roll and peel them apart (that was always my favorite part)! In recent years however, much to my dismay, I haven’t been able to grab one of these fluffy delights. This year, however, is a whole different story and I’m so excited to share these Gluten Free Garlicky Cheddar Biscuits. Thanks to Betty Crocker’s Bisquick mix, which I introduced you to here not too long ago, I’m now able to make light and fluffy biscuits that are perfect for any meal, holiday or everyday. This great mix combined with Betty Crocker’s fabulous recipe, you’ll end up with delicious garlic biscuits flavored with just a hint of cheese. Make sure you pick up a box of this wonderfully versatile mix and give these biscuits a try for your Easter holiday this year!
Ingredients:
Depending on how many people you have you can adjust the recipe accordingly. For a normal dinner for just my husband, daughter, and myself I usually half the recipe to make about 6 normal size biscuits.
2 cups Bisquick Gluten Free Mix
1/4 tsp garlic powder
1/4 cup firm butter (Smart Balance)
2/3 cup skim milk
1/2 cup shredded Cheddar Jack or Cheddar cheese
3 eggs
1/4 cup melted butter (Garlic Butter Topping)
1/4 tsp garlic powder (Garlic Butter Topping)
Ingredients for Fluffy Gluten Free Cheddar Biscuits.
Directions:
Preheat oven to 425 degrees.
In a medium bowl, add 2 cups Bisquick mix and 1/4 tsp garlic powder and combine.
Using a fork, cut in 1/4 cup cold, firm butter until mixture has coarse crumbs throughout (this makes the biscuits fluffy), so the more crumbs the better!
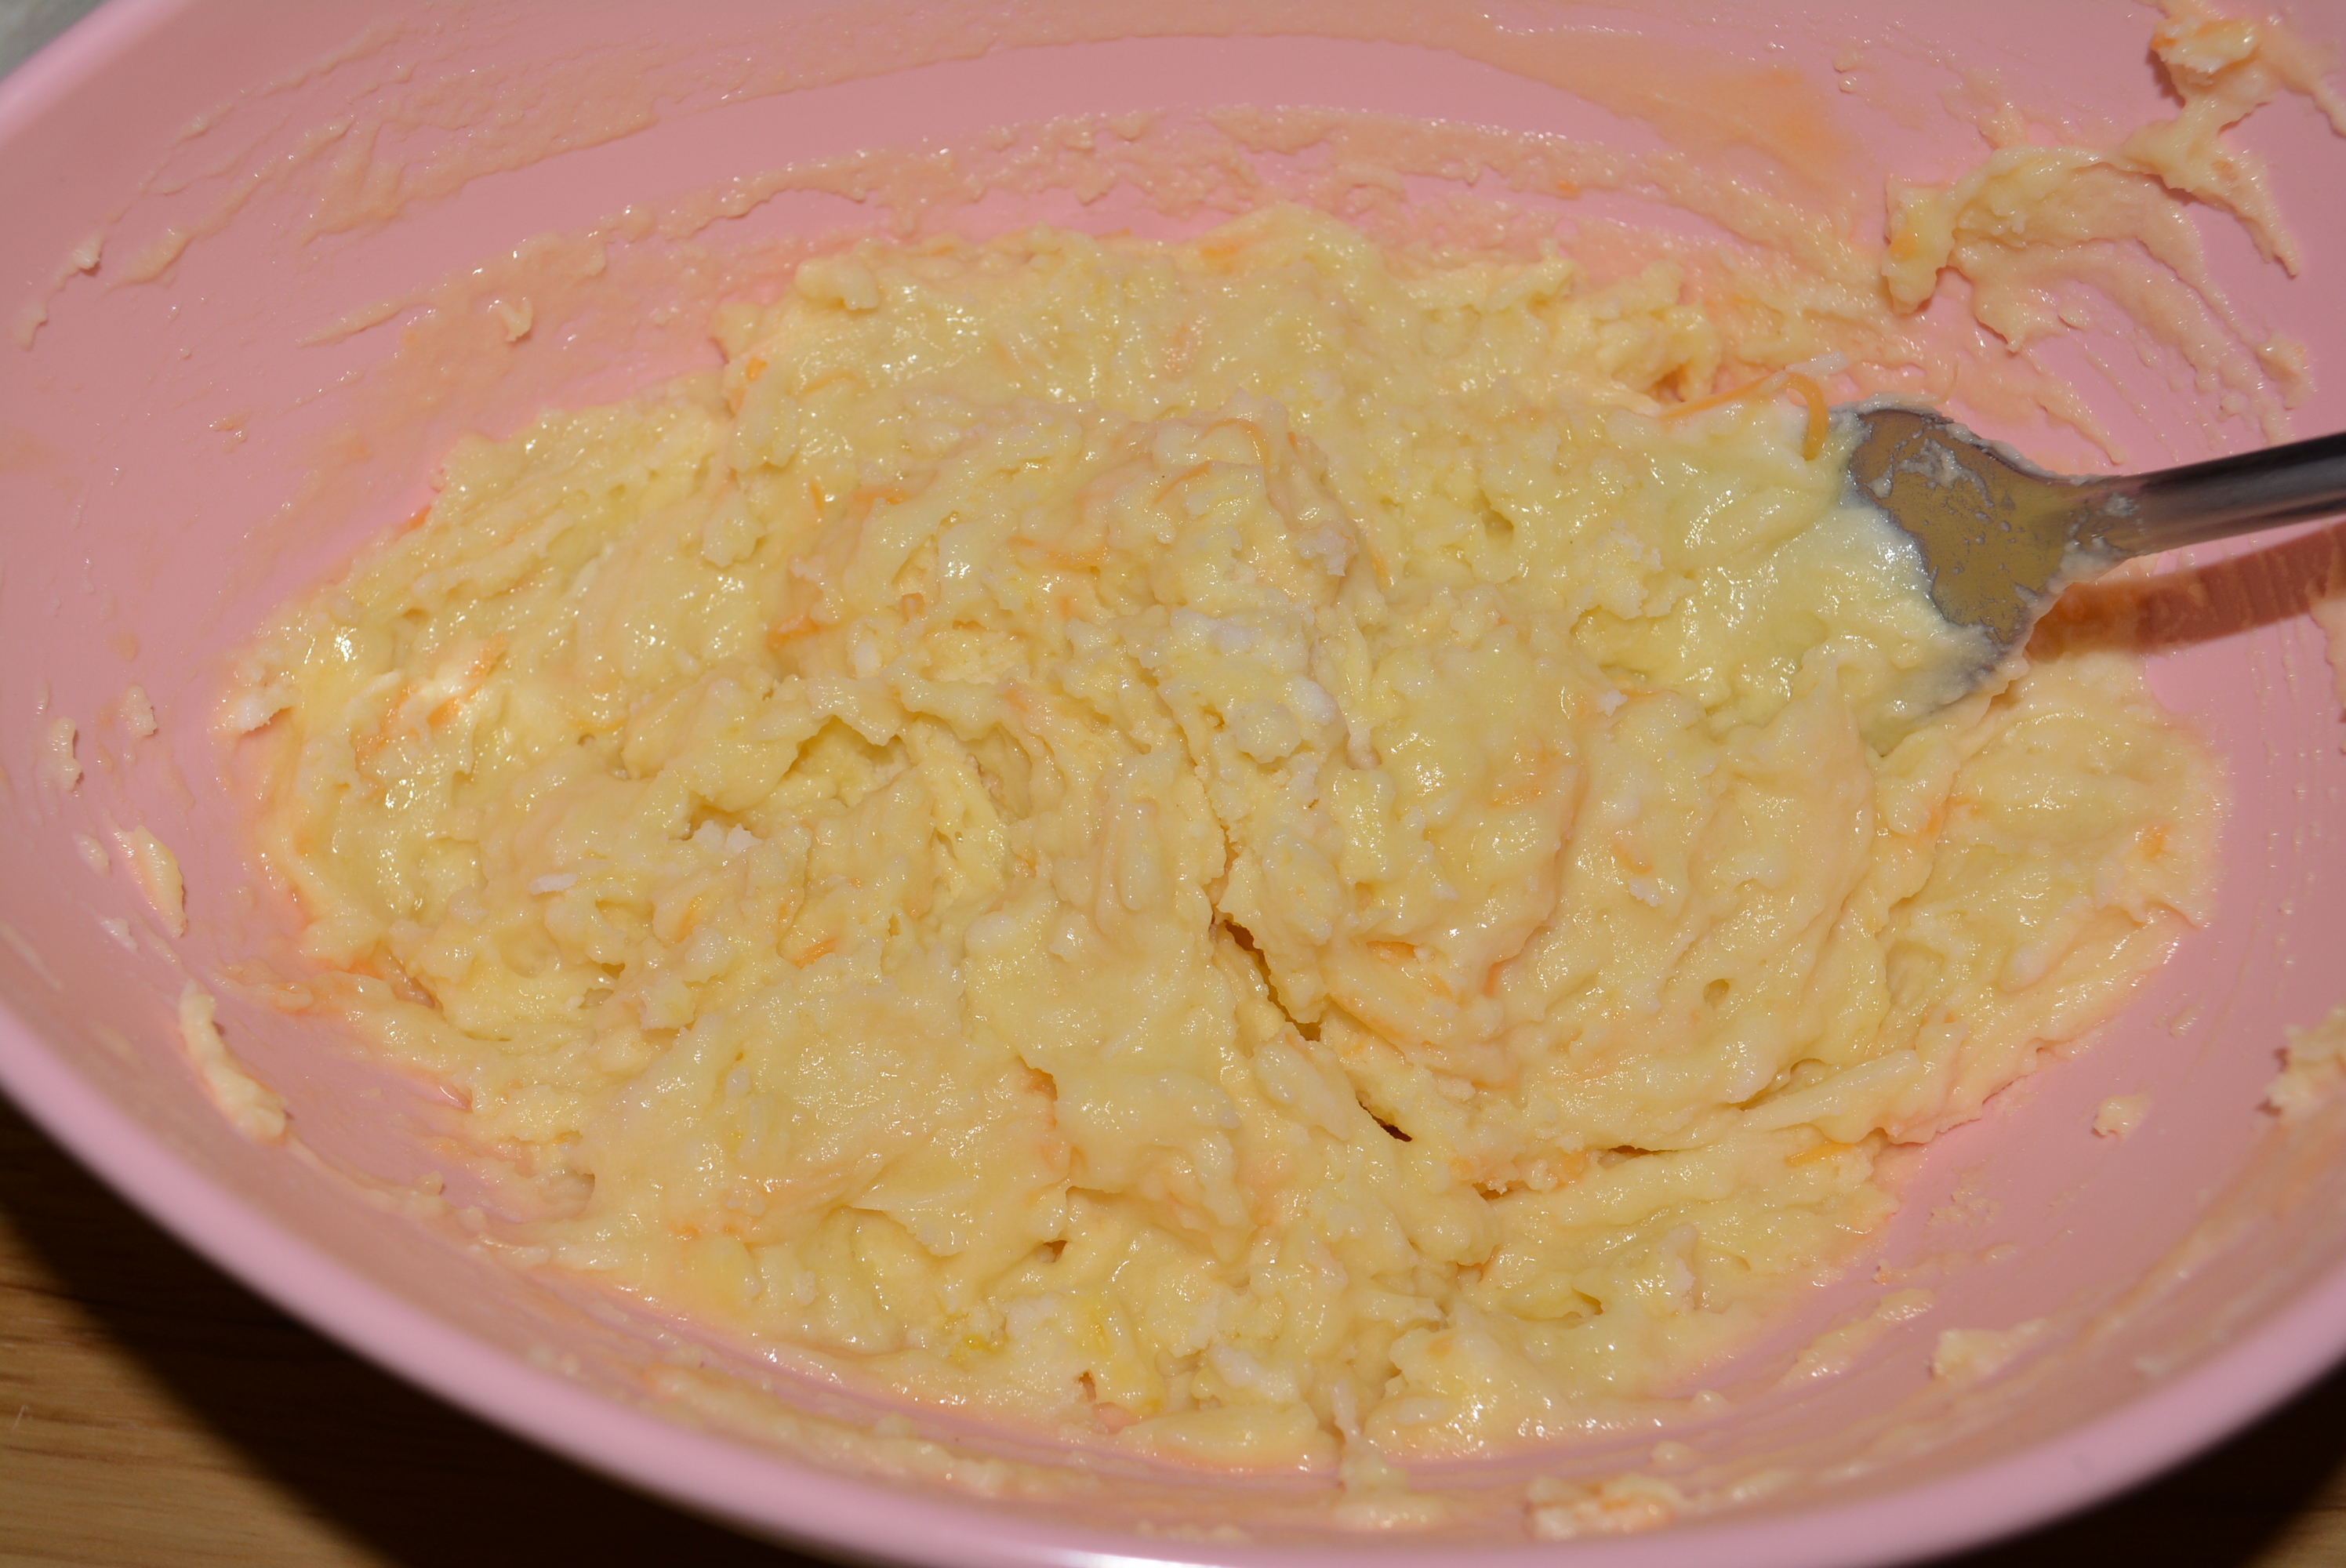
Mix in 2/3 cup milk, 3 eggs, and 1/2 cup cup shredded cheese until you form a soft dough.
Batter all mixed up!
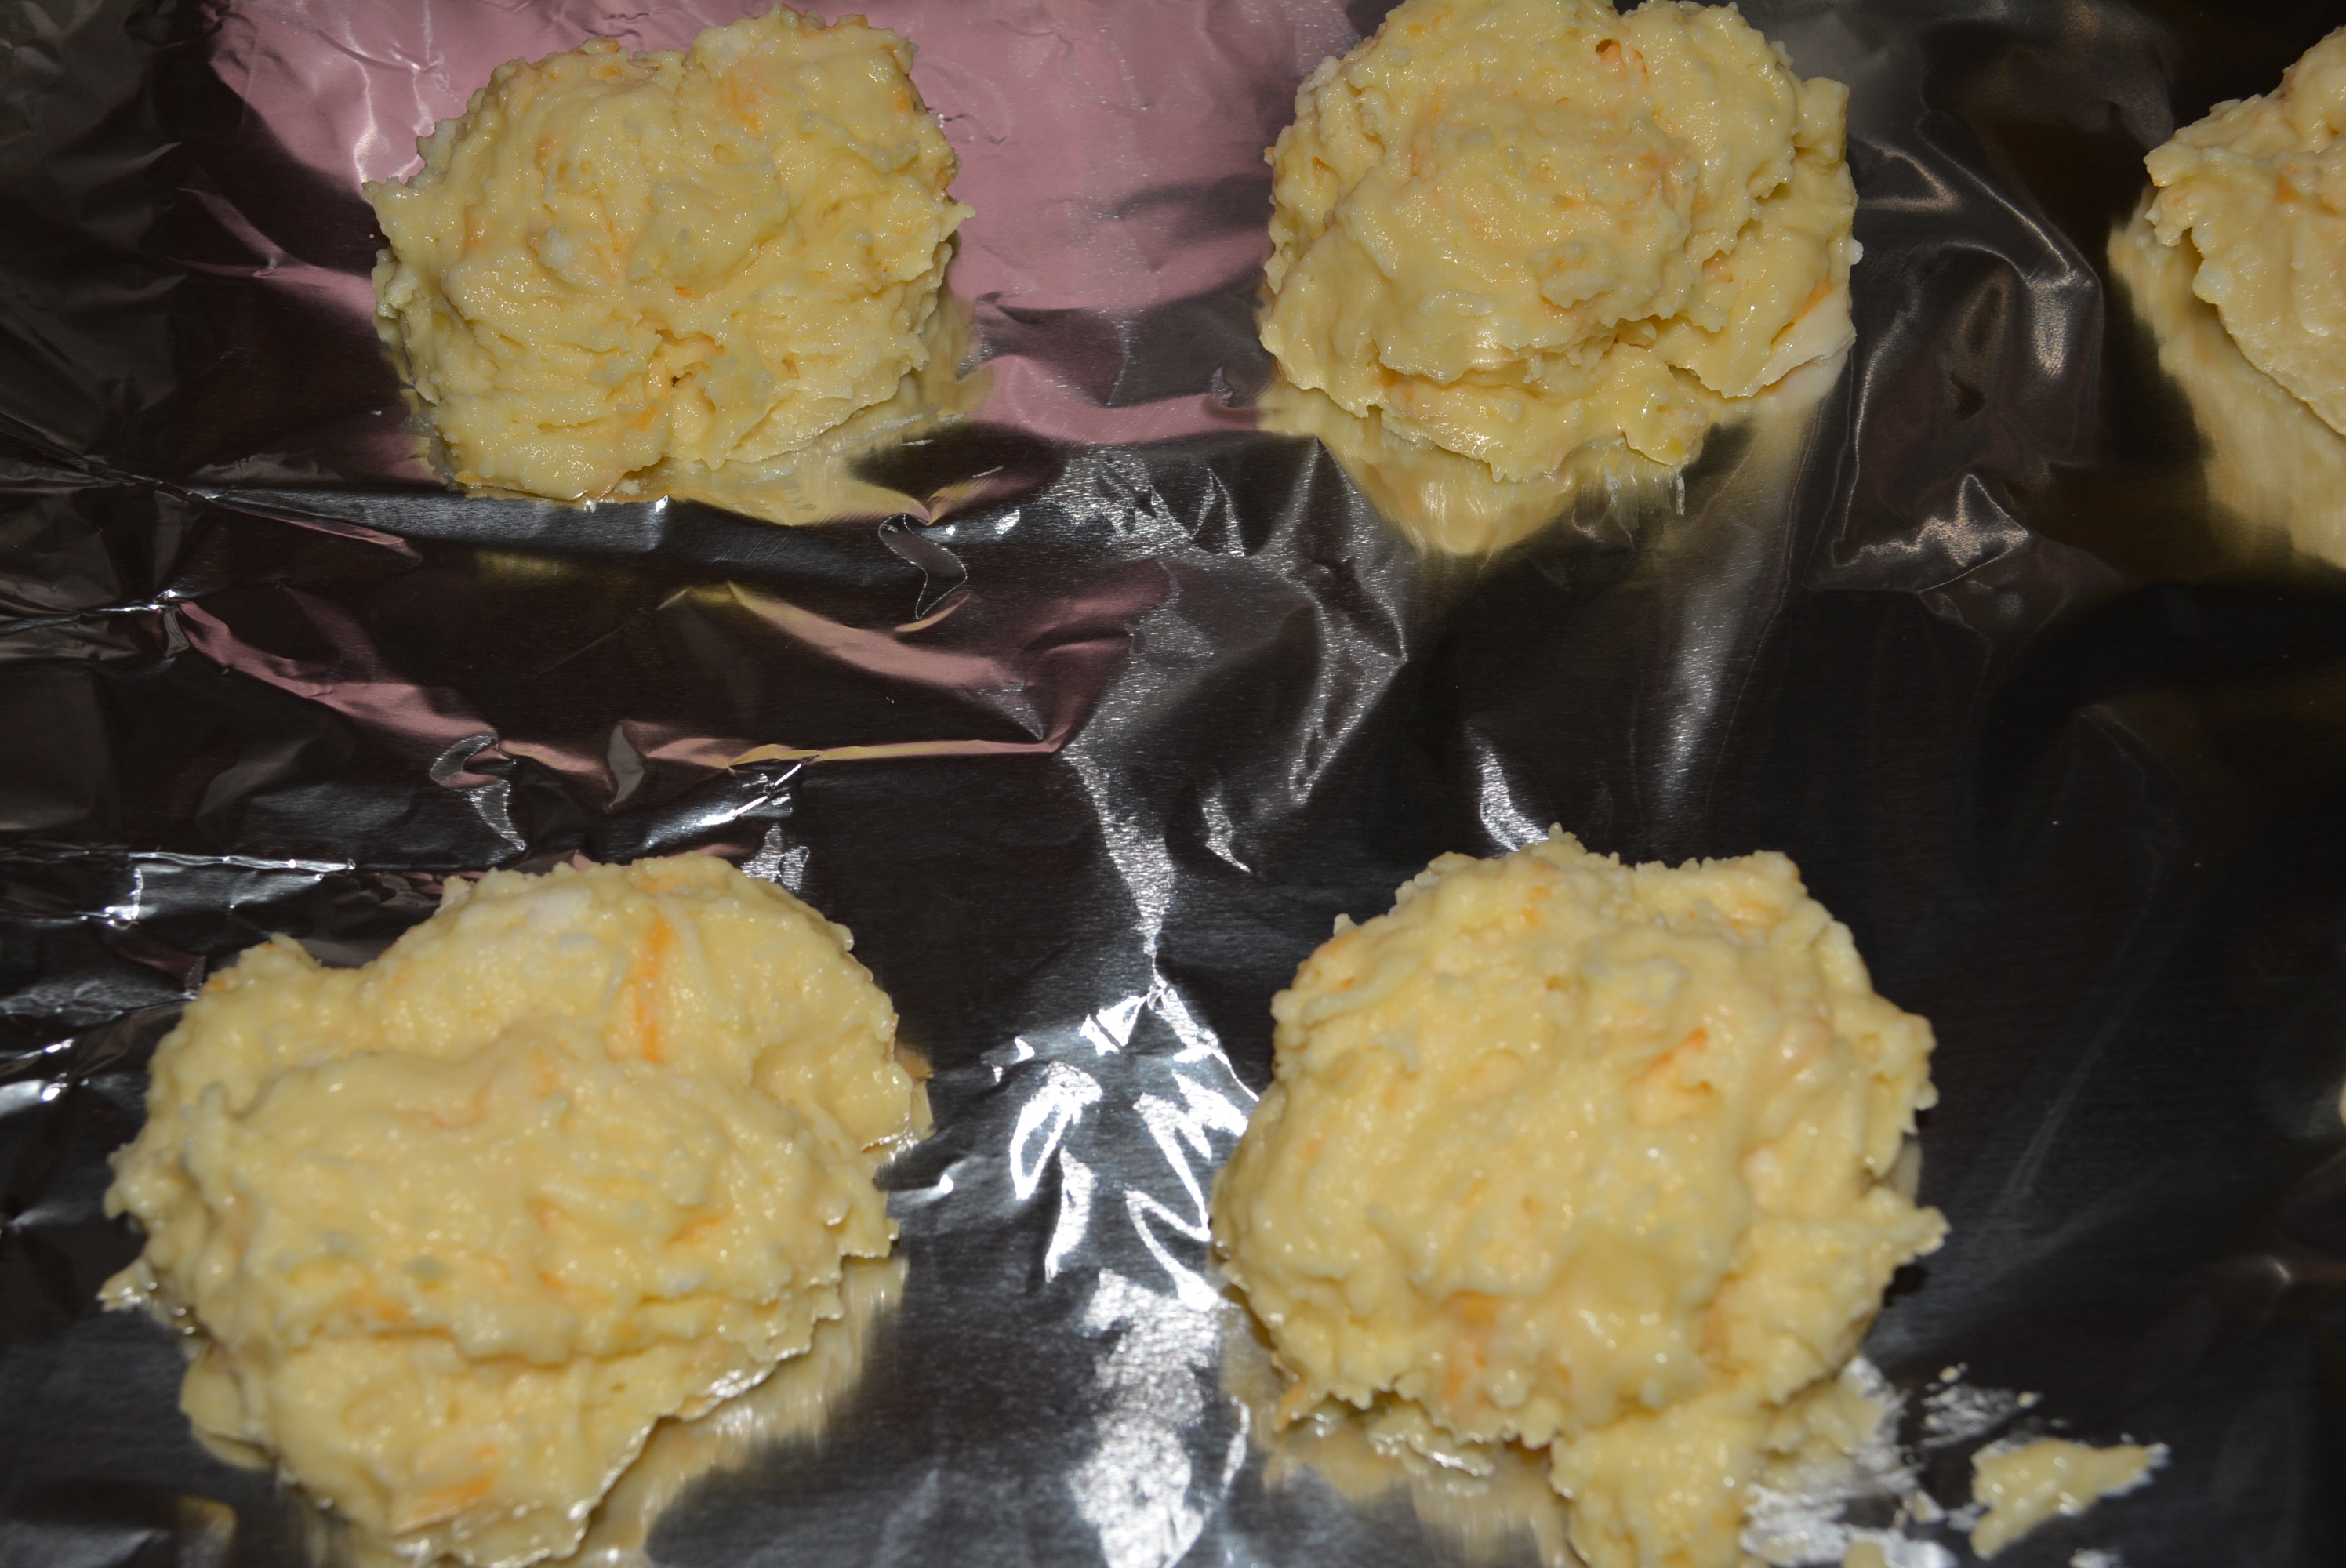
Using a tablespoon, add heaping spoonfuls to an ungreased cookie sheet. Depending on size, you’ll usually get between 10 and 12 biscuits from this amount of batter.
Biscuits ready to be cooked.
Bake biscuits for about 8 to 10 minutes until tops are a light golden brown. I like to touch the middle of of the biggest one to make sure the biscuit is firm and cooked all the way through.
For topping, add 1/4 cup butter to microwavable bowl and melt.
To melted butter, mix in 1/4 tsp garlic powder.
Before removing biscuits from baking sheet, brush melted garlic butter on top of the biscuits.
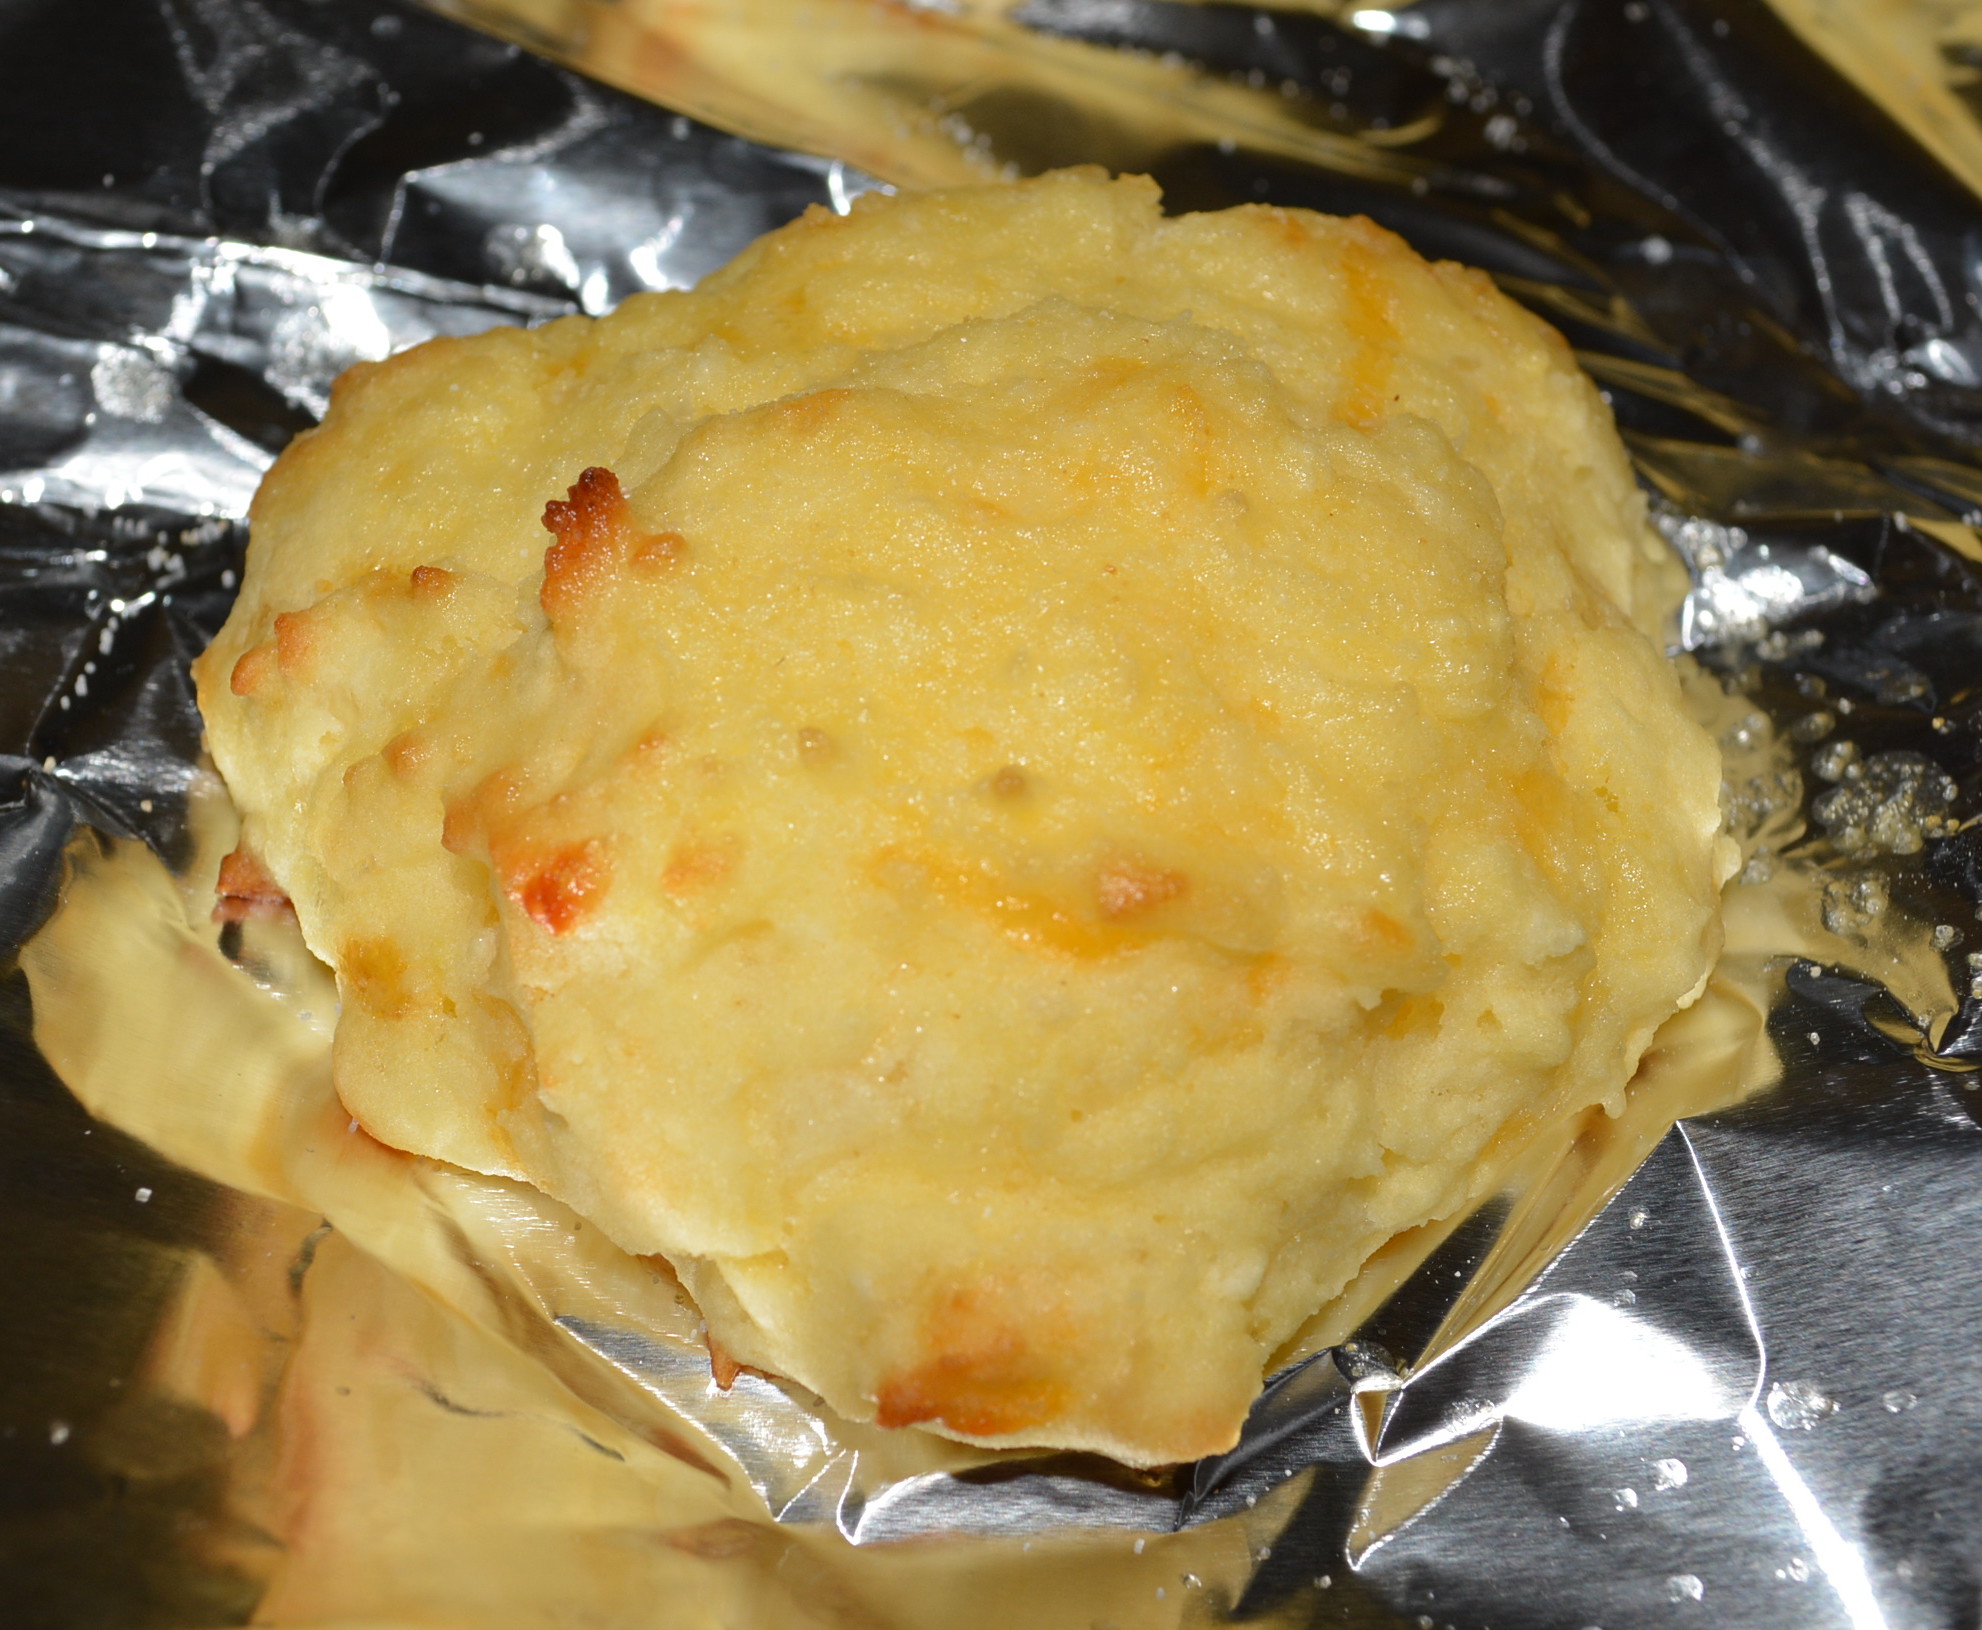
After 10 minutes you get lightly browned biscuits!
Serve biscuits warm and with butter!
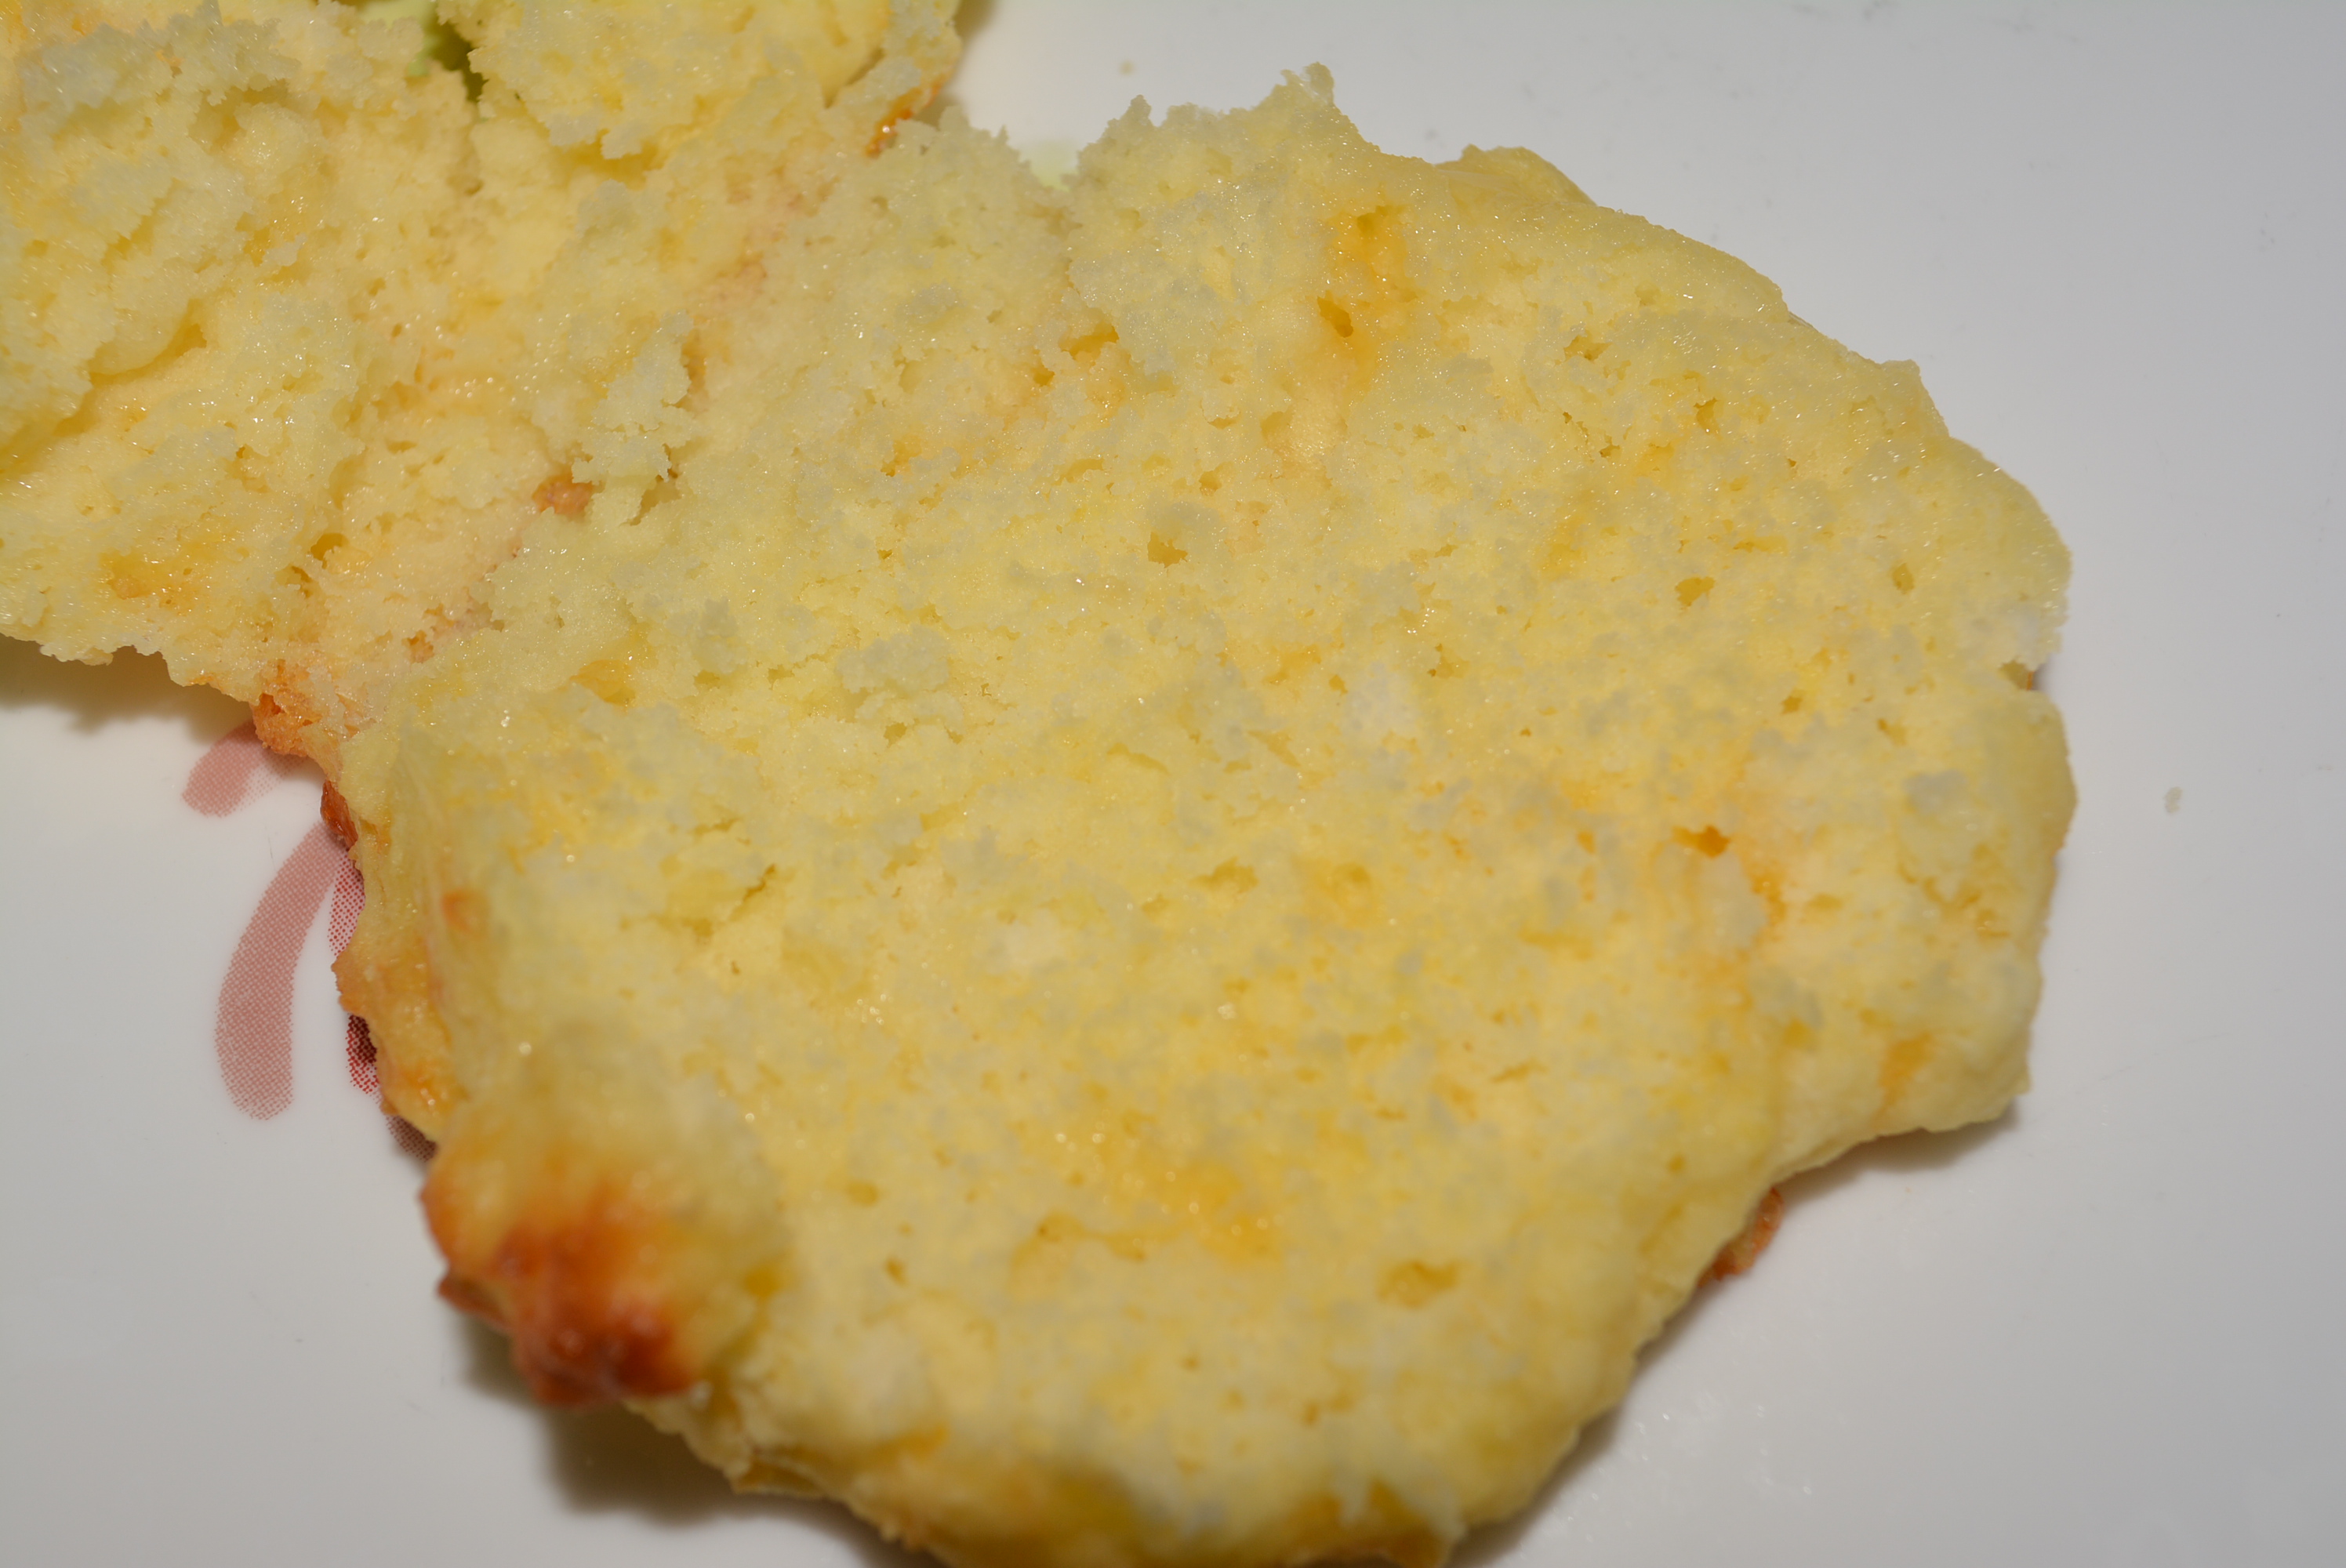
Fluffy inside of biscuit!
These biscuits are so quick and easy to make and bake, making them a perfect addition to any holiday meal! When dinner’s ready, just pull out your favorite butter and add some to the middle of your biscuits to create a wonderfully moist center! A light butter is the perfect addition to these fluffy pillows of garlicky gluten free goodness! The best thing about these biscuits is the texture, which everyone knows can be lacking in gluten free baked goods but I assure you that that is not the case for these. These biscuits are perfectly light and fluffy and moist at the same time, just what a biscuit should be and very reminiscent of those warm and buttery gluten filled biscuits that you could get at Cracker Barrel or even in a breakfast sandwich at McDonalds. I don’t know about you but I’m definitely in the mood for a warm biscuit now. I might just have to whip up a batch of these for little one and myself, maybe for egg sandwiches? The possibilities are endless!
TIP: You can even prepare these ahead of time and heat them slightly for a few minutes at a warm setting in your oven when you’re ready to enjoy.
I shared this recipe and more here on Gluten Free Easily’s Gluten-Free Wednesdays.
Sincerely,
Lindsay
Fluffy Gluten Free Garlicky Cheddar Biscuits
2014-04-06 08:12:13
Biscuits are so quick and easy and come out perfect each time!
In a medium bowl, add 2 cups Bisquick mix and 1/4 tsp garlic powder and combine.
Using a fork, cut in 1/4 cup cold, firm butter until mixture has coarse crumbs throughout (this makes the biscuits fluffy), so the more crumbs the better!
Mix in 2/3 cup milk, 3 eggs, and 1/2 cup cup shredded cheese until you form a soft dough.
Using a tablespoon, add heaping spoonfuls to an ungreased cookie sheet. Depending on size, you'll usually get between 10 and 12 biscuits from this amount of batter.
Bake biscuits for about 8 to 10 minutes until tops are a light golden brown. I like to touch the middle of of the biggest one to make sure the biscuit is firm and cooked all the way through.
For topping, add 1/4 cup butter to microwavable bowl and melt.
To melted butter, mix in 1/4 tsp garlic powder.
Before removing biscuits from baking sheet, brush melted garlic butter on top of the biscuits.
Serve biscuits warm and with butter!
By Gluten Free Mom To Be
Adapted from Betty Crocker
Adapted from Betty Crocker
Gluten Free Mom To Be http://www.glutenfreemomtobe.com/
During pregnancy, it’s super important to eat plenty of highly nutritious foods that are going to provide you with plenty of energy for an extended period of time. When you’re going through a pregnancy with dietary restrictions accompanied by normal pregnancy cravings and food aversions this task becomes a bit more difficult. Before pregnancy, I always was a huge fan of smoothies but only really drank them for pleasure rather than for purpose. While pregnant though, smoothie drinking had taken on a whole new meaning for me where they not only could be a tasty snack but could also be an essential pick me up, packed full of nutritional goodness from essential vitamins to energizing protein and fiber.
I personally like to put together gluten free smoothies with a whole grain source, fruit, vegetable, and some type of liquid base. I certainly make variations to this formula, adding in dairy and protein from yogurt on occasion and making all fruit smoothies at times. As far as adding in veggies though, one of my favorites to add into almost all of my smoothies is fresh spinach, and believe it or not but you absolutely cannot taste it at all! Some fruits which make their appearance in my smoothies quite often include bananas, peaches, pineapple, and pretty much all berries. When available and economical I like to purchase fresh fruit but I typically purchase frozen in a lot of these fruits.
As far as a liquid base, I typically use either unsweetened coconut milk, Dream Blends unsweetened rice and quinoa drink, or fat free milk. Each of these options have many nutritional benefits boasting high levels of calcium as well vitamins A, B12, D, and E while being low in fat, but with respect to dietary restrictions, are most importantly gluten free and dairy free. As a final addition to my smoothies I like to add a little extra boost of whole grain, protein, or fiber through gluten free peanut butter and avocado as well as certified gluten free oats, ground flaxseed, or chia seeds. These additions, while providing added nutritional benefits, also make for a more sustaining smoothie that’ll keep you going a lot longer.
Smoothie drinking has extended far past pregnancy and branched off into juice making aswell (but that’s a whole other post). Myself and my 15 month old little girl enjoy smoothies almost everyday along with fresh fruit and veggie juices. Right after grocery shopping, I usually divide up whatever fresh or frozen fruits and veggies into freezer bags so they’re all ready to be blended or juiced as desired. Along with the ease of dividing out my fruits and veggies ahead of time, I typically try to make enough smoothie or juice one day to get us through two mornings or lunches of drink. So if you feel hungry shortly after breakfast or lunch add a smoothie to either meal or even as a mid-morning or late-afternoon snack and you and your baby will certainly be grateful in the long run.
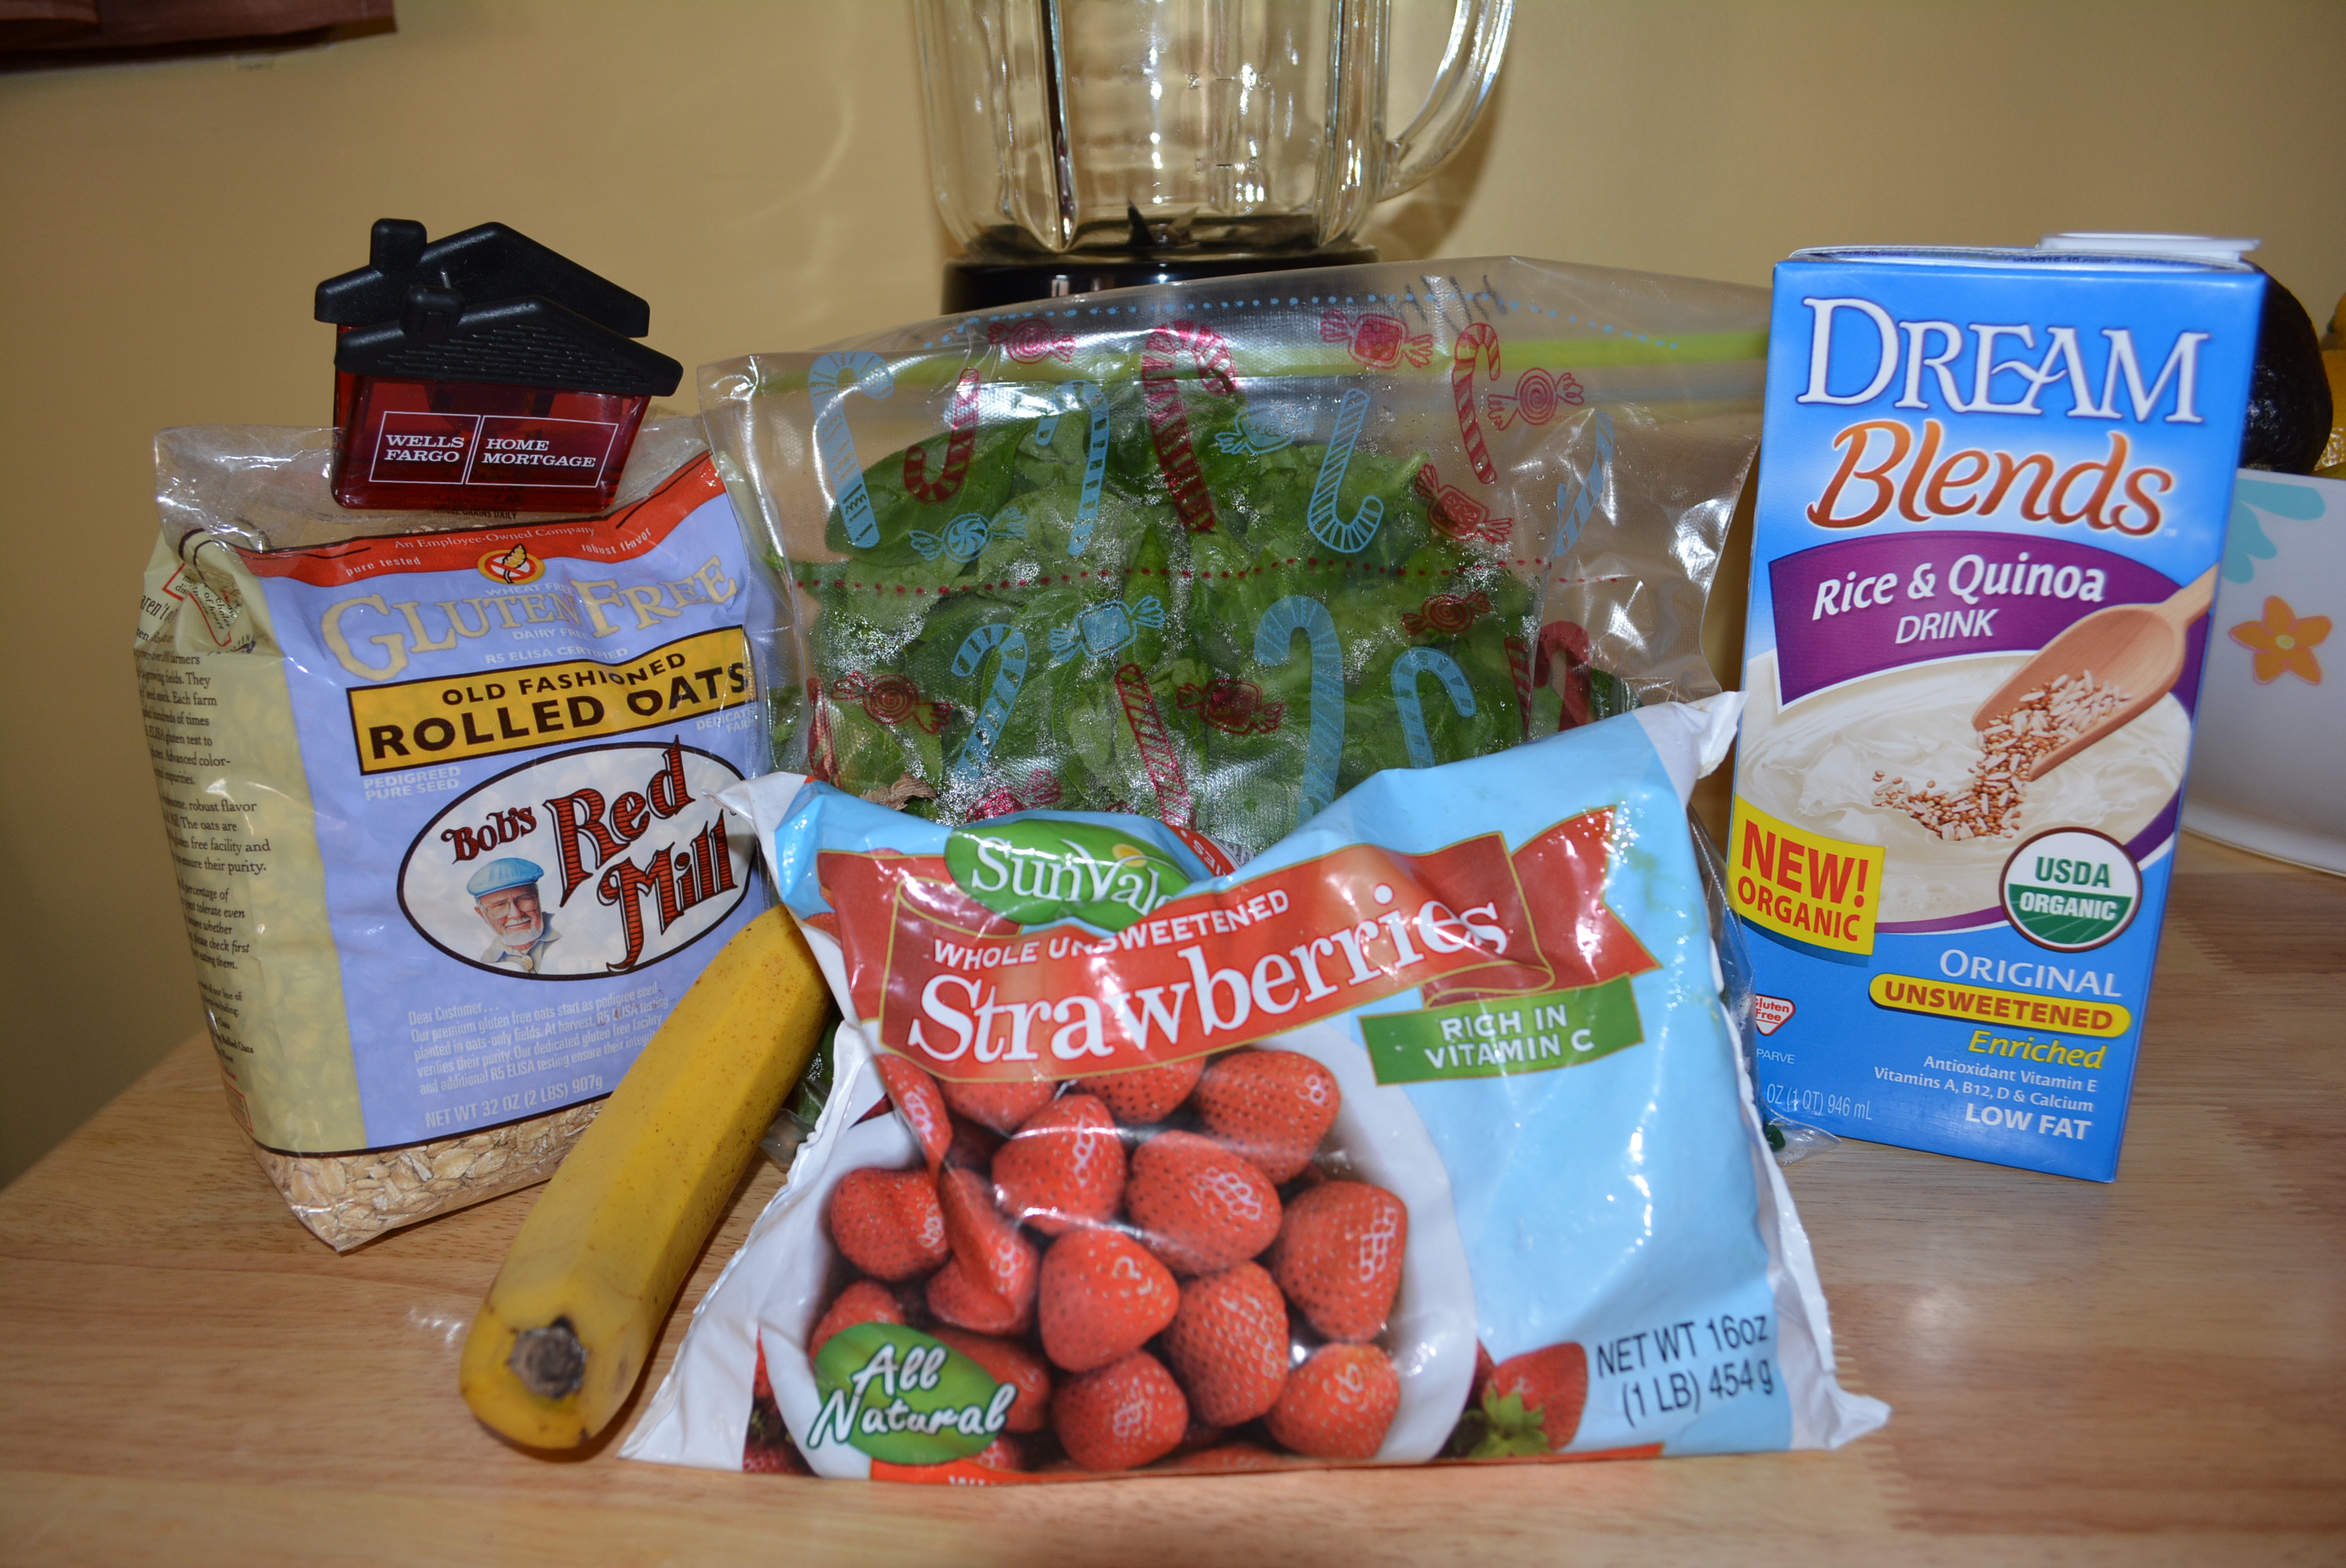
Try one of my favorite smoothies combining strawberries, bananas, spinach, and gluten free oats…a perfect version of gluten free oatmeal on the go! (You’ll notice I try to not add sweeteners or additional juices to my smoothies to minimize the sugar content but you certainly can add a little something extra if you desire.)
Ingredients:
16 oz bag frozen or fresh strawberries
2 handfuls of fresh spinach
2 bananas
2 cups Dream Blends Rice and Quinoa
2 tbsp gluten free old fashioned oats (Bob’s Red Mill is certified gluten free)
Ingredients for a gluten free strawberry banana oatmeal smoothie.
Directions:
Add liquid, gluten free oats, and spinach to blender first and blend it up a little before adding the strawberries and bananas.
A strawberry and banana oatmeal smoothie!
TIP: When making smoothies, make sure you put together combinations that you’ll enjoy drinking. Trust me, if you don’t enjoy the taste you’re certainly not going to want to have to choke it down even though it’s healthy for you. So make something that is nutritional, by trying to sneak in a veggie along with one of the additional add ins that I mentioned, but also something that is really tasty.
Sincerely,
Lindsay
Gluten Free Strawberry Banana Oatmeal Smoothie
2014-04-02 08:34:20
Enjoy this gluten free strawberry banana oatmeal smoothie that's packed with calcium, vitamins, and fiber!
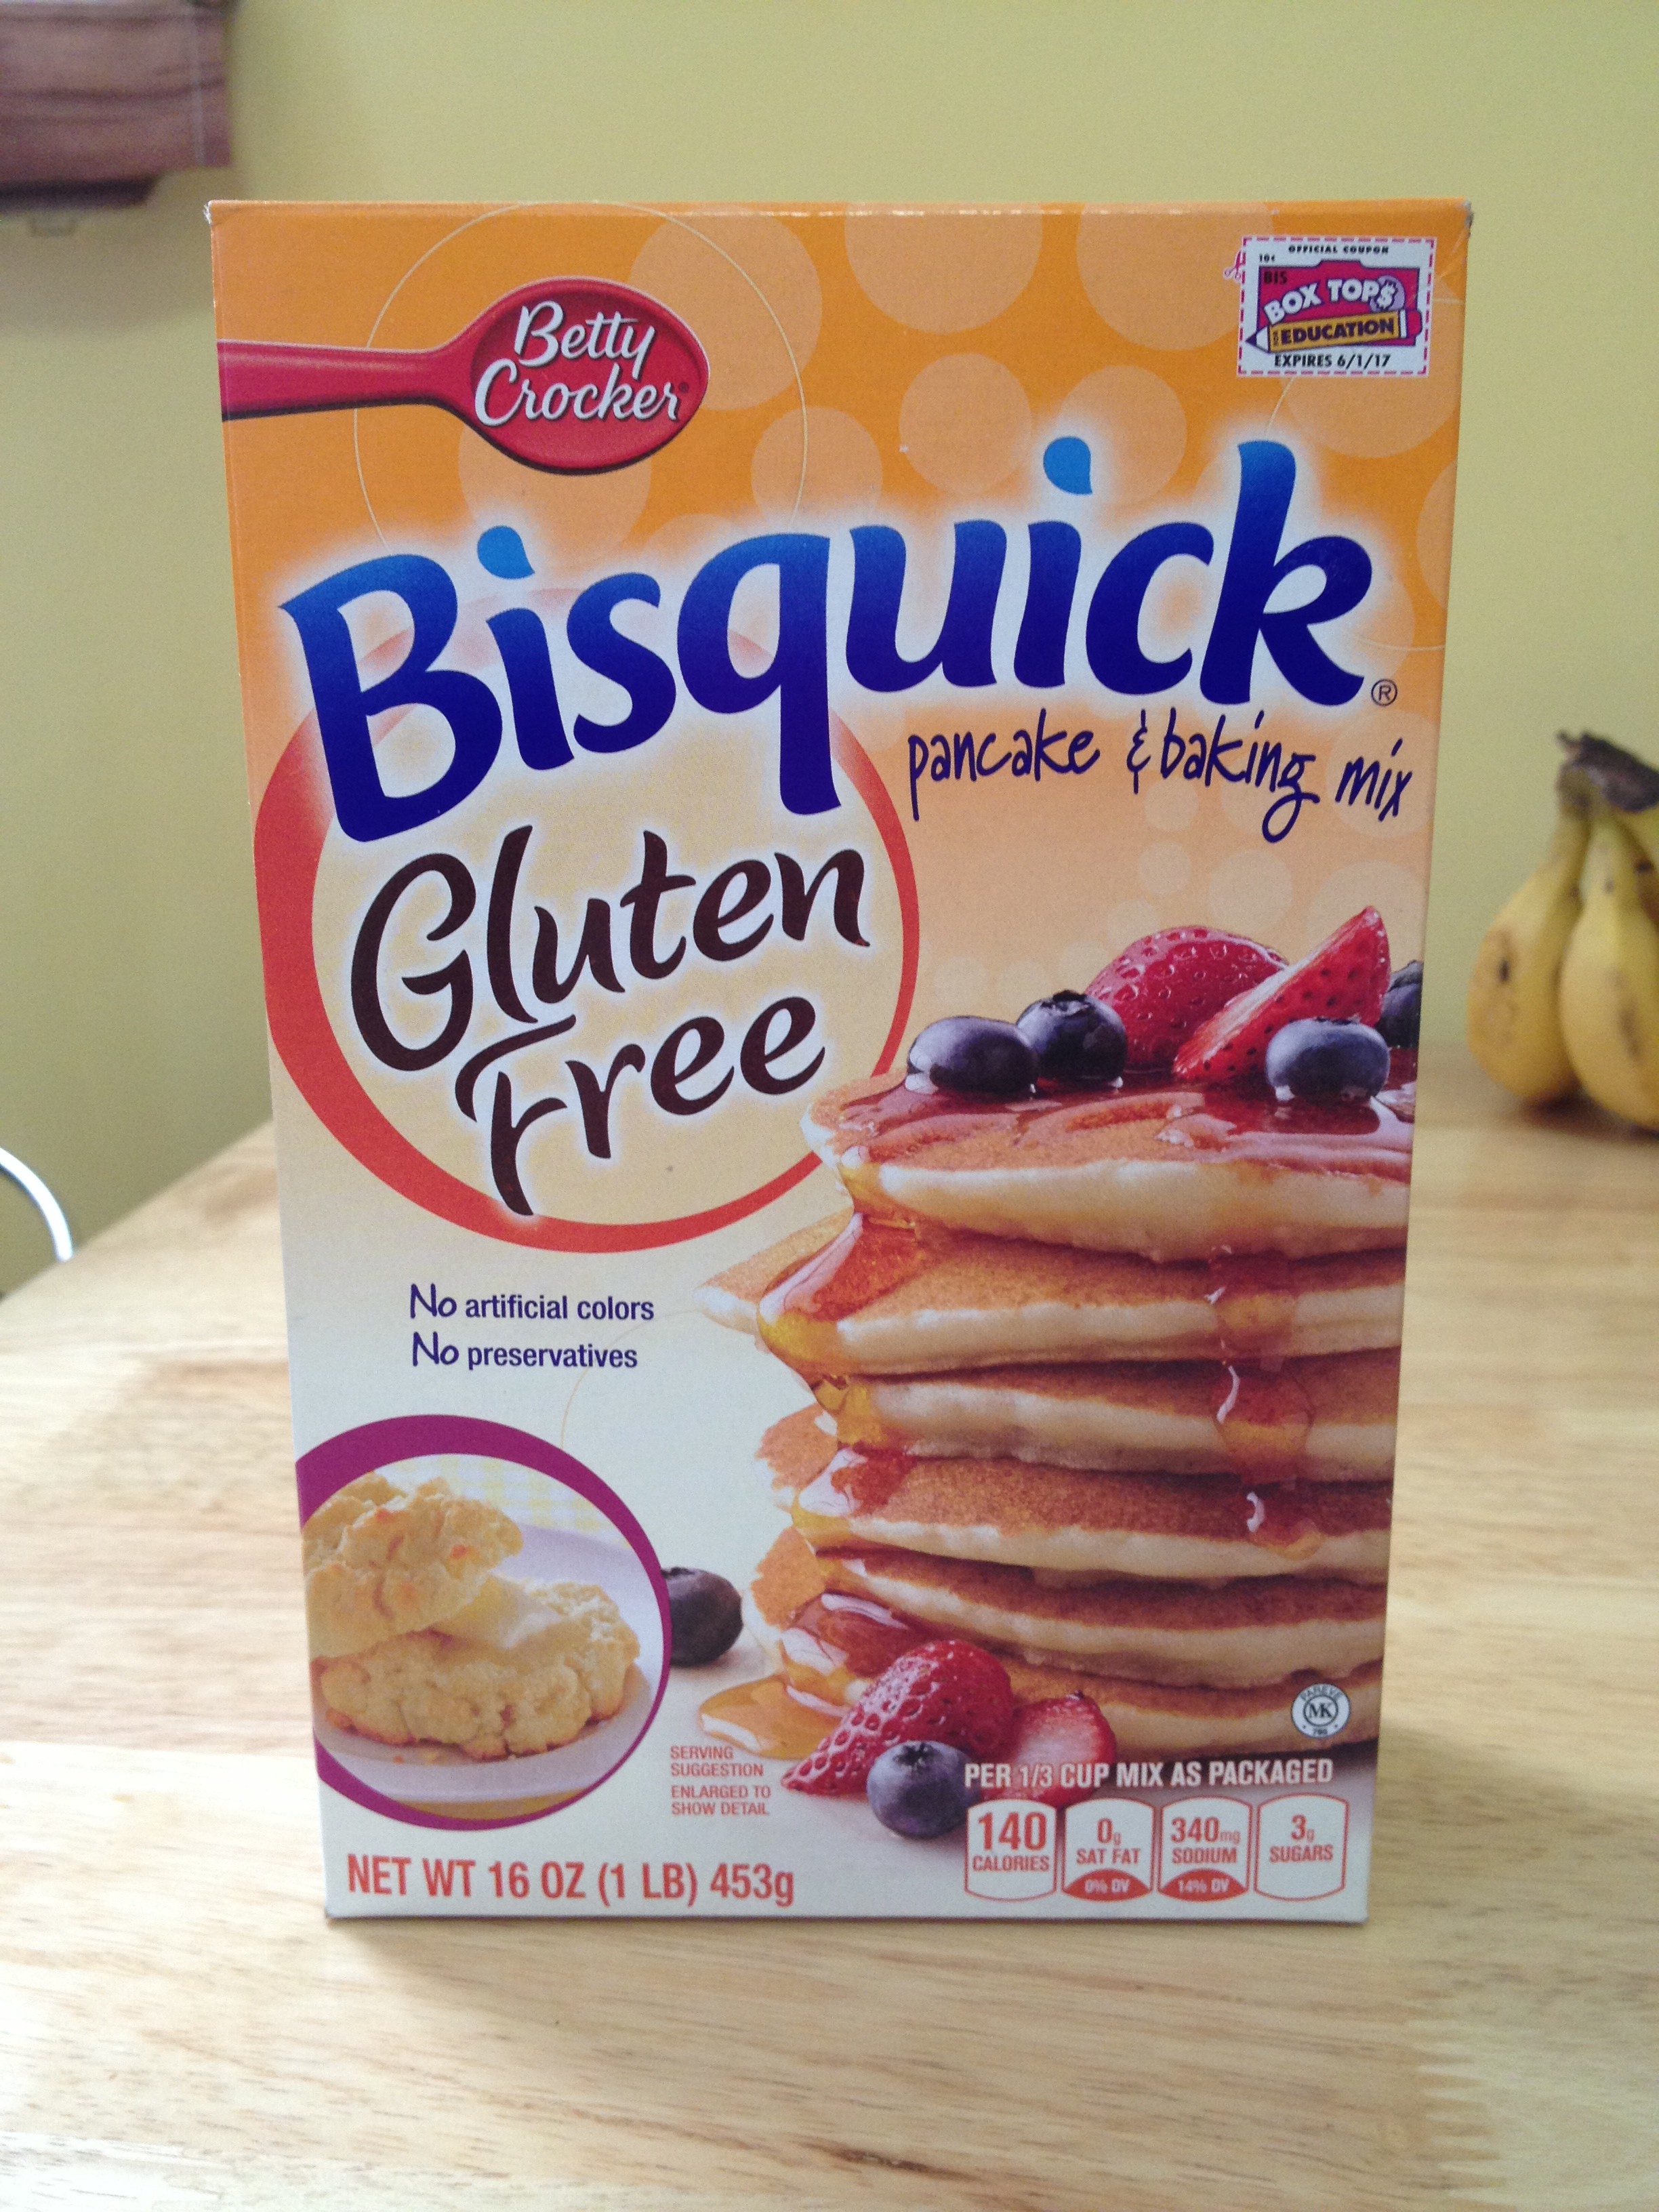
Betty Crocker has produced a number of gluten free products mainly in the way of baking mixes. I for one am a huge fan of all of the gluten free baking mixes so when I came upon this little surprise I was thrilled! I couldn’t believe that Betty Crocker had expanded their gluten free line again, this time branching off Bisquick by making Gluten Free Bisquick mix. This mix has made my life so much easier and tastier too! I’ve used it for a number of recipes and each time it has produced a perfect product. Some of my favorites have been my Sour Cream Blueberry Pancakes, that I posted about here, and Garlic Cheddar Biscuits, absolutely delicious! The convenience and flexibility of this mix makes it a permanent item on my pantry shelves.
Gluten Free Bisquick
My only complaint is the actual size of the product which sadly gets used up just way too quickly. Since this product is newer though I think Betty Crocker will wait and see how it is reviewed and hopefully do as they did with the regular Bisquick when they made a larger version, here’s to hoping! Until then, I can see many biscuits, pancakes, and many other gluten free treats in my future! Give this a try and you’ll be so glad that you did!
TIP: Keep an eye out for coupons on Betty Crocker’s website as they have posted coupons for this item recently which help out a ton on its $5.49 price tag at my local grocery store. Shop around though at other grocers or even a Walmart or Target which around me have carried this item as low as $4.18. If it’s not located in any of your local stores check online, for instance you can order it online at Walmart. For me, the versatility of this mix is completely worth the price tag!
You’ll soon learn that I am an extremely picky eater, always have been ever since I was little and now am just a picky gluten free eater. My diet is somewhat limited as I do not eat any seafood and am not a huge fan of meats aside from chicken, beef, and pork, and even those I have to be in the mood for. When I was pregnant, the meat repulsion was heightened and I was left scrounging for filling yet healthy dinner options differing from my typical sandwiches, salads, and pastas.
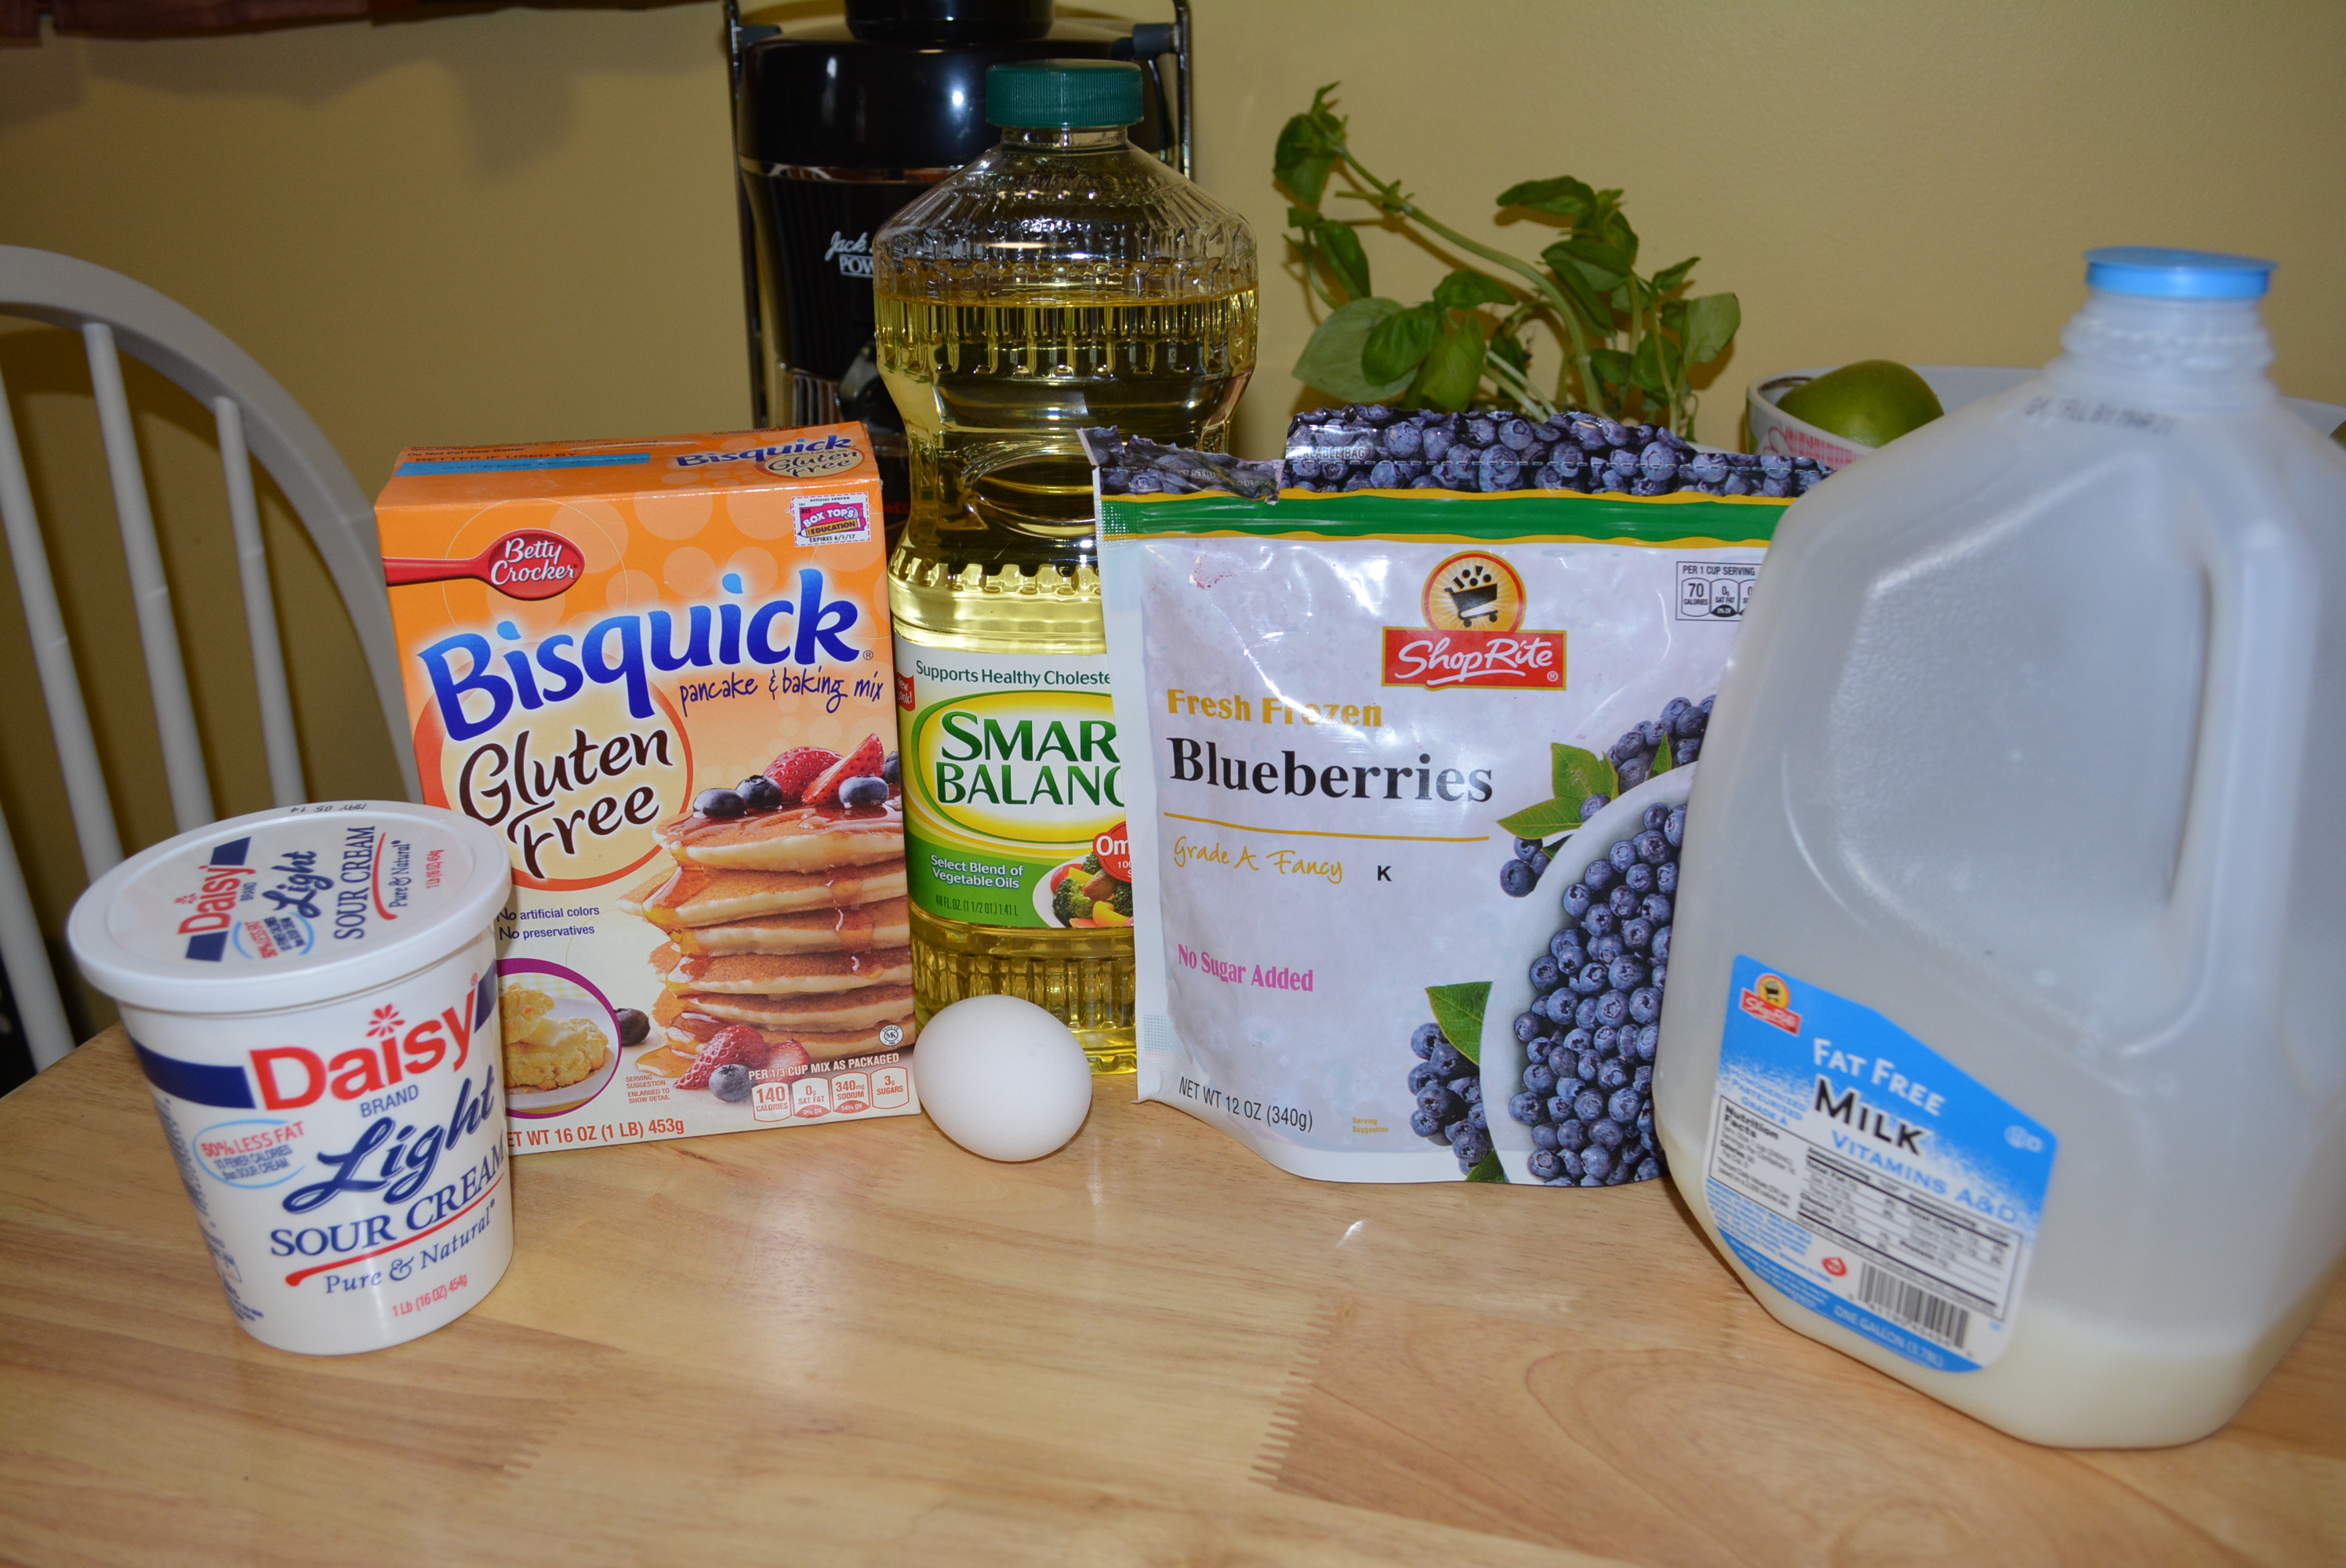
I’m one of those people that enjoys breakfast items anytime of the day, especially for dinner. On many occasions, we would put together omelets stuffed to the brim with veggies and cheese or create our own breakfast sandwiches accompanied by an overflowing bowl of fruit or cereal. One of my favorite breakfast/lunch/dinner options are waffles or pancakes. I’ve always preferred waffles as gluten free pancakes have been a bit too dense for me, however this recipe has surely changed my mind. Some of my favorite recipes have come from Betty Crocker’s site including this one for Gluten Free Blueberry Sour Cream Pancakes, thanks Betty Crocker! Please give this recipe a try, it’s so easy and produces perfectly light and fluffy pancakes with deliciously sweet blueberries nestled inside!
This recipe can make about 12 small pancakes, but mine were on the larger side and made about 8 pancakes.
Ingredients:
1 cup Bisquick Gluten Free mix
1 cup milk (I use a Skim Milk)
2 tbsp vegetable oil (I use Smart Balance oil which is gluten free)
1 egg
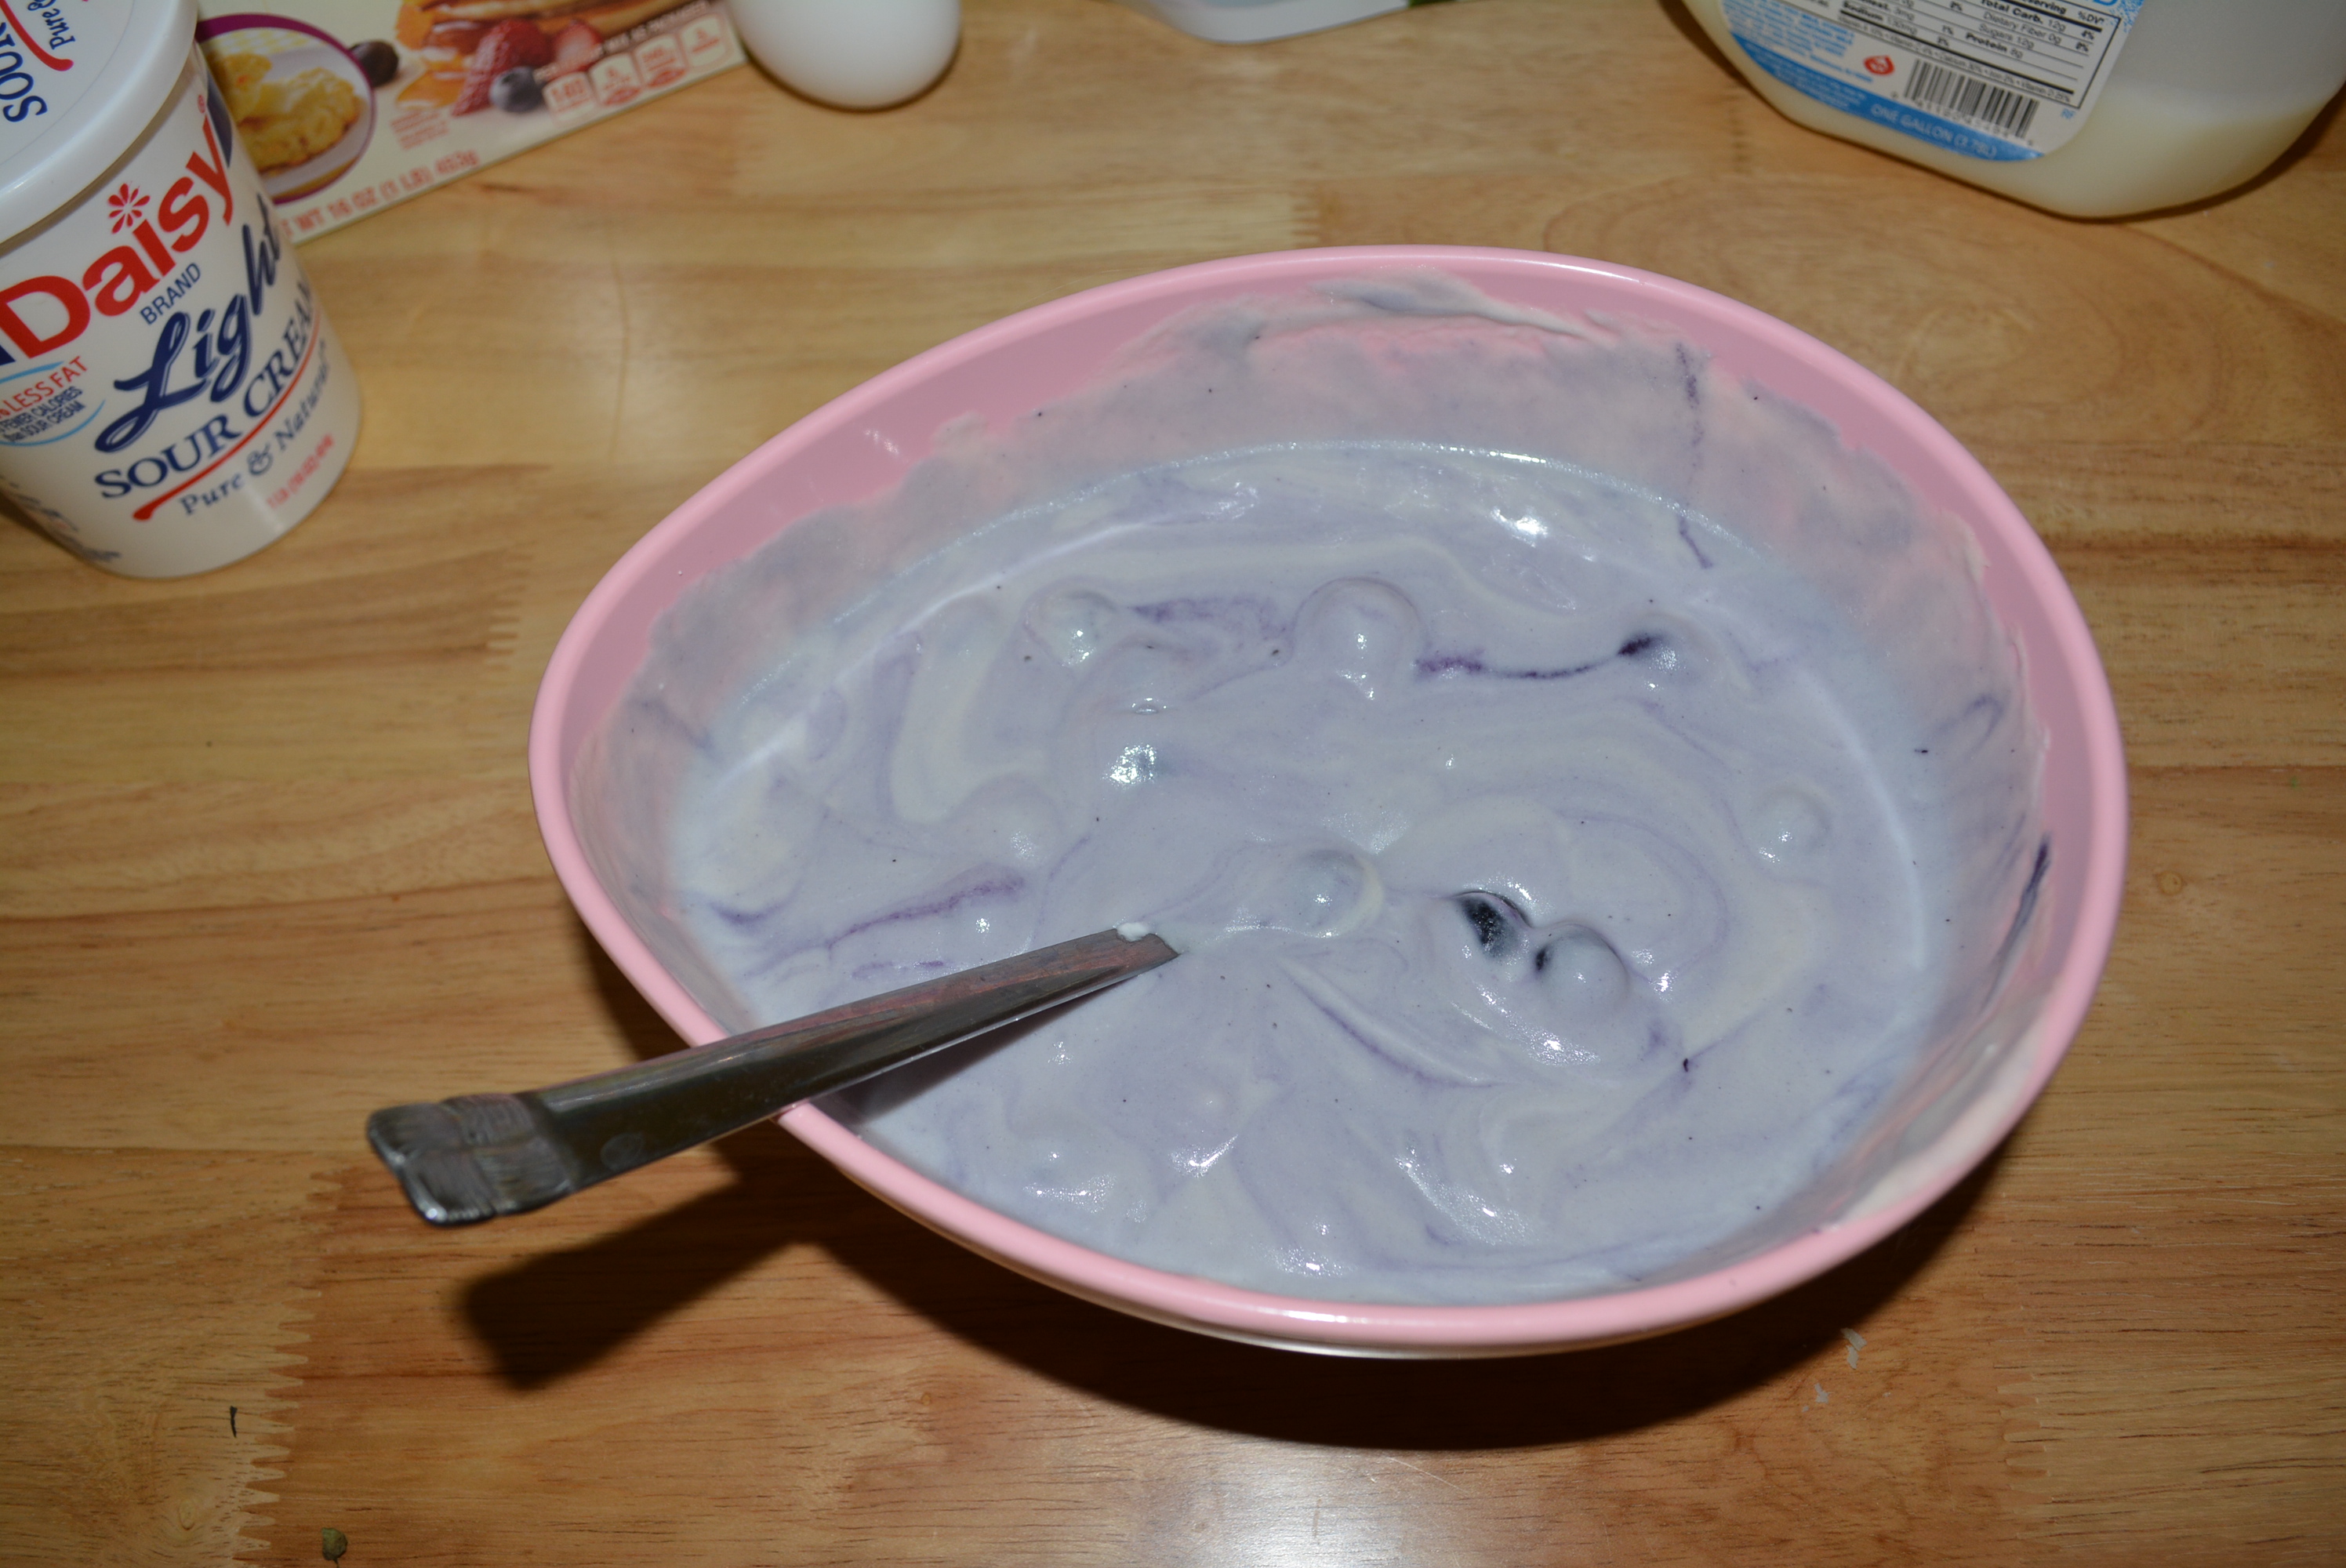
1/4 cup sour cream (I use Daisy light sour cream which is gluten free)
1 cup fresh blueberries or frozen blueberries (if using frozen blueberries, do not thaw before adding)
Butter and syrup for enjoying
Ingredients for gluten free blueberry sour cream pancakes.
Directions:
In a large bowl, combine 1 cup Bisquick mix, 1 cup milk, 2 tbsp oil, and a single egg until well mixed.
Gently stir in a 1/4 cup of sour cream.
Fold in 1 cup of blueberries until all are combined.
Batter is all mixed up and ready to go!
If you have a griddle, spray with non-stick cooking spray before heating and than heat to 375 degrees. If you do not have a griddle or prefer to use a skillet, spray a large skillet with non-stick cooking spray and heat to medium-high heat. TIP: I use a skillet and tend to keep heat on the lower side as they can burn very quickly. No matter which temperature just keep an eye on them and flip as soon as you start seeing bubbles.
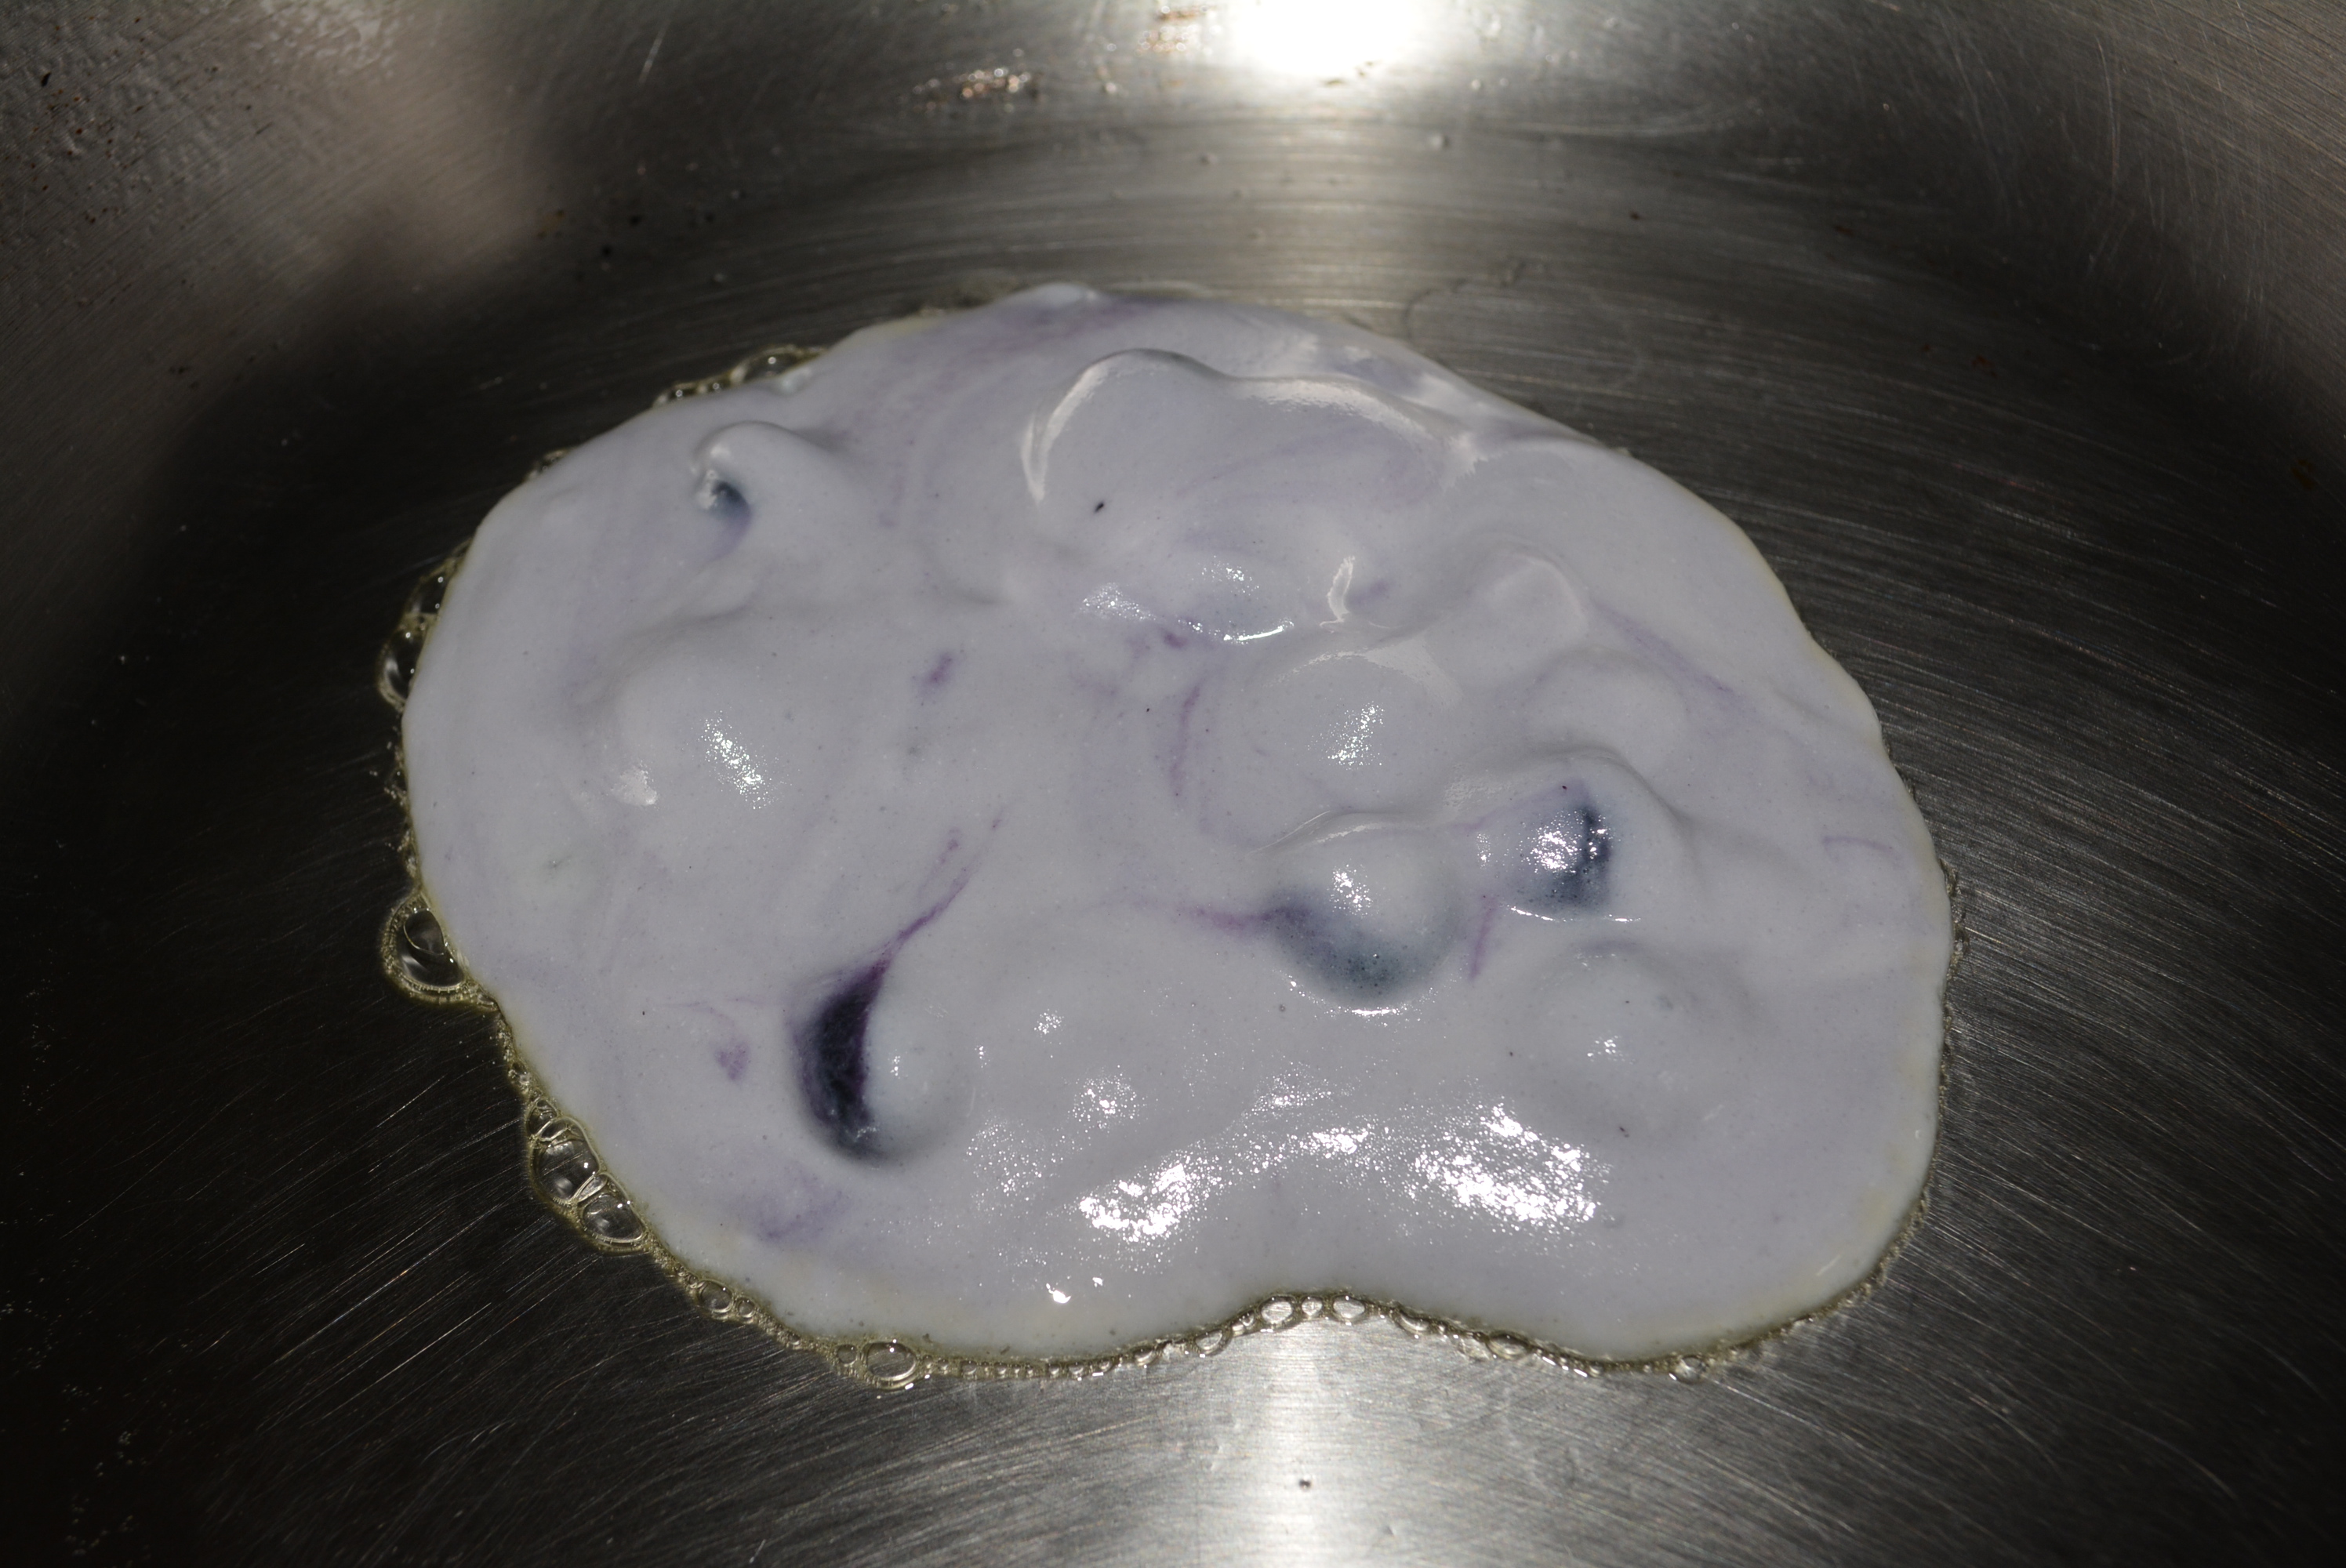
Pour about 1/4 of a cup of batter onto the hot pan, cooking the first side for about 2 minutes or until pancakes are dry around the edges and bubbles form throughout. Pay attention to the edges and bubbles rather than the time as the time will vary between cooking utensils and stoves.
Couple minutes to brown on the first side.
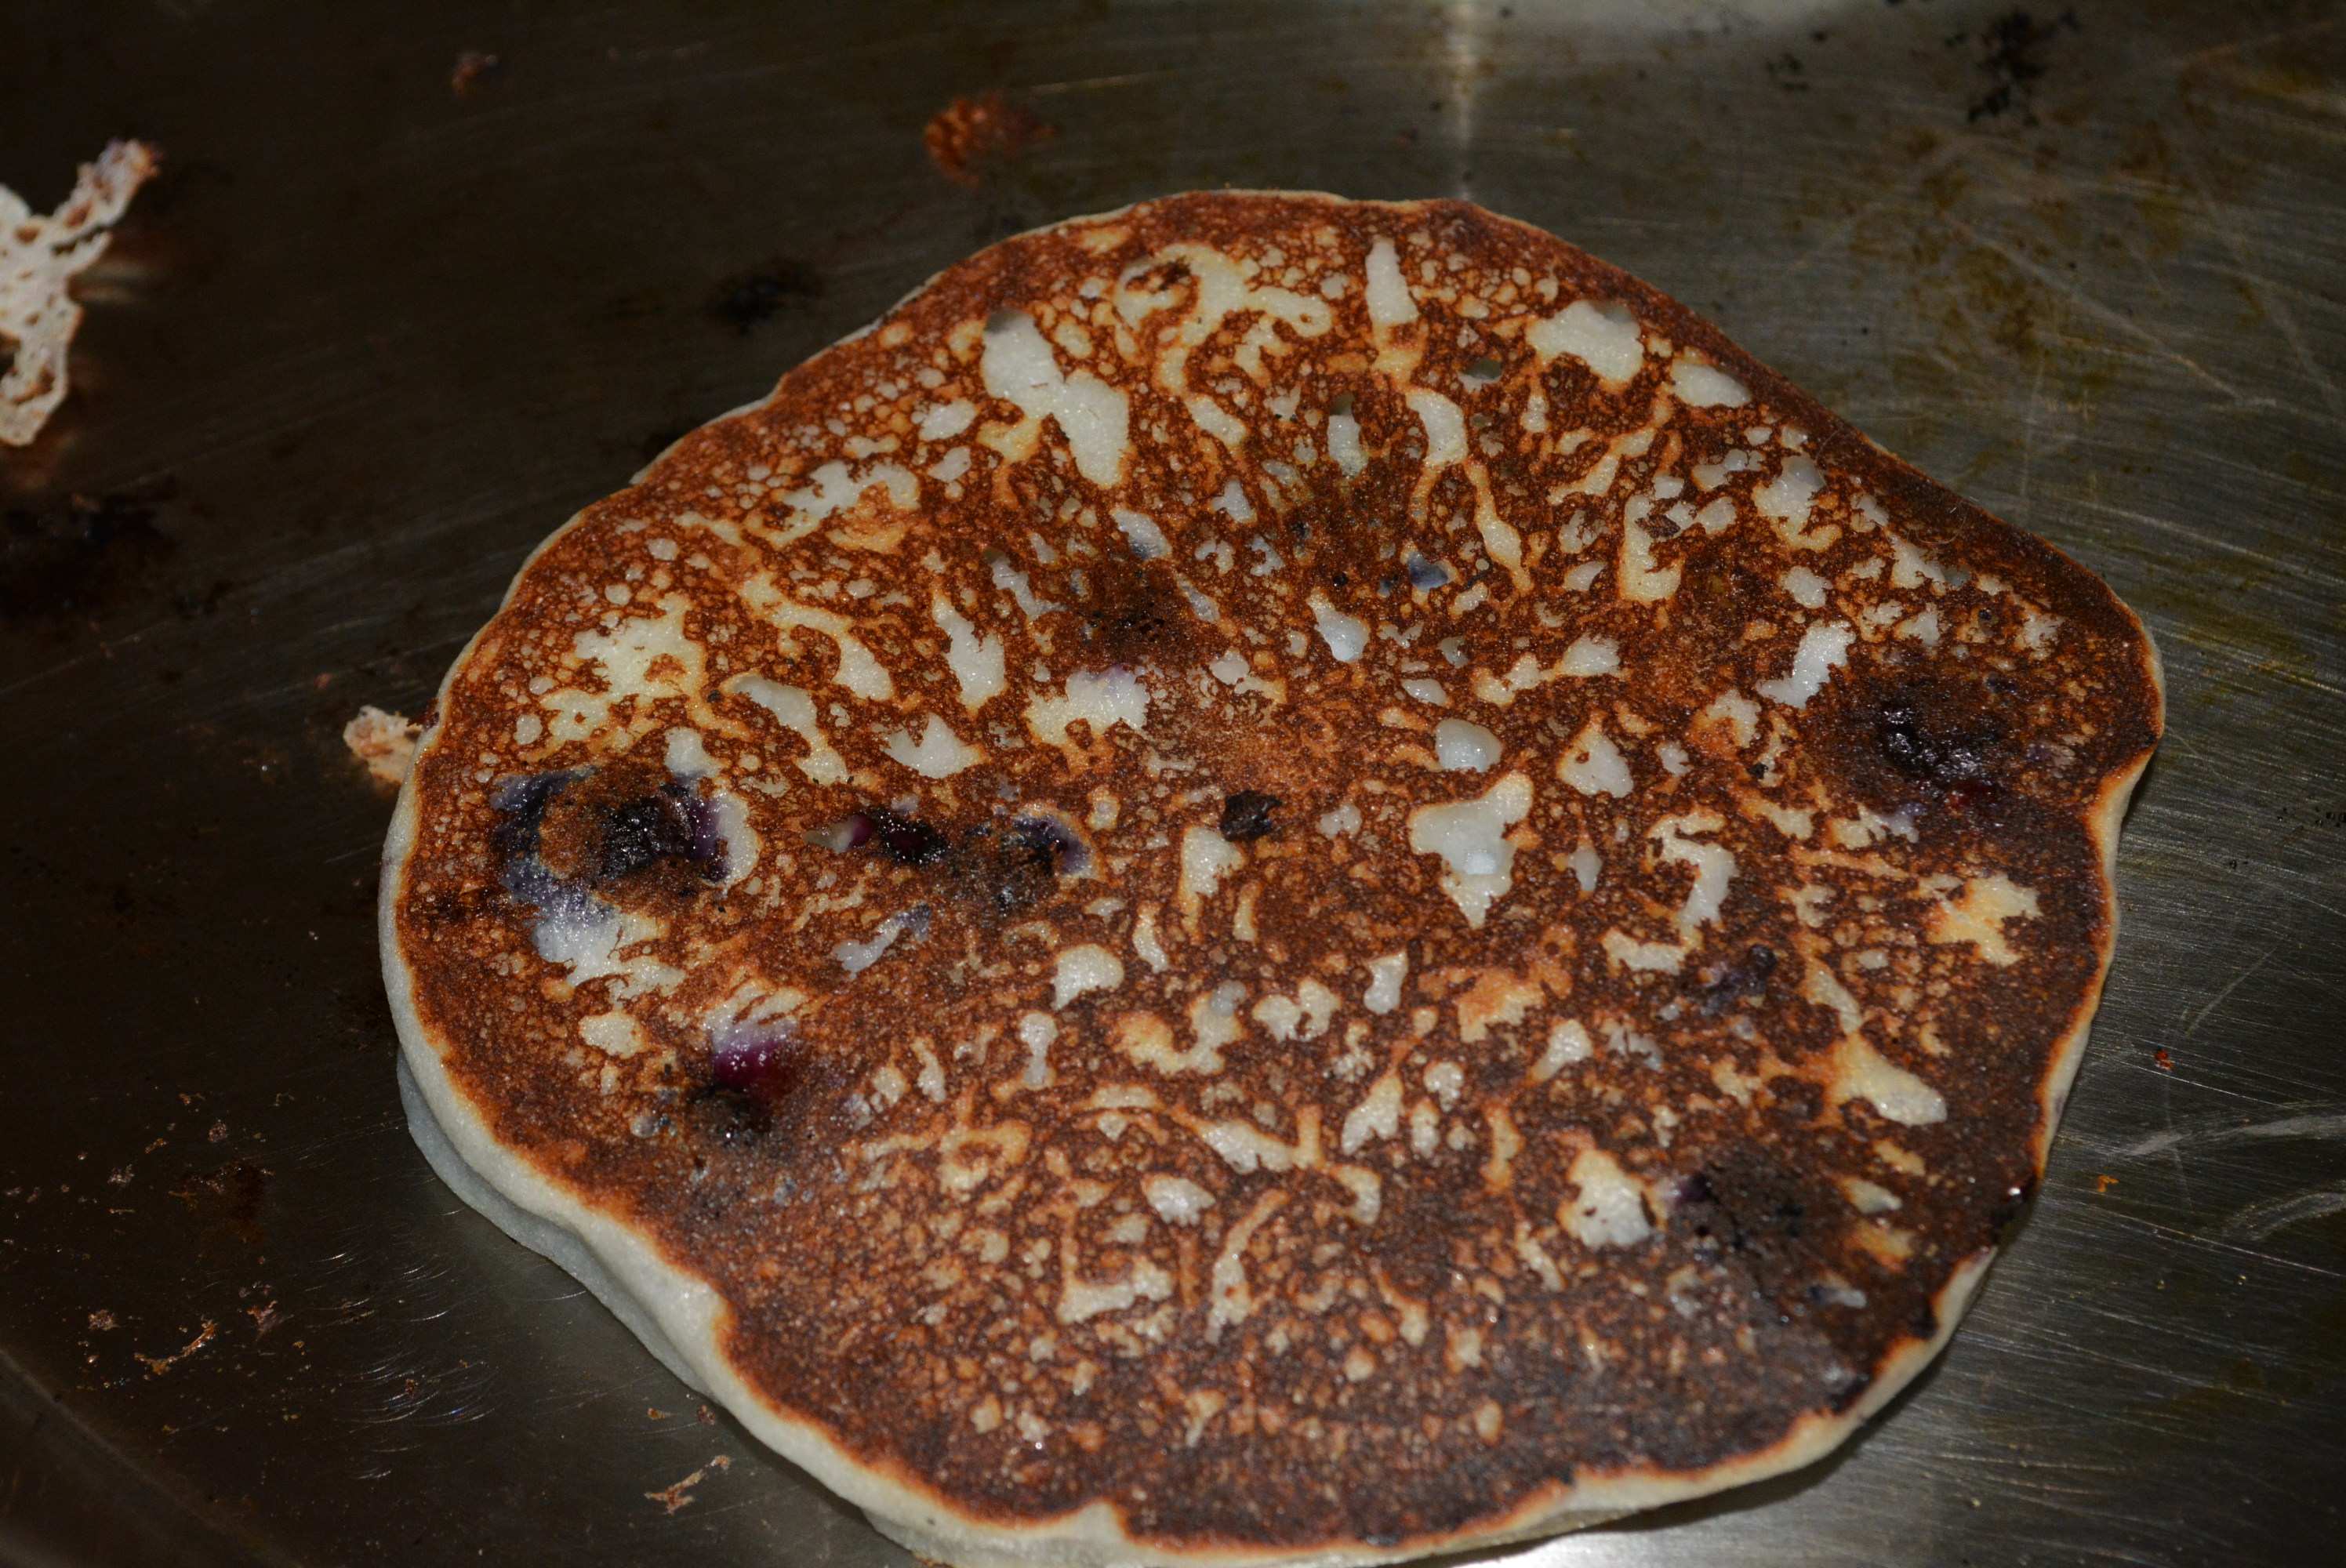
Flip pancake onto other side and cook until golden brown (depending on heat level, this will only take another minute or so).
Depending on heat level, cook about 1 minute more on the other side and it’s all done!
I like to flip my pancakes over on each side one more time to heat for an additional 30 seconds or so just to be sure they’re finished cooking inside.
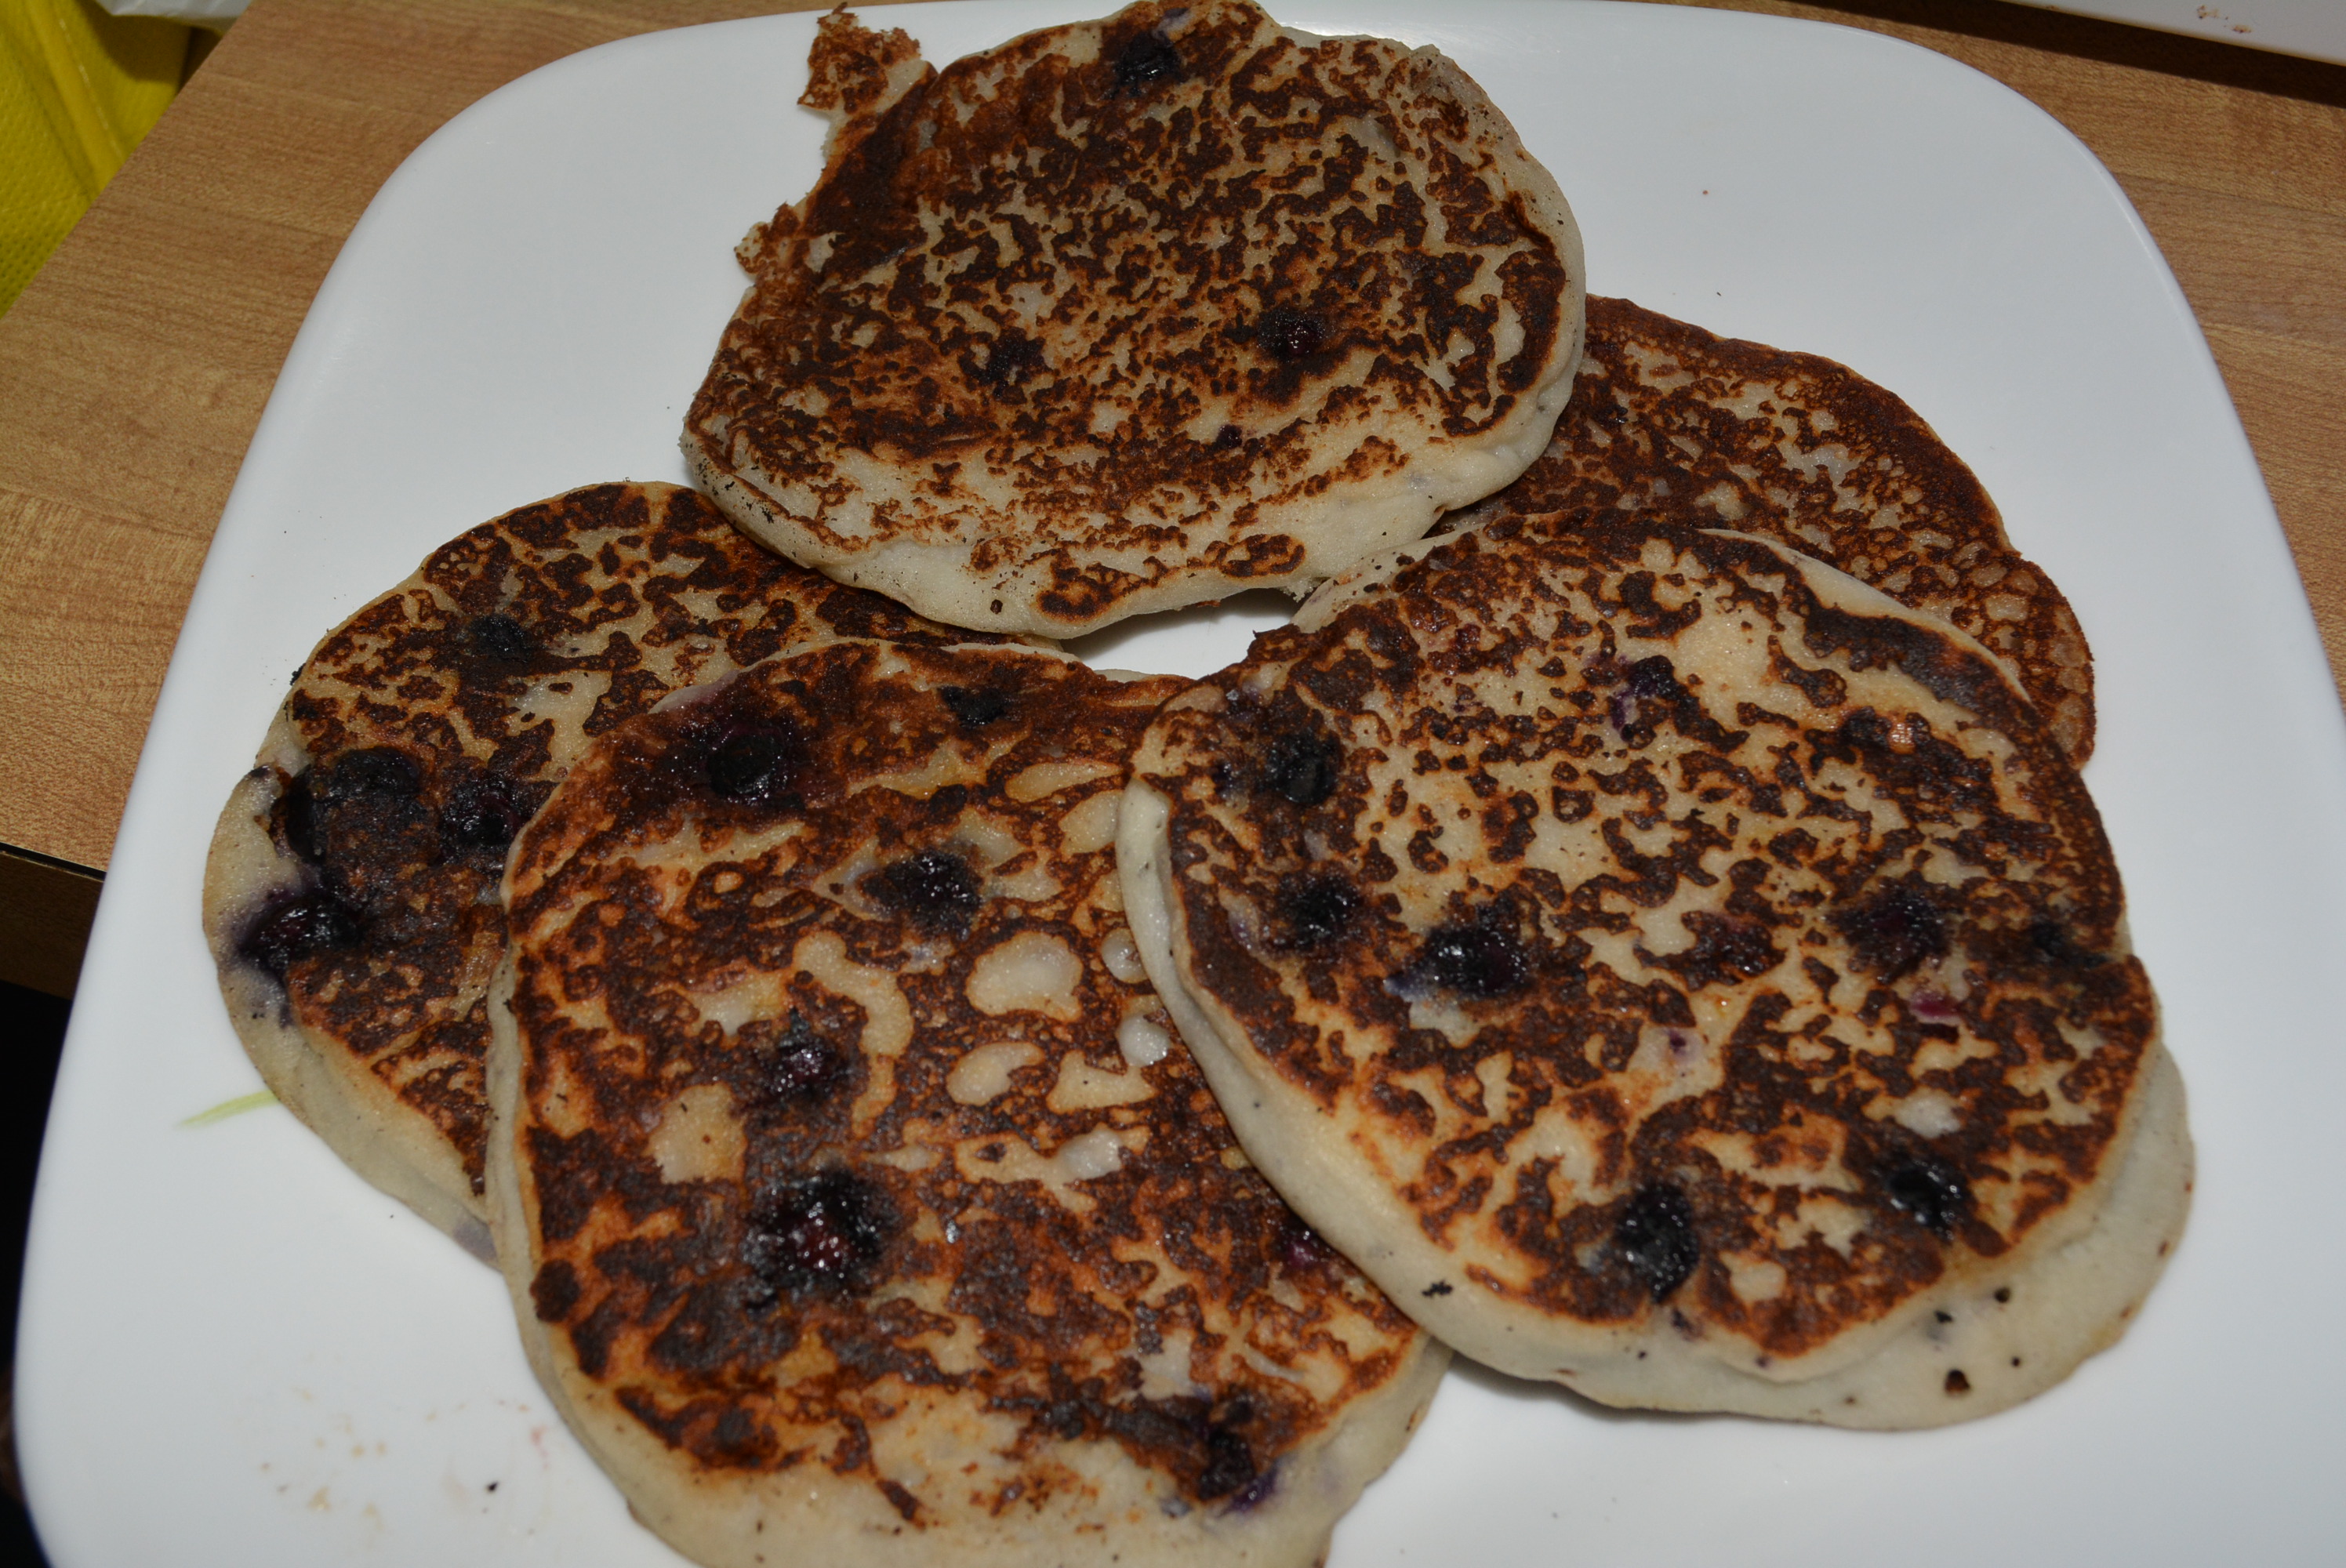
A plate full of gluten free blueberry pancakes just for mommy!
Finish up the rest of the batter and you’re ready to enjoy! Top pancakes with your butter of choice, syrup, fresh fruit, whatever you’re in the mood for. I prefer a little Smart Balance butter and warmed light maple syrup. Pure maple syrup is perfectly gluten free however is very pricey; alternatively, check out some of the cheaper brands too, looking at their labels for harmful ingredients and calling the companies if gluten content isn’t indicated.
Serve pancakes with a little bit of Smart Balance butter and light maple syrup. I added a banana and peanut butter smoothie made with Dream Blends coconut, chia, and almond drink (Delicious! I’ll reveal this recipe soon too!)
In our house, after I’m done making the gluten free pancakes I usually whip up a regular equivalent for my husband and daughter. I could definitely make these pancakes simultaneously but to prevent any chance of cross contamination I wait until all gluten free pancakes are finished and then begin to prepare the regular pancakes. For those, I use the regular Bisquick mix and add in a similar amount of sour cream and blueberries. While these are cooking, I either keep mine warm under a warm setting on my oven or simply reheat them in the microwave.
This is by far one of my daughter’s favorite dinners! I can’t blame her as it’s kind of hard to beat a soft and fluffy pancake stuffed with juicy blueberries and covered with melted butter. I usually make these about once every other week and either wrap up the remaining pancakes for breakfast, lunch, or dinner the next day or freeze them for dinners to come. To freeze any extras just wrap them up in freezer bags and divide them using parchment or wax paper.
I cannot stress how convenient this recipe was as it uses only things that we keep in our cabinets and refrigerator at all times. So if you’re craving a breakfast dinner or just in need for a quick and easy option give this recipe a try!
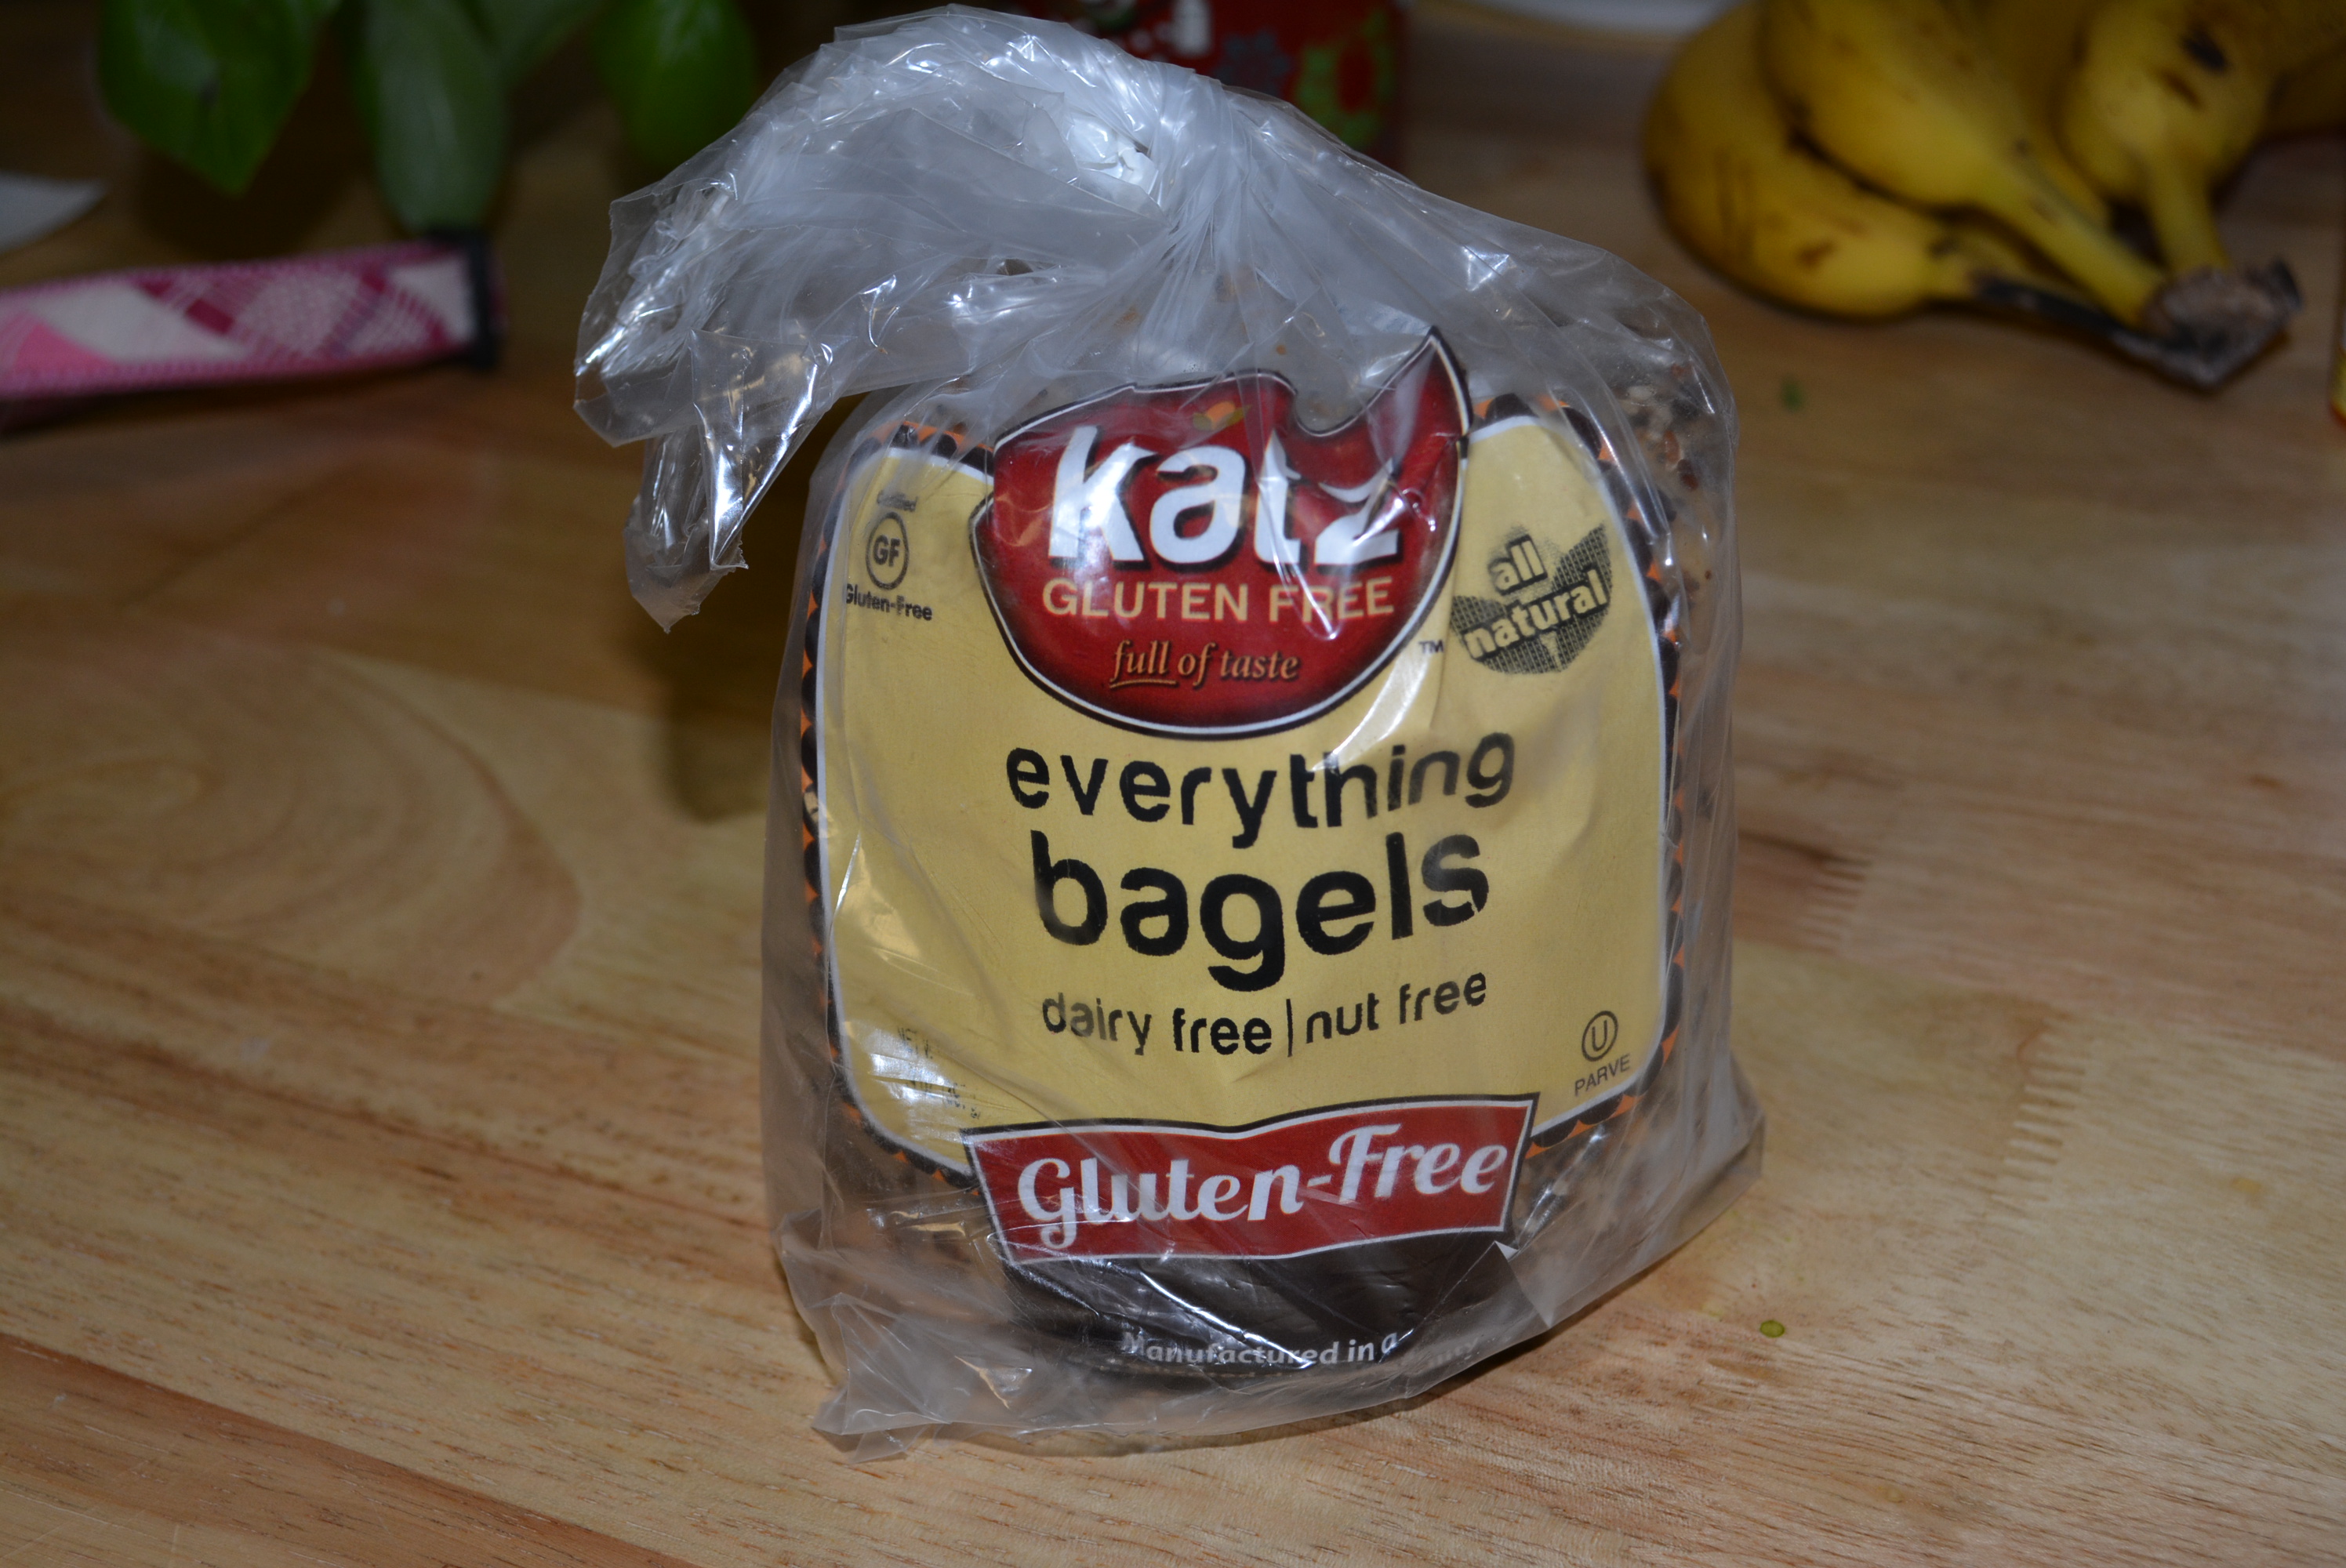
Being a member of the forbidden bread group, typically bagels do not usually fit in to the gluten free diet. However, several companies have produced gluten free options such as plain and cinnamon raisin bagels for the gluten free eater to enjoy. Katz has once again raised the bar, providing several new varieties of bagels that I for one have not seen or smelled since I walked into my local bagel shops many years ago.
During a pregnancy with dietary restrictions, you find yourself constantly making compromises during each meal finding what you want to have does not necessarily match with what your diet allows you to have. Many a pregnant morning, I craved a doughy everything bagel that was toasted and layered with cream cheese, a huge no no according to my gluten free diet. Sadly, this was one craving that I had to ignore or at least substitute with a frozen plain bagel from our grocery store. Although I was quite happy and thankful for this option, especially how convenient it was, that nagging craving motivated me to do a little searching online. That’s when I stumbled upon Katz’s bagel options; I was elated when I discovered that they offered my all time favorite bagel flavor and at a reasonable price. After an extremely quick shipping period, I finally was able to enjoy one of Katz’s everything bagels with a thin layer of low fat cream cheese along with a piece of fruit on the side, a perfectly filling and nutritious breakfast that could tidy me over until a late morning snack.
Katz does it again, welcome back to my life everything bagels!
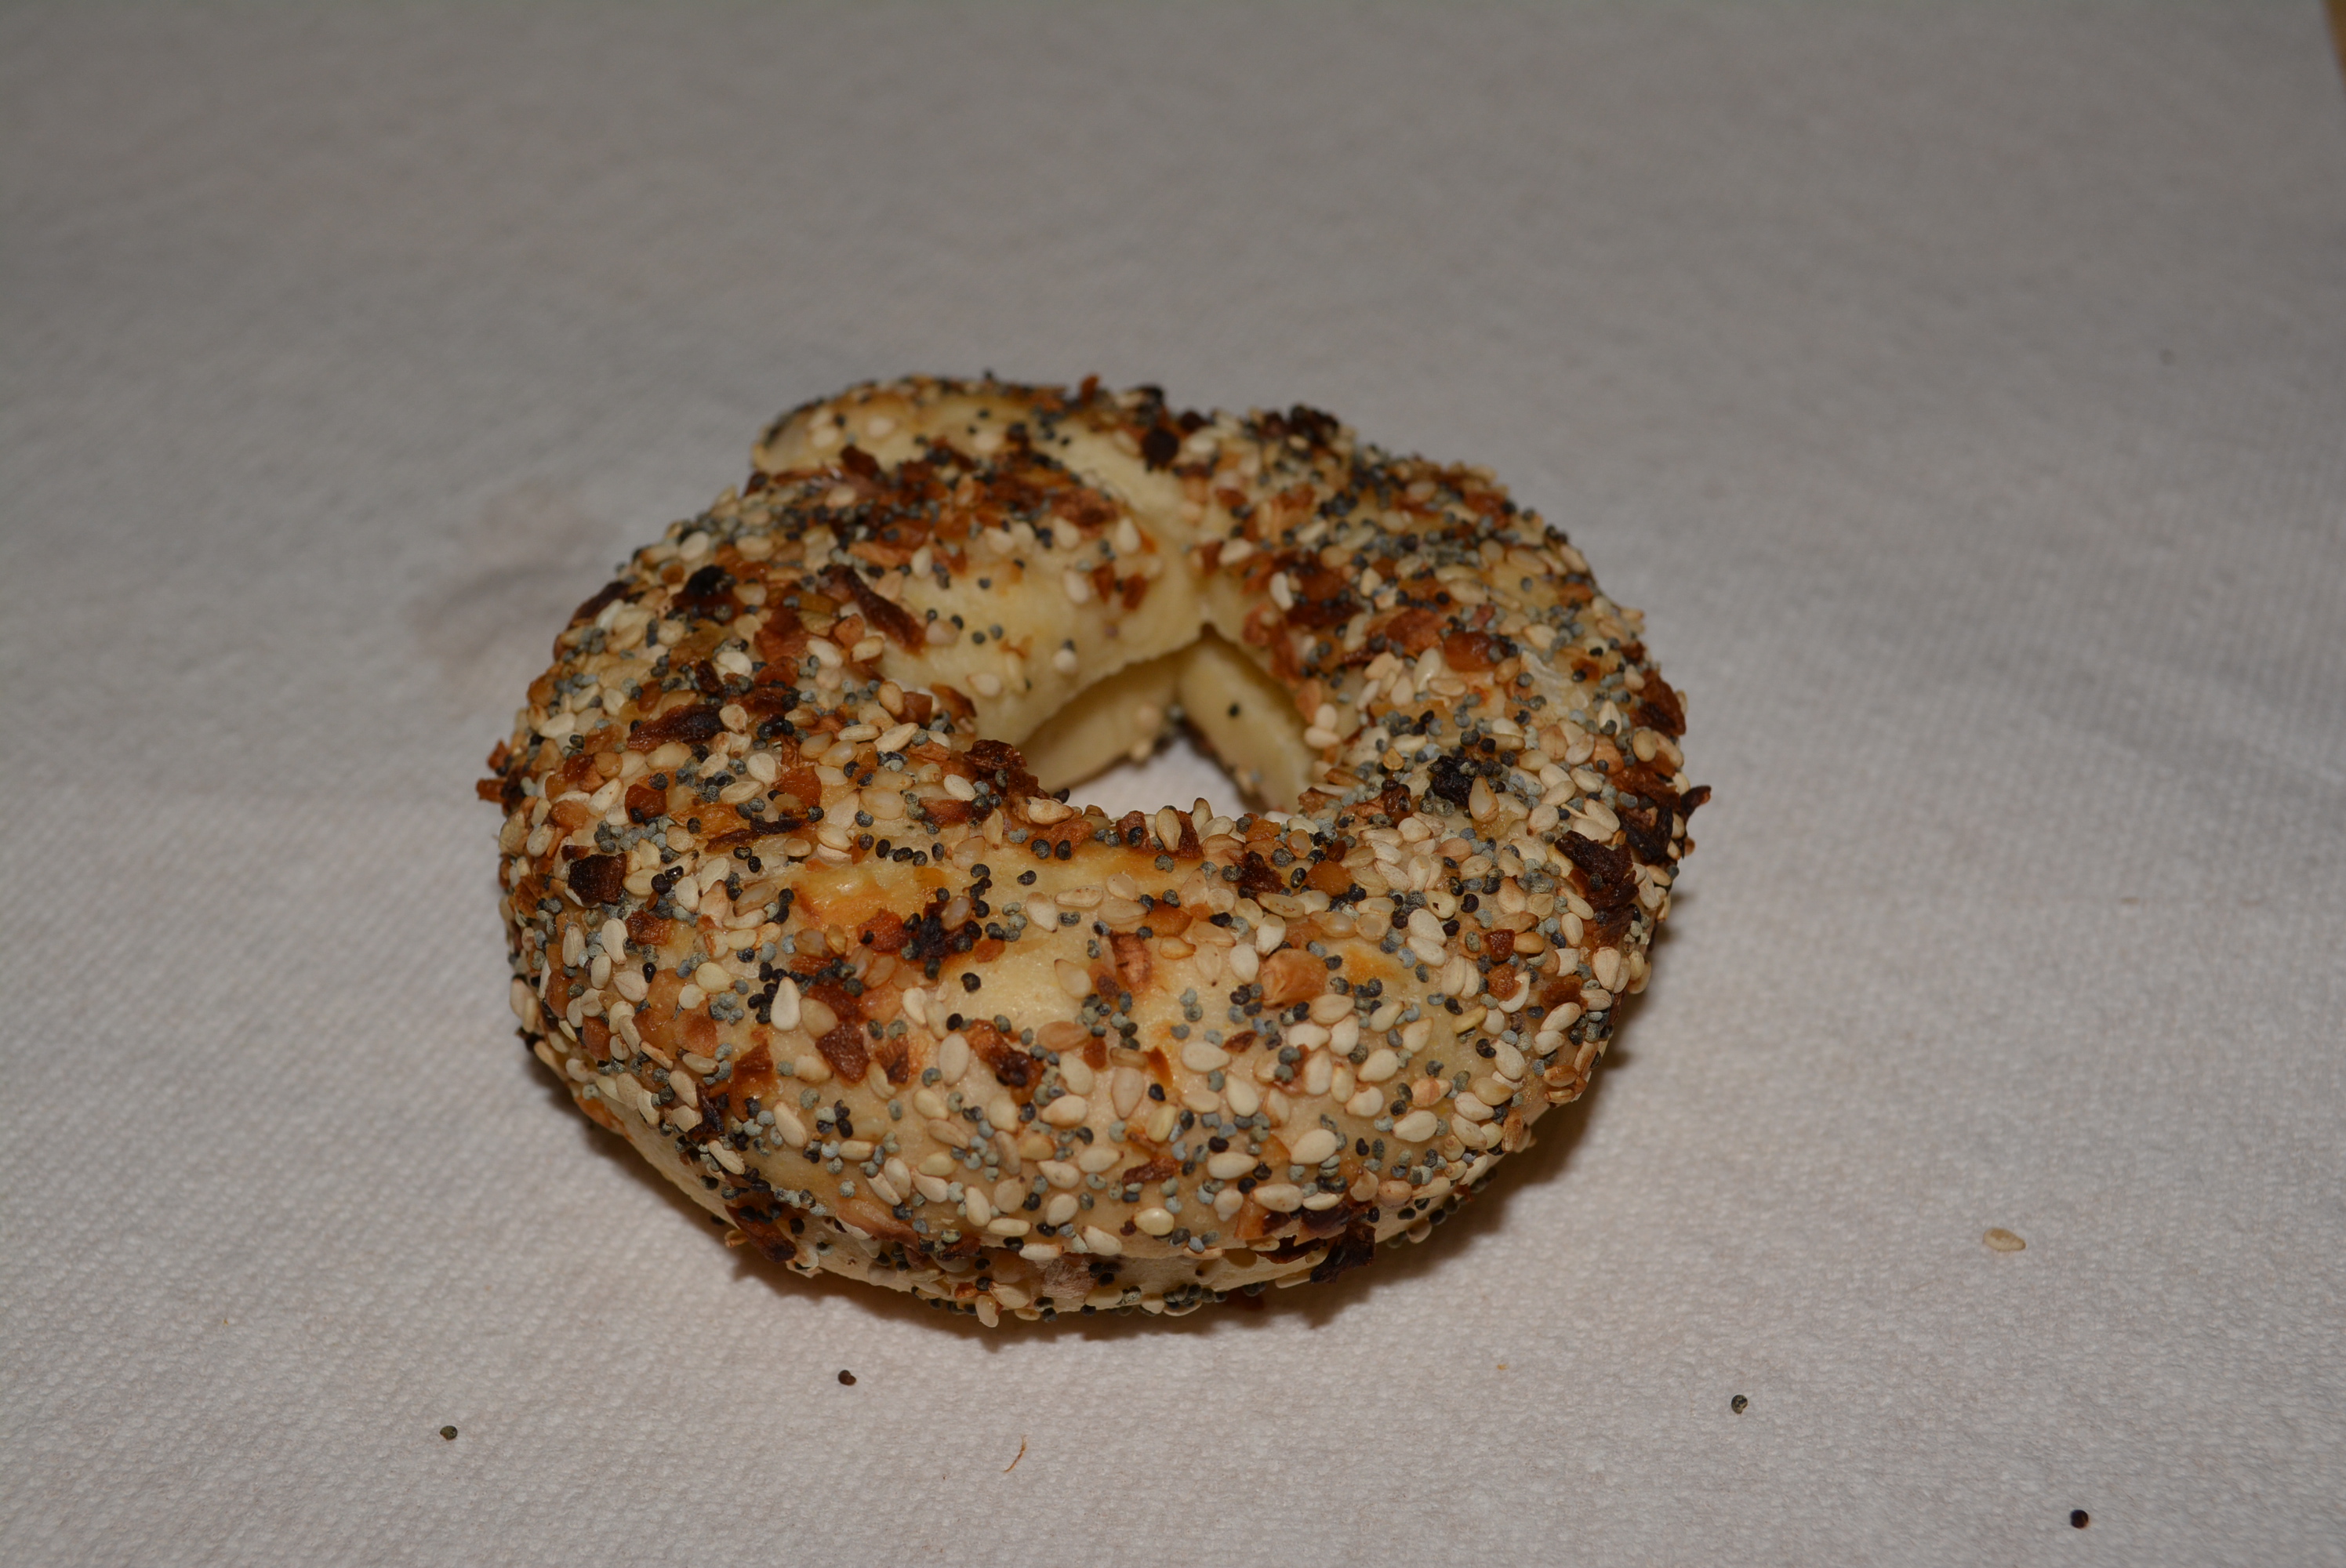
Their everything bagels are covered in a combination of garlic, onion, sesame seeds, and poppy seeds and are enjoyed best by a light toasting. They are a bit thinner than the average regular bagel but still maintain the wonderful doughy texture that is signature to the bagel.
Gluten free everything bagels by Katz.
Once toasted, they are perfectly complimented by a low fat cream cheese spread or butter if you prefer.
Everything bagels lightly toasted and layered with low fat cream cheese.
I have welcomed everything bagels back into my life with open arms. They are a wonderful treat every now and then, pregnant or not pregnant, and have made many gluten free eaters feel a bit more welcomed in a world of gluten! To check out other Katz bagel varieties and pricing take a look at their website here and make sure to sign up for their emails as they frequently have promotions on their products.
TIP: When following a restricted diet, especially while pregnant, don’t be afraid to do a little searching on the internet to find what you’re looking for, you may just discover a wonderful company as I had in Katz who will provide you with a number of delicious options that will make both you and your baby very happy!
In the mood for a waffle and are pressed for time to make them from scratch? Give Van’s gluten free waffles a try! These waffles are delicious when toasted and layered with a little bit of butter, syrup, or fruit, whatever you’re in the mood for! The best part is that these waffles aren’t pumped with artificial colors or flavors and high fructose corn syrup. They come in a variety of flavors including original, blueberry, apple cinnamon, and several more so give them a try today using this coupon here (Click on the Get Coupons icon towards the bottom of the page).