A Gorgeous Weekend And A Gluten Free Pizza

Spring is finally here!!! The weather was gorgeous this weekend, but along with the emerging warmer weather and budding trees come clogged sinuses, invading allergies, and sleepless nights for me. With temperatures in the mid 70s to mid 80s in the end of the April though I mustered up enough energy to get my little one out and about and take advantage of the gorgeous spring weather after a very LONG winter. On our agenda, a morning trip to the zoo, long walks with our furry family member, early morning trip to our local farmer’s market, frozen yogurt, a fantastic Easter egg hunt, and finally Sunday family dinner with dying Easter eggs (whew). It was a busy one but a fantastic weekend nonetheless; little one loved being out in the fresh air, spotting all of the animals and picking out all of those Easter eggs, being sure to add to her basket and everyone else’s too!!! 

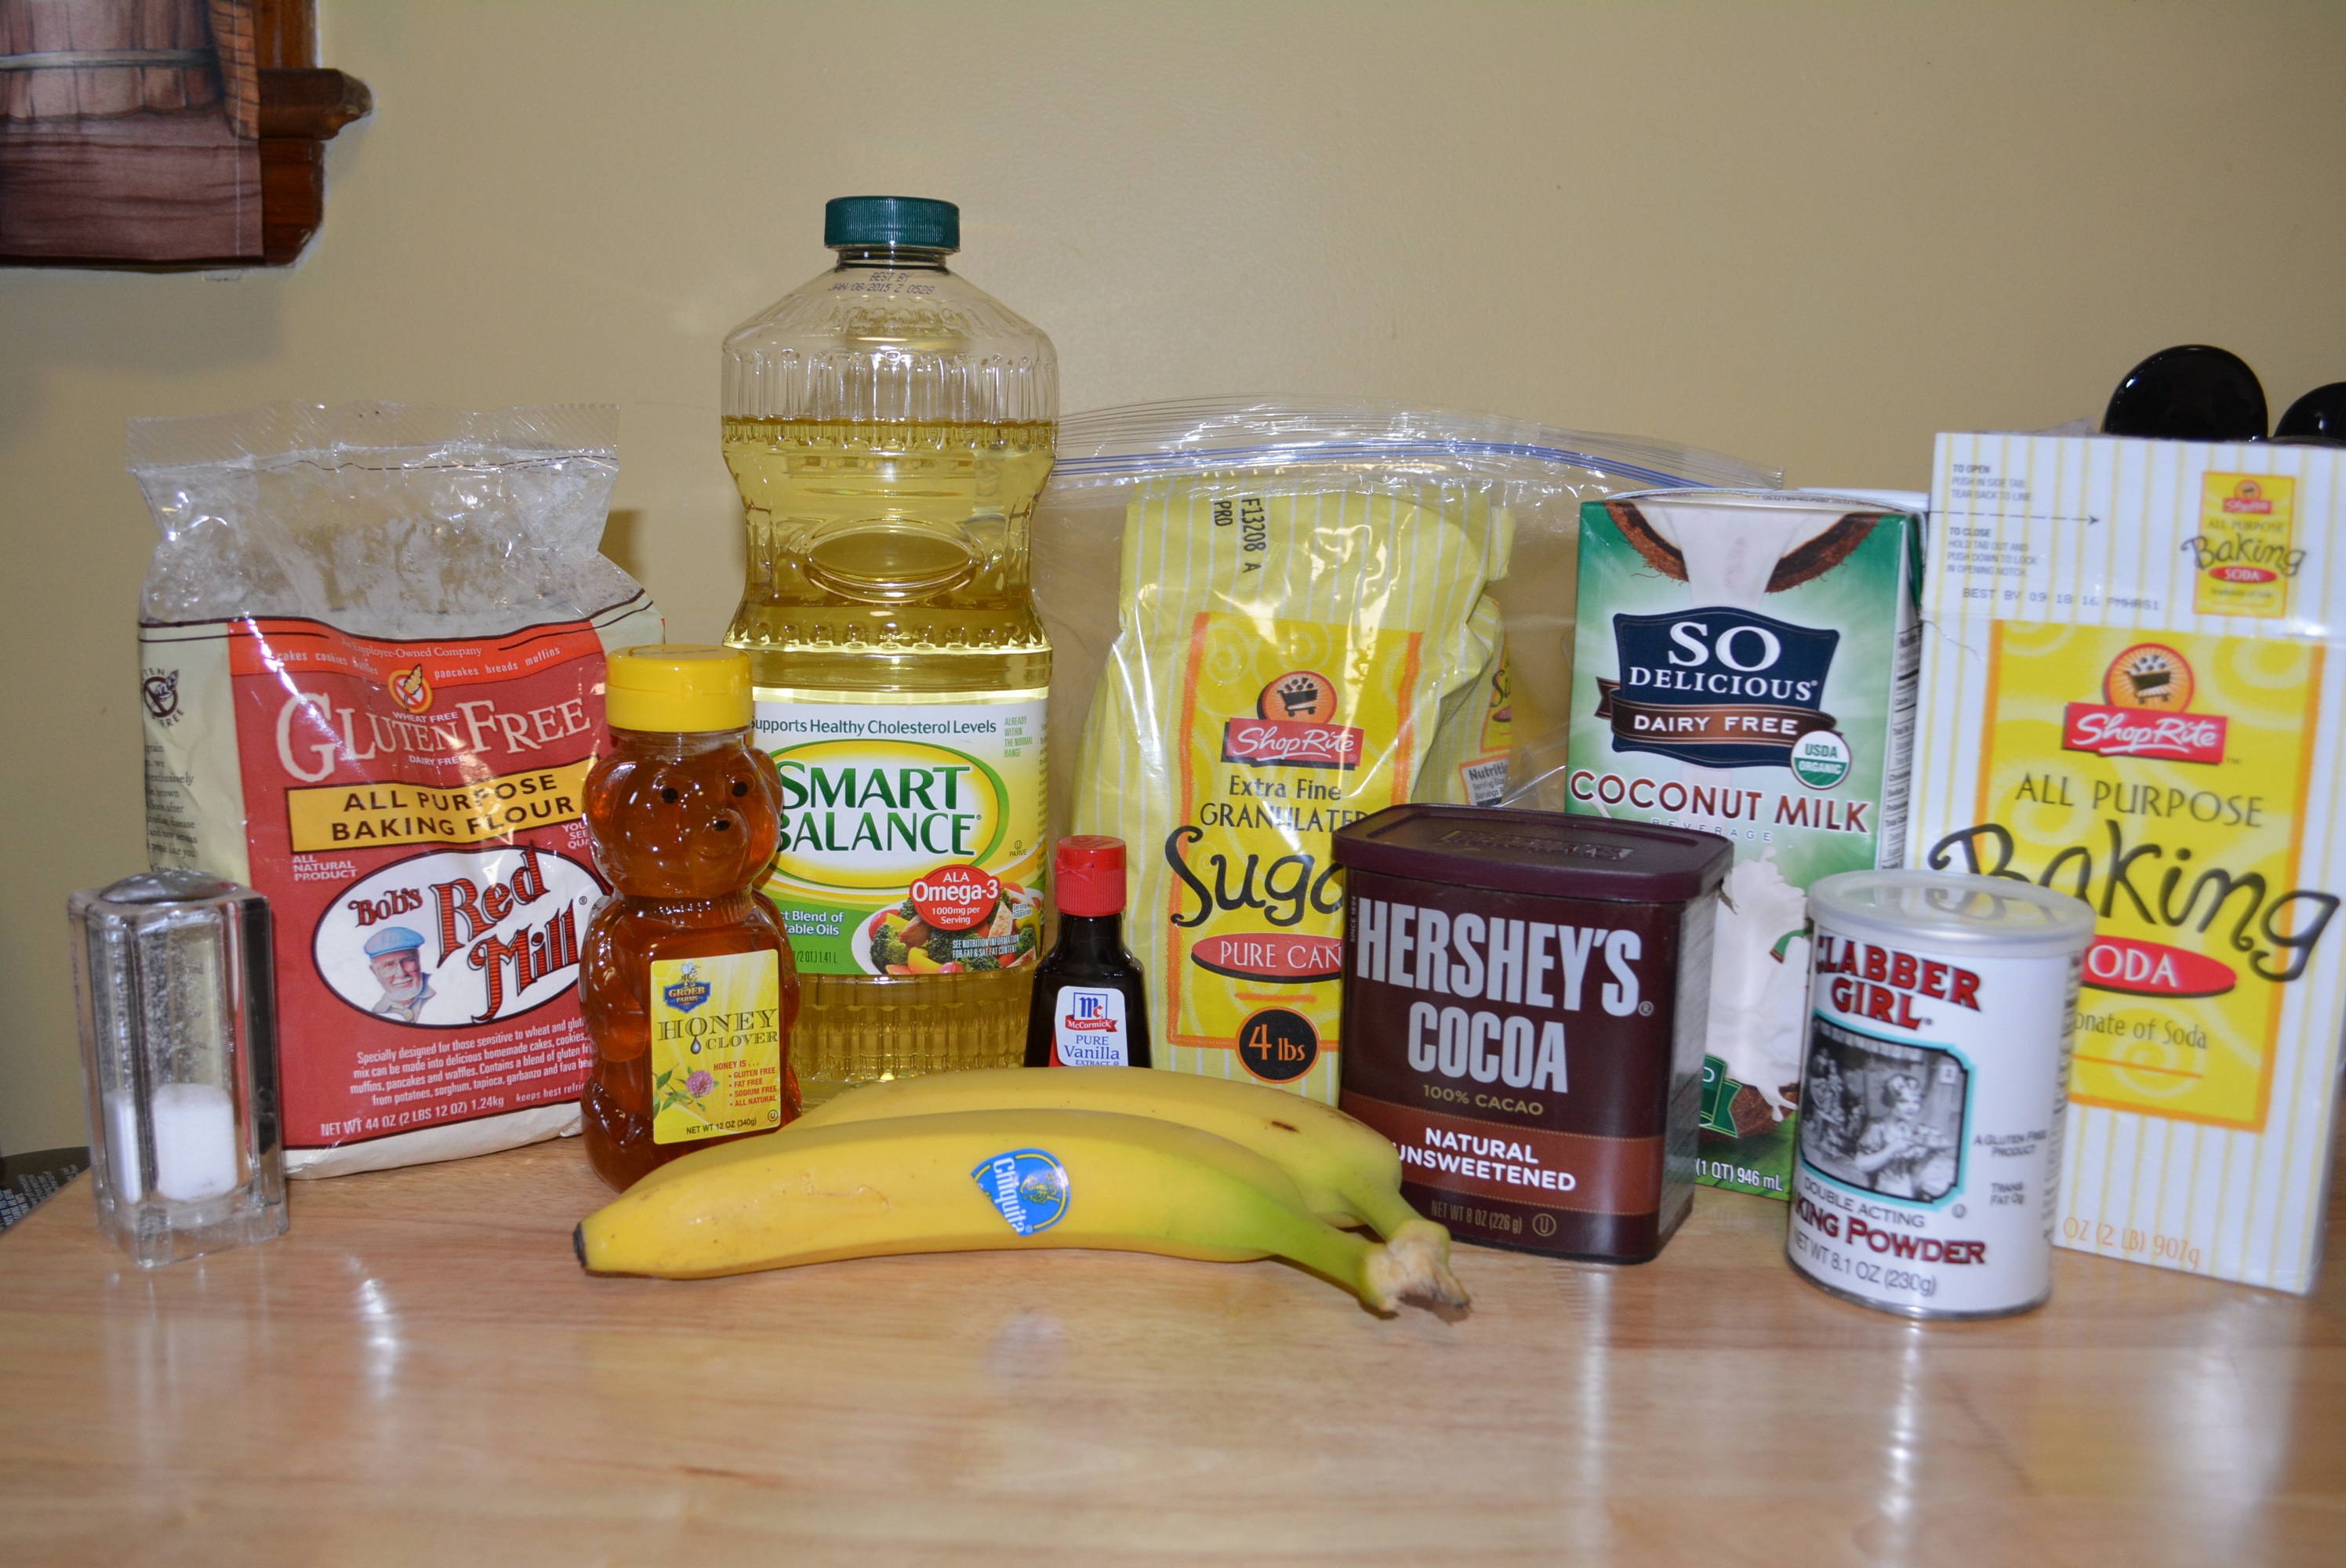
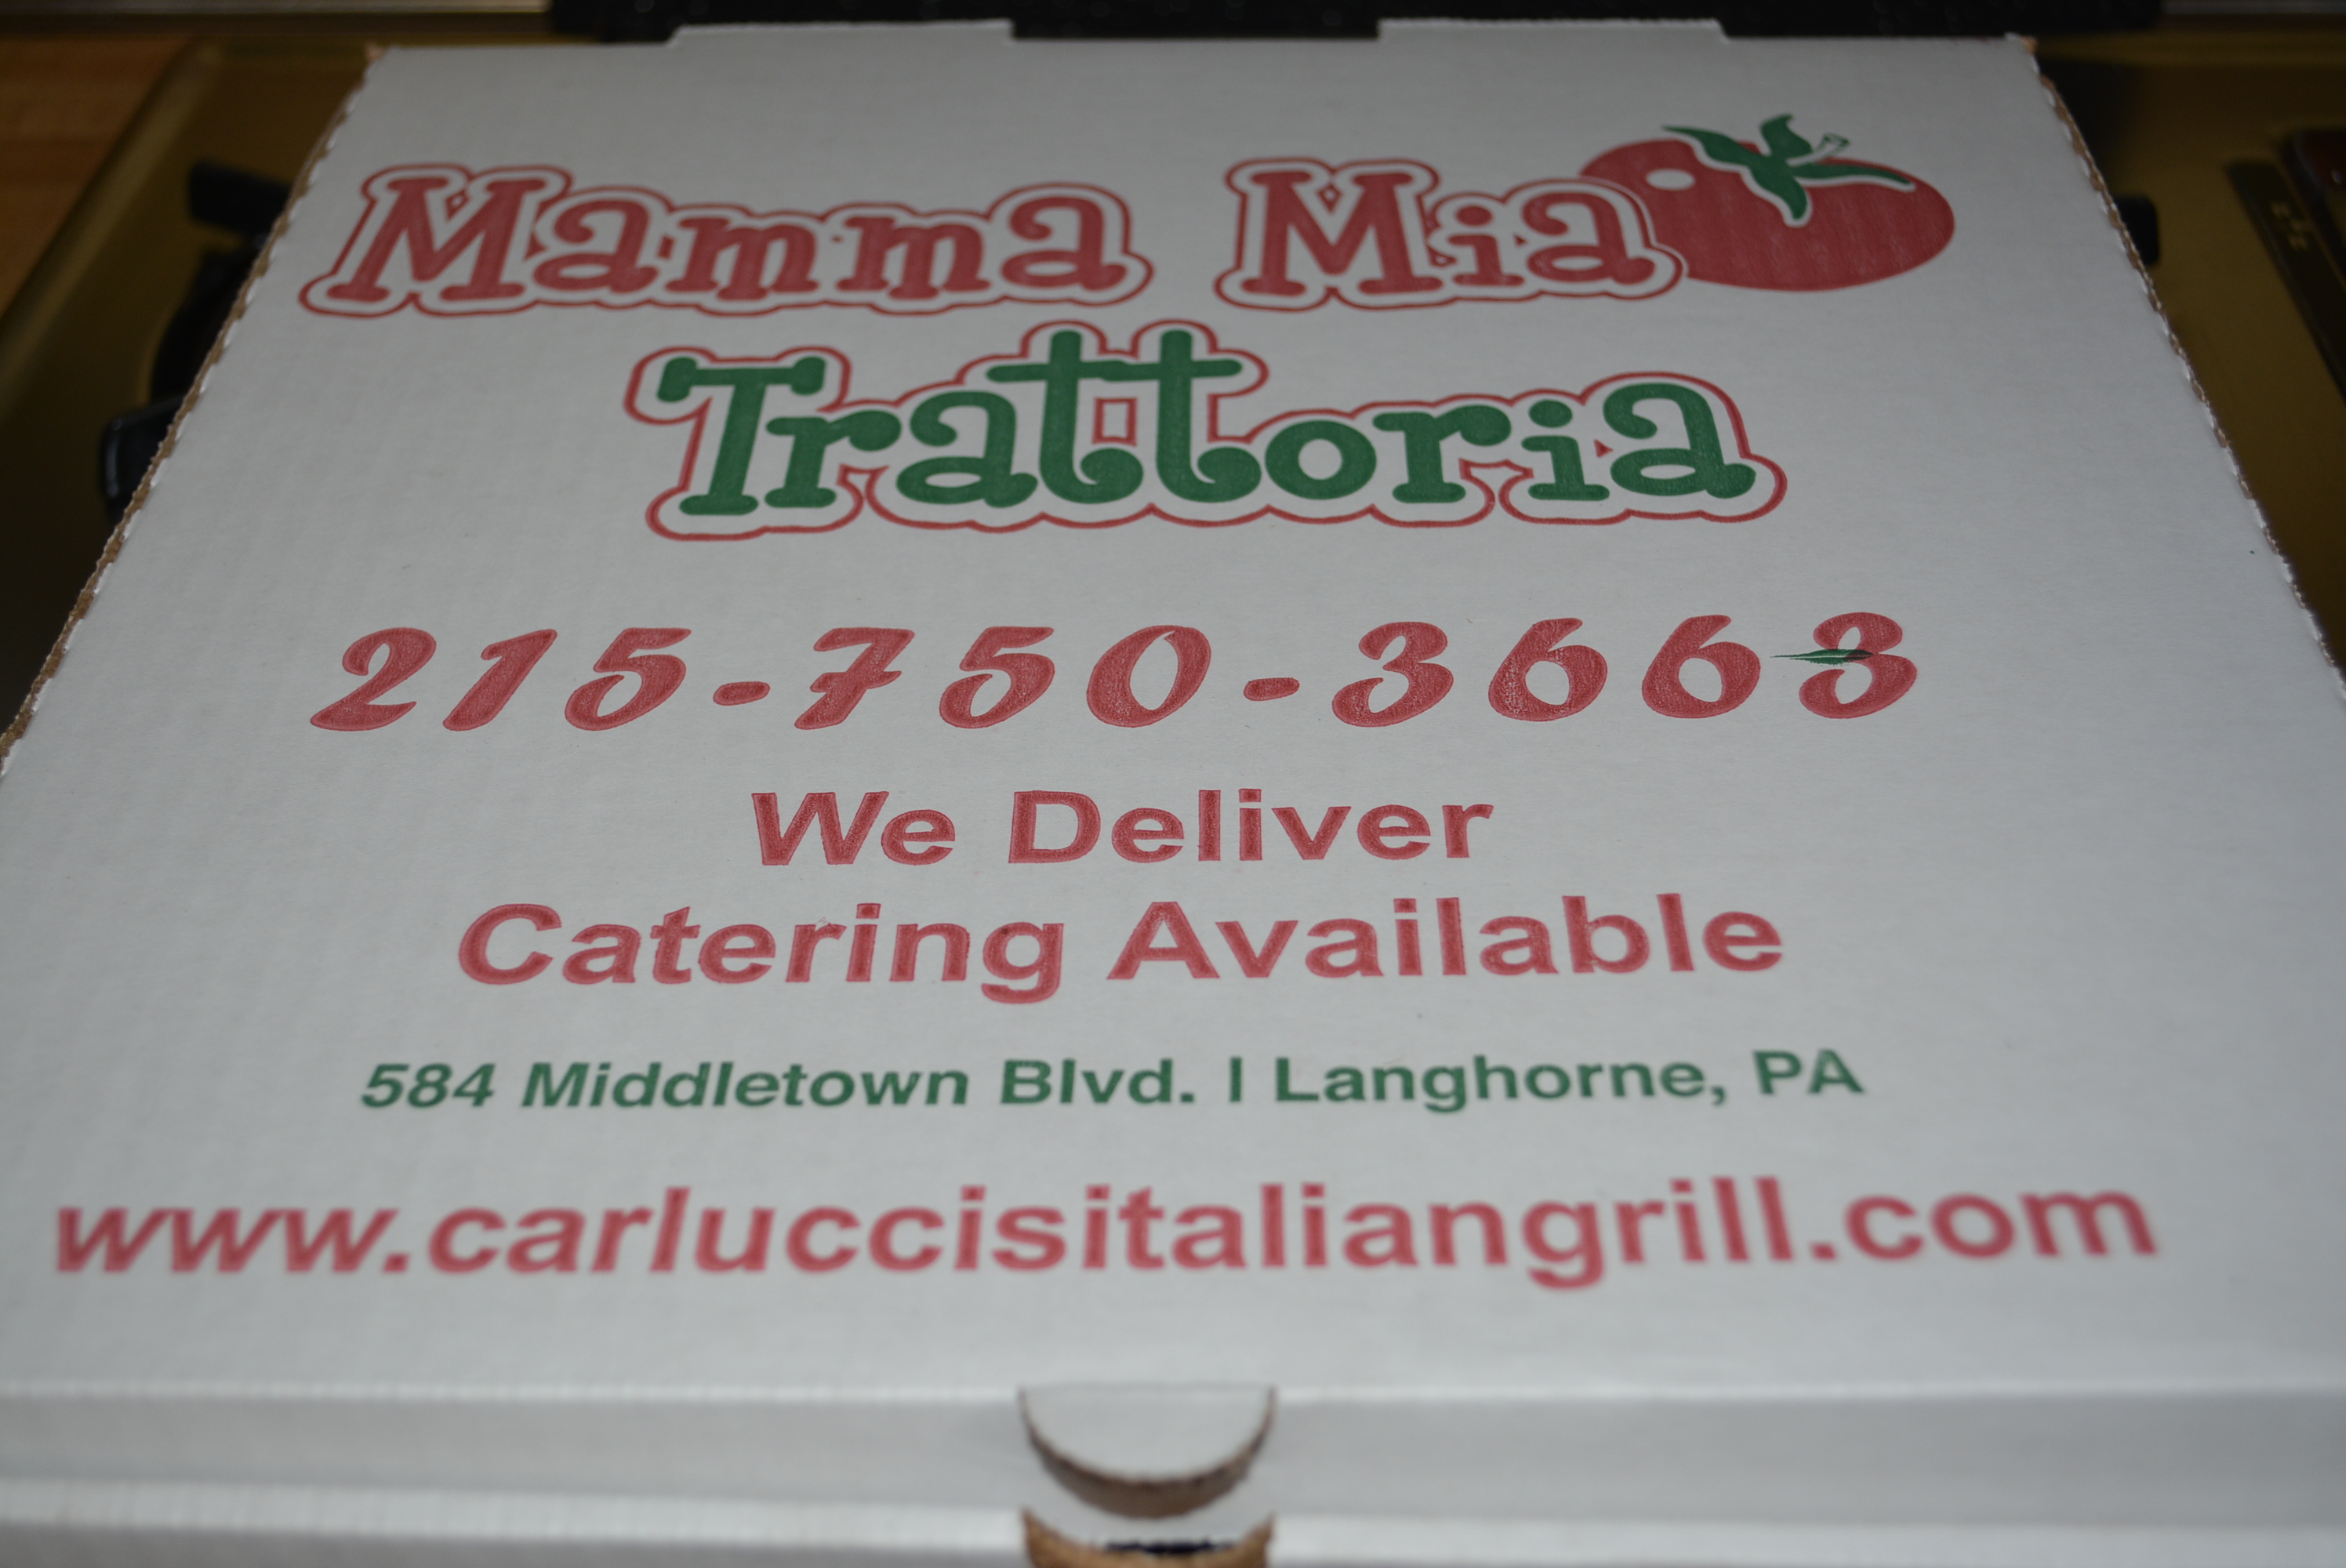
In the middle of all of this running around I decided to save myself from making dinner and order pizzas. Gluten free pizzas are certainly way easier to find now than they were even a few years ago, however finding a good gluten free pizza is a task and a half. Although there are a number of local pizza places and chain restaurants that offer gluten free pizza now, sadly not all of them are overly thrilling especially with their extremely high prices. After many trials, I’ve finally found a fantastic gluten free pizza for an even better price. Mamma Mia Trattoria is home to a gluten free diner’s dream menu. They offer an extensive gluten free Italian menu filled with chicken, seafood, vegetarian dishes, pasta, and pizzas. I must admit each time we’ve dined here I’ve only ever gotten their pizza (it’s that good!!!) so I can’t vouch for the rest of the menu, however if it’s like their pizzas, they’ll exceed your expectations. To take a look at their full dinner and pizza menus take a look here.

Now back to the pizza. Unlike other gluten free pizza offerers, Mama Mia lists seven different pizzas, along with of course a plain option. I personally have never seen any other establishments offer anything other than cheese and sauce so this was certainly a pleasant surprise. Among the varieties are their Margherita with fresh mozzarella and basil, Veggie white pizza with sauteed spinach and broccoli, Toscana with tomato slices and mozzarella, Grilled Chicken and roasted red pepper, Capri white pizza with veggies and ricotta cheese, Florentina with chicken and mushrooms, and Eggplant Romma with roasted red peppers and fresh mozzarella. Each of these are either $12.95 or $13.95, which is extremely reasonable for a gluten free pizza. Additionally, you can pick and choose whichever toppings you’d like, from about of a list of twenty or so gluten free toppings, and make your own pizza.

The best gluten free pizza!
Fantastic restaurant offering an extensive gluten free menu.

Like I mentioned earlier, I usually order a plain cheese pizza but I have in the past ordered the Grilled Chicken pizza and it was phenomenal. For this weekend though I went with my standby of a plain gluten free cheese pizza. As usual, I was not disappointed in the slightest bit. One of my biggest gripes with gluten free pizza offerings is the crust. All gluten free crusts are certainly not created equal. In Mama Mia’s case, they offer their gluten free pizza atop a separately cooked premade crust that is quite large as far as premade crusts go (maybe 12 inches, I honestly haven’t measured it but it’s definitely larger than a personal pan pizza). It’s a thin crust, reminiscent a bit of Udi’s, and keeps its form through all of the toppings. They take such pride in their pizzas and are always sure to layer plenty of toppings on top of the gluten free crust, producing a beauty like this one!

Plain gluten free pizza!

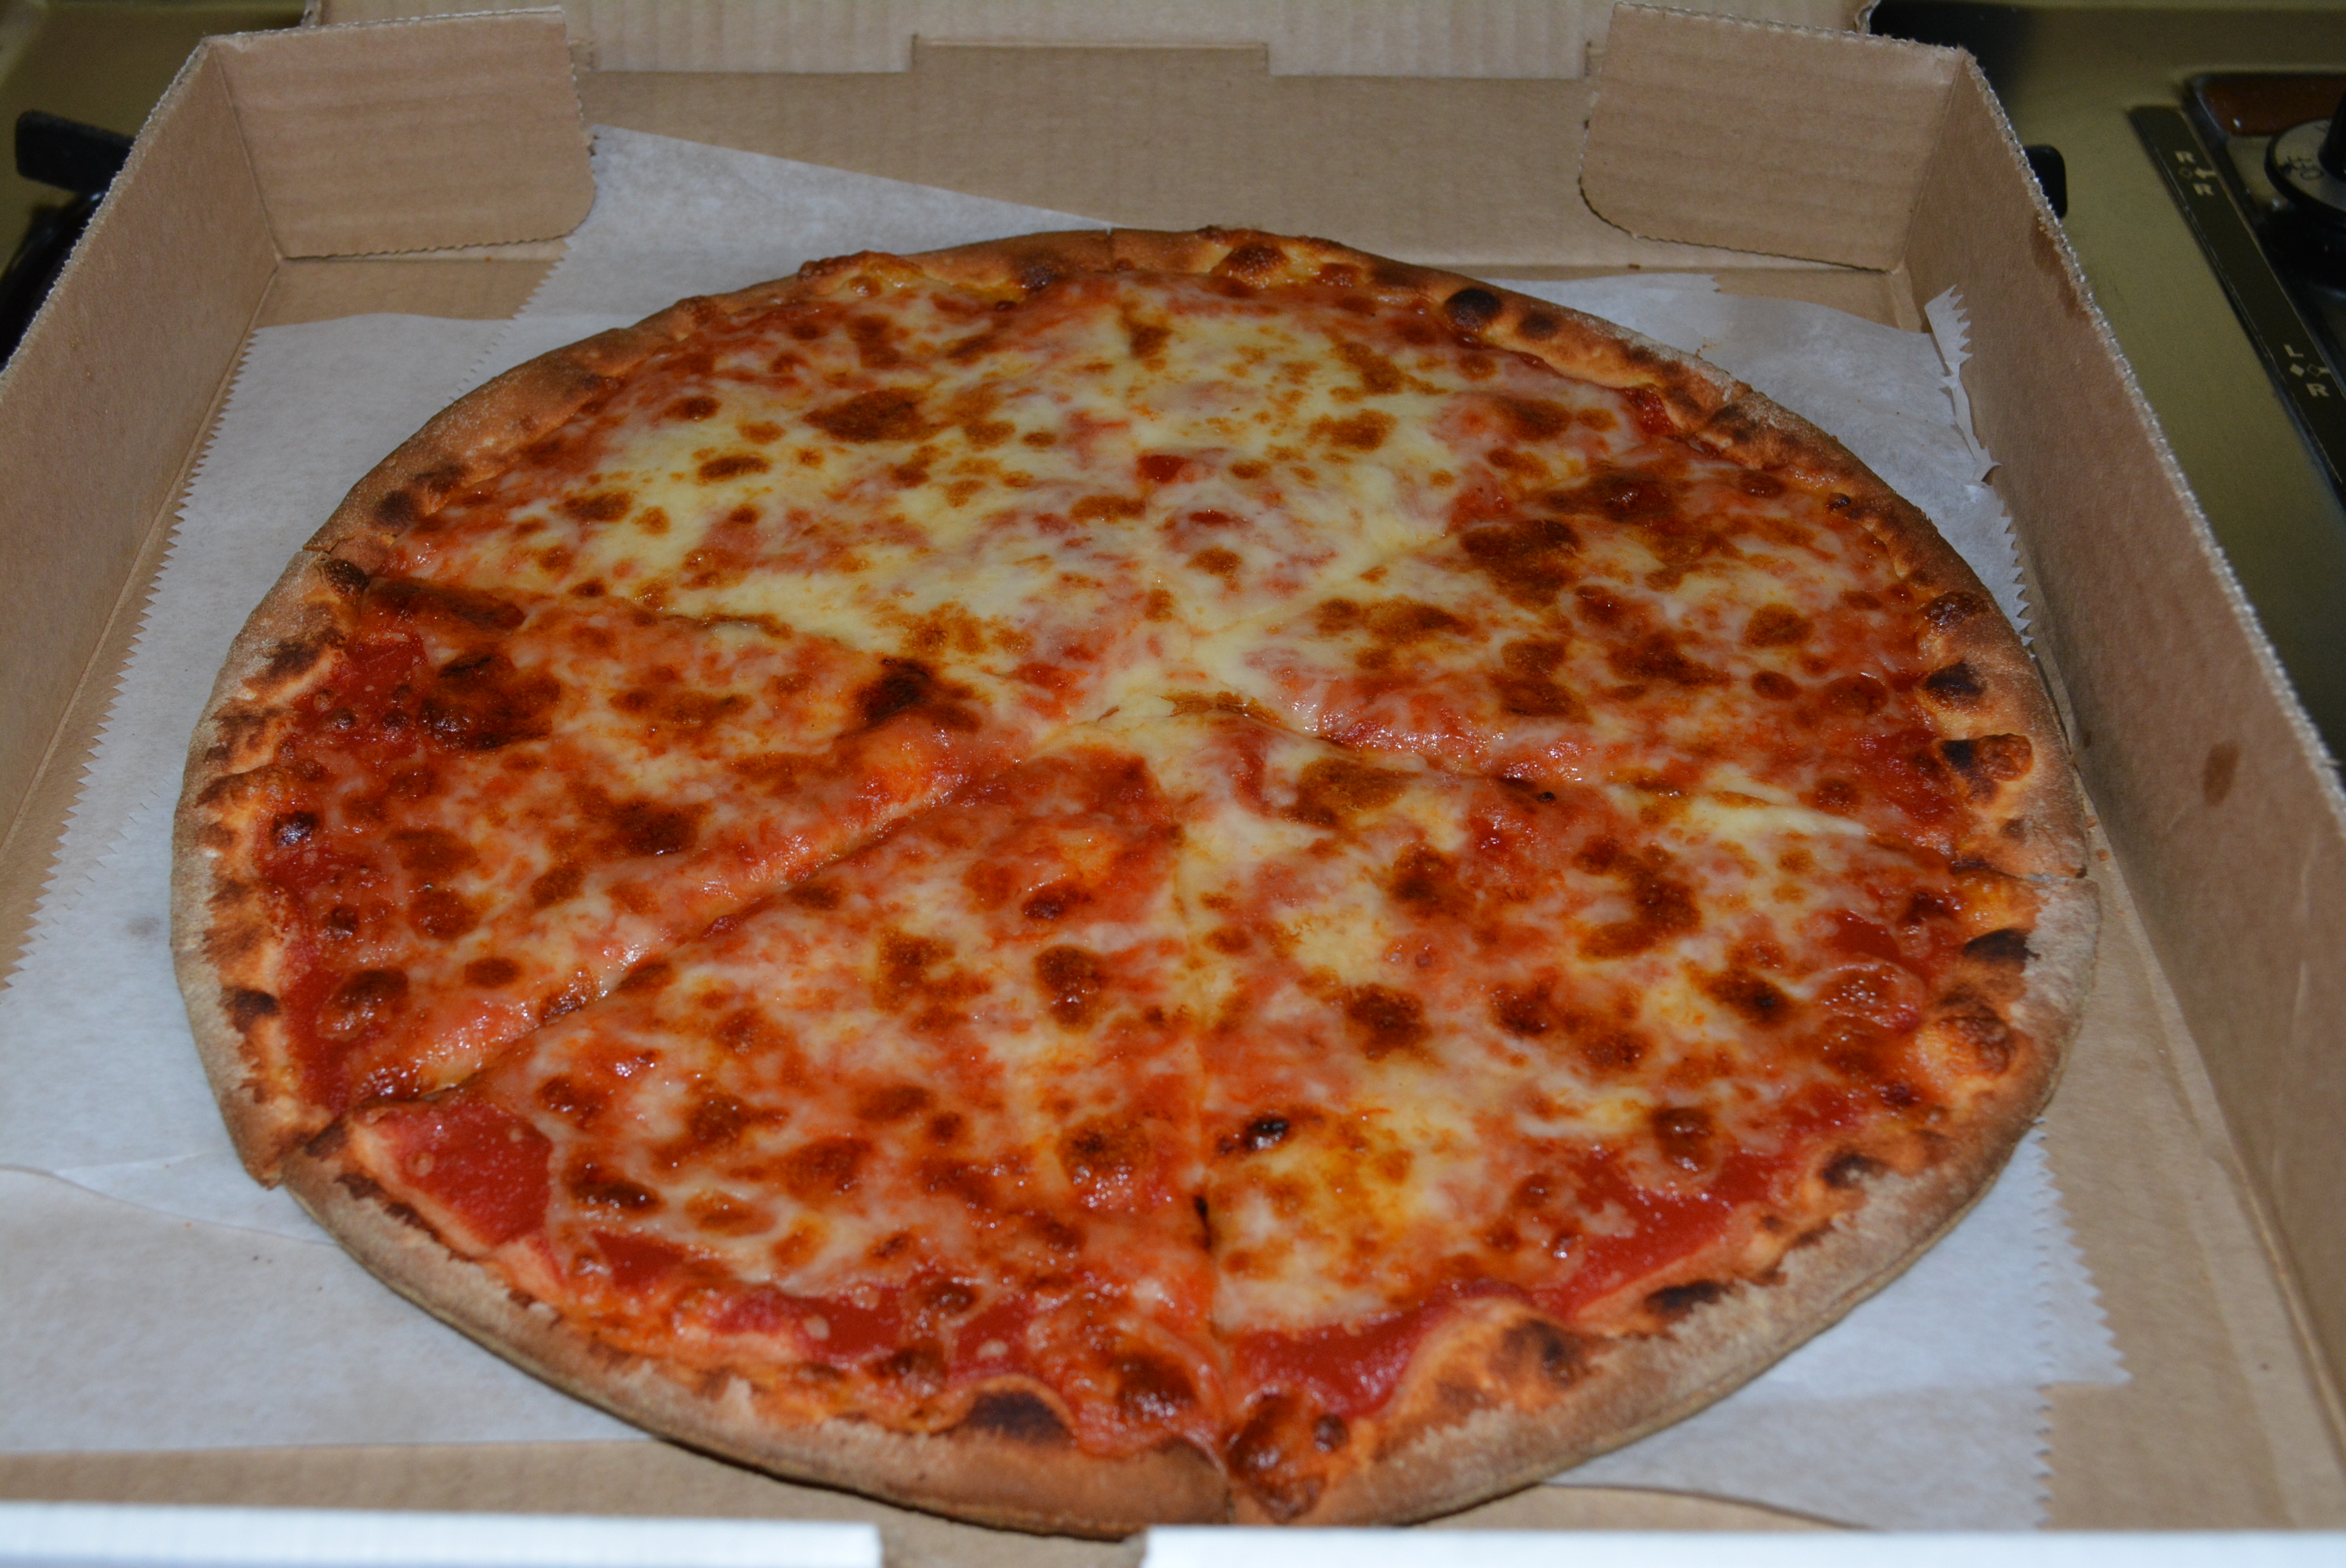
It’s been a long time since I’ve honestly felt like I’ve enjoyed a take out pizza or one at a restaurant as much as those that were filled with gluten years ago. However, after my first glimpse of my order I knew this one would be an exception. Each bite was filled with that cheesy goodness that I used to love in my pizzas, making me less and less enviable of my husband and daughter’s large gluten filled cheese pizza. With all of our bellies full and exhaustion setting back in we rested up for another day of fun filled outdoor activities. Thanks Mama Mia for adding to a perfect weekend for my little family! 

This restaurant exceeds any preconceived idea of gluten free dining. They take the necessary precautions to avoid contamination and produce excellent products that will keep you coming back. To make a gluten free pizza look and taste like their normal pizzas is no easy feat and Mama Mia seems to do it with ease. So if you’re in the area, make sure you pay them a visit! If not, take a look online for local Italian restaurants that offer gluten free menus. They aren’t that abundant that’s for sure, however, don’t be afraid to scour the internet and make a few phone calls to possibly uncover an establishment like this one close to home! 

Thank you Mama Mia Trattoria for helping make the gluten free world a bit less scary for a gluten free diner! 

Sincerely,

Lindsay

Gluten Free Pulled Pork Sandwiches Just Like Disney’s Flame Tree Barbecue

One of my favorite lunch locations when we vacation in Disney World is the Flame Tree Barbecue in Animal Kingdom. While we do make barbecue dishes often at home during the summer months, it’s such a rarity to be able to enjoy it out at restaurants because of the dreaded gluten component, hence making it truly a treat to be able to indulge in some fantastic gluten free barbecue courtesy of Disney. They offer so many options from barbecue chicken to ribs, but by far my favorite is the pulled pork. The pulled pork is perfectly smoked and seasoned and is incredibly tender and juicy. It’s so delicious! While our next trip to Disney is only a little over four weeks away now, I just couldn’t get out of my mind those perfectly flavored pulled pork sandwiches and then I came across this wonderful recipe from Musings of a Housewife. After adding a few personal twists, I made a delicious gluten free pulled pork sandwich which could definitely stand up to Disney’s magical version. So pull out your slow cooker, toss in a few ingredients, and you’ll be set by dinner time with a flavorful gluten free barbecue dish!

Ingredients:

  • crock pot
  • 5-6 lb pork shoulder
  • 1 large yellow onion, sliced into rings
  • 1 jar barbecue sauce (I used Sweet Baby Rays Honey Barbecue Sauce, states gluten free on label)
  • salt and pepper
  • gluten free rolls (I used Schar hot dog rolls, lightly toasted)

Directions: 

  • Slice one large yellow onion into rings and add to the bottom of your crockpot.
  • Add the pork shoulder to the crockpot and dust with salt and pepper on all sides.
  • Cover and cook on low for a total of 10 hours.
Gluten free pulled pork on a Schar hot dog bun.
  • After 9 hours, add 1/3 of a bottle of barbecue sauce to top and sides of pork shoulder.
  • Cover and cook for an additional hour on low.
  • After 10 hours total of cooking, the pork should easily pull off with a fork. Time may vary depending on slow cooker. Just keep an eye on your pork; once it’s falling apart, you’re ready to remove it from the crockpot.
fsf
Moist pork coated with a sweet honey barbecue sauce.
  • Remove pork shoulder from the crockpot and begin to shred with two forks. Do this until all pork has been shredded.
  • Mix in an additional 1/3 of a bottle of barbecue sauce. You can also add n the onions with the pork as well if you’d like (I’m only a fan of the onion flavor, not so much the actual onions themselves, so I didn’t mix these in). 
  • Reserve the last third of barbecue sauce for serving. Serve on lightly toasted gluten free rolls and enjoy! 
dfd
Perfect barbecue pulled pork!

Note: I made this dish a day ahead and this made enough for our family of three for two nights of dinners and even lunches if you’d like! If you’d like to make it a day early follow all instructions as directed. After mixing in second third of barbecue sauce add pulled pork to an oven safe dish and wrap up tightly. Refrigerate overnight and when you’re ready for dinner the next day turn the oven on to a warm setting. Add a little bit more barbecue sauce to pulled pork to keep it moist while warming, mix making sure all is evenly coated, and warm for about 10 minutes, keeping an eye on the pork making sure it doesn’t dry out. While pork is warming, toast rolls and prepare sides. Enjoy!

The best part of this recipe is that it’s so flexible. Everyone has different preferences on barbecue flavor, so feel free to play around with any kind of barbecue sauce and amounts of them you’d like. I’m not a huge fun of overly saucy pulled pork so I used just the right amount to keep the pork tender, juicy, and flavorful without being too bogged down with sauce. To complement the pulled pork, I paired it with a lightly toasted Schar hot dog roll and the two were absolute perfection! These turned out incredibly well and I can’t wait to bring this dish out for our family cookouts this summer! 

 Sincerely,

Lindsay

Perfectly Seasoned Gluten Free Pulled Pork Sandwiches
Write a review
Print
Prep Time
15 min
Cook Time
10 hr
Total Time
10 hr 15 min
Prep Time
15 min
Cook Time
10 hr
Total Time
10 hr 15 min
Ingredients
  1. crock pot
  2. 5-6 lb pork shoulder
  3. 1 large yellow onion, sliced into rings
  4. 1 jar barbecue sauce (I used Sweet Baby Rays Honey Barbecue Sauce, states gluten free on label)
  5. salt and pepper
  6. gluten free rolls (I used Schar hot dog rolls, lightly toasted)
Instructions
  1. Slice one large yellow onion into rings and add to the bottom of your crockpot.
  2. Add the pork shoulder to the crockpot and dust with salt and pepper on all sides.
  3. Cover and cook on low for a total of 10 hours.
  4. After 9 hours, add 1/3 of a bottle of barbecue sauce to top and sides of pork shoulder.
  5. Cover and cook for an additional hour on low.
  6. After 10 hours total of cooking, the pork should easily pull off with a fork. Time may vary depending on slow cooker. Just keep an eye on your pork; once it's falling apart, you're ready to remove it from the crockpot.
  7. Remove pork shoulder from the crockpot and begin to shred with two forks. Do this until all pork has been shredded.
  8. Mix in an additional 1/3 of a bottle of barbecue sauce. You can also add n the onions with the pork as well if you'd like (I'm only a fan of the onion flavor, not so much the actual onions themselves, so I didn't mix these in).
  9. Reserve the last third of barbecue sauce for serving. Serve on lightly toasted gluten free rolls and enjoy!
Notes
  1. I made this dish a day ahead and this made enough for our family of three for two nights of dinners and even lunches if you'd like! If you'd like to make it a day early follow all instructions as directed. After mixing in second third of barbecue sauce add pulled pork to an oven safe dish and wrap up tightly. Refrigerate overnight and when you're ready for dinner the next day turn the oven on to a warm setting. Add a little bit more barbecue sauce to pulled pork to keep it moist while warming, mix making sure all is evenly coated, and warm for about 10 minutes, keeping an eye on the pork making sure it doesn't dry out. While pork is warming, toast rolls and prepare sides. Enjoy!
Adapted from Musings of a Housewife
Gluten Free Mom To Be http://www.glutenfreemomtobe.com/

Gluten Free Banana Chocolate Breakfast Muffins

During my pregnancy, breakfast was always one of my most difficult meals of the day. My non-pregnant breakfast menu usually consisted of a bowl of cereal or either a regular or Greek yogurt both accompanied by a piece of fruit. Unfortunately, this regimen couldn’t stand up to my increased appetite during pregnancy. To bulk up my first meal of the day I turned to gluten free smoothies, Katz bagels, muffins, toast, and occasional treats of donuts. I only wish that I had come across this recipe for these delicious muffins during that time. Muffins are a perfectly filling breakfast item that can be incredibly tasty and very healthy to boot! After making these gluten free Banana Chocolate Breakfast Muffins, thanks to Sarah at Sarah Bakes Gluten Free Treats, I know my breakfasts during my future pregnancies will be filling and also incredibly satisfying.

These muffins are deliciously moist with just the right amount of sweetness, not to mention they treat you to a little bit of chocolate! They are fantastic for breakfast, especially when paired with a piece of fruit or a smoothie. You can even indulge a little and eat a whole or a half of a muffin for a late afternoon snack. Be sure to add this one to your recipe book as you’ll be making these over and over during both your pregnant and not pregnant days!

Ingredients:

  • 1 1/4 cup and an extra 1/4 cup gluten free flour (I used Bob’s Red Mill All Purpose Flour)
  • 1 tsp baking powder
  • 1/2 tsp baking soda
  • 1/2 tsp salt
  • 2 bananas mashed
  • 1/2 cup unsweetened coconut milk (I used So Delicious)
  • 1/2 cup sugar
  • 1/3 cup canola oil (I used Smart Balance)
  • 1/4 cup pure honey (I used Groeb Farms)
  • 1 tsp pure vanilla extract (McCormick)
  • 1/4 cup unsweetened cocoa powder (I used Hershey)
Ingredients
Ingredients for these delicious Gluten Free Banana Chocolate Breakfast Muffins.

Directions: 

  • Preheat oven to 350 degrees. Add 12 paper liners to a muffin tin or spray tin with nonstick cooking spray. 
  • First, combine most of the dry ingredients including 1 1/4 cup flour, 1 tsp baking powder, 1/2 tsp baking soda, and a 1/2 tsp salt. To mix well and also break up any clumps in the mixture, I like to use a whisk.
Dry Ingredients
Mix some of the dry ingredients first. 
  • Peel and mash two bananas in a large mixing bowl.
Mash bananas
Mash two bananas.
  • To the bananas, mix in 1/2 cup unsweetened coconut milk, 1/2 cup sugar, 1/3 cup oil, 1/4 cup honey, and 1 tsp vanilla. 
sdfsd
Banana mixture.
  • To the wet ingredients, add in the flour mixture and stir to combine.
  • Now you’re going to split the batter into two by removing 1 1/2 cups of the batter and pouring into a separate mixing bowl (I just added this to a larger measuring cup). With these separated batters, you’re going to prepare a chocolaty version and a banana version to eventually mix in the muffin tins. 
Divide banana batter into two.
  • To the new batter, mix in 1/4 cup additional gluten free flour until all is combined.
  • To the original bowl of batter, add 1/4 cup unsweetened cocoa powder and mix well to combine. 
Banana and chocolate batters.
Prepare the banana and chocolate batters.
  • Add 1 tbsp banana batter to all of the muffins (you’ll have just enough for 12 muffins). This should fill each muffin about halfway. 
Muffins 3/4 full
Muffins filled about halfway with banana batter.
  • Similar to banana batter, add 1 tbsp of chocolate batter on top of each muffin.
Add chocolate batter on top and swirl.
  • Using a toothpick, swirl batter through muffin. 
sfds
Banana and chocolate swirled together.
  • Place muffins into the oven and bake for about 15-17 minutes. To make sure they’re done, insert a toothpick into the center and make sure it comes out clean. 
sfsdf
After only 15 minutes, muffins are puffed up and ready to go!
  • Remove all of the muffins to cool and store them in a container.
ghf
So yummy!
  • Enjoy!
fdsfs
Banana chocolate muffins perfect for a breakfast or snack.

I made these for the first time on a Sunday morning with my little one and husband Dan in the other room. And the aroma that filled the house while these were baking was intoxicating, making each one of us salivate waiting for our first taste. When I pulled them out of the oven and let them cool a bit, it was just in time for lunch. Dan eagerly grabbed a muffin while I cut one in half for my little girl and I to enjoy. Needless to say, the reviews on this one were fantastic from both the gluten free and non-gluten free diners, as evident by the quiet sounds of chewing and empty plates remaining. In fact, my little one’s new thing is to make a “mmm” sound while she eats, but not for everything, just her favorites like a few dinner and dessert items and apparently these banana chocolate muffins as well! It was so sweet watching her handle the muffin half and shovel in bite after bite, each eliciting that ”mmmm” stamp of approval and a huge toothy smile. As you can see, these were a hit for us and will certainly be making many more appearances in the years to come!

Just a note, these muffins are also dairy free too! I have a nephew who has milk, egg, nut, gluten/wheat, and fish allergies so I’m always searching and experimenting with recipes to make tasty options for him. The poor thing is 7 now and has grown up with a very limited selection of foods that unfortunately are not the most tasty and appealing, especially in the dessert area. So I passed one of these along to my sister to share with him and it received rave reviews from this extremely picky 1st grade food critic! It was so exciting to hear how much he enjoyed the little treat that I sent over, assuring me that these muffins that are gluten and dairy free are truly just as fantastic as I thought they were! So whether you’re pregnant or not pregnant or following a gluten free, dairy free, or even regular diet, give these try! They are truly magnificent and will not disappoint!

TIP: To keep these fresh and moist, store them in an airtight container. I kept them in a large Ziploc container and they were finished within the next 5-6 days! 

Sincerely,

Lindsay


Gluten Free Banana Chocolate Breakfast Muffins
Yields 12
Write a review
Print
Prep Time
15 min
Cook Time
15 min
Total Time
30 min
Prep Time
15 min
Cook Time
15 min
Total Time
30 min
Ingredients
  1. 1 1/4 cup and an extra 1/4 cup gluten free flour (I used Bob's Red Mill All Purpose Flour)
  2. 1 tsp baking powder
  3. 1/2 tsp baking soda
  4. 1/2 tsp salt
  5. 2 bananas mashed
  6. 1/2 cup unsweetened coconut milk (I used So Delicious)
  7. 1/2 cup sugar
  8. 1/3 cup canola oil (I used Smart Balance)
  9. 1/4 cup pure honey (I used Groeb Farms)
  10. 1 tsp pure vanilla extract (McCormick)
  11. 1/4 cup unsweetened cocoa powder (I used Hershey)
Instructions
  1. Preheat oven to 350 degrees. Add 12 paper liners to a muffin tin or spray tin with nonstick cooking spray.
  2. First, combine most of the dry ingredients including 1 1/4 cup flour, 1 tsp baking powder, 1/2 tsp baking soda, and a 1/2 tsp salt. To mix well and also break up any clumps in the mixture, I like to use a whisk.
  3. Peel and mash two bananas in a large mixing bowl.
  4. To the bananas, mix in 1/2 cup unsweetened coconut milk, 1/2 cup sugar, 1/3 cup oil, 1/4 cup honey, and 1 tsp vanilla.
  5. To the wet ingredients, add in the flour mixture and stir to combine.
  6. Now you're going to split the batter into two by removing 1 1/2 cups of the batter and pouring into a separate mixing bowl (I just added this to a larger measuring cup). With these separated batters, you're going to prepare a chocolaty version and a banana version to eventually mix in the muffin tins.
  7. To the new batter, mix in 1/4 cup additional gluten free flour until all is combined.
  8. To the original bowl of batter, add 1/4 cup unsweetened cocoa powder and mix well to combine.
  9. Add 1 tbsp banana batter to all of the muffins (you'll have just enough for 12 muffins). This should fill each muffin about halfway.
  10. Similar to banana batter, add 1 tbsp of chocolate batter on top of each muffin.
  11. Using a toothpick, swirl batter through muffin.
  12. Place muffins into the oven and bake for about 15-17 minutes. To make sure they're done, insert a toothpick into the center and make sure it comes out clean.
  13. Remove all of the muffins to cool and store them in a container.
  14. Enjoy!
Adapted from Sarah Bakes Gluten Free Treats
Gluten Free Mom To Be http://www.glutenfreemomtobe.com/

A Delicious Gluten Free Sweet Treat By Katz

I first met the Katz brand on one of my very hungry days in my 2nd trimester of my pregnancy. I was meandering through my local health food store scouting out new and potentially delicious gluten free products when I zoned in on these delicious looking chocolate cupcakes covered in chocolate frosting and sprinkles. While I was pregnant, the baking me kind of took a back seat, so you can understand my excitement when these little beauties came into my sight. Selling for about $5.99 for a pack of 4 cupcakes I was willing to give them a try and I was so glad that I did!   

dfg
Pack of four Katz cupcakes.

These cupcakes are divine. The chocolate cake portion is textured more like a moist brownie which I am a huge fan of. Atop the cupcake is a thin layer of sweet chocolate frosting, just enough to add a sweet frosty finish to the cupcake. Finally, what cupcake is complete without sprinkles; so to finish theirs off, Katz has dusted half of the frosted cupcake tops with sprinkles. And let me just add that these sprinkles are the good kind, the long, soft sprinkles that add a little extra something to your bite! My only complaint, is that I wish that the whole cupcake top was covered in those delicious sprinkles! Ever since I was little, I always loved sprinkles on top of cookies, cupcakes, cakes, you name it, it was sprinkled. More sprinkles, the better! Such a perfect finish to a sweet treat! 

These are simply delicious!

Over the past few years, I’ve tried my fair share of gluten free cupcakes. Overall, the mixes that are available now produce exceptional products and are becoming more affordable as more brands join in. As fantastic as the mixes are, however, every pregnant woman would agree that there are certainly days that go by that you would love to just bite into a perfect pastry without having to make it yourself. Unfortunately, when it comes to purchasing premade gluten free desserts like cupcakes they tend to really lack in the texture department and usually fall apart after just one bite. I’m so happy to share that Katz products have become the exception to this trend! I must say, it was worth every penny to purchase these premade cupcakes that I could enjoy each and every bite of from start to finish without them crumbling apart, thanks to their brownie texture!

iuo
Just take one out of the freezer and enjoy!

Similar to many of their other products, these cupcakes should be stored in the freezer and therefore have an extended expiration date. This is an added bonus if you wish to take advantage of one of Katz’s many special offers and buy these ahead of time for a special event or just to stock up on treats for the little ones for months to come. When you’re ready to enjoy these, you only have to pop one (or two!) out of the freezer and either take a bite right away or let it thaw for a few short minutes!

Like I mentioned earlier, I purchased these from a small, local health food store for about $5.99. Unfortunately, Katz products aren’t easy to find in stores locally around me so I typically order their products online. On their website, Katz offers a pack of 4 frosted cupcakes for $5.79. A plus with ordering from the website is the amazing promotions that Katz frequently offers. Many a time, I’ve purchased products with significant discounts paired with their flat rate shipping fee of only $7.99 for purchases under $50 (free for orders over $50!). So sign up here today for emails for their new products, coupons, and company information and keep an eye out for sales on products that you’d like to try or have already fallen in love with!

If you’re interested in ordering these cupcakes, you can find all of their nutritional information here (these are also dairy and nut free too!)! While you’re there, make sure you check out many of their other fantastic products, such as their everything bagels or chocolate frosted donuts. To catch a sneak peak at these items, check out my bagel review here and donut review here

As you probably have learned from several of my other product postings, I am a huge fan of Katz’s products and truthfully can say that they helped me through many a pregnant day! Not once have I purchased a product of theirs and come away with any ounce of disappoint. So take advantage of their many special offers and indulge in these special chocolaty delights!!

Sincerely,

Lindsay


My Favorite Gluten Free Easter Dishes: Fluffy Garlicky Cheddar Biscuits

A given for any holiday meal is a side of rolls. We usually have always had Pillsbury biscuits, you know the kind you have to pop open the roll and peel them apart (that was always my favorite part)! In recent years however, much to my dismay, I haven’t been able to grab one of these fluffy delights. This year, however, is a whole different story and I’m so excited to share these Gluten Free Garlicky Cheddar Biscuits. Thanks to Betty Crocker’s Bisquick mix, which I introduced you to here not too long ago, I’m now able to make light and fluffy biscuits that are perfect for any meal, holiday or everyday. This great mix combined with Betty Crocker’s fabulous recipe, you’ll end up with delicious garlic biscuits flavored with just a hint of cheese. Make sure you pick up a box of this wonderfully versatile mix and give these biscuits a try for your Easter holiday this year! 

Ingredients:

Depending on how many people you have you can adjust the recipe accordingly. For a normal dinner for just my husband, daughter, and myself I usually half the recipe to make about 6 normal size biscuits.

  • 2 cups Bisquick Gluten Free Mix
  • 1/4 tsp garlic powder
  • 1/4 cup firm butter (Smart Balance)
  • 2/3 cup skim milk
  • 1/2 cup shredded Cheddar Jack or Cheddar cheese 
  • 3 eggs
  • 1/4 cup melted butter (Garlic Butter Topping)
  • 1/4 tsp garlic powder (Garlic Butter Topping)
Ingredients for Fluffy Gluten Free Cheddar Biscuits.

Directions: 

  • Preheat oven to 425 degrees. 
  • In a medium bowl, add 2 cups Bisquick mix and 1/4 tsp garlic powder and combine.
  • Using a fork, cut in 1/4 cup cold, firm butter until mixture has coarse crumbs throughout (this makes the biscuits fluffy), so the more crumbs the better!
  • Mix in 2/3 cup milk, 3 eggs, and 1/2 cup cup shredded cheese until you form a soft dough.
Easy batter all mixed up!
Batter all mixed up!
  • Using a tablespoon, add heaping spoonfuls to an ungreased cookie sheet. Depending on size, you’ll usually get between 10 and 12 biscuits from this amount of batter.
Biscuits ready to be cooked.
  • Bake biscuits for about 8 to 10 minutes until tops are a light golden brown. I like to touch the middle of of the biggest one to make sure the biscuit is firm and cooked all the way through.
  • For topping, add 1/4 cup butter to microwavable bowl and melt. 
  • To melted butter, mix in 1/4 tsp garlic powder. 
  • Before removing biscuits from baking sheet, brush melted garlic butter on top of the biscuits.
After 10 minutes you get lightly browned biscuits!
  • Serve biscuits warm and with butter!
Fluffy inside of biscuit.
Fluffy inside of biscuit!

These biscuits are so quick and easy to make and bake, making them a perfect addition to any holiday meal! When dinner’s ready, just pull out your favorite butter and add some to the middle of your biscuits to create a wonderfully moist center! A light butter is the perfect addition to these fluffy pillows of garlicky gluten free goodness! The best thing about these biscuits is the texture, which everyone knows can be lacking in gluten free baked goods but I assure you that that is not the case for these. These biscuits are perfectly light and fluffy and moist at the same time, just what a biscuit should be and very reminiscent of those warm and buttery gluten filled biscuits that you could get at Cracker Barrel or even in a breakfast sandwich at McDonalds. I don’t know about you but I’m definitely in the mood for a warm biscuit now. I might just have to whip up a batch of these for little one and myself, maybe for egg sandwiches? The possibilities are endless!

TIP: You can even prepare these ahead of time and heat them slightly for a few minutes at a warm setting in your oven when you’re ready to enjoy.

I shared this recipe and more here on Gluten Free Easily’s Gluten-Free Wednesdays. 

Sincerely,

Lindsay

Fluffy Gluten Free Garlicky Cheddar Biscuits
Biscuits are so quick and easy and come out perfect each time!
Write a review
Print
Prep Time
10 min
Cook Time
10 min
Total Time
20 min
Prep Time
10 min
Cook Time
10 min
Total Time
20 min
Ingredients
  1. 2 cups Bisquick Gluten Free Mix
  2. 1/4 tsp garlic powder
  3. 1/4 cup firm butter (Smart Balance)
  4. 2/3 cup skim milk
  5. 1/2 cup shredded Cheddar Jack or Cheddar cheese
  6. 3 eggs
  7. 1/4 cup melted butter (Garlic Butter Topping)
  8. 1/4 tsp garlic powder (Garlic Butter Topping)
Instructions
  1. Preheat oven to 425 degrees.
  2. In a medium bowl, add 2 cups Bisquick mix and 1/4 tsp garlic powder and combine.
  3. Using a fork, cut in 1/4 cup cold, firm butter until mixture has coarse crumbs throughout (this makes the biscuits fluffy), so the more crumbs the better!
  4. Mix in 2/3 cup milk, 3 eggs, and 1/2 cup cup shredded cheese until you form a soft dough.
  5. Using a tablespoon, add heaping spoonfuls to an ungreased cookie sheet. Depending on size, you'll usually get between 10 and 12 biscuits from this amount of batter.
  6. Bake biscuits for about 8 to 10 minutes until tops are a light golden brown. I like to touch the middle of of the biggest one to make sure the biscuit is firm and cooked all the way through.
  7. For topping, add 1/4 cup butter to microwavable bowl and melt.
  8. To melted butter, mix in 1/4 tsp garlic powder.
  9. Before removing biscuits from baking sheet, brush melted garlic butter on top of the biscuits.
  10. Serve biscuits warm and with butter!
Adapted from Betty Crocker
Gluten Free Mom To Be http://www.glutenfreemomtobe.com/


Weekly Highlights in the Gluten Free World 4/5/14

I learned so much from some fantastic articles about celiac disease and gluten sensitivity this week! Take a look below to learn the truth behind gluten digestion medicines, tips on healthy gluten free living, great options to satisfy your carbohydrate cravings, and finally research regarding pregnancy health with undiagnosed celiac!

Can Glutenase Pills Help Digest Gluten?: Similar to Lactaid, which assists with lactose digestion for those that are lactose intolerant, there exists products such as Glutenase, Gluten Cutter, and Digest Gluten Plus which, I’m sure you could deduce from the names, are marketed to assist with gluten digestion. Ever since my gluten intolerance began I had always said that there should be something similar to Lactaid that could allow individuals to continue eating gluten containing products without the risk of reaction. Little did I know that products such as those listed above actually exist for that exact purpose. Now, the question popping up in all of our gluten free minds….do these supplements actually work? This is the exact question posed to Dr. Stefano Guandalini of the Celiac Disease Center at the University of Chicago. According to Dr. Guandalini, the likelihood of these supplements to efficiently digest gluten in those whose bodies cannot, is not as simple as we’d like to hope. Research has been done on commercial products which are marketed as gluten detoxifiers and unfortunately they are completely ineffective at reducing the amount of gluten that is toxic for celiac patients and those which are gluten sensitive. Follow University of Chicago’s Science Life here to read this segment in its entirety and learn where current research stands in this area.

The Hidden Risk in Going Gluten Free: In today’s world there seems to have been an explosion of drastic dietary changes, one of which being the “gluten free diet”. While this diet is certainly beneficial for many to follow I personally would never label it as a “diet” per se. Going gluten free out of medical necessity is a drastic lifestyle change that can unfortunately elicit the opposite result if you’re using the diet for weight loss. In the Celiac Handbook here, the pitfalls of the gluten free diet are highlighted along with tips on how to live a healthier gluten free life. When going gluten free, the number of items that you potentially have to cut out from your diet can be overwhelmingly large depending on your current diet. When cutting out or removing so many items from your daily eating regimen many tend to replace them with gluten free packaged products. Unfortunately if you examine the labels of some of these products a bit closer, you’ll notice ingredients such as rice flour and potato starch along with loads of unhealthy fats. While these items are free of gluten and good for you to eat in that area, they sadly usually contain lots of sugar and carbohydrates that can affect weight gain along with a number of other health aspects. What do you do then when you’re gluten free, and nearly half of your diet is eliminated just because of gluten? Well, according to the Celiac Handbook just stick to the goal of obtaining a truly healthy diet (just without the gluten). Meaning, keep everything as fresh and unprocessed as possible, focus on cooking from scratch whenever possible, and read labels and you’ll be on the right track. Learn more about living a healthy gluten free lifestyle here!

29 Gluten Free Ways to Satisfy a Carb Craving: Seeing as there is a section on my blog that is focused on satisfying your pregnancy cravings, I thought it was perfect to introduce you to this list of perfect carbohydrate substitutes. Some of my go to carb options while I was pregnant definitely made the list, including one of my favorites, the bagel. Pictured on this list specifically though is a divine looking bagel option, the super fluffy asiago bagel. A few other amazing suggestions fall into the breakfast, lunch, dinner, and dessert/snack categories. Some of the best breakfast options include the bagel of course, waffles, and nutella bread. Lunch and dinner highlights can be kind of interchangeable, as I personally eat leftover dinner for lunch the next day on many occasions; some of these include one of my personal favorites macaroni and cheese, chicken and jack cheese sandwiches, pizza, and biscuits and cheese filled breadsticks. Dessert highlights include the blueberry coffee cake (which could of course be an option at anytime of the day), pretzel bites, and chocolate brownie peanut butter cheesecake. Beside the fantastic craving ideas and pictures here on this list, included are the amazing recipes that go along with them so you can make these at home! Take a look and I’m sure you’ll have plenty of ideas next time you’re craving a gluten filled carbohydrate! 

Reproductive Life Disorders in Italian Celiac Women: Several years ago an informative study was done examining women’s health with respect to undiagnosed celiac and reproductive disorders. While we know that celiac and non-celiac gluten sensitivity can cause excessive damage to the intestinal tract we are also thankfully aware that the damage caused by the disease can be fully reversed and healed if a diet free of gluten is put into place. For women though, the repercussions living without a diagnosis of gluten sensitivity early on and not following a gluten free diet can cause innumerable challenges in a woman’s reproductive life. Without diagnosis, women can go on to have delayed puberty, infertility, higher risks of miscarriage and low birth weight, and early menopause. This study stresses the correlation between celiac disease and reproductive disorders especially those associated with pregnancy. If you suspect any type of gluten sensitivity than it is imperative to be tested for celiac as soon as possible so you can improve your health prior to pregnancy. If your body cannot digest gluten, avoiding it is optimal when you’re pregnant as to avoid many complications that can potentially occur. Just remember, if your test results do come back negative for celiac you still can have a gluten sensitivity which similarly requires following a gluten free diet. You can find the results of this case study here and read further to understand the importance of celiac disease screening in women with these reproductive challenges. 


The 2014 Ultimate Blog Party!

Welcome to the Ultimate Blog Party!!!!! I’m so excited that you’ve stopped by the Gluten Free Mom To Be’s site. 

scaled_photo

My name is Lindsay and I’m the Gluten Free Mom To Be! Living gluten free in a non-gluten free world is incredibly difficult but doing it while pregnant is even more so. That’s where glutenfreemomtobe.com comes in. Here you’ll find helpful guidance on anything gluten free including cabinet staples, restaurant and travel recommendations, favorite recipes for food and smoothies, weekly highlights of the gluten free world, favorite products fitting for pregnancy cravings, coupons for gluten free products, and finally tips to help guide you through your gluten free pregnancy. My goal is to provide a how to guide when it comes to navigating through 9 months of a dietary restricted pregnancy. So pregnant or not you’ll be sure to find something helpful and interesting on my site, so check it out! 

Also, feel free to follow me on twitter, facebook, and pinterest!!!

Sincerely,

Lindsay


Foodtastic Friday A Bit Early!!!!

Check out Voice Boks the Voice of Parenthood for Foodtastic Friday! You can find a few of my favorite gluten free recipes like my Flourless Chocolate Cake with a Chocolatey Glaze and Strawberry Banana Oatmeal Smoothie,along with many other tempting recipes here!

Sincerely,

Lindsay

Gluten Free Wednesdays!!!

Check out Lynn’s Kitchen Adventures or Gluten Free Easily for Gluten Free Wednesdays! You can find a few of my favorite gluten free recipes like my Flourless Chocolate Cake with a Chocolatey Glaze along with many other tempting recipes here!

Sincerely, 

Lindsay

Gluten Free Strawberry Banana Oatmeal Smoothie

During pregnancy, it’s super important to eat plenty of highly nutritious foods that are going to provide you with plenty of energy for an extended period of time. When you’re going through a pregnancy with dietary restrictions accompanied by normal pregnancy cravings and food aversions this task becomes a bit more difficult. Before pregnancy, I always was a huge fan of smoothies but only really drank them for pleasure rather than for purpose. While pregnant though, smoothie drinking had taken on a whole new meaning for me where they not only could be a tasty snack but could also be an essential pick me up, packed full of nutritional goodness from essential vitamins to energizing protein and fiber.

I personally like to put together gluten free smoothies with a whole grain source, fruit, vegetable, and some type of liquid base. I certainly make variations to this formula, adding in dairy and protein from yogurt on occasion and making all fruit smoothies at times. As far as adding in veggies though, one of my favorites to add into almost all of my smoothies is fresh spinach, and believe it or not but you absolutely cannot taste it at all! Some fruits which make their appearance in my smoothies quite often include bananas, peaches, pineapple, and pretty much all berries. When available and economical I like to purchase fresh fruit but I typically purchase frozen in a lot of these fruits.

As far as a liquid base, I typically use either unsweetened coconut milk, Dream Blends unsweetened rice and quinoa drink, or fat free milk. Each of these options have many nutritional benefits boasting high levels of calcium as well vitamins A, B12, D, and E while being low in fat, but with respect to dietary restrictions, are most importantly gluten free and dairy free. As a final addition to my smoothies I like to add a little extra boost of whole grain, protein, or fiber through gluten free peanut butter and avocado as well as certified gluten free oats, ground flaxseed, or chia seeds. These additions, while providing added nutritional benefits, also make for a more sustaining smoothie that’ll keep you going a lot longer.

Smoothie drinking has extended far past pregnancy and branched off into juice making aswell (but that’s a whole other post). Myself and my 15 month old little girl enjoy smoothies almost everyday along with fresh fruit and veggie juices. Right after grocery shopping, I usually divide up whatever fresh or frozen fruits and veggies into freezer bags so they’re all ready to be blended or juiced as desired. Along with the ease of dividing out my fruits and veggies ahead of time, I typically try to make enough smoothie or juice one day to get us through two mornings or lunches of drink. So if you feel hungry shortly after breakfast or lunch add a smoothie to either meal or even as a mid-morning or late-afternoon snack and you and your baby will certainly be grateful in the long run.

Try one of my favorite smoothies combining strawberries, bananas, spinach, and gluten free oats…a perfect version of gluten free oatmeal on the go! (You’ll notice I try to not add sweeteners or additional juices to my smoothies to minimize the sugar content but you certainly can add a little something extra if you desire.)

Ingredients:

  • 16 oz bag frozen or fresh strawberries
  • 2 handfuls of fresh spinach
  • 2 bananas
  • 2 cups Dream Blends Rice and Quinoa
  • 2 tbsp gluten free old fashioned oats (Bob’s Red Mill is certified gluten free)
Ingredients for a gluten free strawberry banana oatmeal smoothie.

Directions:

  • Add liquid, gluten free oats, and spinach to blender first and blend it up a little before adding the strawberries and bananas.
A strawberry and banana oatmeal smoothie!

TIP: When making smoothies, make sure you put together combinations that you’ll enjoy drinking. Trust me, if you don’t enjoy the taste you’re certainly not going to want to have to choke it down even though it’s healthy for you. So make something that is nutritional, by trying to sneak in a veggie along with one of the additional add ins that I mentioned, but also something that is really tasty.

Sincerely,

Lindsay

Gluten Free Strawberry Banana Oatmeal Smoothie
Enjoy this gluten free strawberry banana oatmeal smoothie that's packed with calcium, vitamins, and fiber!
Write a review
Print
Ingredients
  1. 16 oz bag frozen or fresh strawberries
  2. 2 handfuls of fresh spinach
  3. 2 bananas
  4. 2 cups Dream Blends Rice and Quinoa
  5. 2 tbsp gluten free old fashioned oats (Bob's Red Mill is certified gluten free)
Instructions
  1. Add liquid, gluten free oats, and spinach to blender first and blend it up a little before adding the strawberries and bananas.
Gluten Free Mom To Be http://www.glutenfreemomtobe.com/

1 21 22 23 24 25 26