It’s been quite a few years since I’ve been able to enjoy a soft, floury tortilla that was stuffed with my favorite salads and the forbidden gluten. As a pickier eater, salads and wraps used to be one of my go to meals at a number of restaurants. But as with many of my favorite dishes from years past, gluten was a main ingredient, now making them obsolete in my diet.
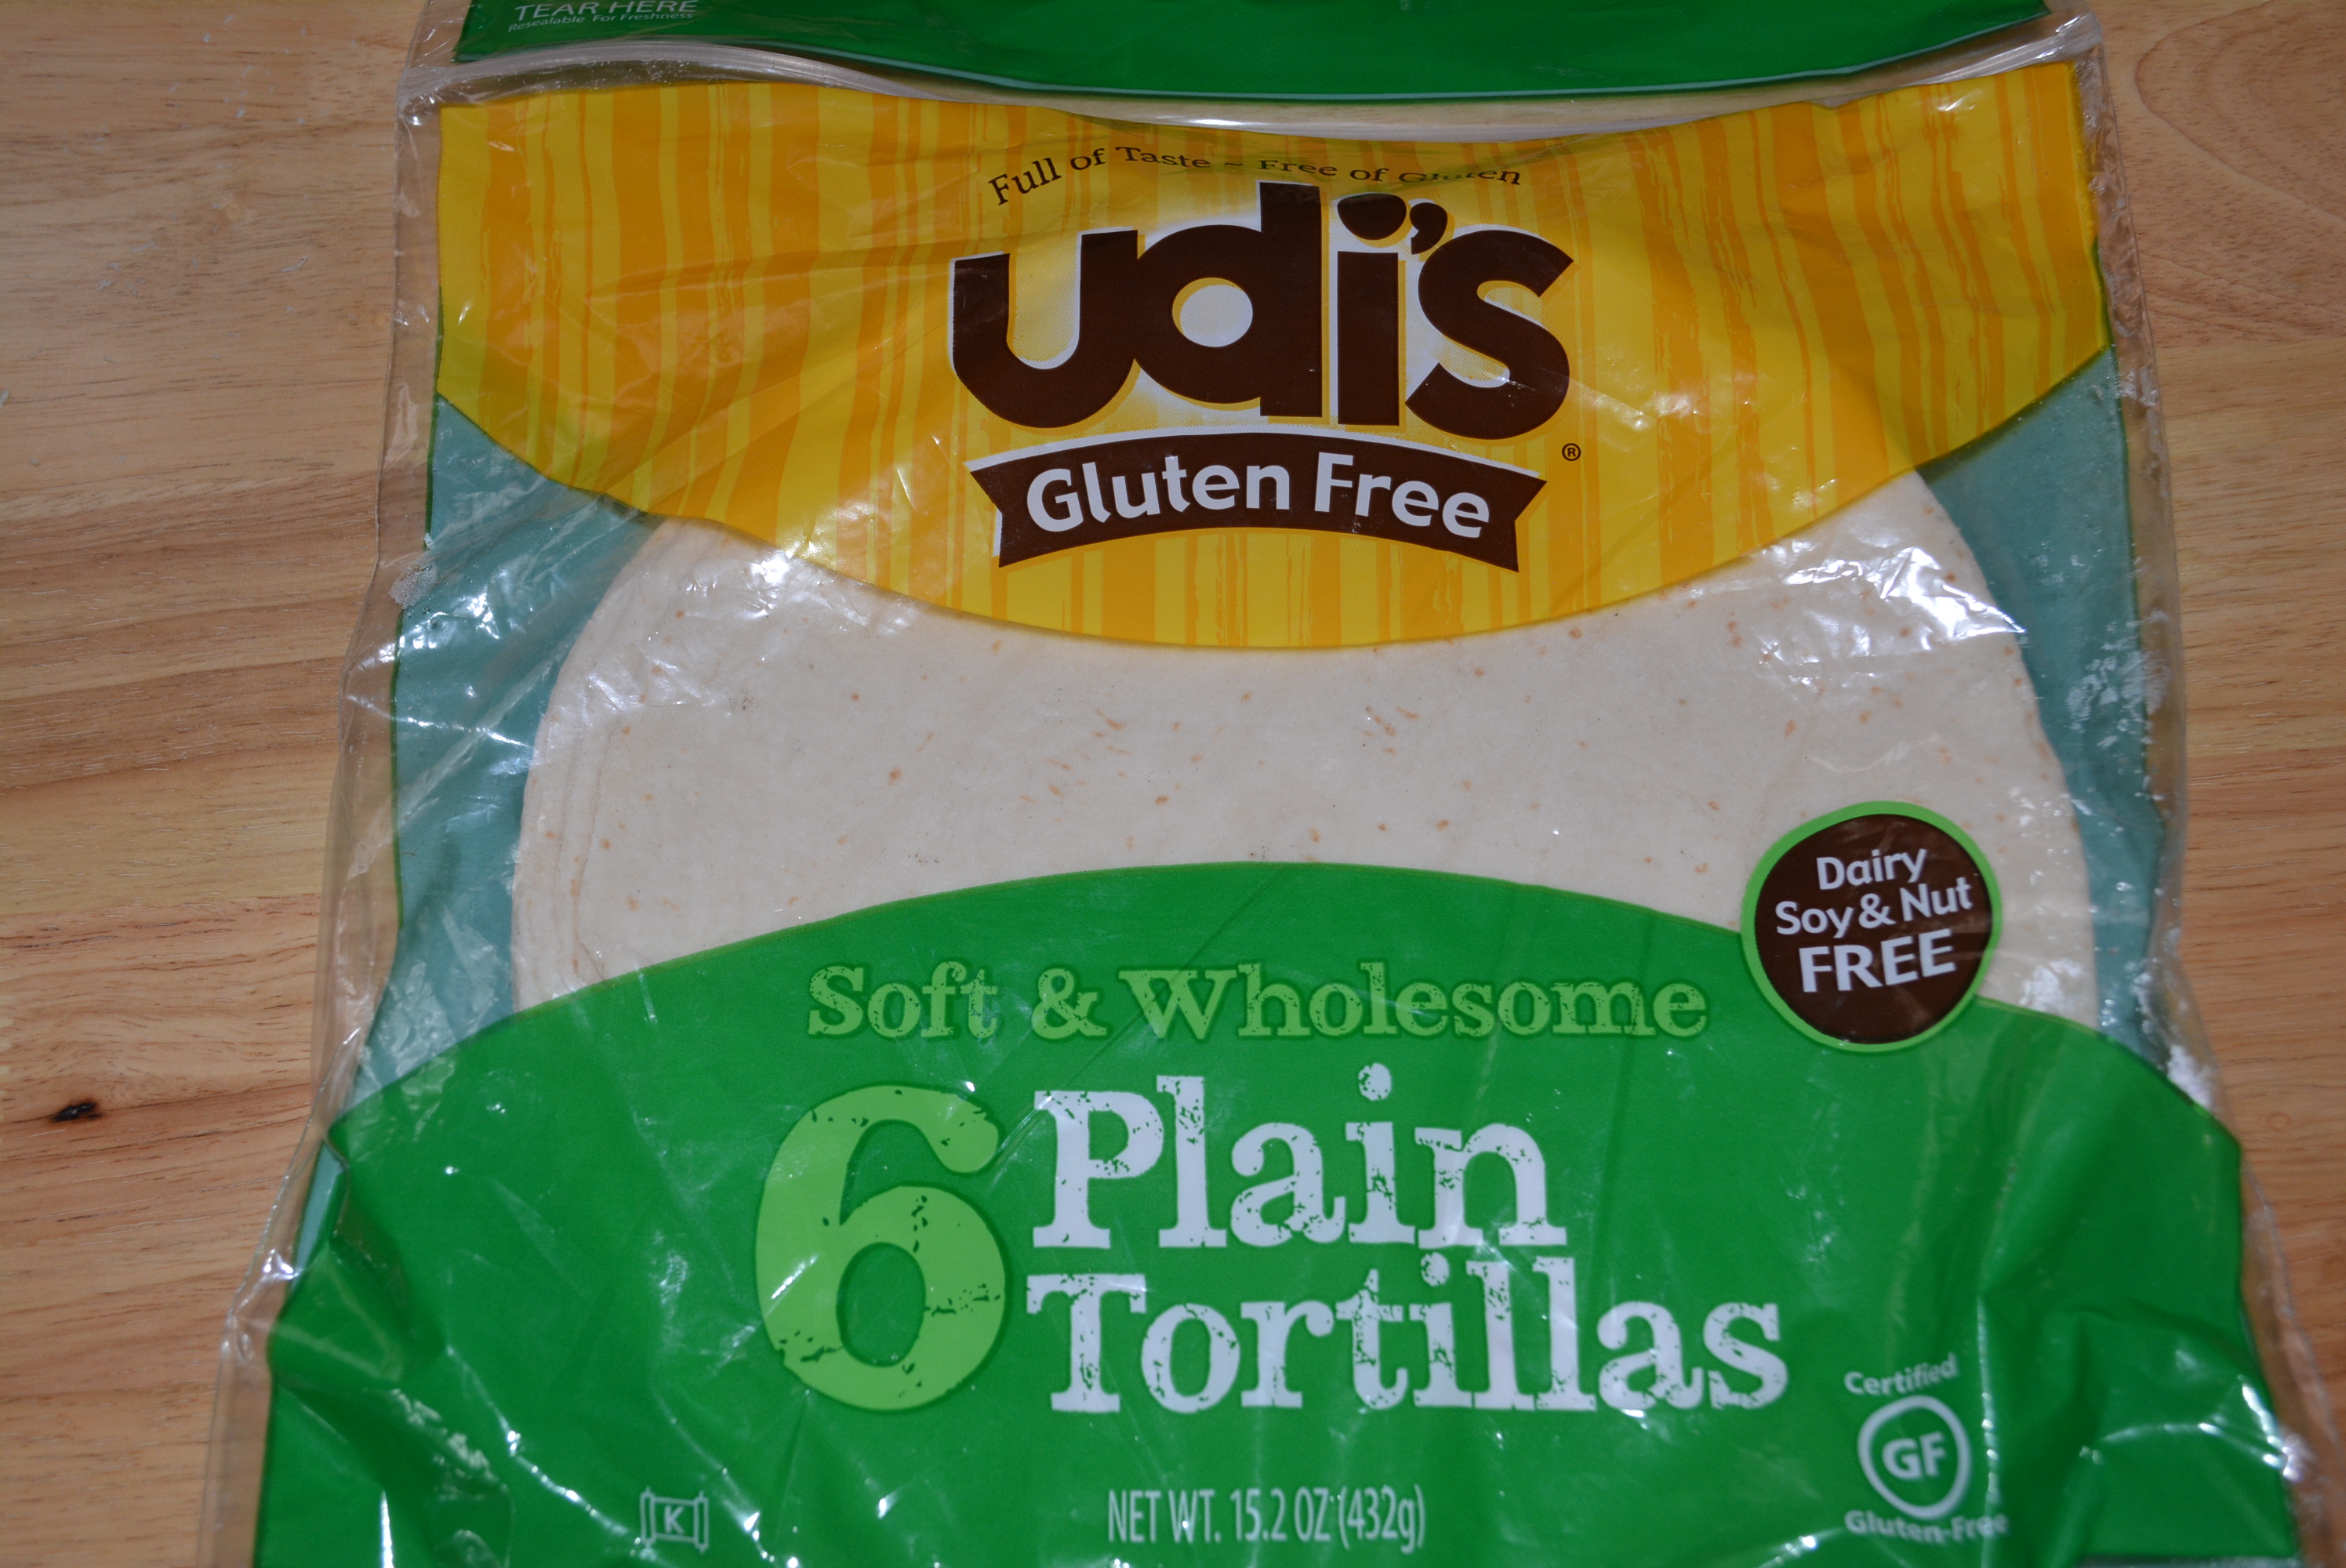
Although we’ve yet to reach the point where I can enjoy a wrap yet again at Red Robin or Saladworks, another amazing feat has been reached for the gluten free community by the release of Udi’s gluten free tortillas. Slowly but surely, some of my past cabinet staples are reemerging in a gluten free form. Each time I see a new gluten free product in the store, I first cross my fingers that this one will succeed and be consistently stocked, but then I feel overwhelmed with encouragement that the restrictions facing allergy and other dietary folk are beginning to break down. It’s amazing how the release of a simple gluten free product could be so overwhelming but it truly does fill you with complete and utter gratitude for those who are even attempting the task.
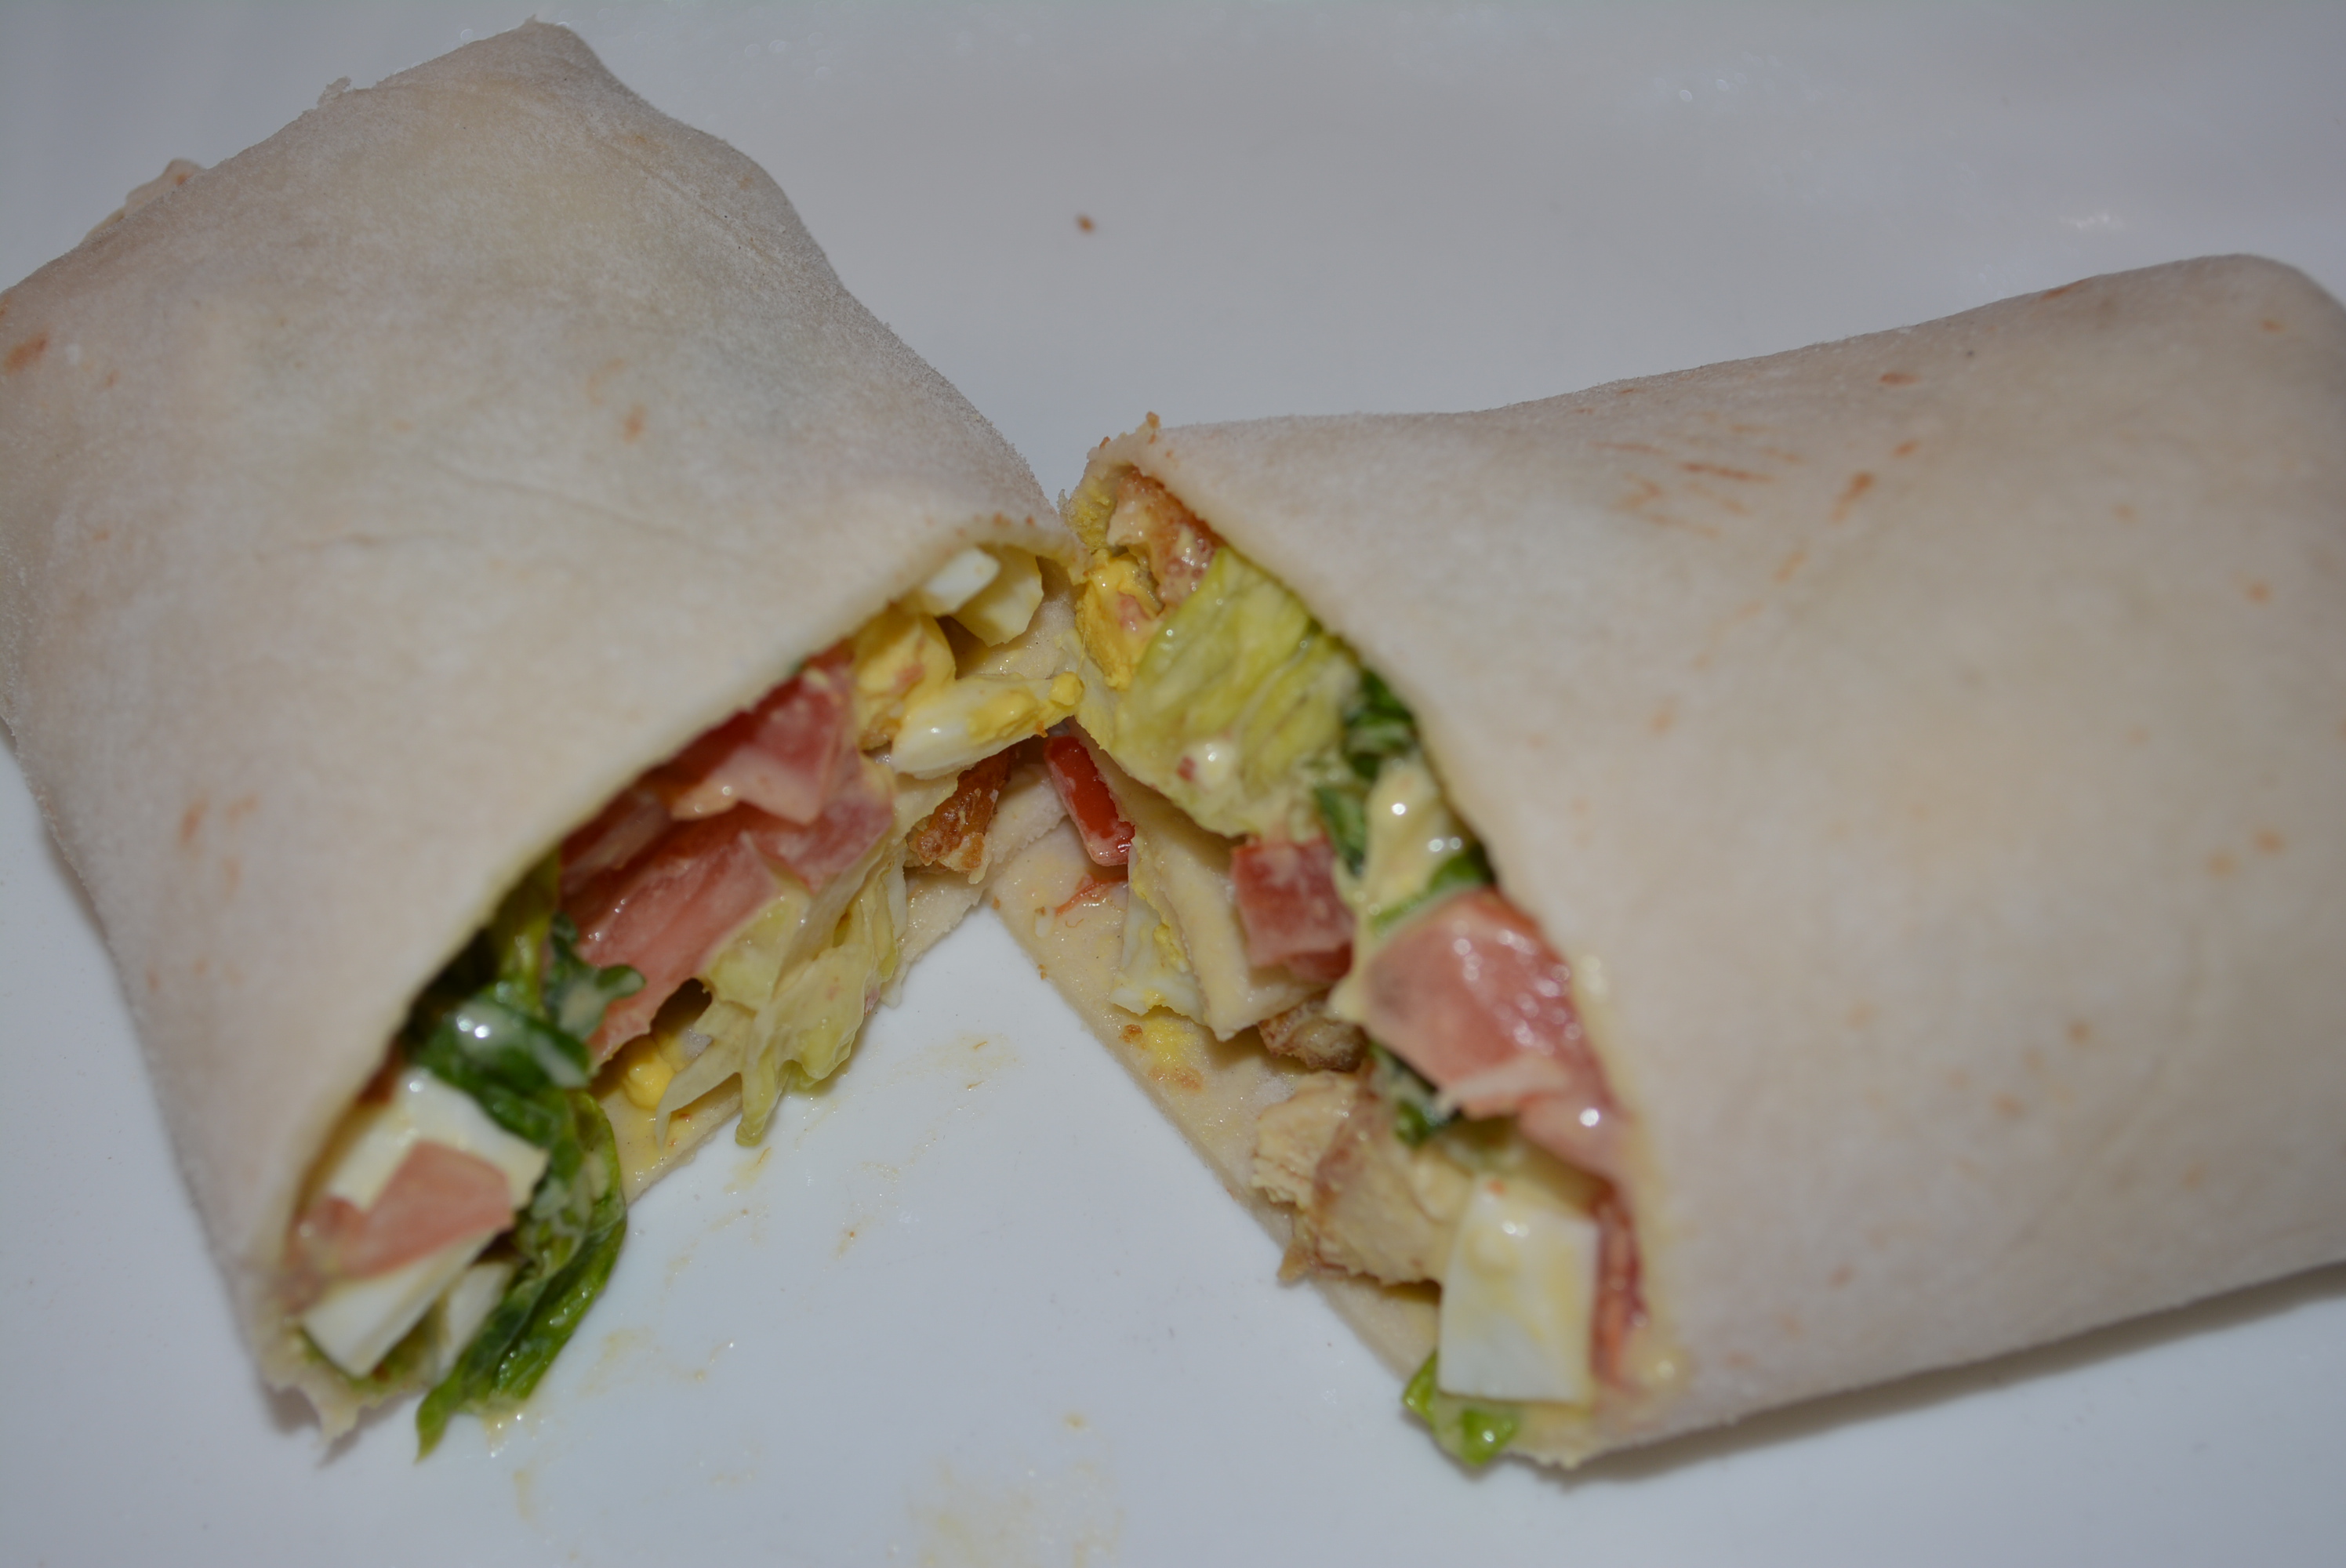
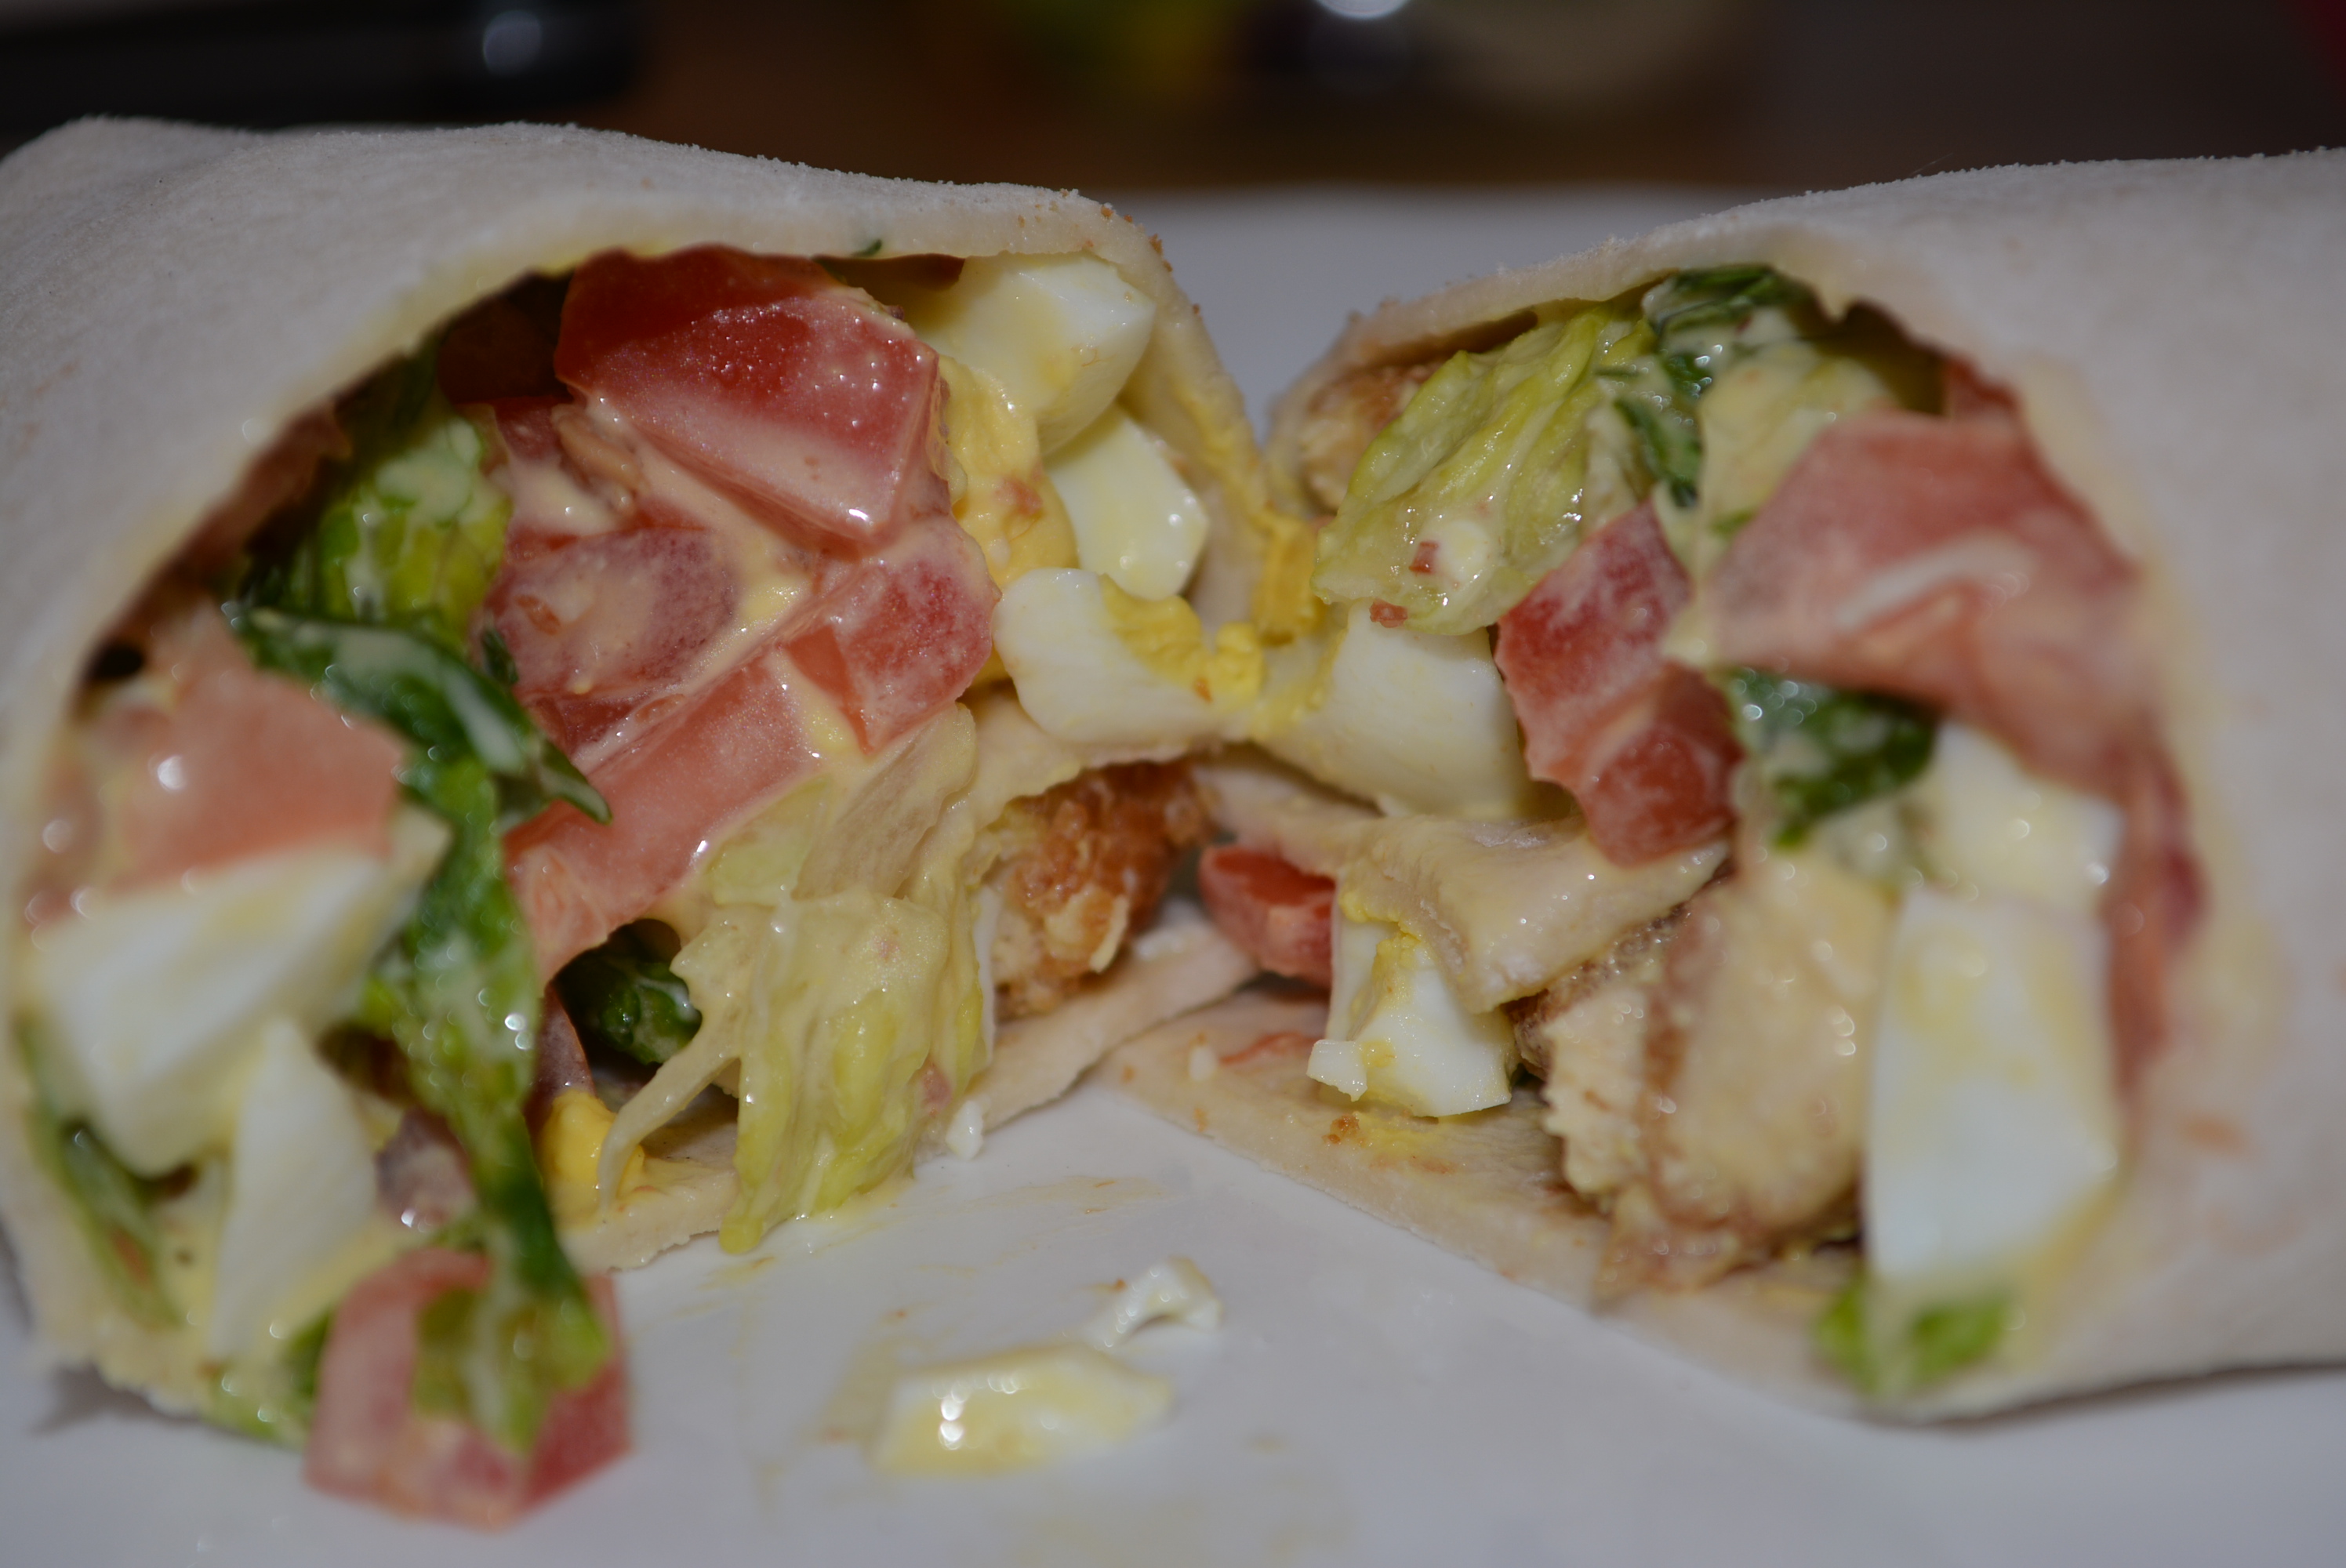
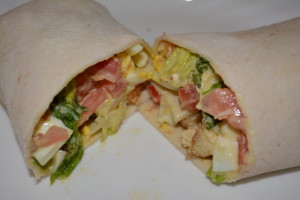
The addition of these tortillas back into my diet has expanded my lunch menu tremendously. For my first trial, I decided to recreate Red Robin’s Crispy Chicken Wrap. Using some basic ingredients that I always keep around, along with one of my other new favorite additions to the gluten free world, Perdue’s Simply Smart Gluten Free Breaded Chicken Strips, I created an amazing gluten free wrap that could certainly stand up to the gluten equivalent.
Ingredients:
- Udi’s Large Tortillas
- Romaine Lettuce
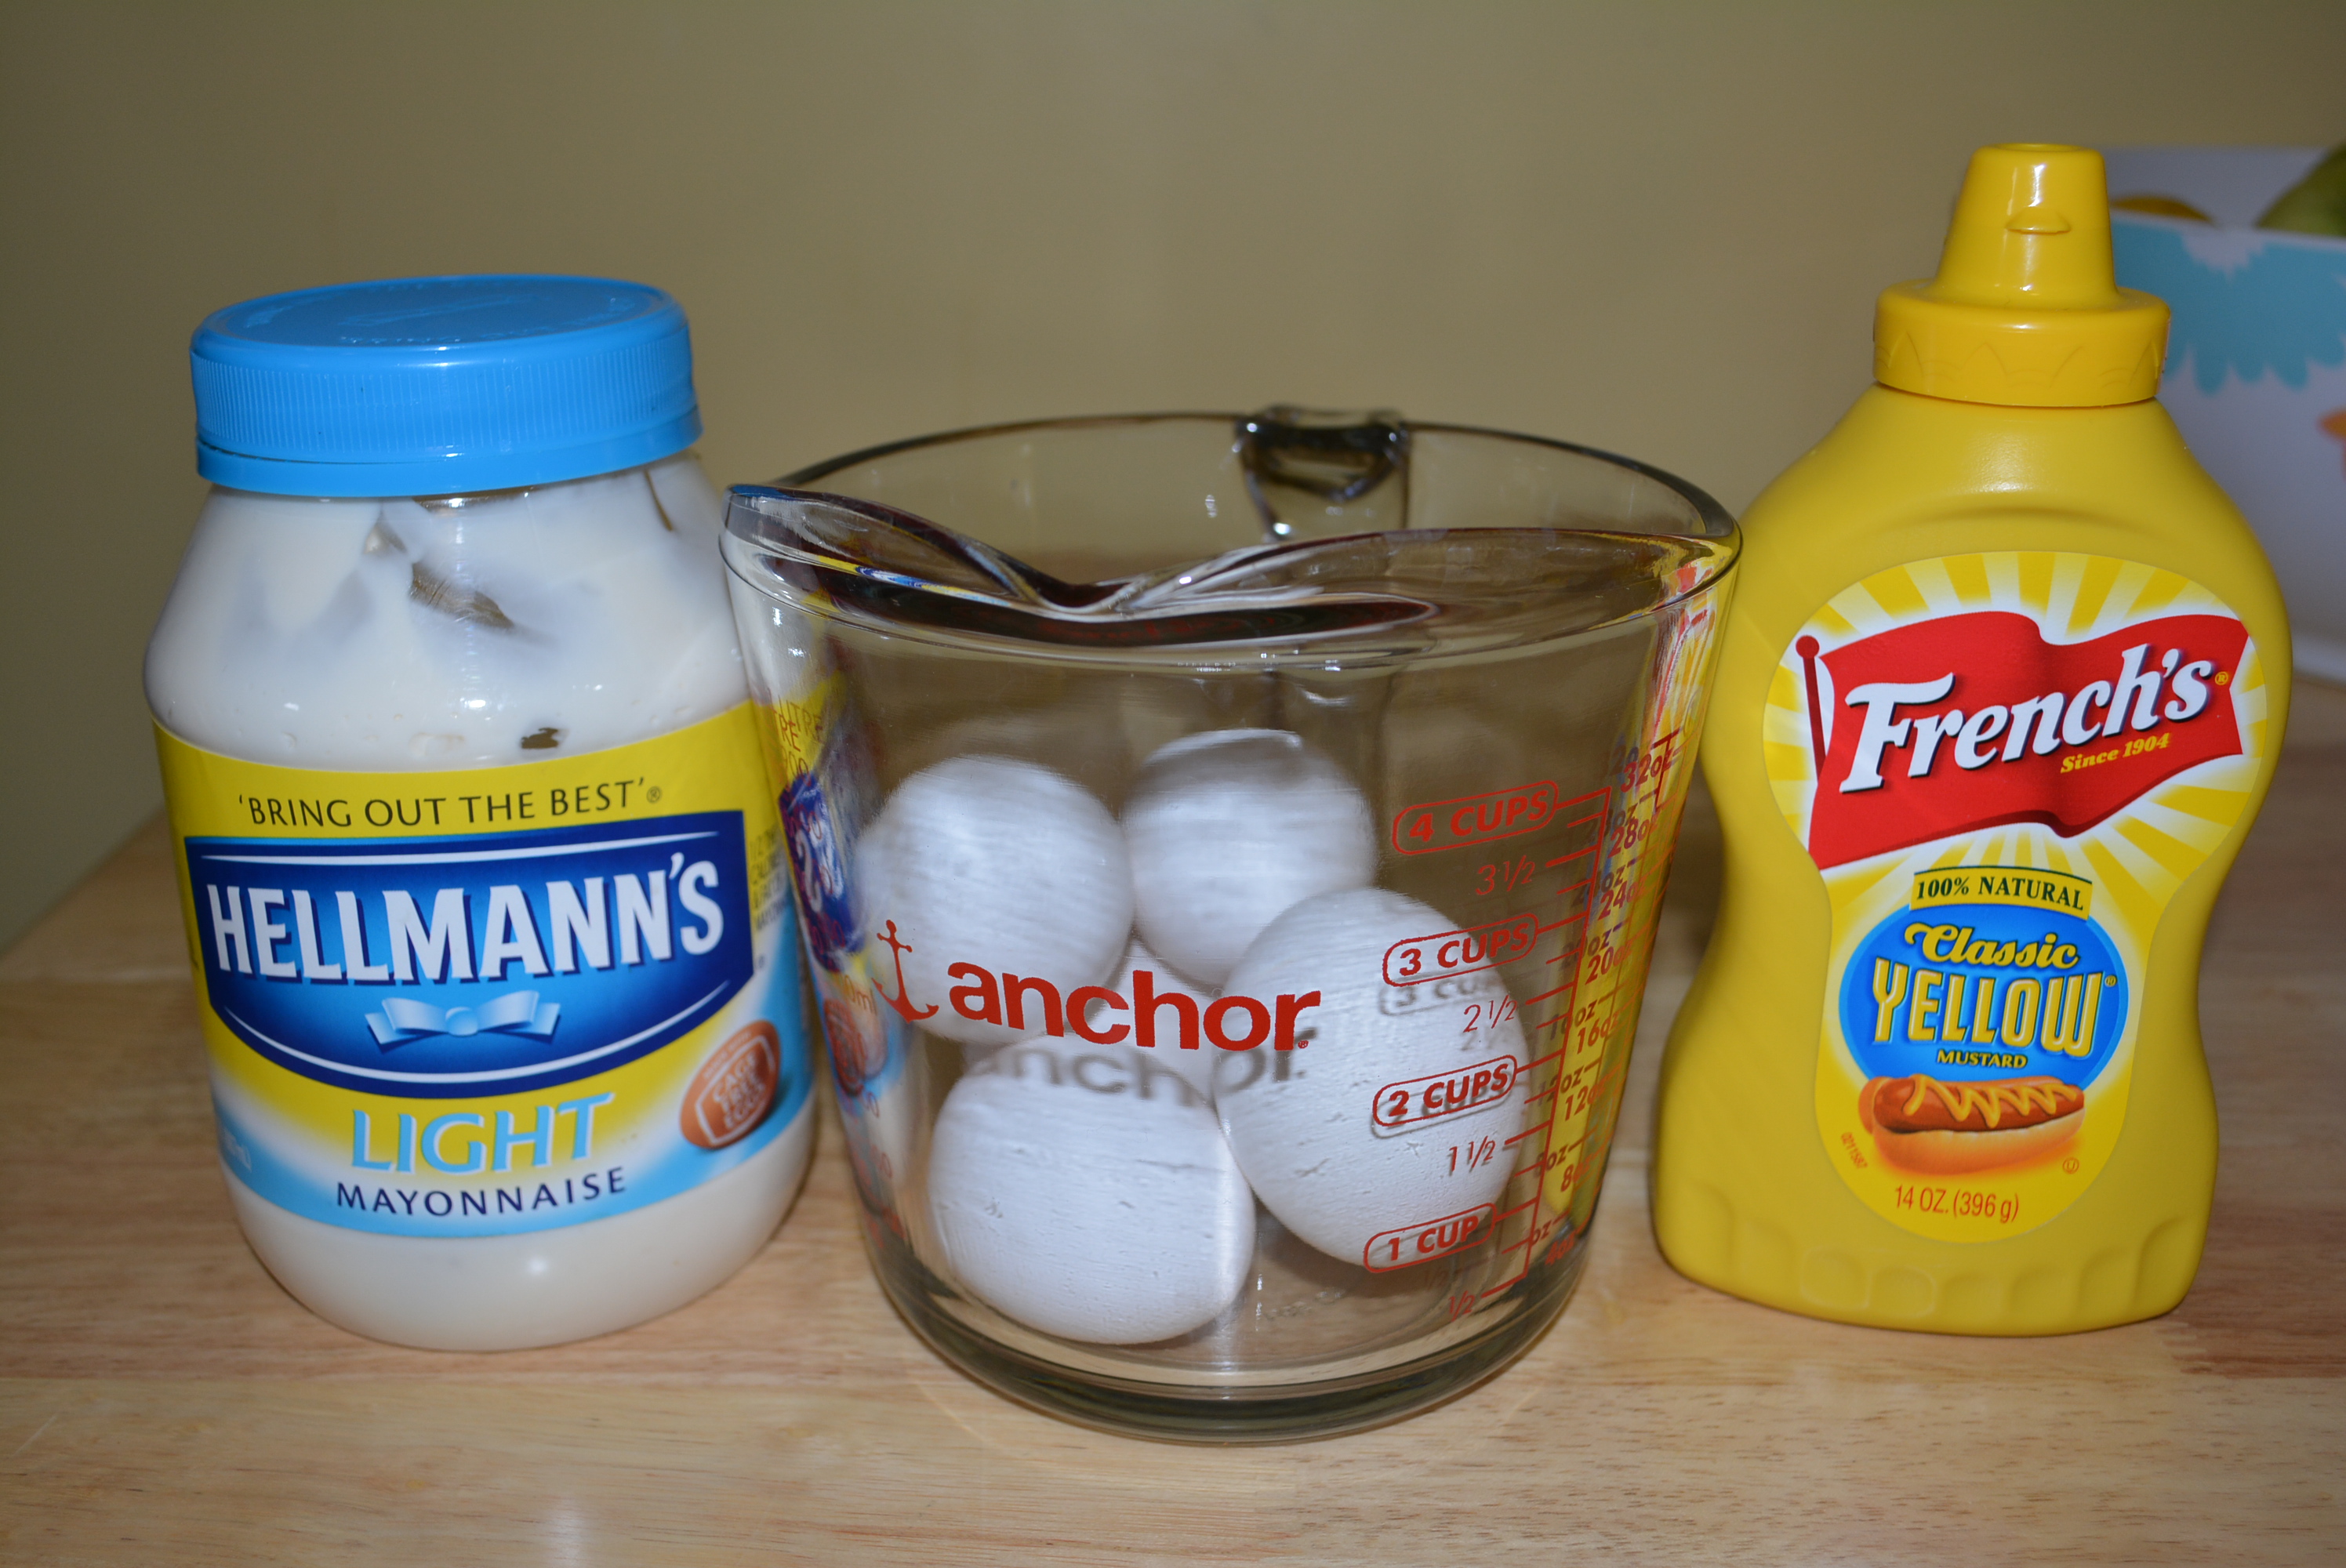
- Blue Cheese Dressing (Wishbone is gluten free; I also enjoy Marie’s)
- Tomatoes
- Bacon (I like to use Hormel’s Real Bacon Bits)
- Hardboiled Eggs
- Breaded Chicken Strips (I love Perdue’s Simply Smart Gluten Free Chicken Strips (in the frozen section))
- Amounts of these ingredients vary depending on how many wraps you are preparing and how much of each ingredient you like. I usually add equal parts of each. For one wrap for myself, I add about one handful of each ingredient, prepare salad mixture, and add accordingly to wrap. No worries if you have extra, you can always enjoy this as a salad on the side!
Directions:
- For my first wrap, I prepared enough ingredients to add about one handful of each to the wrap.
- Preheat oven and prepare breaded chicken strips.
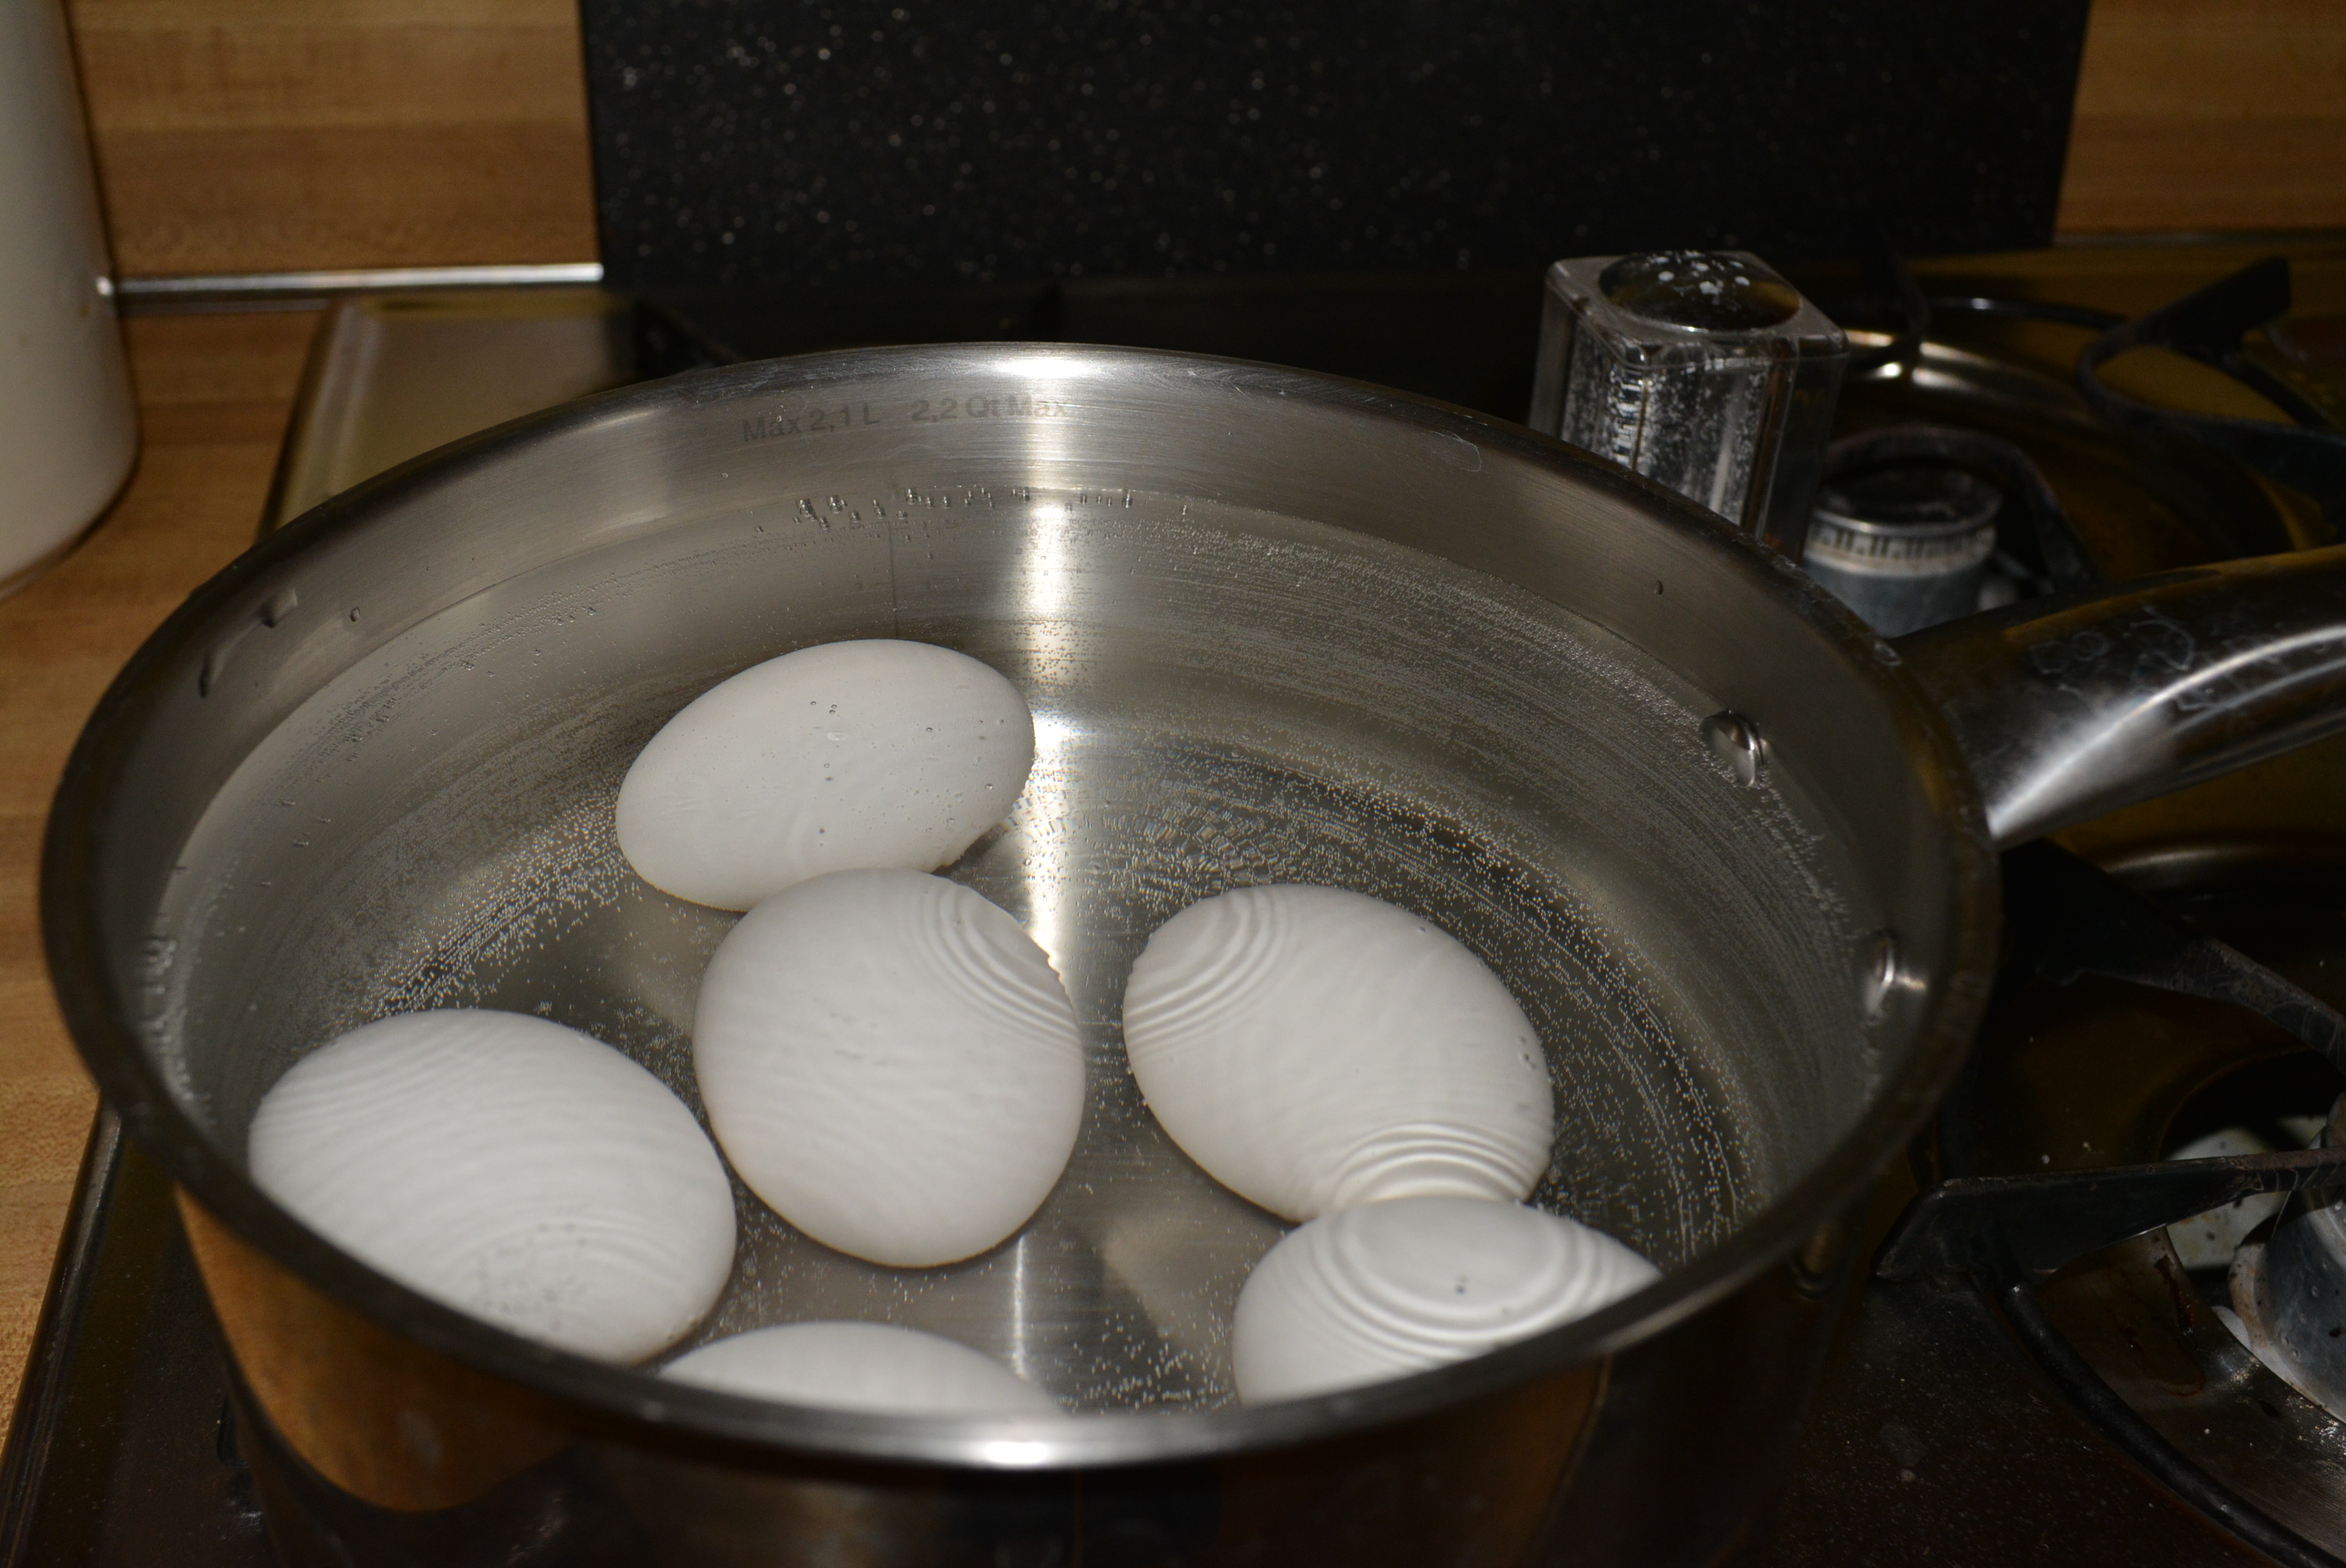
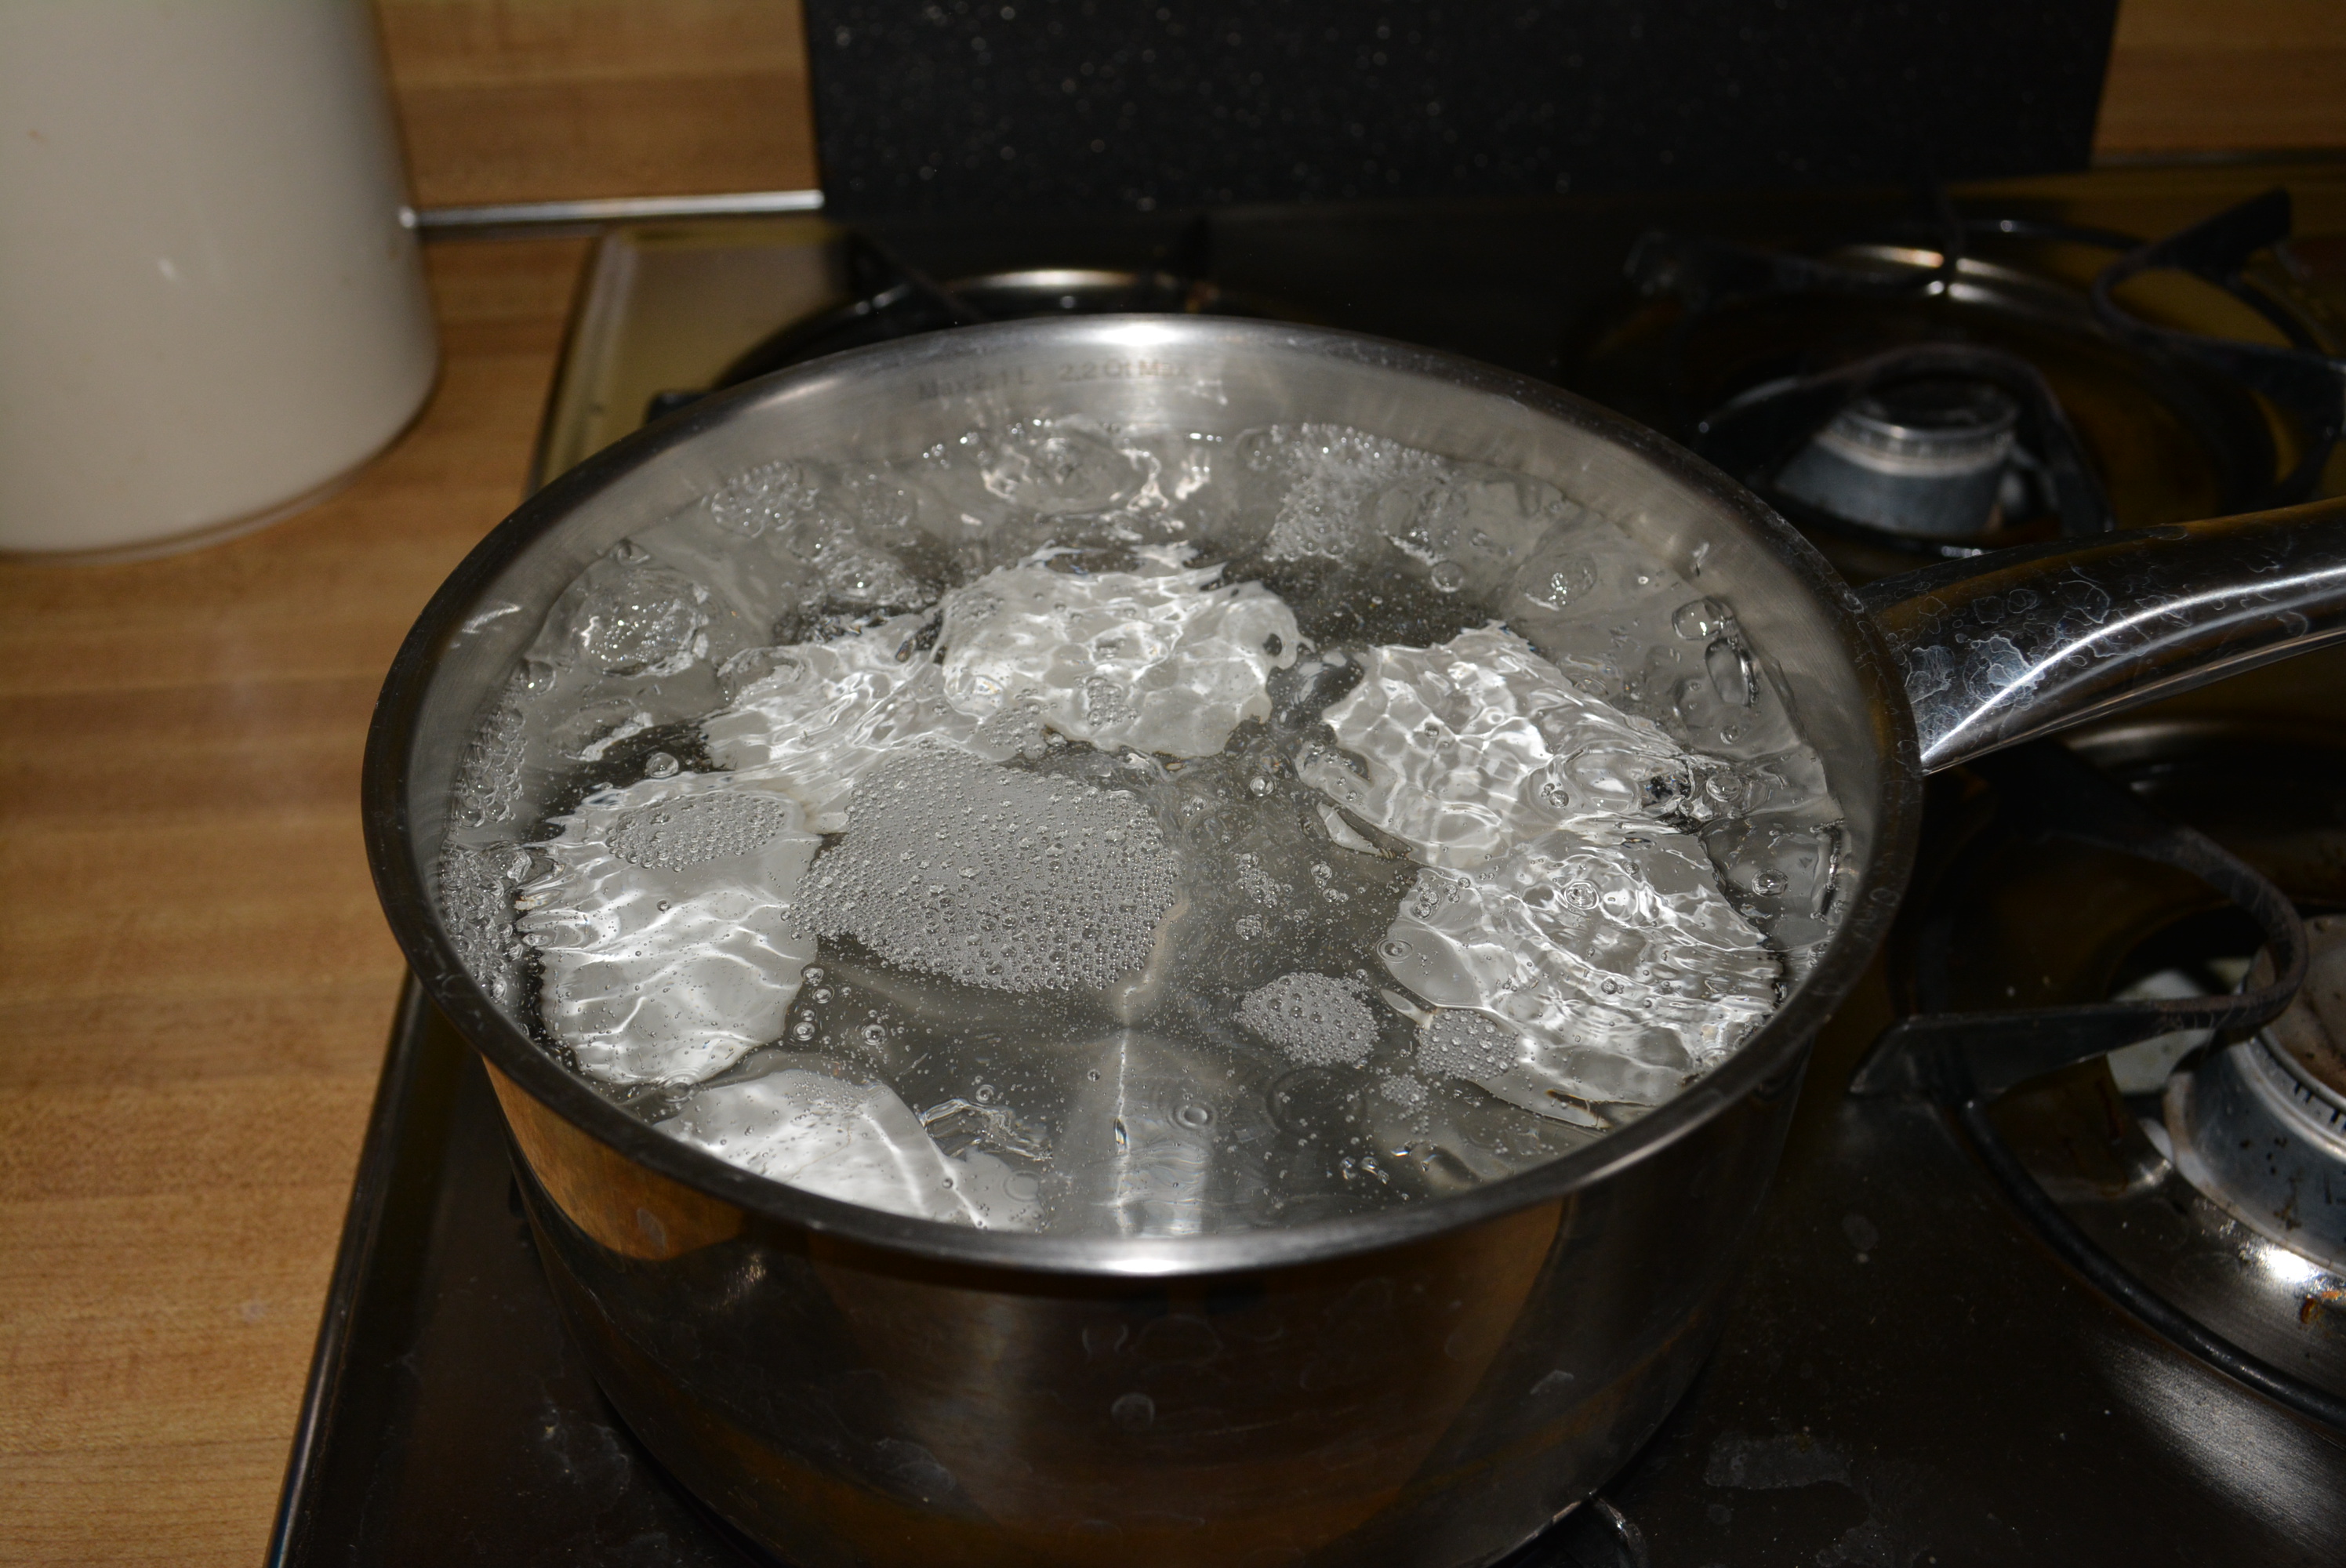
- Additionally, add eggs to water and prepare hardboiled eggs.
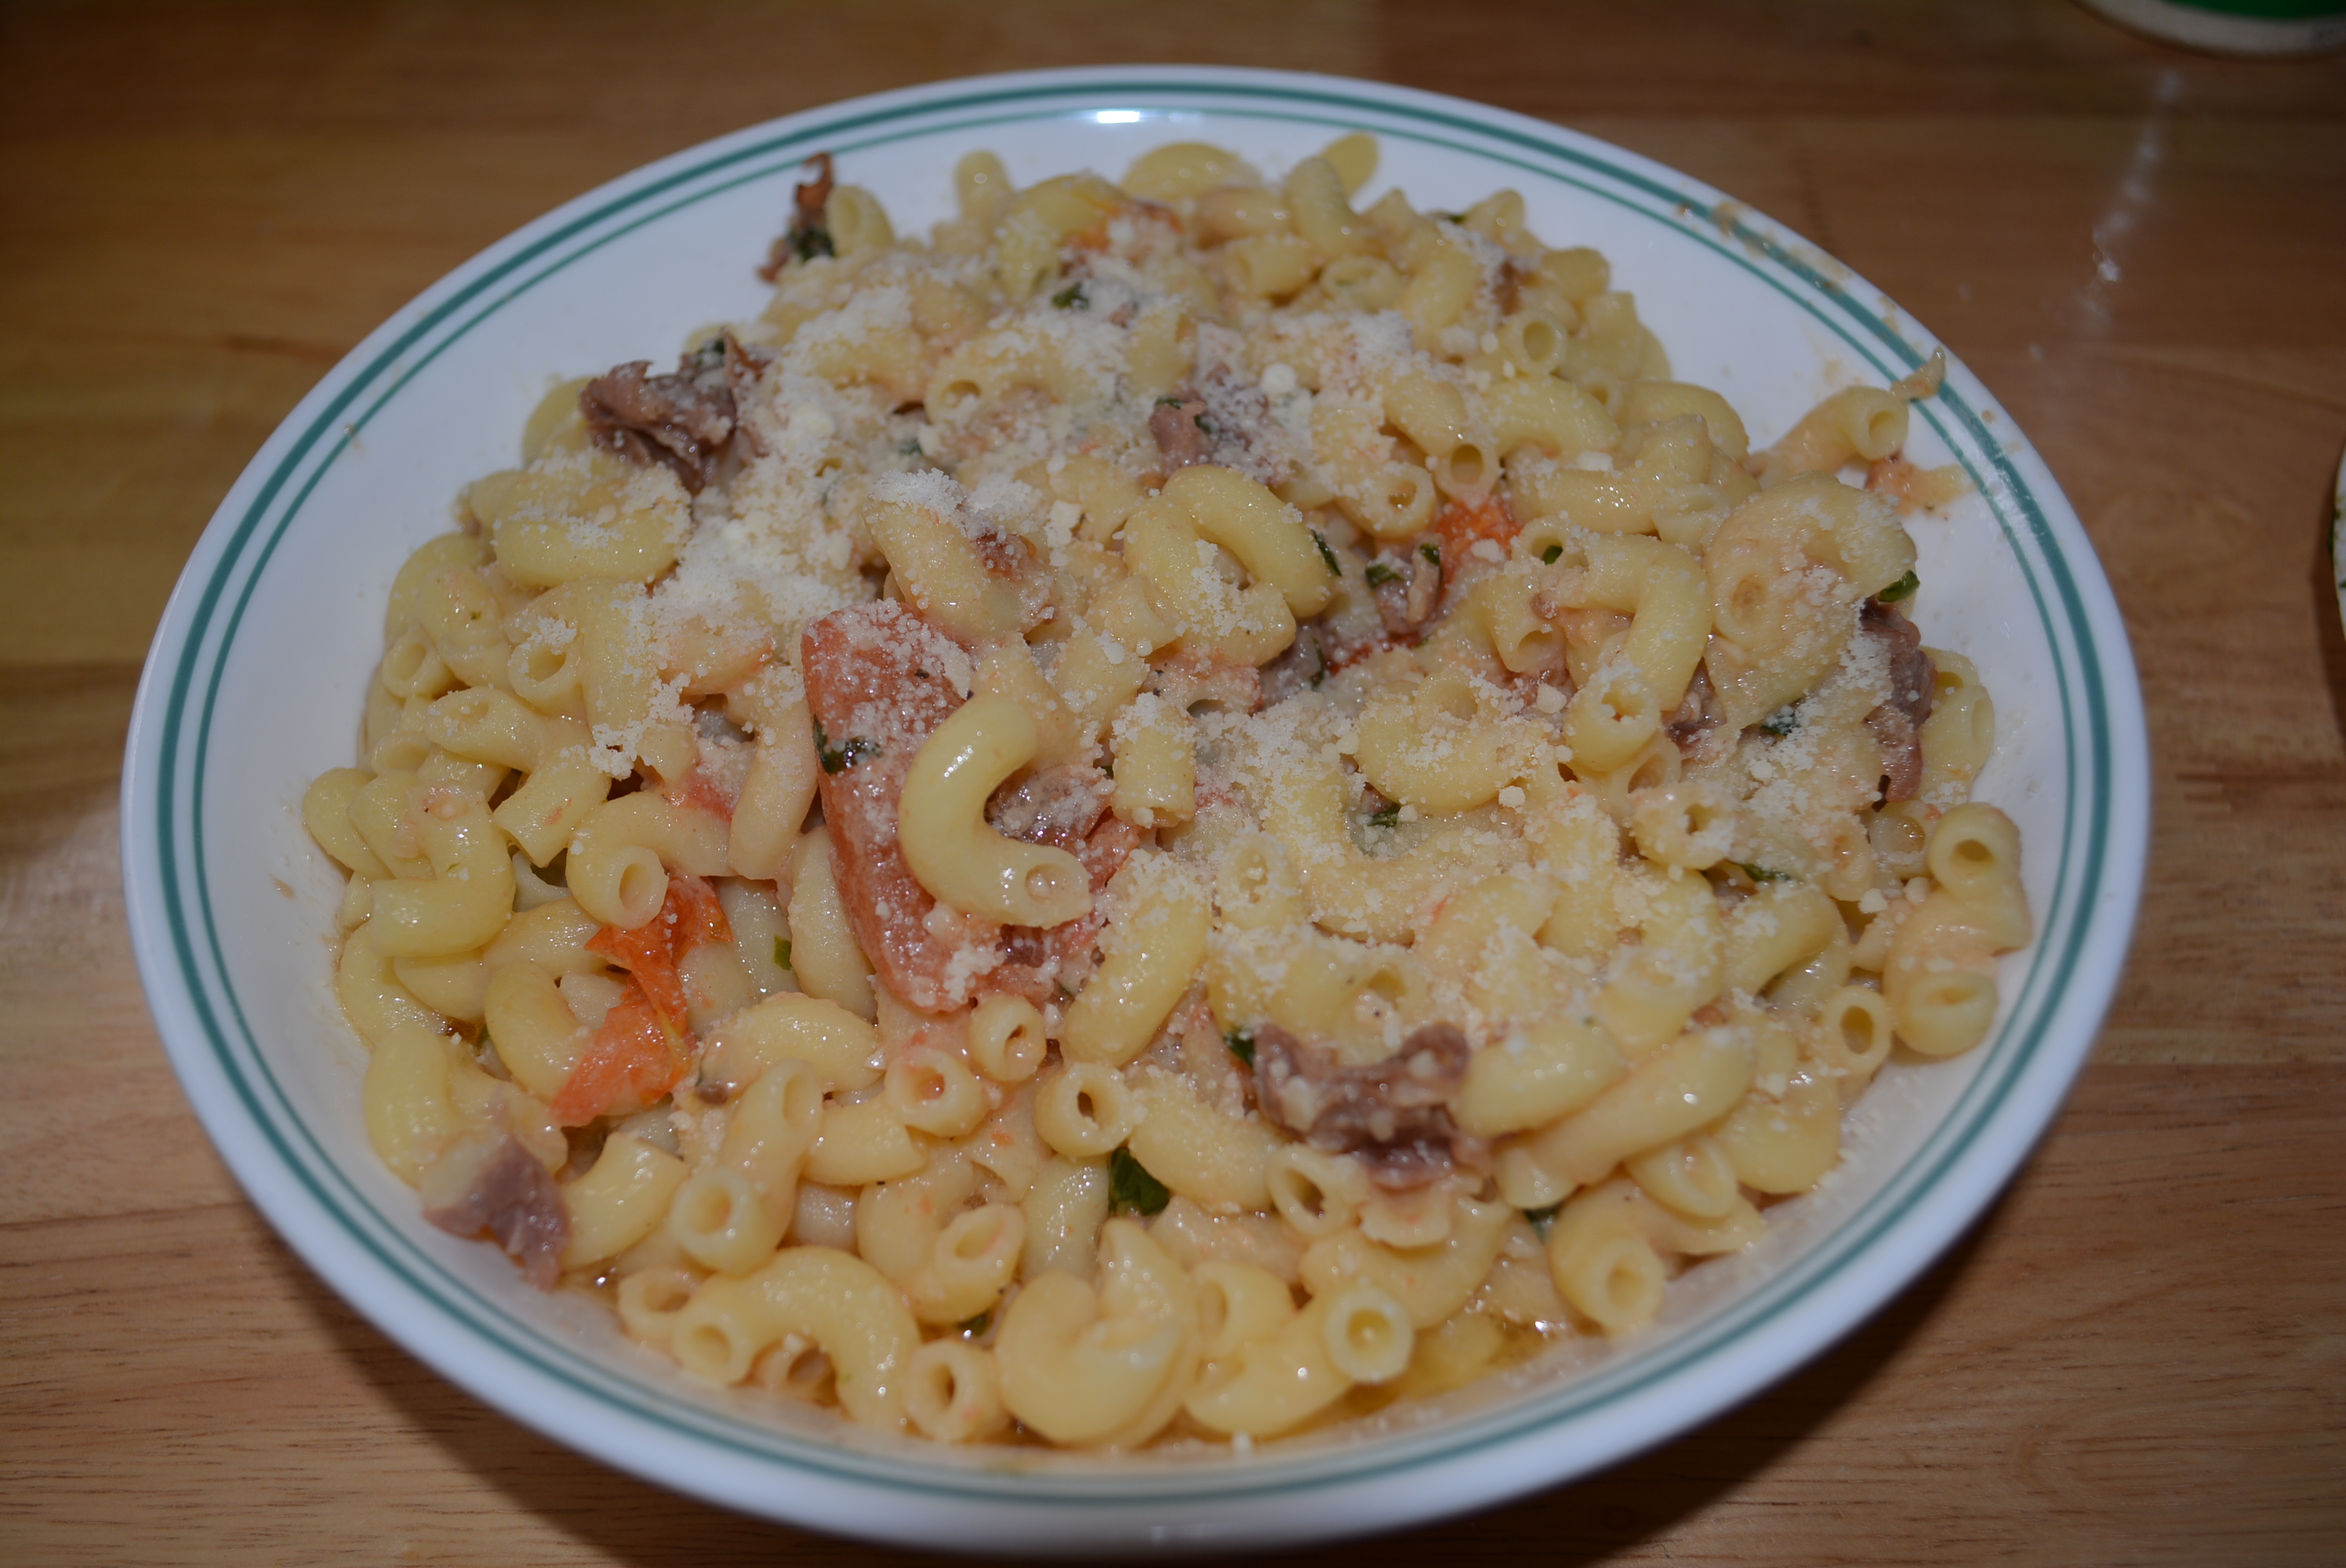
- While eggs and chicken are cooking, wash lettuce and tomatoes, chop into small bite size pieces, and add to a small mixing bowl.
- Add 1-2 tablespoons of bacon to mixing bowl.
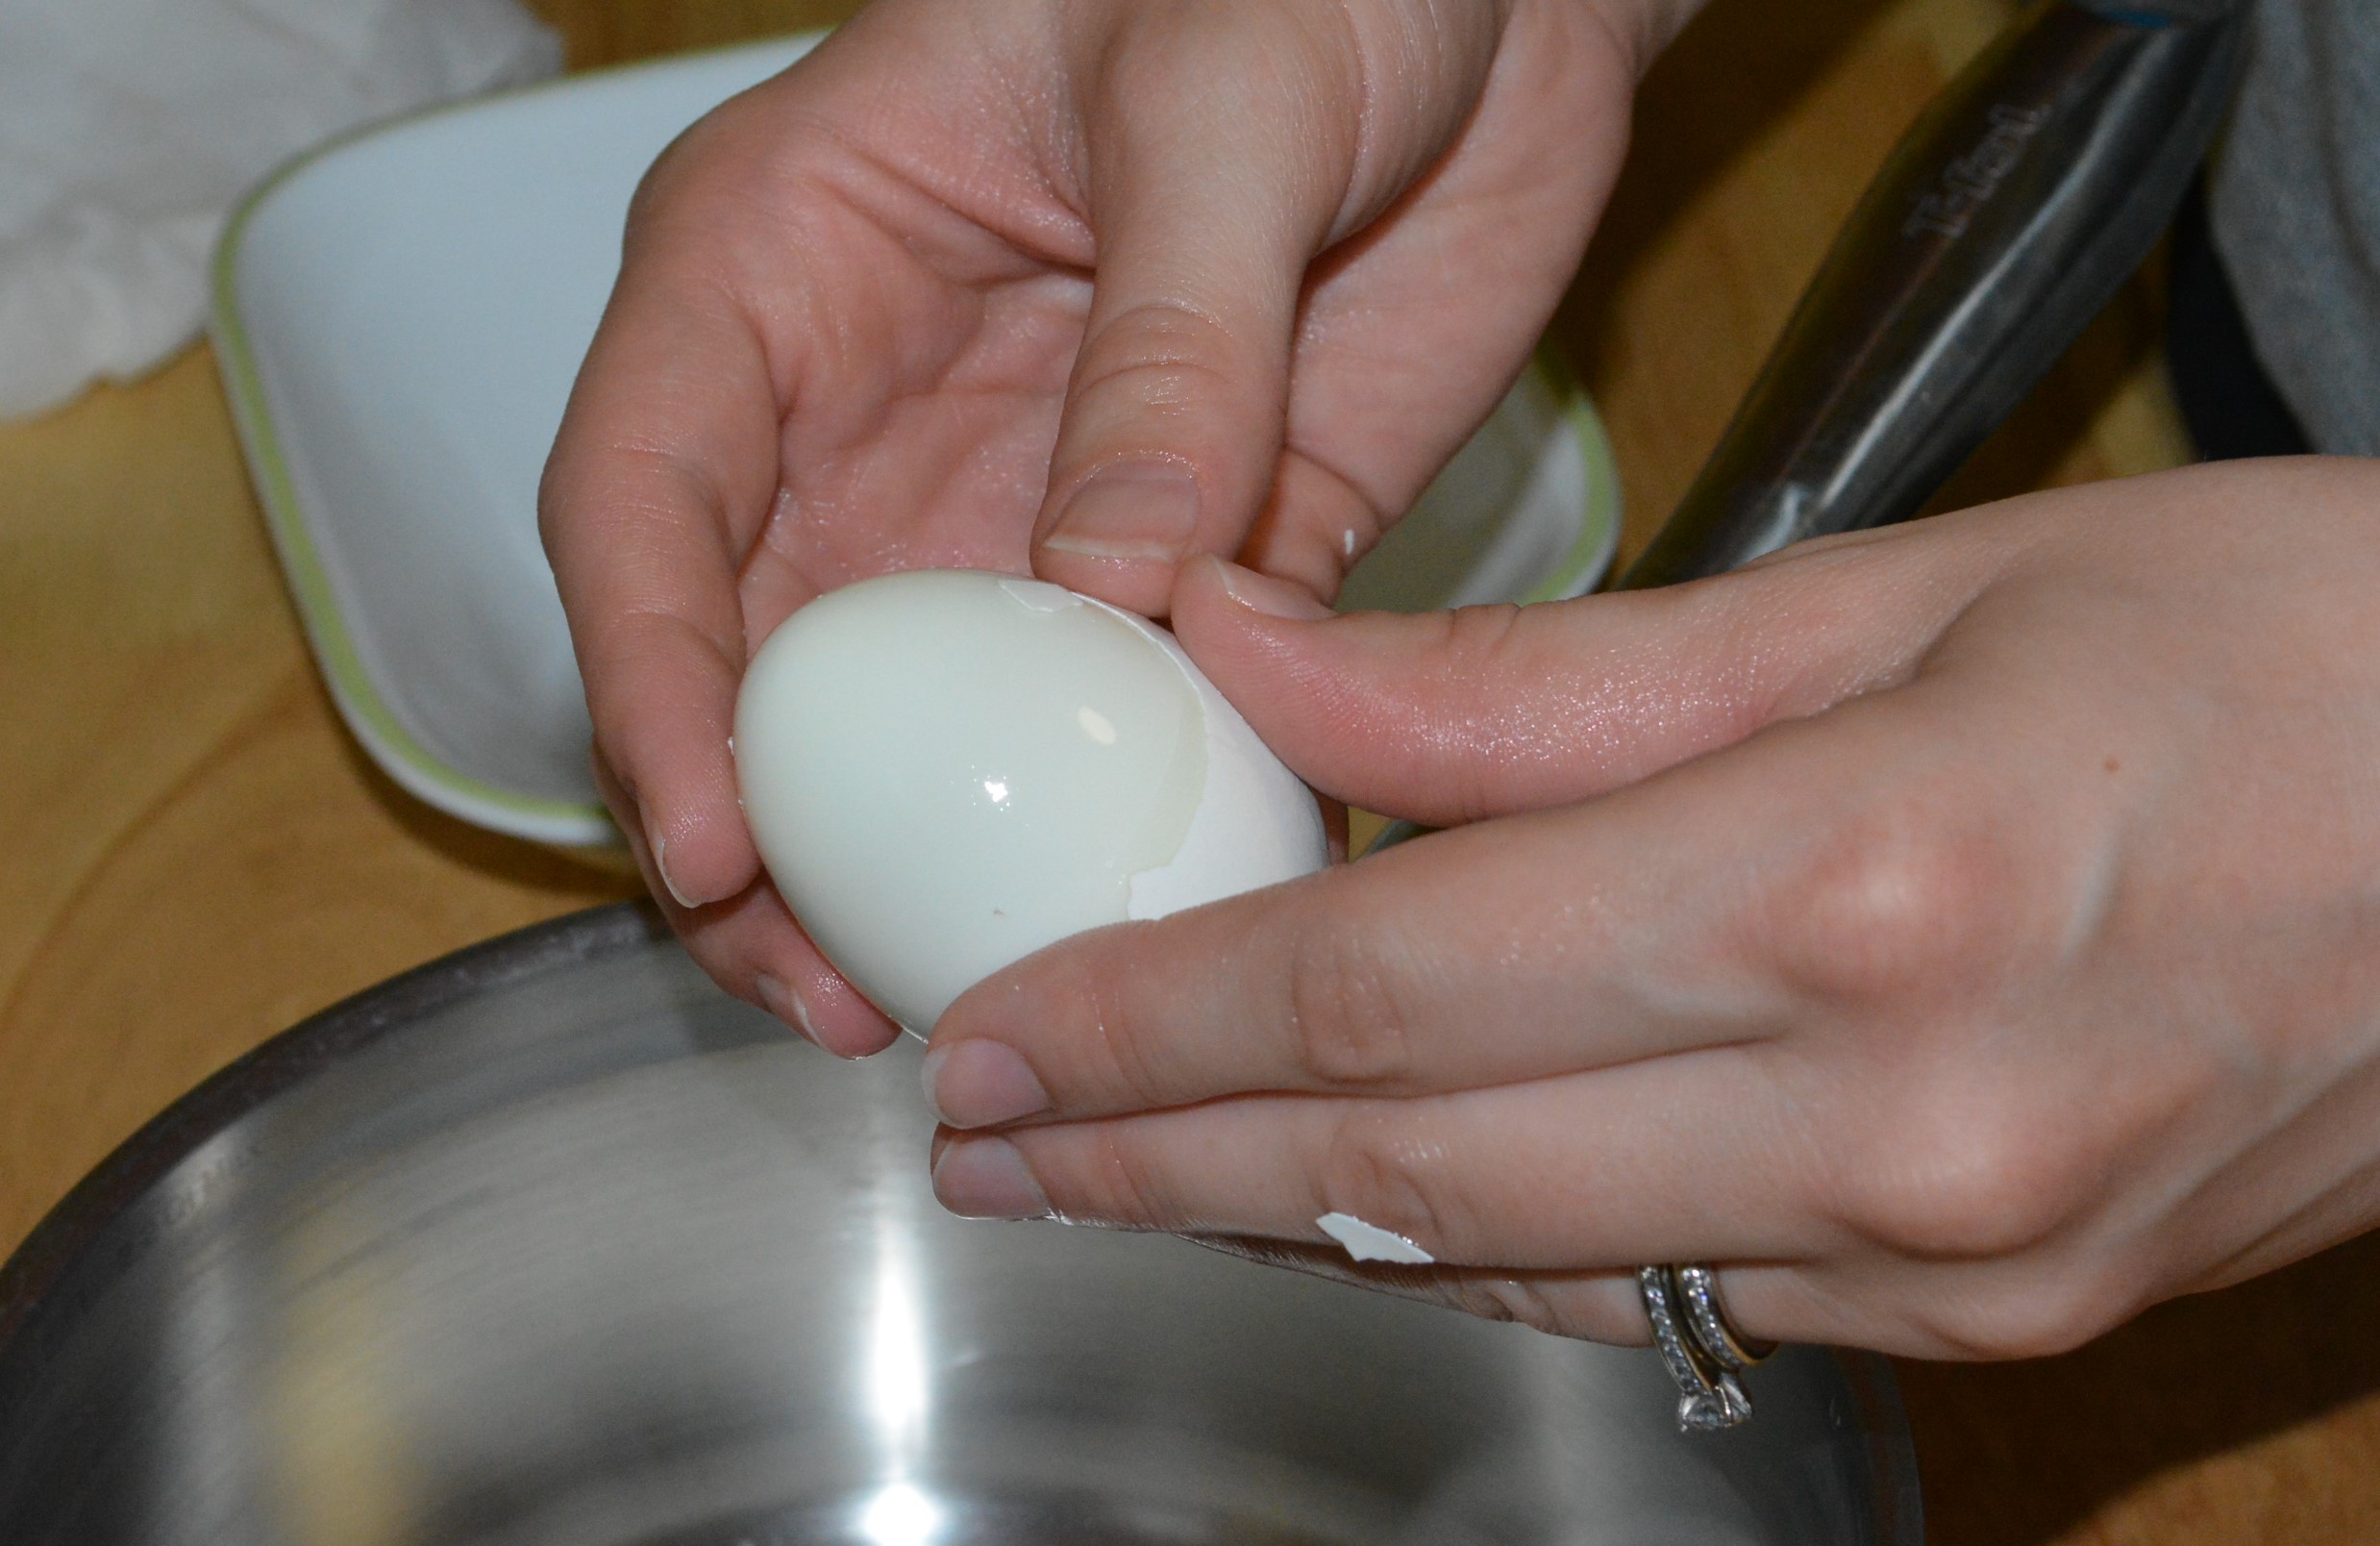
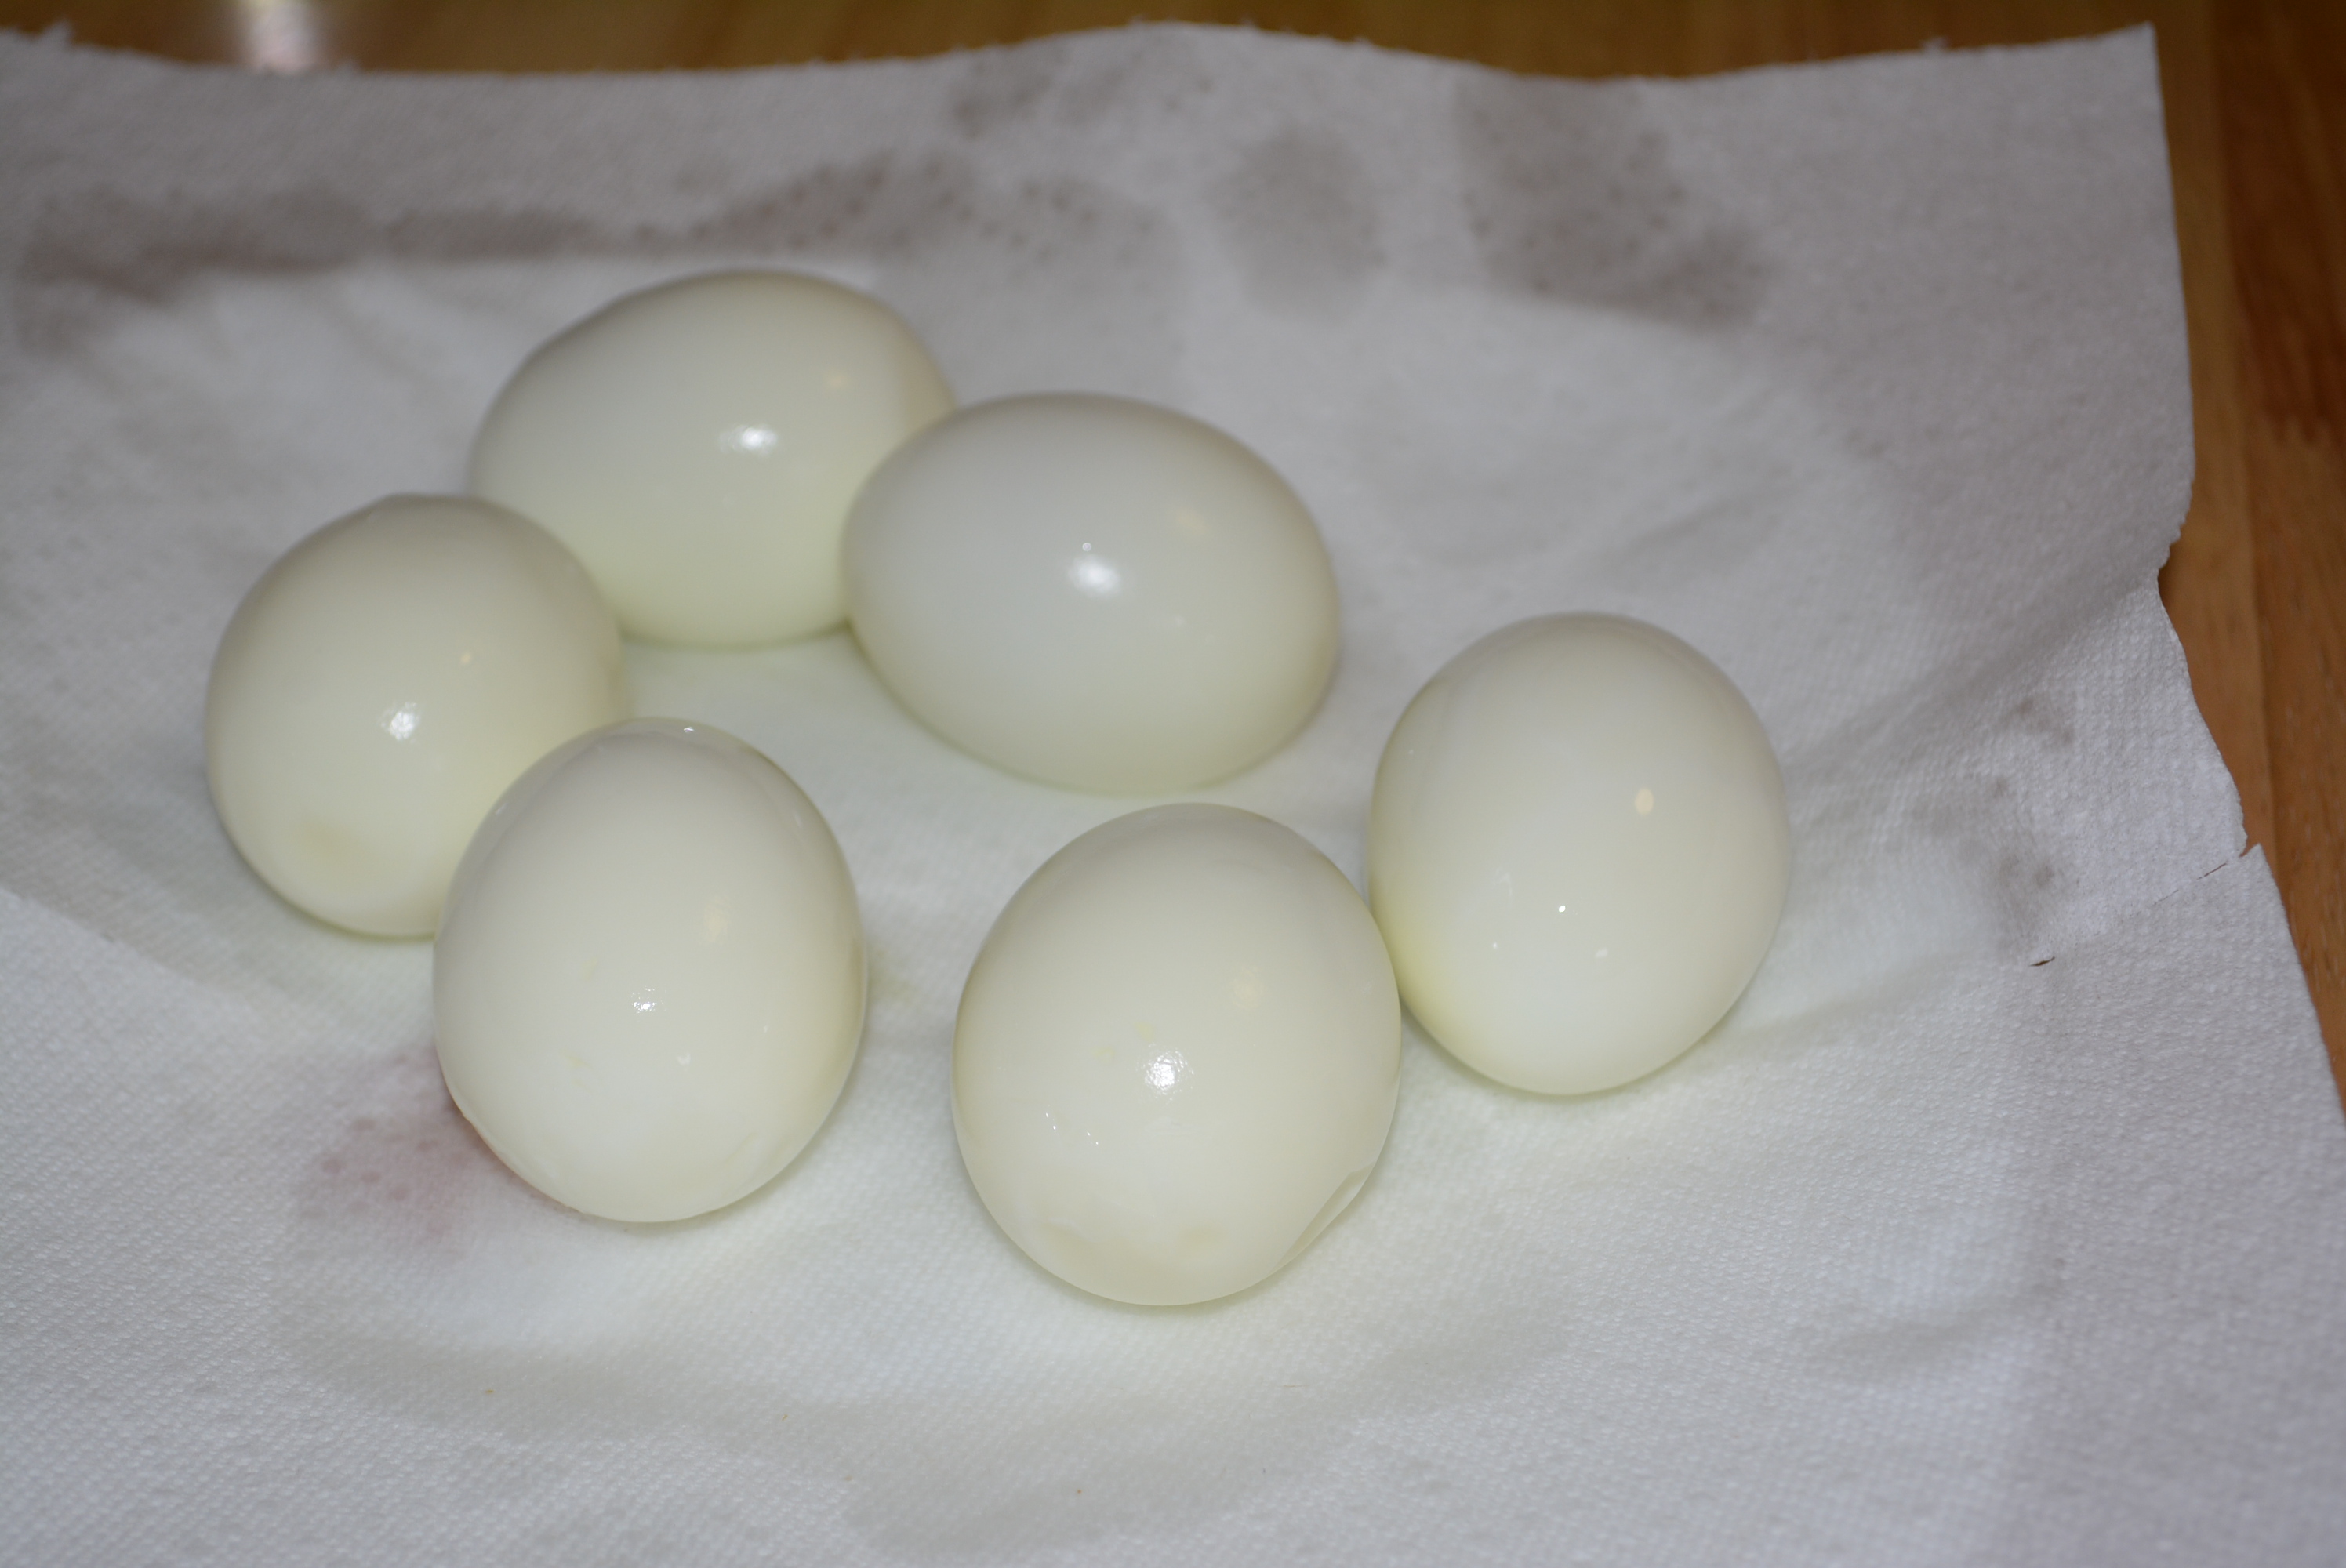
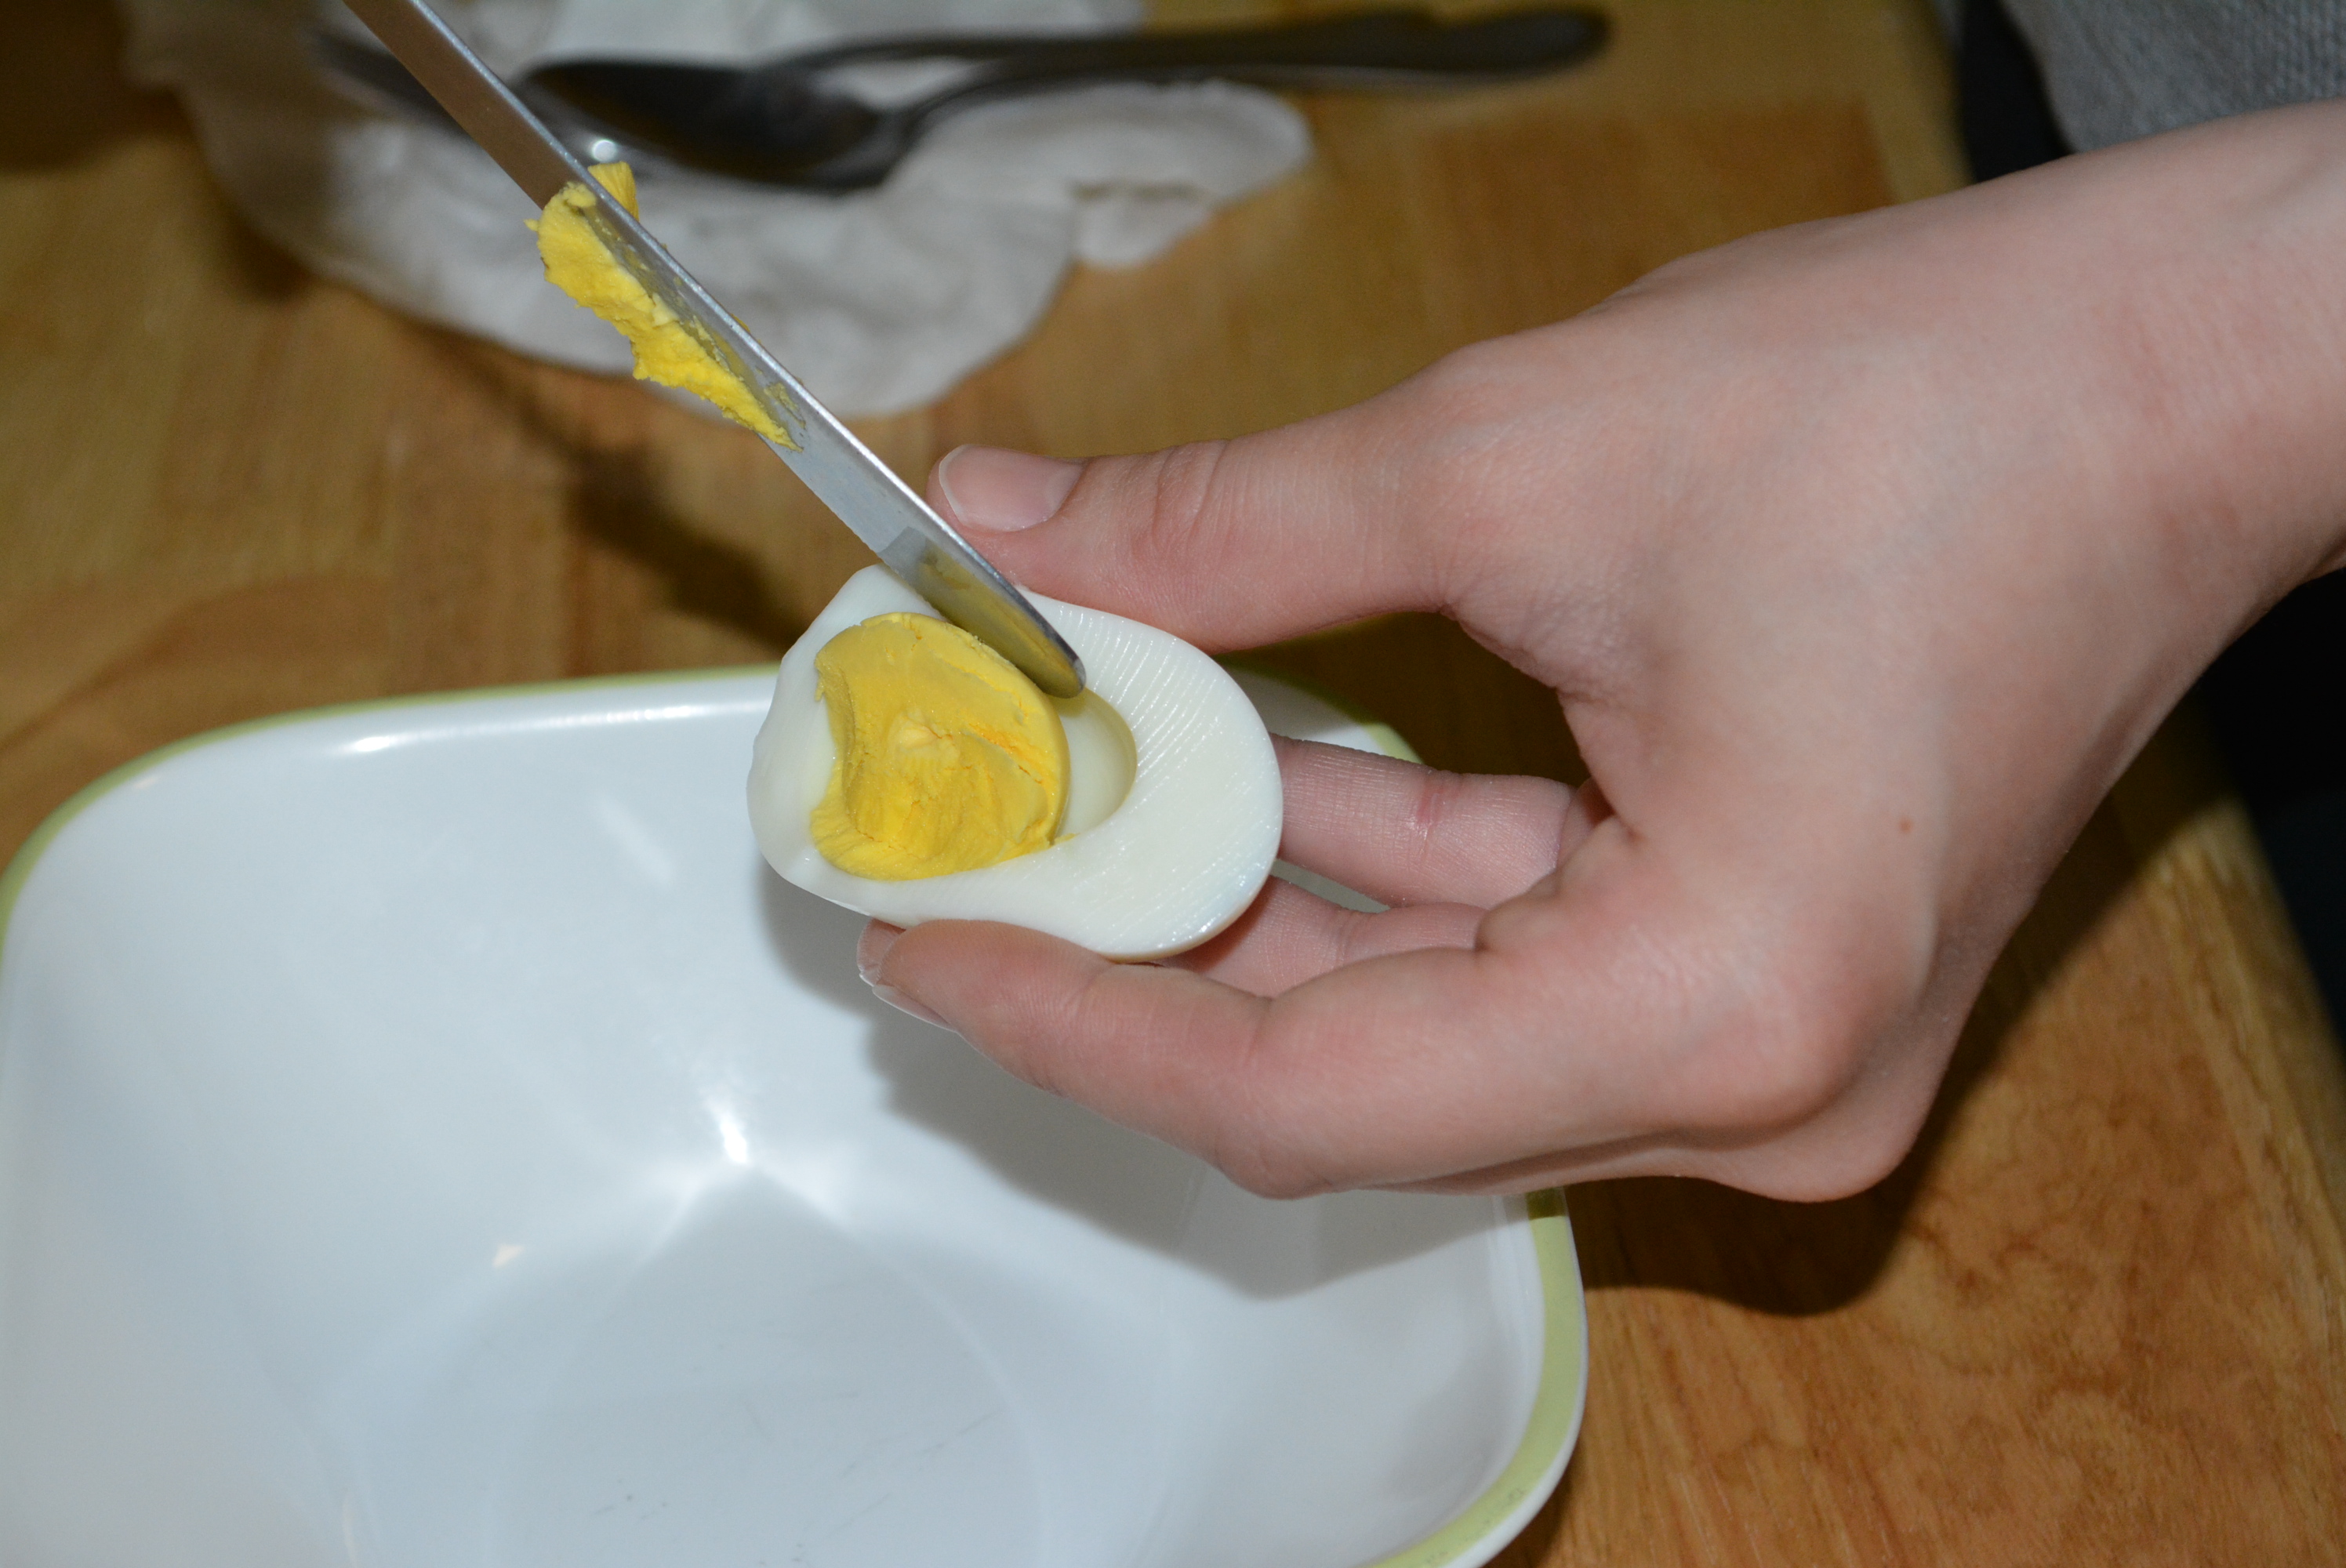
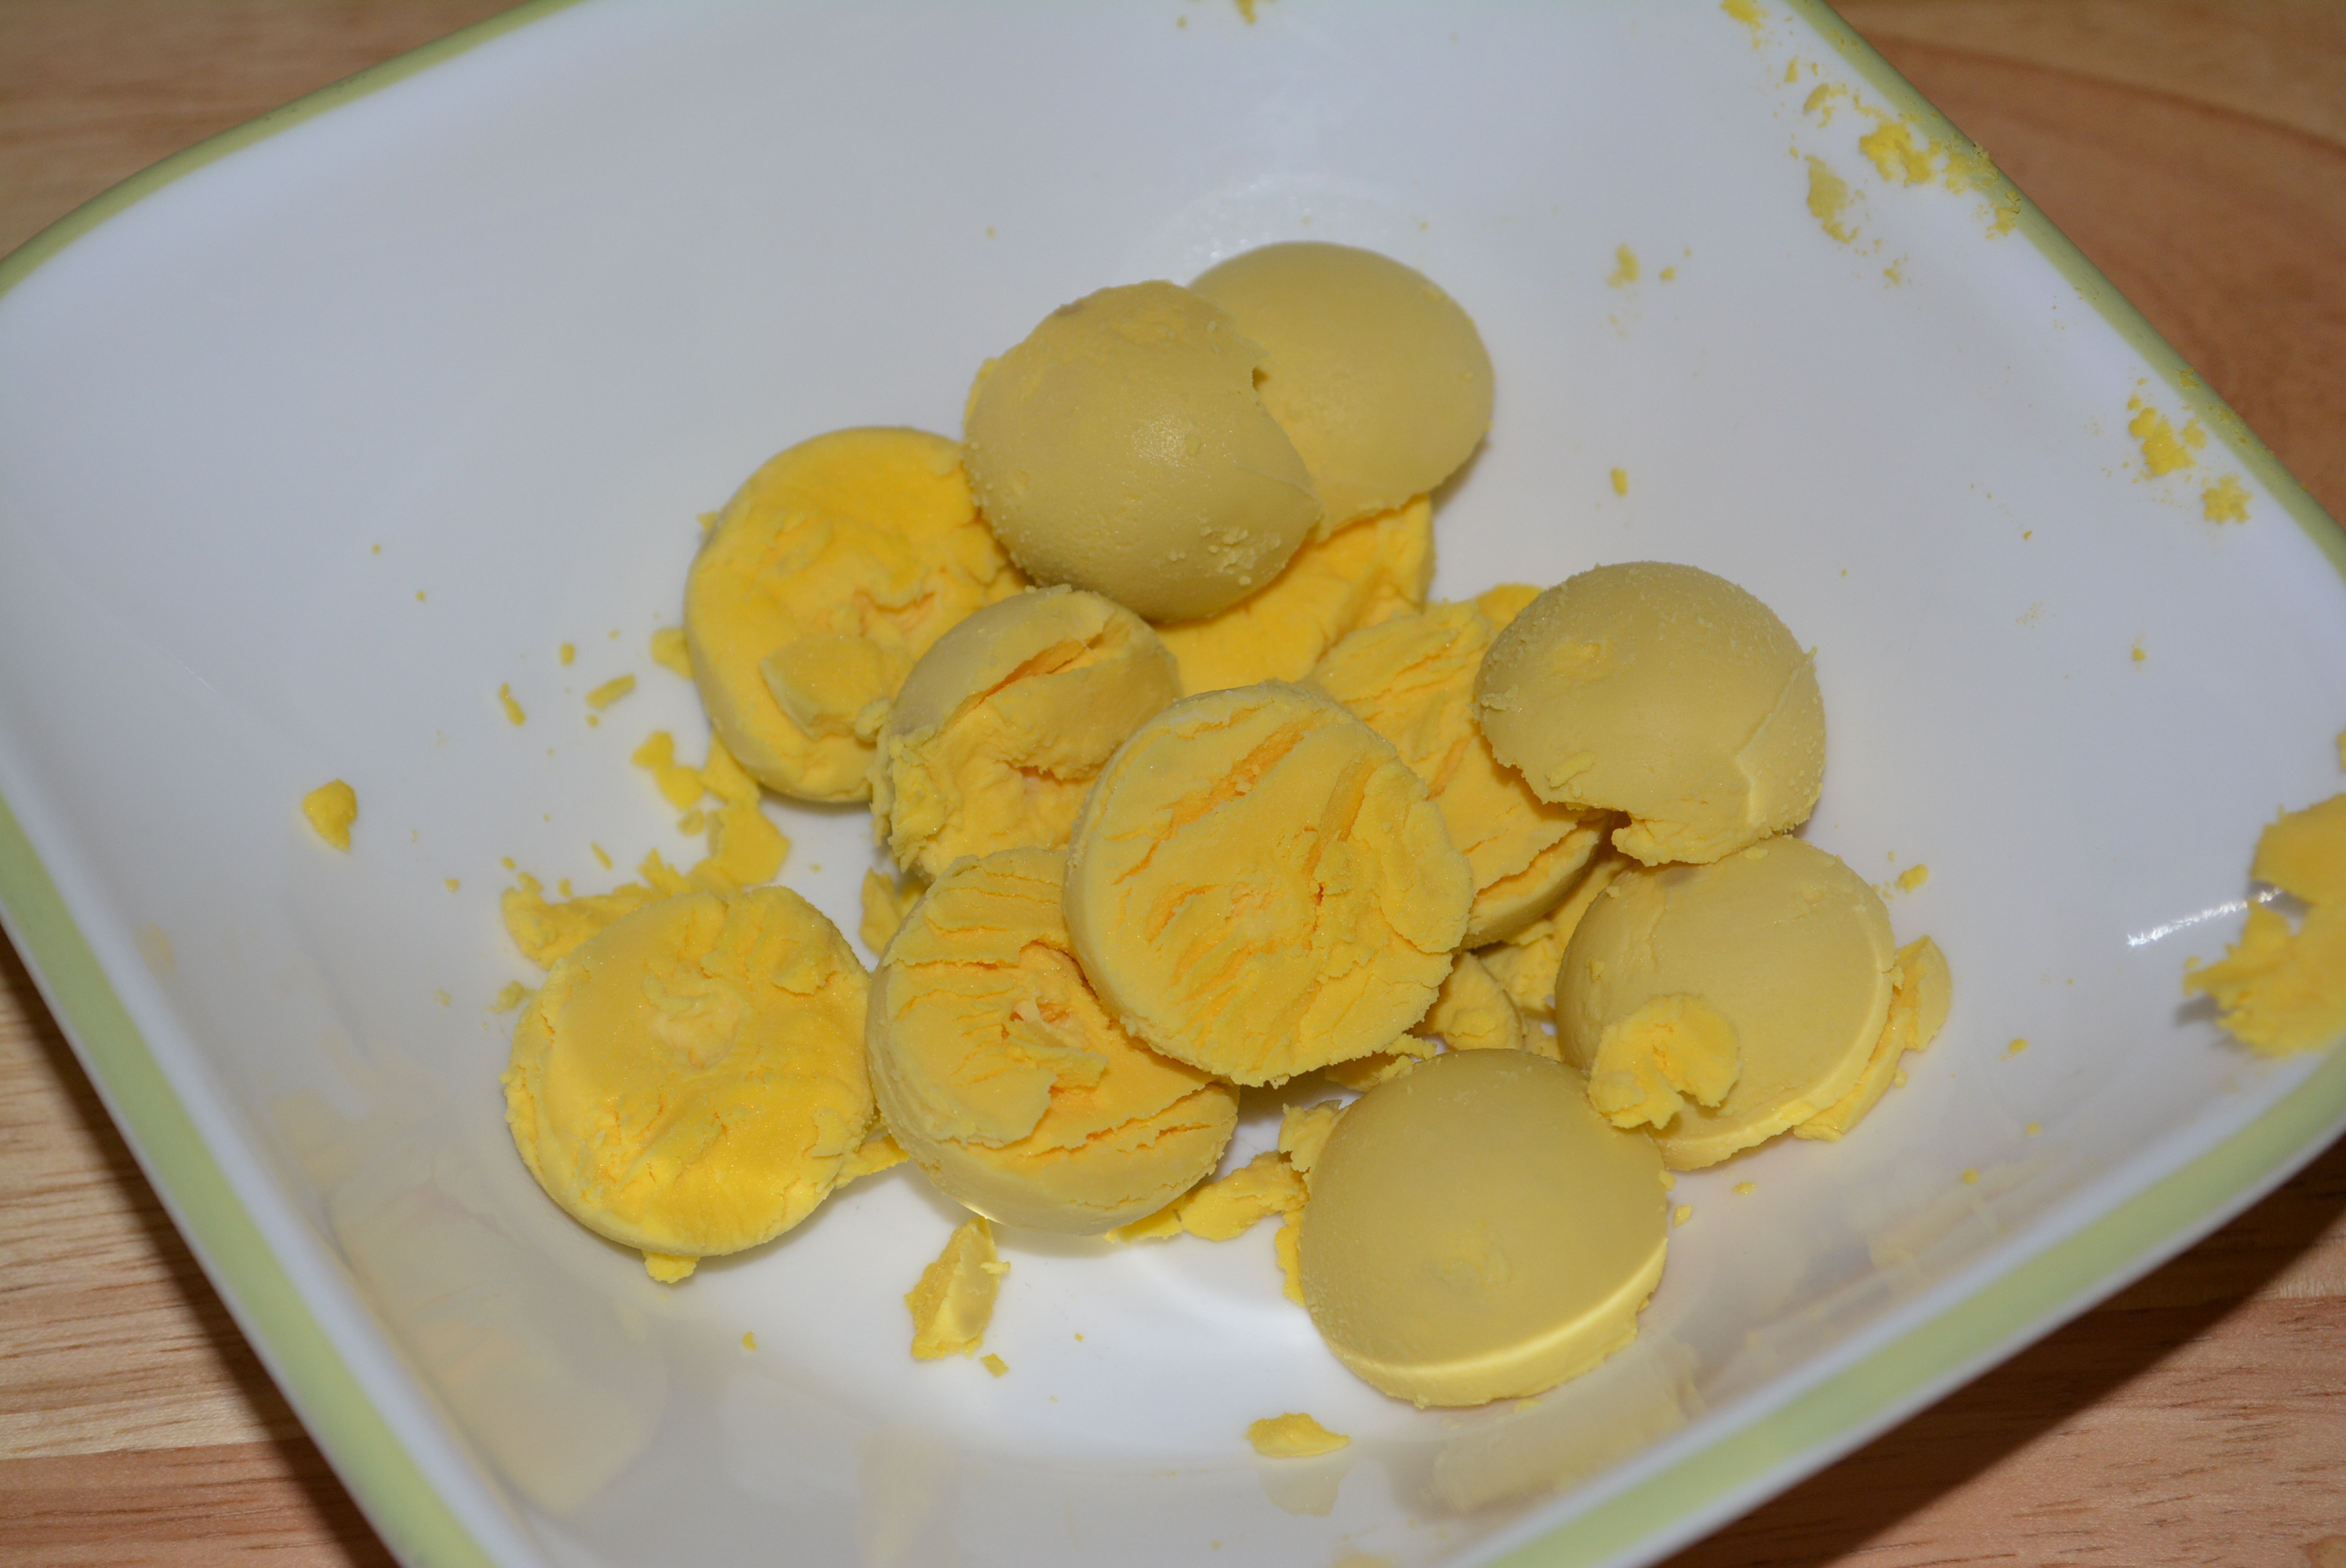
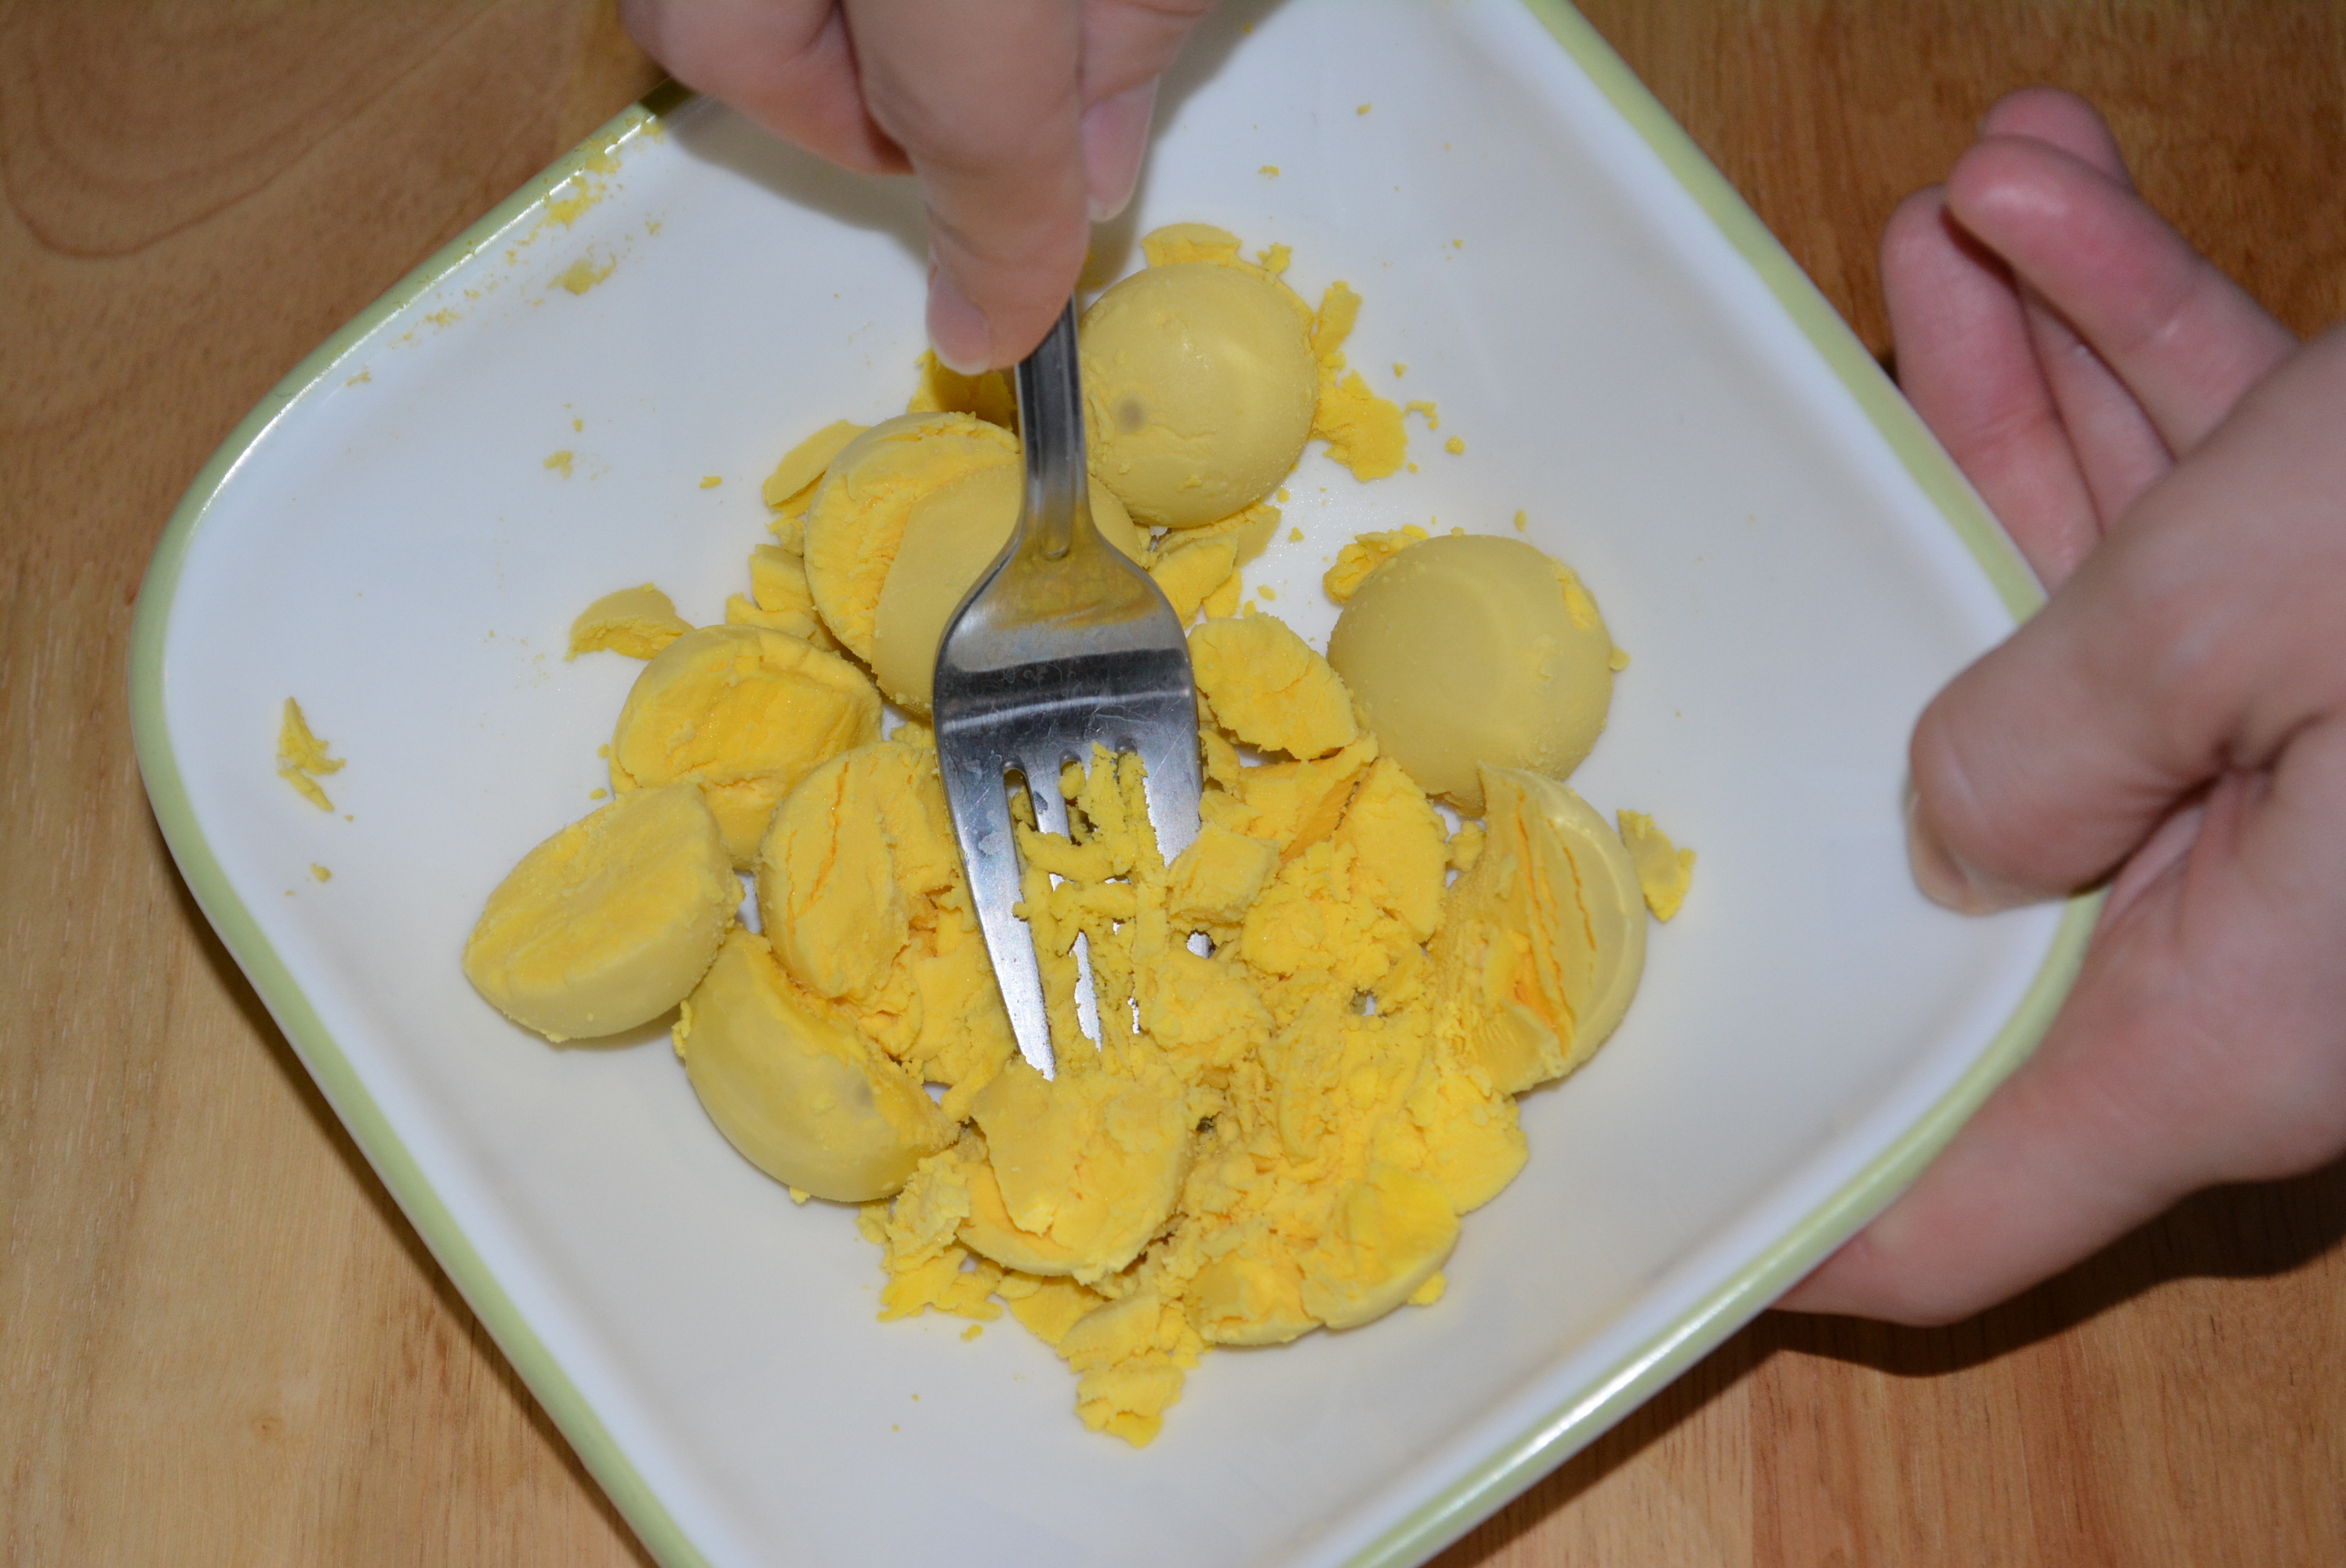
- When eggs are ready, rinse with cold water so they’re cool enough to handle, chop, and add to other ingredients.
- Similarly, when chicken has finished cooking, chop one or two strips into bite size pieces and combine with other ingredients.
- Add several tablespoons of dressing, as much as desired, to ingredients and mix to coat all with dressing.
- Wrap one tortilla with a damp paper towel and microwave for about 25 seconds to moisten and soften.
- Remove paper towel and spoon salad mixture onto center of tortilla, making sure to not add too much and leave sides and top and bottom free for wrapping. Feel free to leave any extra to eat separately as a salad.
- Turn up top and bottom and pull one side over to the other to wrap. Add toothpicks and cut wrap diagonally to enjoy!
Udi’s has certainly done me proud by producing such an outstanding product that I’ll be stocking in my refrigerator for years to come. To find these tortillas in a store near you, just use Udi’s tool here on their website. I hope you give these a try as soon as you can, you’ll be so glad that you did when you taste the gluten free love that Udi’s baked into these!
Sincerely,
Lindsay
- Udi's Large Tortillas
- Romaine Lettuce
- Blue Cheese Dressing (Wishbone is gluten free; I also enjoy Marie's)
- Tomatoes
- Bacon (I like to use Hormel's Real Bacon Bits)
- Hardboiled Eggs
- Breaded Chicken Strips (I love Perdue's Simply Smart Gluten Free Chicken Strips (in the frozen section))
- Amounts of these ingredients vary depending on how many wraps you are preparing and how much of each ingredient you like. I usually add equal parts of each. For one wrap for myself, I add about one handful of each ingredient, prepare salad mixture, and add accordingly to wrap. No worries if you have extra, you can always enjoy this as a salad on the side!
- For my first wrap, I prepared enough ingredients to add about one handful of each to the wrap.
- Preheat oven and prepare breaded chicken strips.
- Additionally, add eggs to water and prepare hardboiled eggs.
- While eggs and chicken are cooking, wash lettuce and tomatoes, chop into small bite size pieces, and add to a small mixing bowl.
- Add 1-2 tablespoons of bacon to mixing bowl.
- When eggs are ready, rinse with cold water so they're cool enough to handle, chop, and add to other ingredients.
- Similarly, when chicken has finished cooking, chop one or two strips into bite size pieces and combine with other ingredients.
- Add several tablespoons of dressing, as much as desired, to ingredients and mix to coat all with dressing.
- Wrap one tortilla with a damp paper towel and microwave for about 25 seconds to moisten and soften.
- Remove paper towel and spoon salad mixture onto center of tortilla, making sure to not add too much and leave sides and top and bottom free for wrapping. Feel free to leave any extra to eat separately as a salad.
- Turn up top and bottom and pull one side over to the other to wrap. Add toothpicks and cut wrap diagonally to enjoy!