I’m always on the lookout for a delicious new gluten free bread option that bears some resemblance to non-gluten free bread that I once enjoyed. A few years back, I used to enjoy Panera sandwiches on all sorts of different breads, but one of my favorites by far was their focaccia, it was so light and perfectly seasoned. Flash forward several years and Panera sandwiches are off of our list of safe gluten free dinners out. I’m not going to lie, not being able to enjoy a soup and sandwich at Panera is a hard one to lose, especially since this restaurant holds a special place in my heart. I still remember my years in college when my parents would come up and visit me and we would head over to the local Panera. It was such a great environment for us to sit, eat, and catch up on my days at school. Not to mention, we would top it off by sharing a dessert or two and they’d always send off their poor college student with a to go bag of treats.
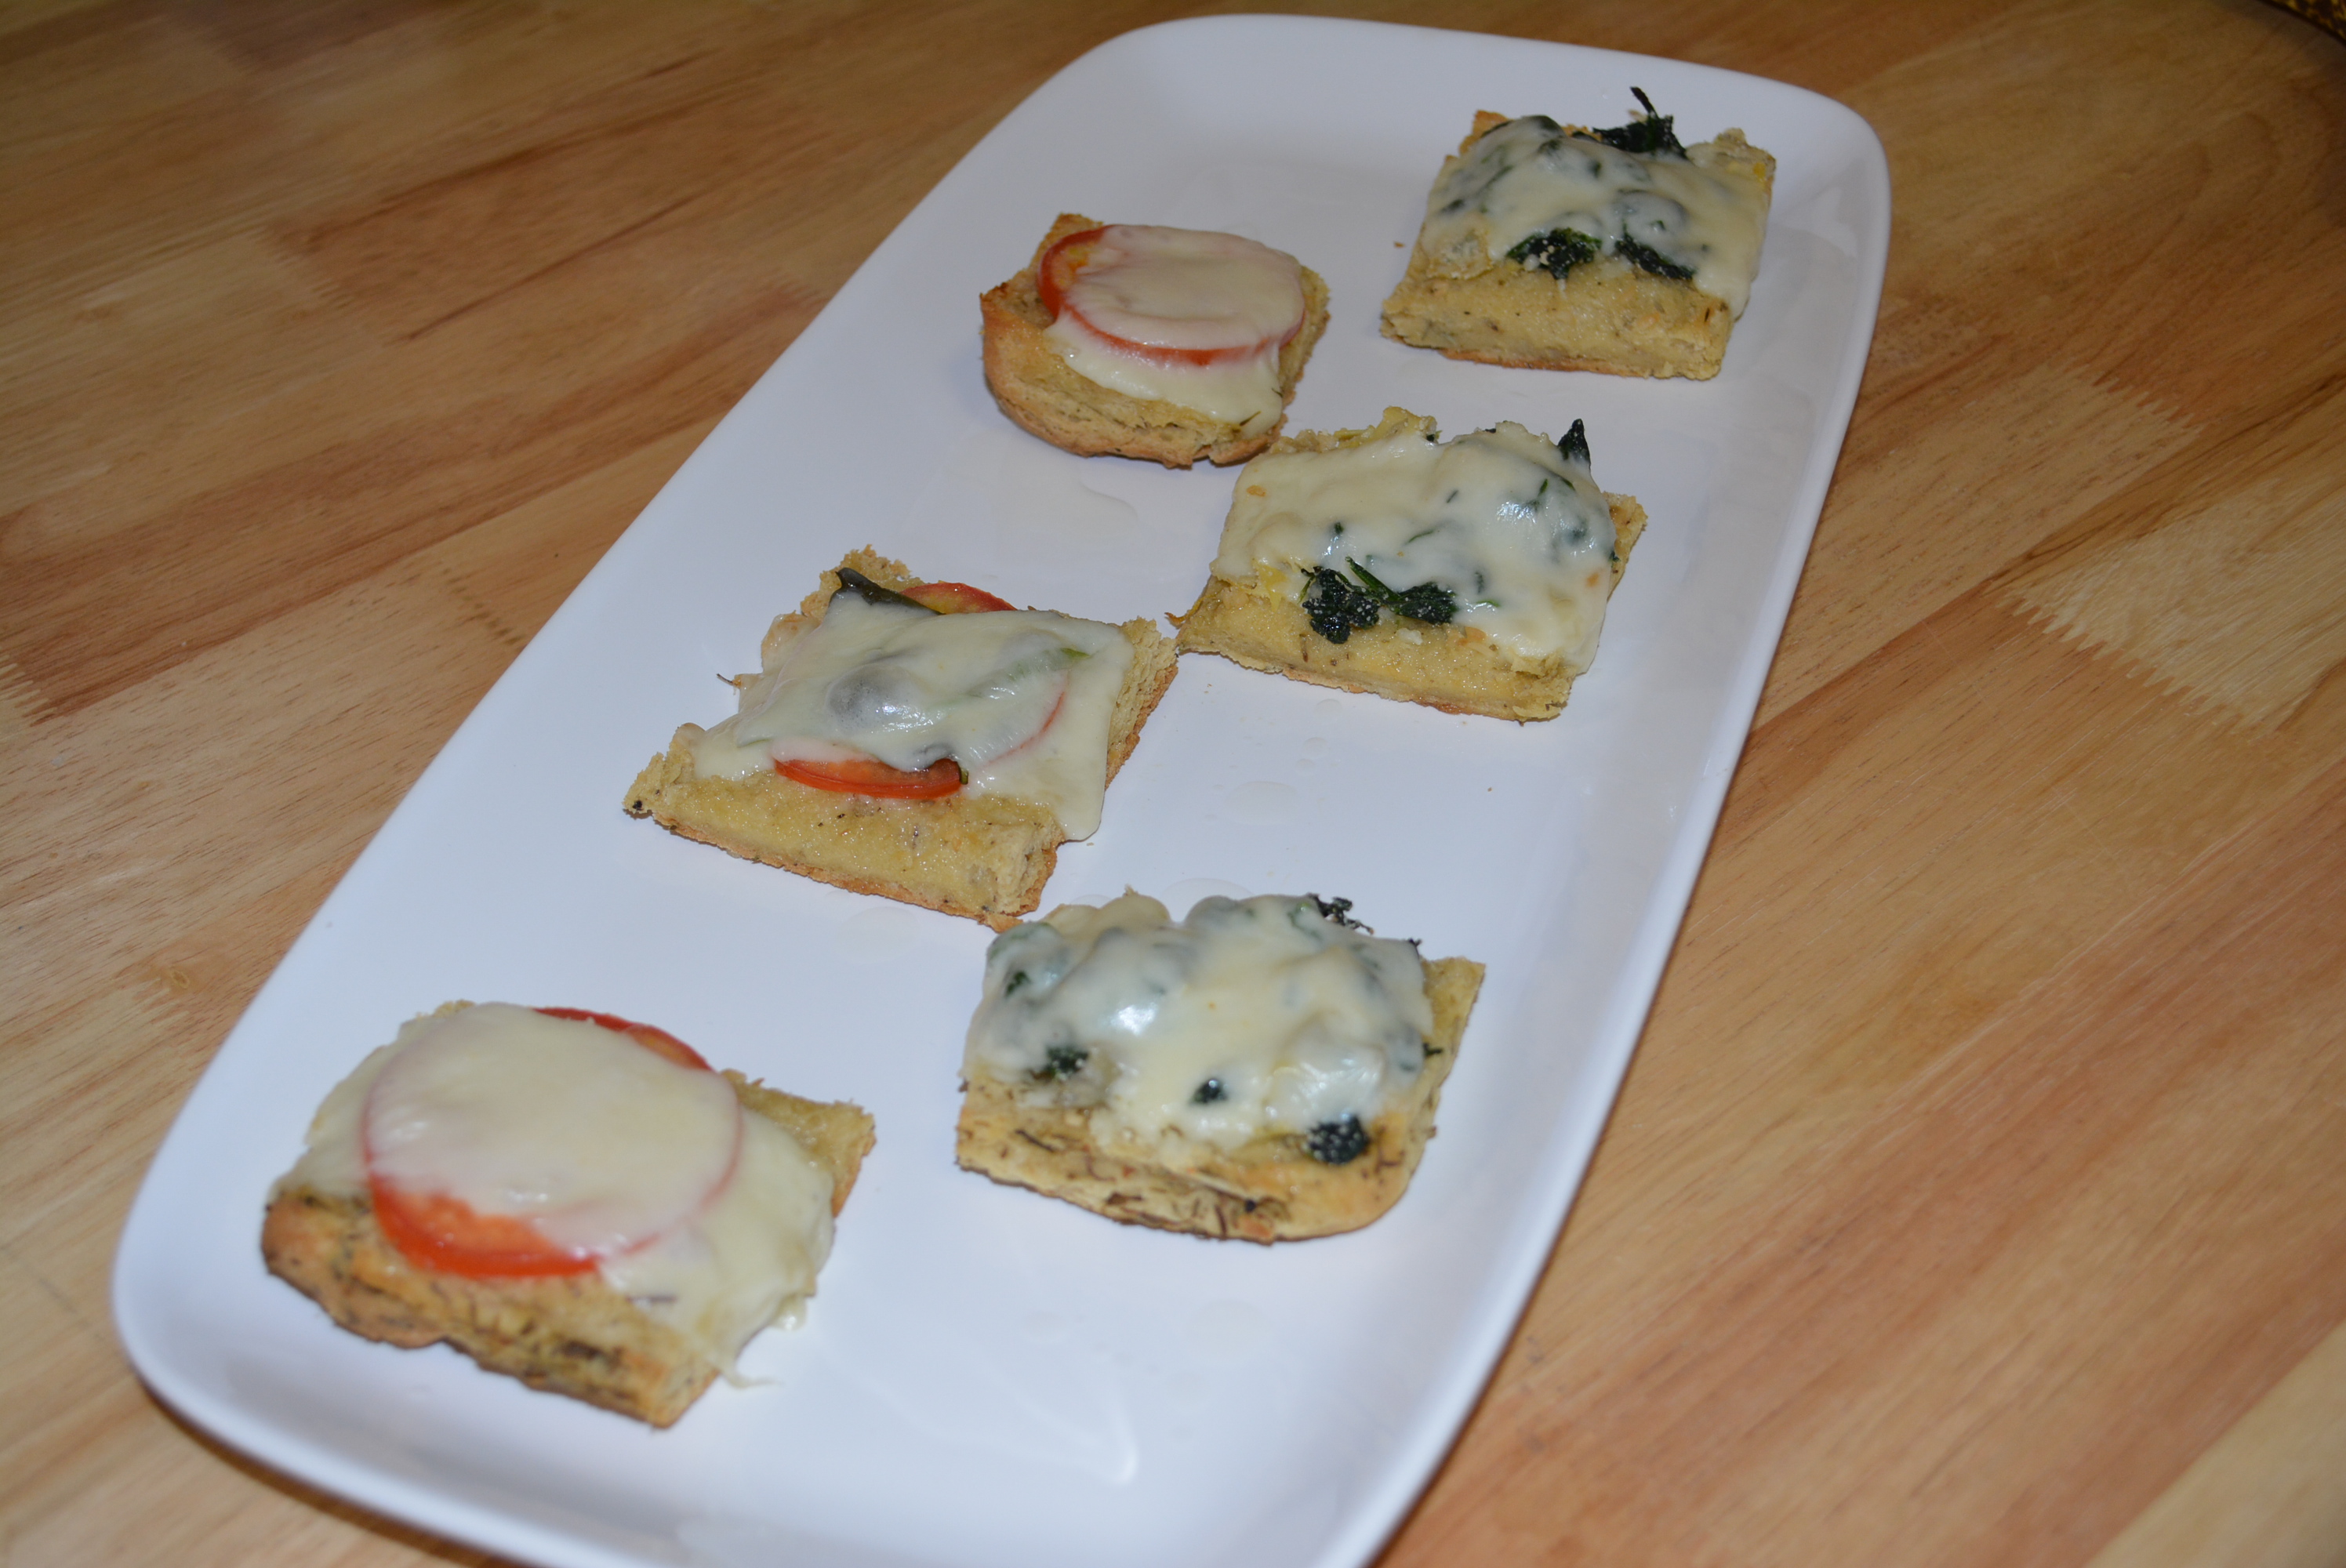
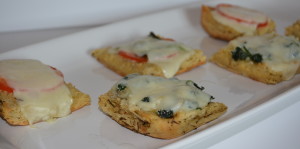
All grown up now with no more gluten allowed, my Panera days are something of the past and so are those delicious bread choices (tear). Much to my surprise though, a couple of weeks ago I stumbled upon gluten free focaccia by Canyon Bakehouse. They’ve accomplished the impossible it seems in the gluten free world and have produced a fantastic product. Their focaccia is soft and moist and perfectly seasoned with rosemary and thyme, take a peak at how beautiful Canyon Bakehouse’s Focaccia is. It is definitely one of my new favorite breads and is perfect for a sandwich, dipping in some olive oil and seasonings, or something a bit fancier like my Gluten Free Garlicky Focaccia Appetizers, topped with caprese and spinach artichoke toppings. Top with either set of toppings and you’re good to go with some delicious appetizers or a side to your dinner. My little one and husband gobbled these up so quickly, I’m just lucky I got to try some too! Enjoy!
Note: Feel free to use as much or as little of each topping ingredient as you’d like. This recipe only lists the combination of topping ingredients you should use but really depends on which variety and how many of the focaccia appetizers you wish to make.
Ingredients:
- Canyon Bakehouse Focaccia
- Butter (I use Smart Balance.)
- 4 tbsp minced garlic
- Shredded part-skim mozzarella cheese
- Salt and pepper to season
Caprese Toppings:
- 2-3 plum tomatoes
- Fresh basil leaves
Spinach Artichoke Toppings:
- Spinach (I like the frozen steamer bags of spinach.)
- Artichokes (Jar of Cento artichokes are gluten free.)
Directions:
- Preheat oven to 350 degrees.
- Slice focaccia lengthwise and cut into four long slices (2 from the top of the bread and 2 from the bottom).
- Spread a thin layer of gluten free butter across each slice of bread.
- Add 1 tbsp minced garlic to each slice of buttered focaccia and spread across the slice.
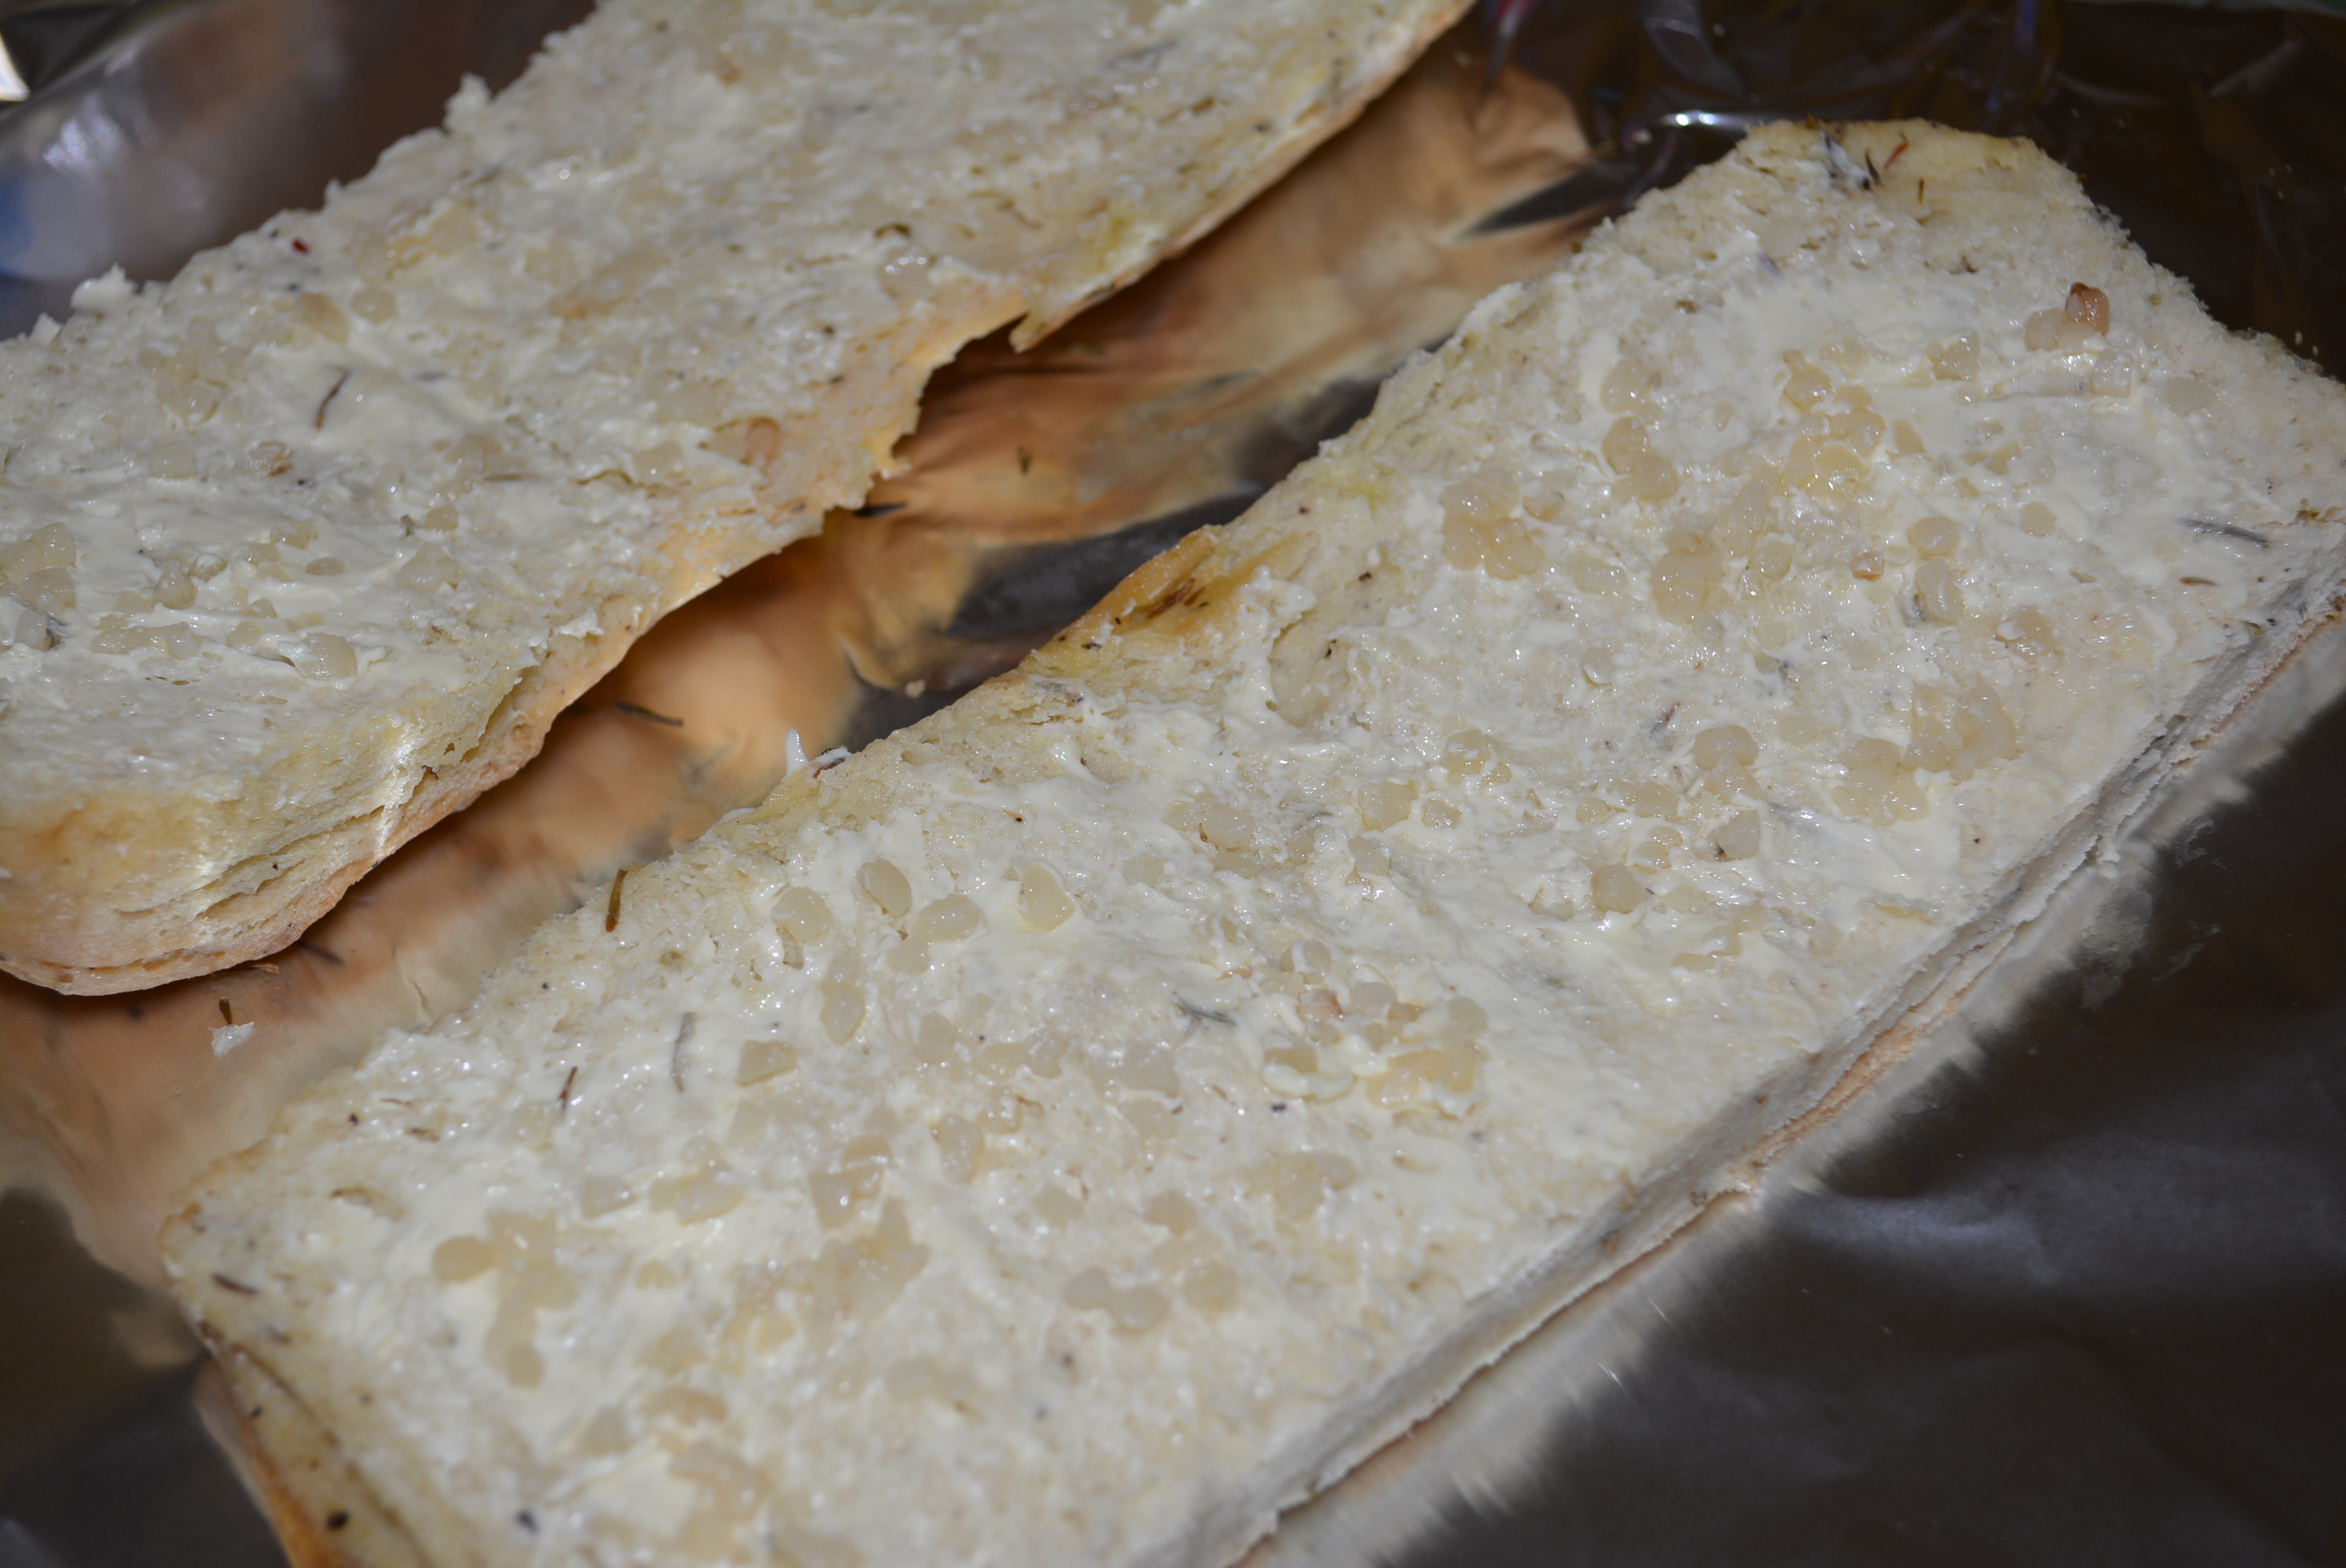
- Toast focaccia in the oven for 15 minutes.
- While focaccia is toasting, prepare desired toppings to either do half caprese and half spinach artichoke or to do all of one or the other.
- Slice 2-3 medium tomatoes.
- Prepare frozen spinach.
- Rinse and chop artichokes.
- In a small bowl, combine even parts (about 1/2 cup, this amount really depends on which route you go with toppings) spinach and artichoke and add 2 tbsp shredded part-skim mozzarella and 2 tbsp parmesan cheese.
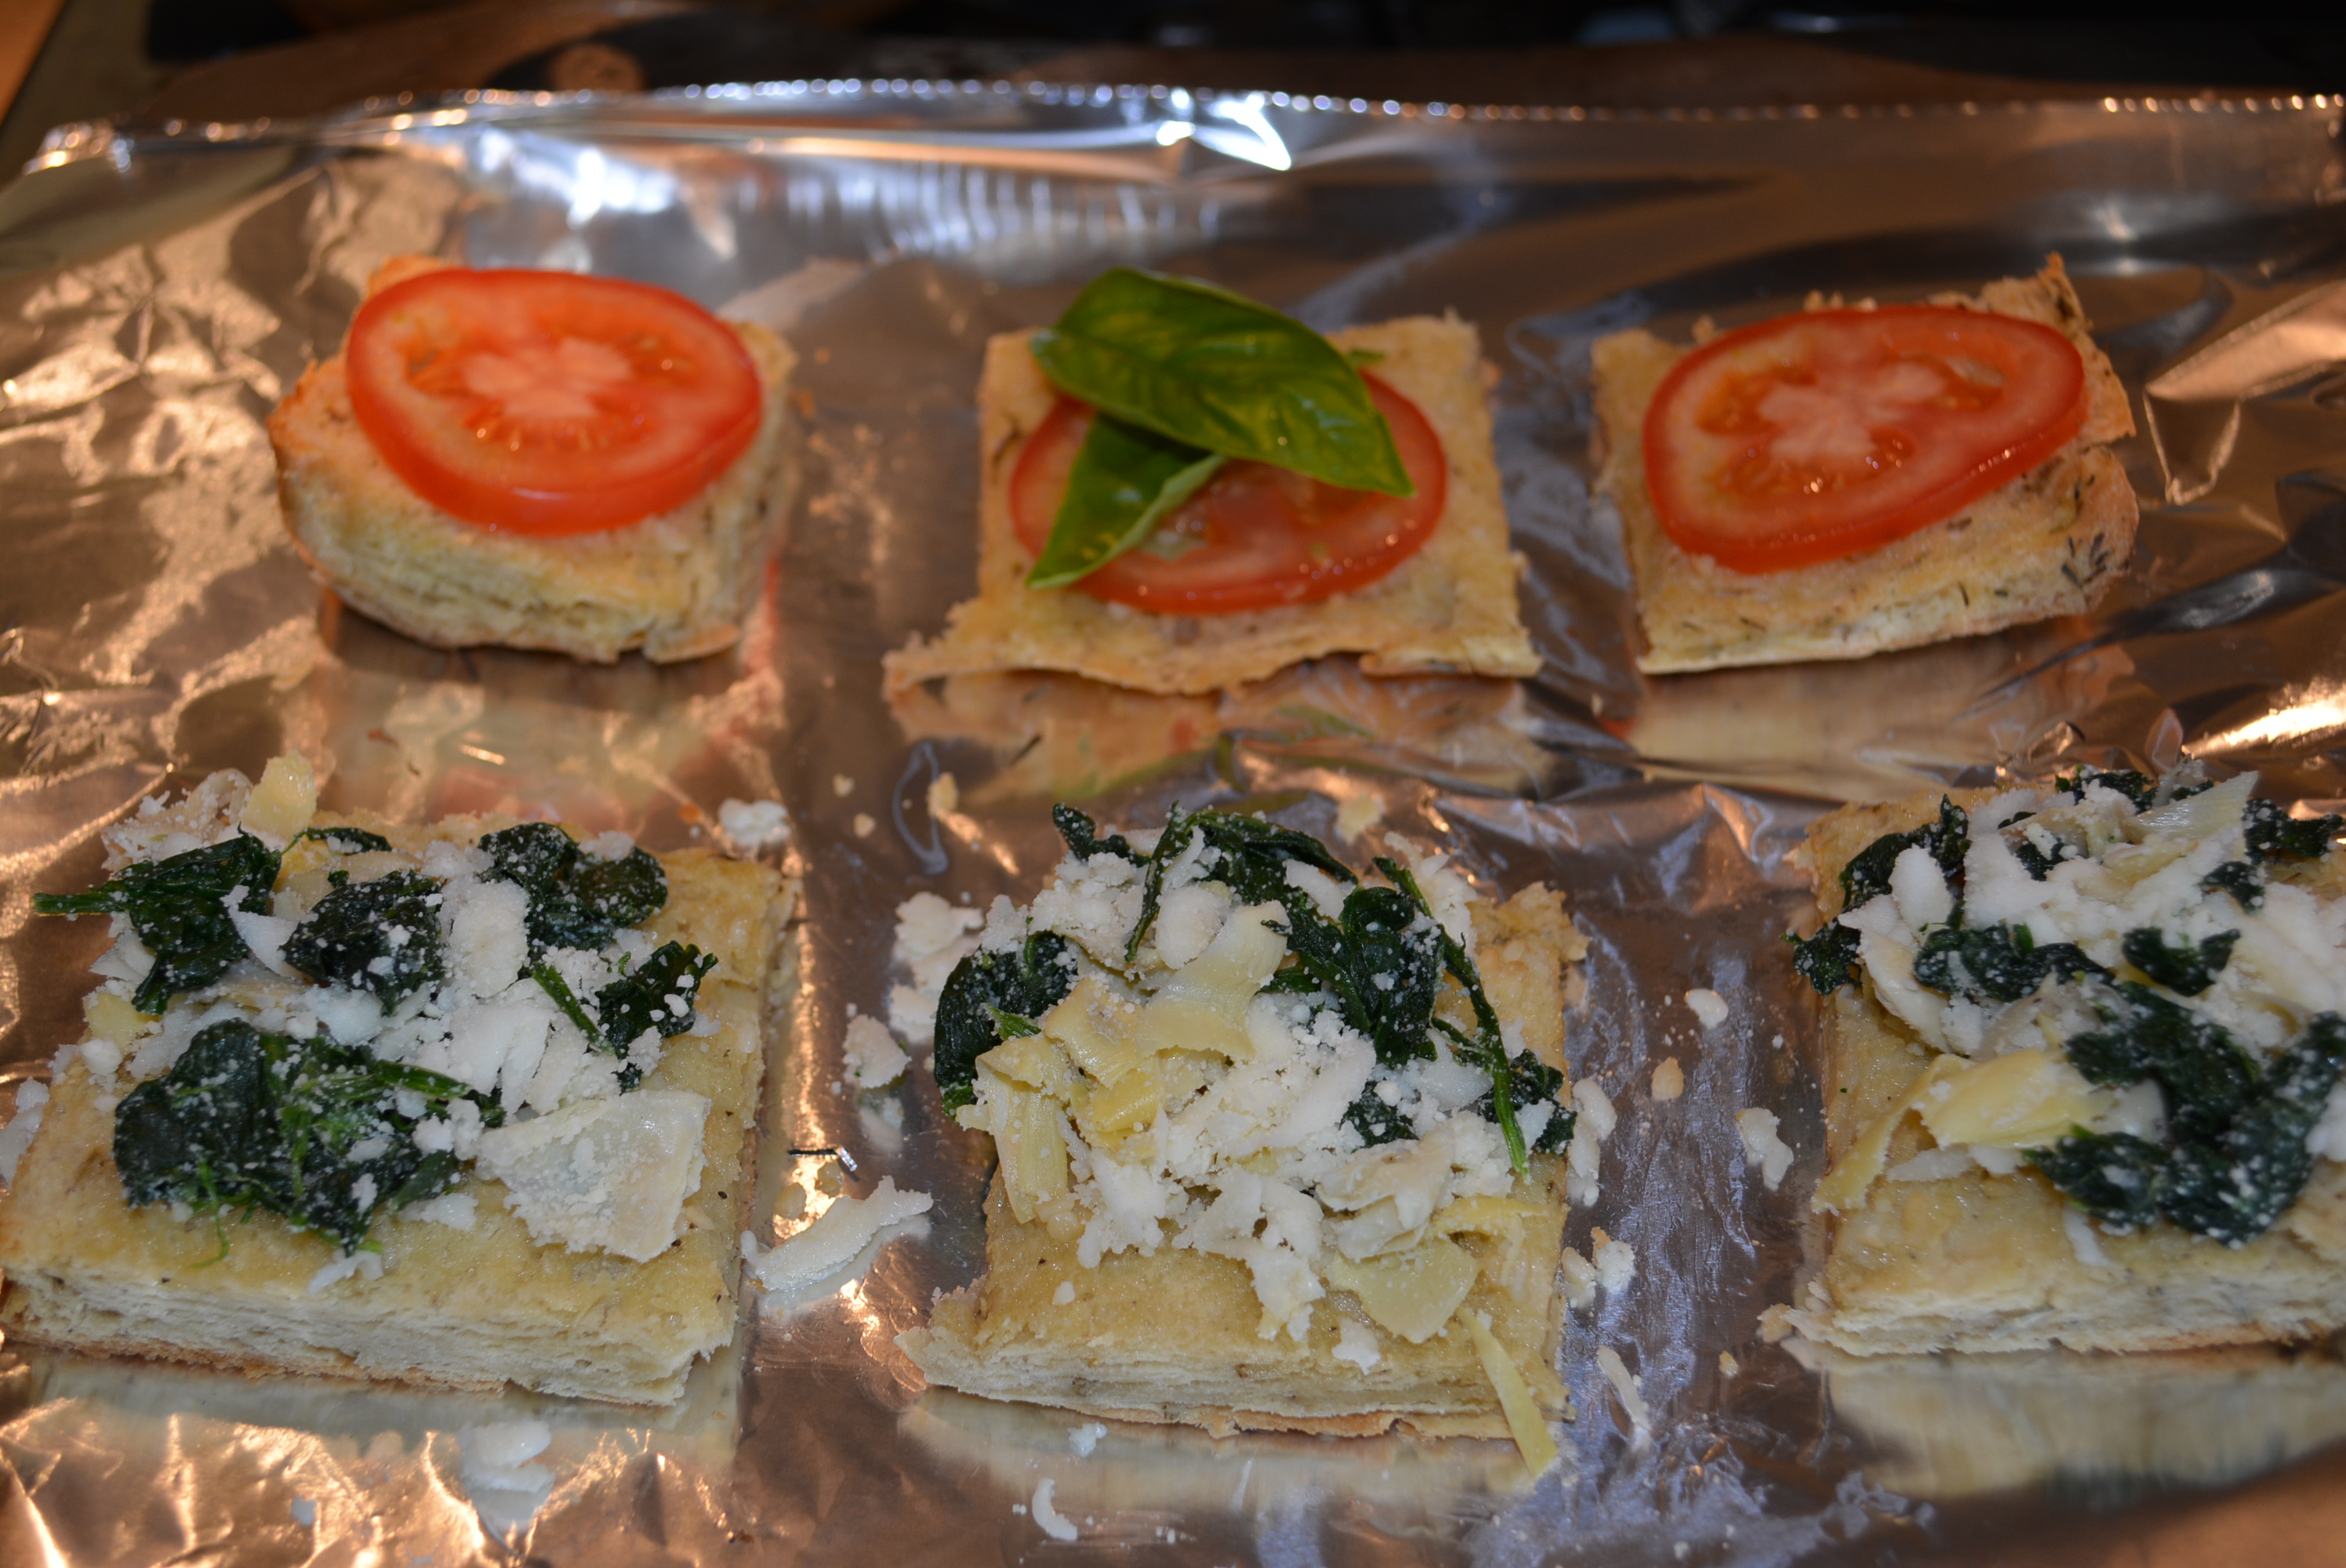
- Remove toasted focaccia from the oven and carefully cut into small squares.
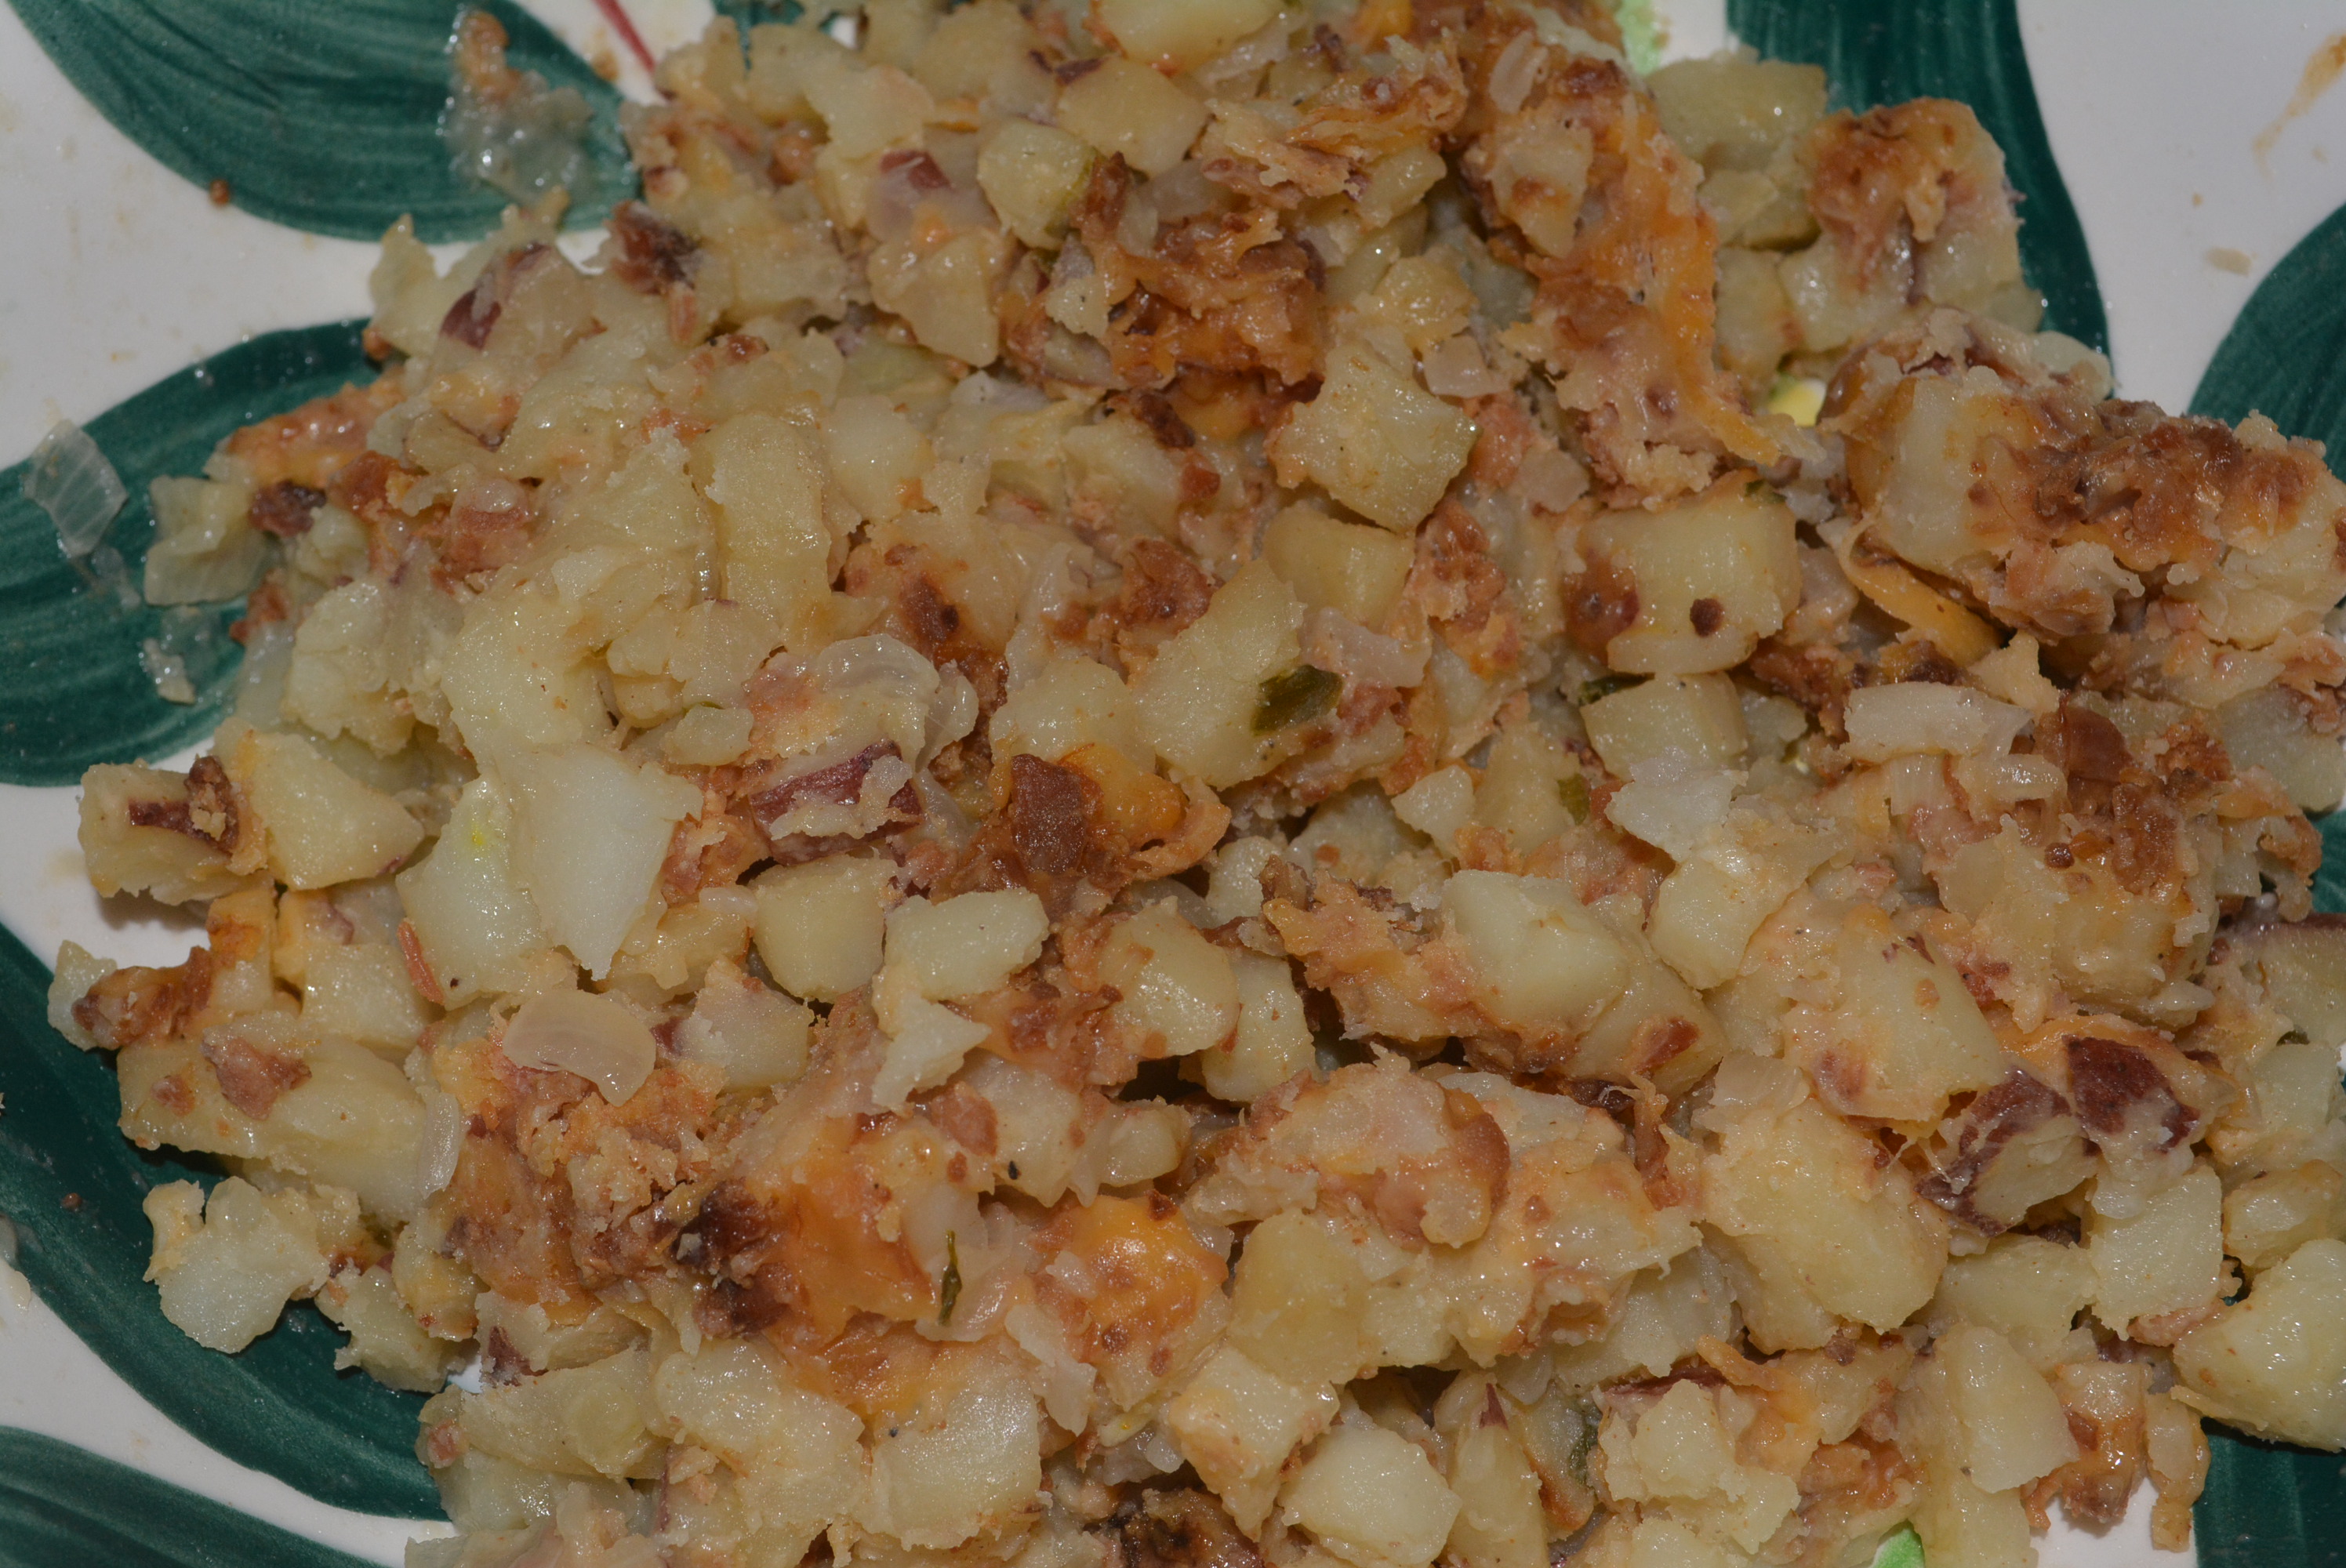
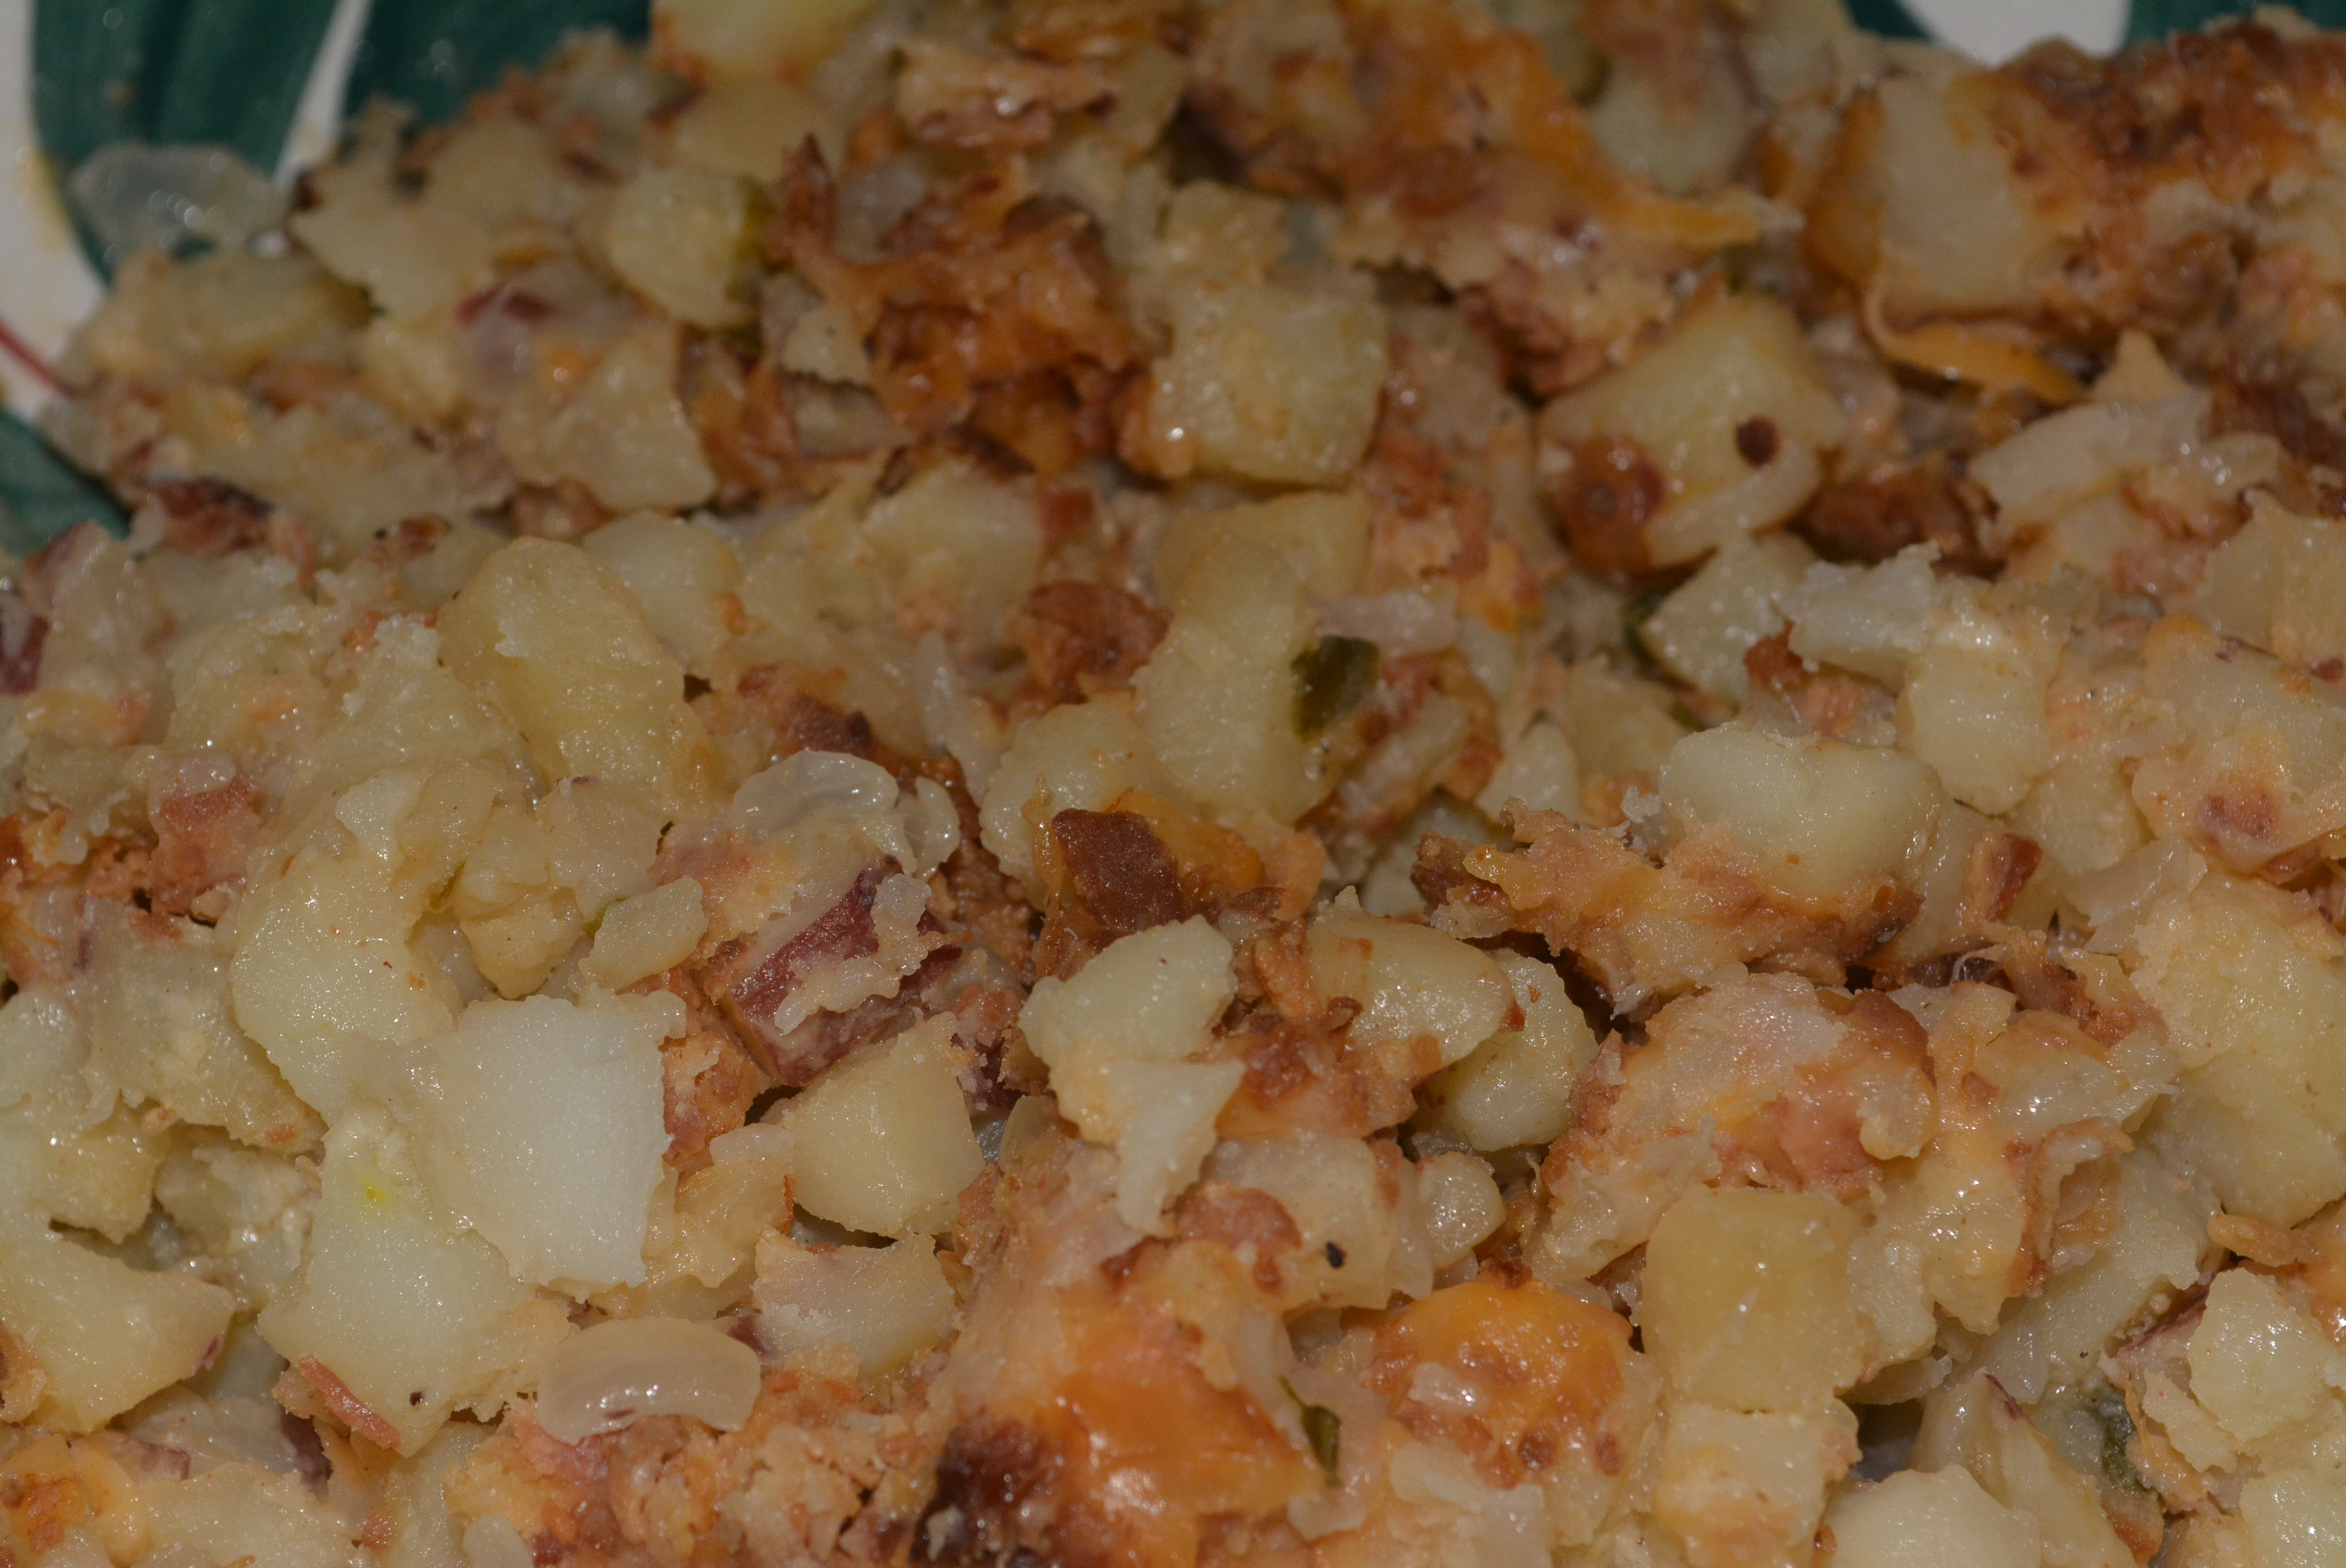
- To sliced focaccia bites, add toppings. For the caprese garlicky focaccia bites, add a single slice of tomato and basil leaves on top. For the spinach artichoke garlicky focaccia, add 1 tbsp of spinach/artichoke mixture to bread.
- On both versions, top with part-skim mozzarella cheese (I used slices, but I’d use shredded next time I make these.).
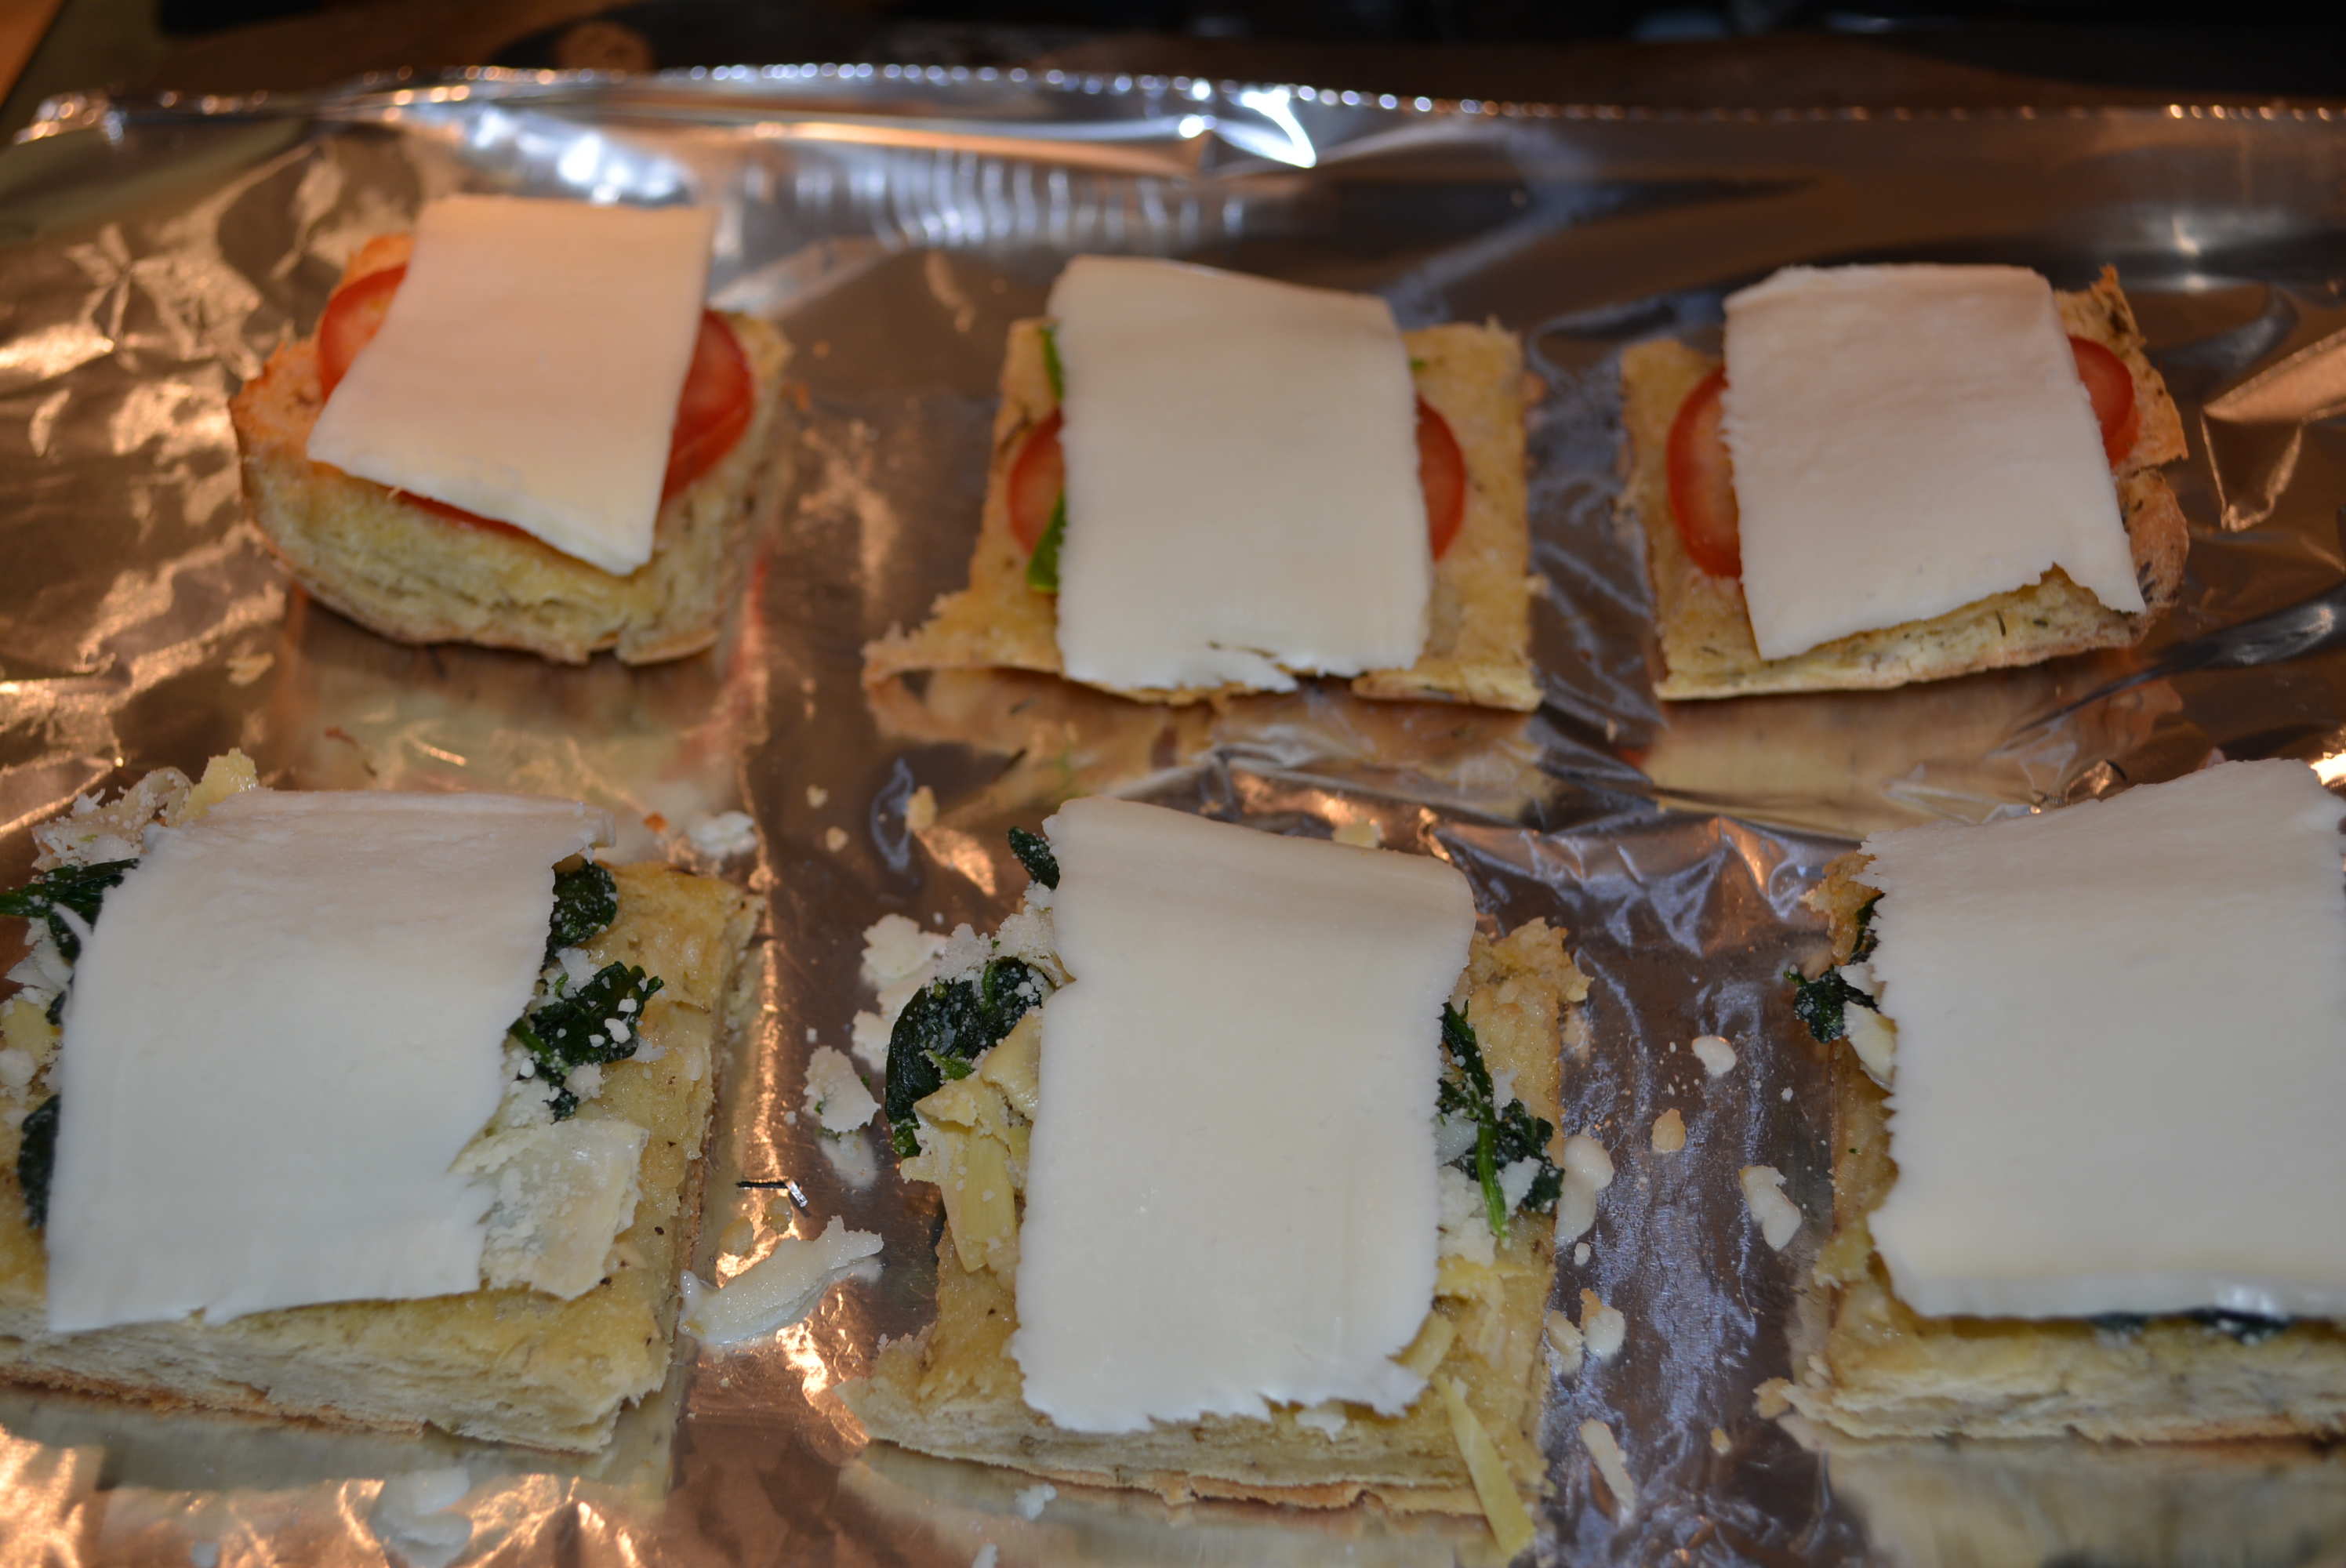
- Toast focaccia bites in the oven for an additional 10-15 minutes until cheese has melted and begun to brown.
- Carefully remove bread from baking sheet and add to serving dish.
- Drizzle with a little bit of olive oil and season with salt and pepper if you’d like.
- Serve warm and enjoy!
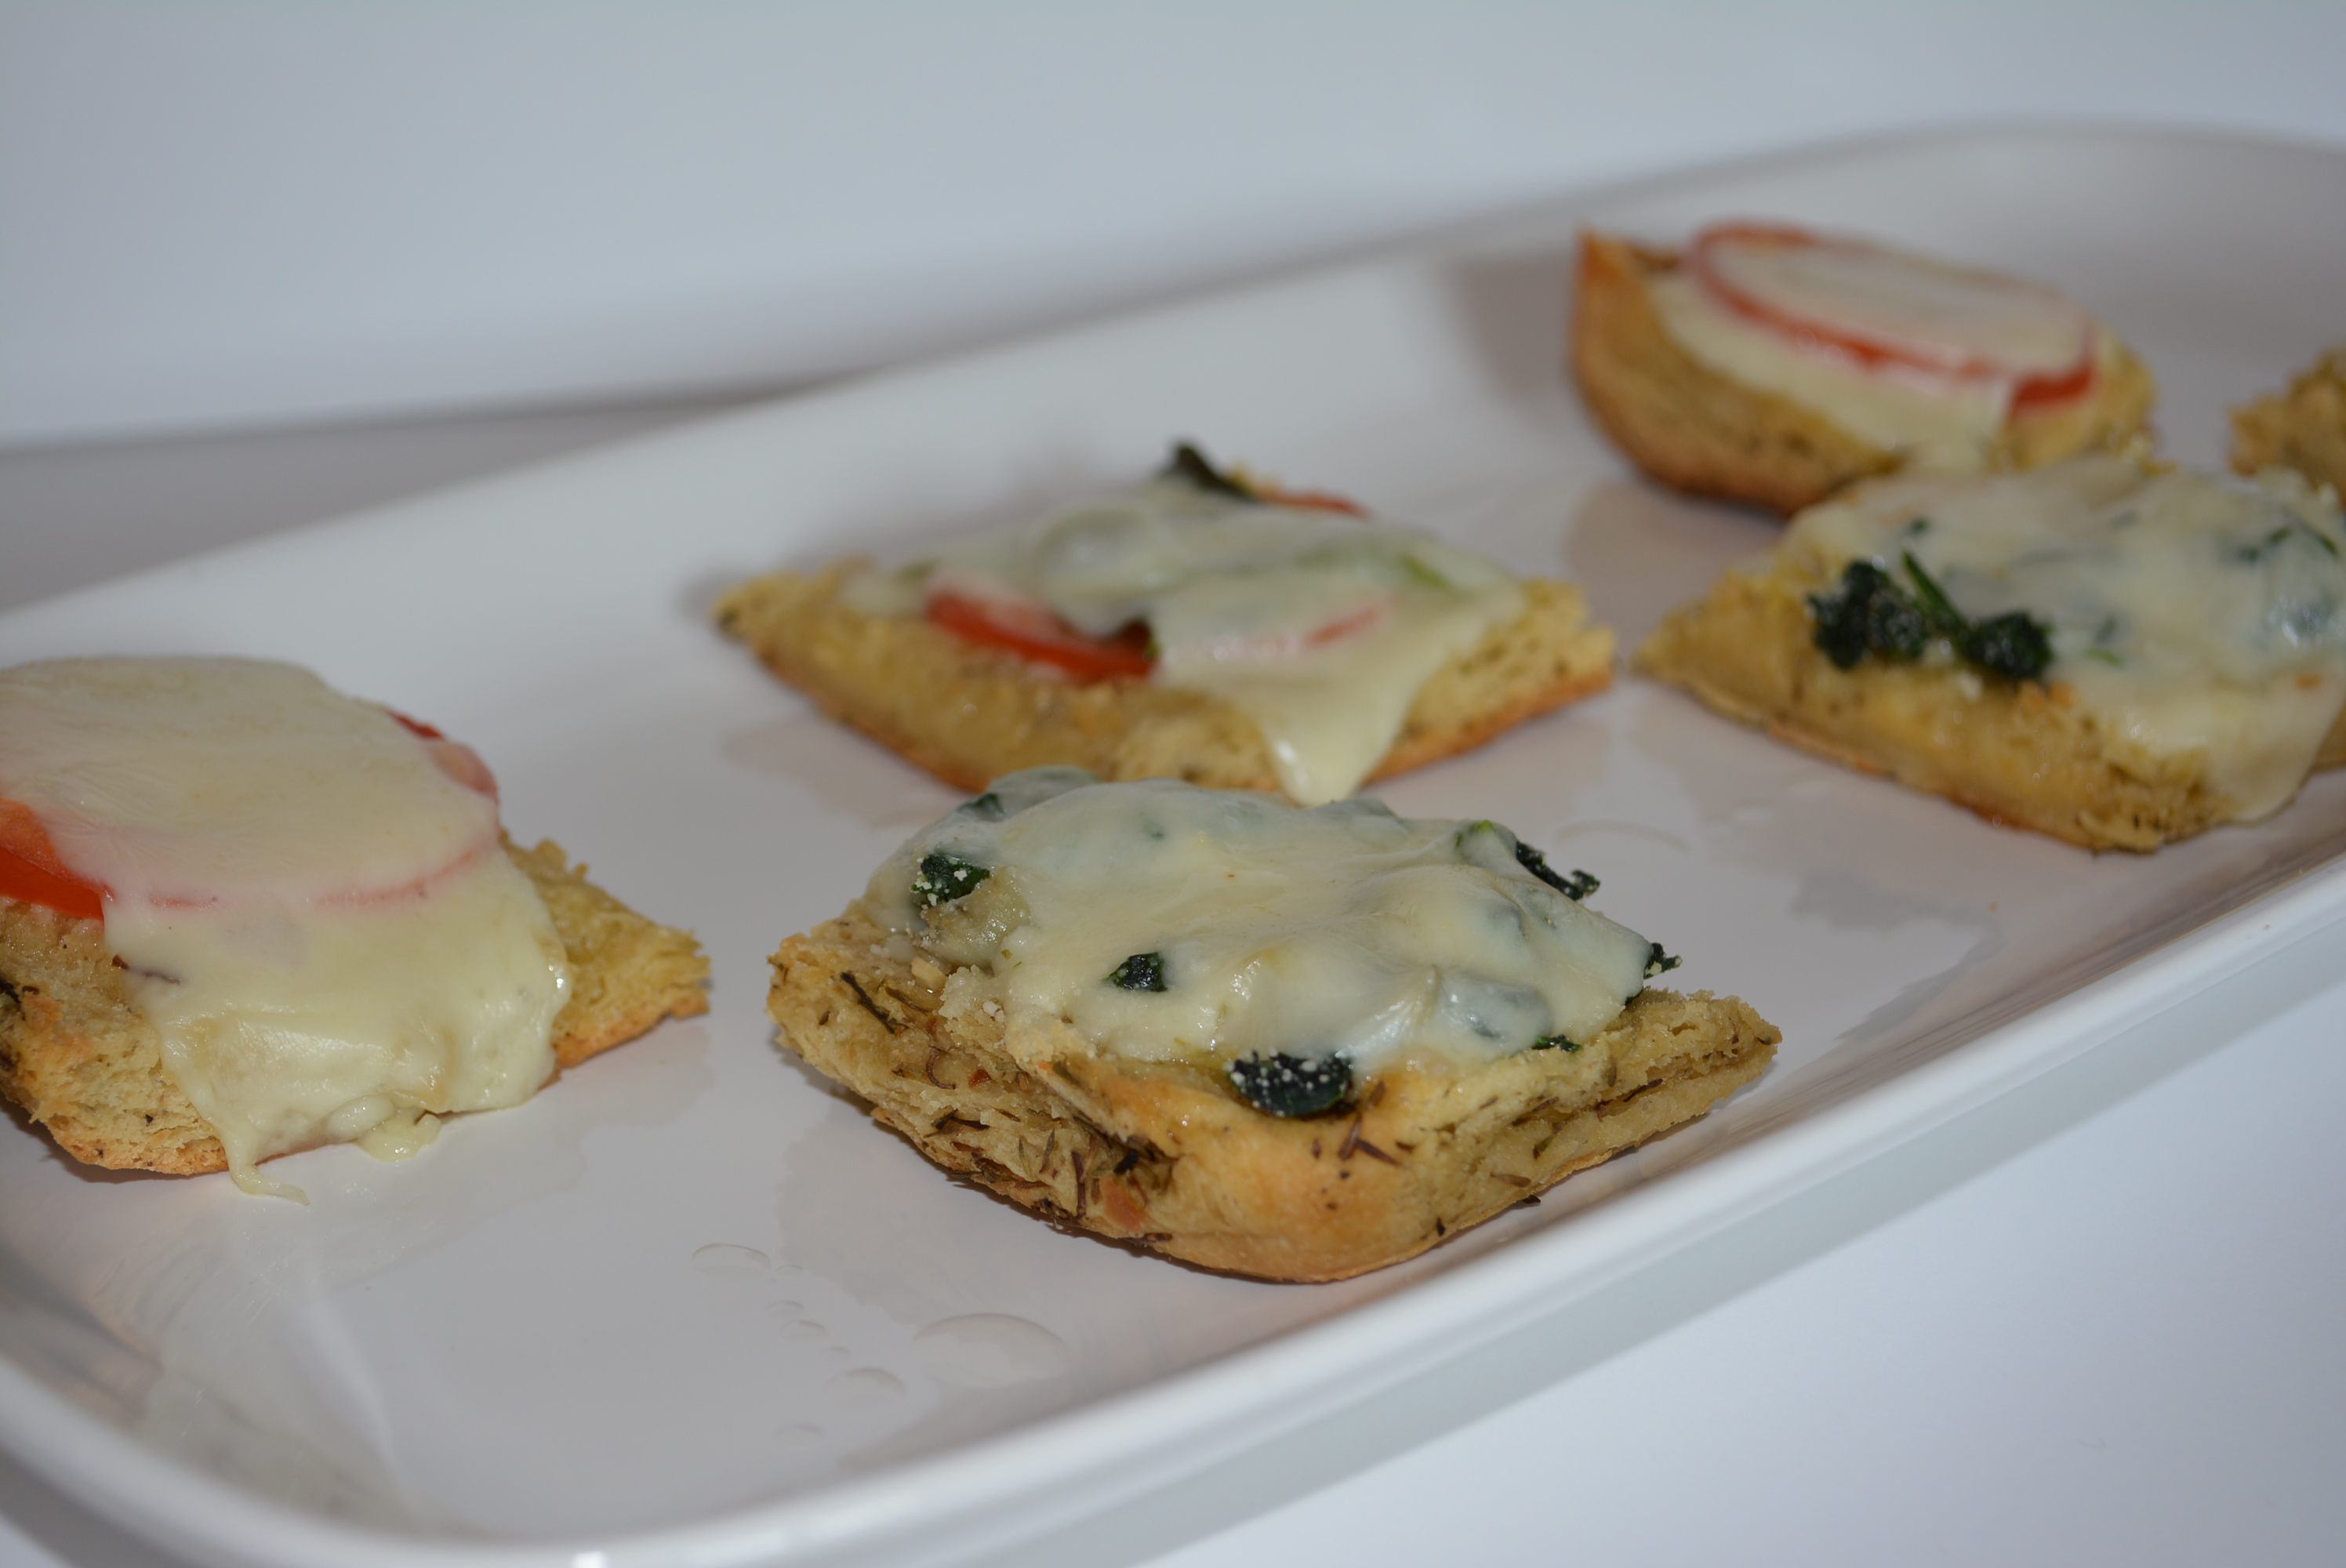
After making both varieties and having them taste tested by my toughest critics, the non-gluten free eaters in the house, seeing as not a crumb was left of each of them, I’d say that both are winners! The fresh basil combined with the tomatoes was so delicious, just like my favorite caprese summer salad; while the spinach artichoke bites reminded me my creamy spinach artichoke dip that I love to make, but instead of the dip part, a delicious piece of garlicky butter bread was in its place. In my opinion, you certainly can’t go wrong with buttering up and adding garlic to a tasty piece of bread, but why not take it a step further and add your favorite appetizer flavors too.
Thanks to Canyon Bakehouse, these focaccia bites will be making an appearance in our house on a number of occasions in the future and will surely please all of our diners. The possibilities are truly endless with this kind of bread, so if you have any extra after making these appetizers, feel free to use it for your next lunch meat sandwich or cut it up and dip it in your favorite spices and olive oil! I can’t wait to incorporate this bread into another one of our meals in the near future!
Sincerely,
Lindsay
- Canyon Bakehouse Focaccia
- Butter (I use Smart Balance.)
- 4 tbsp minced garlic
- Shredded part-skim mozzarella cheese
- Salt and pepper to season
- 2-3 plum tomatoes
- Fresh basil leaves
- Spinach (I like the frozen steamer bags of spinach.)
- Artichokes (Jar of Cento artichokes are gluten free.)
- Preheat oven to 350 degrees.
- Slice focaccia lengthwise and cut into four long slices (2 from the top of the bread and 2 from the bottom).
- Spread a thin layer of gluten free butter across each slice of bread.
- Add 1 tbsp minced garlic to each slice of buttered focaccia and spread across the slice.
- Toast focaccia in the oven for 15 minutes.
- While focaccia is toasting, prepare desired toppings to either do half caprese and half spinach artichoke or to do all of one or the other.
- Slice 2-3 medium tomatoes.
- Prepare frozen spinach.
- Rinse and chop artichokes.
- In a small bowl, combine even parts (about 1/2 cup, this amount really depends on which route you go with toppings) spinach and artichoke and add 2 tbsp shredded part-skim mozzarella and 2 tbsp parmesan cheese.
- Remove toasted focaccia from the oven and carefully cut into small squares.
- To sliced focaccia bites, add toppings. For the caprese garlicky focaccia bites, add a single slice of tomato and basil leaves on top. For the spinach artichoke garlicky focaccia, add 1 tbsp of spinach/artichoke mixture to bread.
- On both versions, top with part-skim mozzarella cheese (I used slices, but I'd use shredded next time I make these.).
- Toast focaccia bites in the oven for an additional 10-15 minutes until cheese has melted and begun to brown.
- Carefully remove bread from baking sheet and add to serving dish.
- Drizzle with a little bit of olive oil and season with salt and pepper if you'd like.
- Serve warm and enjoy!
- Feel free to use as much or as little of each topping ingredient as you'd like. This recipe only lists the combination of topping ingredients you should use but really depends on which variety and how many of the focaccia appetizers you wish to make.