Gluten Free Appetizer

My Favorite Gluten Free Side: Asparagus Rollatini

Too many years ago, I first tasted the deliciousness of Asparagus Rollatini at our favorite fine dining restaurant. Unfortunate for me, their version was gluten filled, which made it’s way onto my no go list soon after. Among other restricted foods, I took losing my new favorite appetizer pretty hard. But little did I know just how simple this dish could be. Literally 5 ingredients, well my version anyway, and free of gluten and equally delicious! Just pick your favorite fresh asparagus spears (I prefer thin ones), salami or prosciutto your choice, provolone cheese, olive oil, and your favorite seasoned bread crumbs, and voila Asparagus Rollatini!

DSC_0102

When I say this is a favorite for me, I should actually mention that it’s a favorite for everyone. It’s my go to dish for holidays and dinner parties and surely a party pleaser for all! So without further ado, check out my Gluten Free Asparagus Rollatini!

Sincerely, 

Lindsay

Gluten Free Asparagus Rollatini
Write a review
Print
Ingredients
  1. Fresh, Thin Asparagus Spears (1 Bundle)
  2. 1/2 Pound Sliced Salami/Prosciutto (Black Bear is GF)
  3. 1/2 Pound Sliced Provolone (Black Bear is GF)
  4. Olive Oil
  5. Gluten Free Seasoned Bread Crumbs (My favorite is 4C)
Instructions
  1. Boil asparagus until tender, about 5-10 minutes depending on their size.
  2. Once cooked, drain and shock asparagus under cold water.
  3. Gather 2-3 asparagus spears and wrap in 1 slice salami then 1 slice provolone.
  4. Line all bundles up in a large 9 x 13 baking dish.
  5. Drizzle top of bundles with olive oil.
  6. Top with seasoned gluten free bread crumbs. (My new favorite is 4C)
  7. Heat in oven at 350 degrees for 7-10 minutes, just until cheese melts.
Notes
  1. This is a perfect side or appetizer for any meal!
Gluten Free Mom To Be http://www.glutenfreemomtobe.com/

A Pre-Valentine’s Dinner With My Love At Toscano’s Ristorante Where Eating Gluten Free Is Stress Free

Happy belated Valentine’s Day! It was Valentine’s week last week for sure with some heart crafting, cupcake baking, valentine decorating, and a few special love episodes of our favorite Disney Junior shows. And making our Valentine’s week a little extra special, mommy and daddy were able to enjoy a meal just us two pre-Valentine’s day so we could celebrate the big day with our little valentine. Whenever we have a special day to celebrate or get a chance to sneak out and enjoy some alone time the first place we want to escape to is Toscano’s Ristorante in Bordentown, NJ. A cozy, Italian restaurant that’s been our home ever since we started dating, this gem holds a special place in our hearts and even more so now that they can flawlessly create an amazing dining experience for both of us. 

The biggest joy in dining at Toscano’s is the worry free meal that we get enjoy. There’s no need to double check, triple check, quadruple check that your dish is gluten free here because the chef understands what a gluten free meal entails and is able to follow through without sacrificing flavor for a safe meal. I have to admit I’m an order the same dish every time you dine somewhere kind of girl, however here I’ve tried and loved many a dish, each one coming out exact or pretty darn close to how it’s described on the menu. Every single dish I’ve tried has been sauced and seasoned to perfection, which means we leave with nothing but big smiles and full bellies every time. 

Okay so for our parents only, pre-Valentine’s dinner and my mommy-to-be appetite back in tact I decided to go with the gluten free versions of the Antipasto Salad (which is gluten free already), Vodka Rigatoni, and for dessert a Flourless Chocolate Cake with Raspberry Sauce. While I ordered my favorite dishes, true to form Dan indulged in two of the specials along with an extra special dessert just for him. Normally, we share desserts, if we even have room for them, and sometimes appetizers too but for this special occasion we had a lot to celebrate so we decided to splurge a little. As always, we didn’t have to wait too long until our appetizers arrived and oh my was I ever glad to see my heaping plate of antipasto salad placed in front of me.  photo 1

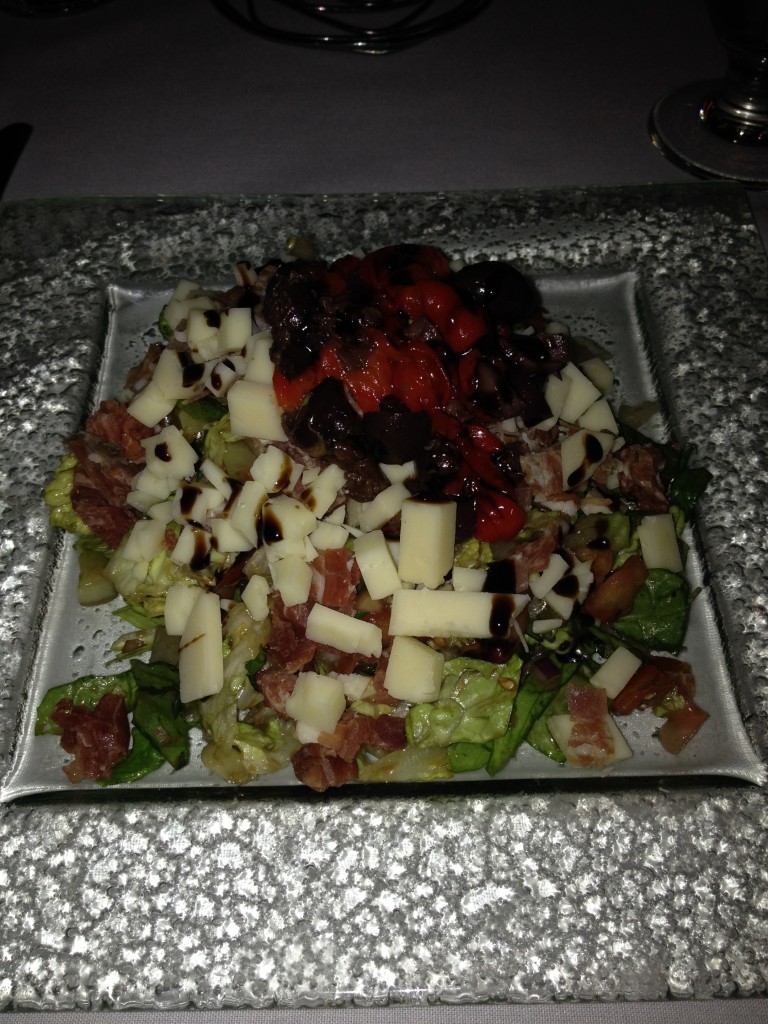
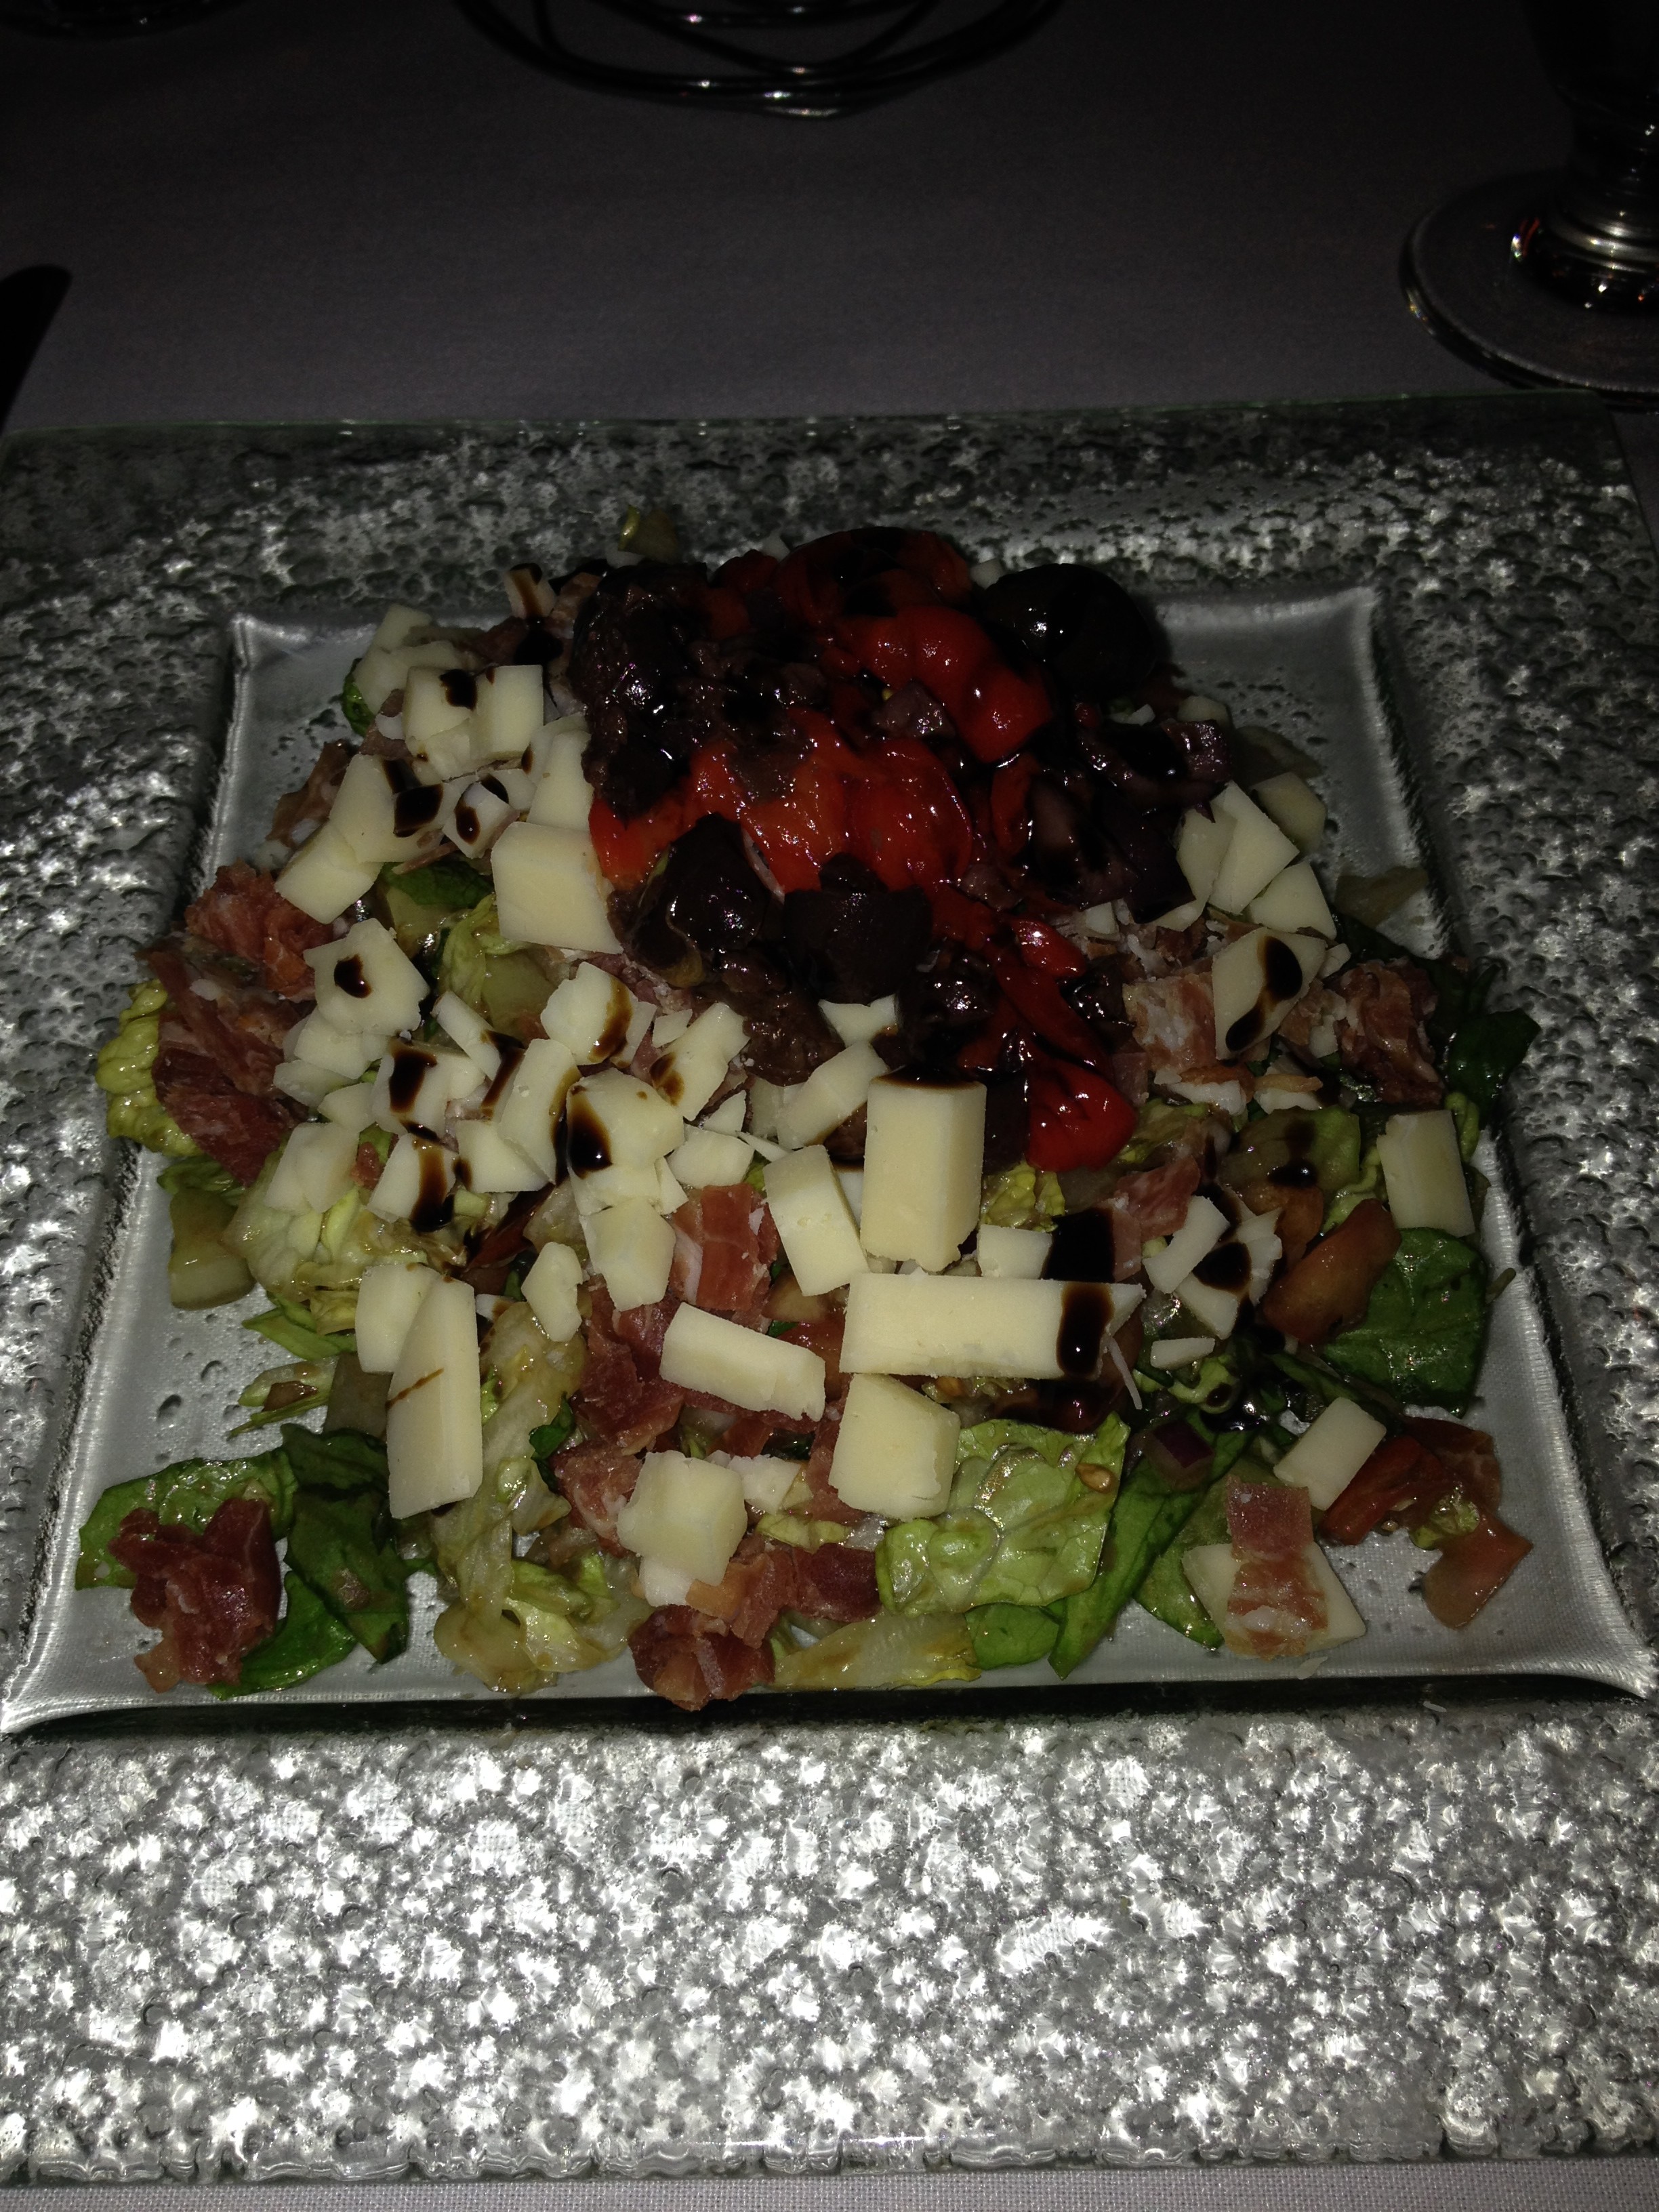
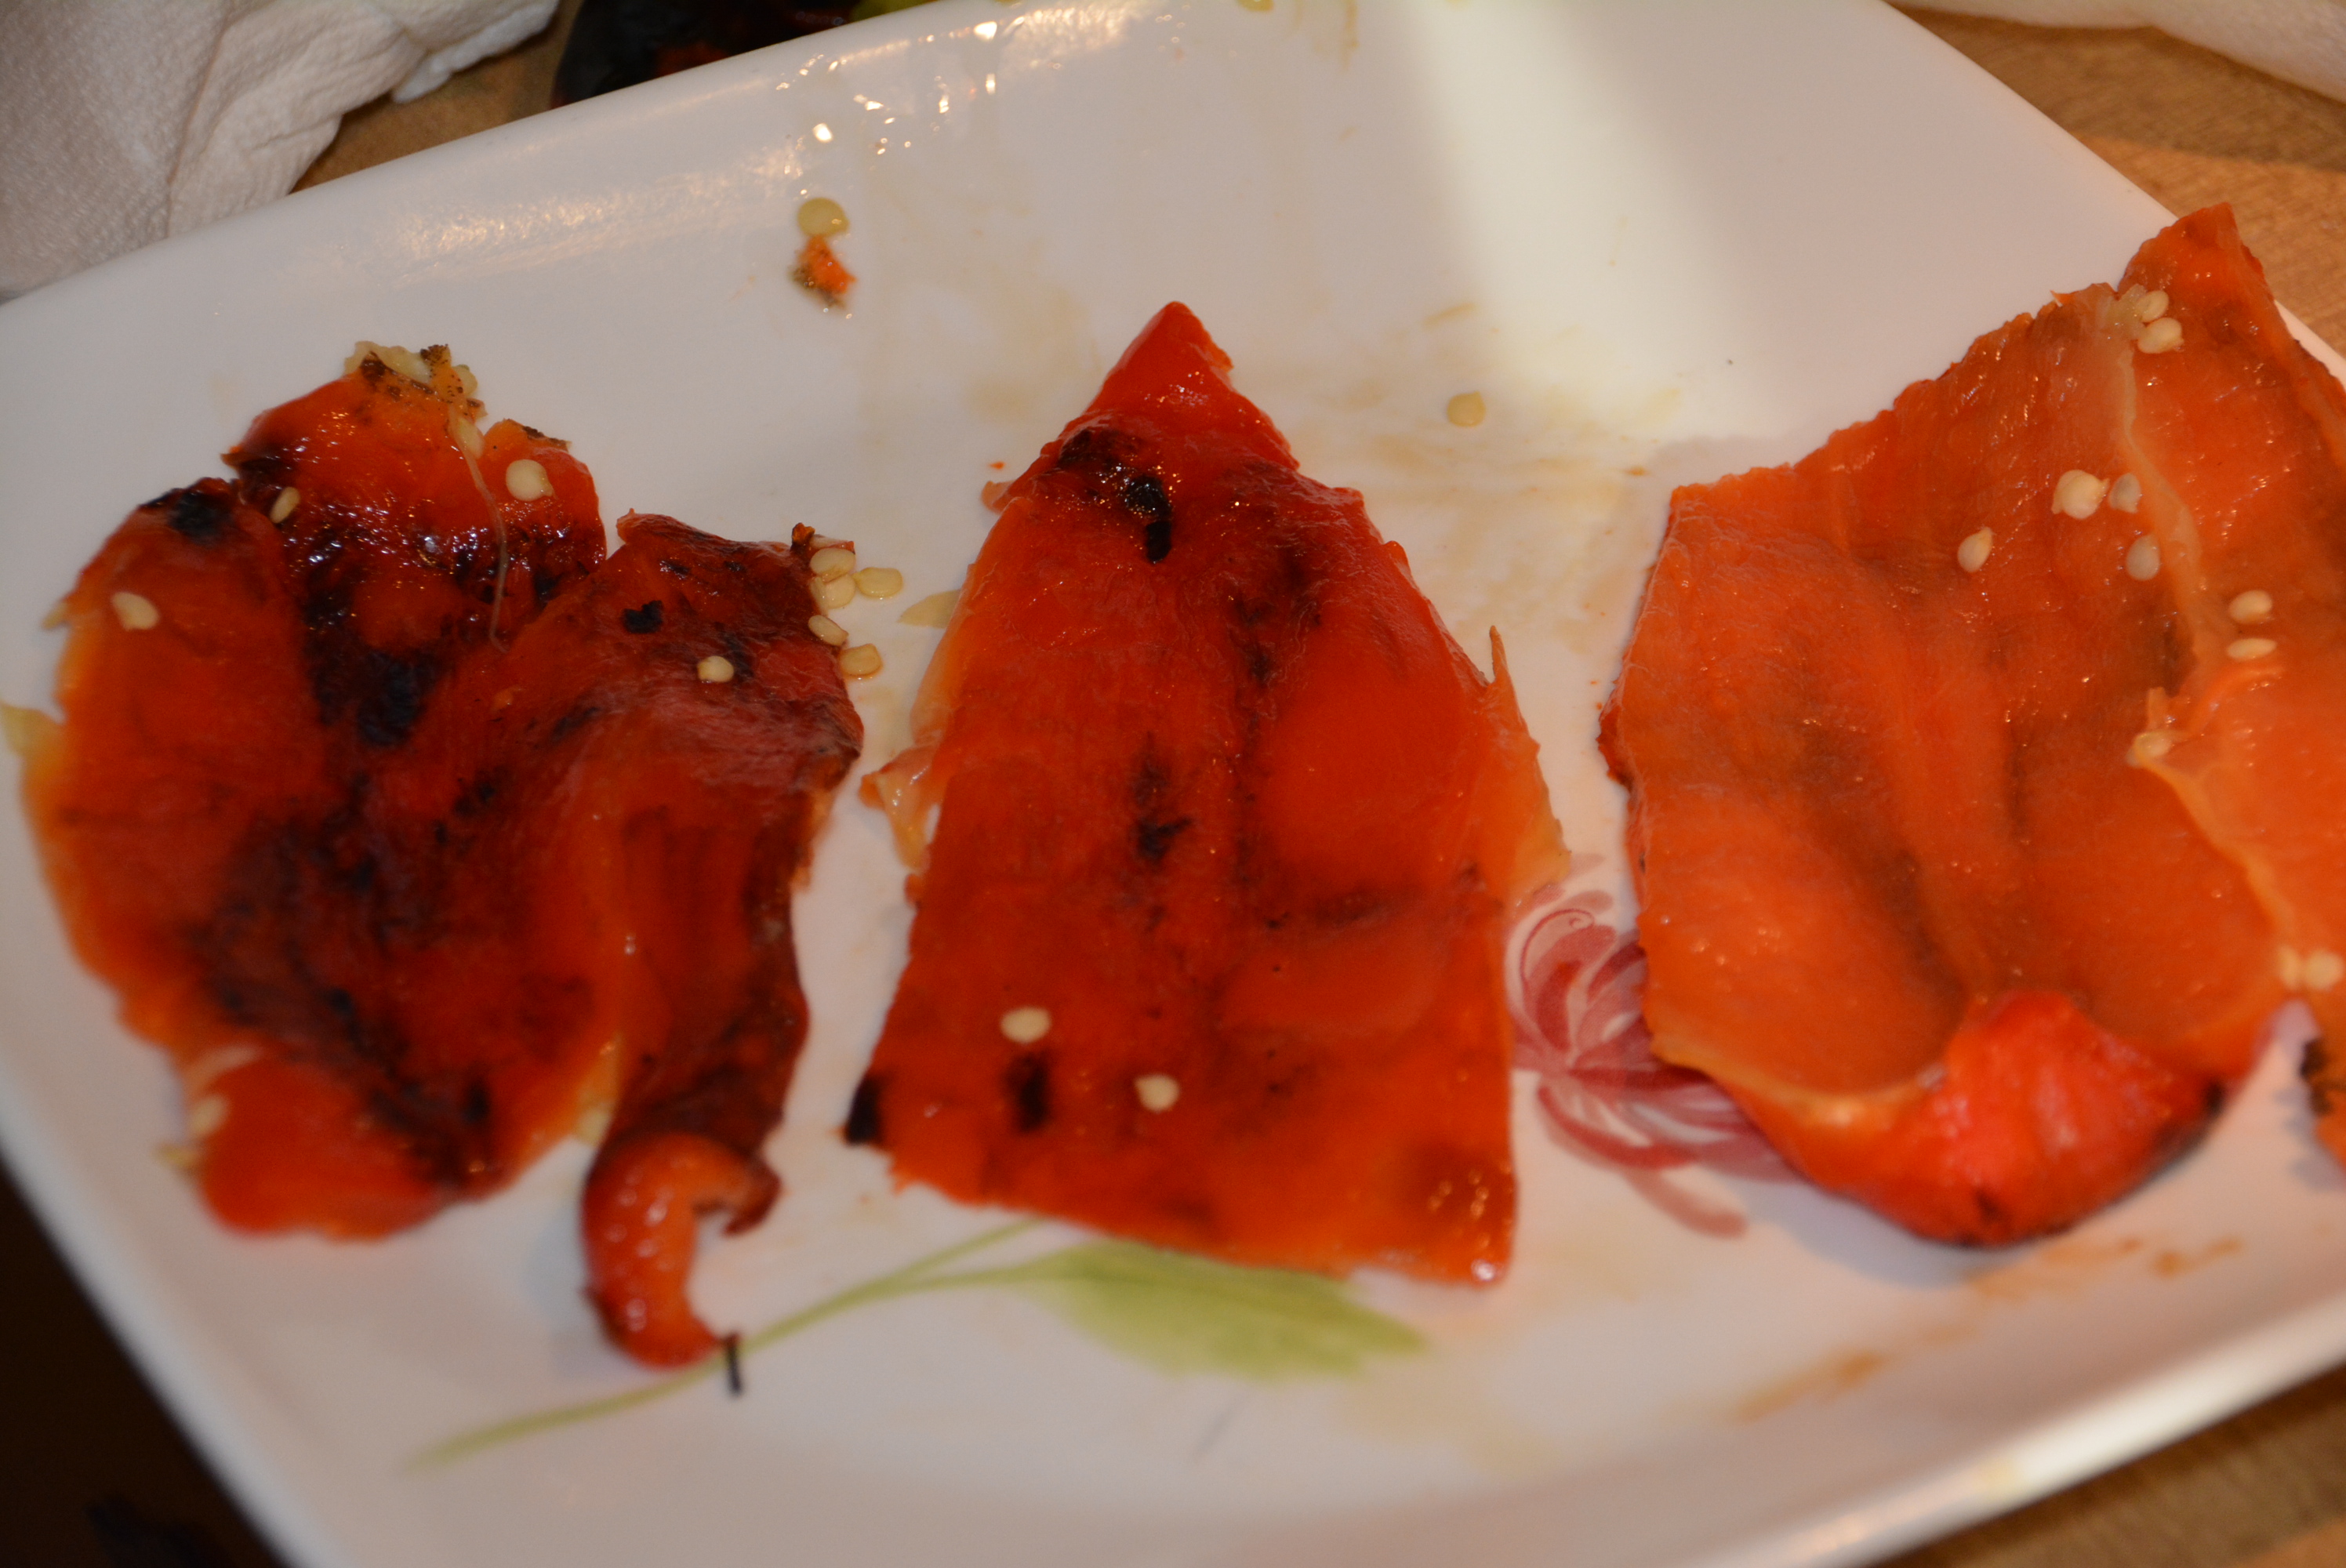
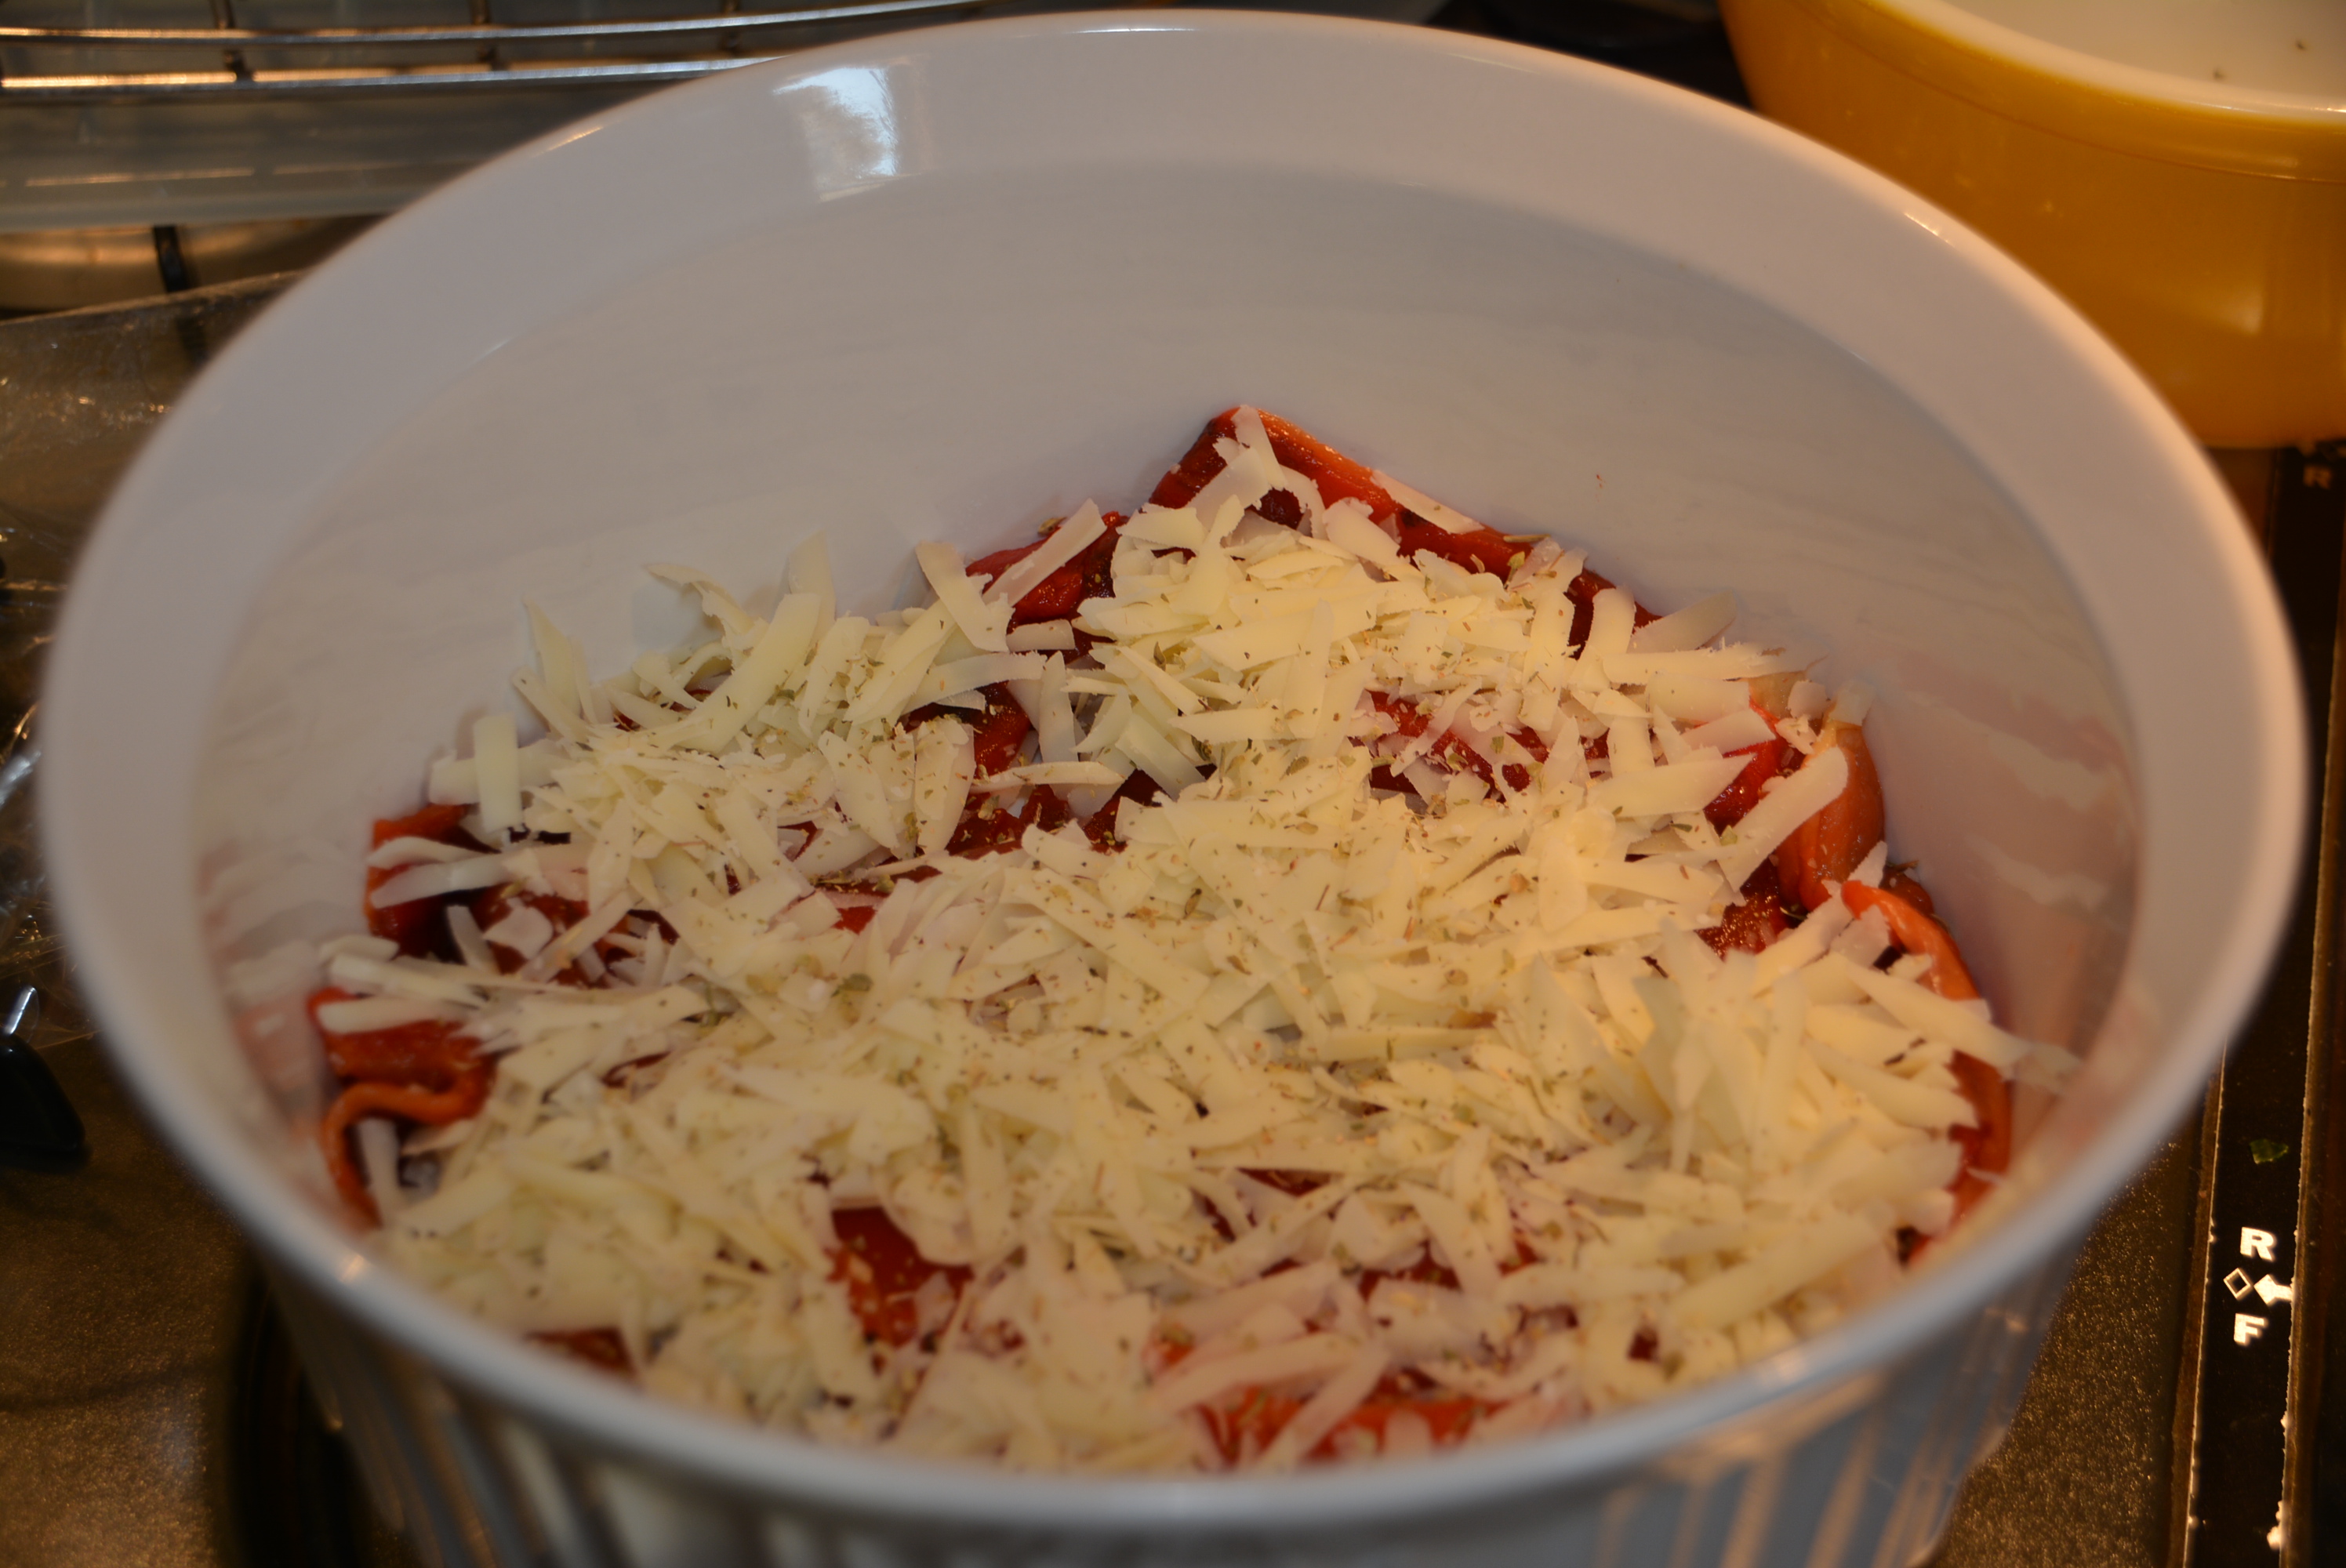
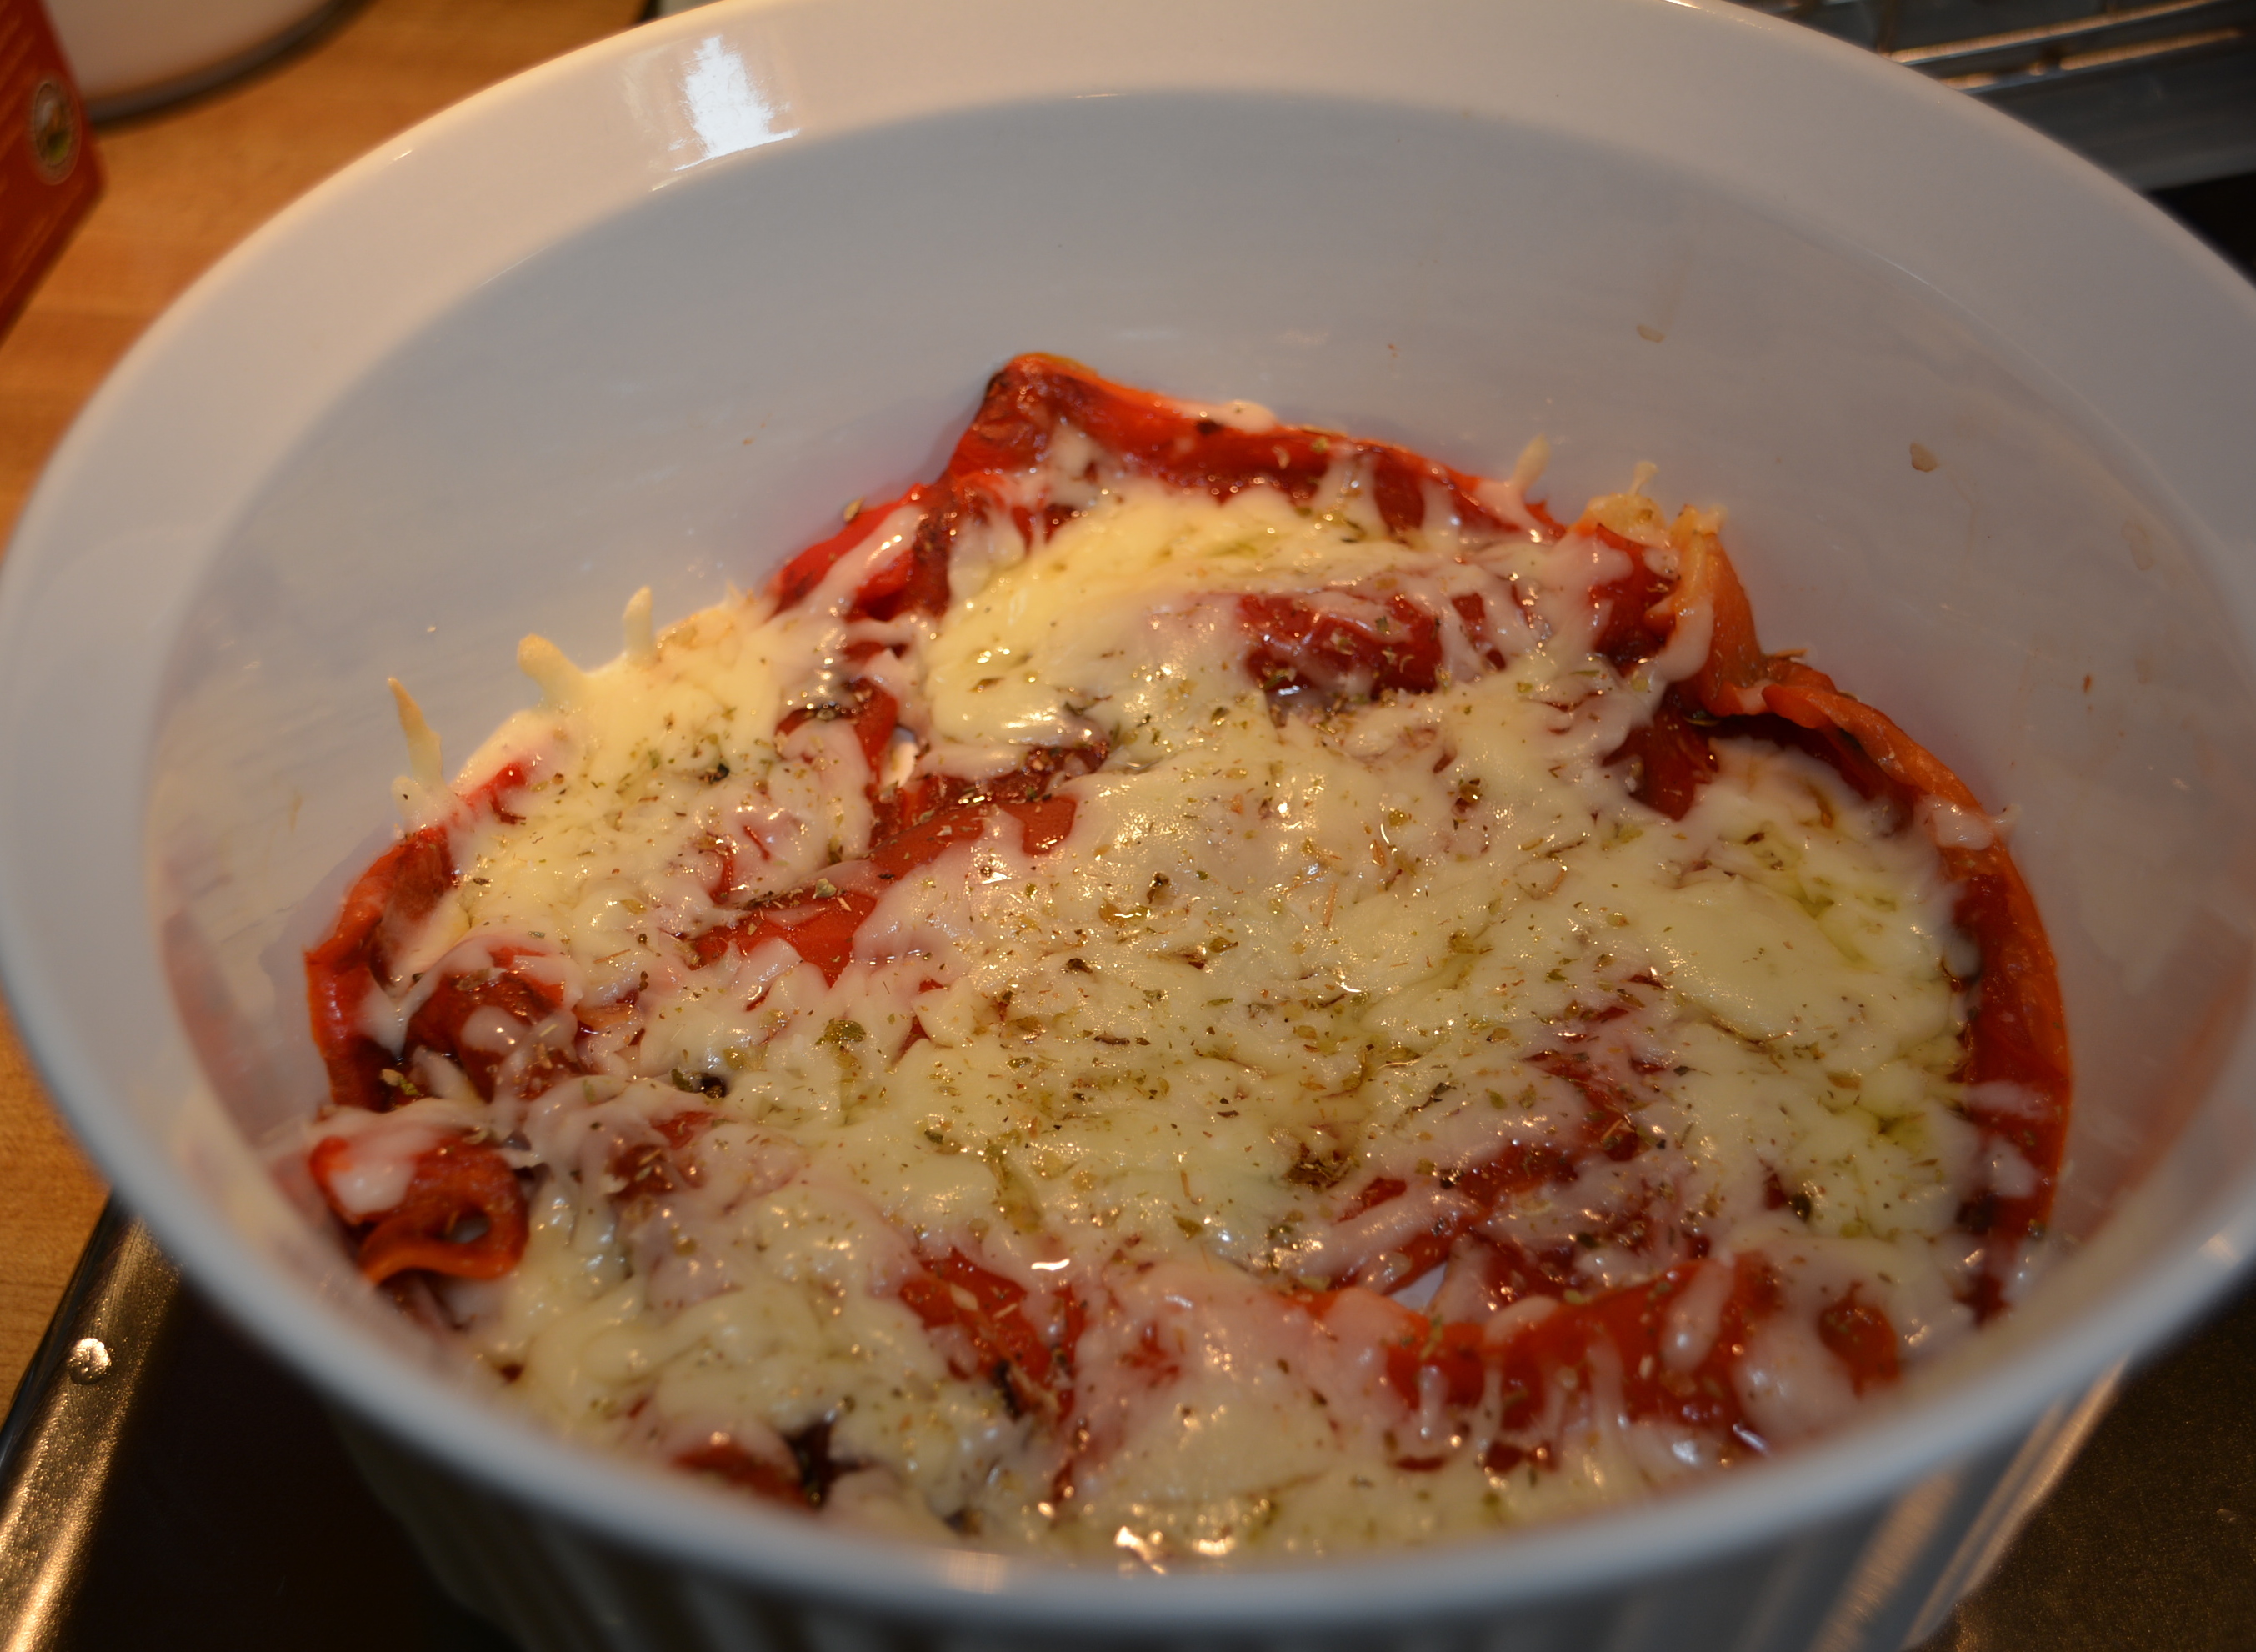
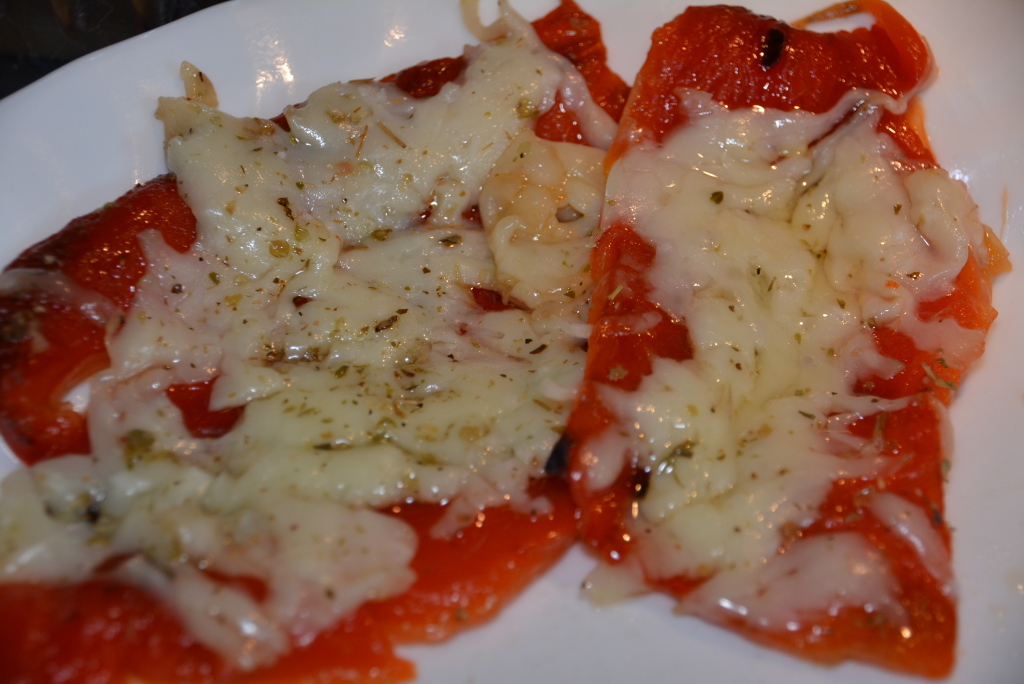
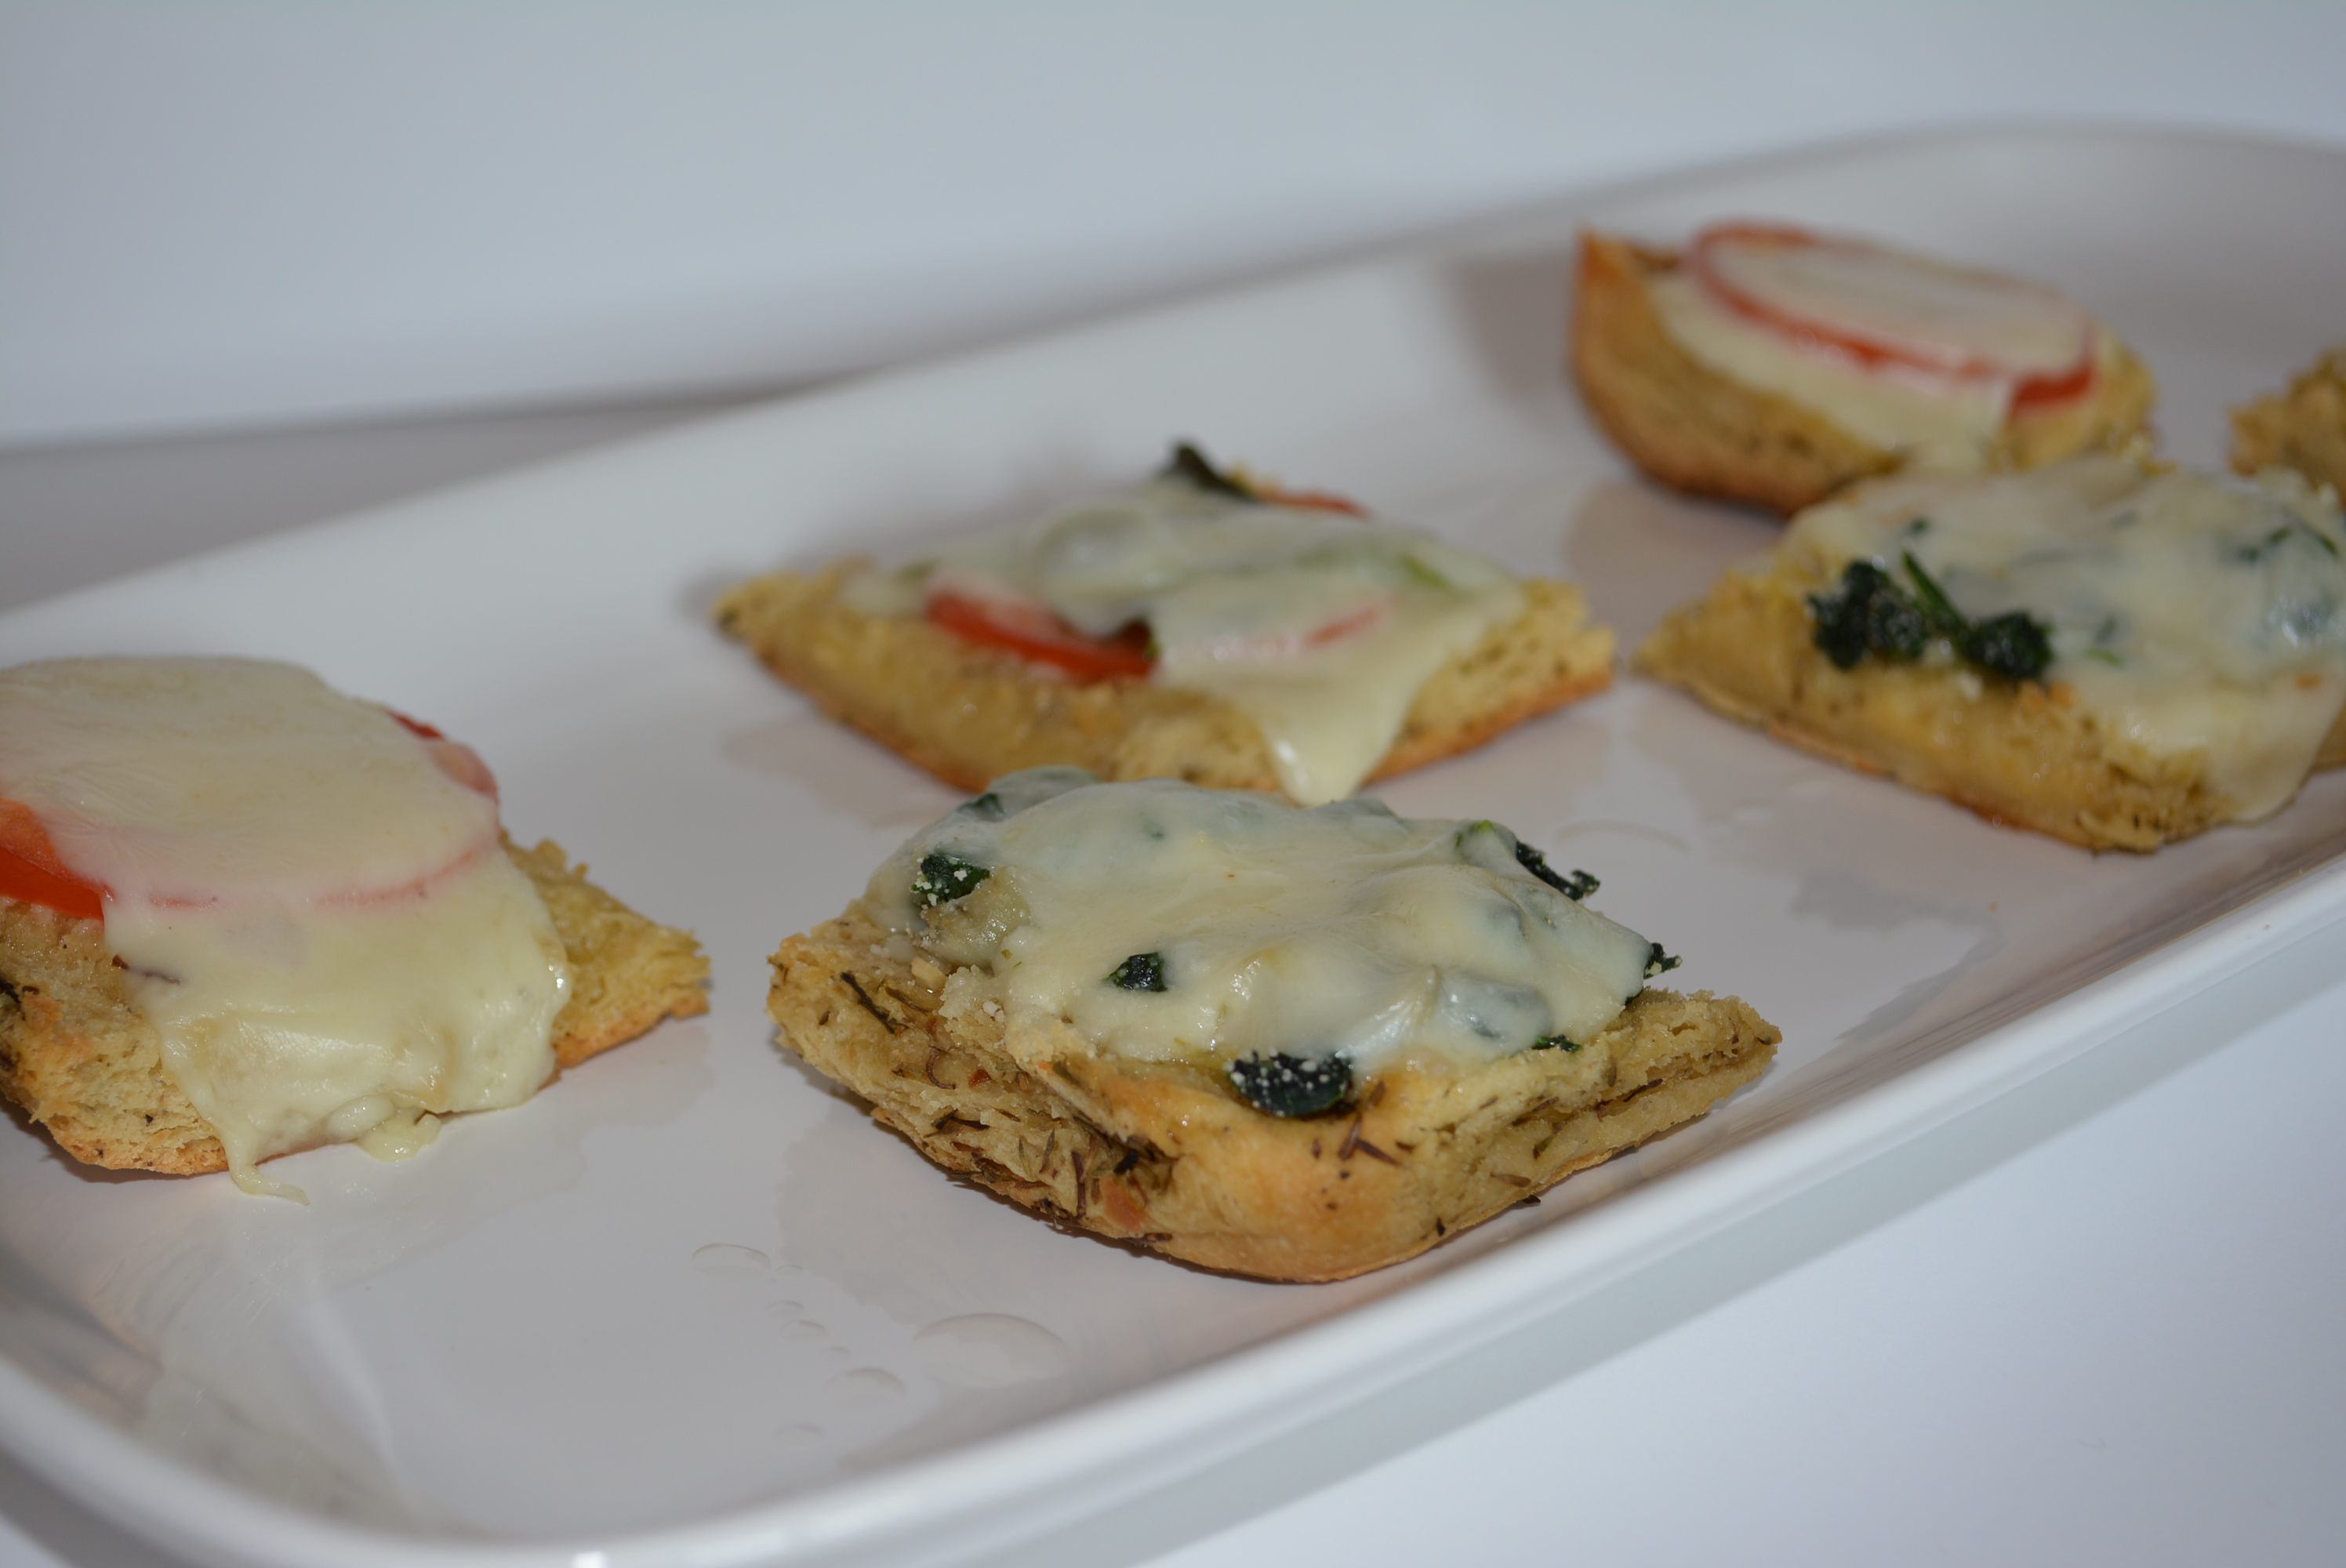
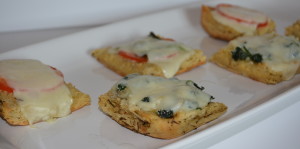
By the way, pardon the less than stellar phone pictures, we left the camera at home but I just had to snap a few of the beauty of these dishes. Lettuce topped with cheese, mixed meats, kalamata olives, roasted red peppers, tomatoes, onions, celery, all mixed in their house made balsamic dressing. It’s a divine appetizer, one that both Dan and I absolutely love and I may have enjoyed on a few take out occasions prior to our meal out. What I love most, besides the amazing mixture of flavors, is that each ingredient is chopped into small, bite size pieces so every bite you enjoy is filled with antipasto deliciousness. While I could have easily finished the whole plate, I saved half for tomorrow’s lunch, making sure I had plenty of room for my creamy vodka penne (the gluten free pasta they stock) that was on its way. And with perfect timing as always, our entrees arrived not too long after we had digested our appetizers. Toscano's Ristorante (2) 
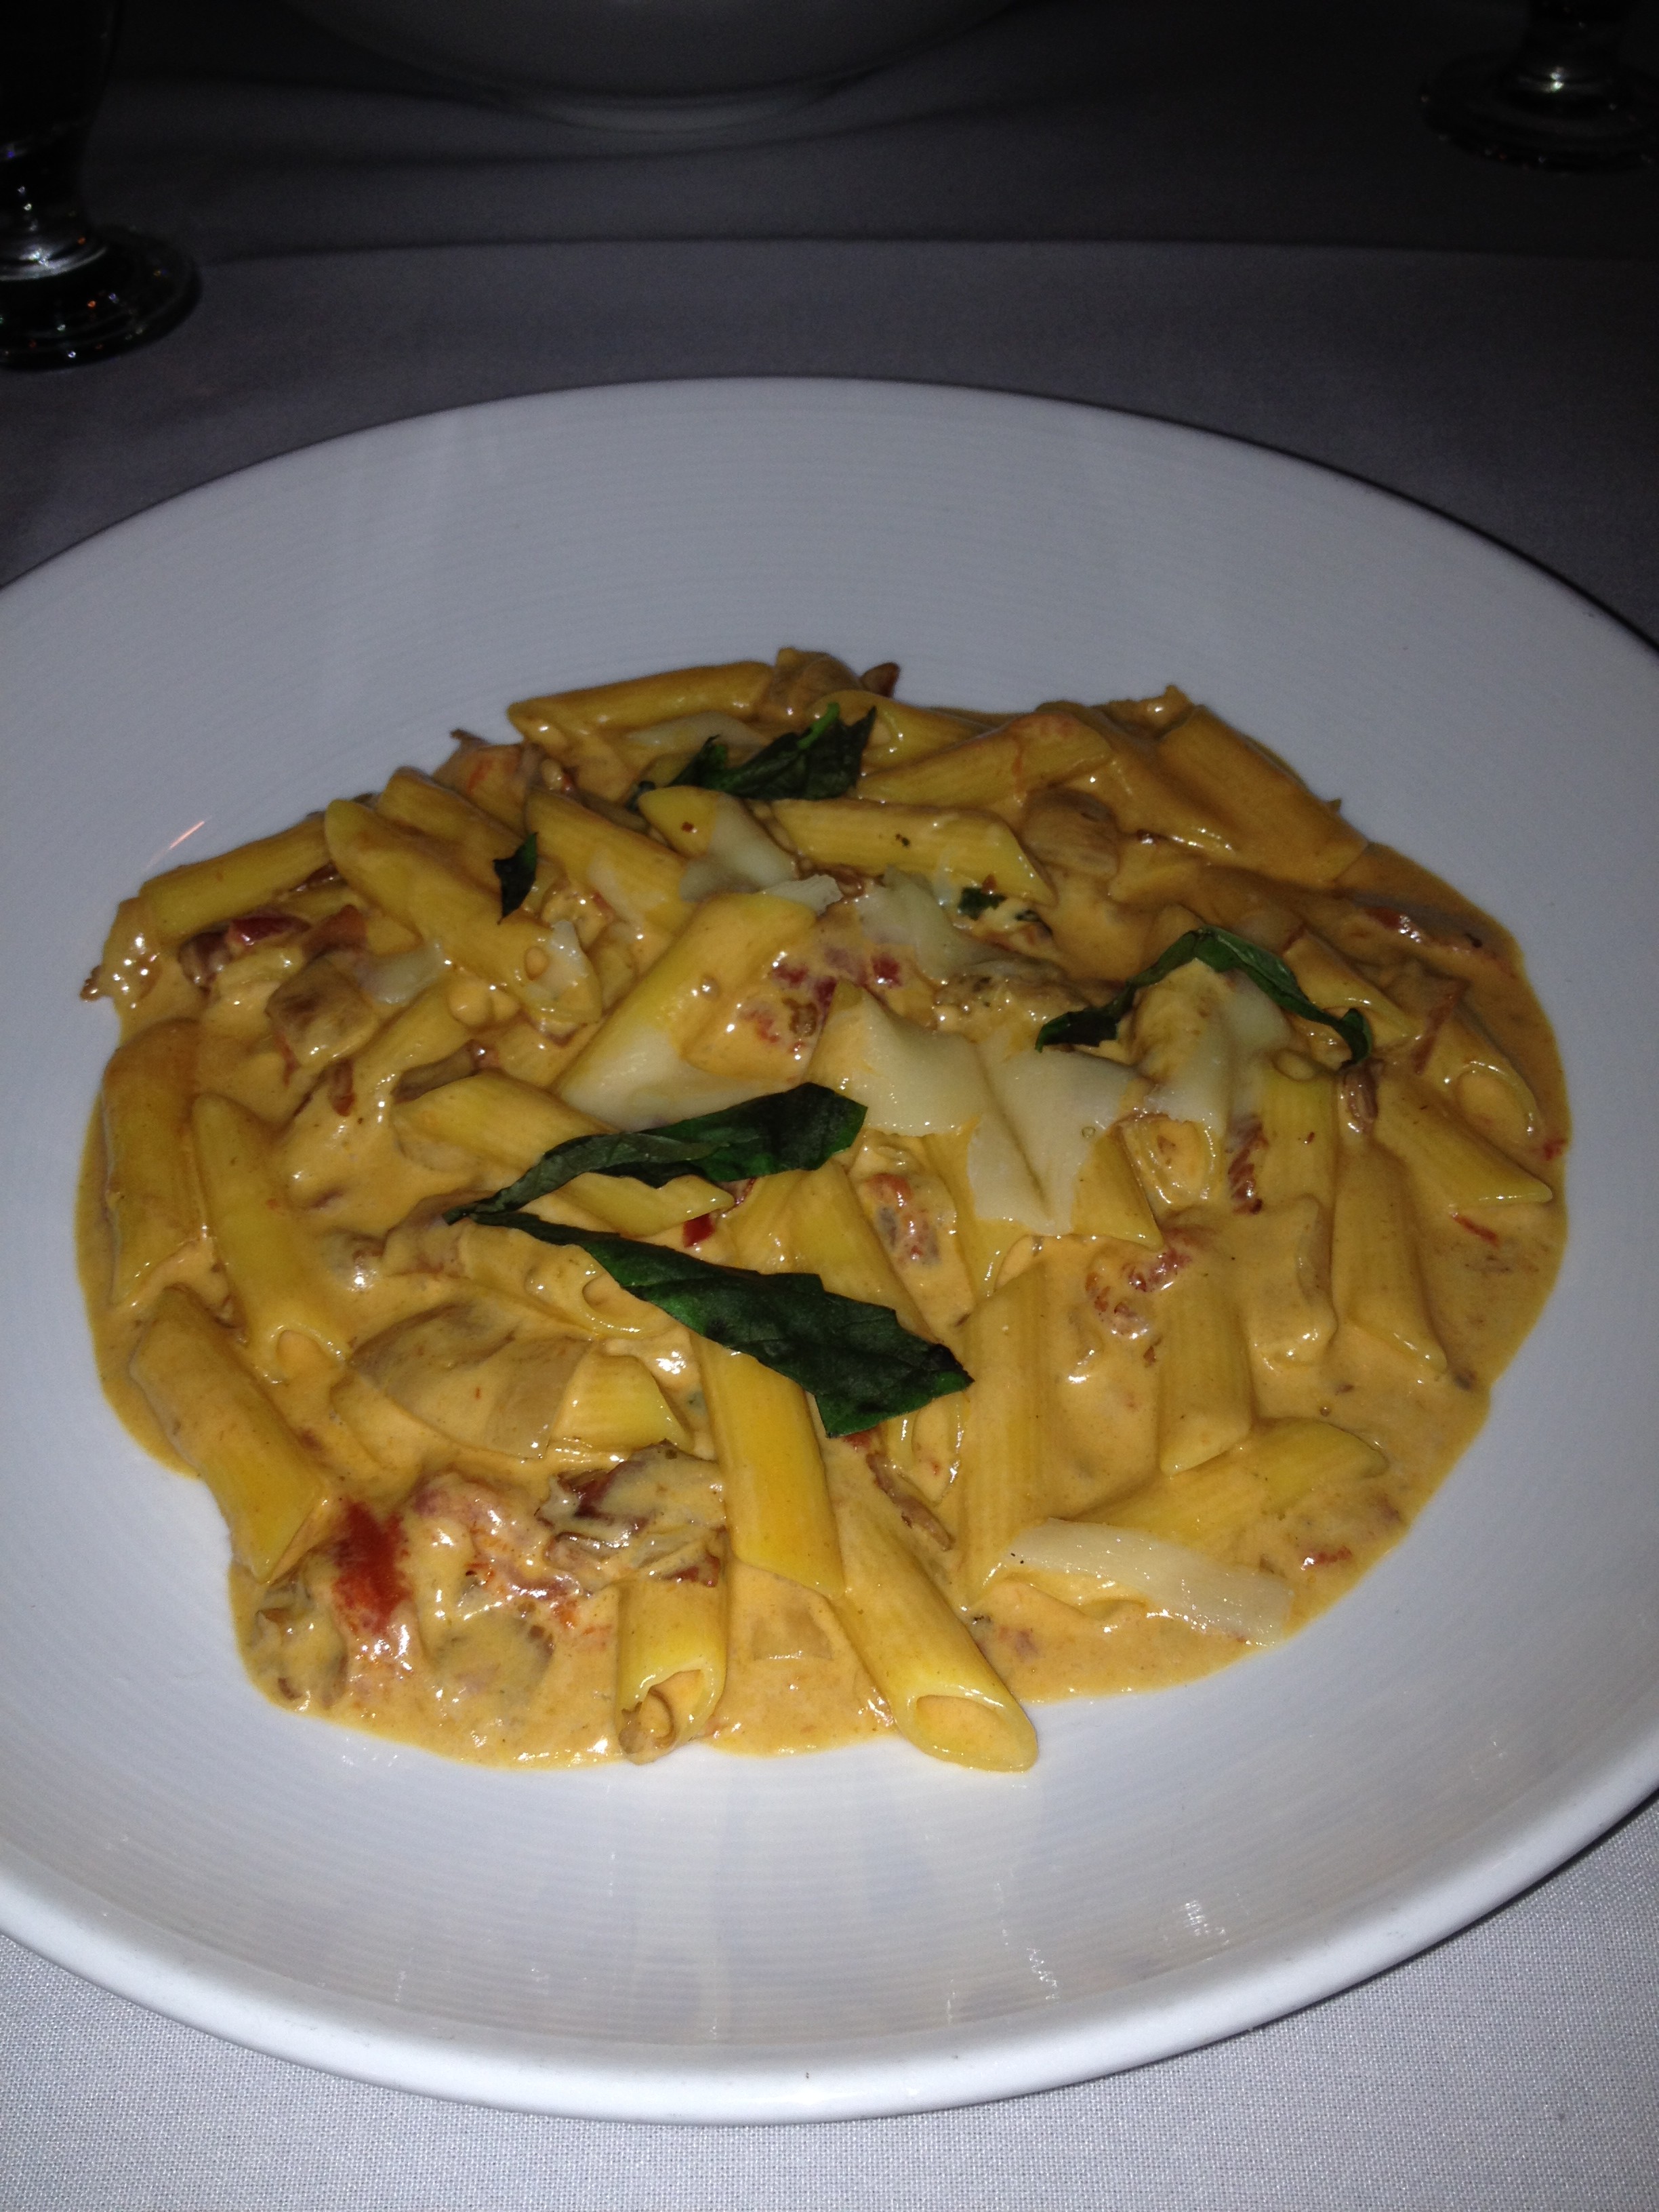
And voila, my gluten free vodka penne was calling my name, steaming hot and looking just as beautiful as always. The gluten free pasta was cooked perfectly and smothered in a creamy vodka sauce chock full of prosciutto and tomatoes, all topped with a few slivers of cheese and some basil. This dish is by far my all time favorite pasta dish and Toscano’s does me proud every single time. I love a creamy, less tomato based vodka sauce and Toscano’s delivers just that. Needless to say, I finished every last bite of my entree, making me so glad that I saved some of my appetizer for the next day so I could enjoy my vodka penne at its best, fresh out of the kitchen.

To be honest, even pregnant me was pretty full at this point but Dan and I had decided to at least taste our desserts and save the rest for the next day if we needed to. I forgot to snap a picture of my Flourless Chocolate Cake but it was a beauty, especially with that gorgeous raspberry sauce drizzled all over it. Their cake is definitely more of a brownie cake texture rather than some flourless chocolate cakes that I’ve had that are more like eating a piece of fudge, both varieties I love and neither of which I would ever turn down mind you. This dessert though was the perfect, gluten free finish to our meal, even if I only took a grand total of 3 bites out of the huge piece of cake. Thankfully, I can report that flourless chocolate cake holds over very well until the next day. 

All together, it was a great meal filled with delicious gluten free food and even better company. We love taking our little girl with us everywhere, especially out to eat, she completes us, so Dan and I rarely get out just us two. So on occasions like this one, we always like to celebrate just mommy and daddy and then have a family celebration too. This holiday we wanted to do just the same, reserving a romantic dinner for us a few days before and having a special day with little girl included on Valentine’s day. Love was certainly in the air for our Valentines day celebrations this year and I’m constantly reminded of how much love we share in our family. Not a day goes by in our house that kisses, hugs, and plenty of I love yous are shared and that’s just the way we like it. No matter how you celebrated I hope you all had a wonderful Valentine’s Day, filled with lots of love with your loved ones and plenty of tasty gluten free food!

Sincerely,

Lindsay (20 weeks) 


Gluten Free Roasted Red Peppers With Provolone Cheese: A Perfect Appetizer Or Side

Anytime Dan and I eat out I’m always on the lookout for new dishes that I can recreate easily at home. Without the recipes, I can’t replicate very many verbatim but using the same core ingredients I can get pretty close on my own. Early in September we attended my father-in-law’s birthday dinner at a restaurant nearby. The menu offered tons of different dishes, many of which weren’t gluten free for one reason or another but one in particular was right up my alley and I knew would be a dish that I’d try on my own later on. A plate full of roasted red peppers topped with steaming melted sharp provolone cheese was placed at our table and couldn’t have looked more appetizing. One taste and I was hooked, this dish was next on my list of at home recreations. 

First up was roasting red peppers, a task I’d never done on my own despite my love for roasted red peppers themselves. To be honest, red peppers are quite expensive so to spare myself the extra money and job itself, buying the jarred version is much easier. But for this dish, it was freshly cooked roasted red peppers all the way and I’m telling you these couldn’t have been easier to do. Once the red peppers were underway, putting together the rest of this dish was so simple. This is a perfect addition to any meal or dinner party, making a great appetizer or side dish. My husband and little one enjoyed these just as much as I did, which means that these Gluten Free Roasted Red Peppers With Provolone Cheese will definitely be appearing again at a future dinner or maybe upcoming holiday meal?

Note: This recipe is big enough for a family of three, so adjust as necessary for the number of people in your party.

Ingredients:

  • 2 large red peppers
  • Shredded Sharp Provolone Cheese (Belgioioso is gluten free)
  • Oregano
  • Salt or Garlic Salt

Directions:

  • Wash and dry your red peppers before placing them on the hottest part of your grill for roasting.
  • Using tongs, turn your red peppers over periodically until all sides are black. 
  • Once your red peppers are black, remove them from the grill and add them to a glass bowl, cover with saran wrap, and let them sit for 10 minutes, this loosens the skins so they can be removed easily.
Roast your red peppers on the grill until the skins turn black.
  • Meanwhile shred some sharp provolone cheese for sprinkling on top of your red peppers and turn on the oven to 350.
  • Once 10 minutes have passed, carefully remove your red peppers and begin to peel off the charred skin with your fingers. I cut off the tops and slice down one side to make this easier. Also be sure to remove the seeds inside too.
Remove charred skins and seeds.
  • Once all skins and seeds have been removed, add your roasted red peppers to a baking dish. Feel free to leave your red peppers as whole slices or cut up into sections like I did, these sizes were just a little better for our little diner. 
  • Sprinkle some sharp provolone cheese on top.
Sprinkle red peppers with shredded sharp provolone cheese.
  • Finish with some oregano and a little salt or garlic salt. 
  • Cook your red peppers in the oven for about 10 minutes or until your cheese has melted. 
Melt shredded sharp provolone cheese on top of red peppers.
  • Enjoy!
Enjoy!
Enjoy!

These were such a hit at that birthday dinner I knew that they would be a new family favorite at home too. The flavor of the freshly roasted red pepper mixed with the melted sharp provolone cheese was delicious! This dish is definitely a crowd pleaser not only in taste but also appearance, it looks beautifully tasty doesn’t it? This is such a winner that it may even make an appearance at our next holiday dinner!  

 Sincerely,

Lindsay

Gluten Free Roasted Red Peppers With Provolone Cheese
Write a review
Print
Ingredients
  1. 2 large red peppers
  2. Shredded Sharp Provolone Cheese (Belgioioso is gluten free)
  3. Oregano
  4. Salt or Garlic Salt
Instructions
  1. Wash and dry your red peppers before placing them on the hottest part of your grill for roasting.
  2. Using tongs, turn your red peppers over periodically until all sides are black.
  3. Once your red peppers are black, remove them from the grill and add them to a glass bowl, cover with saran wrap, and let them sit for 10 minutes, this loosens the skins so they can be removed easily.
  4. Meanwhile shred some sharp provolone cheese for sprinkling on top of your red peppers and turn on the oven to 350.
  5. Once 10 minutes have passed, carefully remove your red peppers and begin to peel off the charred skin with your fingers. I cut off the tops and slice down one side to make this easier. Also be sure to remove the seeds inside too.
  6. Once all skins and seeds have been removed, add your roasted red peppers to a baking dish. Feel free to leave your red peppers as whole pieces or slice up into sections like I did, these were just a better size for our little diner.
  7. Sprinkle some sharp provolone cheese on top.
  8. Finish with some oregano and a little salt or garlic salt.
  9. Cook your red peppers in the oven for about 10 minutes or until your cheese has melted.
  10. Enjoy!
Gluten Free Mom To Be http://www.glutenfreemomtobe.com/

When Pizza Night Rolls Around Try A Burrata And Pesto Gluten Free Focaccia Pizza

I’ll be honest, I’m one of those people that loves receiving mail, well the happy kinds, not bills and junk mail. Letters, cards, packages, it’s truly a lost art of communication but one that I love. I mean who doesn’t love coming home and finding a little brown package sitting on their doorstep, especially one with Canyon Bakehouse in the return address. I lugged little one, the diaper bag, and the brown box of gluten free love into the house and couldn’t wait to tear into it. A beautiful site laid before me in the form of three fresh loaves of gluten free focaccia. 

It’s no mystery that I’ve fallen for Canyon Bakehouse’s Gluten Free Focaccia. In fact, for only $5 a loaf, you would certainly be able to find a loaf at all times in my cabinet if it were available at my local grocery store everyday. So every now and then I’ve been able to enjoy the specialness of the gluten free focaccia. So far I’ve put together these Caprese and Spinach Artichoke Garlicky Focaccia Bites, adding two of my favorite appetizers to toasted garlic focaccia bread, which by the way my family and I loved. This time around with my box full of sample focaccia, I was craving a pizza. Yup, it was that time in the week for a homemade pizza and I figured why not use the focaccia for a pizza crust.

I am so glad that I tried this gluten free pizza out, the focaccia was a perfect substitute for your traditional crust, kind of like a deep dish pizza. But instead of my normal pizza toppings I decided to try out my gluten free burrata cheese that I snagged at our local Italian specialty store. I first was introduced to burrata cheese at Disney actually. Epcot’s Tutto Gusto makes this gluten free pasta pomodoro and tops it with a soft and creamy burrata cheese, it’s divine! Burrata is basically a creamy version of mozzarella, a little ball of fresh mozzarella that’s filled with a creamy center. With burrata cheese, focaccia, a fresh tomato from our garden, and pesto in hand, I decided to throw it all together for a clever new pizza. It was delicious and certainly a new family favorite! Need a sneak peak of the end result, here you go, a Burrata and Pesto Gluten Free Focaccia Pizza!

Focaccia Pizza (10)
Burrata And Pesto Gluten Free Focaccia Pizza

Note: If you don’t have any or can’t get your hands on burrata cheese just use fresh mozzarella as a substitute, it’ll be equally as tasty. 

Ingredients:

  • 16 oz loaf of Canyon Bakehouse Rosemary and Thyme Focaccia
  • 1/2 cup pesto sauce, fresh or jarred (My favorite gluten free jarred pesto is Wegman’s brand.)
  • 8 oz gluten free Burrata cheese, fresh mozzarella with a creamy center (Lioni states gluten free on the label.)
  • 1 large tomato, thinly sliced 
  • salt and pepper to taste

Directions:

  • Preheat oven to 400 degrees.
  • Cut your 16 oz loaf of Canyon Bakehouse focaccia lengthwise so you have two large halves of focaccia.
Focaccia loaf cut in half lengthwise.
  • Add about a 1/4 cup of fresh or jarred gluten free pesto to each loaf and spread into a thin layer. I used a basting brush to make sure the layer was super thin just to give a hint of pesto flavor. Just make sure all of your loaf is covered, add a little extra if needed.
Thin layer of pesto sauce.
  • Slice 1 large tomato into thin slices and fill each half with tomato. I had a large plum tomato and had enough to add six whole slices to each and fill some gaps with the remaining tomato pieces.
Add tomato slices on top of pesto layer.
  • Top your focaccia pizzas with 8 oz gluten free burrata cheese (4 oz per half). The burrata cheese comes as a tight ball similar to fresh mozzarella. I sliced the mozzarella and added the cheese with the creamy center on top of each tomato slice.
Top with burrata cheese.
  • Before cooking, I dusted each half with a little bit of garlic salt.  
Ready to cook!
Ready to cook!
  • Cook pizzas for 20 minutes until cheese has melted and begun to brown. 
Gluten free focaccia pizza anyone?
  • Let pizzas stand for 1-2 minutes and then slice with a pizza cutter into 6 squares, smaller pieces even if you’re using these for appetizers. Depending on your pesto sauce you may need to season with a little salt but this is optional. Enjoy!

This focaccia bread is an amazing alternative to your traditional gluten free pizza crust. It gives you a thicker crust, just like a deep dish pizza, that crisps up along the edges but keeps the soft and light texture inside. The combination of the pesto sauce and creamy burrata cheese is amazing and a great alternative to using red sauce and shredded mozzarella. You absolutely must try this, it makes for a perfect week night dinner or appetizer for a dinner party. Just make sure you grab enough slices for yourself because they will certainly go quickly. I was only lucky enough to grab a handful before my husband got his hands on the rest! Enjoy!

Sincerely,

Lindsay

Burrata And Pesto Gluten Free Focaccia Pizza
Write a review
Print
Ingredients
  1. 16 oz loaf of Canyon Bakehouse Rosemary and Thyme Focaccia
  2. 1/2 cup pesto sauce, fresh or jarred (My favorite gluten free jarred pesto is Wegman's brand.)
  3. 8 oz gluten free Burrata cheese, fresh mozzarella with a creamy center (Lioni states gluten free on the label.)
  4. 1 large tomato, thinly sliced
  5. salt and pepper to taste
Instructions
  1. Preheat oven to 400 degrees.
  2. Cut your 16 oz loaf of Canyon Bakehouse focaccia lengthwise so you have two large halves of focaccia.
  3. Add about a 1/4 cup of fresh or jarred gluten free pesto to each loaf and spread into a thin layer. I used a basting brush to make sure the layer was super thin just to give a hint of pesto flavor.
  4. Slice 1 large tomato into thin slices and fill each half with tomato. I had a large plum tomato and had enough to add six whole slices to each and fill some gaps with the remaining tomato pieces.
  5. Top your focaccia pizzas with 8 oz gluten free burrata cheese (4 oz per half). The burrata cheese comes as a tight ball similar to fresh mozzarella. I sliced the mozzarella and added the cheese with the creamy center on top of each tomato slice.
  6. Before cooking, I dusted each half with a little bit of garlic salt.
  7. Cook pizzas for 20 minutes until cheese has melted and begun to brown.
  8. Let pizzas stand for 1-2 minutes and then slice with a pizza cutter into 6 squares, smaller pieces even if you're using these for appetizers. Depending on your pesto sauce you may need to season with a little salt but this is optional. Enjoy!
Gluten Free Mom To Be http://www.glutenfreemomtobe.com/

Gluten Free Chicken, Broccoli, And Cheese Quesadillas Using Udi’s Large Tortillas

Okay, so I received some samples of Udi’s new tortillas not too long ago and absolutely fell in love with them. I’ve been itching to get my hands on another package since then but haven’t had any luck finding them in my local grocery stores. Thankfully, I was wandering with little girl through one of my local health food stores the other day and spotted them, in all their gluten free glory, sitting in the freezer case. Since finding them was somewhat of a needle in a haystack scenario, I decided to snag a few packages while I had them in front of me, especially since they could be kept in the freezer for quite awhile. At $4.19 a piece they weren’t too terribly priced, but thankfully I remembered that I had Udi’s coupons sitting at the bottom of my diaper bag waiting for a moment like this to be used. And voila! Only ten minutes later and I’d saved $5 on four packages of gluten free Udi’s tortillas that were now nestled snugly in my backseat next to my little girl. Finding my favorite gluten free tortillas and saving some money on them too was a huge success for this mommy, ah the little things in life that’ll make you smile!

Well anyway, now with four packages in hand, I couldn’t wait to try out some new ways to enjoy these perfect gluten free tortillas. While I love using them to make wraps, especially my Crispy Chicken Cobb Wrap, I was really in the mood to do something warm, maybe either a panini or quesadilla. Seeing as I already had all of the ingredients for my type of quesadilla, we found a winner. Okay, so my type of quesadilla isn’t a traditional spicy version but rather it’s the perfect combo of ingredients for the Gluten Free Mom To Be. I just love the flavor and texture combination of the melted cheddar jack cheese, diced chicken, and chopped broccoli all enveloped in toasted tortillas. These are so delicious and make my mouth water just thinking about them.  

Ingredients:

  • 1 Package Large Udi’s Tortillas
  • 1 cup diced, grilled chicken (I used 1 9 oz boxes Perdue Shortcuts.)
  • 1 8 oz bag shredded cheddar jack cheese
  • 1 cup chopped broccoli
  • Butter to cook quesadilla (I used Smart Balance.)
  • Salt and pepper to taste

Directions:

  • Out of each Udi’s Large Tortilla package you’ll get 3 quesadillas so you’ll be repeating each of these steps three times.
  • Spread a thin layer of butter on one side of each tortilla, making sure you cover the entire side of the tortilla. 
Quesadilla
Udi’s large tortilla with one side buttered for cooking.
  • Warm up skillet at medium heat.
  • Add your first buttered tortilla to a warmed skillet, butter side down. Next few steps involve assembling the quesadilla which I do in the skillet. It’s much easier to quickly and carefully assemble the quesadilla in the skillet than trying to move the assembled quesadilla from plate to skillet (this gets quite messy).  
  • To the top, spread a thin layer of shredded cheddar jack cheese (I’d say about 1/4 cup).
lkjsldfj
Add buttered tortilla to a warmed skillet, followed by a thin layer of shredded cheese.
  • Add about 1/3 cup diced chicken on top of cheese layer. When I’m in a rush, I use Perdue Shortcuts, either grilled or honey flavored. They’re so simple and easy to use and taste fantastic in this dish. 
  • Next, add about 1/3 cup chopped broccoli across chicken and cheese, making sure to spread evenly.
khlh
Layer diced chicken and chopped broccoli on top of tortilla and cheese. 
  • Toss a little more shredded cheese on top of the fillings, just to help the second tortilla stick. 
  • Season fillings with a little salt and pepper if you wish and then top them with the second tortilla, butter side facing up.
  • After only about 2-3 minutes of cooking on first side, using a spatula, carefully lift the bottom layer up to make sure it’s golden brown. 
  • Once the bottom tortilla has turned golden brown, using a large spatula carefully flip the quesadilla over so the uncooked, buttered tortilla is now face down on the skillet and the browned tortilla is face up. 
khkjh
Carefully flip your quesadilla so the cooked side is up and uncooked buttered tortilla is down on the skillet. 
  • After an additional 2-3 minutes cooking on the second side, carefully scoop out quesadilla and add it to a plate.
  • Using a pizza cutter, cut your quesadilla into as many slices as you prefer.
  • Repeat assembly and cooking steps for remaining tortillas and you’ll end up with three large portions of delicious and gluten free chicken, cheese, and broccoli quesadillas! 
ljlkj
Yummy! It’s making my mouth water just looking at this picture.

These quesadillas are a quick and tasty dinner, lunch, or even appetizer for a dinner party! They’re a different take on your traditional zesty quesadillas and satisfy even the pickiest diners. If you have non-gluten free diners in your family just split this recipe between gluten free and non-gluten free tortillas. For our family, I prepared one gluten free quesadilla for myself and two non-gluten free quesadillas for my husband and daughter. As always be careful of cross contamination, but what I like to do is prep all of the ingredients first and then make my gluten free quesadilla before I even take out the non-gluten free tortillas. Also, a little tip about minimizing your dirty dishes, just reuse your skillet between quesadillas. I make mine first so I don’t share a cook top, which is a big cross contamination no no, and then assemble and make the regular quesadillas in the same skillet afterwards.

So grab your favorite gluten free tortillas, I highly recommend Udi’s brand, and put these quesadillas together as soon as possible! I for one am so glad that I came upon these tortillas, as they’re by far the best gluten free tortillas that I’ve yet to experience. I certainly can see many a gluten free wrap and quesadilla in my future, especially during a future pregnancy. What a great pregnancy snack or meal!

Sincerely,

Lindsay

Gluten Free Chicken, Broccoli, And Cheese Quesadillas
Write a review
Print
Ingredients
  1. 1 Package Large Udi's Tortillas
  2. 1 cup diced, grilled chicken (I used 1 9 oz boxes Perdue Shortcuts.)
  3. 1 8 oz bag shredded cheddar jack cheese
  4. 1 cup chopped broccoli
  5. Butter to cook quesadilla (I used Smart Balance.)
  6. Salt and pepper to taste
Instructions
  1. Out of each Udi's Large Tortilla package you'll get 3 quesadillas so you'll be repeating each of these steps three times.
  2. Spread a thin layer of butter on one side of each tortilla, making sure you cover the entire side of the tortilla.
  3. Warm up skillet at medium heat.
  4. Add your first buttered tortilla to a warmed skillet, butter side down. Next few steps involve assembling the quesadilla which I do in the skillet. It's much easier to quickly and carefully assemble the quesadilla in the skillet than trying to move the assembled quesadilla from plate to skillet (this gets quite messy).
  5. To the skillet tortilla, spread a thin layer of shredded cheddar jack cheese (I'd say about 1/4 cup).
  6. Add about 1/3 cup diced chicken on top of cheese layer. When I'm in a rush, I use Perdue Shortcuts, either grilled or honey flavored. They're so simple and easy to use and taste fantastic in this dish.
  7. Next, add about 1/3 cup chopped broccoli across chicken and cheese, making sure to spread evenly.
  8. Toss a little more shredded cheese on top of the fillings, just to help the second tortilla stick.
  9. Season fillings with a little salt and pepper if you wish and then top them with the second tortilla, butter side facing up.
  10. After only about 2-3 minutes of cooking on first side, using a spatula, carefully lift the bottom layer up to make sure it's golden brown.
  11. Once the bottom tortilla has turned golden brown, using a large spatula carefully flip the quesadilla over so the uncooked, buttered tortilla is now face down on the skillet and the browned tortilla is face up.
  12. After an additional 2-3 minutes cooking on the second side, carefully scoop out quesadilla and add it to a plate.
  13. Using a pizza cutter, cut your quesadilla into as many slices as you'd like.
  14. Repeat assembly and cooking steps for remaining tortillas and you'll end up with three portions of delicious and gluten free chicken, cheese, and broccoli quesadillas!
Gluten Free Mom To Be http://www.glutenfreemomtobe.com/

Gluten Free Garlicky Focaccia Appetizers, Perfect For Any Occasion

I’m always on the lookout for a delicious new gluten free bread option that bears some resemblance to non-gluten free bread that I once enjoyed. A few years back, I used to enjoy Panera sandwiches on all sorts of different breads, but one of my favorites by far was their focaccia, it was so light and perfectly seasoned. Flash forward several years and Panera sandwiches are off of our list of safe gluten free dinners out. I’m not going to lie, not being able to enjoy a soup and sandwich at Panera is a hard one to lose, especially since this restaurant holds a special place in my heart. I still remember my years in college when my parents would come up and visit me and we would head over to the local Panera. It was such a great environment for us to sit, eat, and catch up on my days at school. Not to mention, we would top it off by sharing a dessert or two and they’d always send off their poor college student with a to go bag of treats. 

All grown up now with no more gluten allowed, my Panera days are something of the past and so are those delicious bread choices (tear). Much to my surprise though, a couple of weeks ago I stumbled upon gluten free focaccia by Canyon Bakehouse. They’ve accomplished the impossible it seems in the gluten free world and have produced a fantastic product. Their focaccia is soft and moist and perfectly seasoned with rosemary and thyme, take a peak at how beautiful Canyon Bakehouse’s Focaccia is. It is definitely one of my new favorite breads and is perfect for a sandwich, dipping in some olive oil and seasonings, or something a bit fancier like my Gluten Free Garlicky Focaccia Appetizers, topped with caprese and spinach artichoke toppings. Top with either set of toppings and you’re good to go with some delicious appetizers or a side to your dinner. My little one and husband gobbled these up so quickly, I’m just lucky I got to try some too! Enjoy!

Note: Feel free to use as much or as little of each topping ingredient as you’d like. This recipe only lists the combination of topping ingredients you should use but really depends on which variety and how many of the focaccia appetizers you wish to make.

Ingredients:

  • Canyon Bakehouse Focaccia 
  • Butter (I use Smart Balance.)
  • 4 tbsp minced garlic
  • Shredded part-skim mozzarella cheese
  • Salt and pepper to season

         Caprese Toppings:

  • 2-3 plum tomatoes
  • Fresh basil leaves

         Spinach Artichoke Toppings:

  • Spinach (I like the frozen steamer bags of spinach.)
  • Artichokes (Jar of Cento artichokes are gluten free.)

Directions:

  • Preheat oven to 350 degrees. 
  • Slice focaccia lengthwise and cut into four long slices (2 from the top of the bread and 2 from the bottom).
  • Spread a thin layer of gluten free butter across each slice of bread.
  • Add 1 tbsp minced garlic to each slice of buttered focaccia and spread across the slice.  
Cut focaccia in half lengthwise and spread butter with minced garlic on top.
  • Toast focaccia in the oven for 15 minutes. 
  • While focaccia is toasting, prepare desired toppings to either do half caprese and half spinach artichoke or to do all of one or the other.
  • Slice 2-3 medium tomatoes.
  • Prepare frozen spinach.
  • Rinse and chop artichokes.
  • In a small bowl, combine even parts (about 1/2 cup, this amount really depends on which route you go with toppings) spinach and artichoke and add 2 tbsp shredded part-skim mozzarella and 2 tbsp parmesan cheese. 
  • Remove toasted focaccia from the oven and carefully cut into small squares. 
  • To sliced focaccia bites, add toppings. For the caprese garlicky focaccia bites, add a single slice of tomato and basil leaves on top. For the spinach artichoke garlicky focaccia, add 1 tbsp of spinach/artichoke mixture to bread.
Toast focaccia for 15 minutes at 350 degrees, then top with caprese or spinach artichoke toppings.
  • On both versions, top with part-skim mozzarella cheese (I used slices, but I’d use shredded next time I make these.).
Top with cheese.
Top with cheese.
  • Toast focaccia bites in the oven for an additional 10-15 minutes until cheese has melted and begun to brown. 
Carefully remove hot appetizers and add to serving dish.
  • Carefully remove bread from baking sheet and add to serving dish. 
  • Drizzle with a little bit of olive oil and season with salt and pepper if you’d like.
  • Serve warm and enjoy!
Delicious!
Delicious!

After making both varieties and having them taste tested by my toughest critics, the non-gluten free eaters in the house, seeing as not a crumb was left of each of them, I’d say that both are winners! The fresh basil combined with the tomatoes was so delicious, just like my favorite caprese summer salad; while the spinach artichoke bites reminded me my creamy spinach artichoke dip that I love to make, but instead of the dip part, a delicious piece of garlicky butter bread was in its place. In my opinion, you certainly can’t go wrong with buttering up and adding garlic to a tasty piece of bread, but why not take it a step further and add your favorite appetizer flavors too. 

Thanks to Canyon Bakehouse, these focaccia bites will be making an appearance in our house on a number of occasions in the future and will surely please all of our diners. The possibilities are truly endless with this kind of bread, so if you have any extra after making these appetizers, feel free to use it for your next lunch meat sandwich or cut it up and dip it in your favorite spices and olive oil! I can’t wait to incorporate this bread into another one of our meals in the near future!

Sincerely,

Lindsay


Gluten Free Garlicky Focaccia Appetizers
Toasted focaccia garlic bread, topped with caprese and spinach artichoke toppings.
Write a review
Print
Ingredients
  1. Canyon Bakehouse Focaccia
  2. Butter (I use Smart Balance.)
  3. 4 tbsp minced garlic
  4. Shredded part-skim mozzarella cheese
  5. Salt and pepper to season
Caprese Toppings
  1. 2-3 plum tomatoes
  2. Fresh basil leaves
Spinach Artichoke Toppings
  1. Spinach (I like the frozen steamer bags of spinach.)
  2. Artichokes (Jar of Cento artichokes are gluten free.)
Instructions
  1. Preheat oven to 350 degrees.
  2. Slice focaccia lengthwise and cut into four long slices (2 from the top of the bread and 2 from the bottom).
  3. Spread a thin layer of gluten free butter across each slice of bread.
  4. Add 1 tbsp minced garlic to each slice of buttered focaccia and spread across the slice.
  5. Toast focaccia in the oven for 15 minutes.
  6. While focaccia is toasting, prepare desired toppings to either do half caprese and half spinach artichoke or to do all of one or the other.
  7. Slice 2-3 medium tomatoes.
  8. Prepare frozen spinach.
  9. Rinse and chop artichokes.
  10. In a small bowl, combine even parts (about 1/2 cup, this amount really depends on which route you go with toppings) spinach and artichoke and add 2 tbsp shredded part-skim mozzarella and 2 tbsp parmesan cheese.
  11. Remove toasted focaccia from the oven and carefully cut into small squares.
  12. To sliced focaccia bites, add toppings. For the caprese garlicky focaccia bites, add a single slice of tomato and basil leaves on top. For the spinach artichoke garlicky focaccia, add 1 tbsp of spinach/artichoke mixture to bread.
  13. On both versions, top with part-skim mozzarella cheese (I used slices, but I'd use shredded next time I make these.).
  14. Toast focaccia bites in the oven for an additional 10-15 minutes until cheese has melted and begun to brown.
  15. Carefully remove bread from baking sheet and add to serving dish.
  16. Drizzle with a little bit of olive oil and season with salt and pepper if you'd like.
  17. Serve warm and enjoy!
Notes
  1. Feel free to use as much or as little of each topping ingredient as you'd like. This recipe only lists the combination of topping ingredients you should use but really depends on which variety and how many of the focaccia appetizers you wish to make.
Gluten Free Mom To Be http://www.glutenfreemomtobe.com/