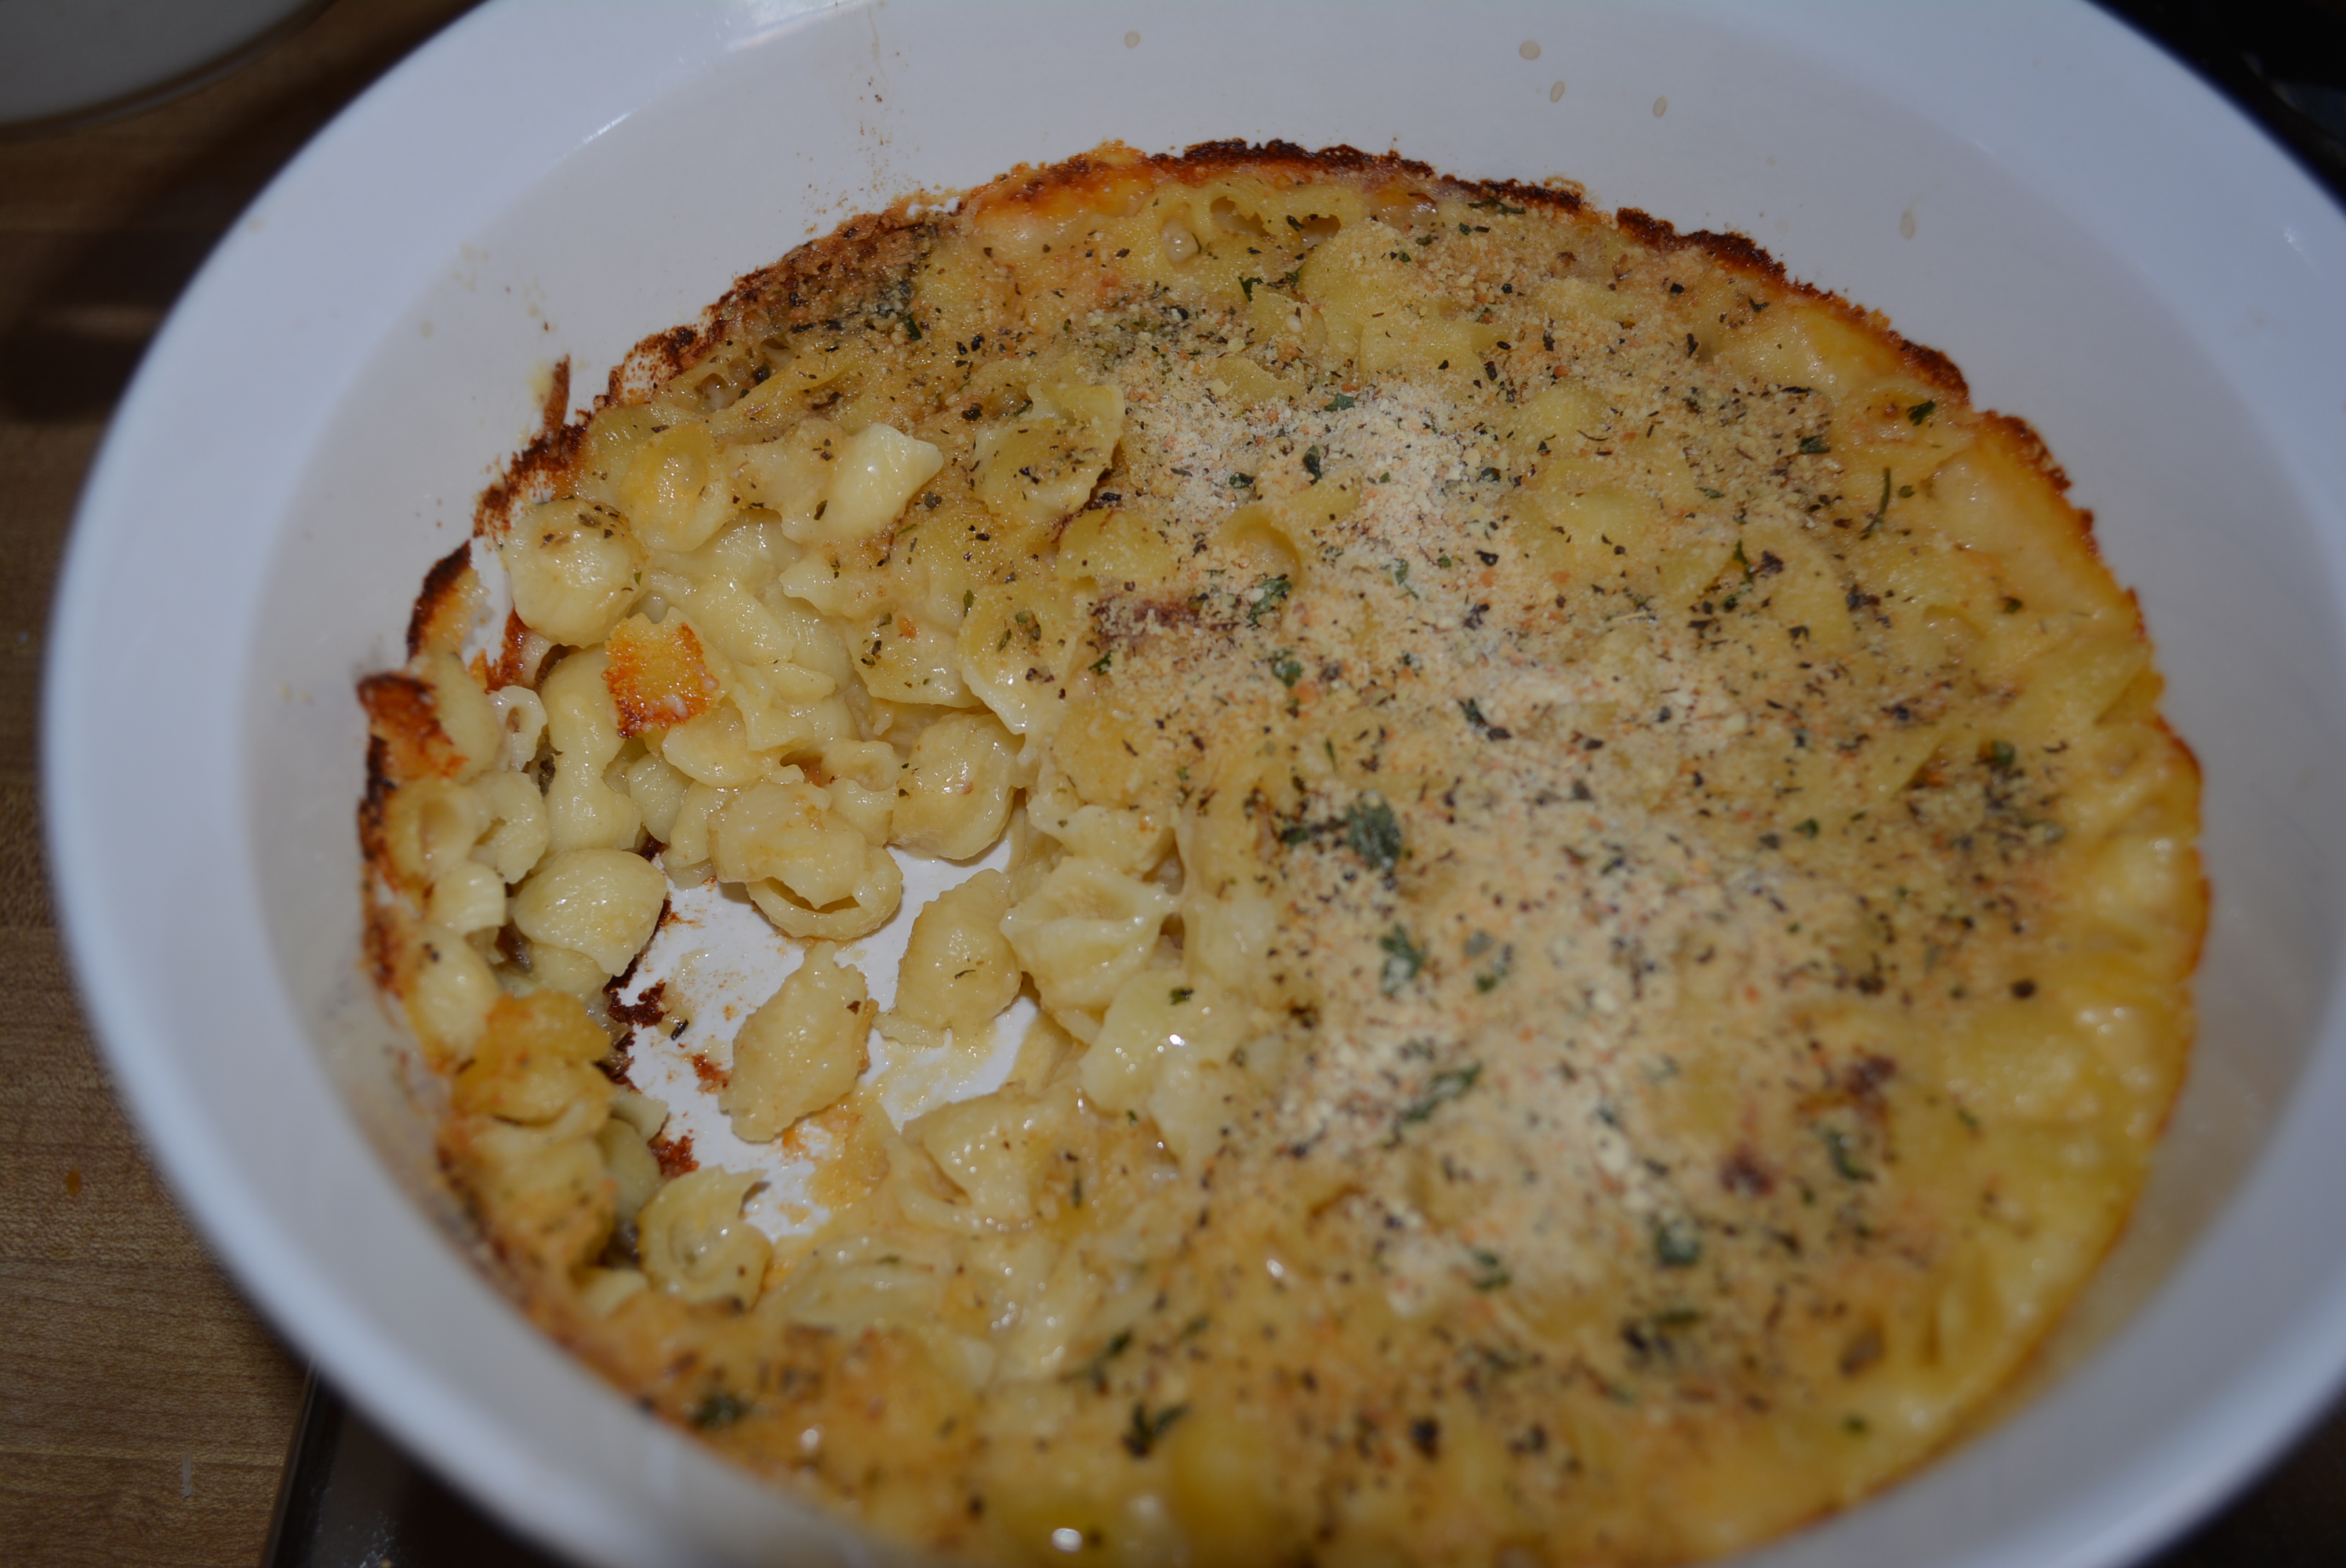
Pasta night is a must on our weekly calender. Whether there’s a request for lasagna, penne with a pesto cream sauce, or macaroni and cheese, it never fails, pasta night is one of our favorites! When Barilla released its new gluten free line of pastas, I decided to take a look at their website to learn a bit more on what their new offerings were. While I was there, I took a look at their recipe tab and boy was I glad I did! There I came across a recipe that seemed to put together everything that we like, pasta, basil, prosciutto, roasted tomatoes, and best yet parmigiano reggiano cheese. After I adjusted a few things for my own personal liking, the dish was ready to enjoy and did we ever! My 15 month old keeps surprising me with how adventurous her palate is, certainly not like her picky mommy. She devoured her portion and even enjoyed leftovers the next day for lunch so I guess I can add a couple more items to her list of keeper foods! This recipe is certainly a people pleaser!
Ingredients:
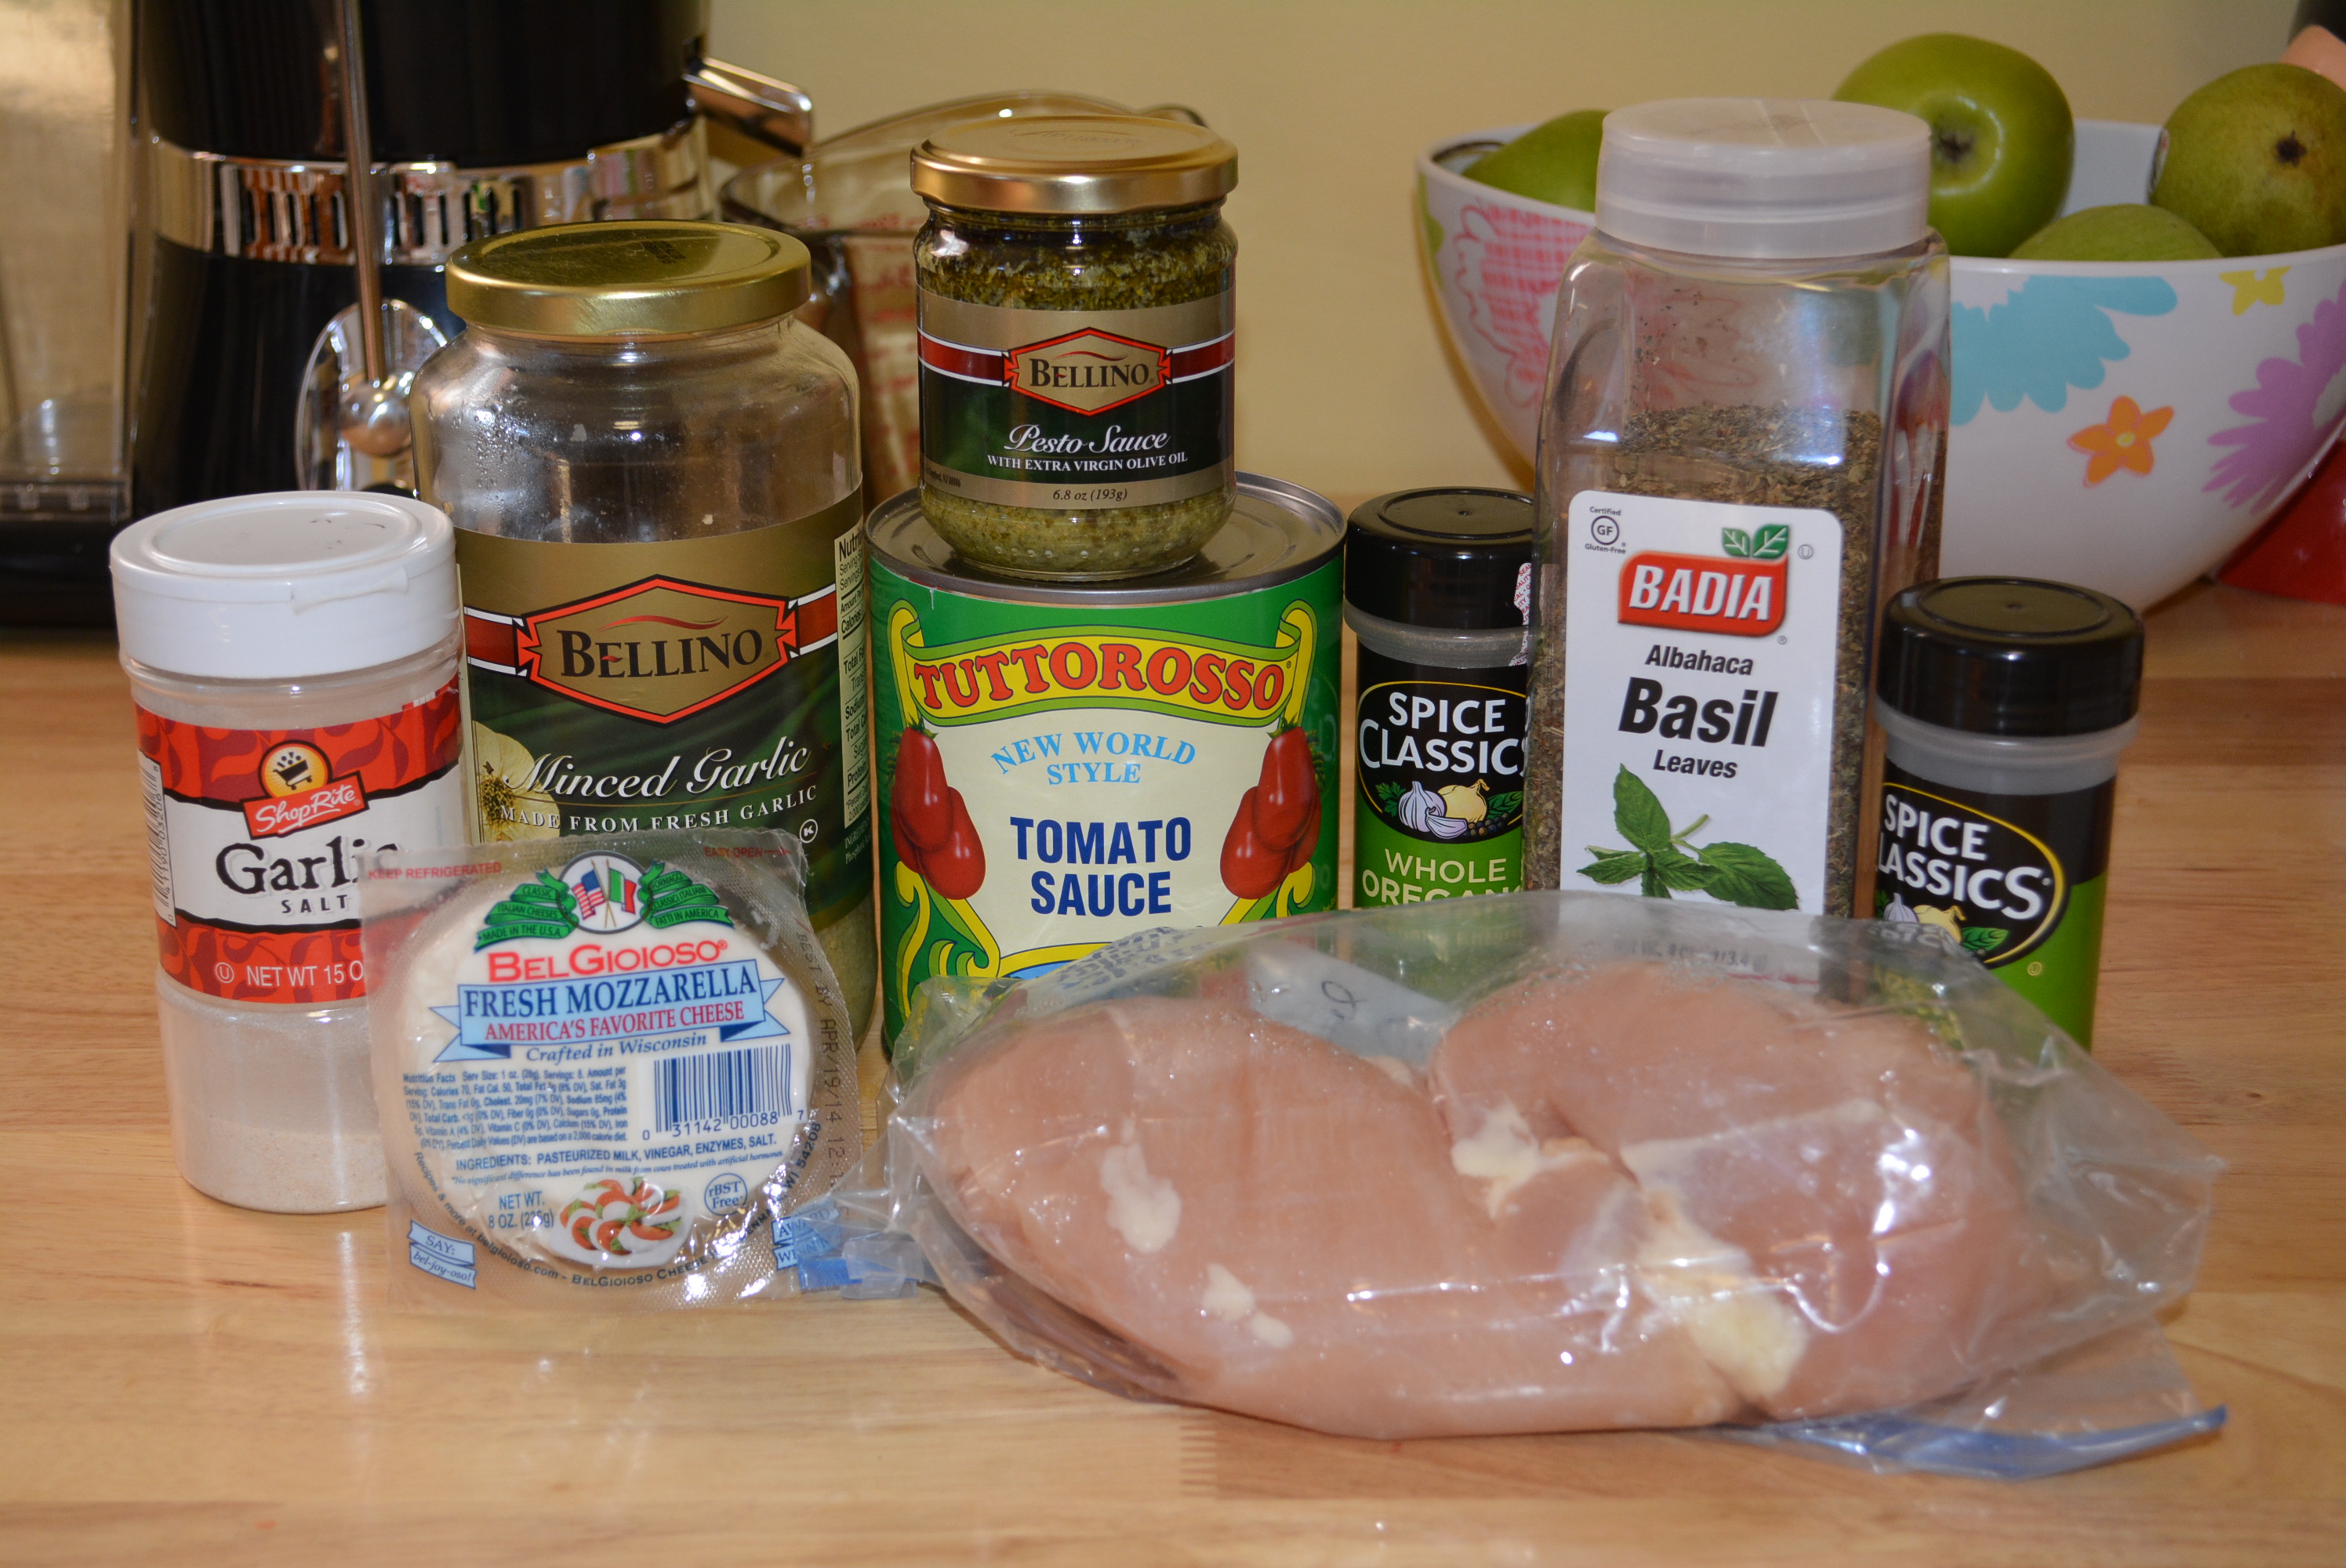
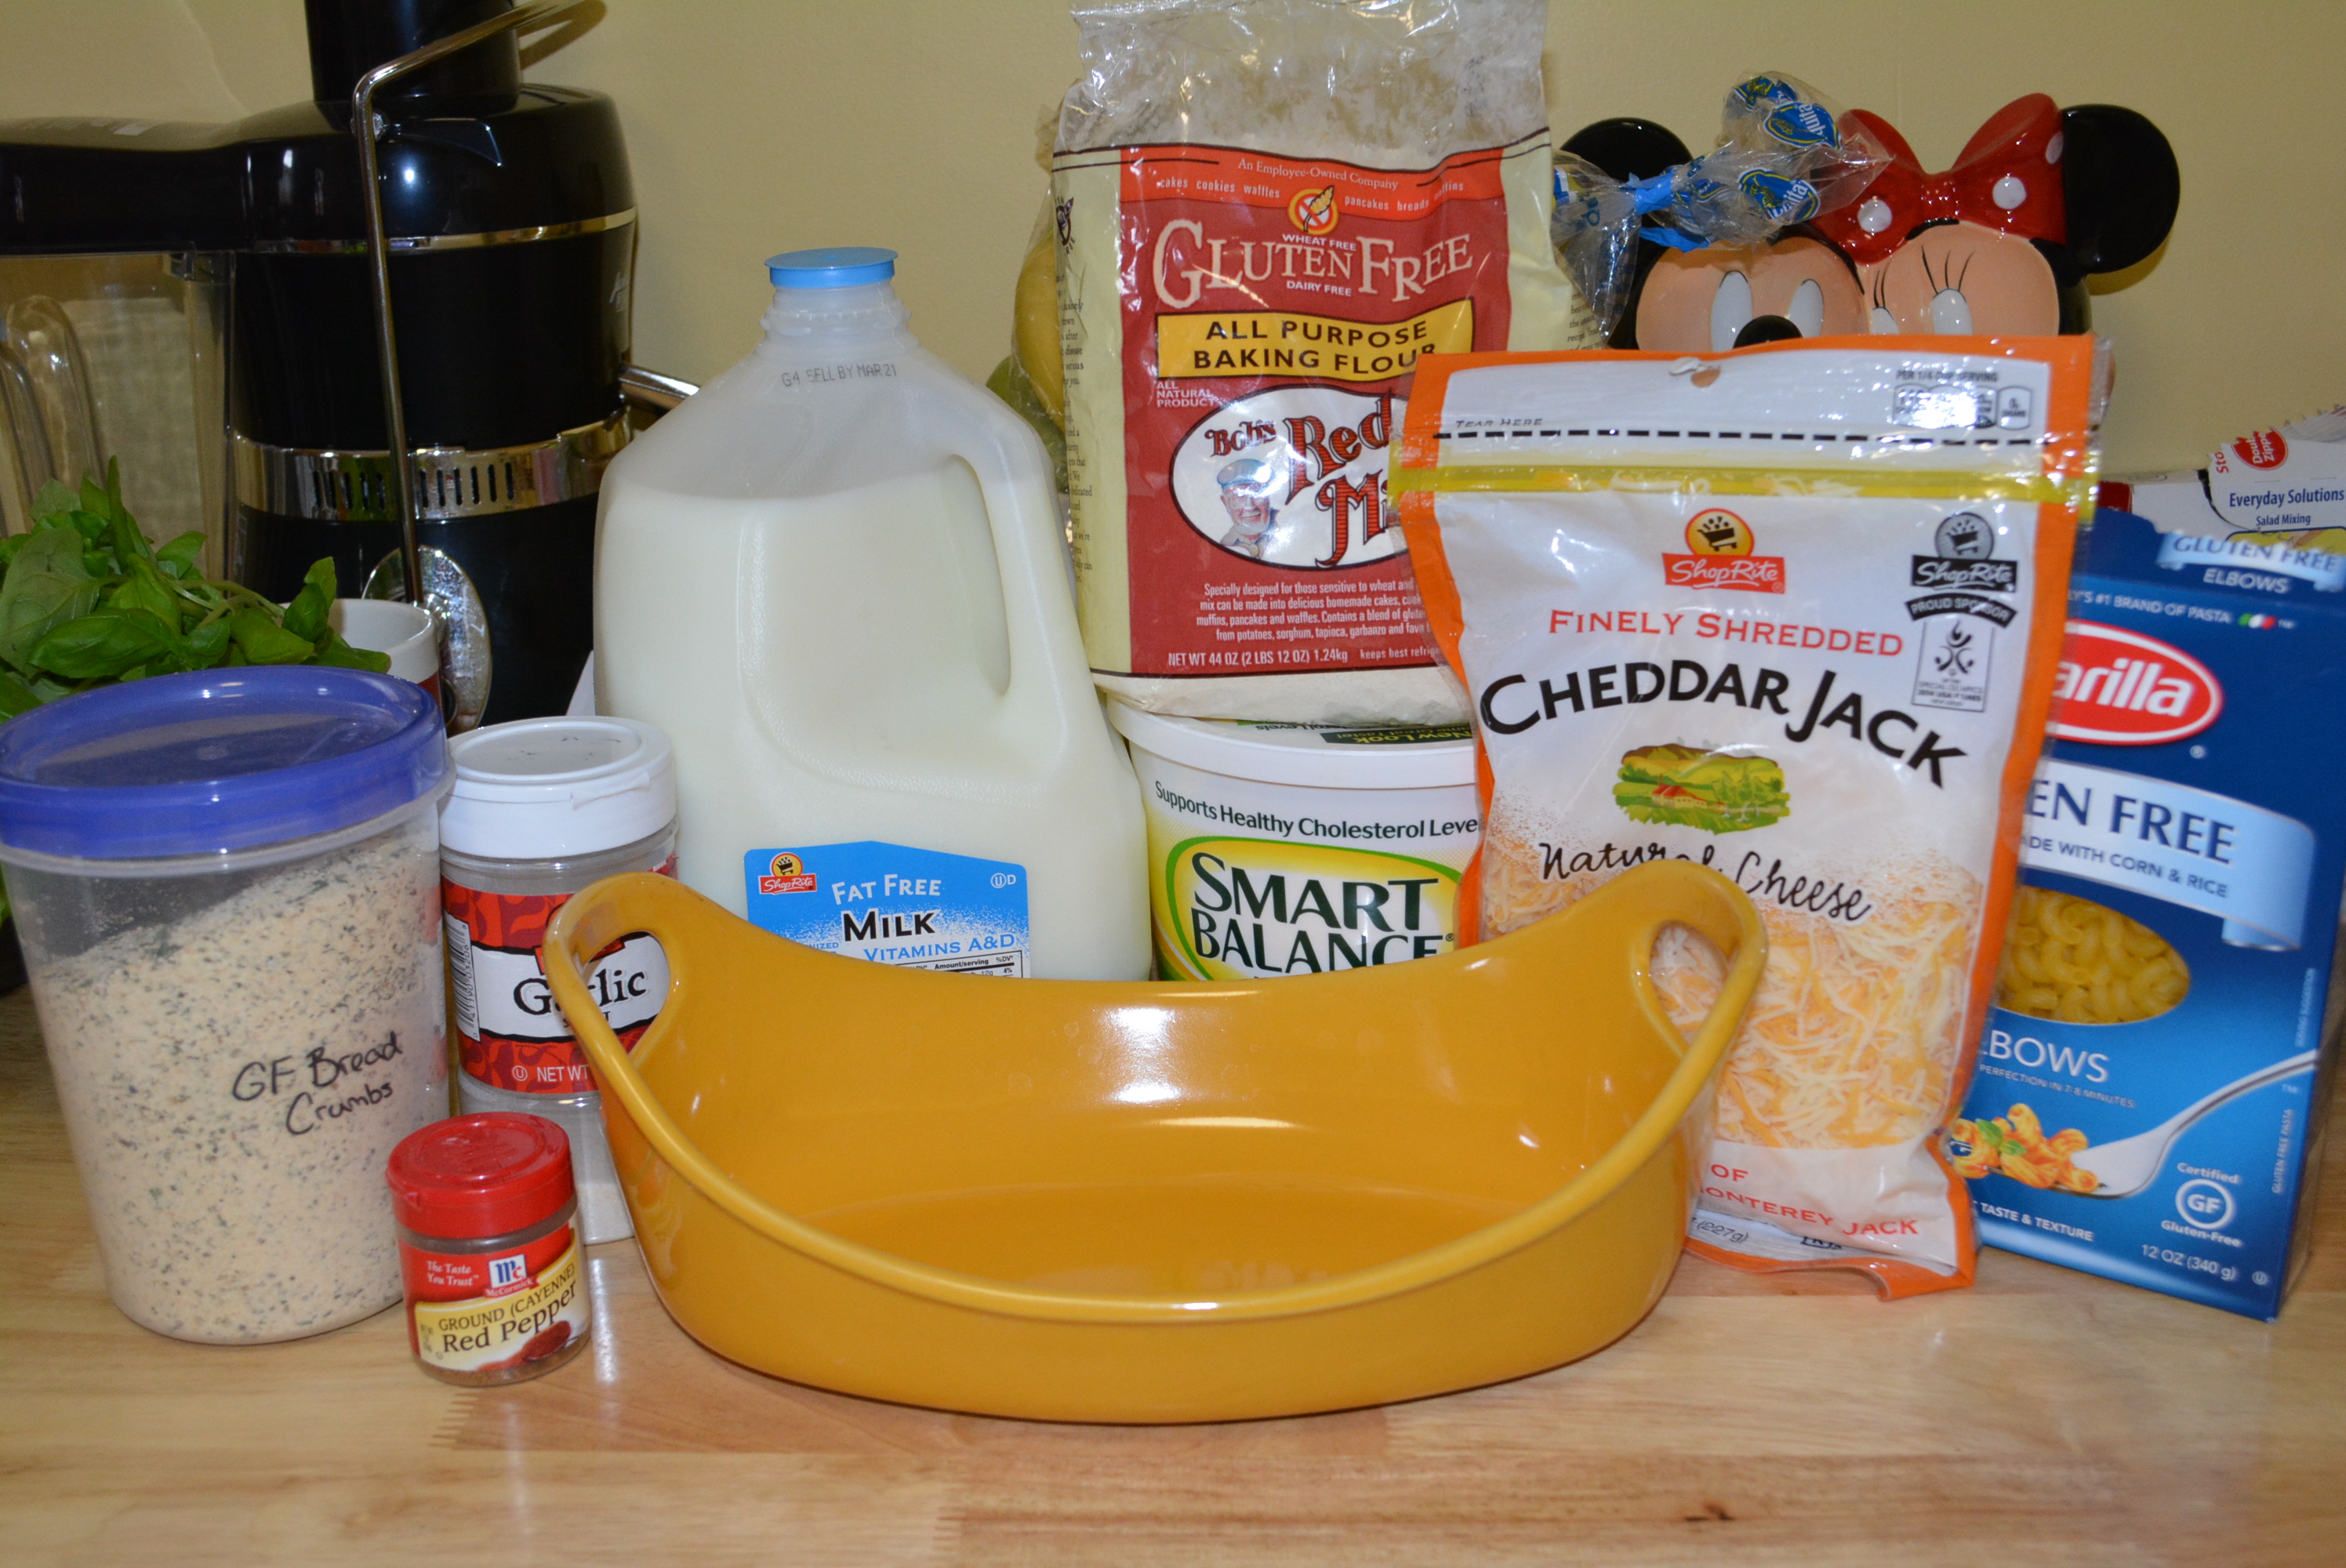
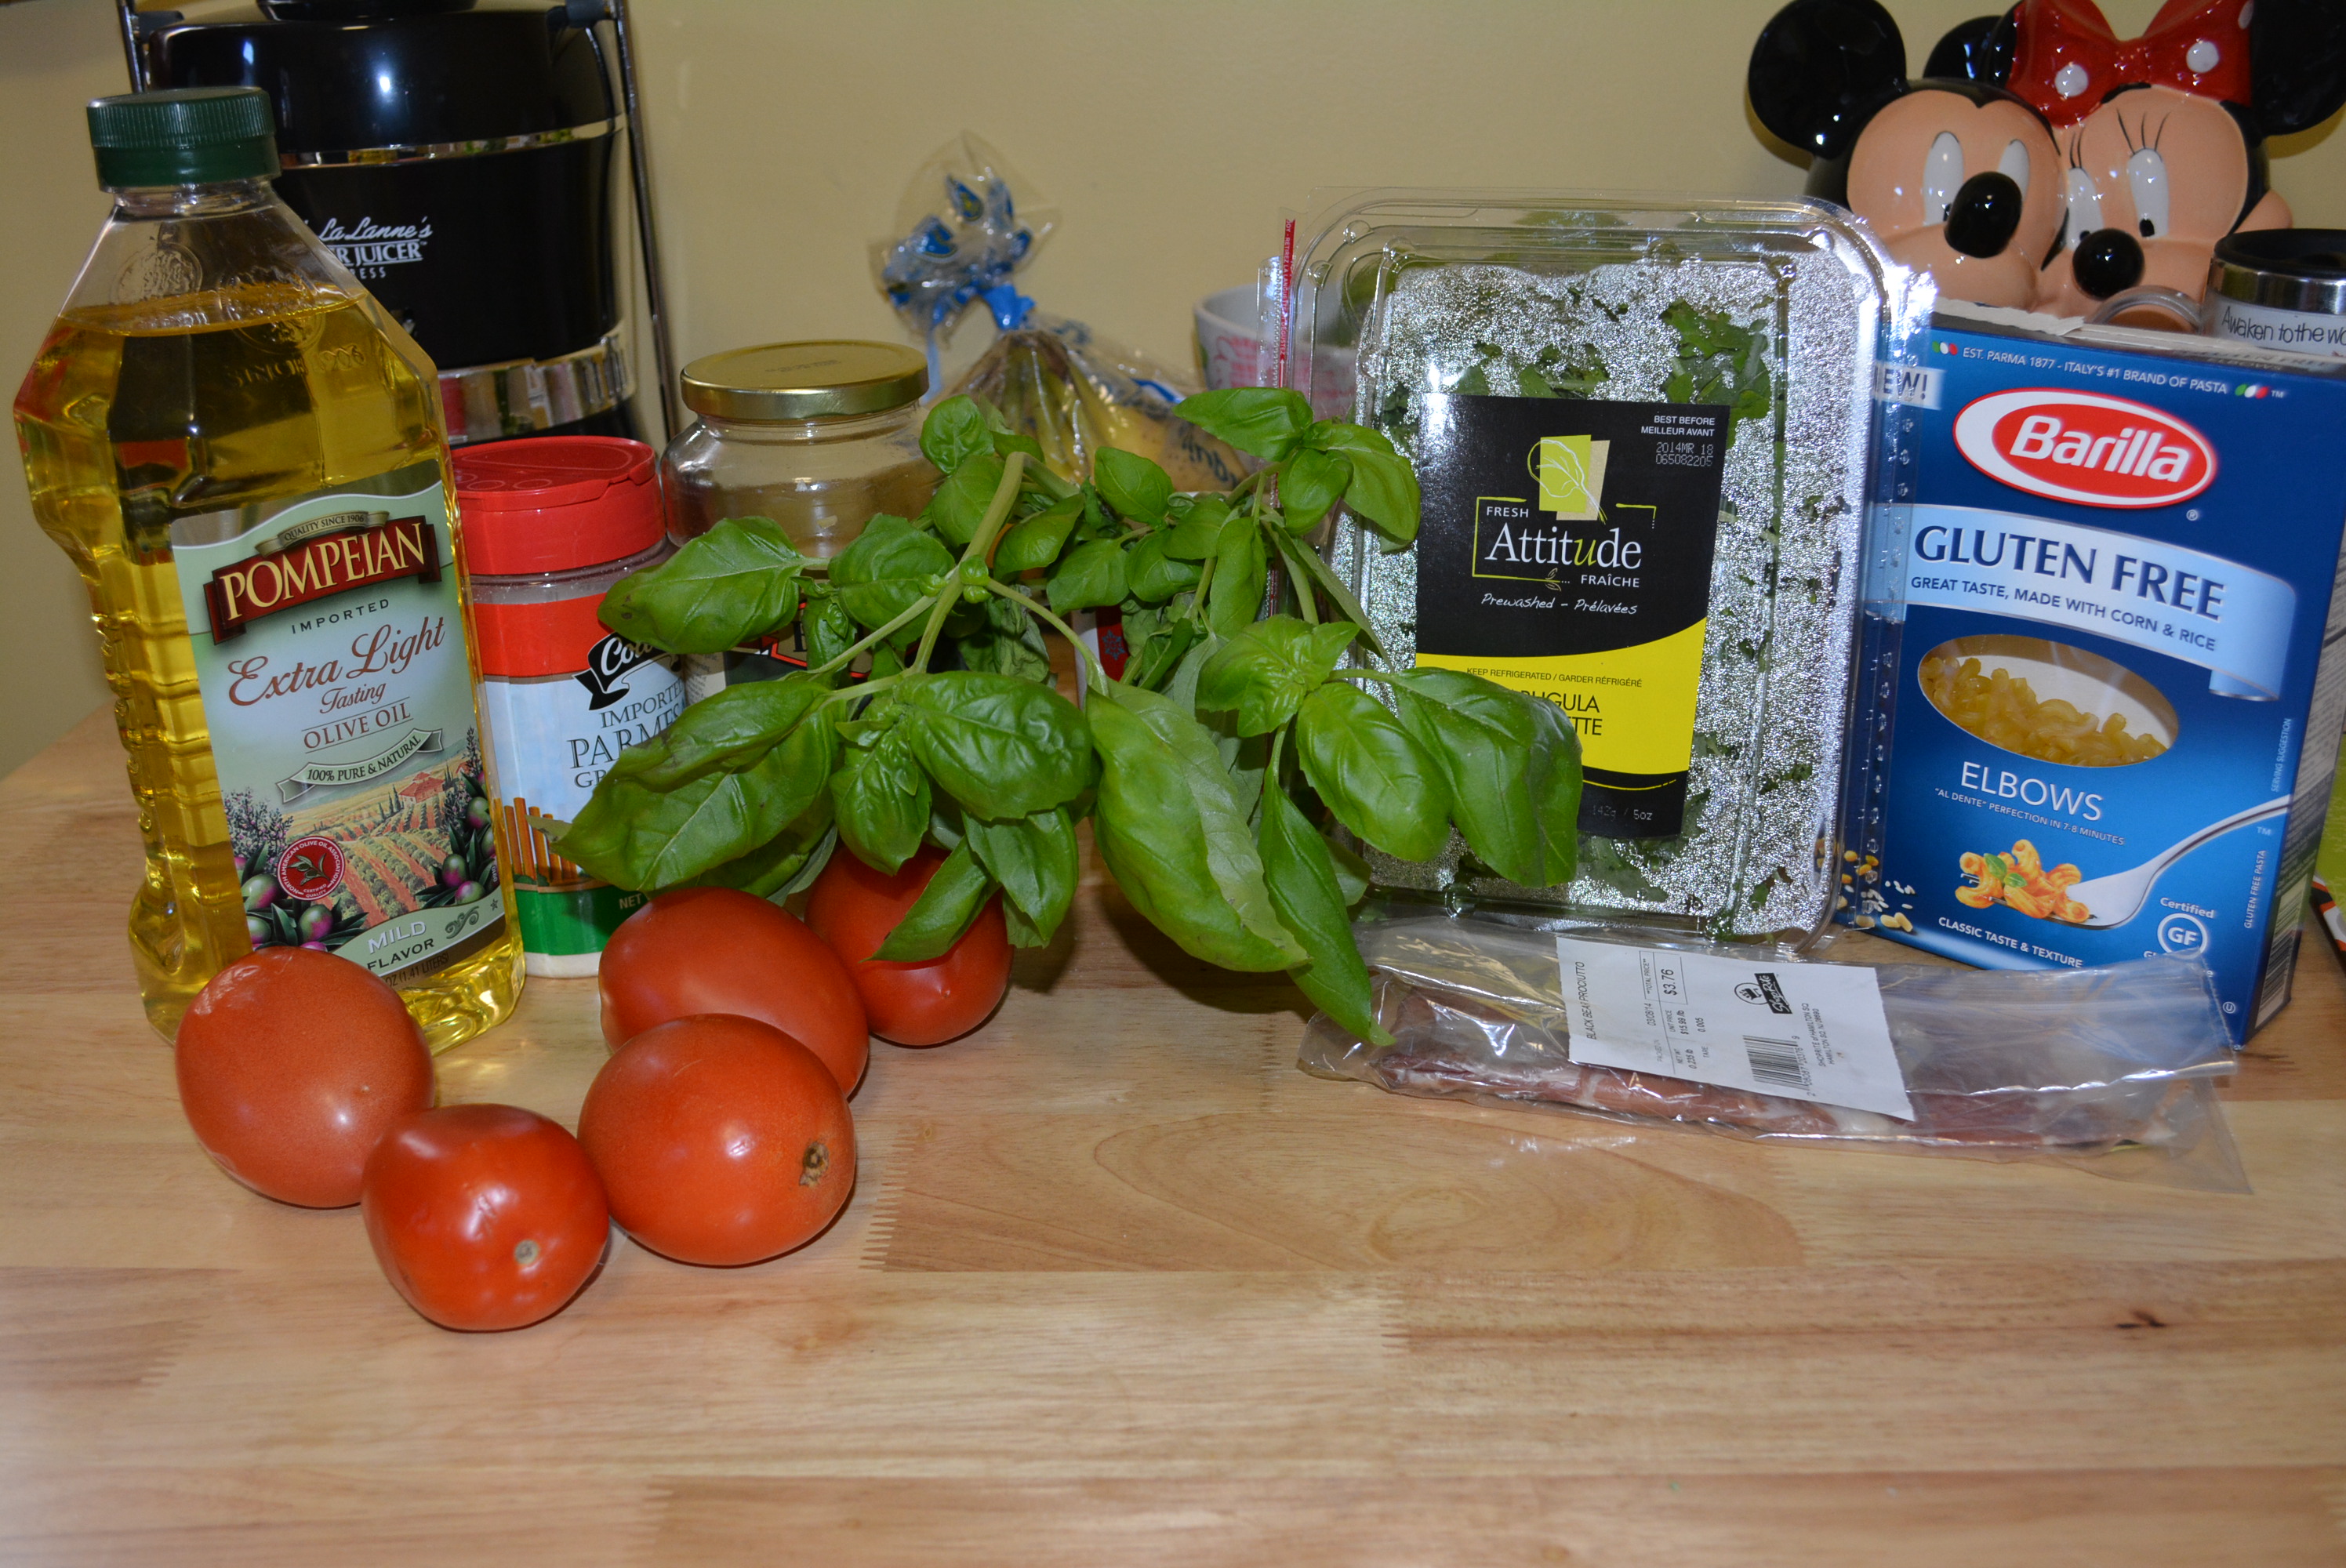
- 12 oz box of gluten free elbow pasta (I used Barilla)
- 5-6 plum tomatoes quartered
- 1/2 cup (and a few extra tbsp for cooking) extra virgin olive oil (I use Pompeiian)
- 1 heaping tbsp minced garlic
- 1/2 cup Parmigiano Reggiano cheese (Alternatively, you can use Colonna Grated Parmesan which is gluten free according to the website.)
- 1/4 lb prosciutto chopped up into small pieces (My local grocer’s store brand prosciutto is marked gluten free, choose whichever brand is gluten free and available at your store.)
- 10 basil leaves
- 2 cups arugula (I prefer to cut into smaller pieces, you can leave this whole)
- Salt and pepper to taste
Directions:
- Preheat oven to 425 degrees.
- Prepare herbs and prosciutto.
- Begin to heat a large pot of salted water for pasta.
- While water is heating up, quarter 5-6 plum tomatoes and toss in olive oil. Season with salt and pepper and add to baking tray. Roast in the oven for about 10 minutes until tender.
- To a large saute pan, heat two tbsp olive oil and add chopped prosciutto. Cook prosciutto at low heat until it becomes crispy and light brown. When the prosciutto is finished, add to a bowl and cover to keep warm.
- To large saute pan, add 2 tbsp of olive oil and 1 heaping tbsp of minced garlic. Cook garlic at low heat for about 2 minutes until it turns slightly yellow in color.
- Remove garlic, combine with roasted tomatoes when they are finished cooking, and set aside. At this point, I like to cut the quartered tomatoes into smaller bite-size pieces but this optional.
- Water should now be boiling, add 12 oz of elbow pasta (whole box of Barilla pasta) and cook according to directions on box.
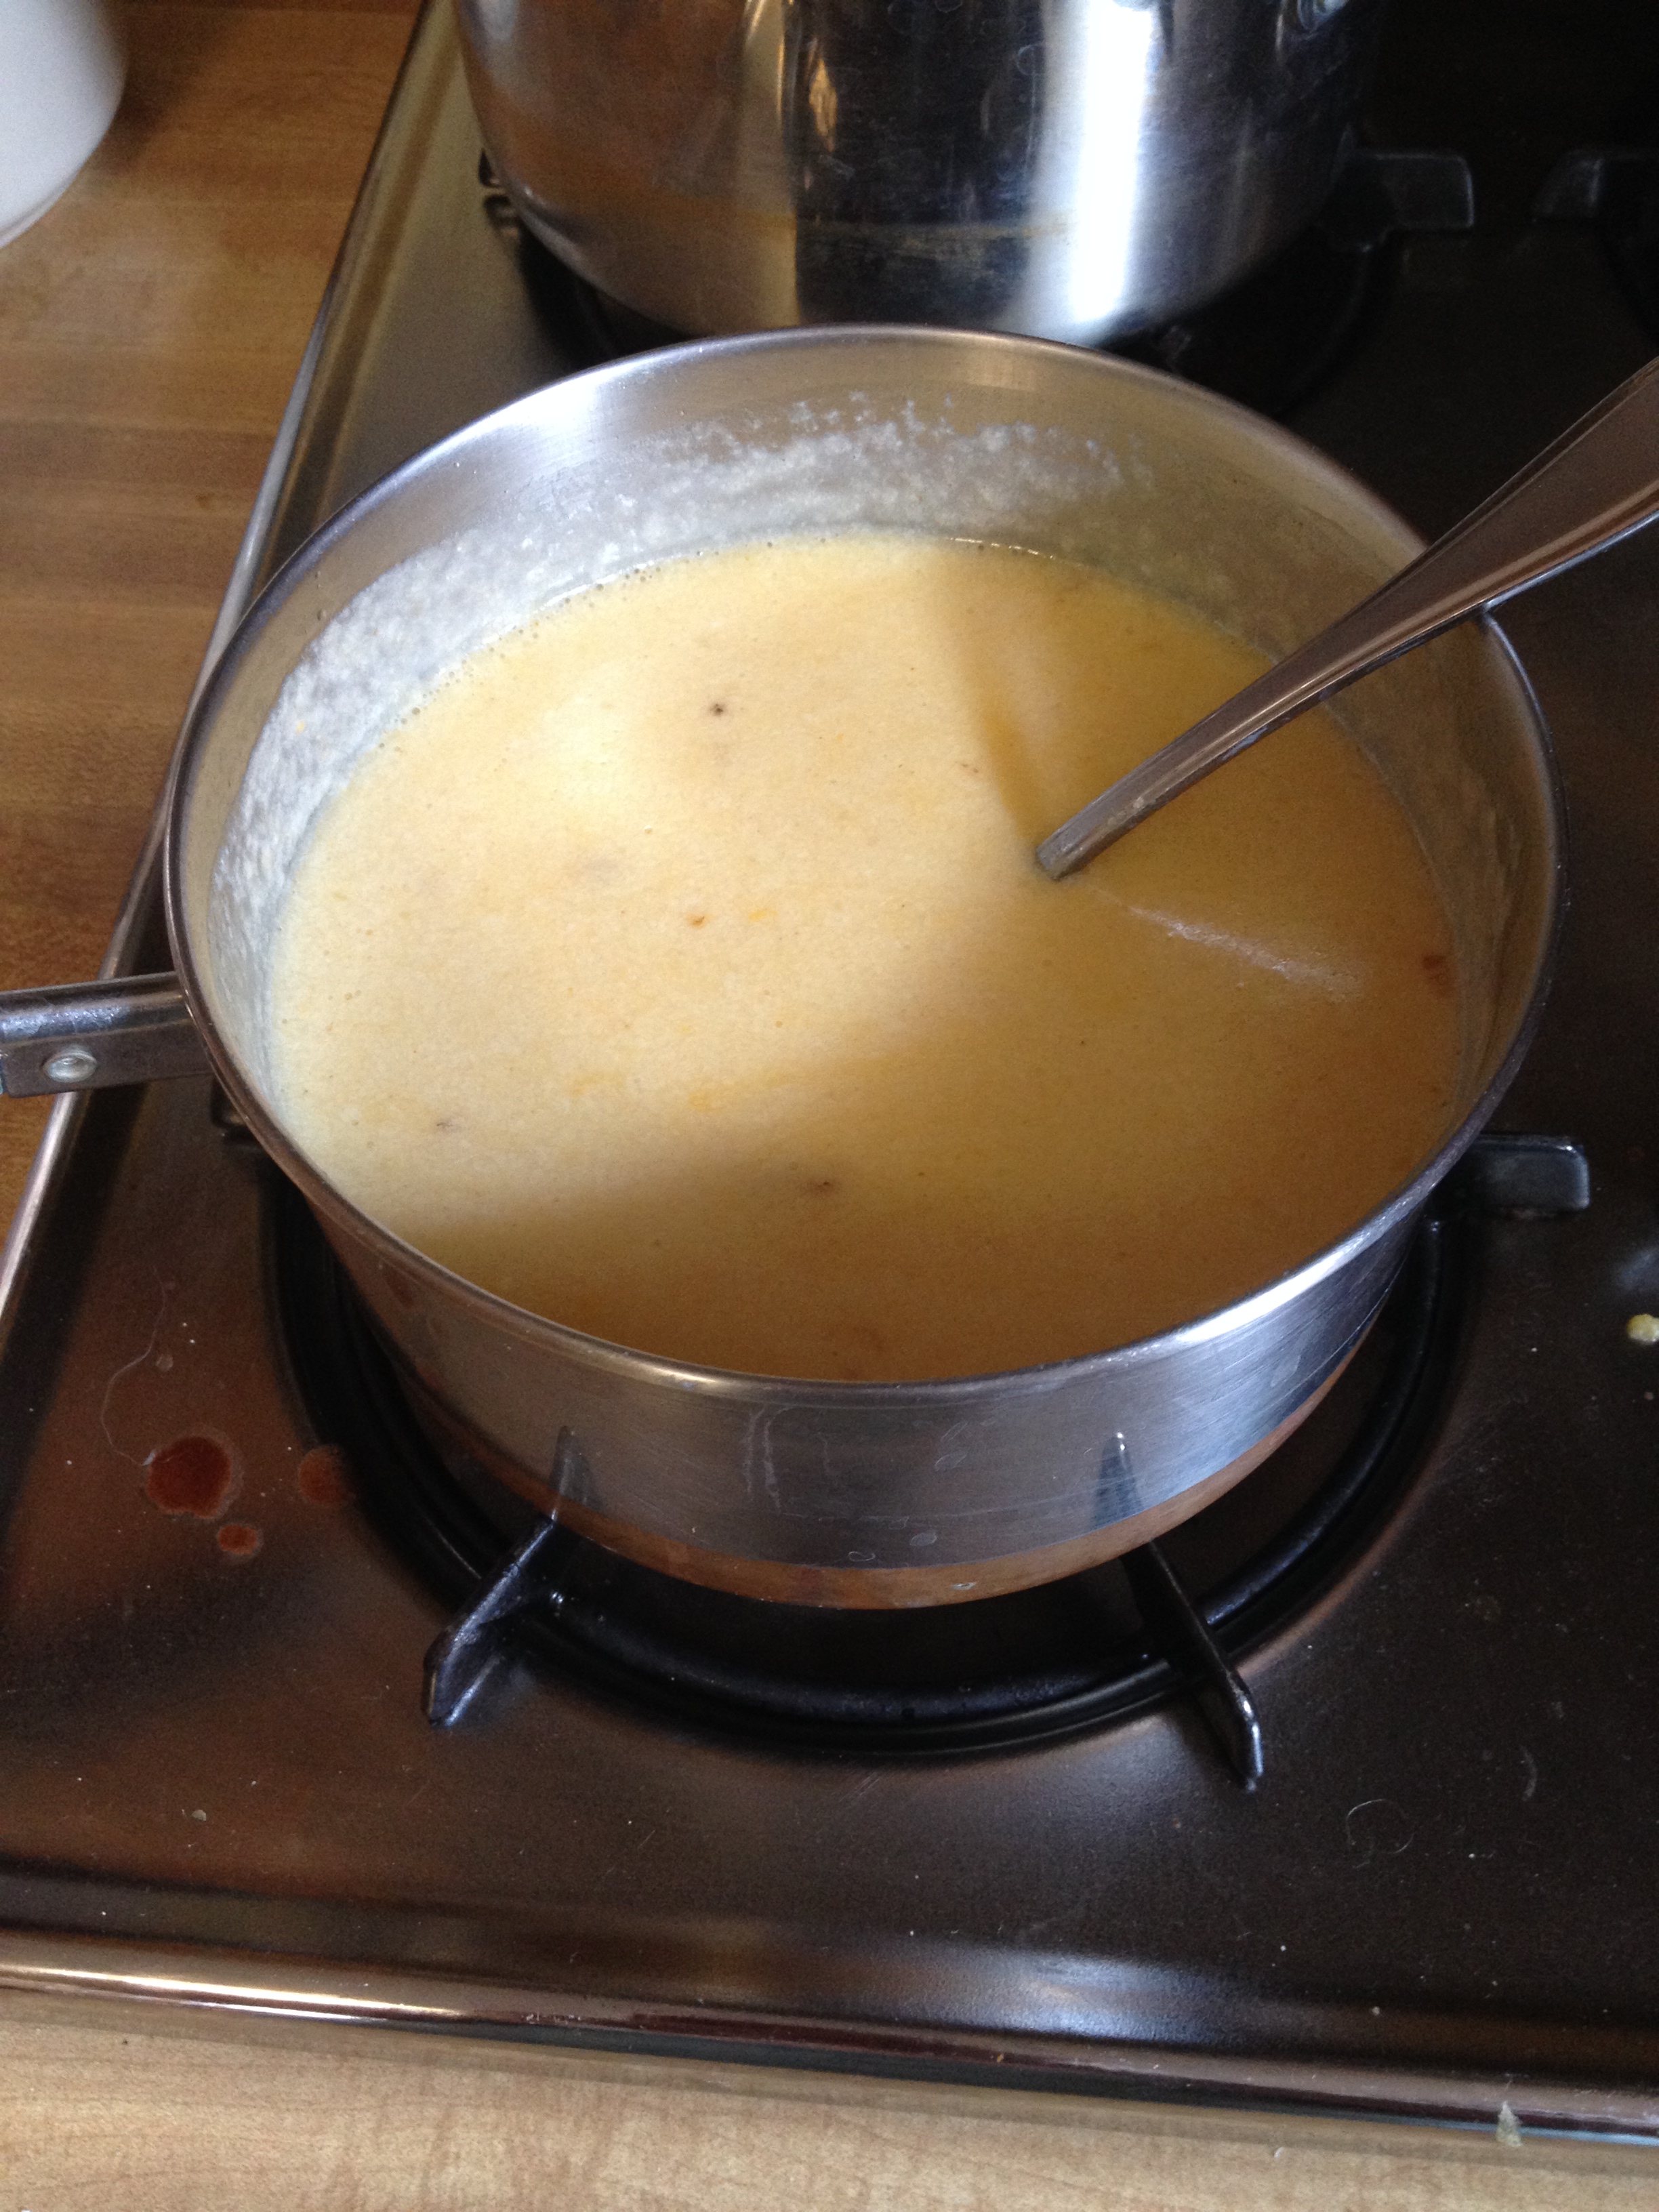
- In a blender, blend 10 basil leaves, 1/2 cup of cheese, and season with salt and pepper. While blending, add 1/2 cup olive oil, mix until all combined, and set aside.
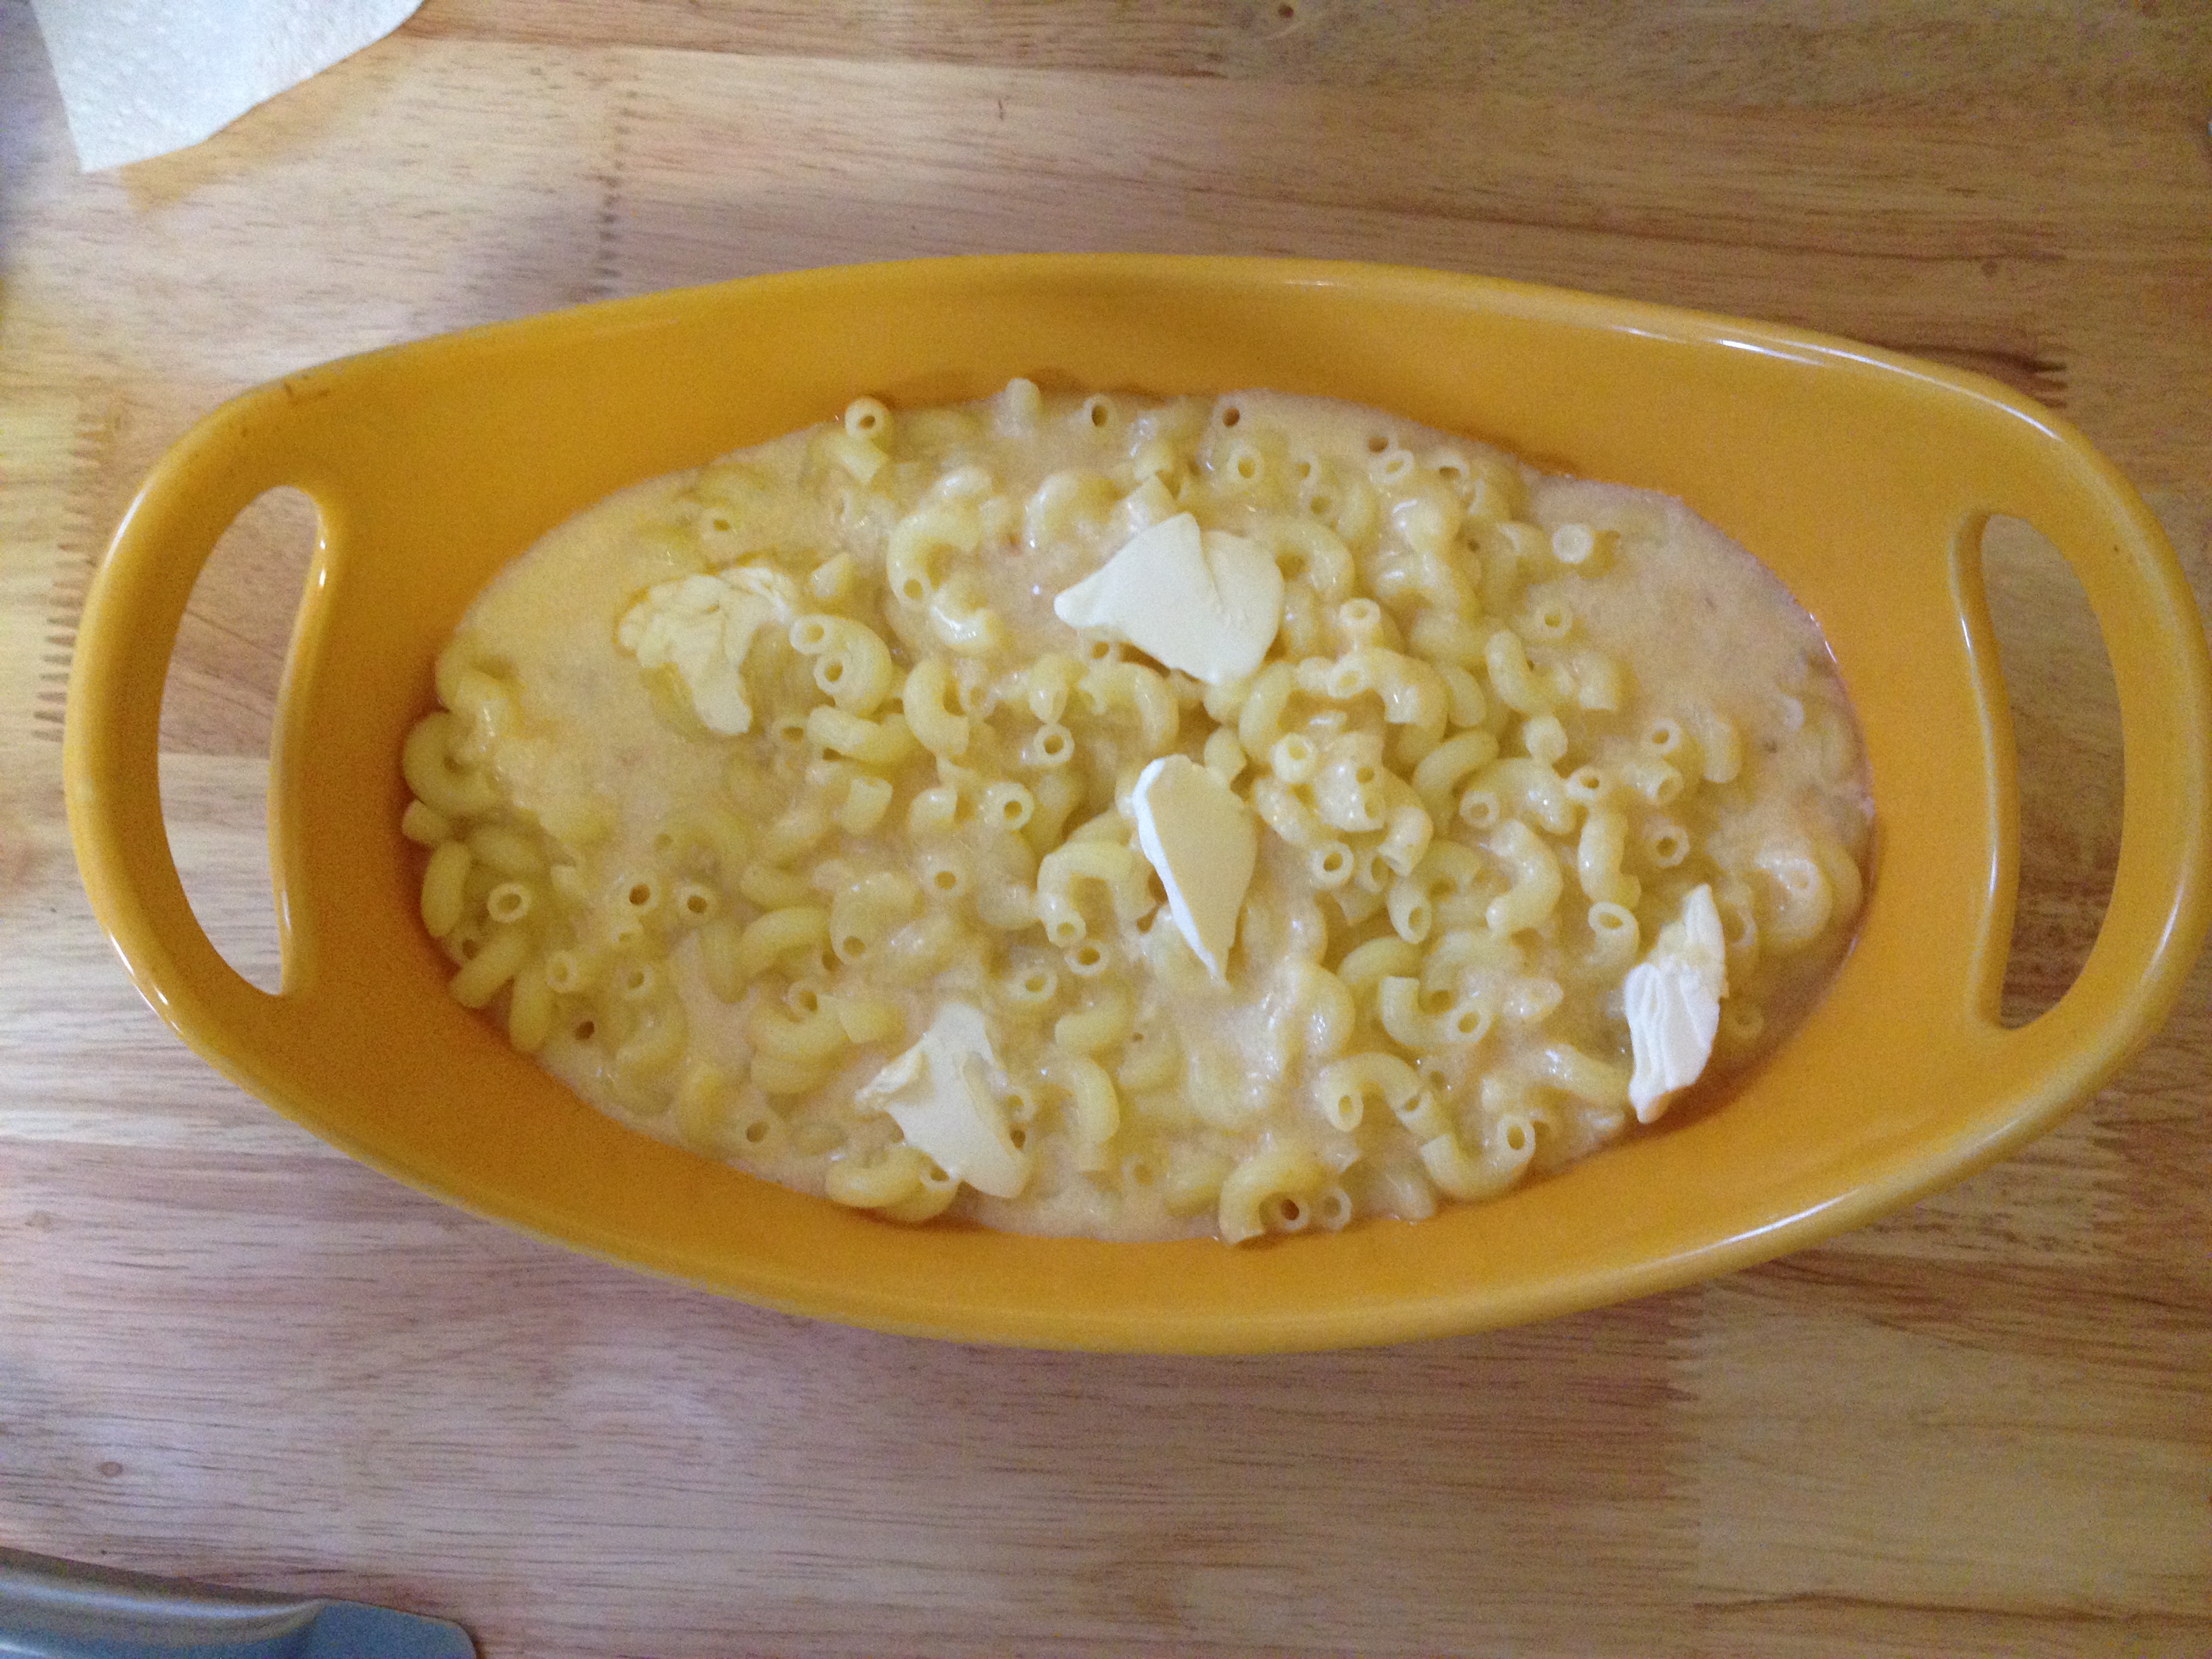
- Once pasta is finished cooking, drain and add pasta to saute pan and toss with the garlic and roasted tomatoes on low heat.
- Add the basil and cheese sauce, crispy prosciutto, and 2 cups arugula to the pasta and combine.
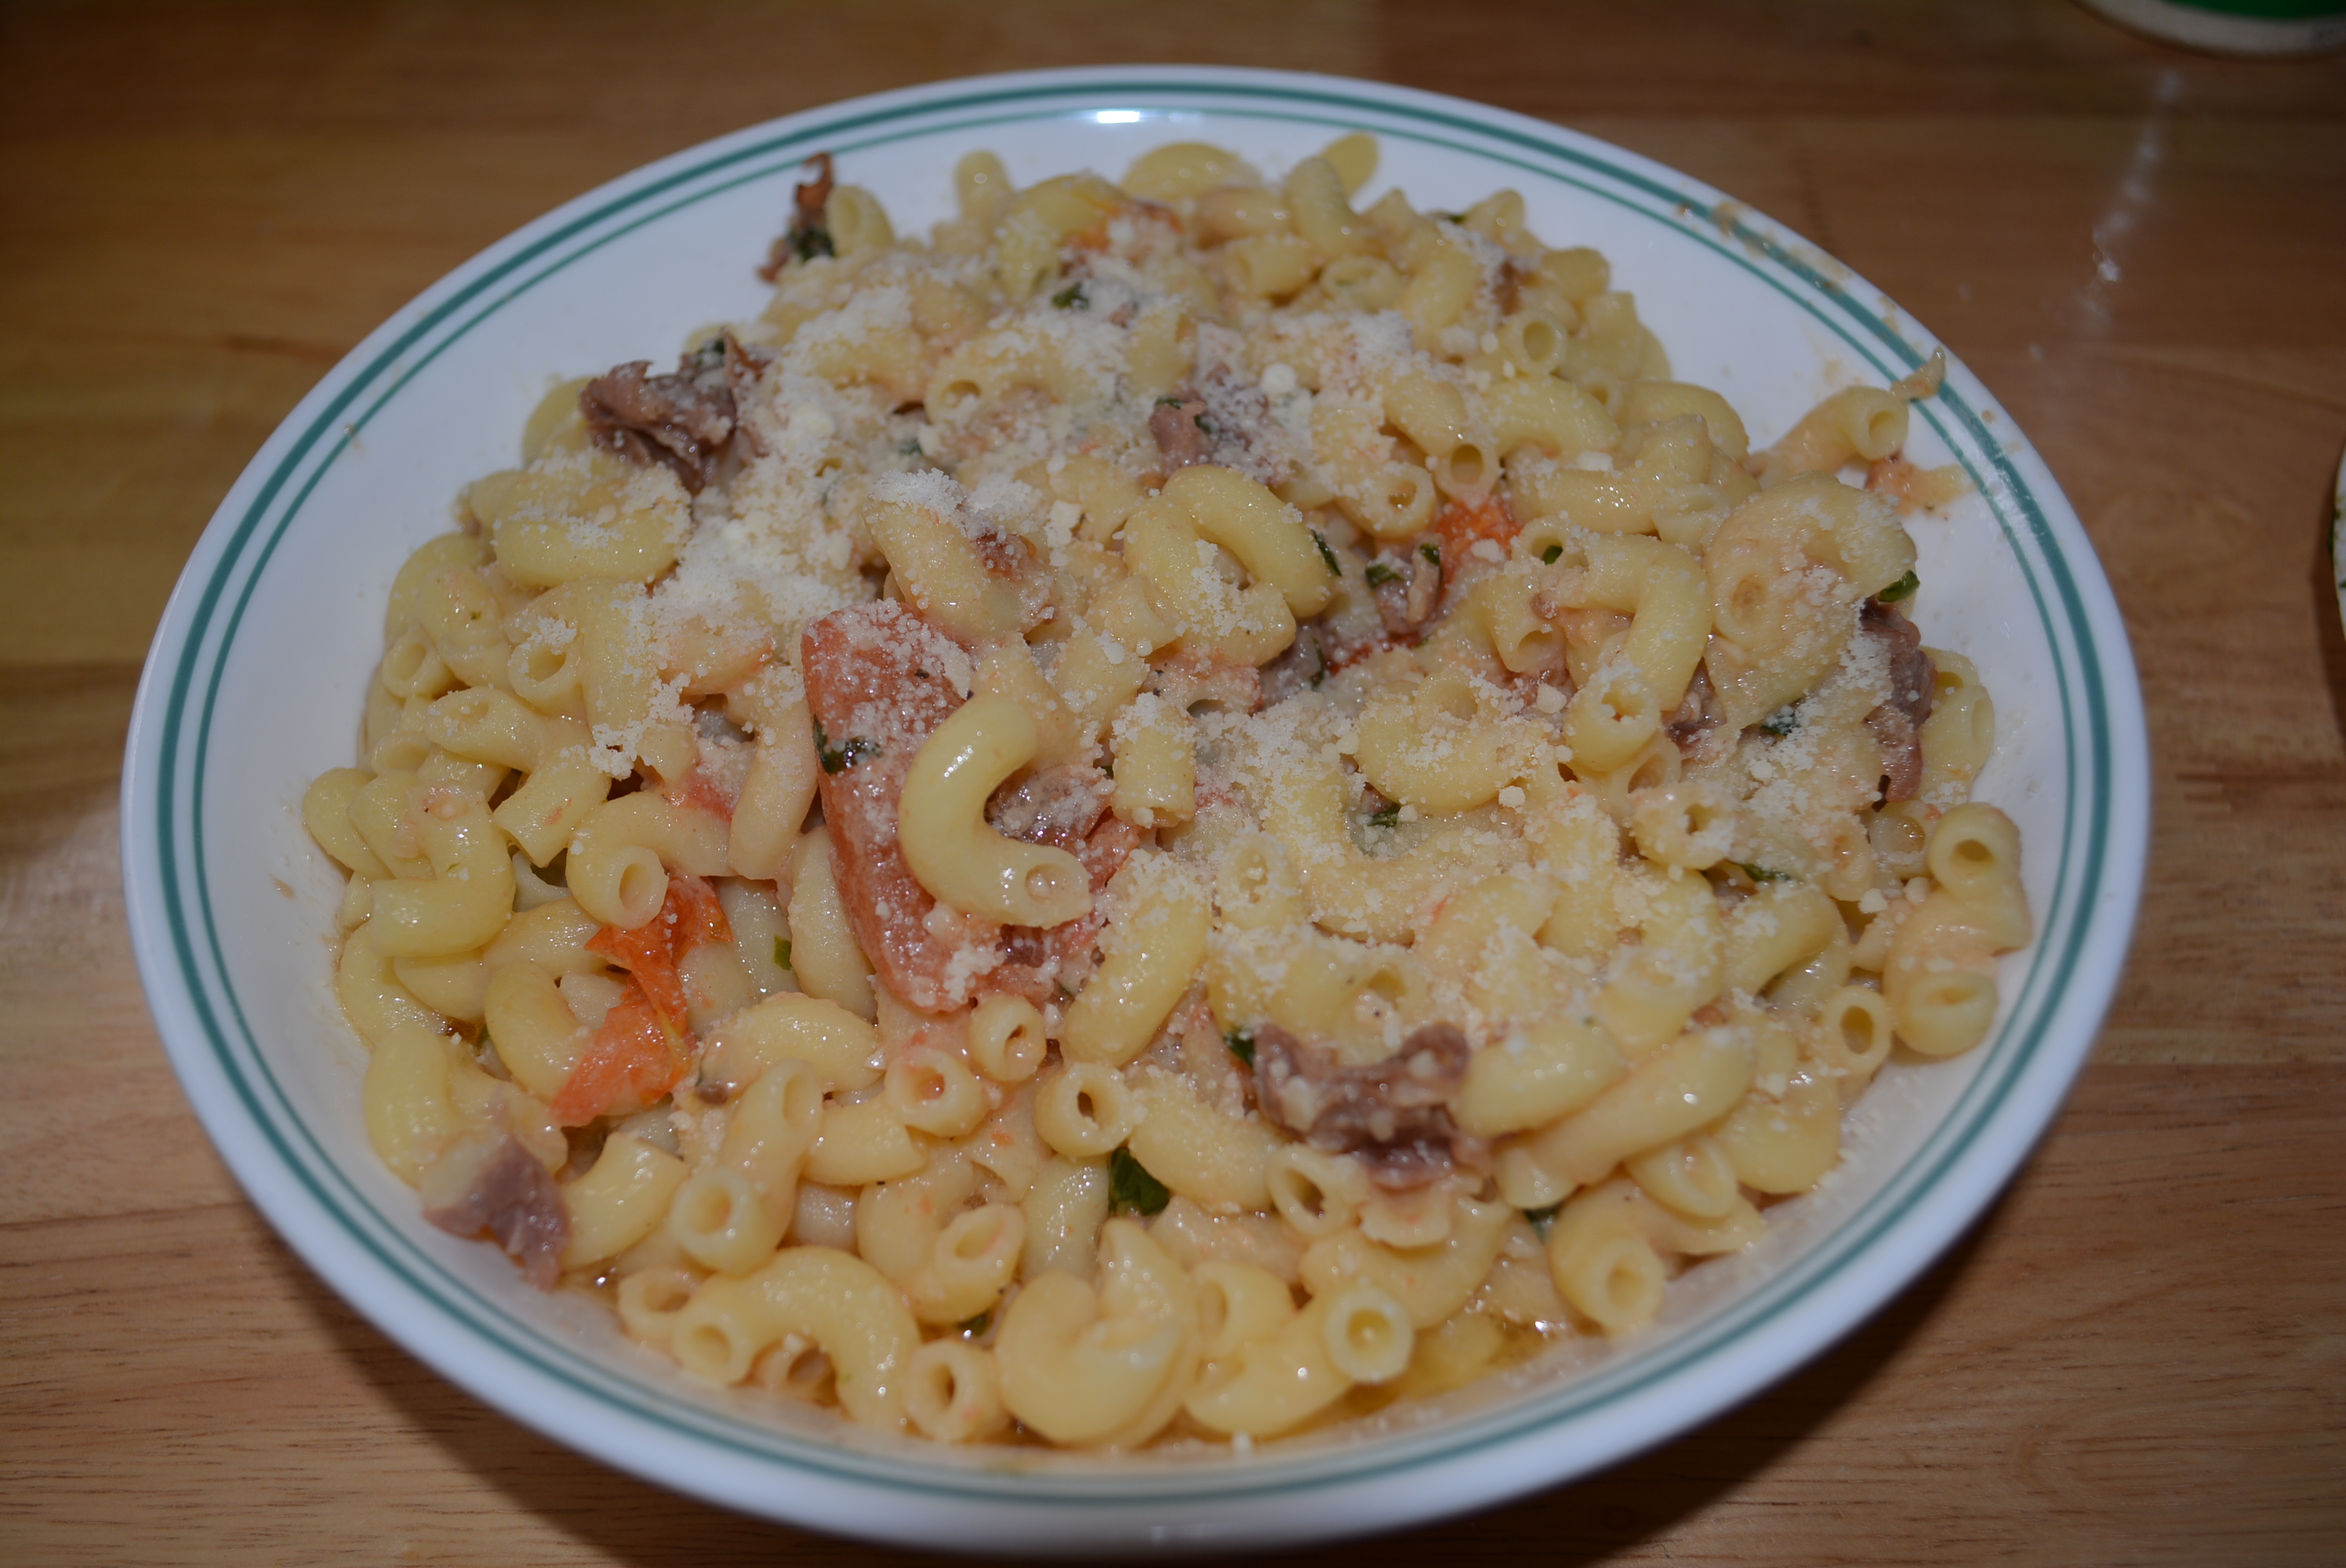
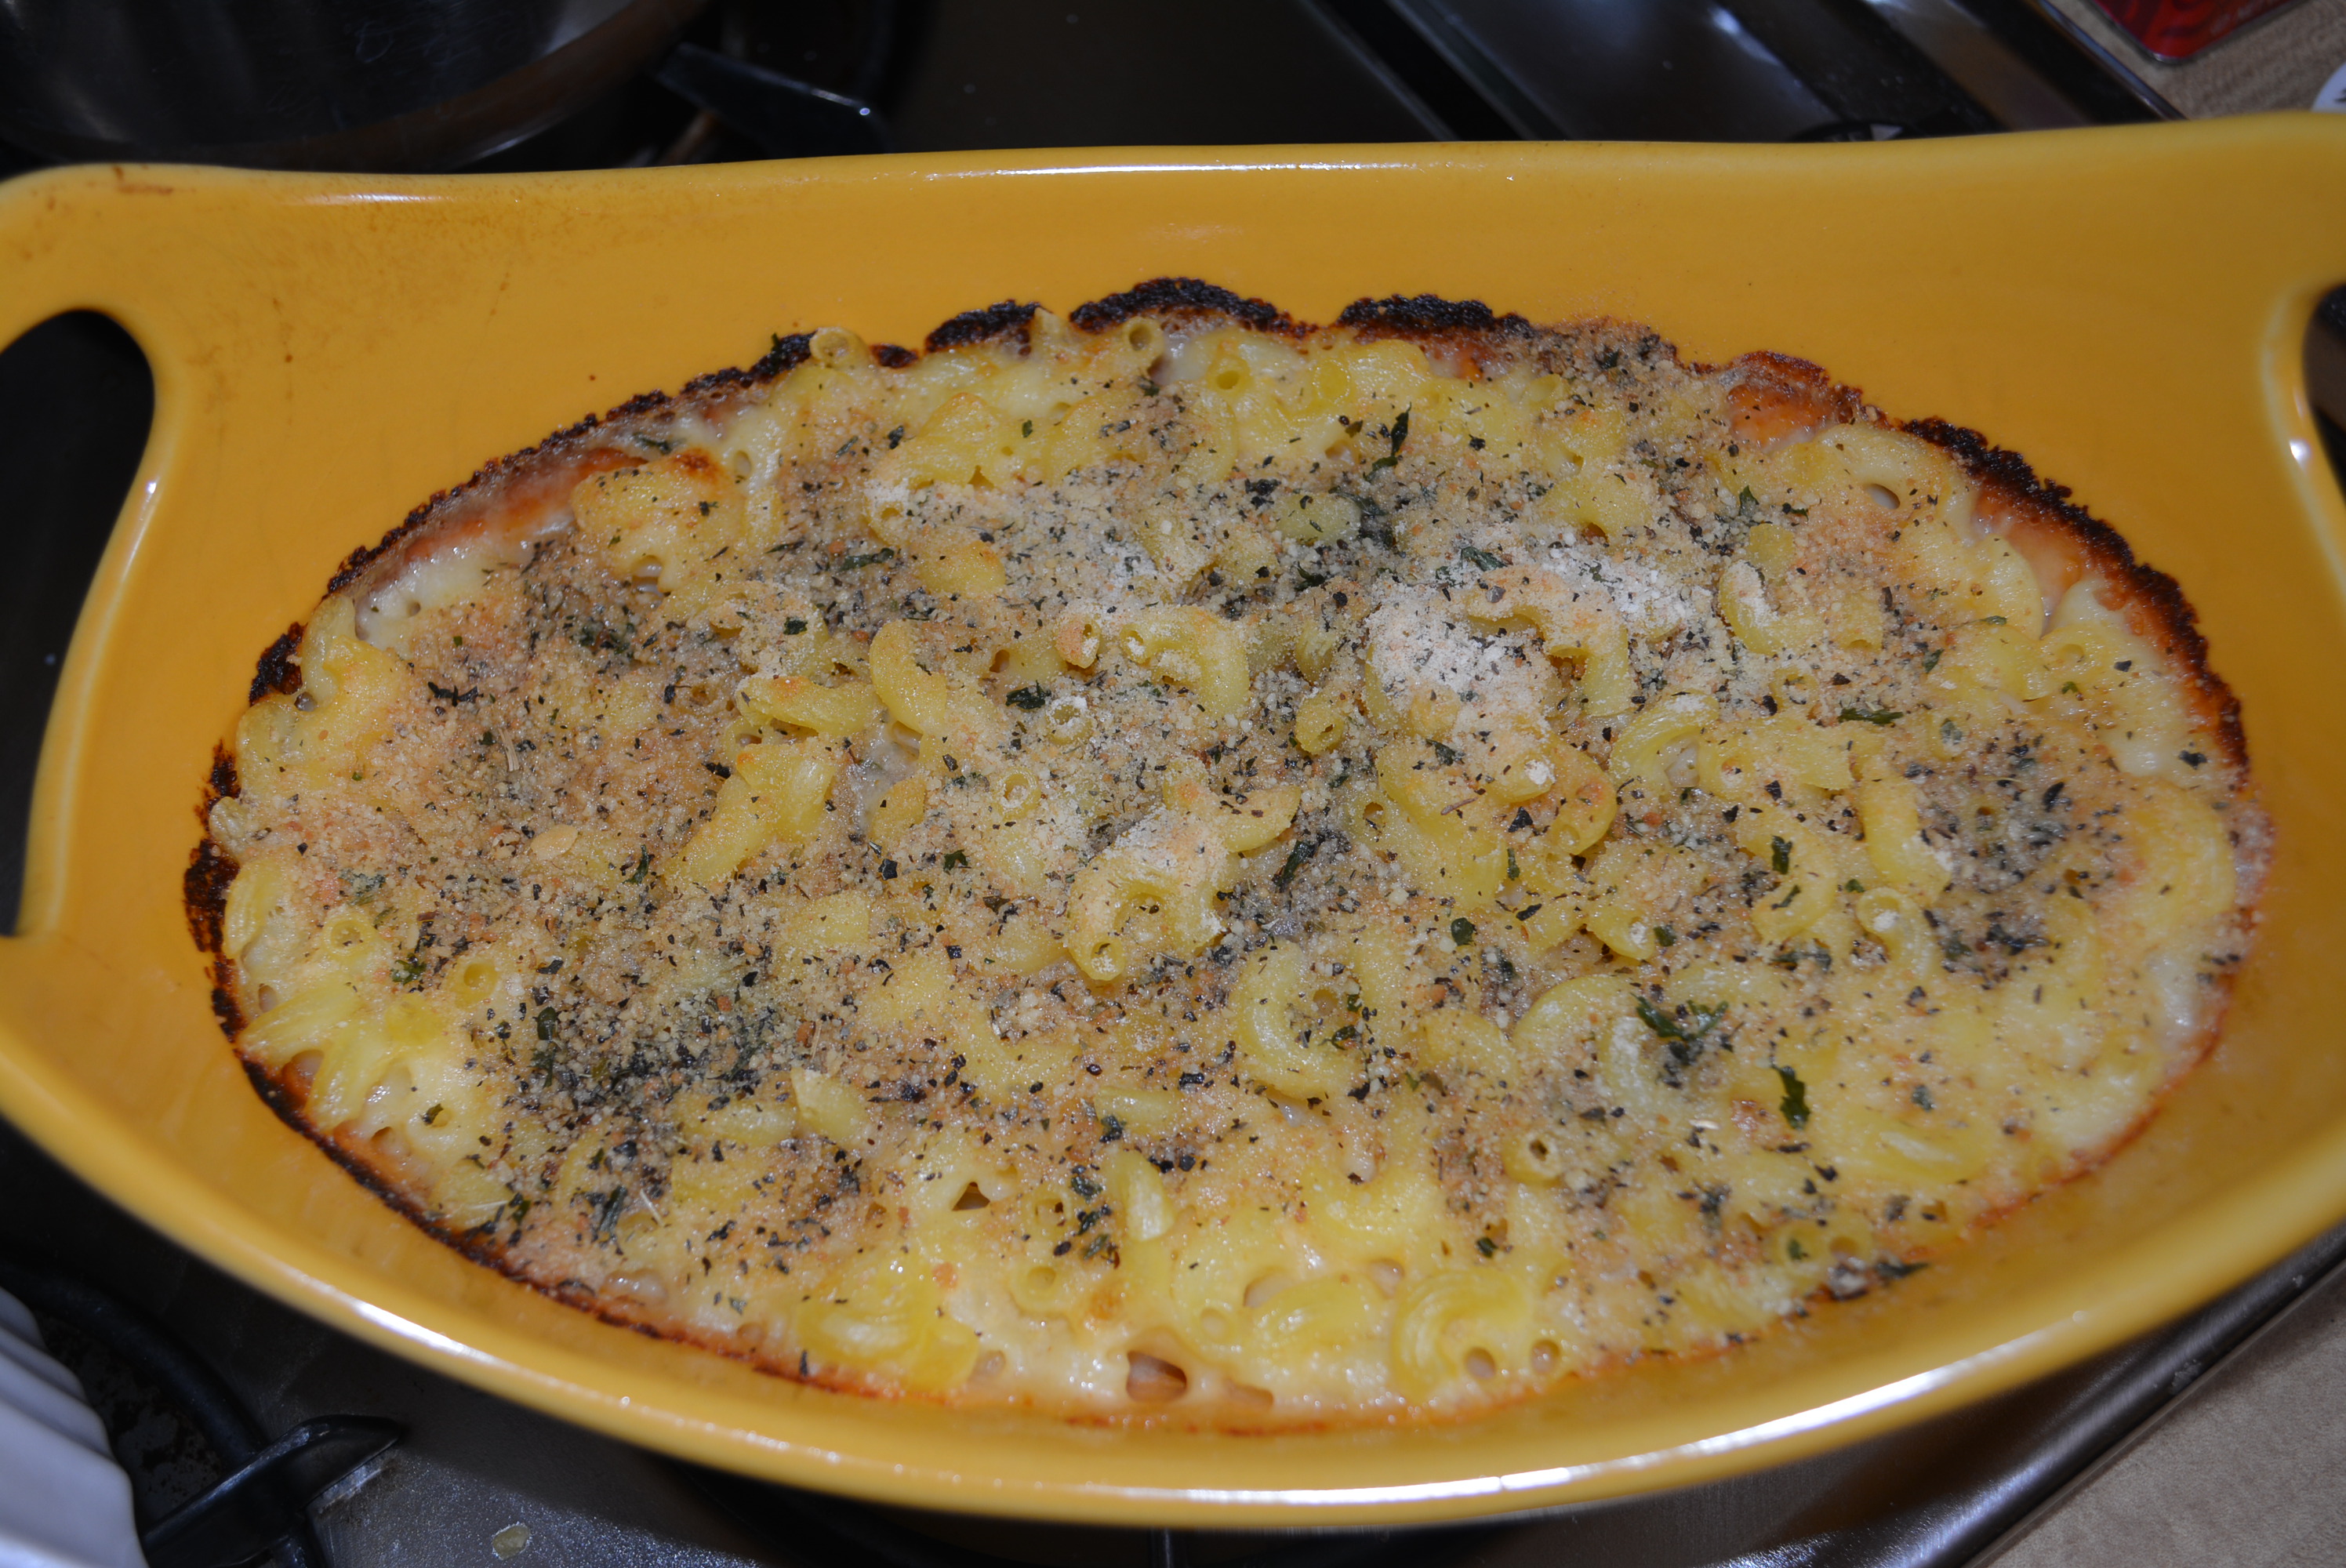
- Once all of the pasta is coated with sauce, add to serving dish, sprinkle with parmigiano reggiano cheese and enjoy!

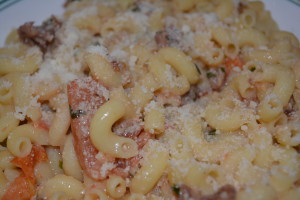
The combination of roasted tomatoes and crispy prosciutto complements the Barilla elbow pasta perfectly! My favorite part of the dish is the basil and cheese sauce which adds a wonderful creamy element. I am certainly a fan of creamy pasta sauces but must say they can be quite heavy so this a fantastic alternative. The homemade basil sauce is incredibly light thanks to the fresh basil and extra virgin olive oil and would be a perfect addition on many other dishes! One of the best parts of the dish though is the superior pasta that Barilla provides! The taste and texture are perfection and have not let me down yet in any of my dishes including this one!
TIP: When I prepare this dish I usually make a regular version for my daughter and husband as well as a gluten free version for myself. If you’d like to do this, just simply prepare about 6 oz of each type of pasta separately and keep all of the add-ins separate when preparing. When you’re ready to mix in the sauce and add-ins just simply get two saute pans, add each pasta into whichever pan (keep track of which is which, I like to use a different shape pasta for the regular one so it’s easier), and divide each topping in half between the two pans. It’s easy to split the recipe like this and saves your more costly gluten free pasta, just follow all of the preparation directions in the recipe and be very careful of cross contamination.
Sincerely,
Lindsay
- 12 oz box of gluten free elbow pasta (I used Barilla.)
- 5-6 plum tomatoes quartered
- 1/2 cup (and a few extra tbsp for cooking) extra virgin olive oil (I use Pompeiian which states gluten free on their label.)
- 1 heaping tbsp minced garlic
- 1/2 cup Parmigiano Reggiano cheese (Can use Colonna Grated Parmesan which is gluten free according to their website.)
- 1/4 lb prosciutto chopped up into small pieces (My local grocer's store brand prosciutto is marked gluten free, choose whichever brand is gluten free and available at your store.)
- 10 basil leaves
- 2 cups arugula (I prefer to cut into smaller pieces but you can leave this whole.)
- Salt and pepper to taste
- Preheat oven to 425 degrees.
- Prepare herbs and prosciutto.
- Begin to heat a large pot of salted water for pasta.
- While water is heating up, quarter 5-6 plum tomatoes and toss in olive oil. Season with salt and pepper and add to baking tray. Roast in the oven for about 10 minutes until tender.
- To a large saute pan, heat two tbsp olive oil and add chopped prosciutto. Cook prosciutto at low heat until it becomes crispy and light brown. When the prosciutto is finished, add to a bowl and cover to keep warm.
- To large saute pan, add 2 tbsp of olive oil and 1 heaping tbsp of minced garlic. Cook garlic at low heat for about 2 minutes until it turns slightly yellow in color.
- Remove garlic, combine with roasted tomatoes when they are finished cooking, and set aside. I like to cut tomatoes into bite-size pieces that can be mixed throughout.
- Water should now be boiling, add 12 oz of elbow pasta (whole box of Barilla pasta) and cook according to directions on box.
- In a blender, blend 10 basil leaves, 1/2 cup of cheese, and season with salt and pepper. While blending, add 1/2 cup olive oil, mix until all combined, and set aside.
- Once pasta is finished cooking, drain and add pasta to saute pan and toss with the garlic and roasted tomatoes on low heat.
- Add the basil and cheese sauce, crispy prosciutto, and 2 cups arugula to the pasta and combine.
- Once all of the pasta is coated with sauce, add to serving dish, sprinkle with parmigiano reggiano cheese and enjoy!