After an extremely long winter, Easter is only three short weeks away. This year my husband, daughter, and myself are hosting the holiday and couldn’t be more excited. I always look forward to planning birthday parties, events, and now this upcoming holiday. Hopefully the weather becomes more Springlike by then to allow for the traditional Easter egg hunt for the kiddies, which yay my little one will be old enough join in this year! But until then, I’ll be planning out the menu and trying out different gluten free as well as other allergen free dishes for my poor little nephew who is allergic to practically every food. Along with the coleslaw, we traditionally put out a big plate of deviled eggs, one of my personal favorites and with only a few ingredients I can easily make these gluten free. So for today’s Easter dish, I’m introducing you to a side that I make year round and on holidays, they’re just that delicious!
Recipe makes 1 dozen deviled eggs.
Ingredients:
- 6 large eggs
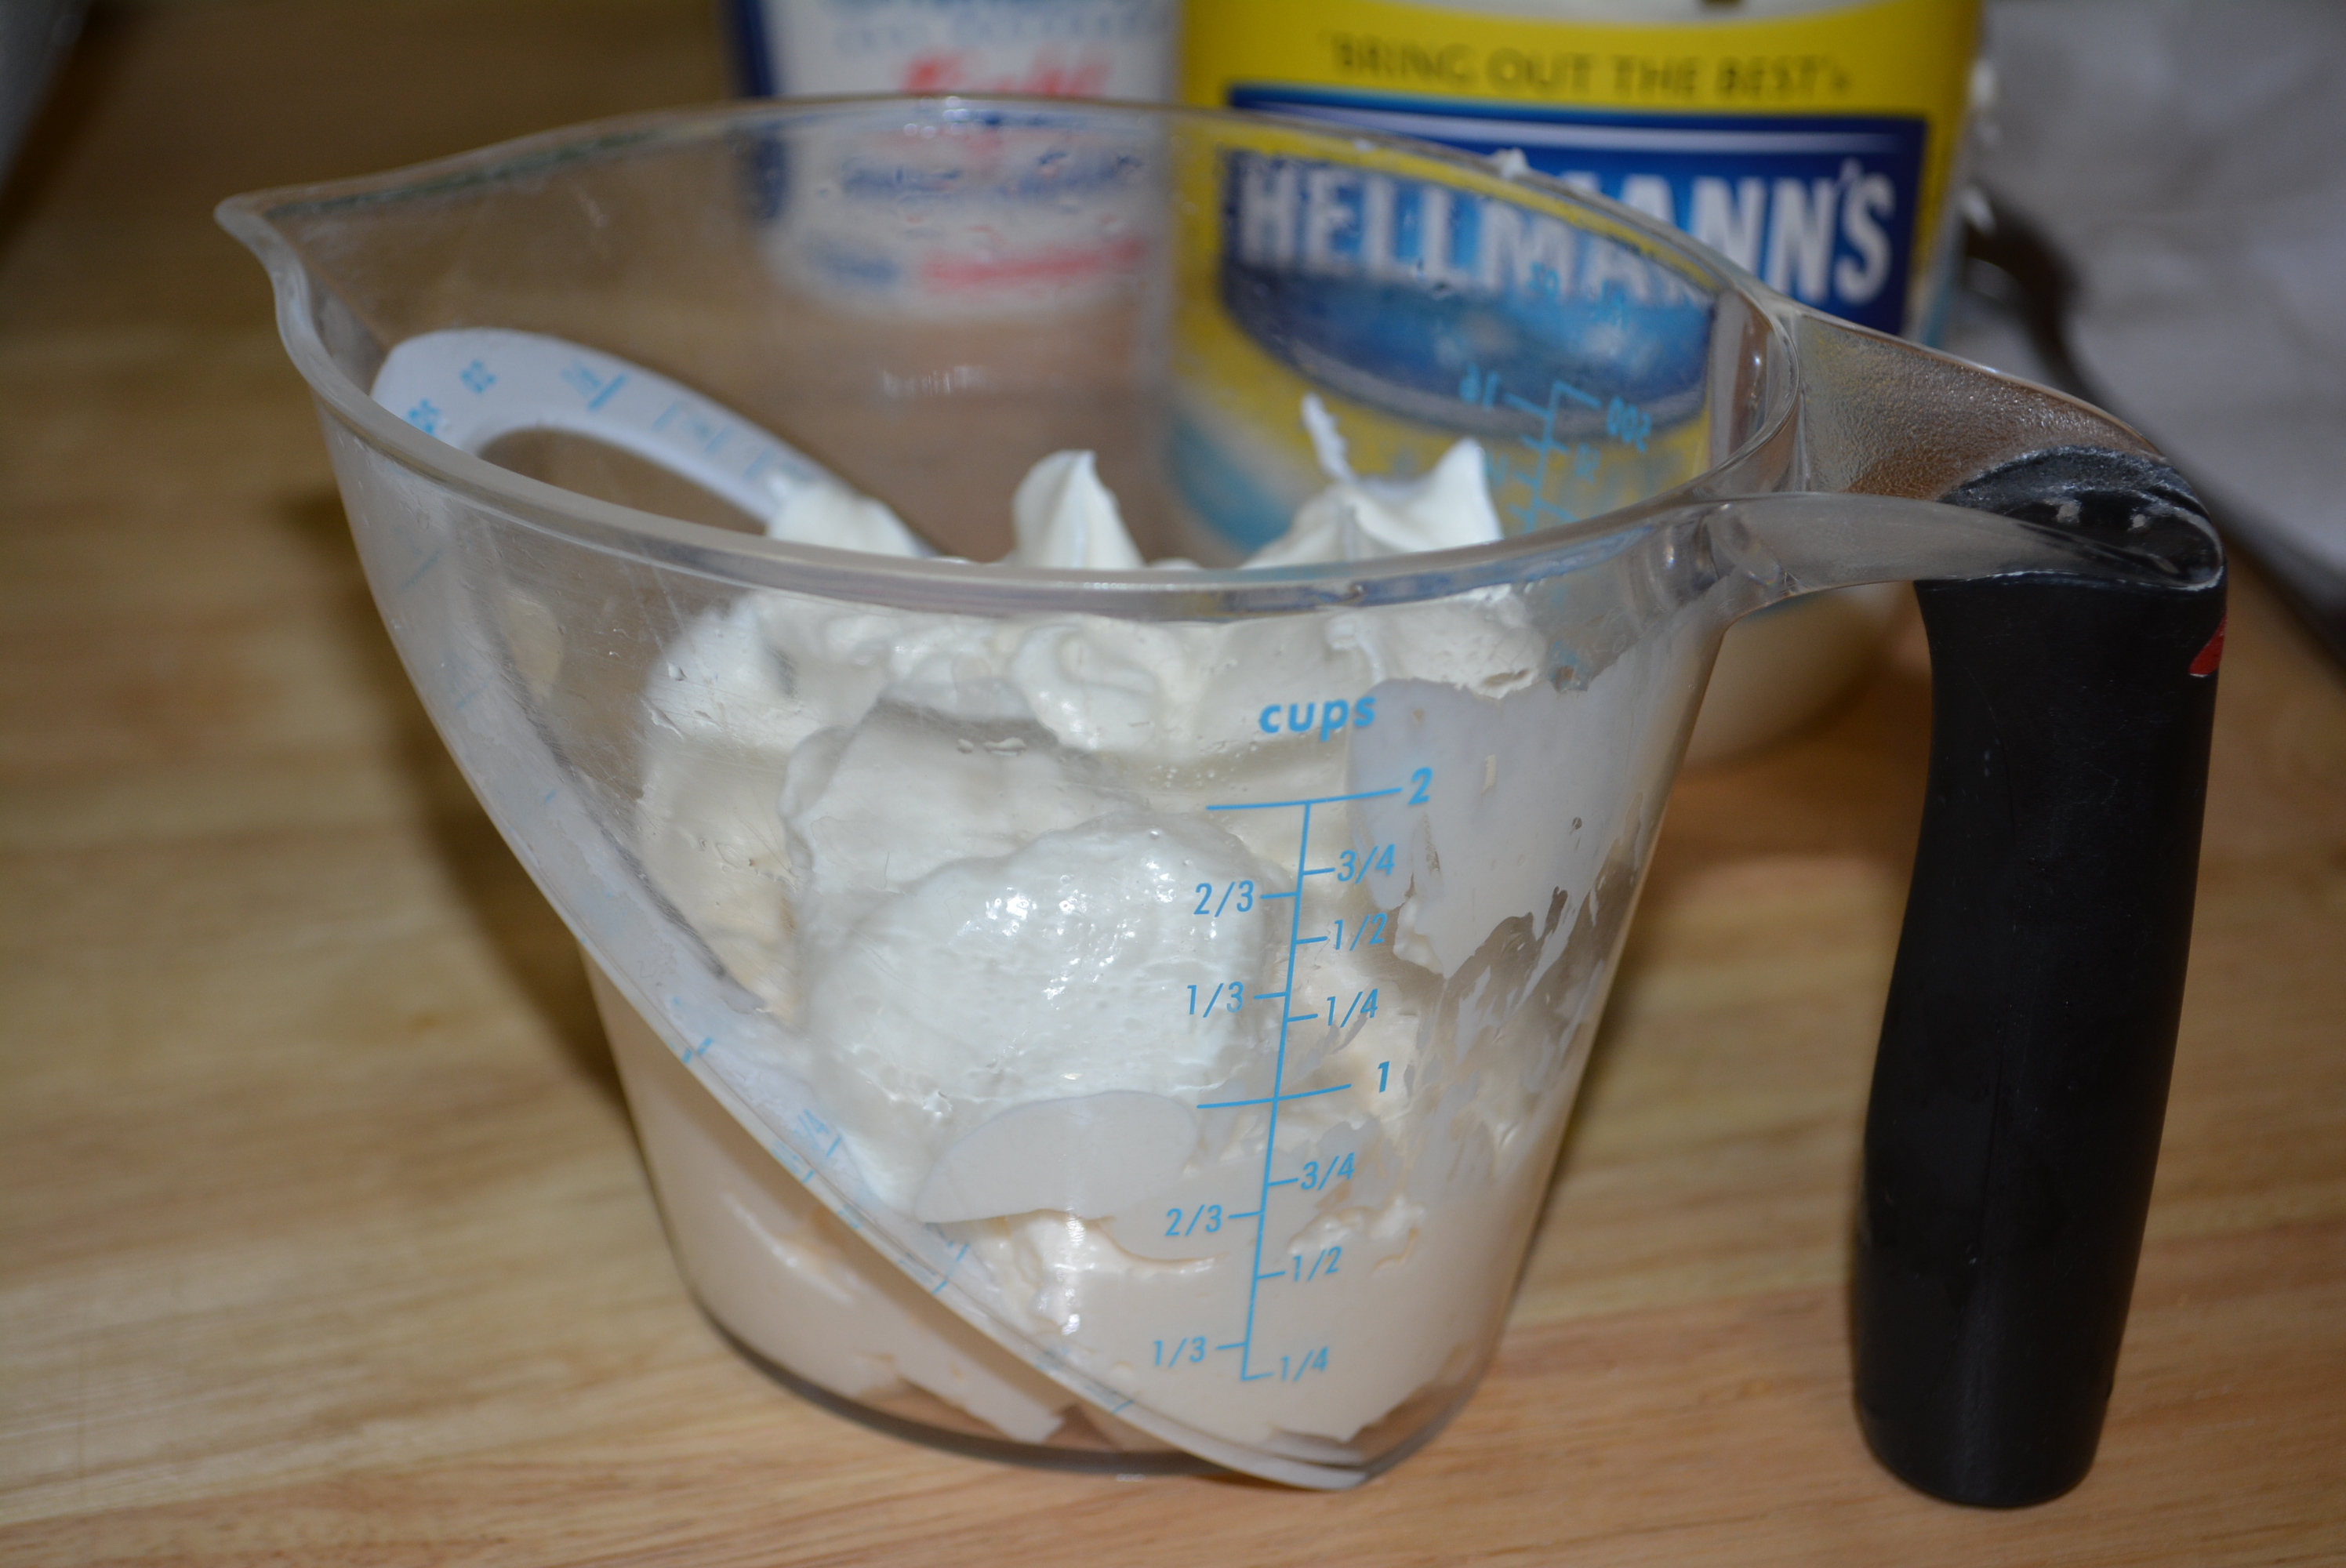
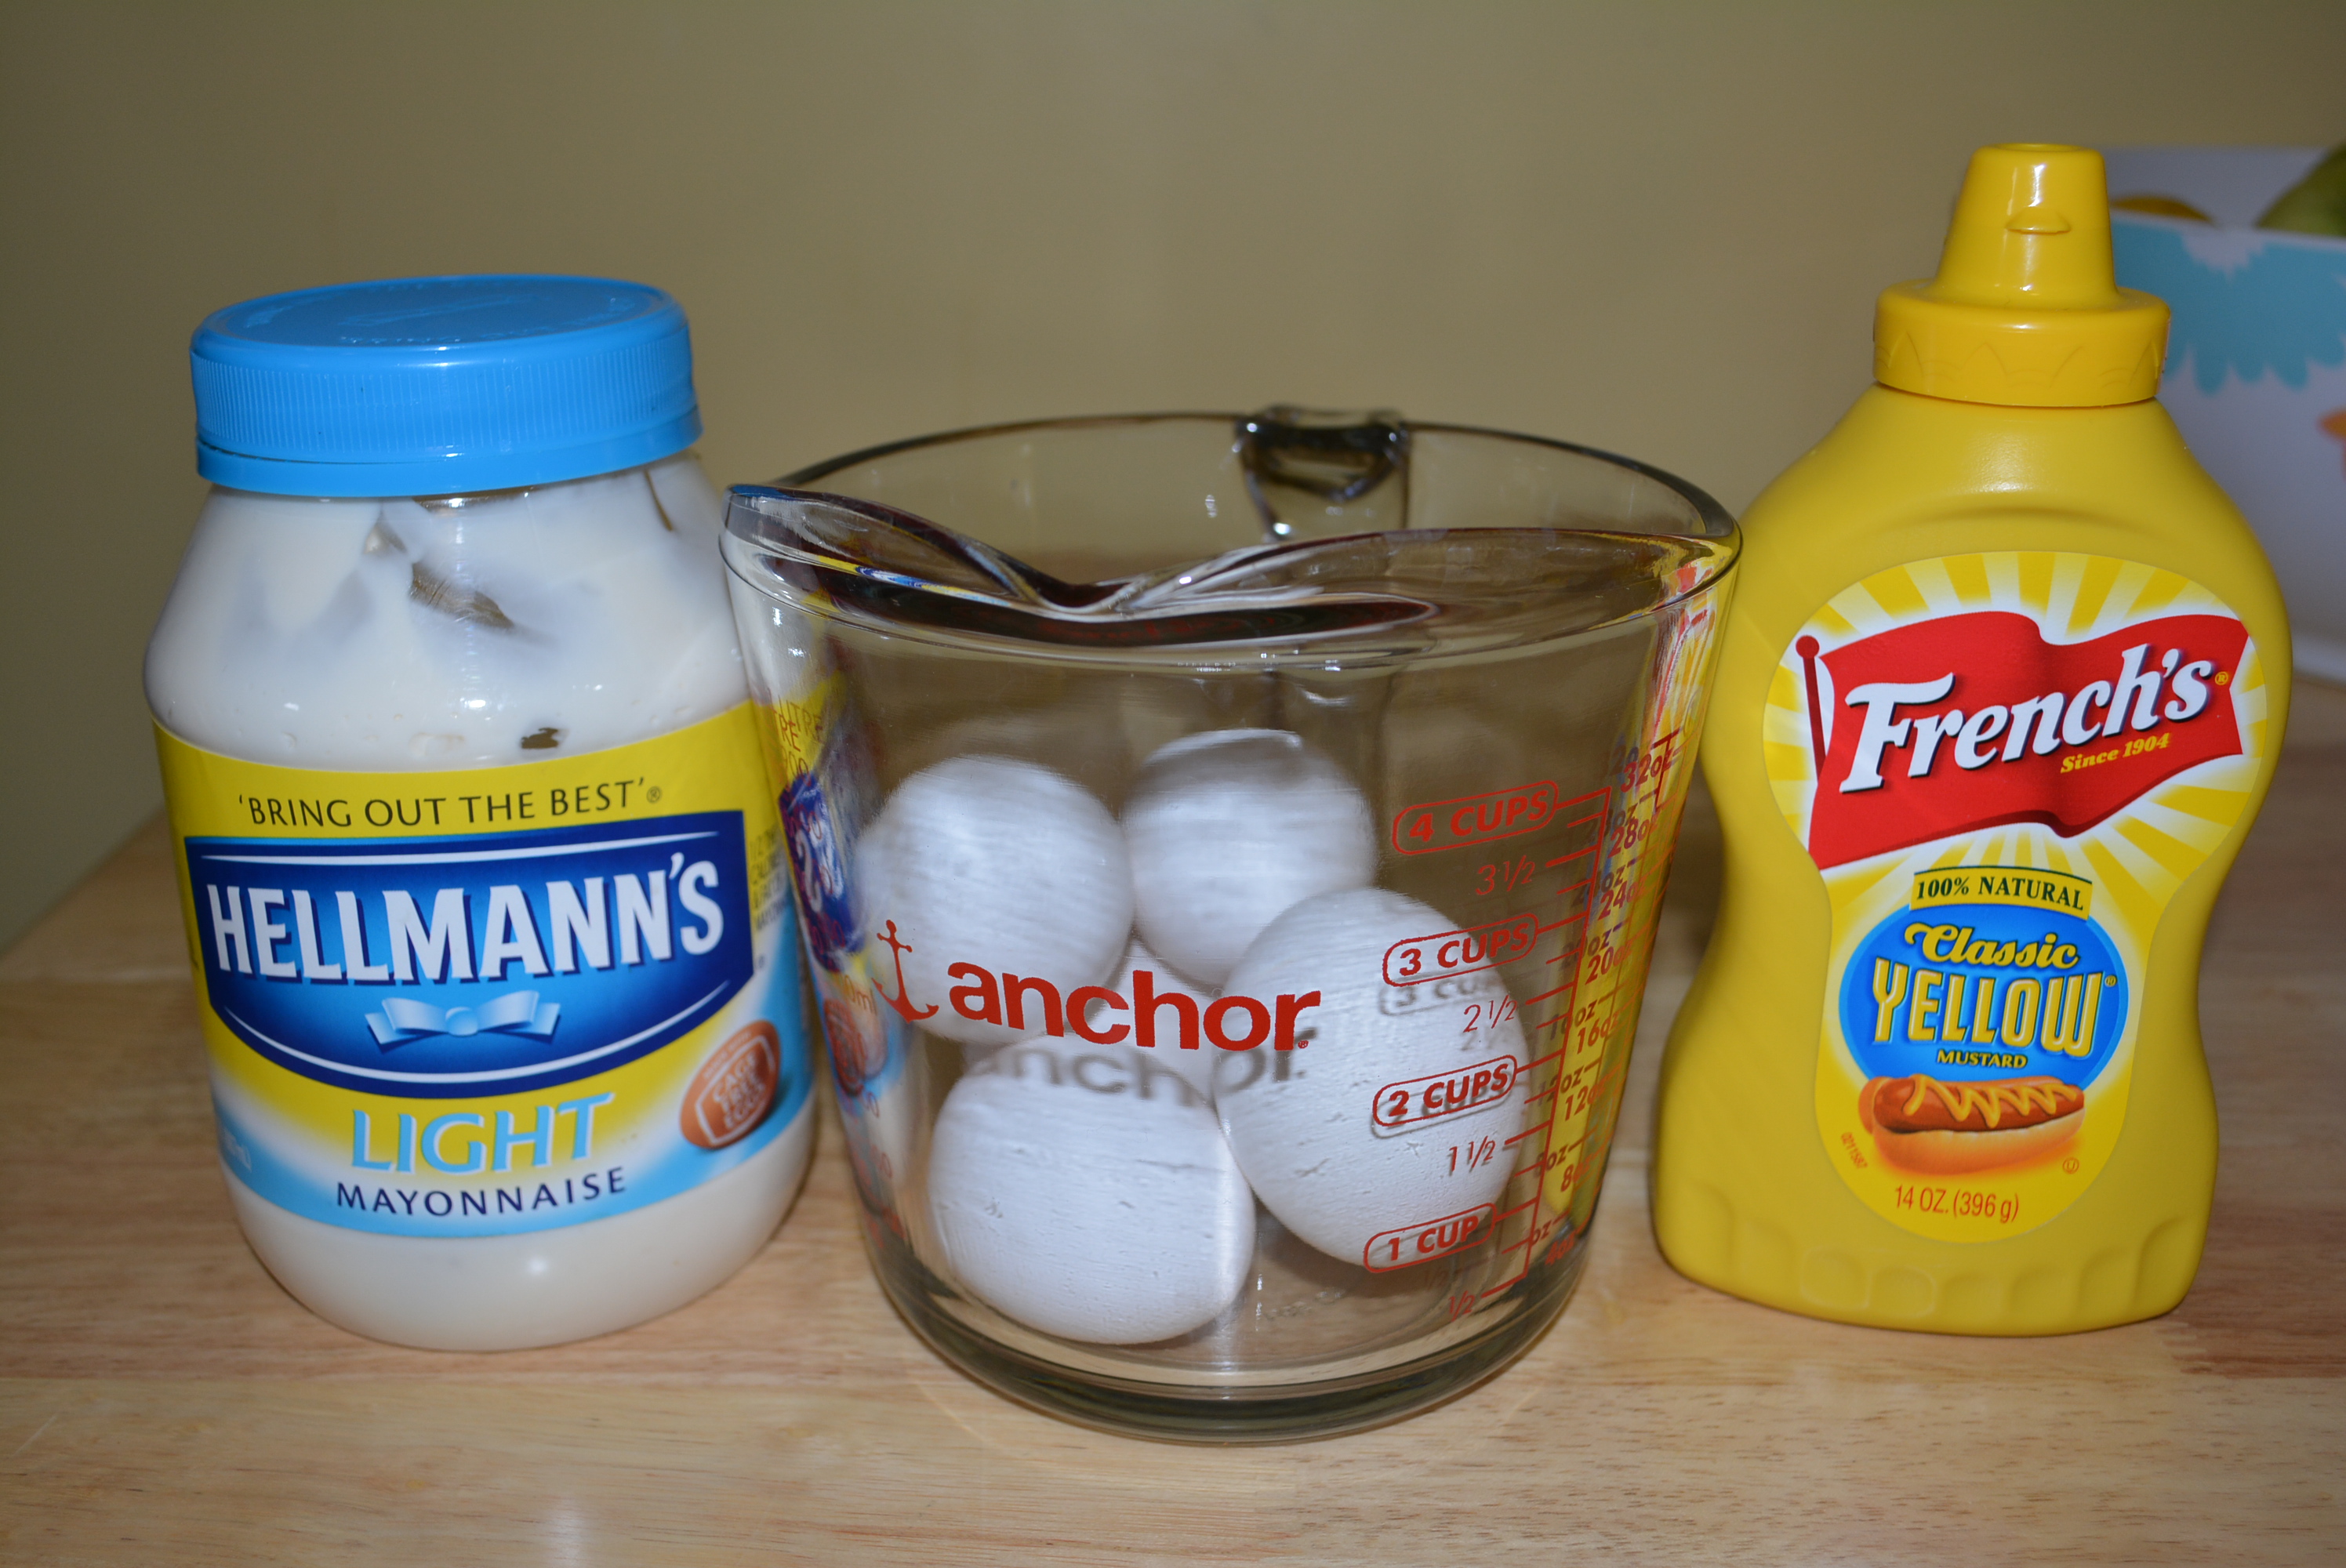
- 2 heaping tbsp light mayonnaise (Hellmann’s is gluten free)
- 1 full tsp yellow mustard (French’s is gluten free)
- paprika for dusting tops of eggs (optional)
- salt for boiling eggs
Directions:
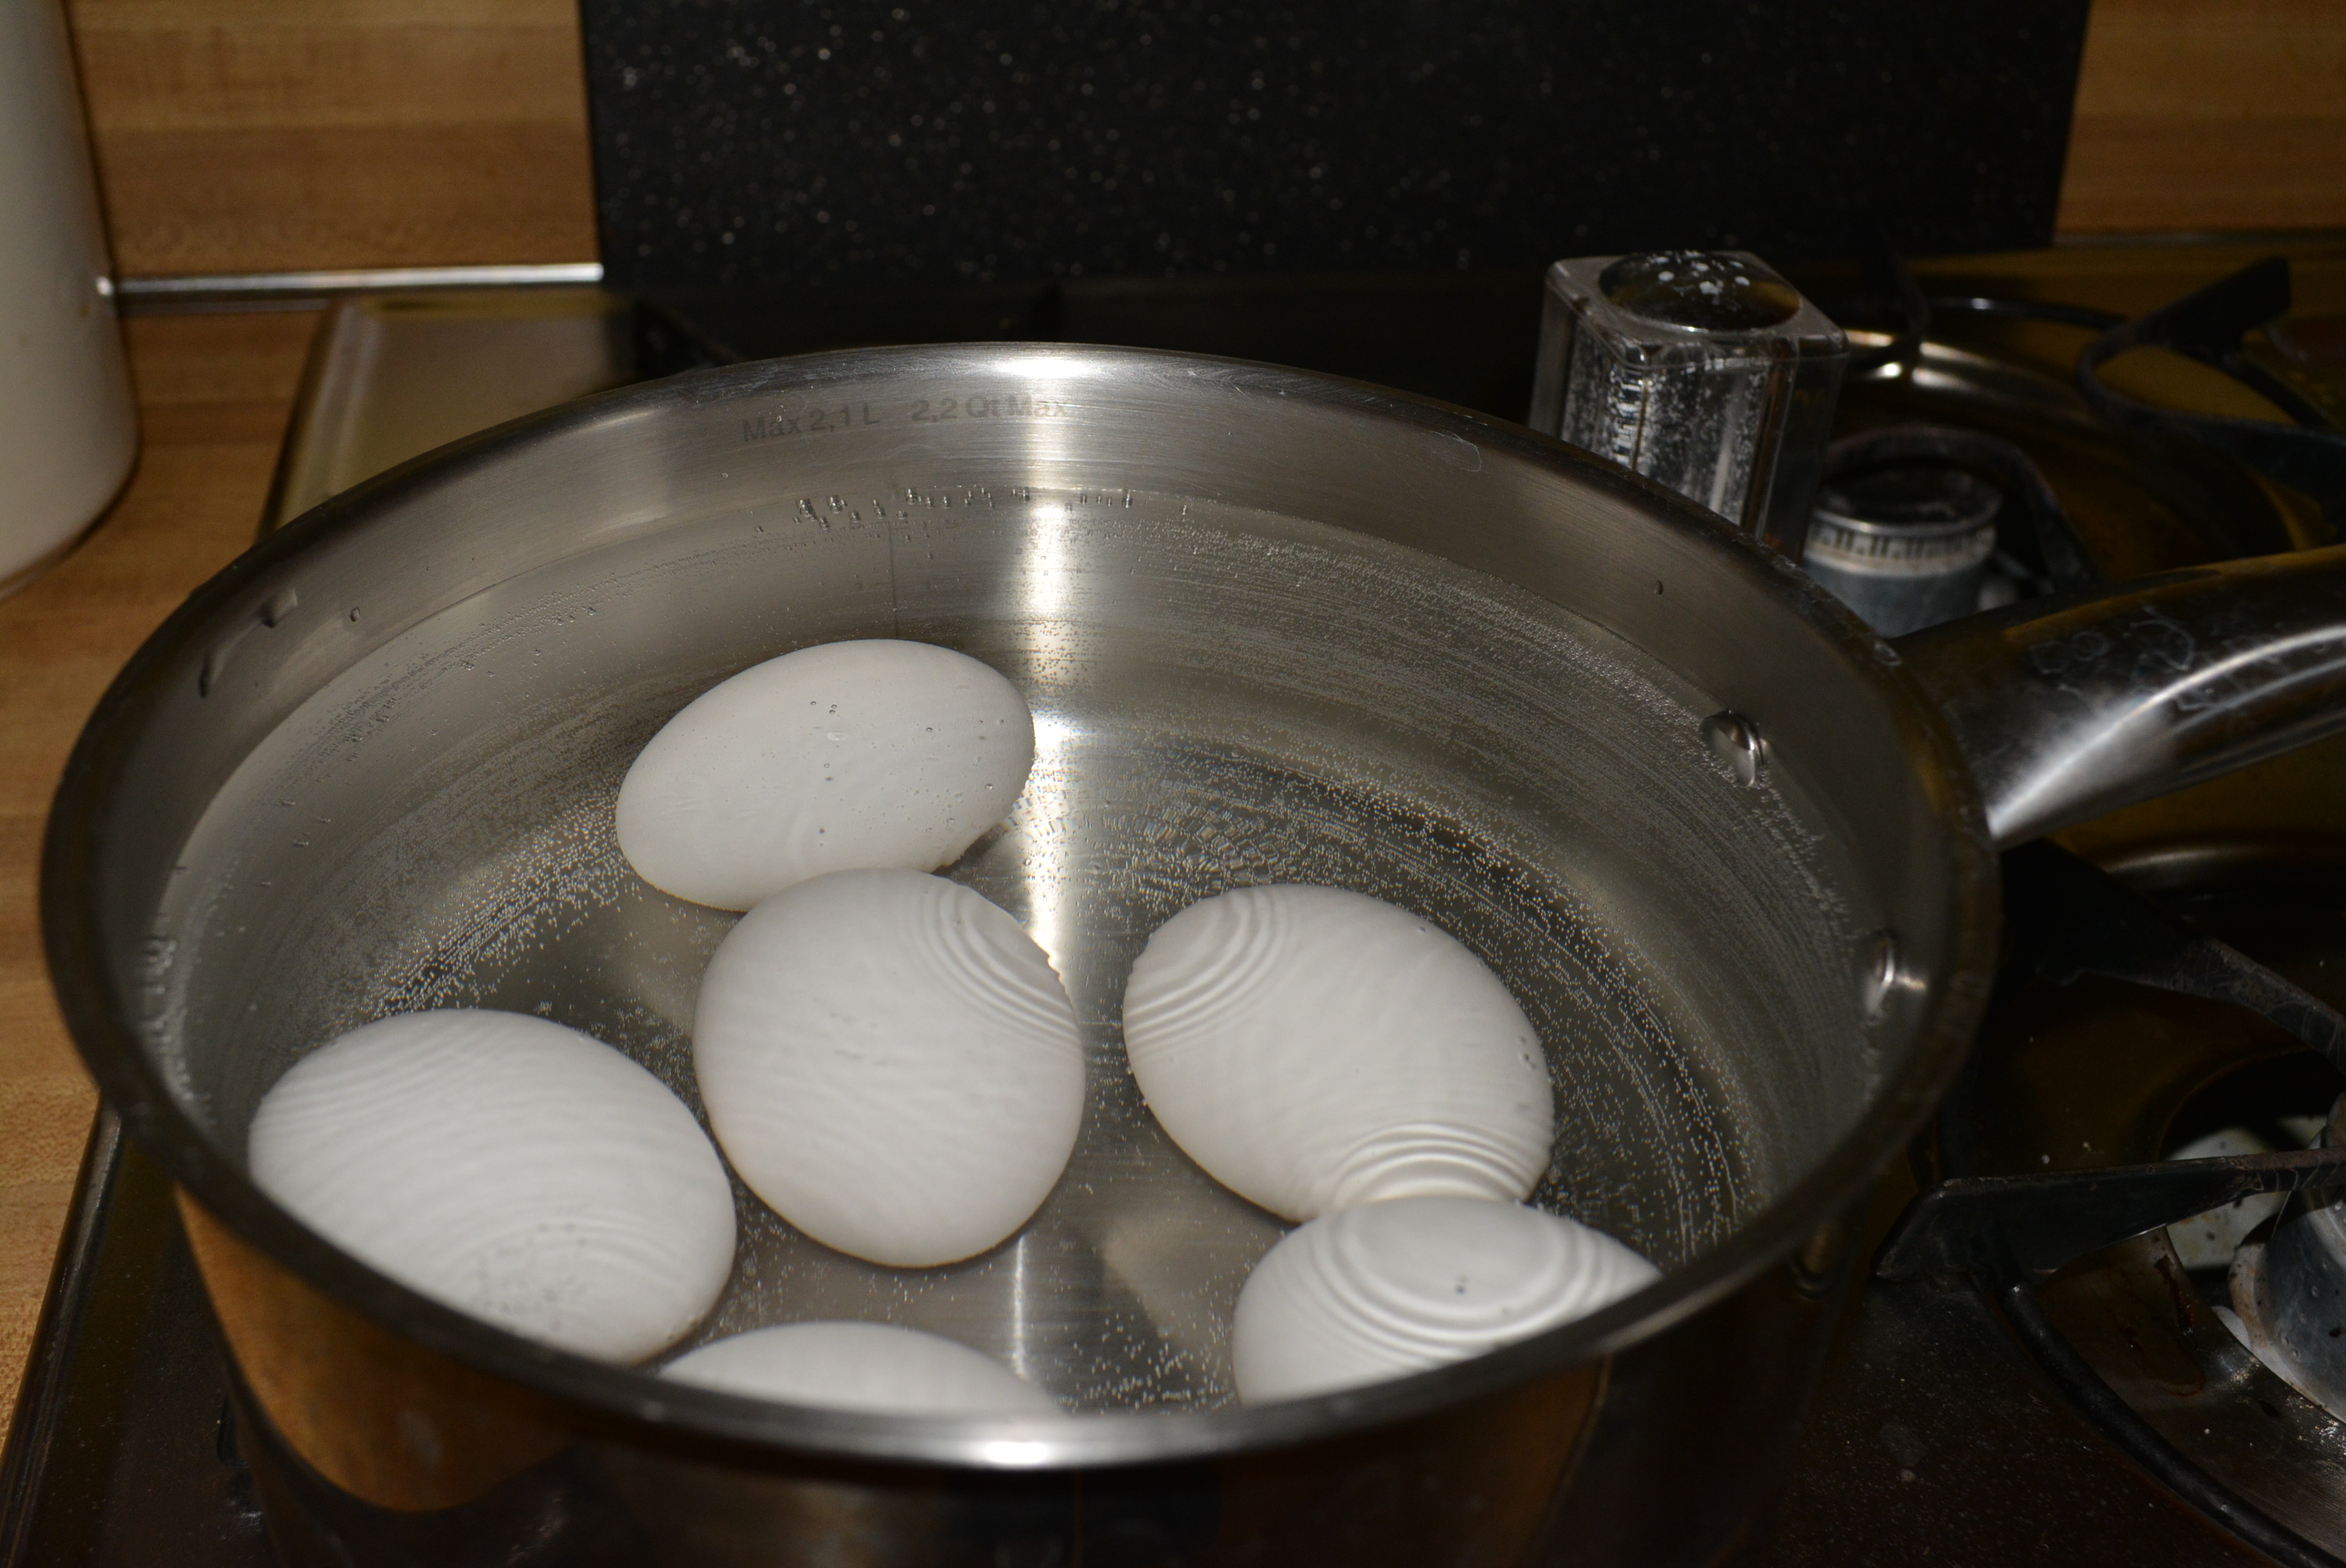
- To a large pot of water, add 6 large eggs and sprinkle salt (this helps egg shells to peel off easily).
- Bring water to a boil and continue to heat at a boil for 10 minutes.
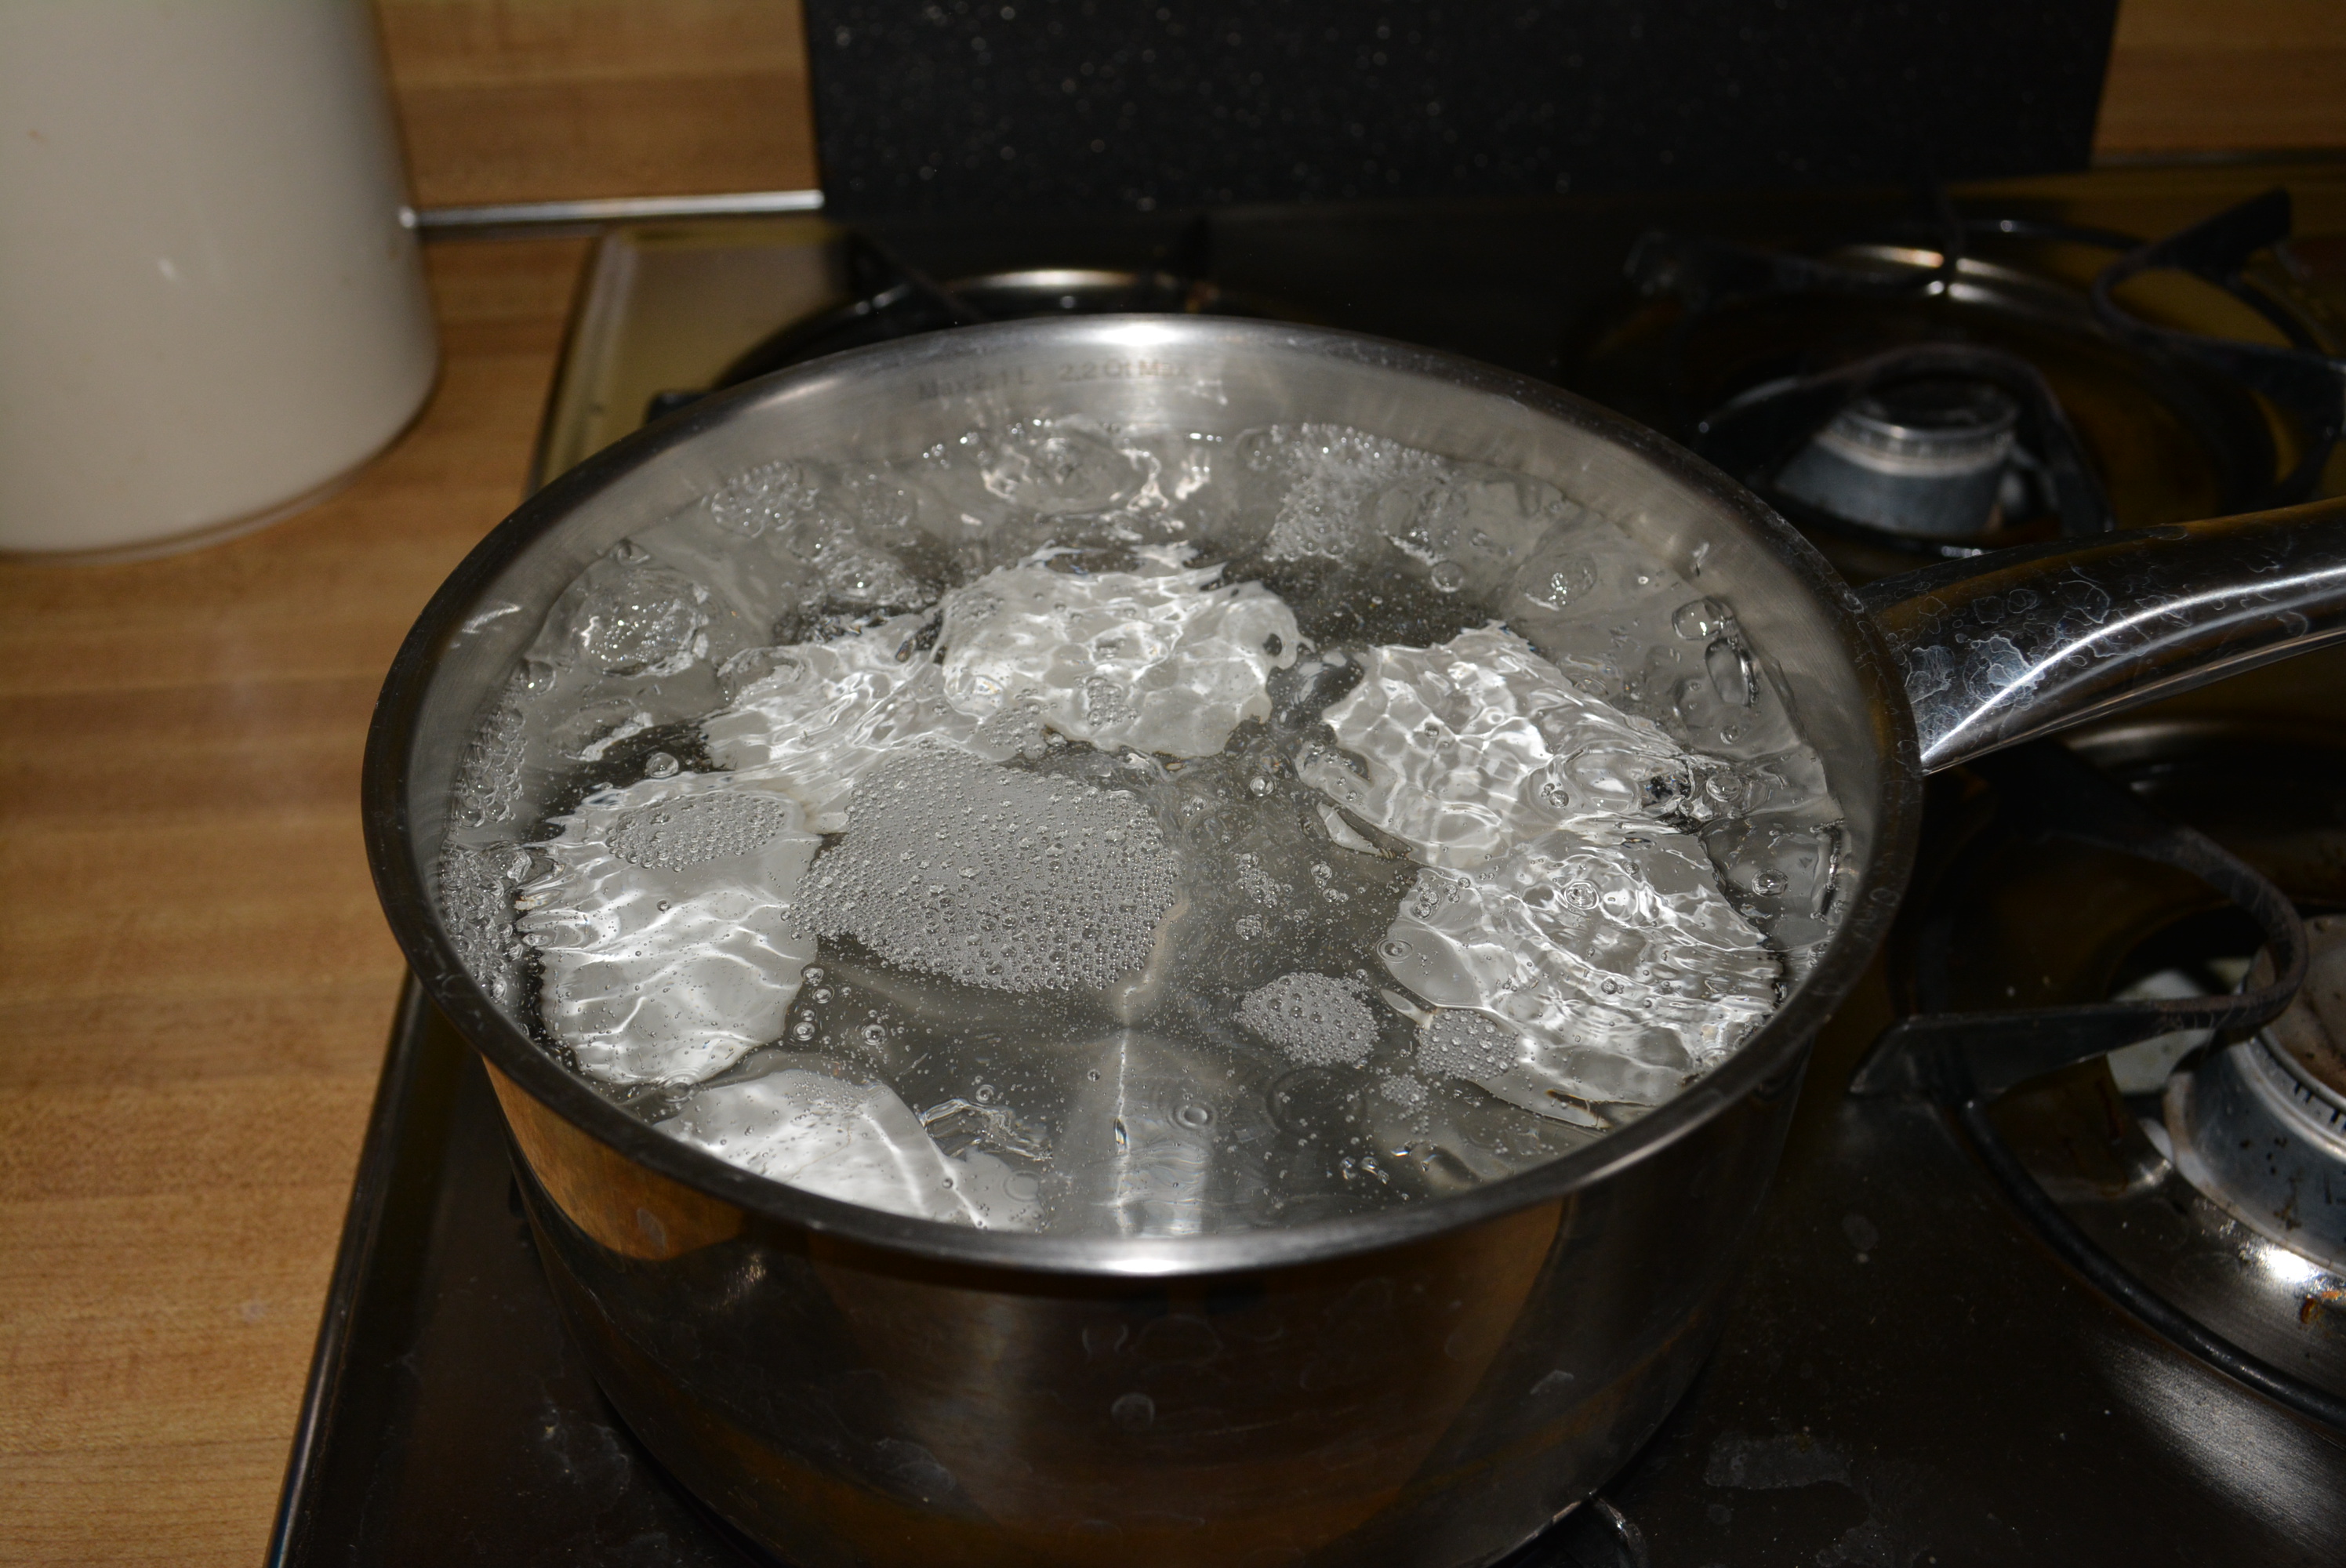
- After 10 minutes at a boil, remove from heat and let stand in hot water for an additional 5 minutes.
- Pour off hot water slowly and run cool water over eggs until eggs are cool enough to handle.
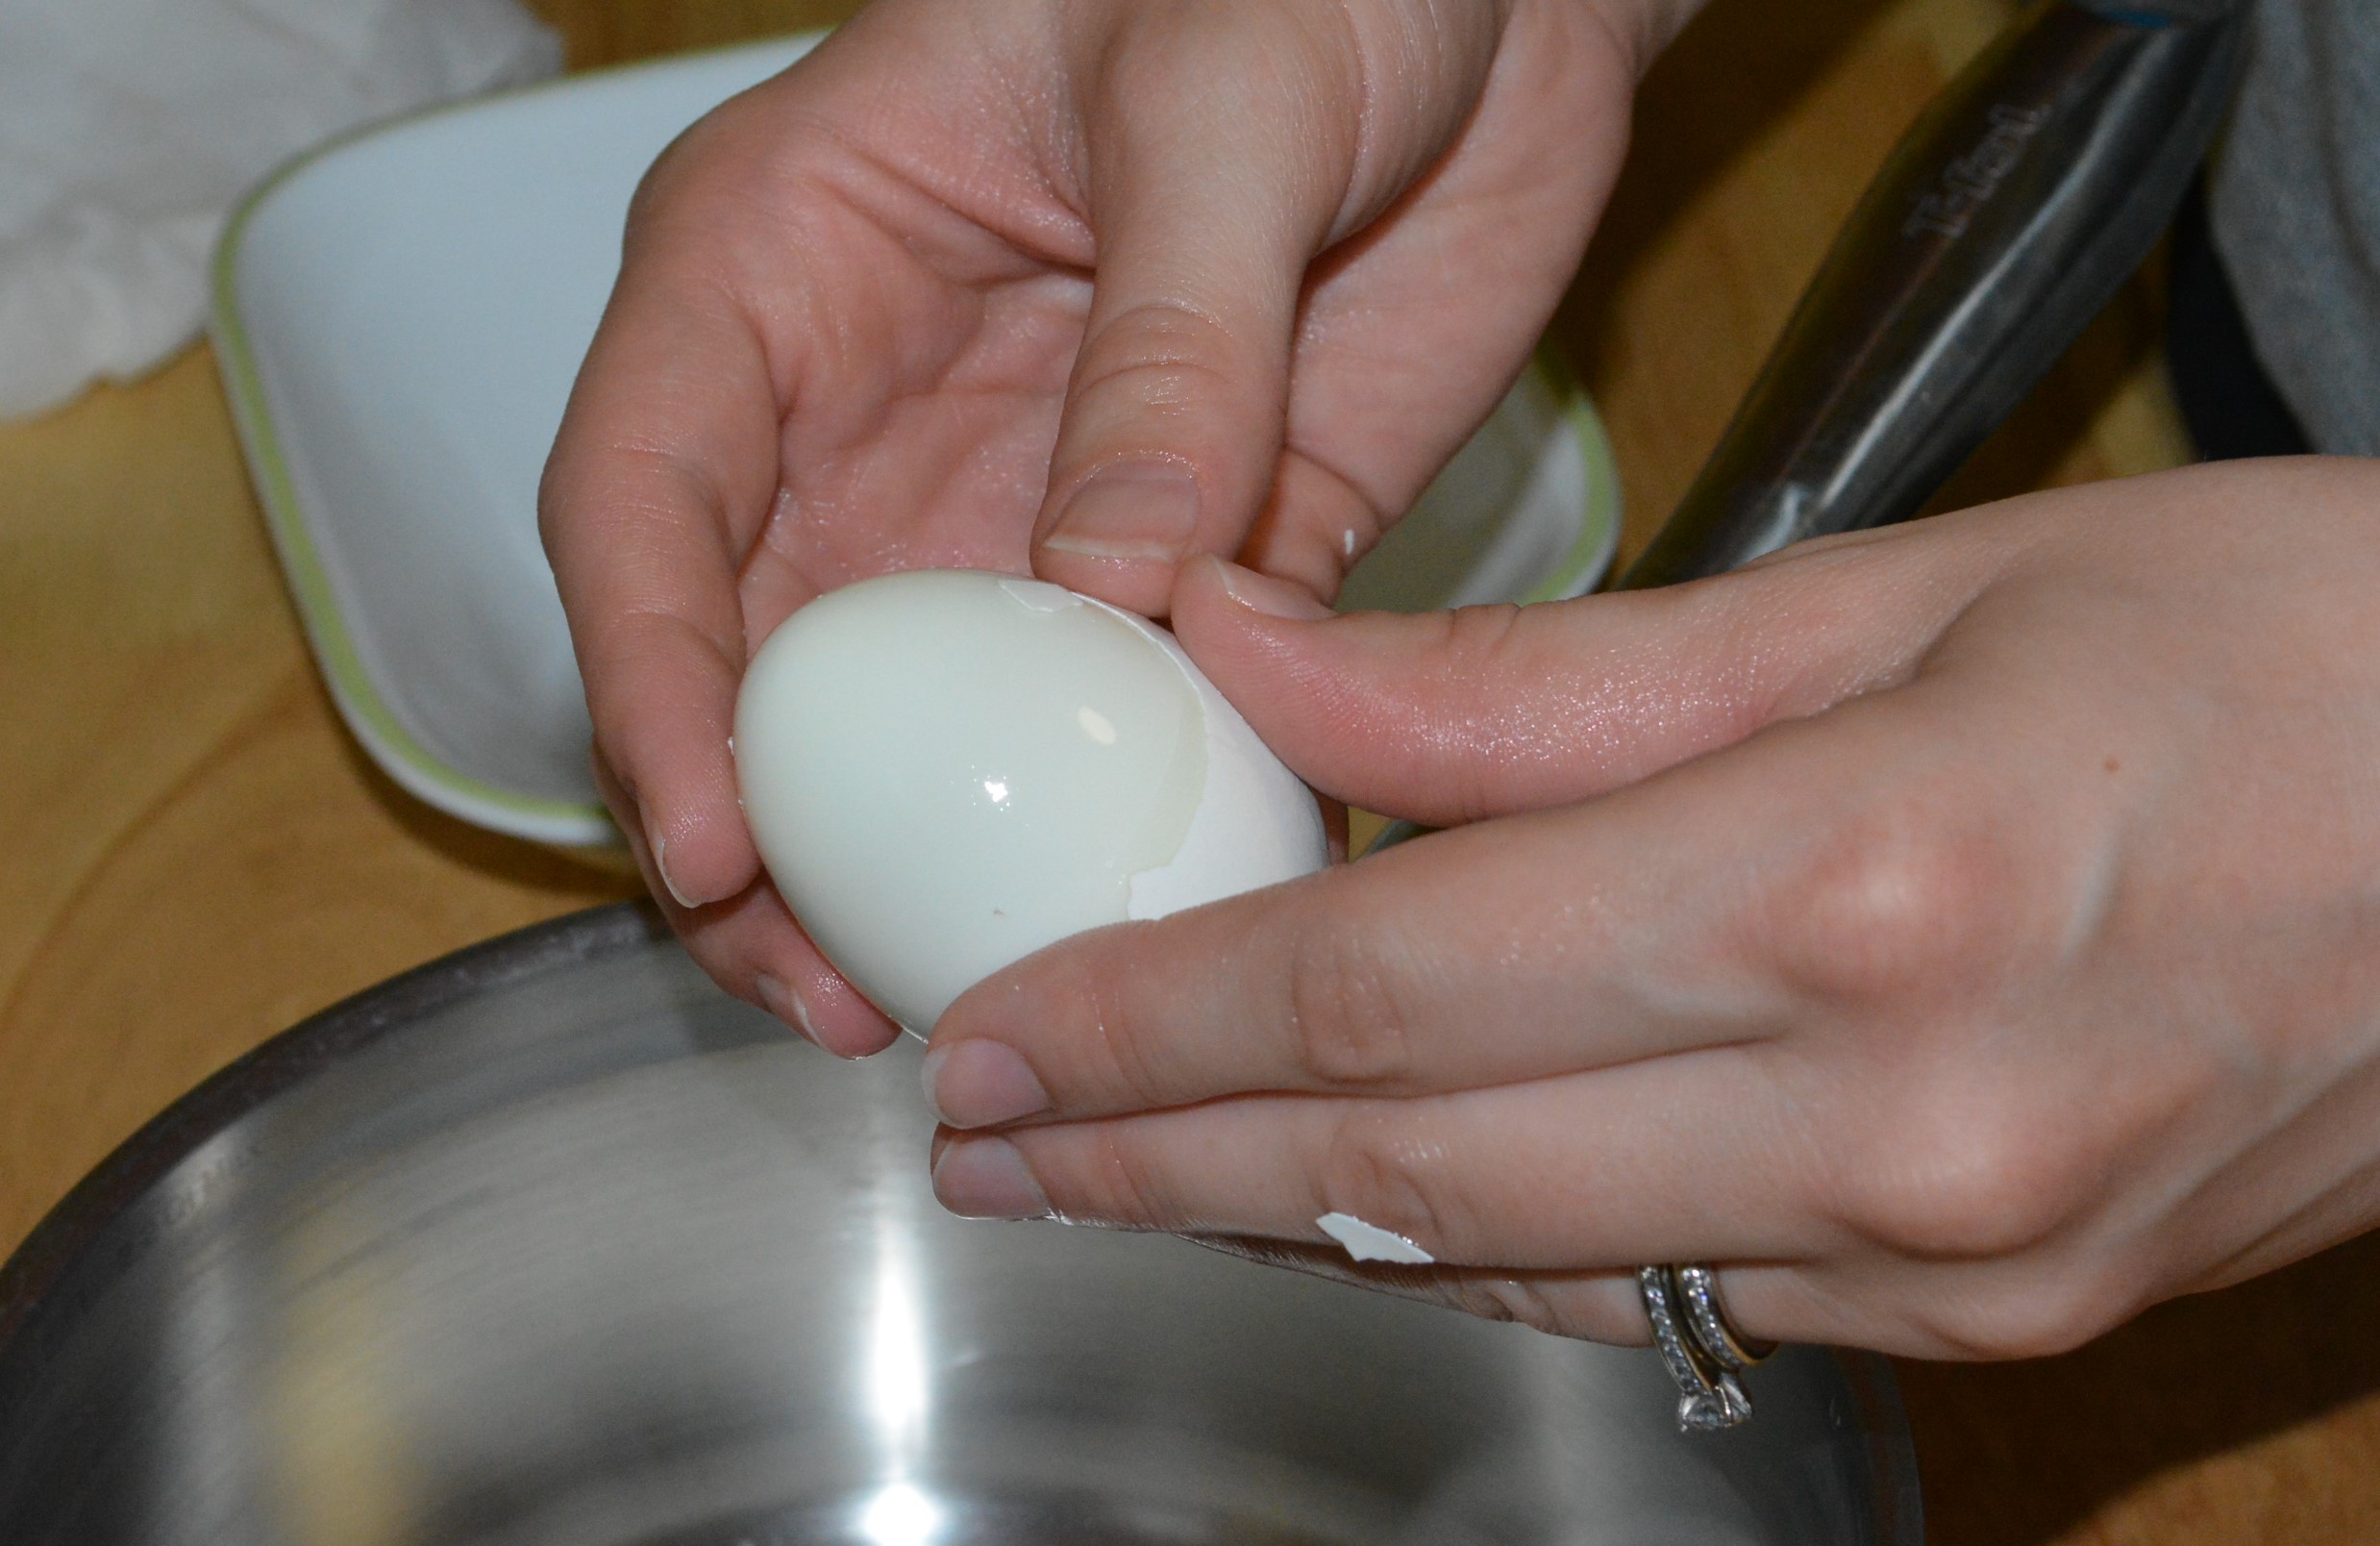
- Tap each egg causing shell to crack and then gently peel shell from egg. This is where the salted water is key, the salt loosens the shell from the egg allowing for easier peeling. Sometimes the shells peel very easily and others they are difficult to remove, either way peeling them under running water helps the process along.
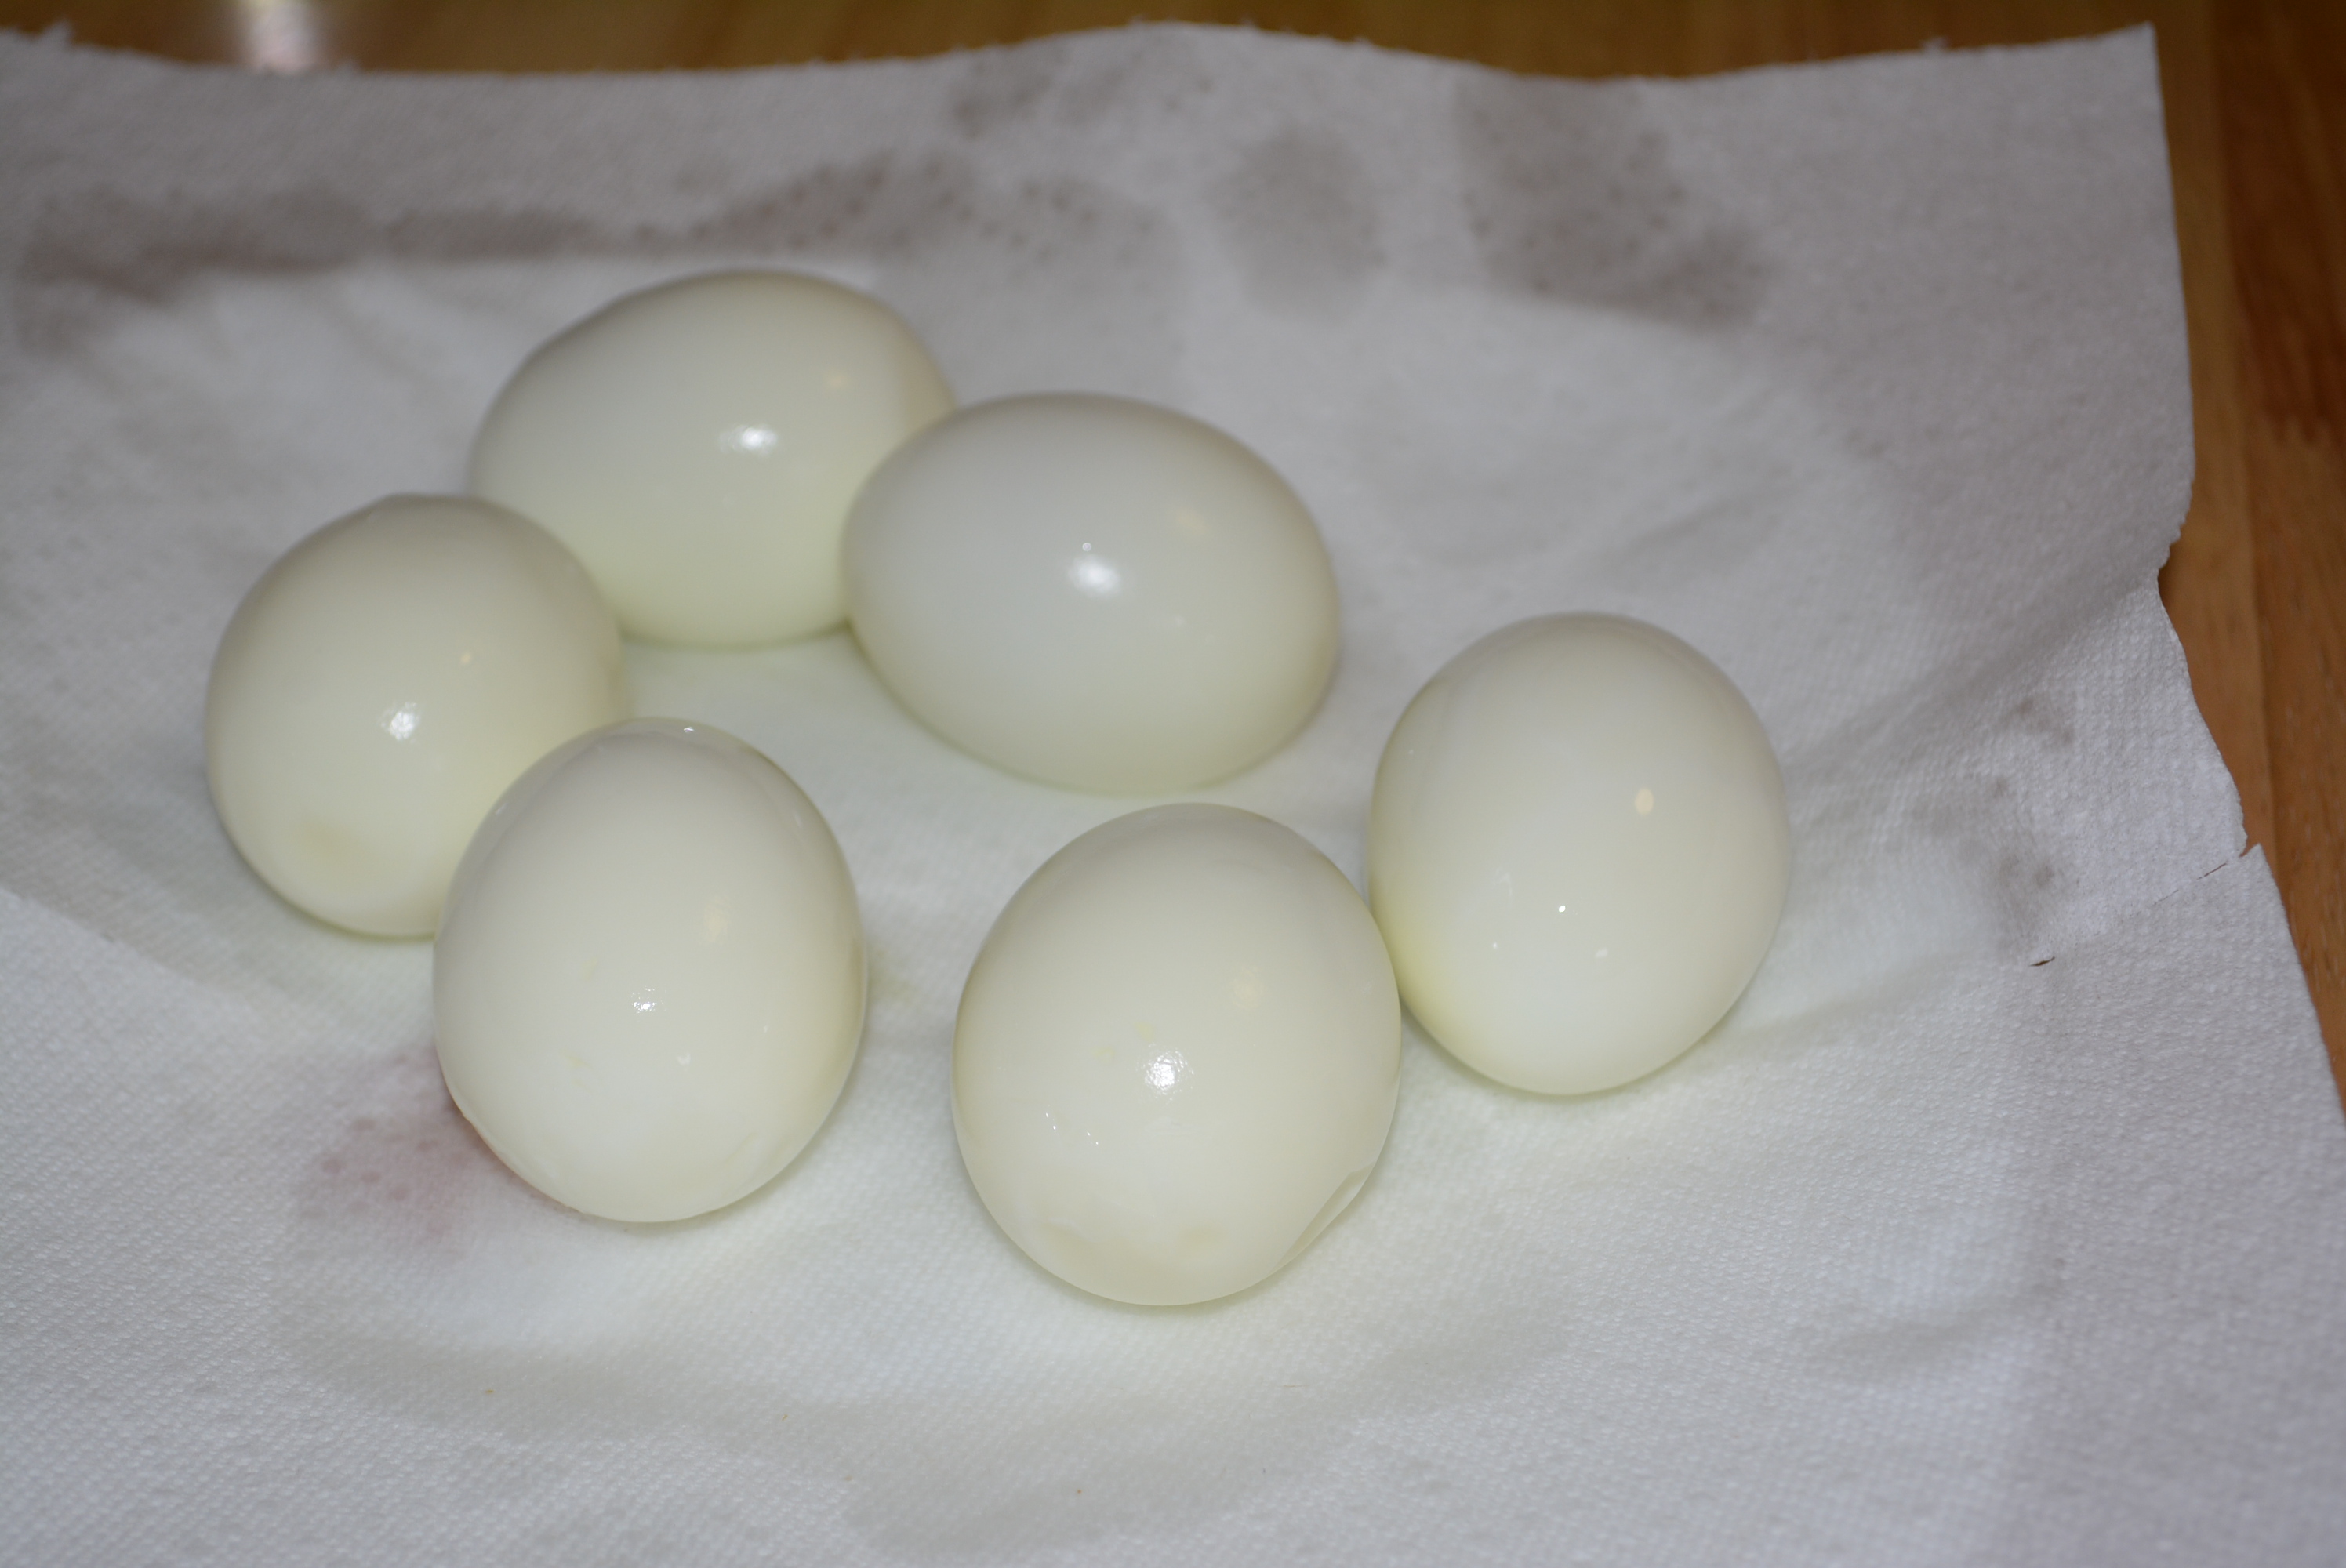
- After peeling off shells, rinse each and pat dry with a paper towel ensuring all bits of shell have been removed.
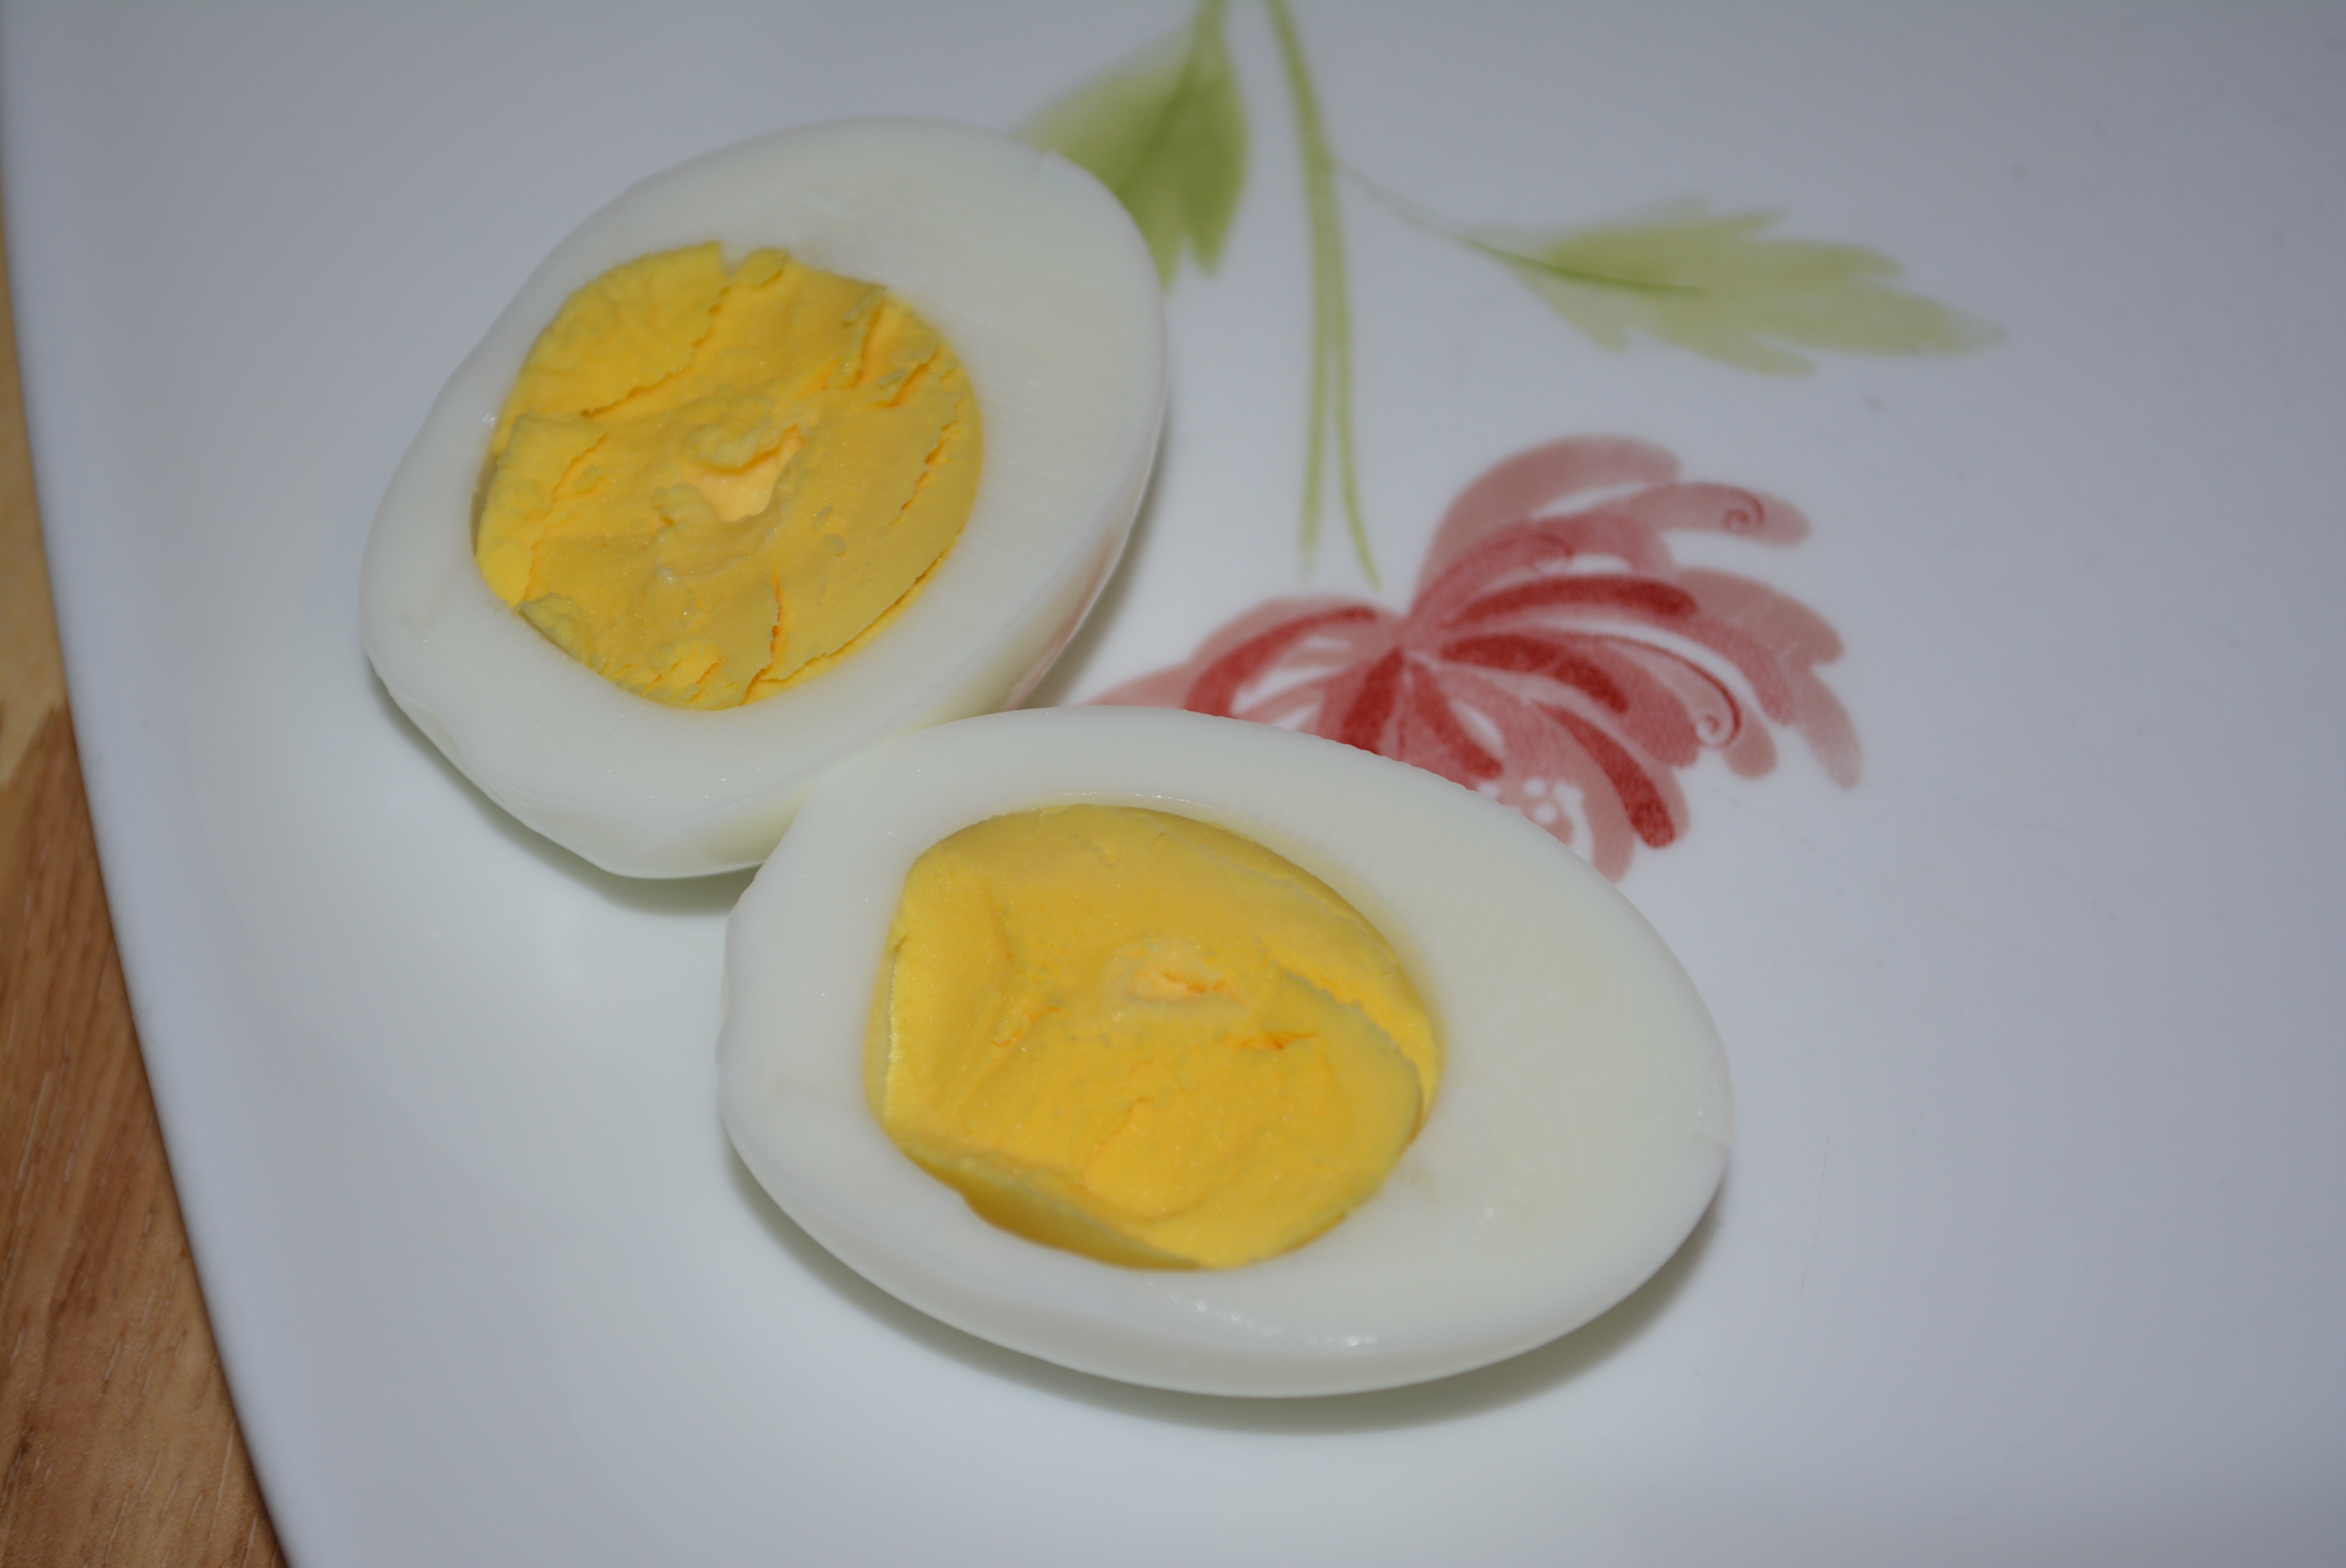
- Cut each egg vertically to create two halves.
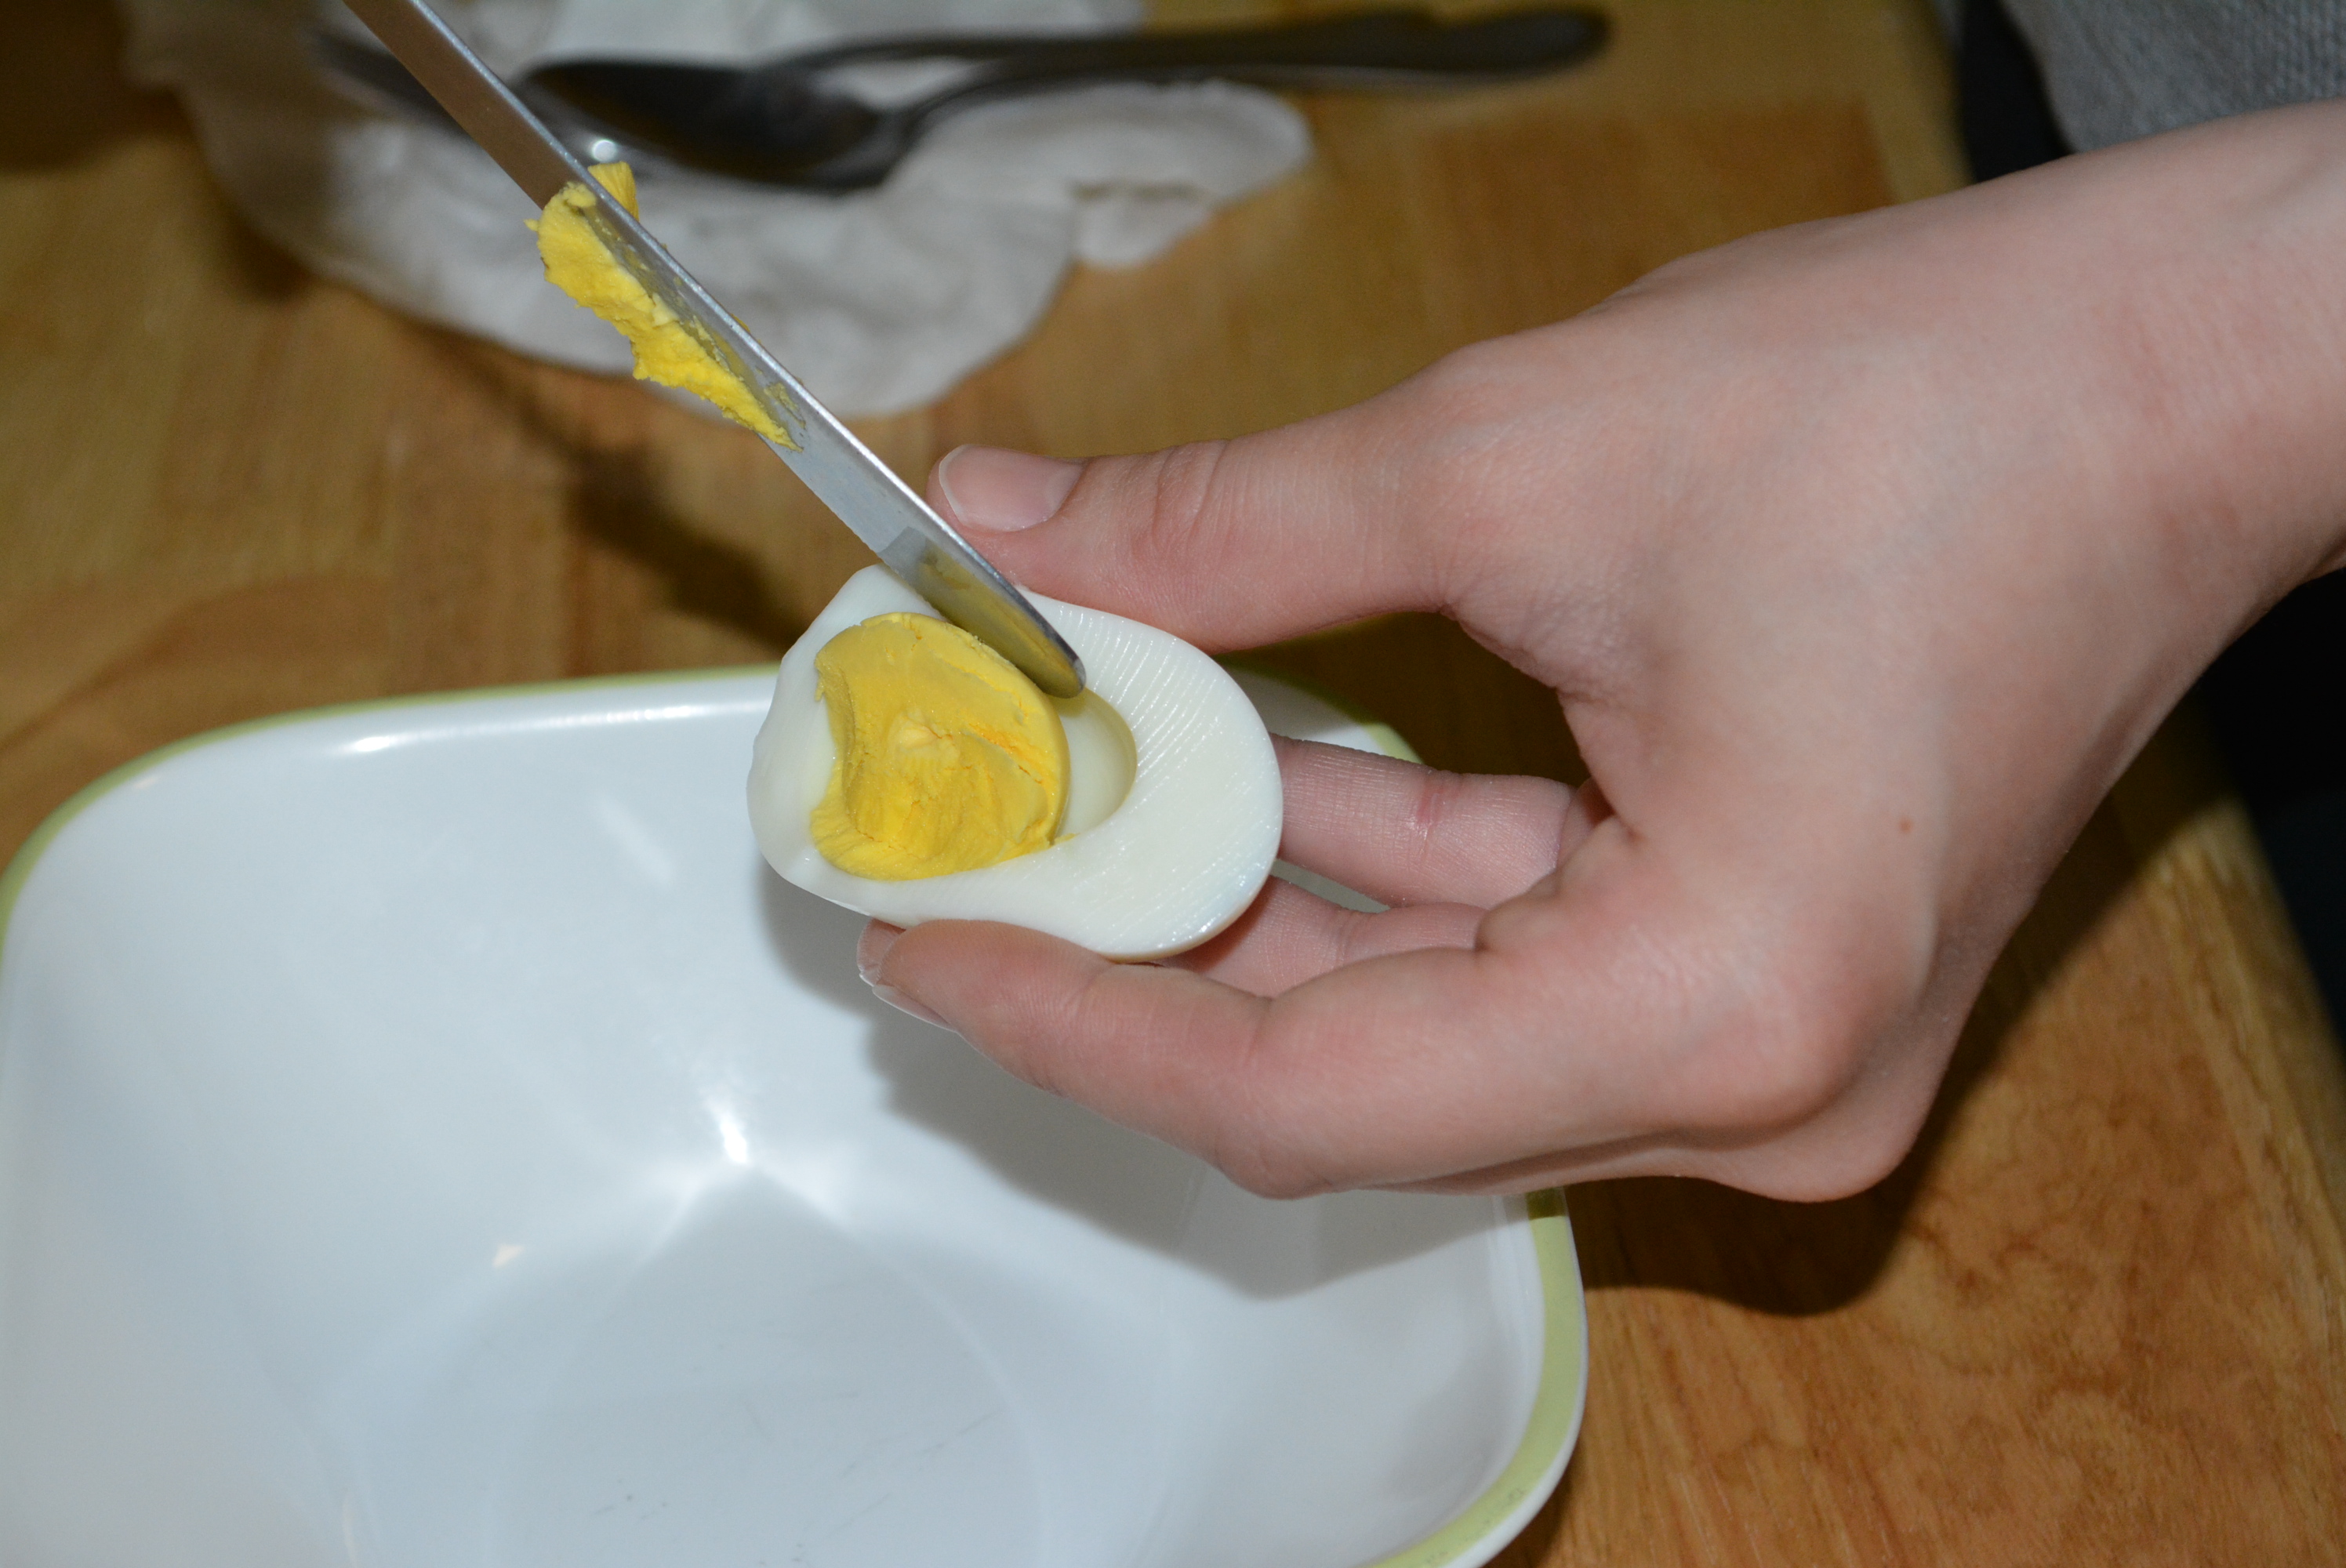
- Remove yolks from each egg, adding them to a small bowl. These may stick a bit to the egg so try using a teaspoon to gently dig them out.
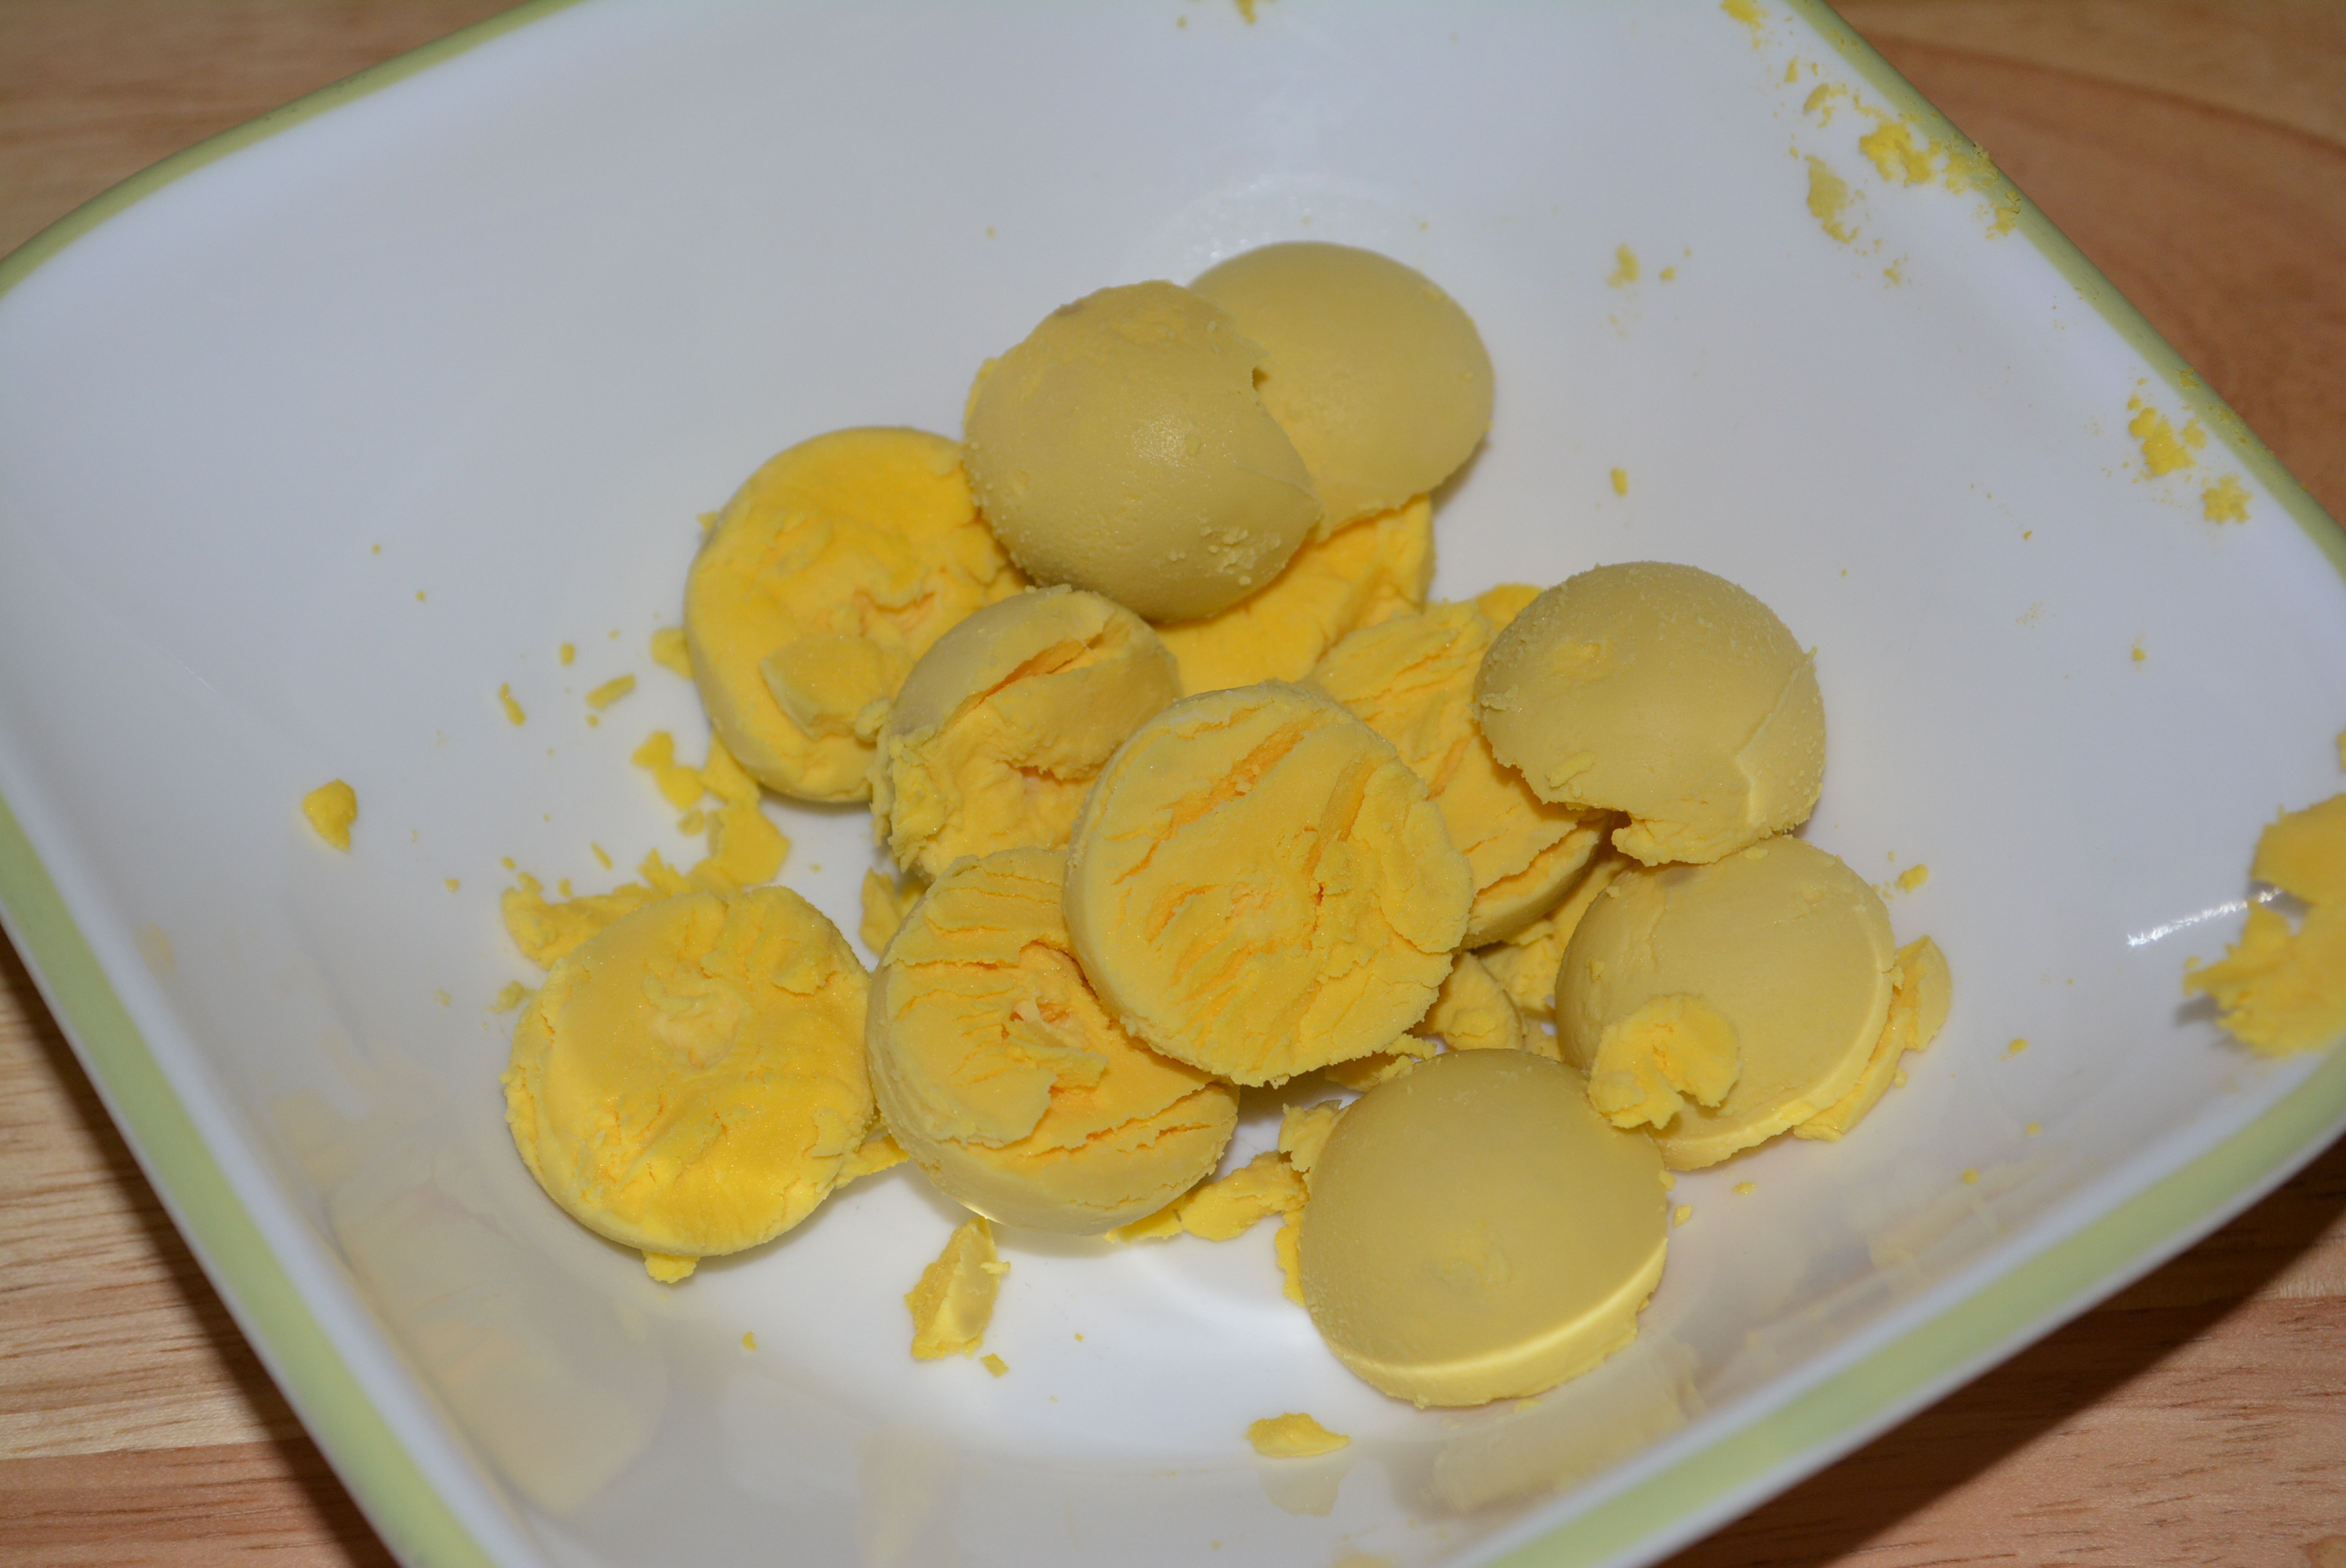

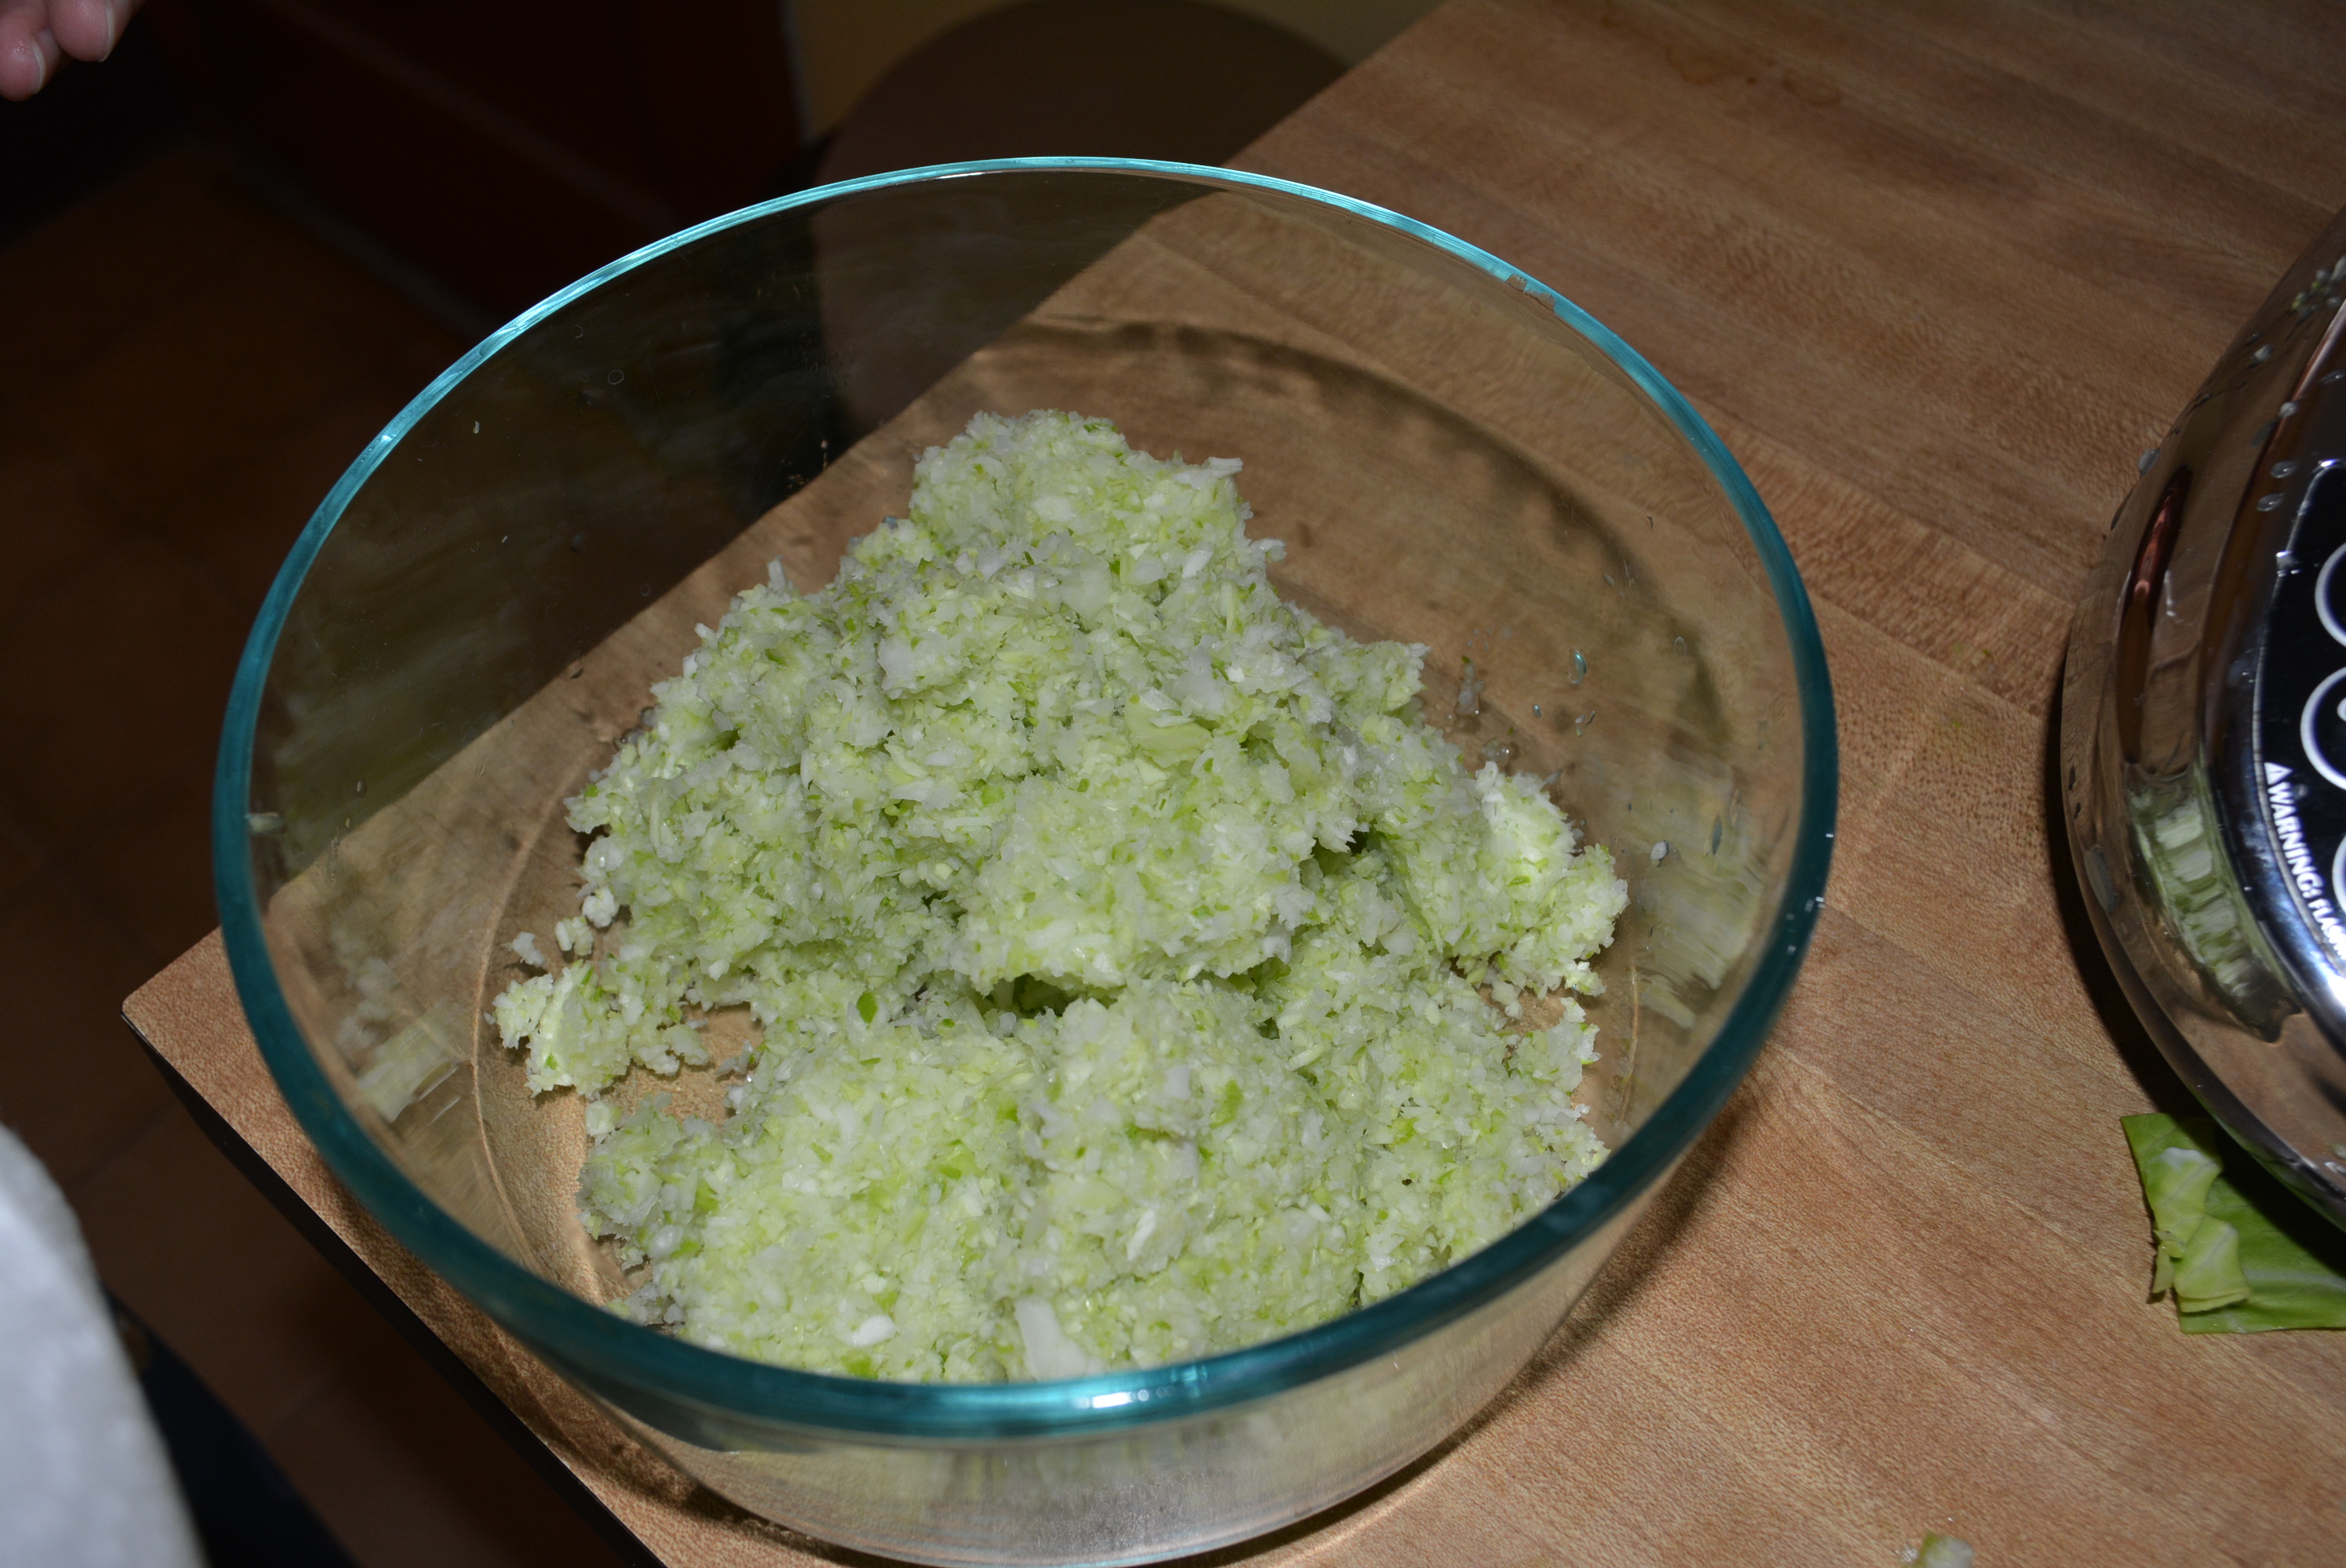
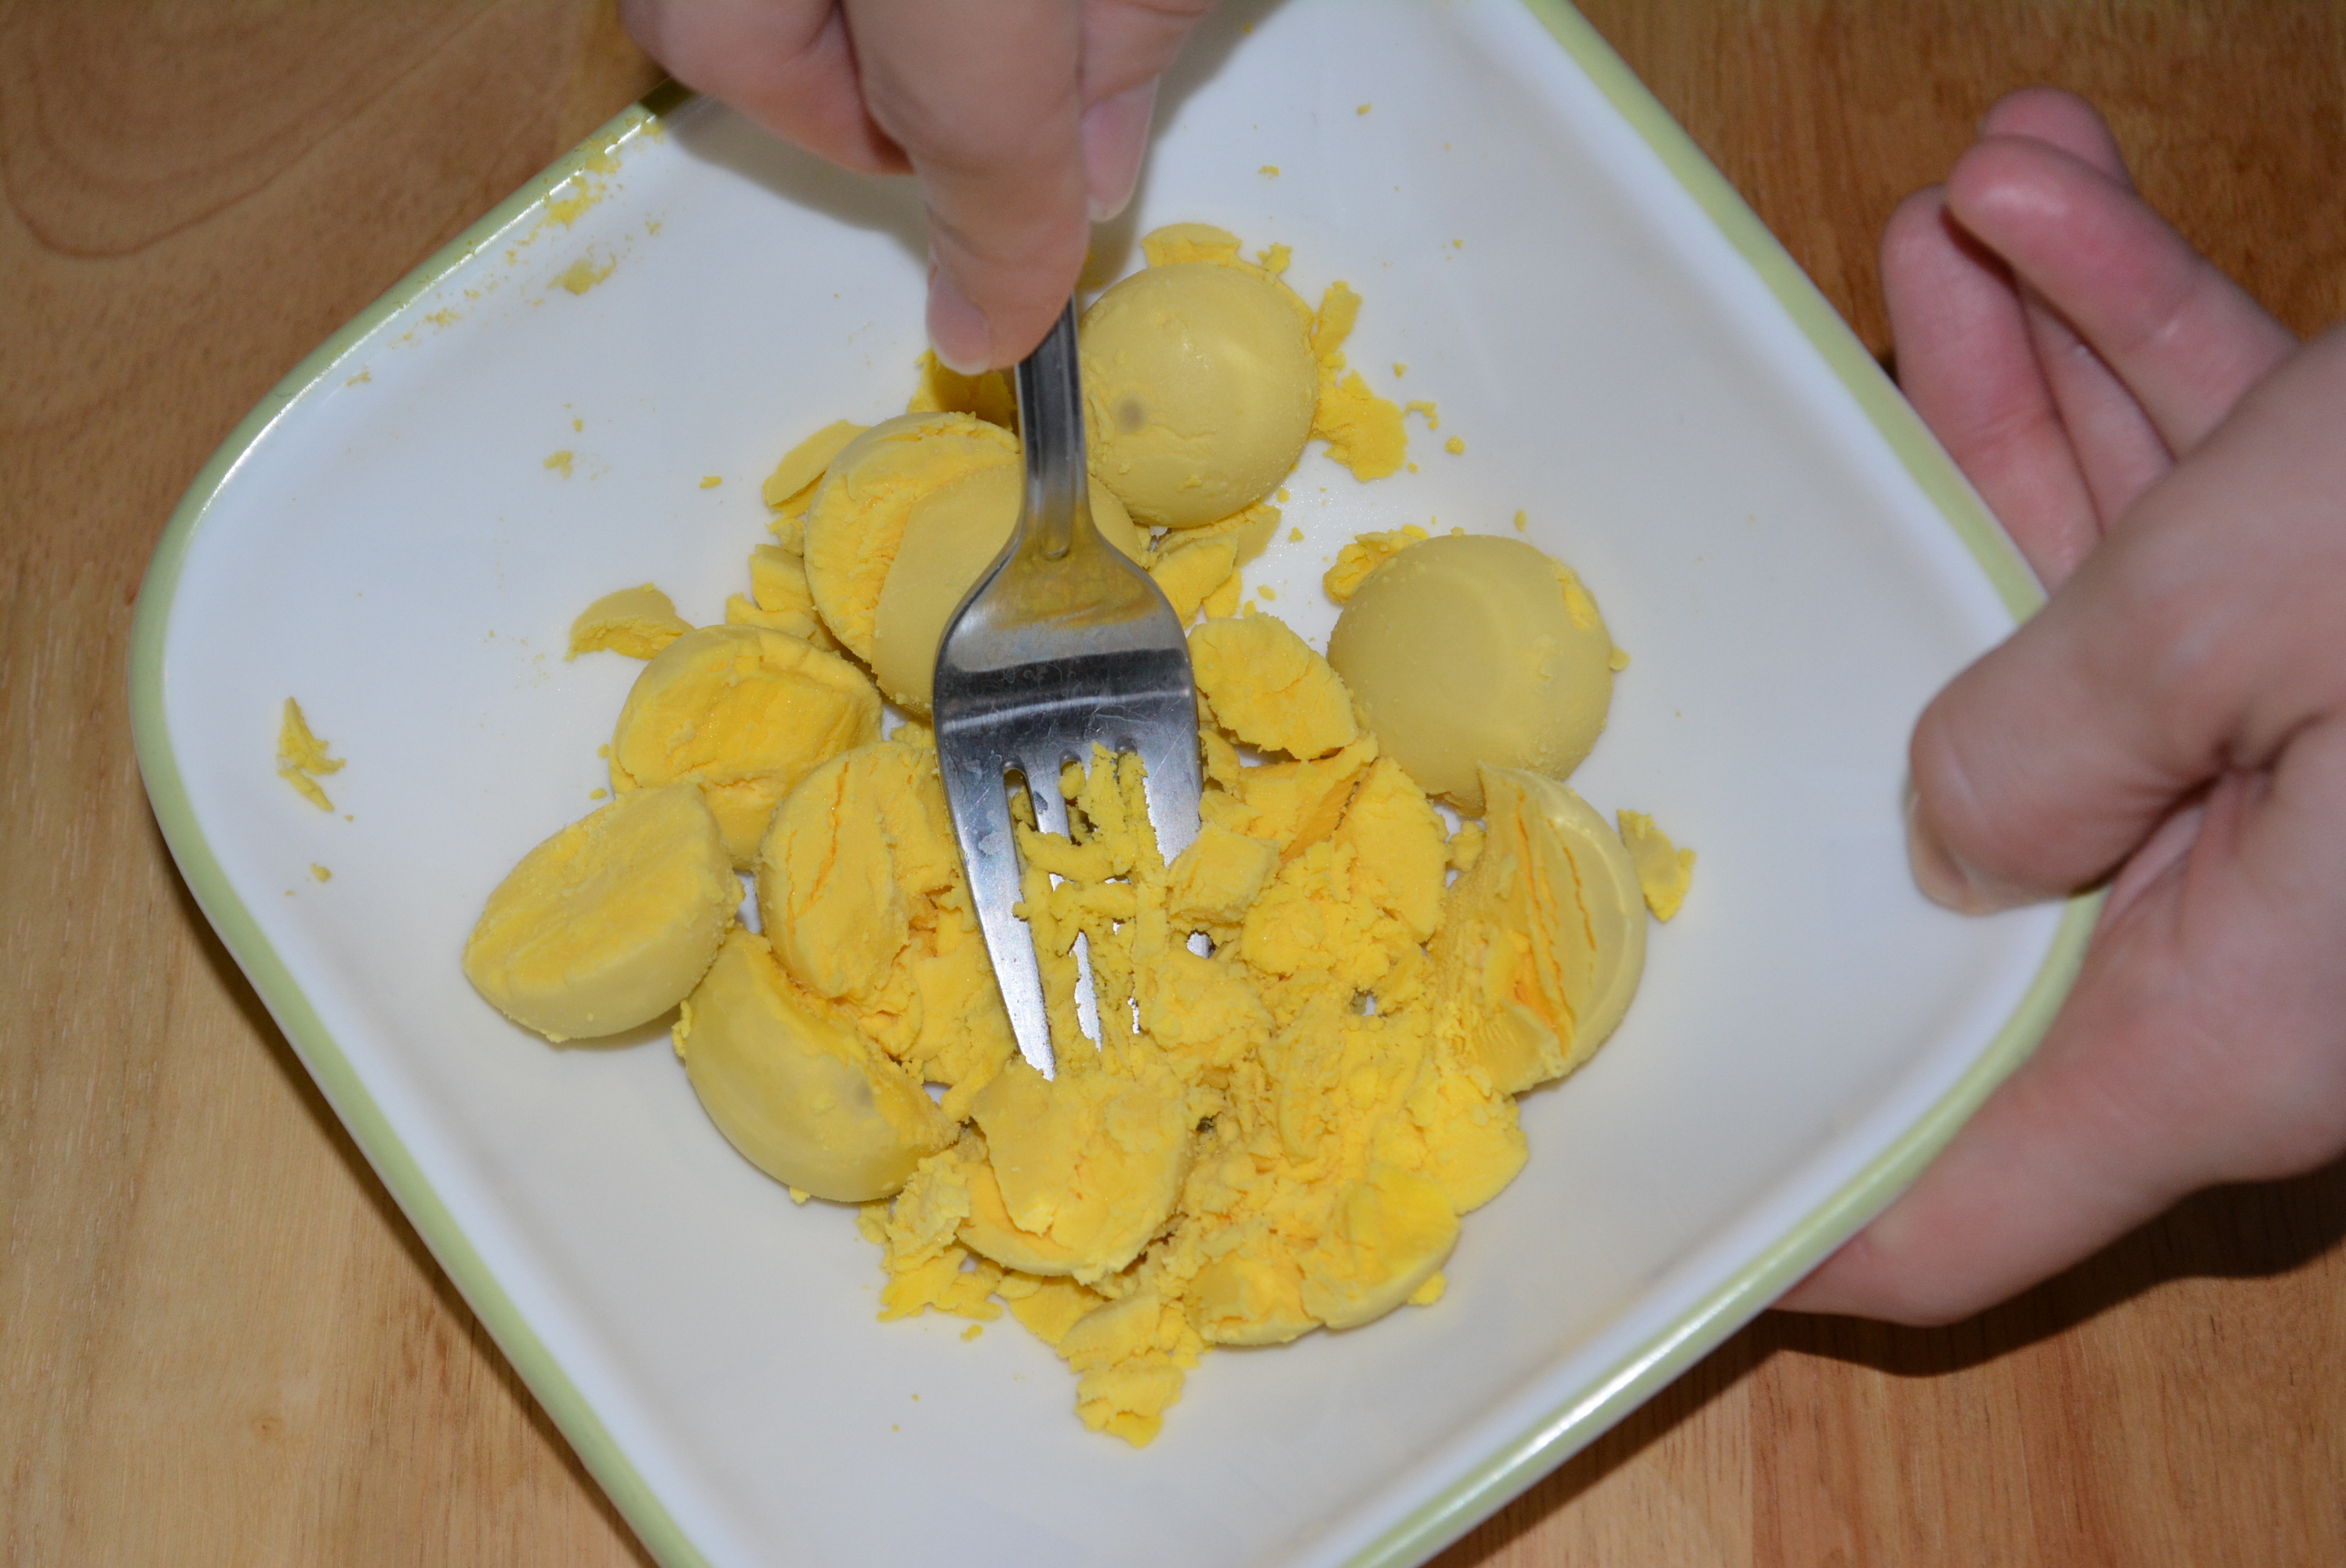
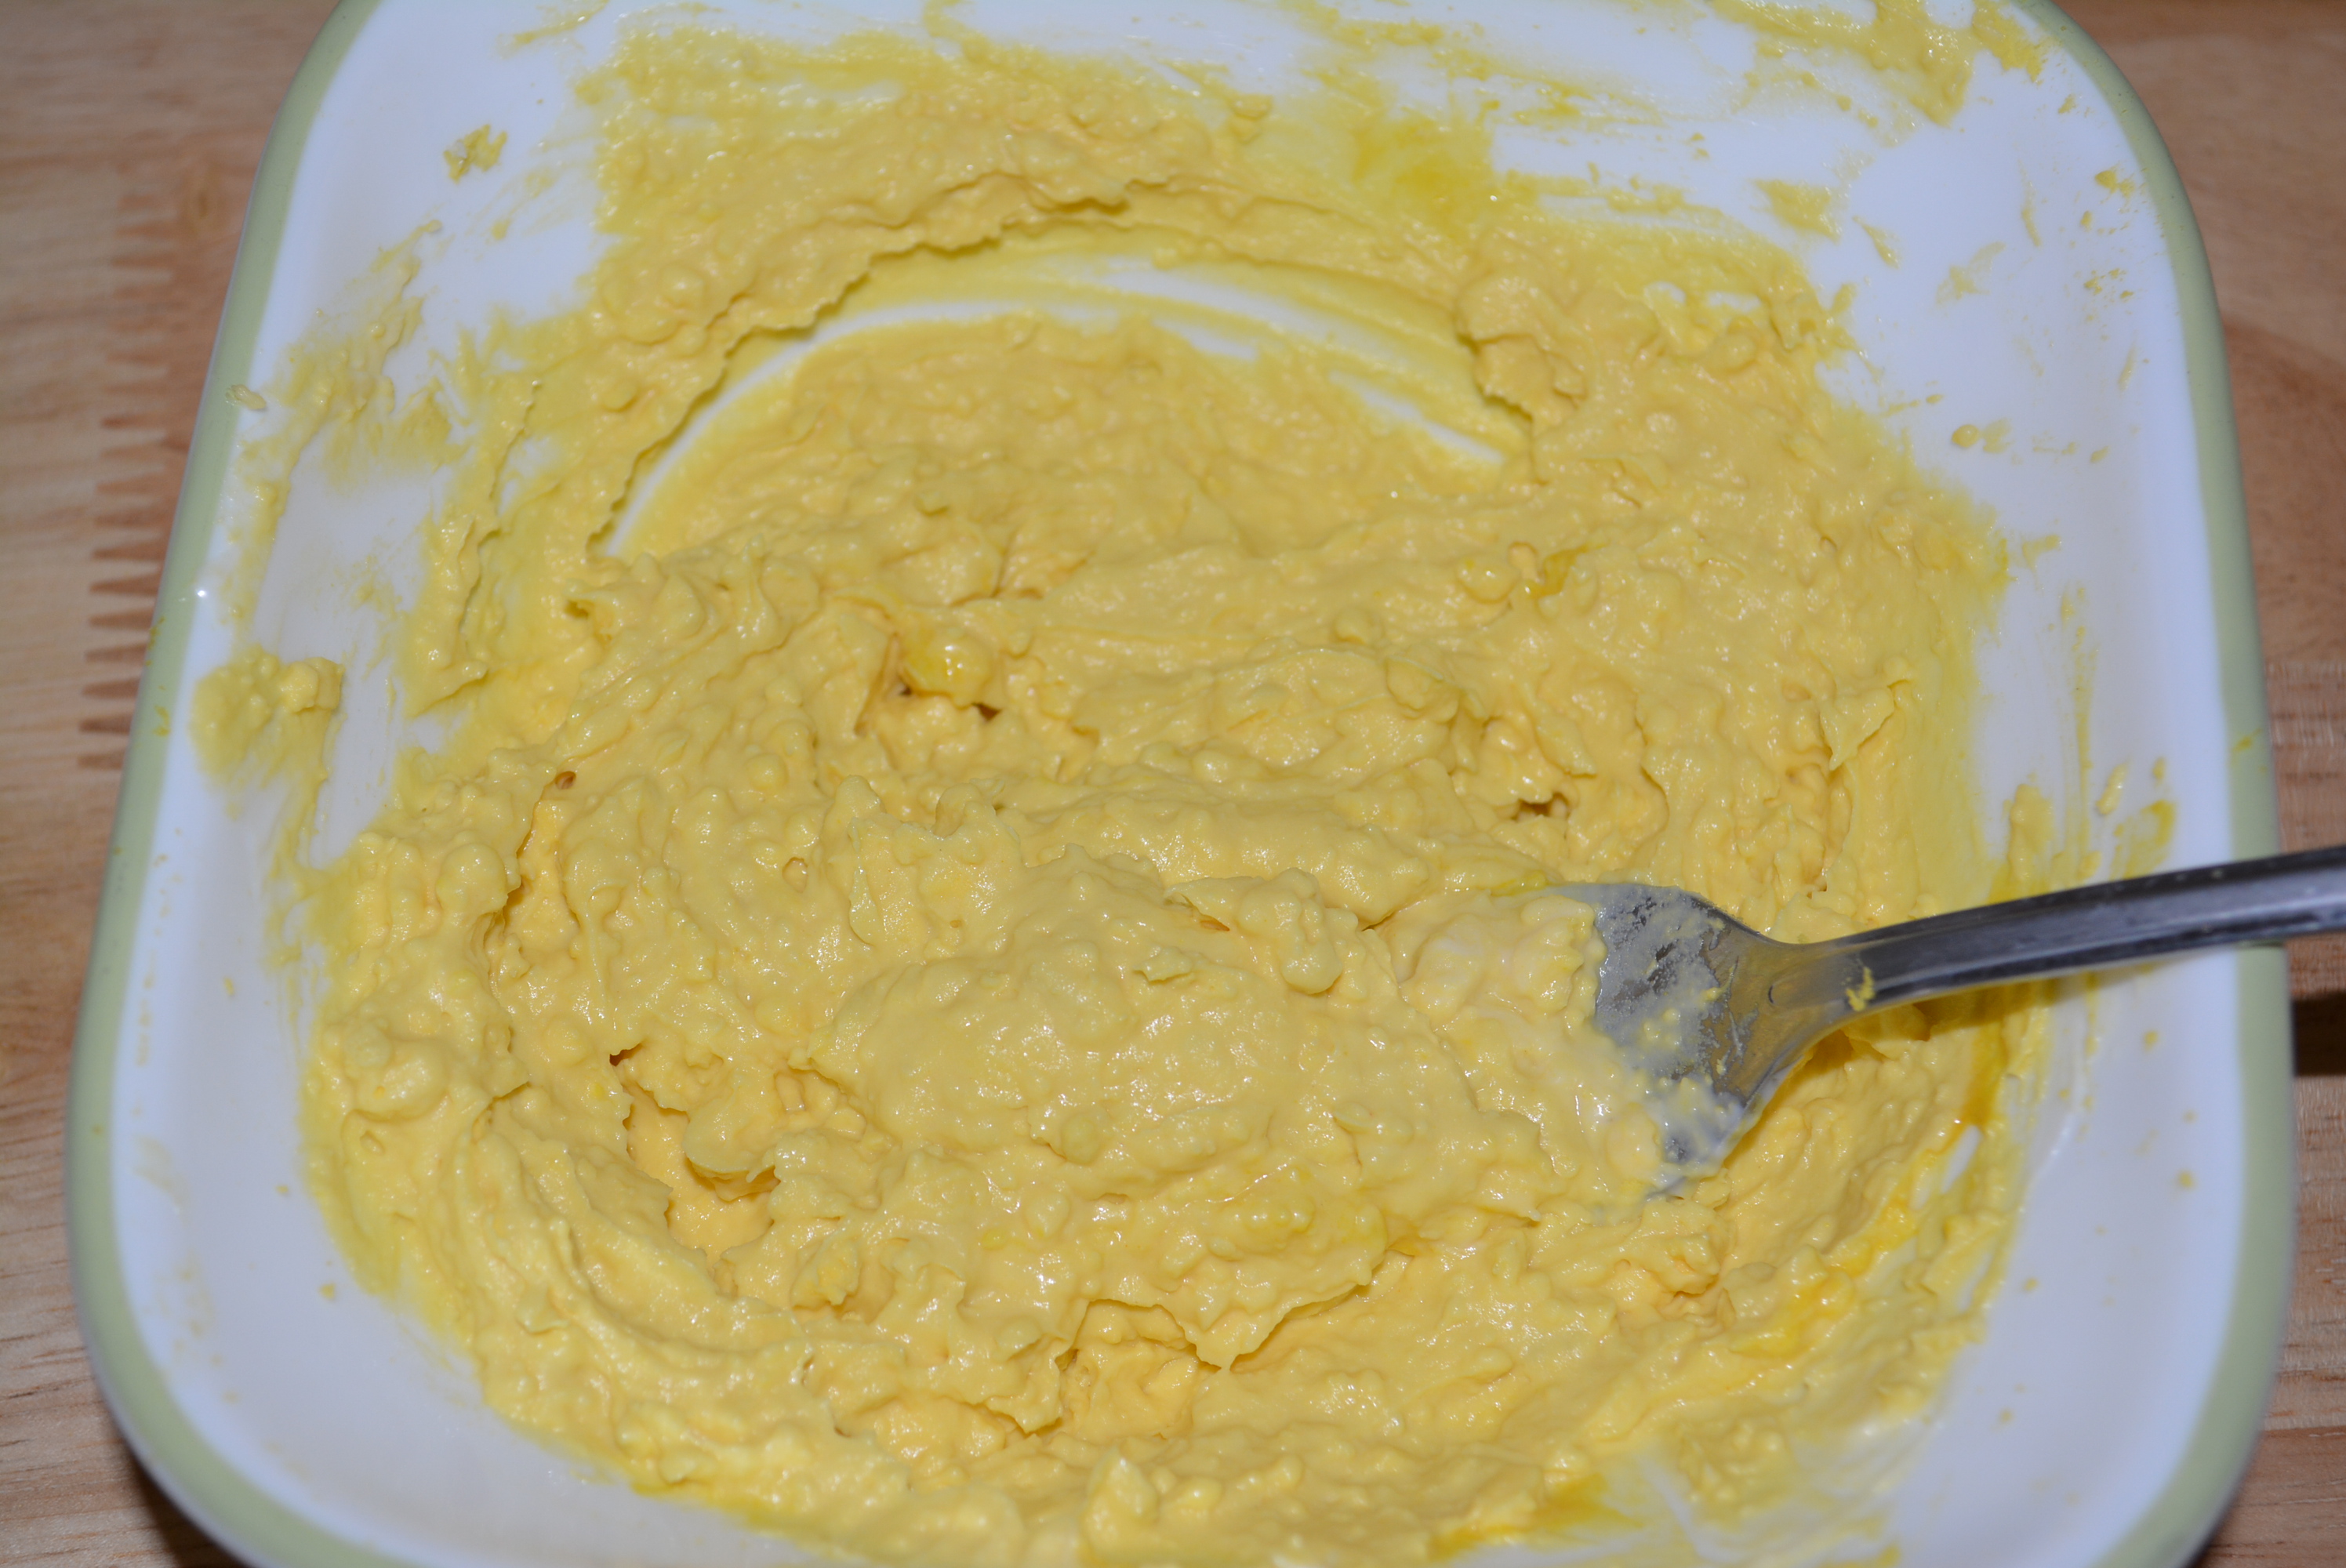
- Using a fork, push down and loosen yolks until small crumbs form.
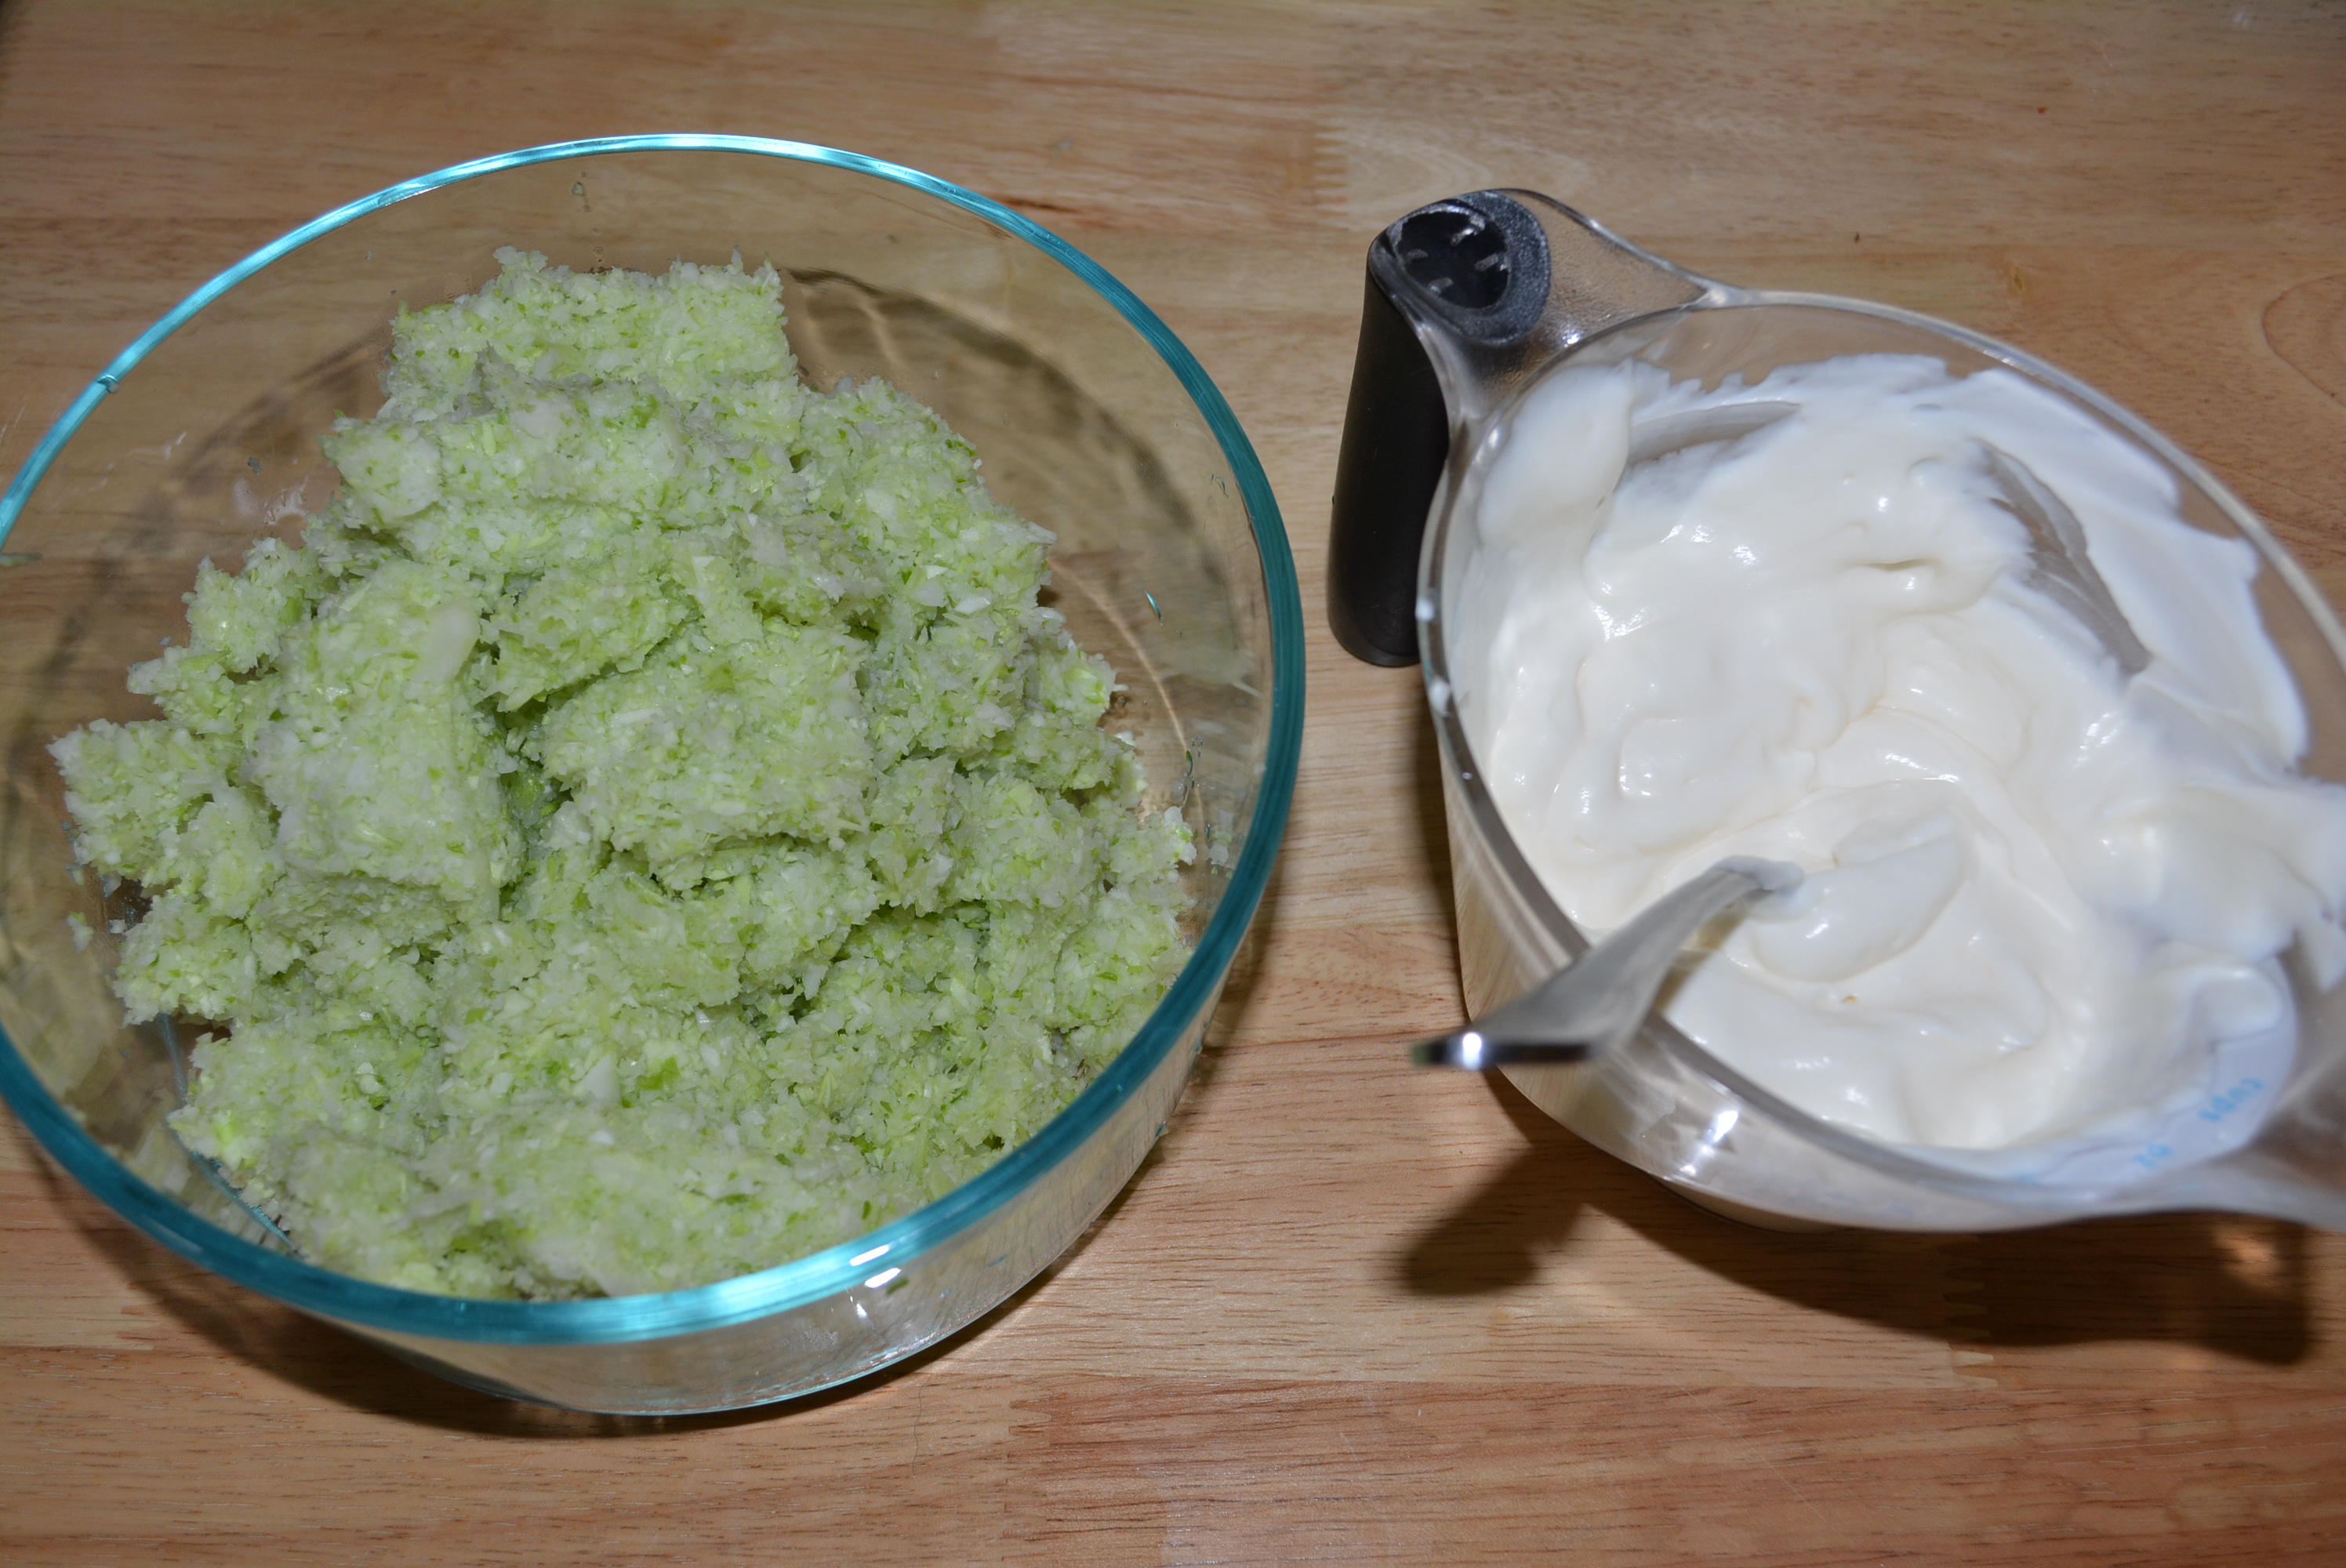
- To the crumbled egg yolks, mix in 2 heaping tablespoons of mayonnaise and 1 teaspoon of yellow mustard. Taste mixture, if you’d like you can add a little bit more yellow mustard if you prefer more of a mustard flavor.
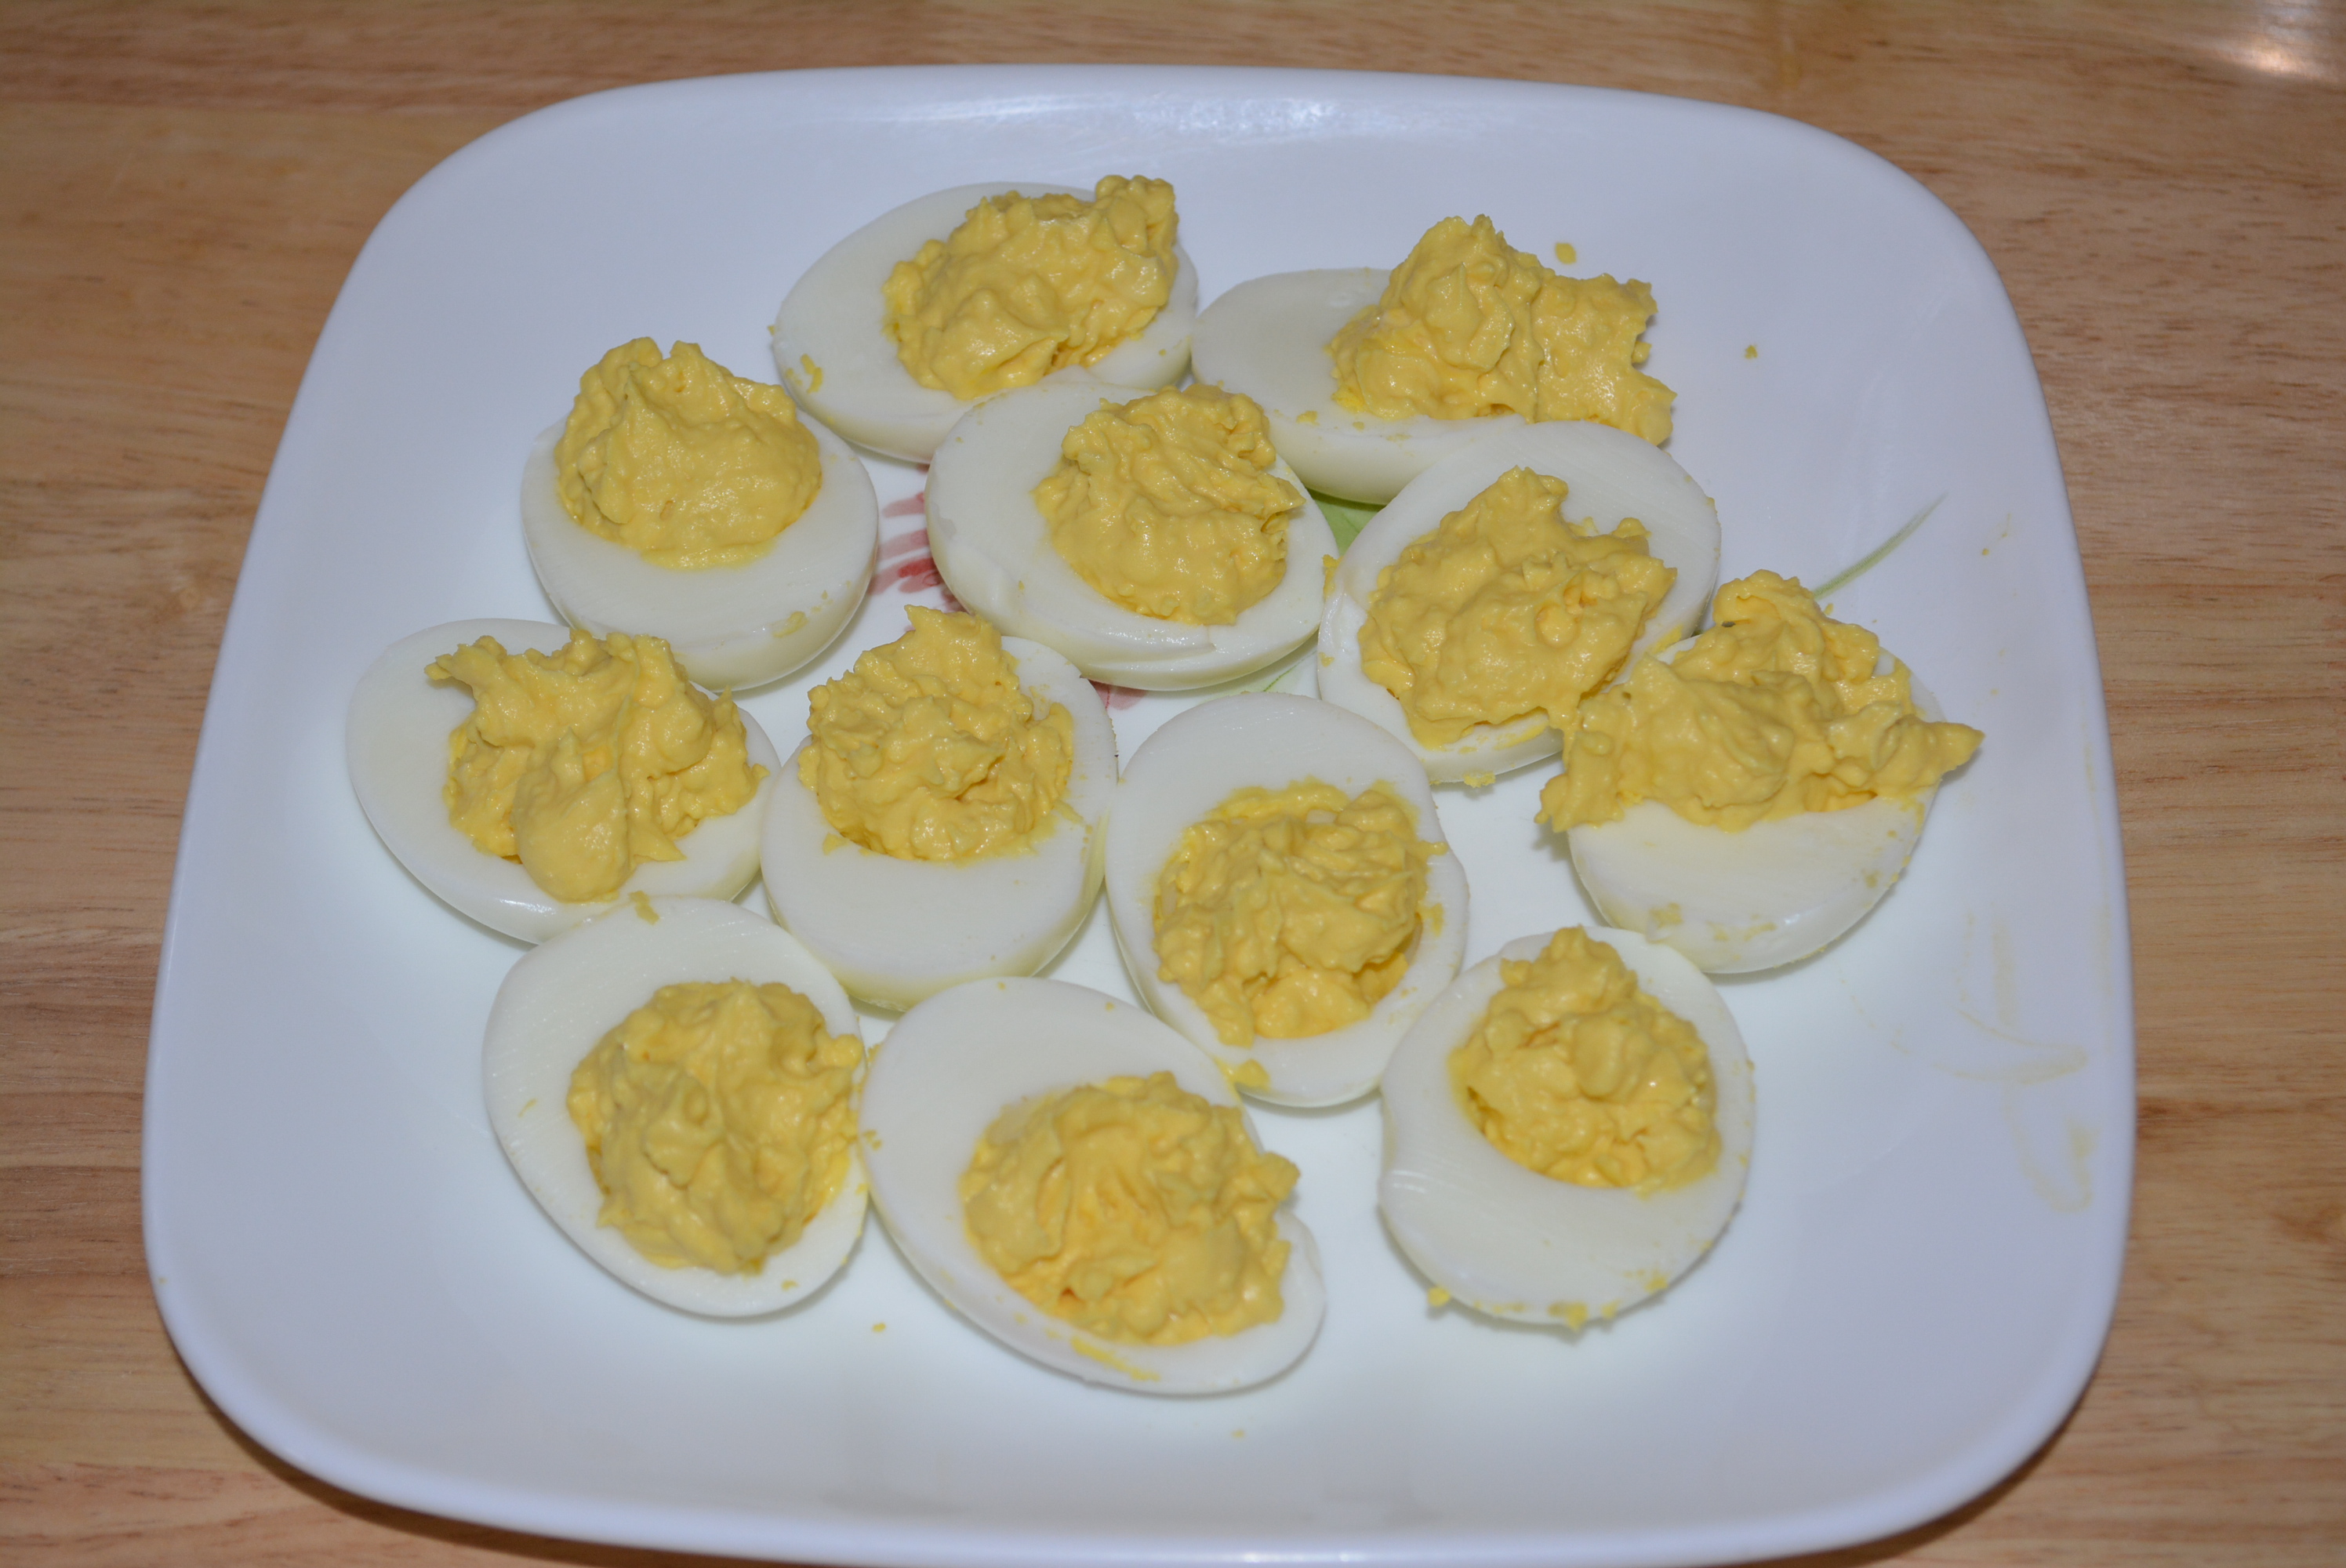
- Fill empty eggs with egg yolk mixture.
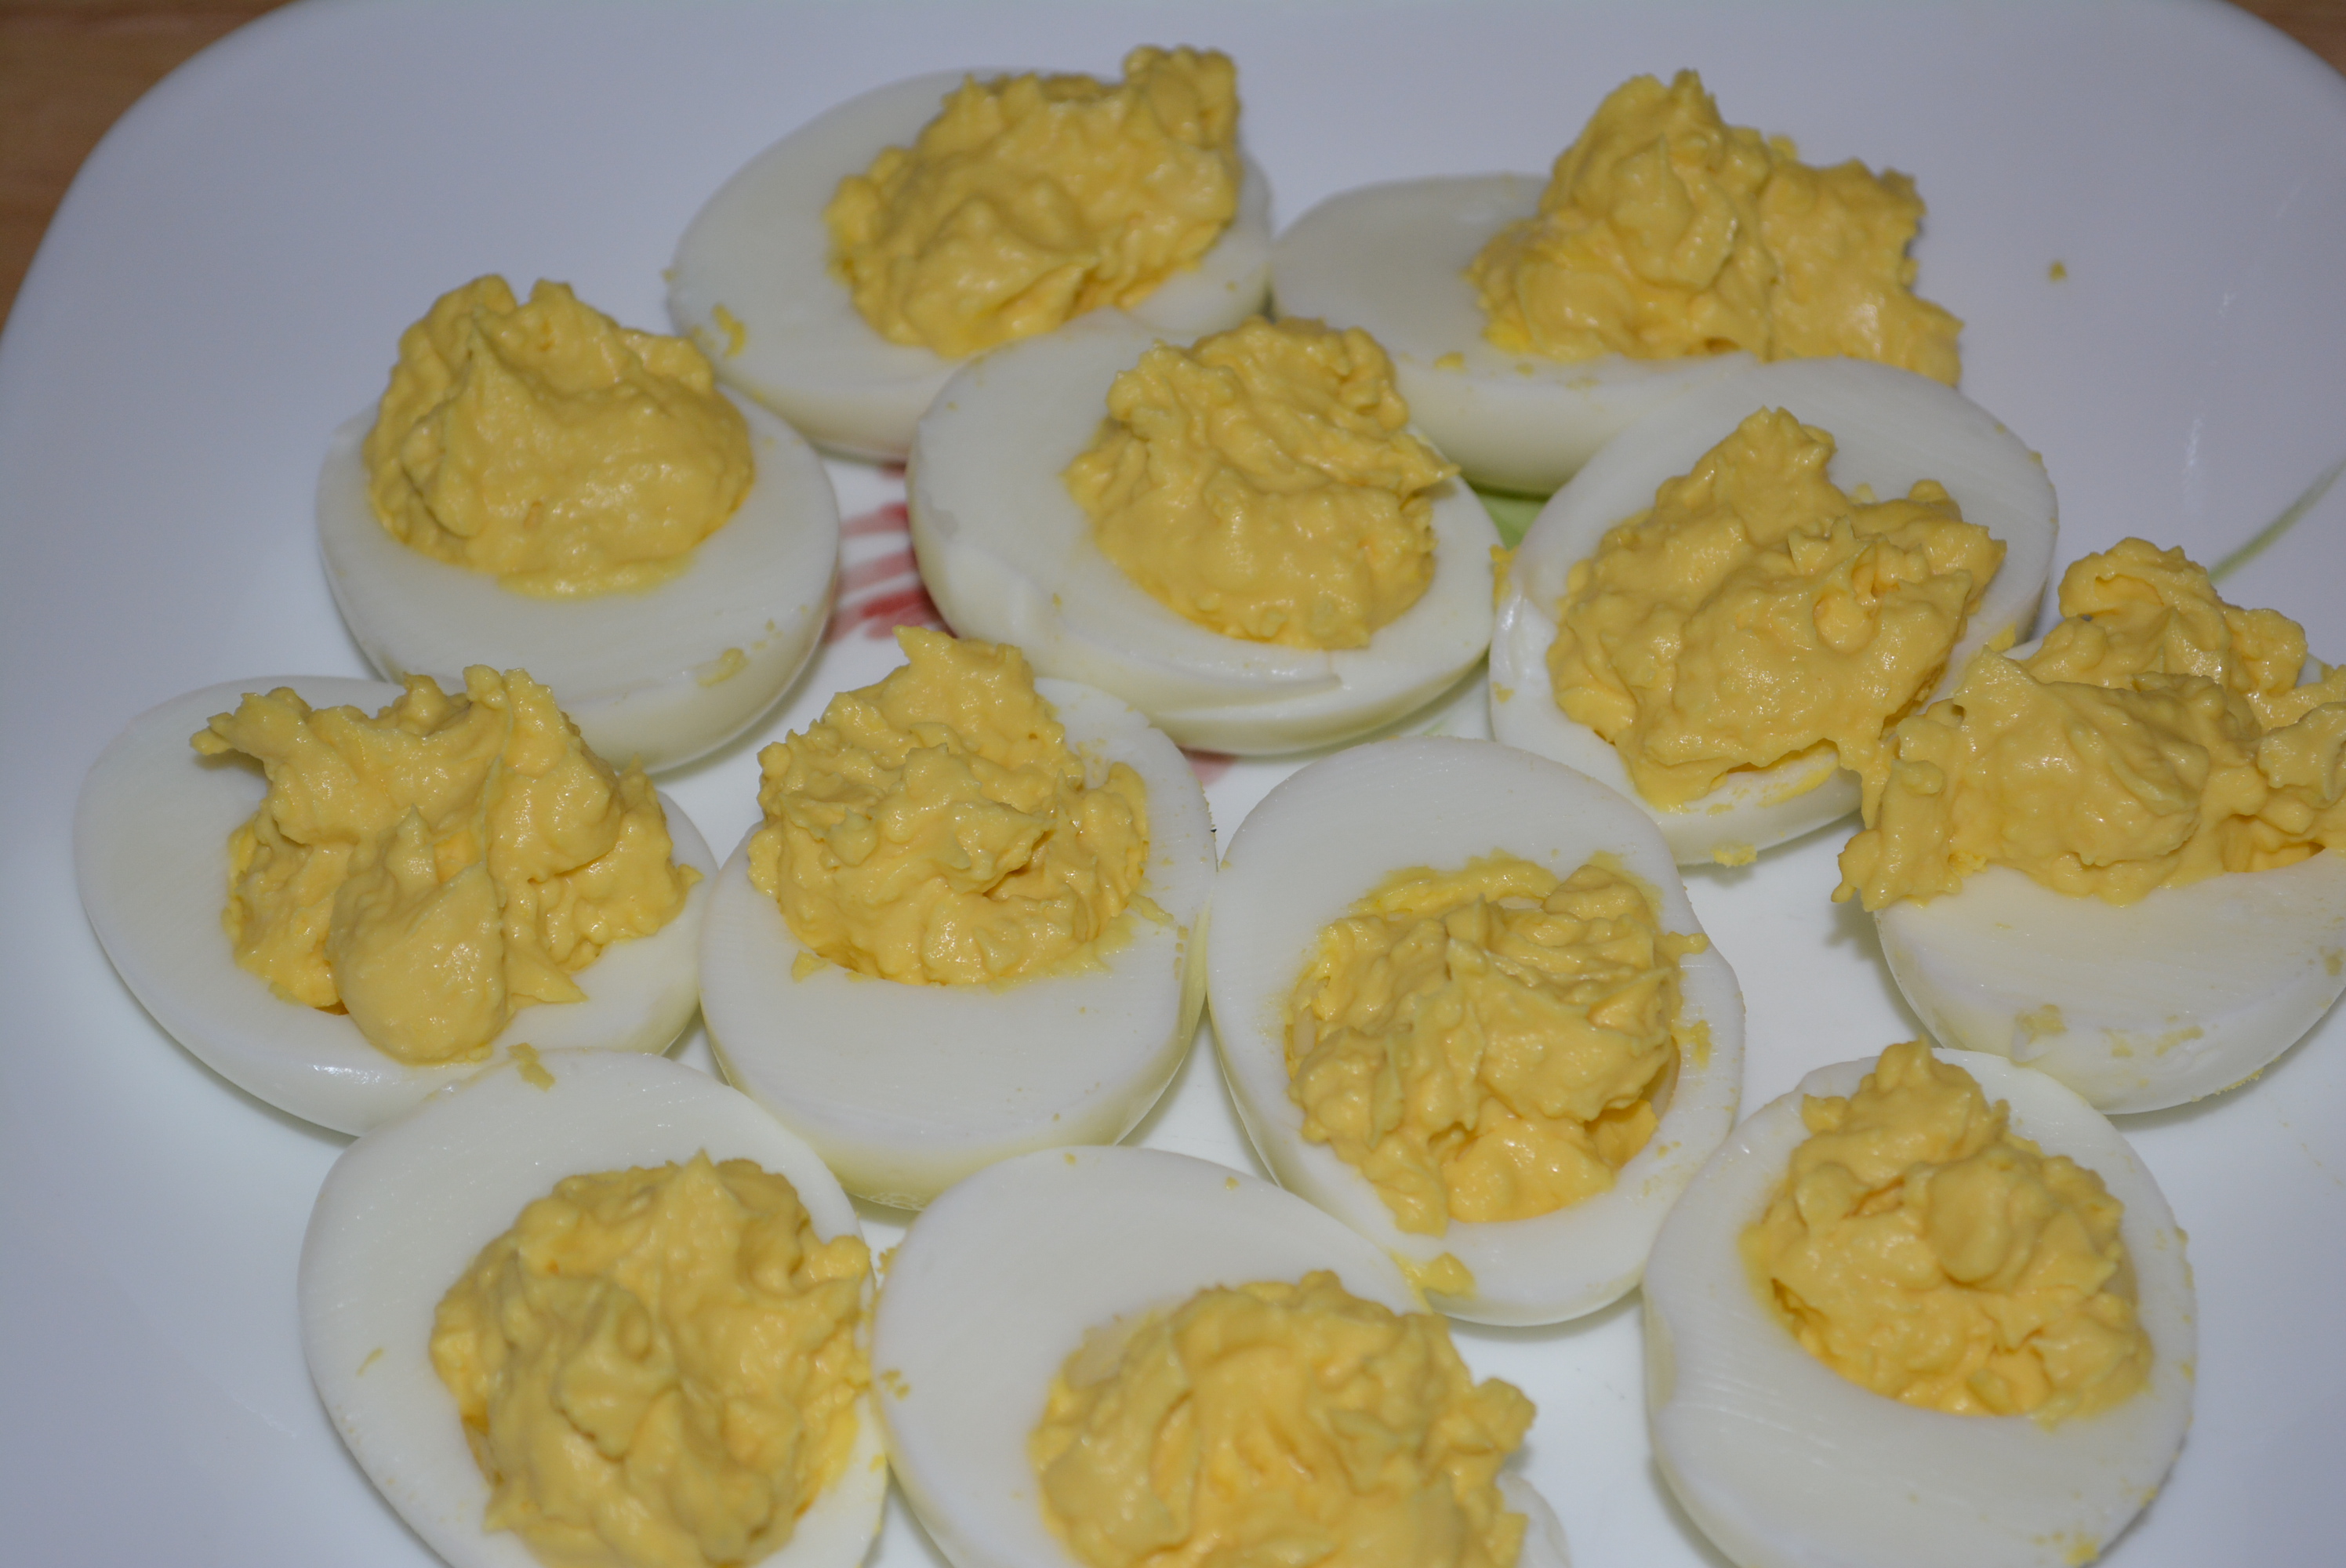
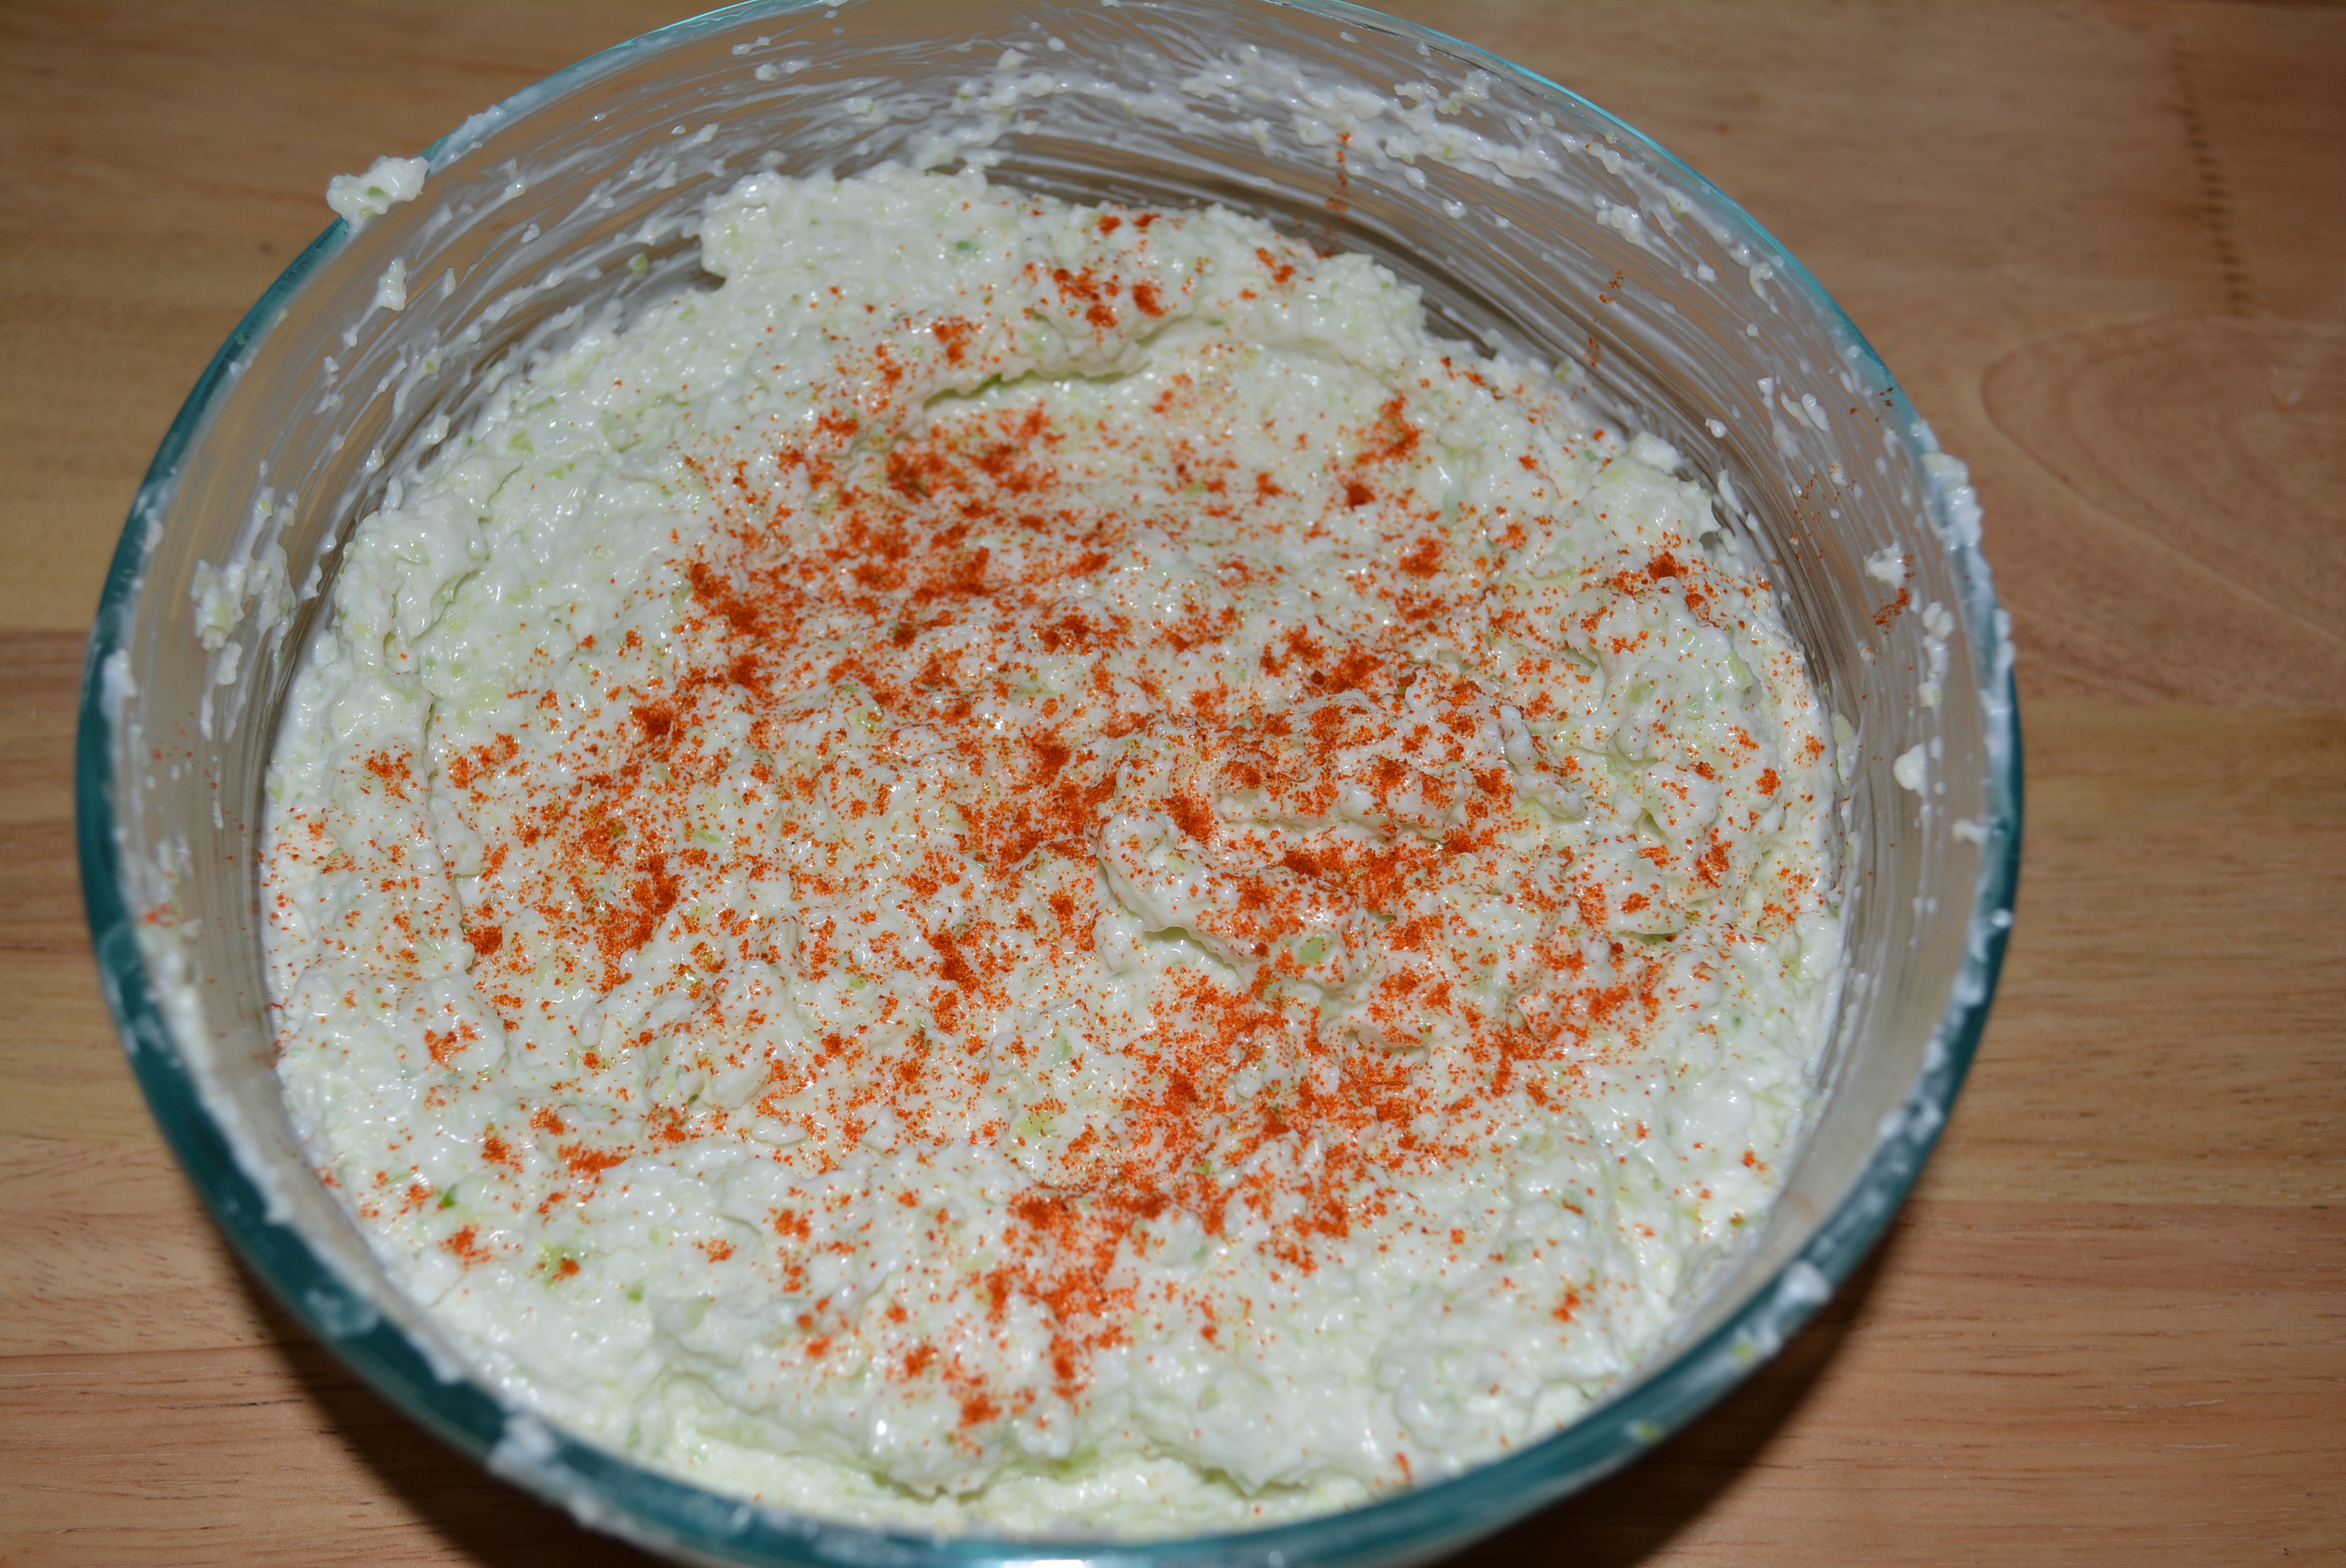
- Add a sprinkle of paprika to the tops of the eggs or enjoy as is!
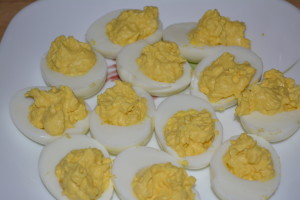
These deviled eggs are so delicious, you just have to make sure that you make enough! I typically boil up a dozen eggs (double this recipe) to make enough deviled eggs for my entire family on a holiday so just adjust this recipe as needed. An added bonus, deviled eggs are a very easy side dish and use only three ingredients that we keep in our house at all times! So if you’re short on time, want a side dish that won’t break the bank, and best of all will impress all who dine, make these deviled eggs this Easter and you will definitely receive requests to make these every year after!
TIP: If I’m making these for a holiday or special occasion I typically boil up my eggs the night before and just refrigerate them overnight. By prepping the eggs the night before, I only have to put together my deviled eggs the day of and have saved myself a good 20 minutes that I desperately need for many other things. Also, if you’re taking these along with you to someone else’s house, invest in a deviled egg carrier (yes they do exist)! It doesn’t have to be fancy; in fact, I saw a covered carrier at Target in my travels this weekend for only $5.
Sincerely,
Lindsay
- 6 large eggs
- 2 heaping tbsp light mayonnaise (Hellmann's is gluten free)
- 1 full tsp yellow mustard (French's is gluten free)
- paprika for dusting tops of eggs (optional)
- salt for boiling eggs
- To a large pot of water, add 6 large eggs and sprinkle salt (this helps egg shells to peel off easily).
- Bring water to a boil and continue to heat at a boil for 10 minutes.
- After 10 minutes at a boil, remove from heat and let stand in hot water for an additional 5 minutes.
- Pour off hot water slowly and run cool water over eggs until eggs are cool enough to handle.
- Tap each egg causing shell to crack and then gently peel shell from egg. This is where the salted water is key, the salt loosens the shell from the egg allowing for easier peeling. Sometimes the shells peel very easily and others they are difficult to remove, either way peeling them under running water helps the process along.
- After peeling off shells, rinse each and pat dry with a paper towel ensuring all bits of shell have been removed.
- Cut each egg vertically to create two halves.