Pregnancy Cravings Satisfied With The Best Gluten Free Treats: Donuts, Bagels, & Sweets Galore

Crisp Outside, Chewy Inside = A Gluten Free Bagel? Yup! Thanks To Sweet Note Bagels!

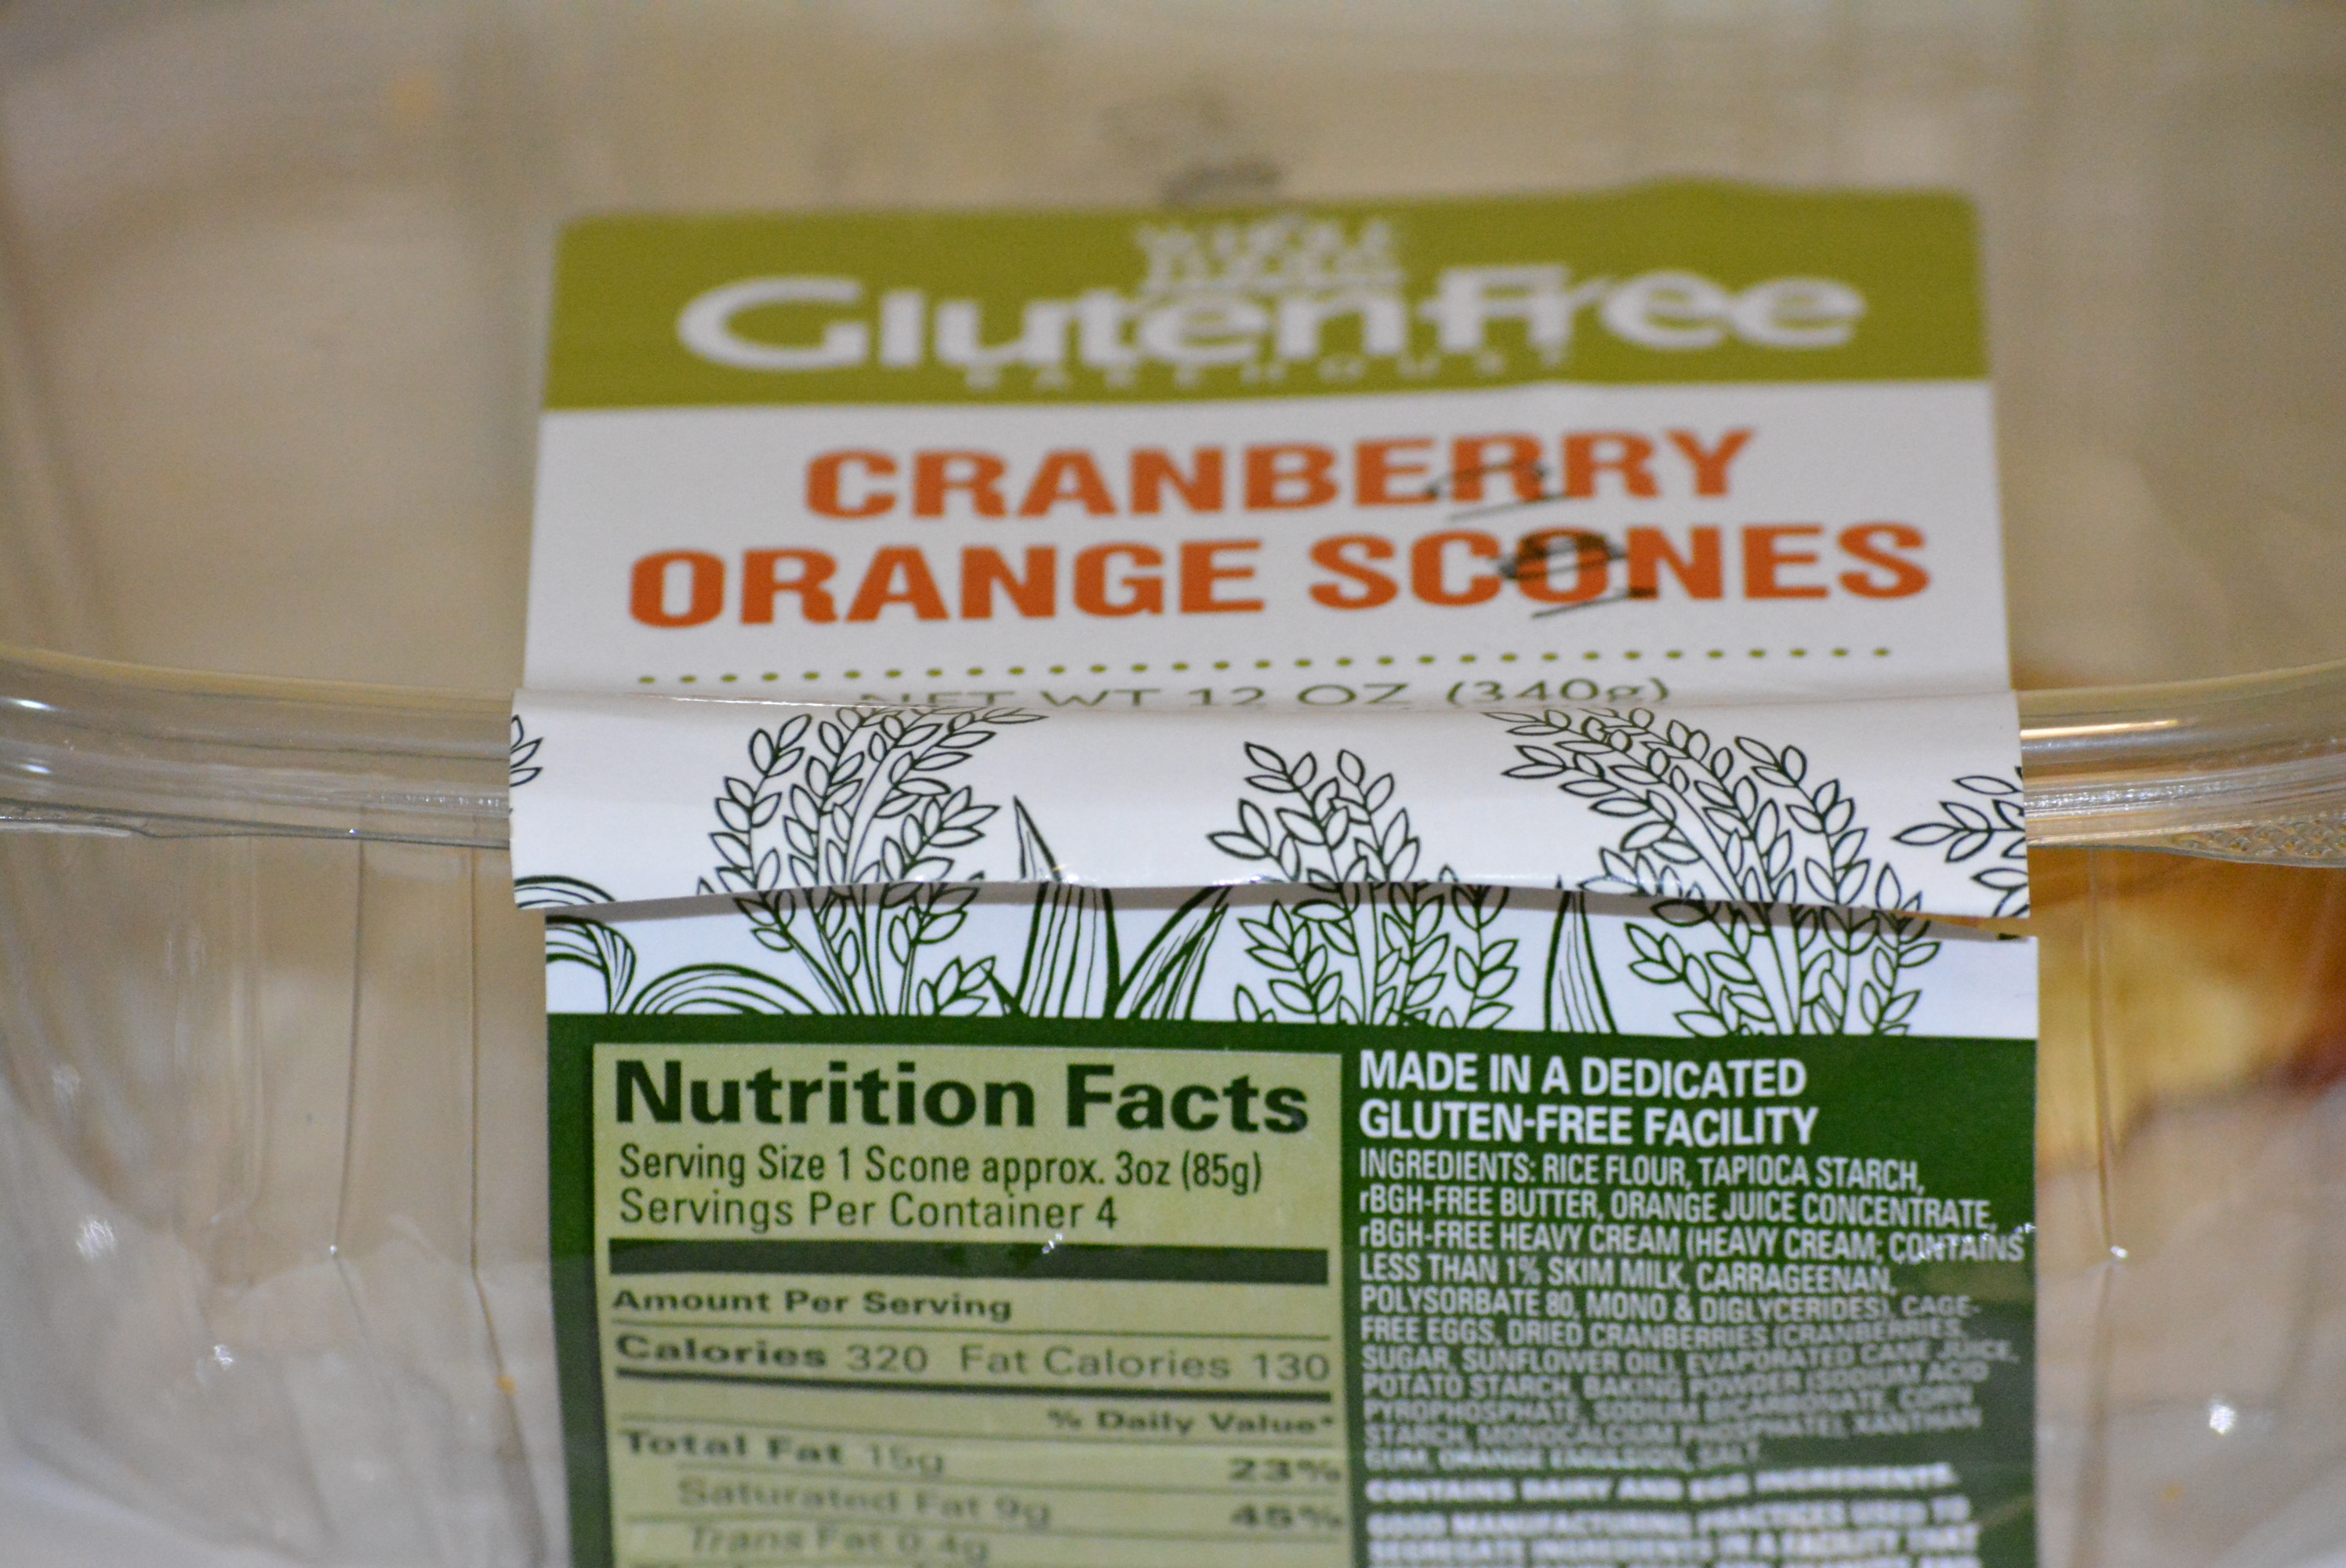
Who would’ve thought that our years of enduring gluten free bagels that feel more like rolls or slices of very dense bread than actual bagels have come to an end. That’s right! We’ve entered a new phase in the gluten free world where everyday it seems that more and more delicious products are appearing from smaller, up and coming businesses rather than from the massive pioneers that led the gluten free industry. It’s so exciting to see these new brands appearing with their fresh and inspired gluten free lines. They’ve introduced so many new and tasty products that have either been your typical gluten free food falling short in flavor and feel categories or completely obsolete in a gluten free individual’s diet. Either way, I for one am so encouraged for the gluten free diner’s future, seeing all of the amazing new brands and tasting their fantastic additions to the gluten free shelves.

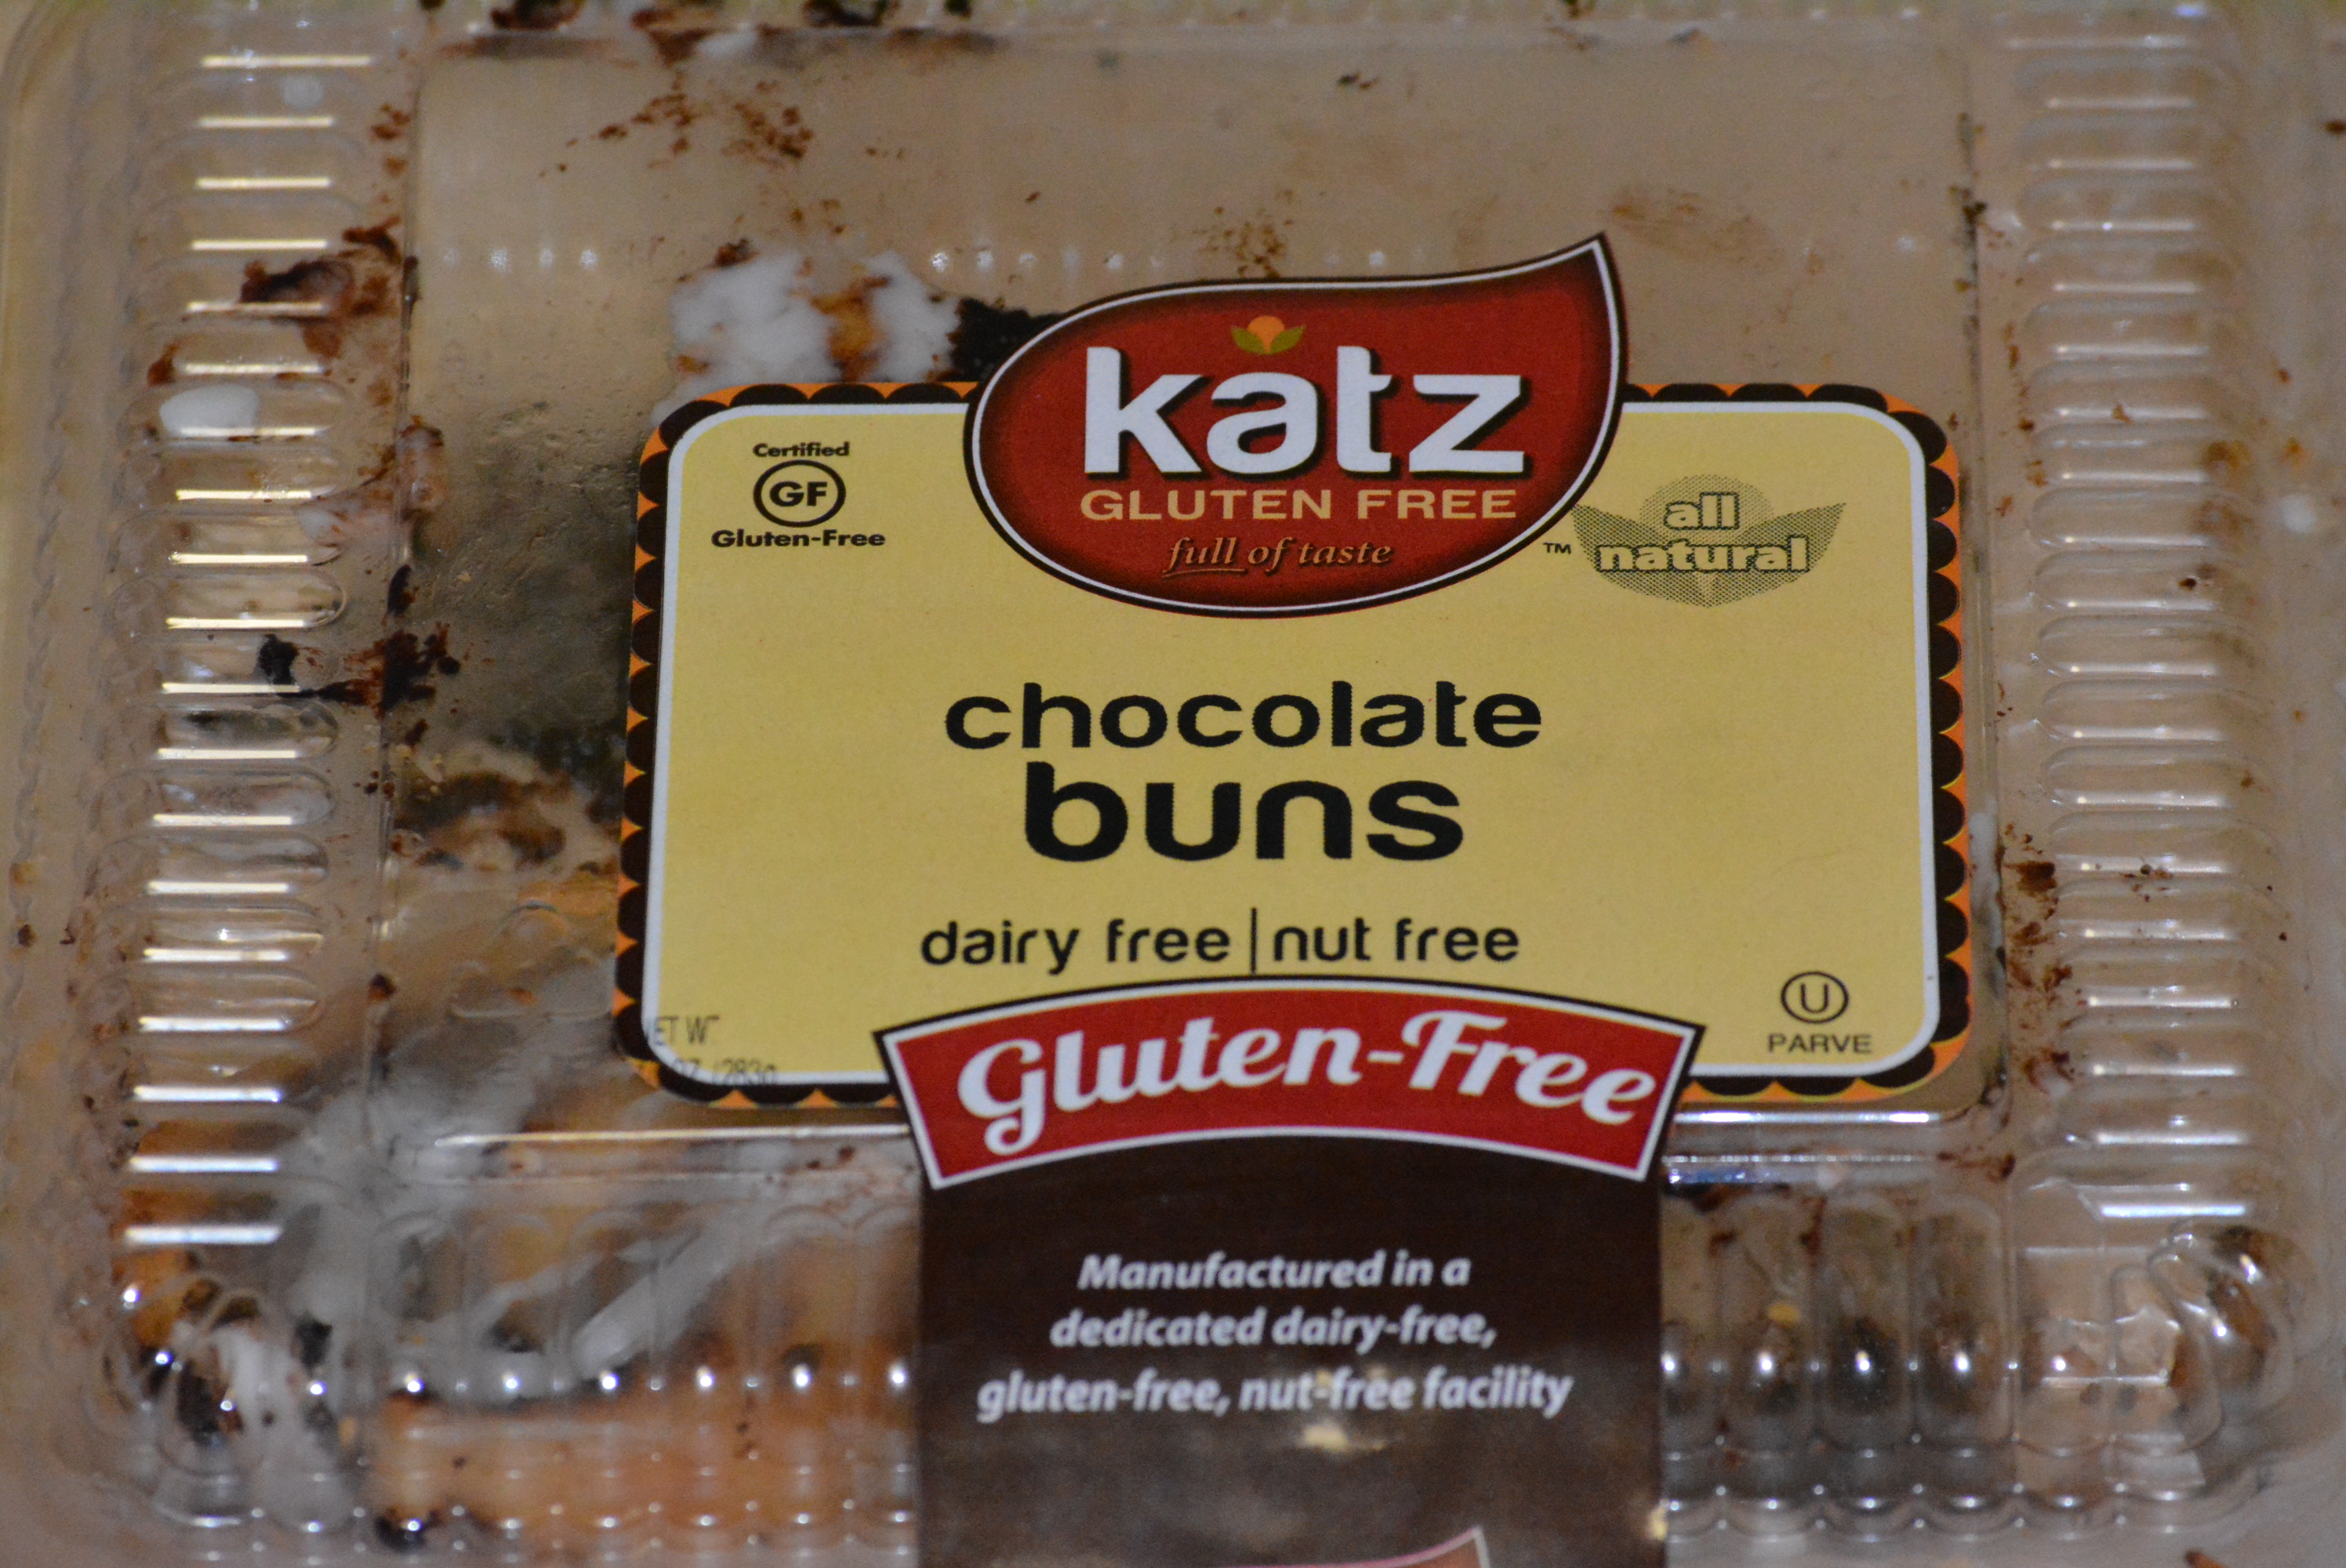
Not too long ago, I stumbled upon one of these newer brands thanks to the power of sharing on Twitter. Sweet Note Bakery is definitely named appropriately as their team is led by the sweetest of bakers who have kindly put together an amazing gluten free bagel that is free of gluten, dairy, egg, and soy! While you can certainly buy their product online, I wanted to snatch a bite as soon as possible. So I scoured the store locator and found them in one of my local allergy and healthy eating stores. Low and behold, the team from Sweet Note Bakery was hosting a tasting event at the store that upcoming weekend. It was a perfect opportunity to not only sample these delectable looking bagels but also meet the faces behind the potentially amazing product. 

Sweet Note Bagels
Sweet Note Bagels

With my family in tow, we stopped into the event and met Brittany, one of the team members over at Sweet Note Bakery. I felt so comfortable sampling and purchasing their product, thanks to Brittany’s ability to answer the Gluten Free Mom To Be’s long list of questions. Her passion and belief in their product was contagious and we were soon hopping on the Sweet Note Bagel bandwagon too. One warm bite of sample bagel later and we were hooked. Both my husband and I were so impressed with their product, that we couldn’t help but purchase a few packages to keep enjoying at home. 

Sweet Note Bagels
Sweet Note Cinnamon Raisin Bagels

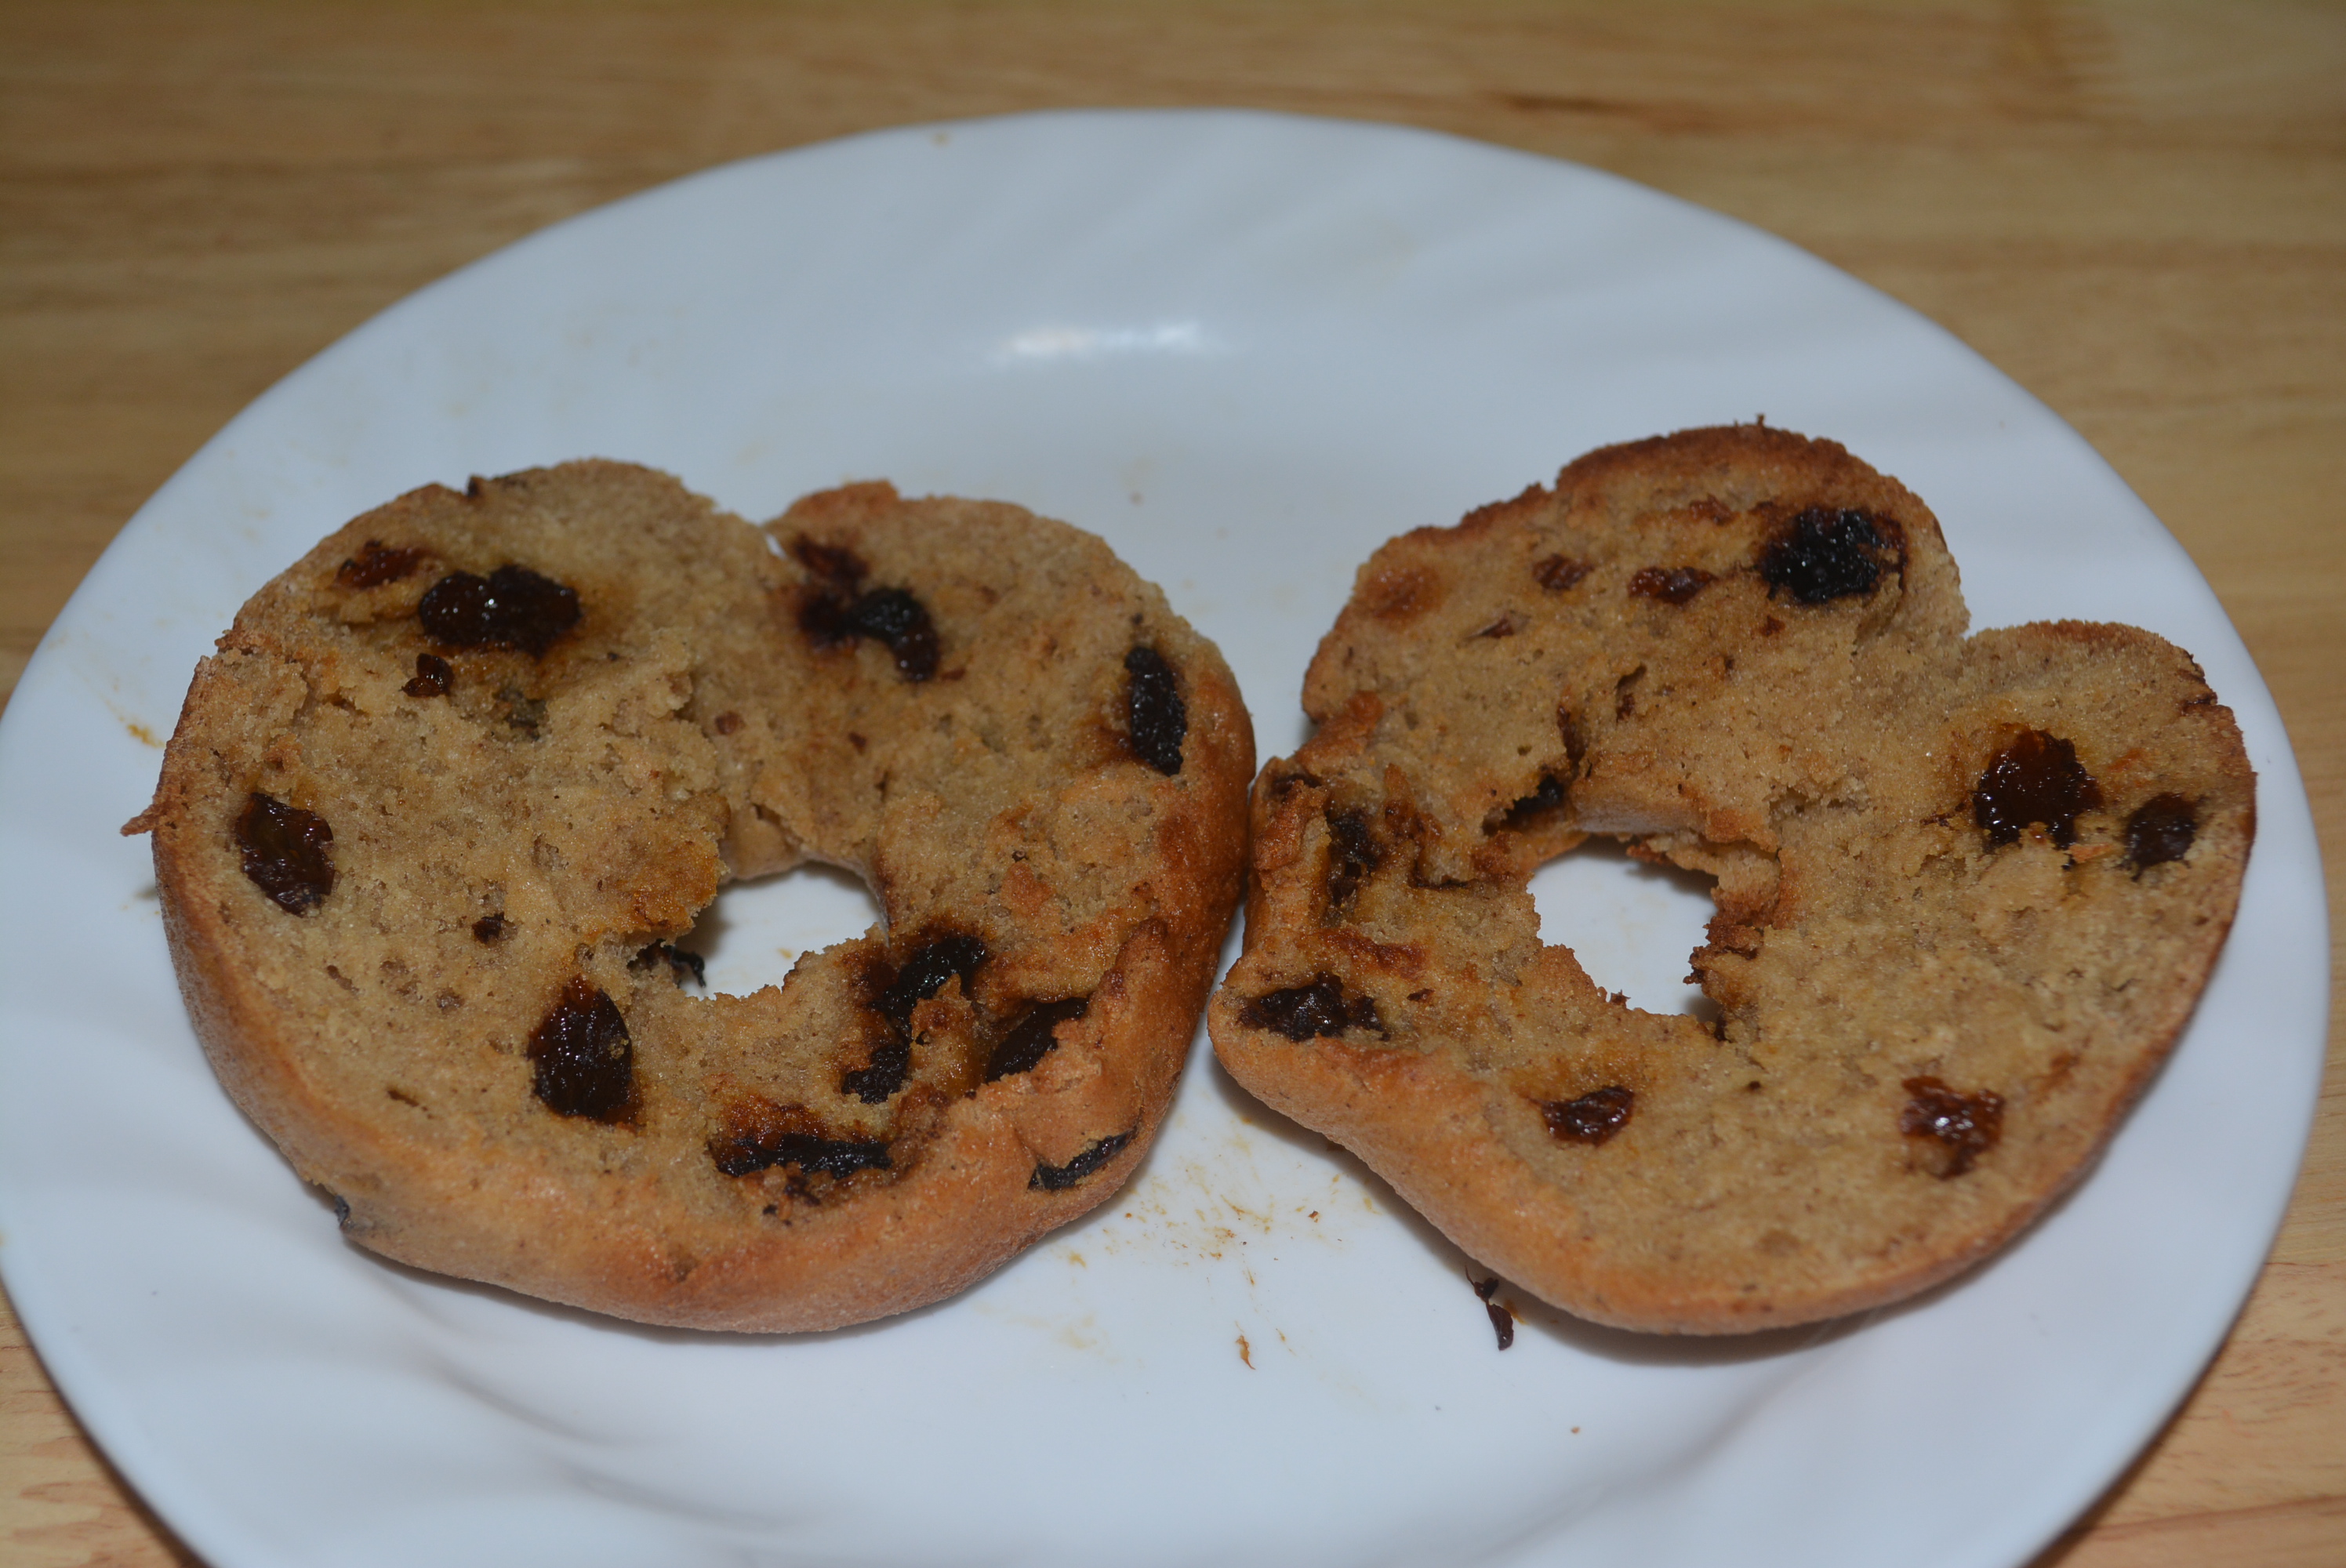
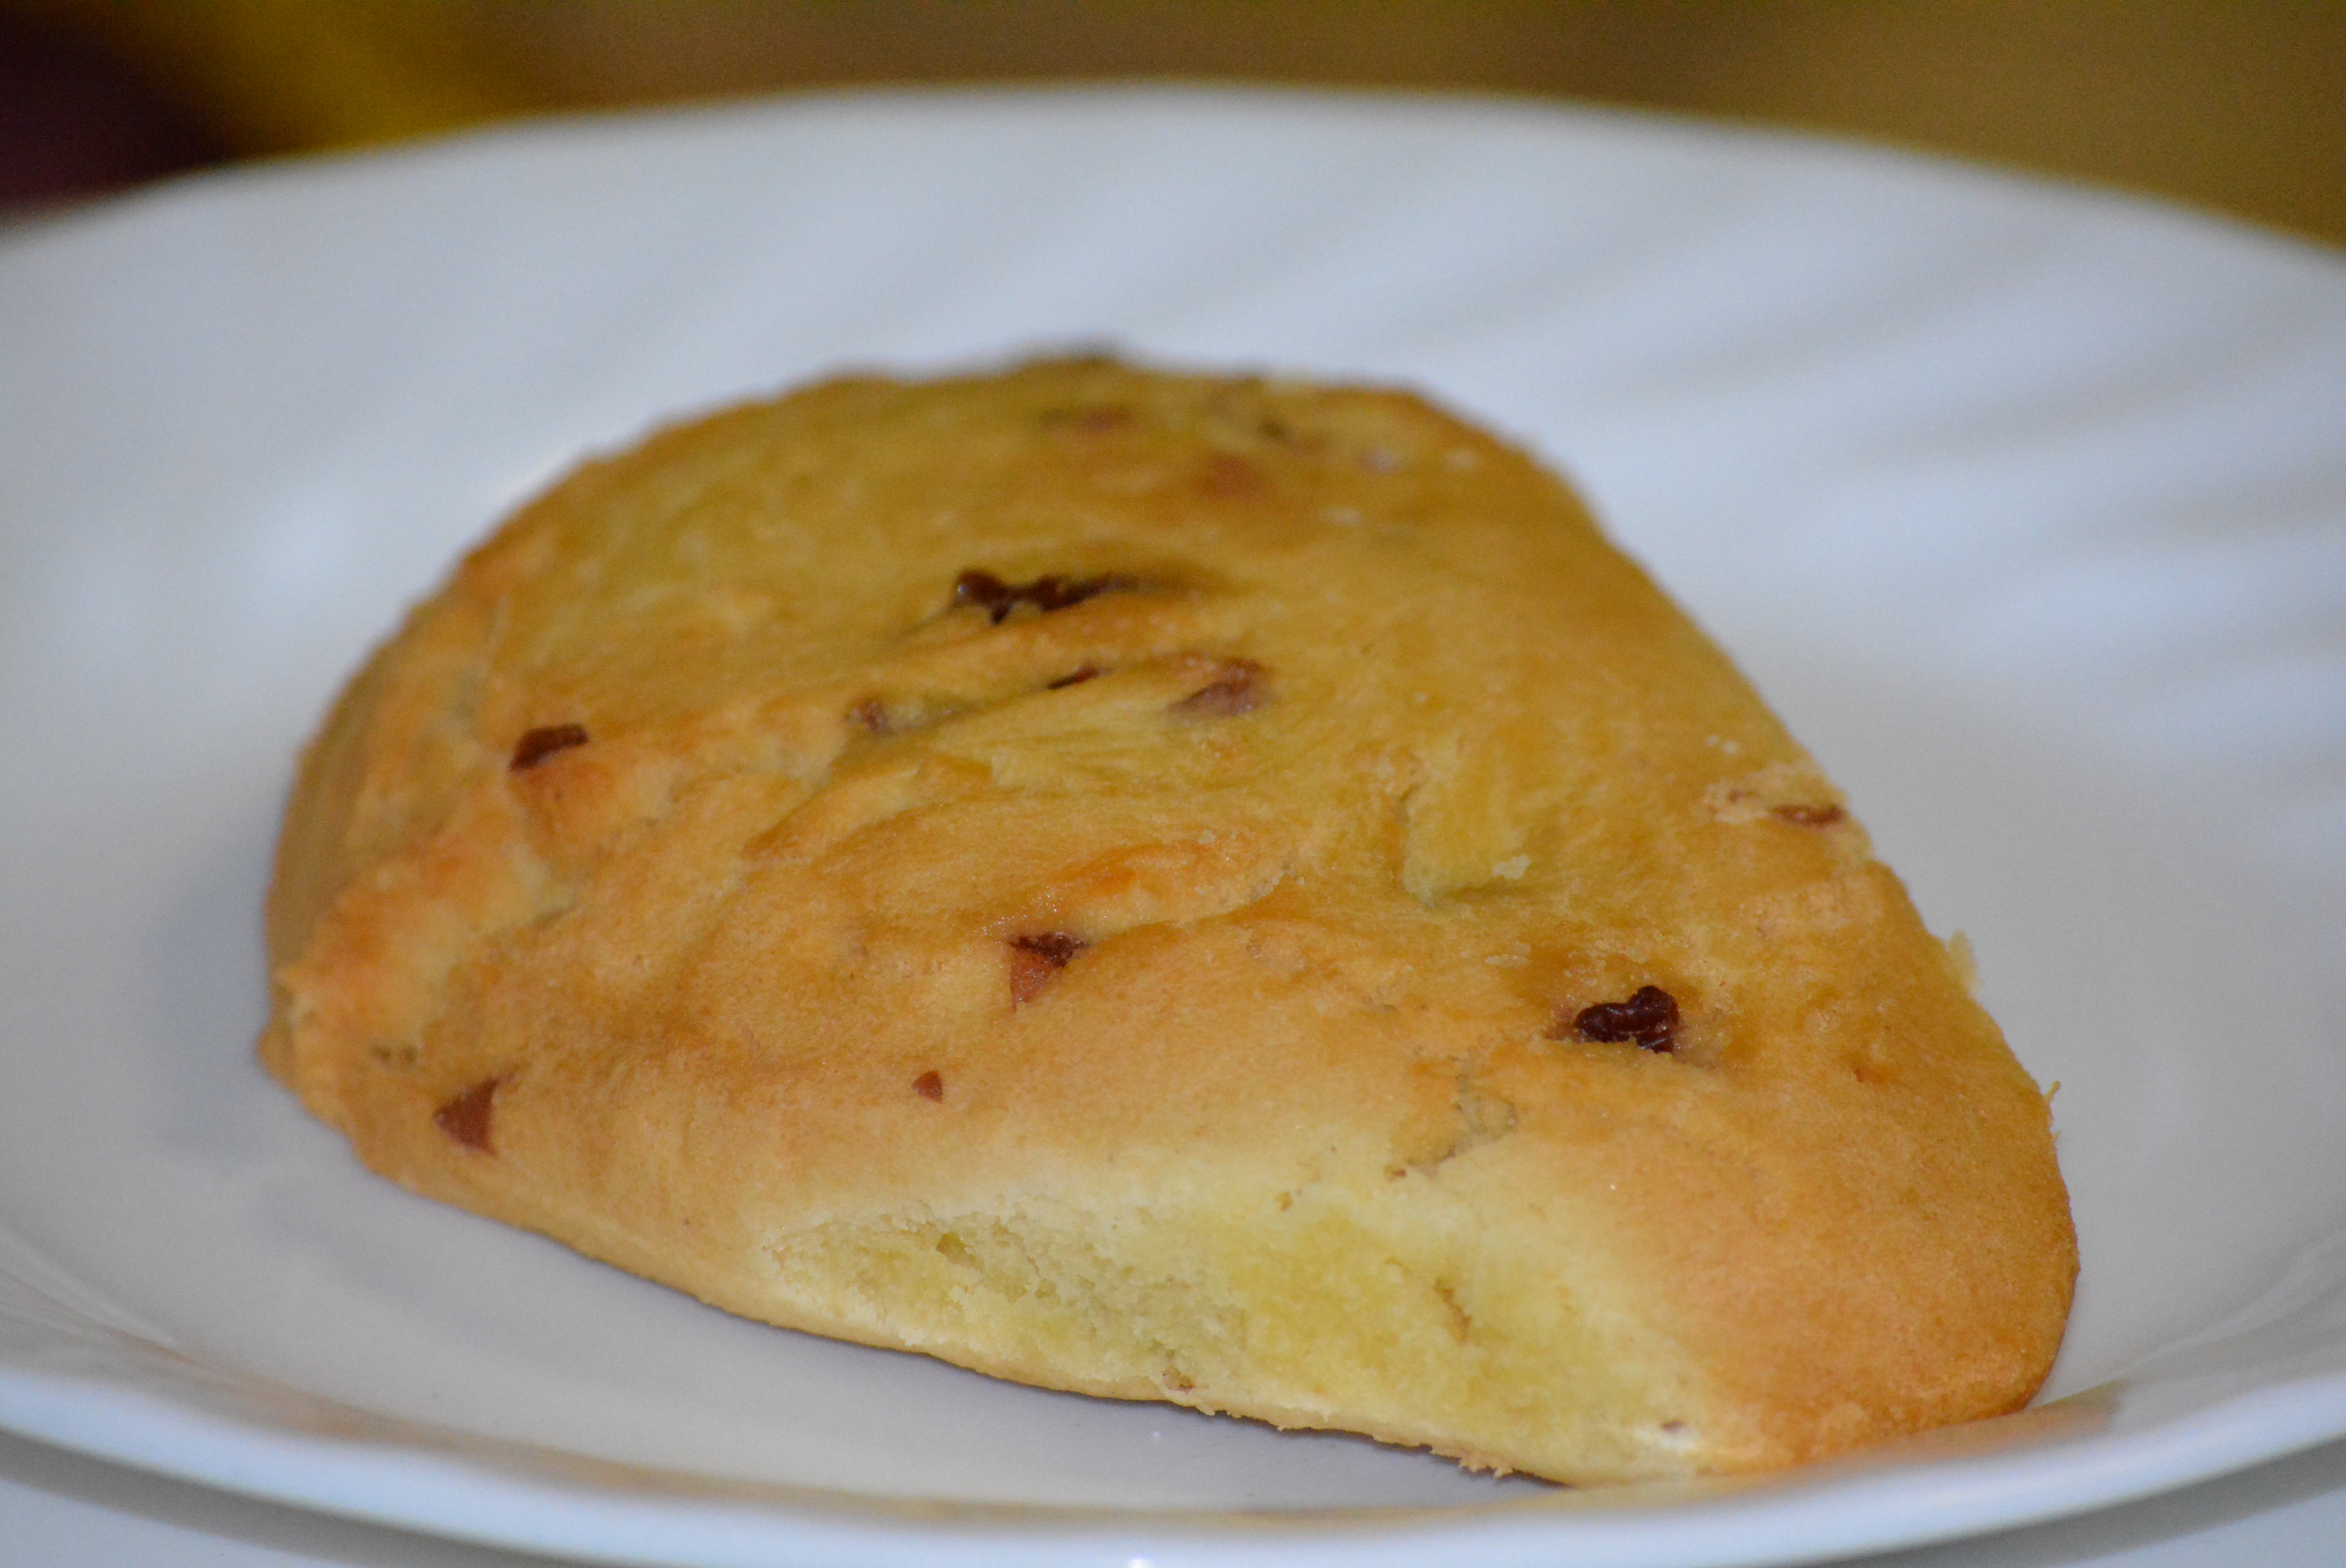
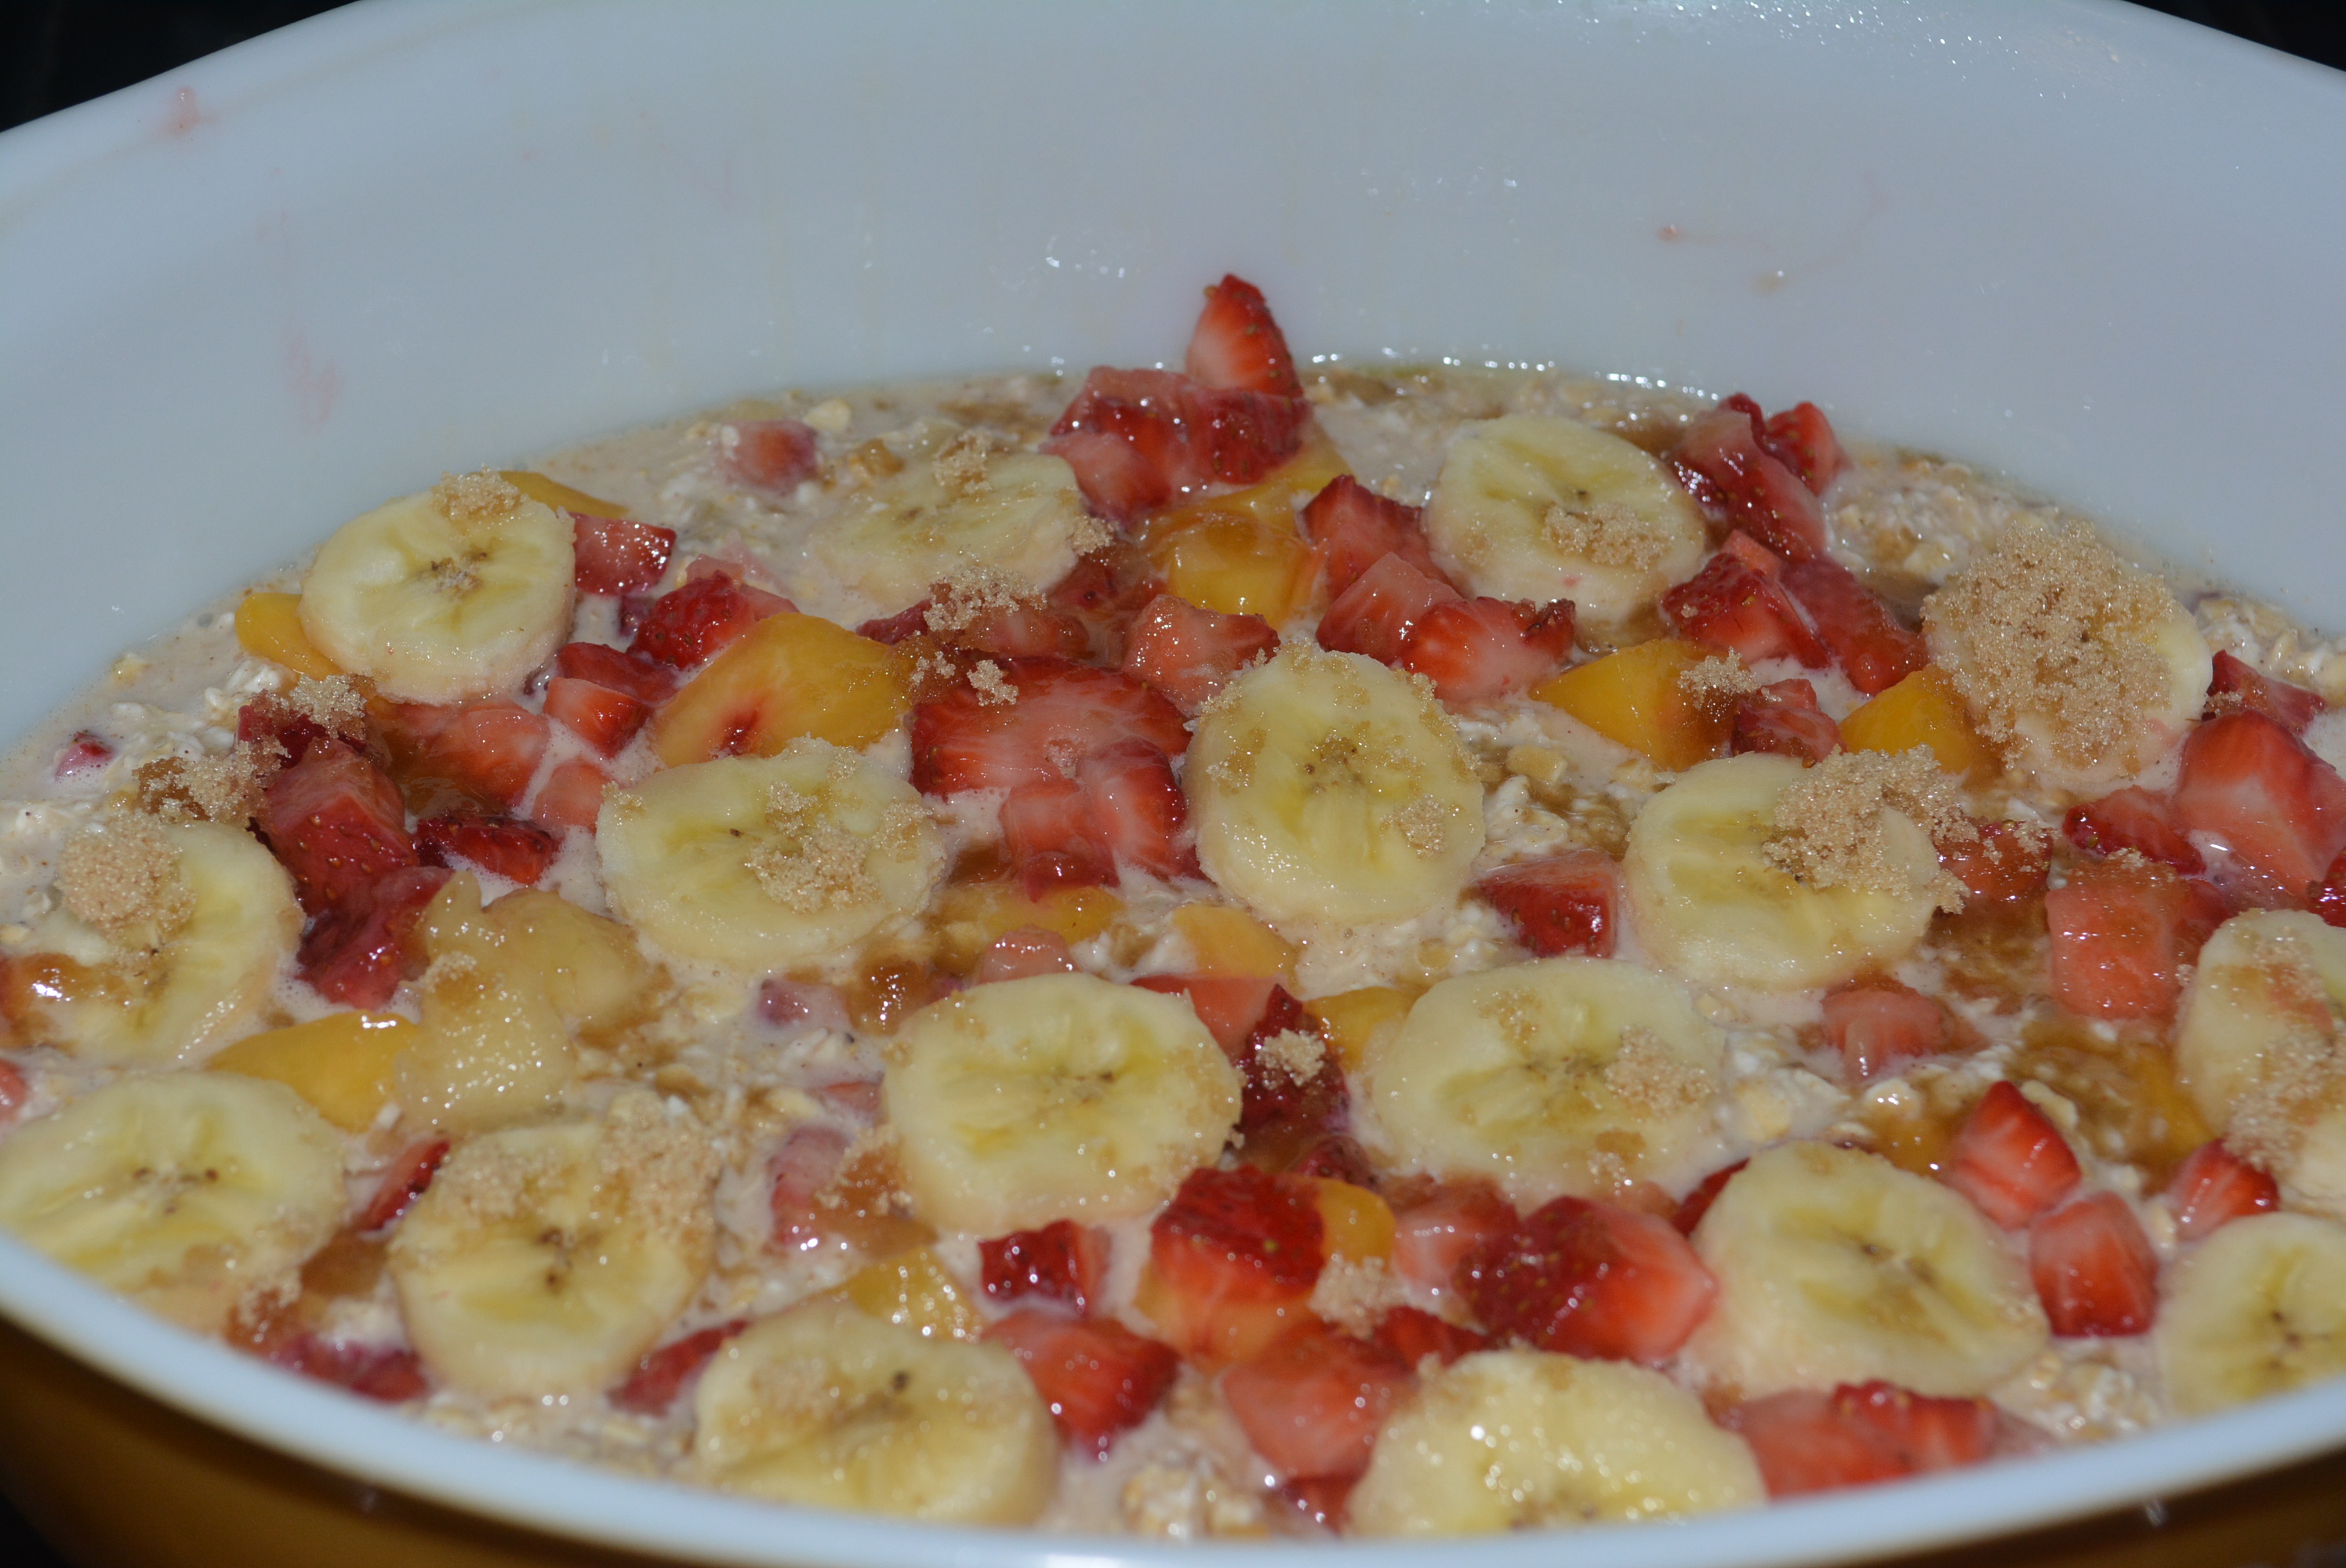
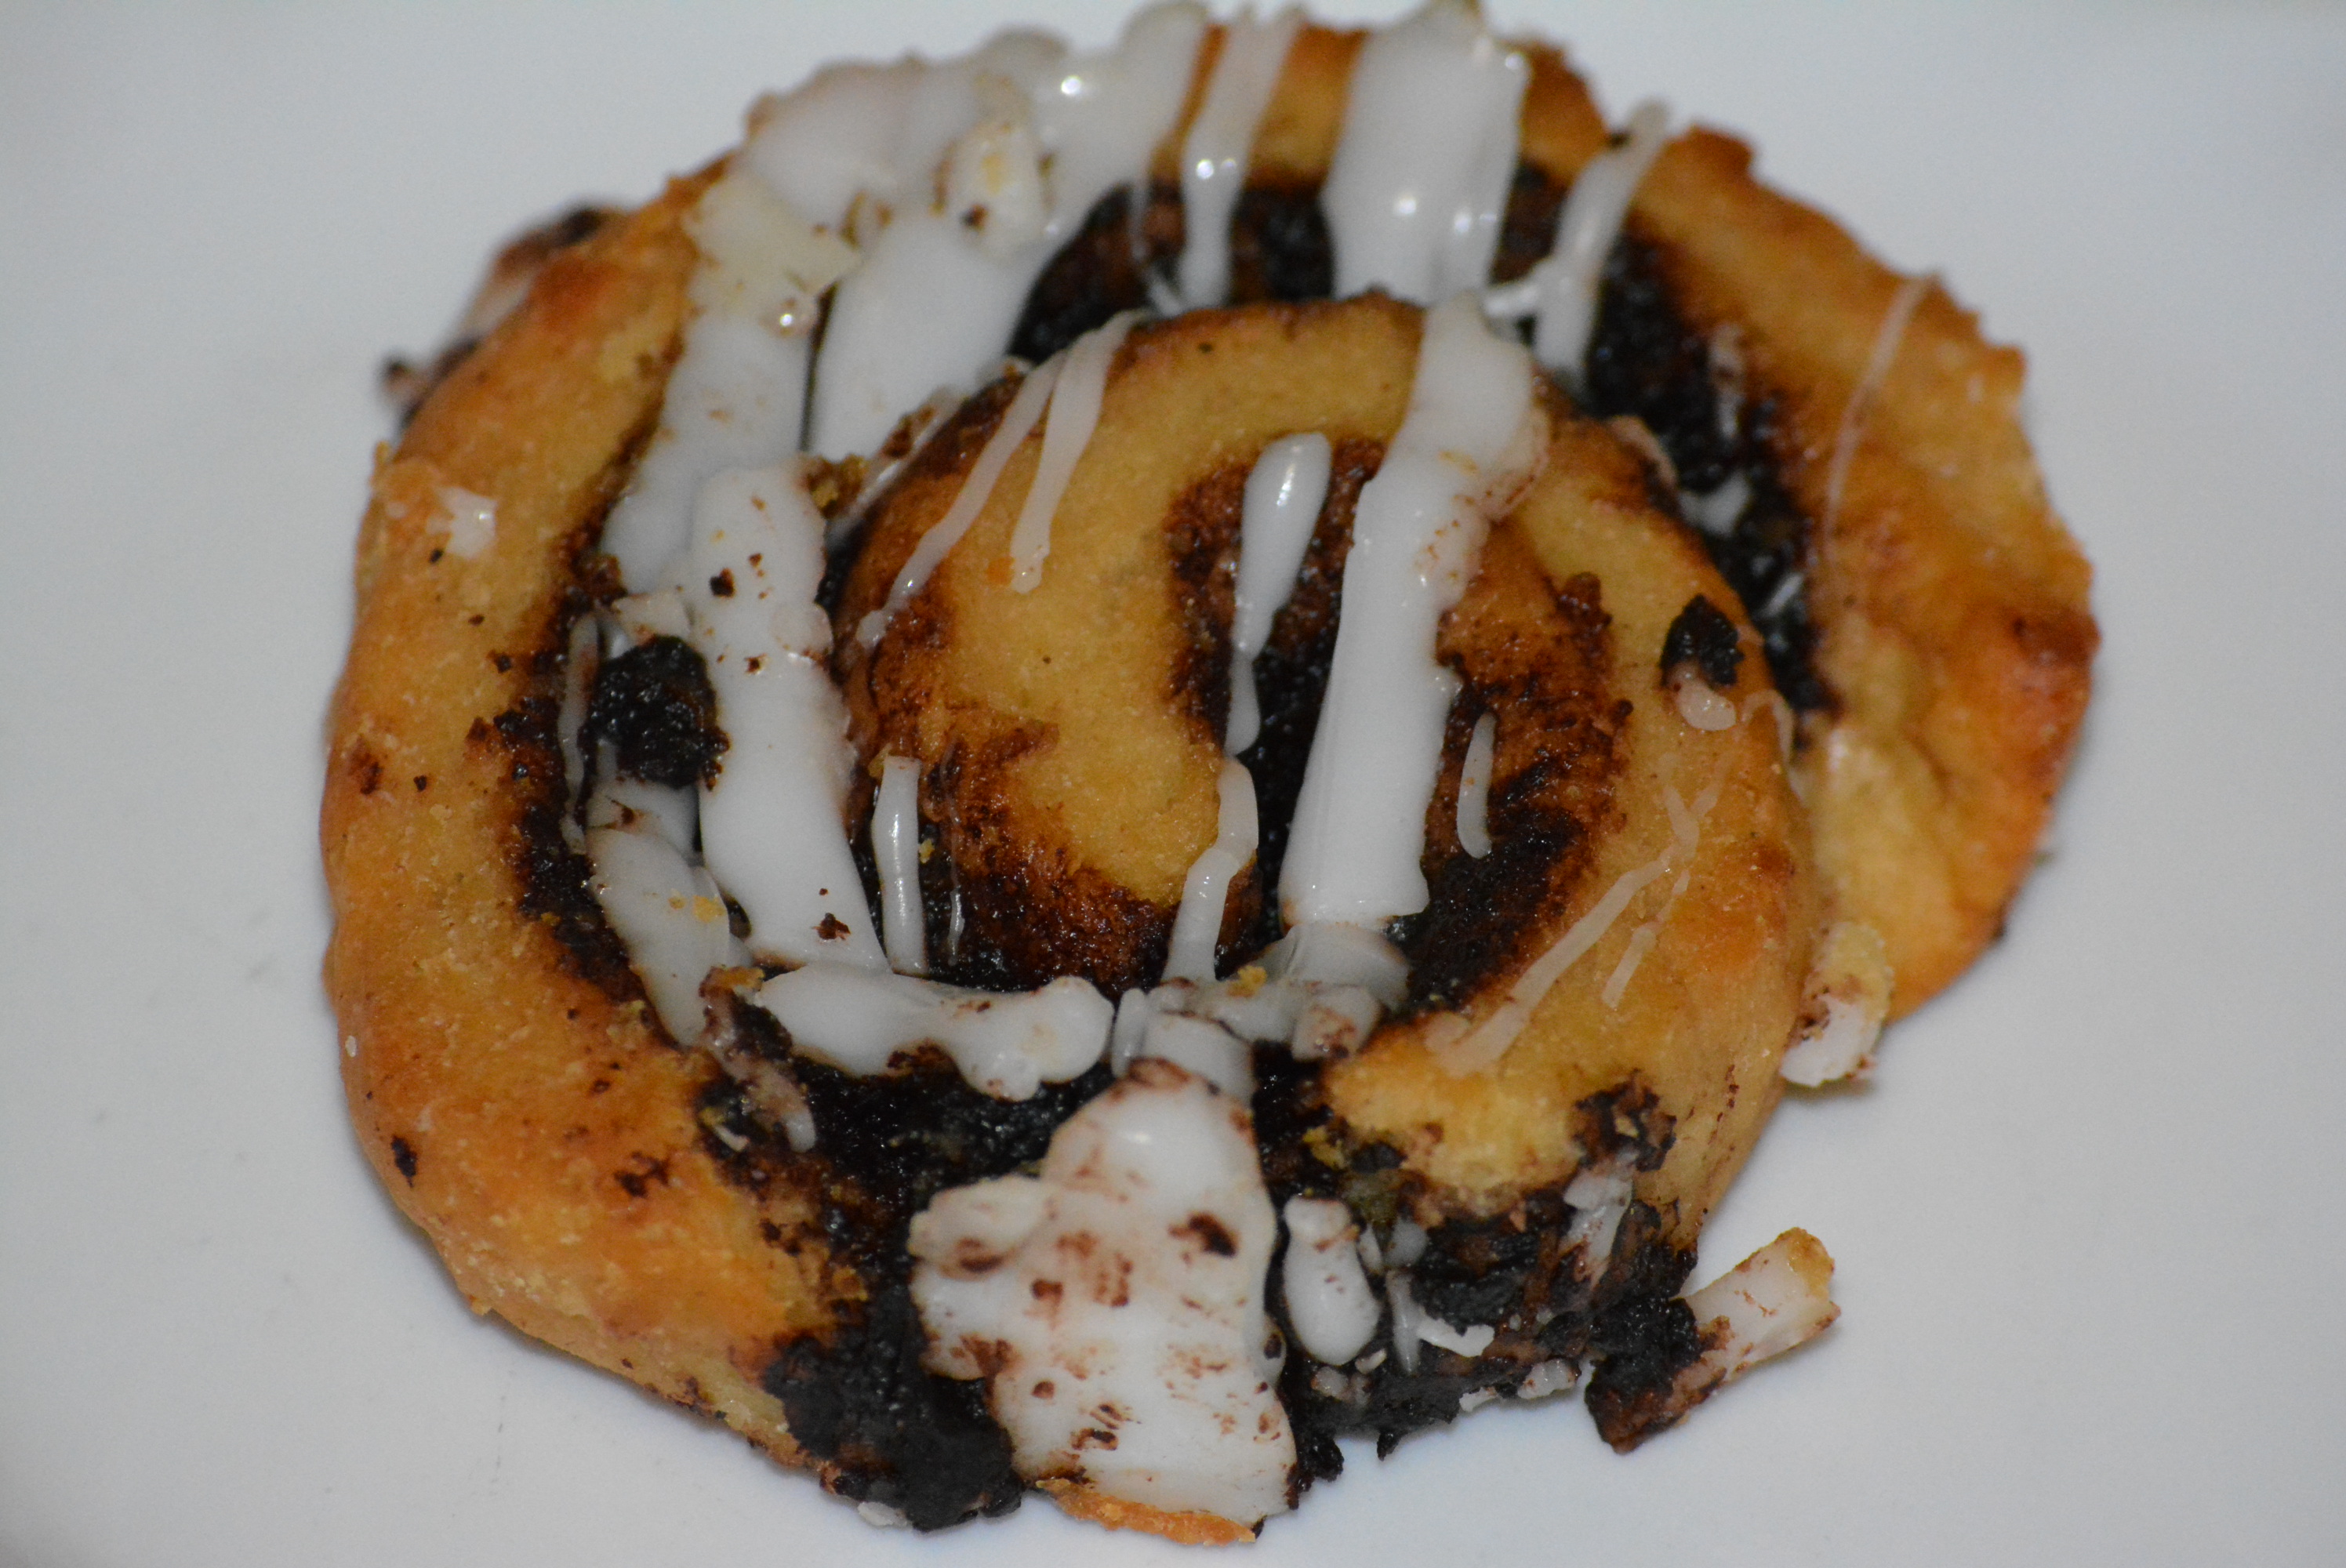
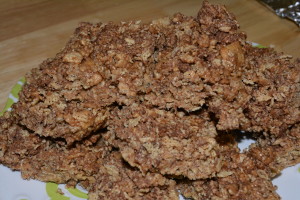
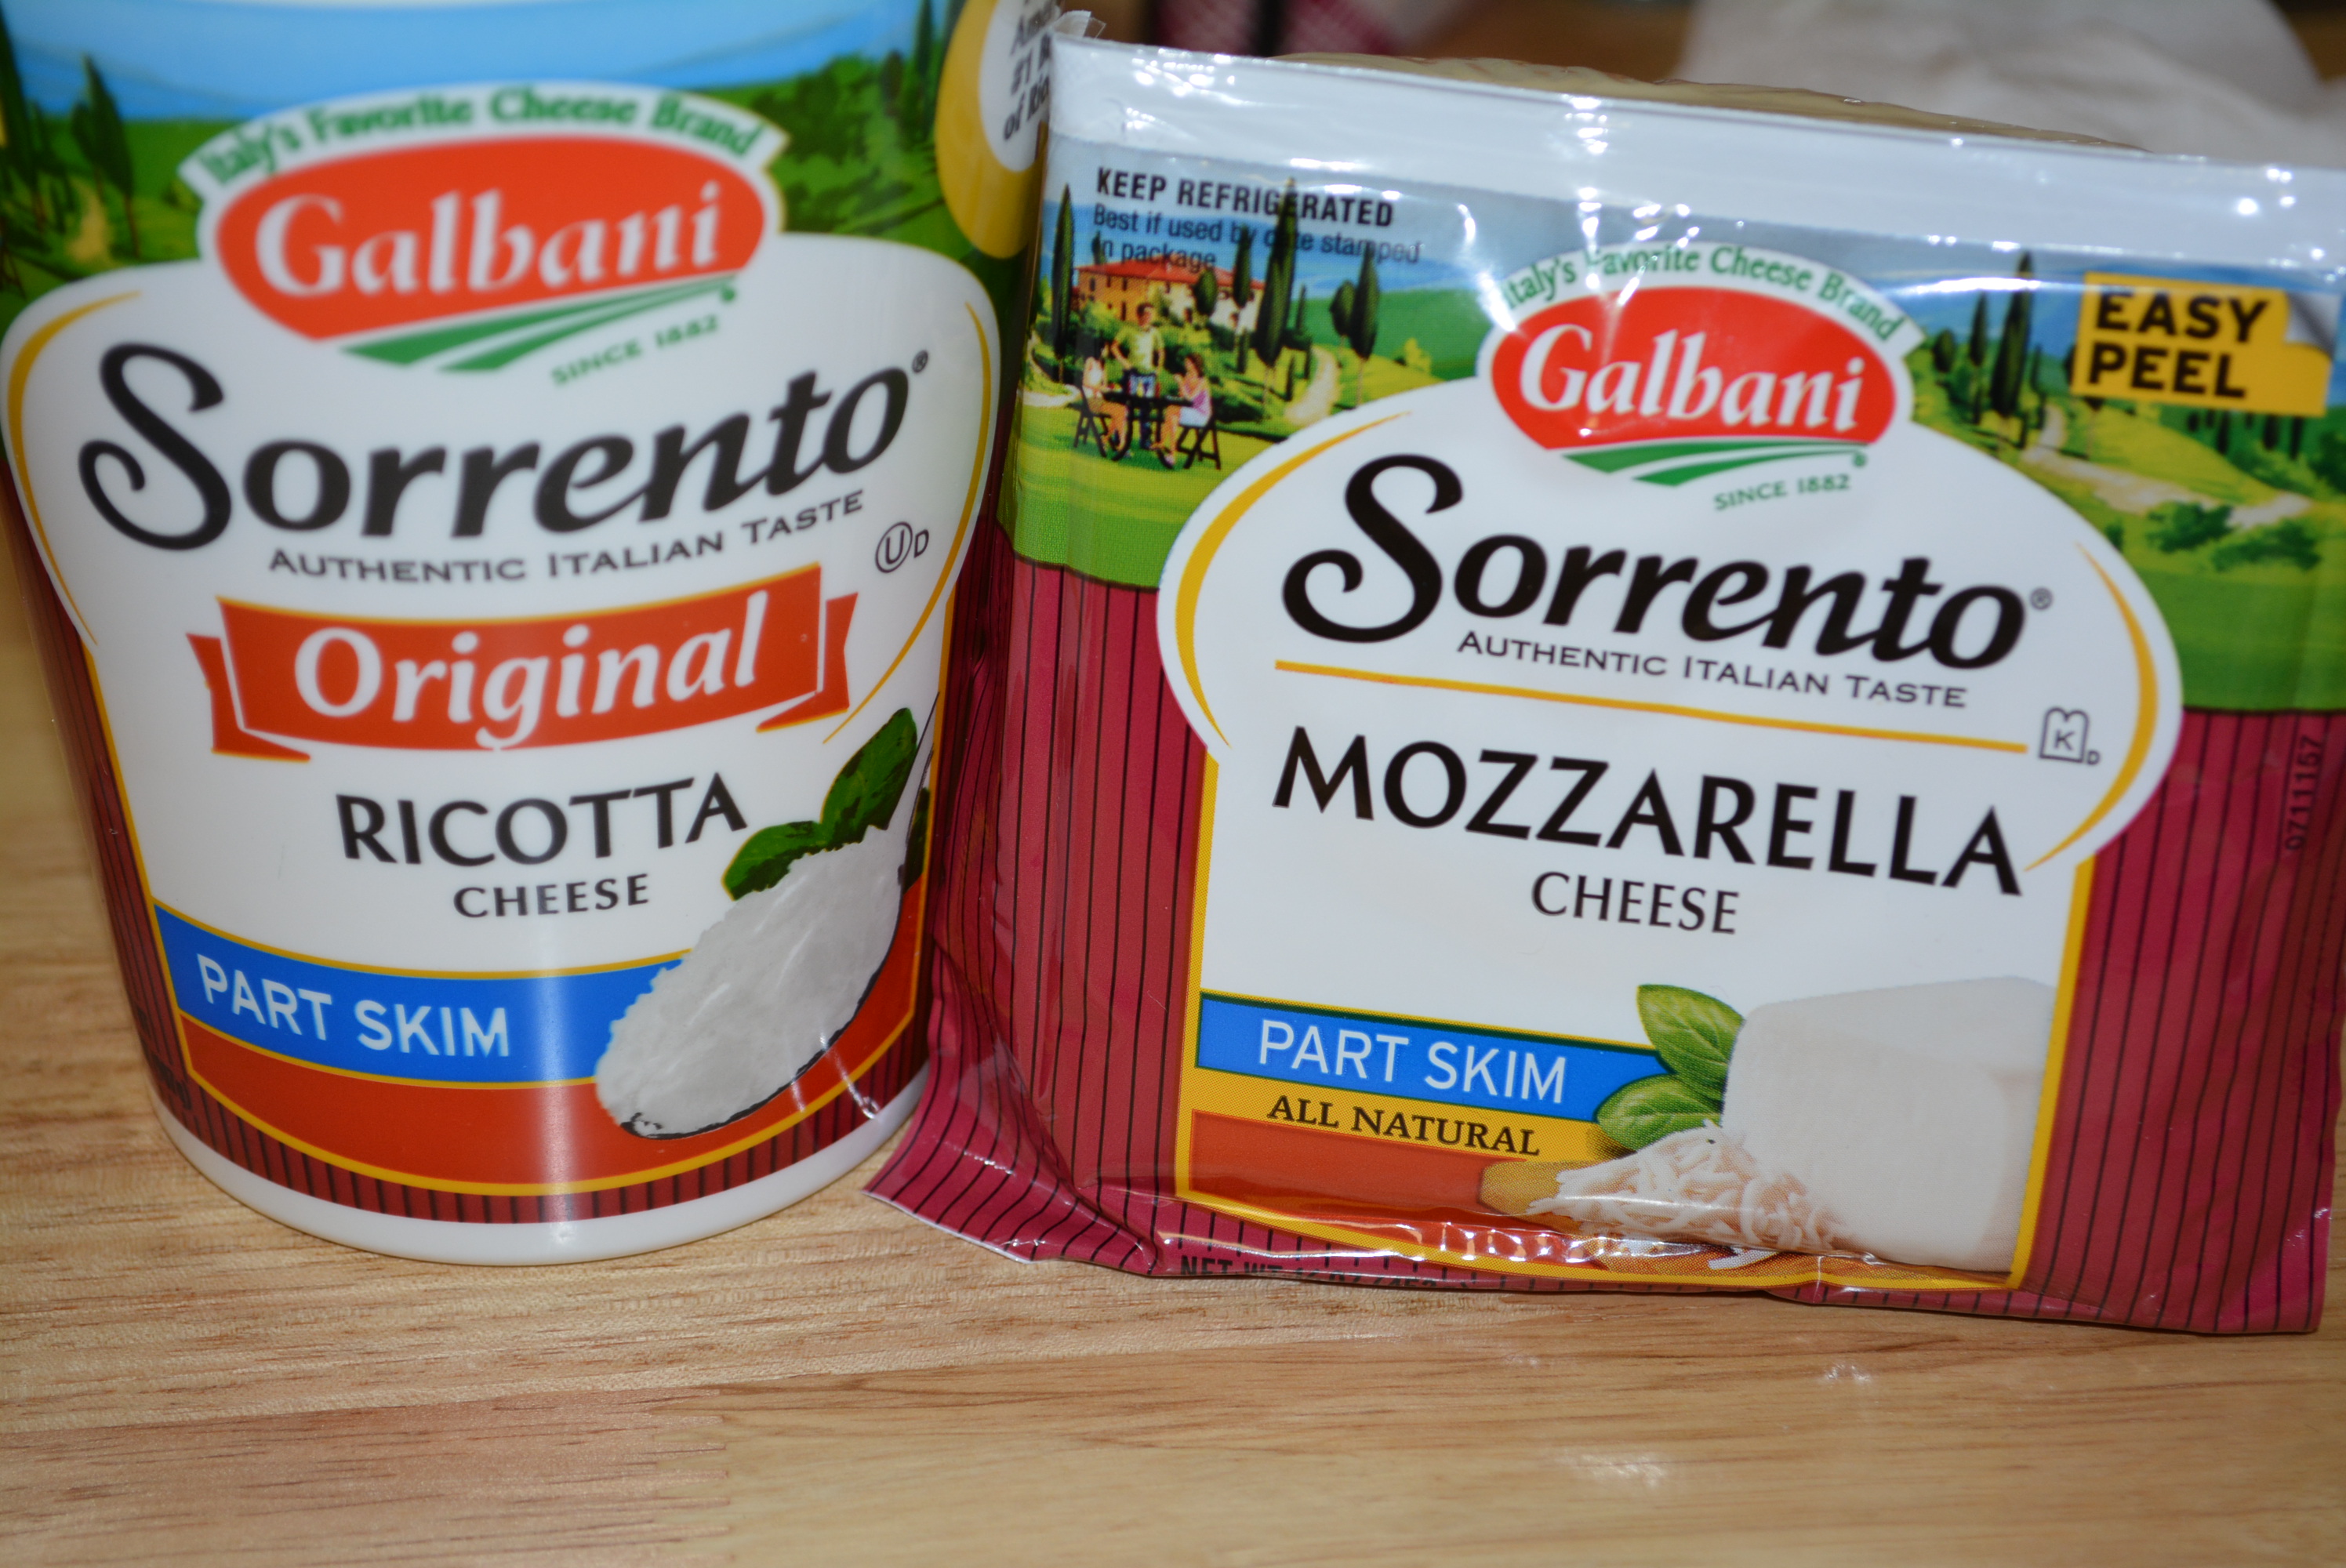
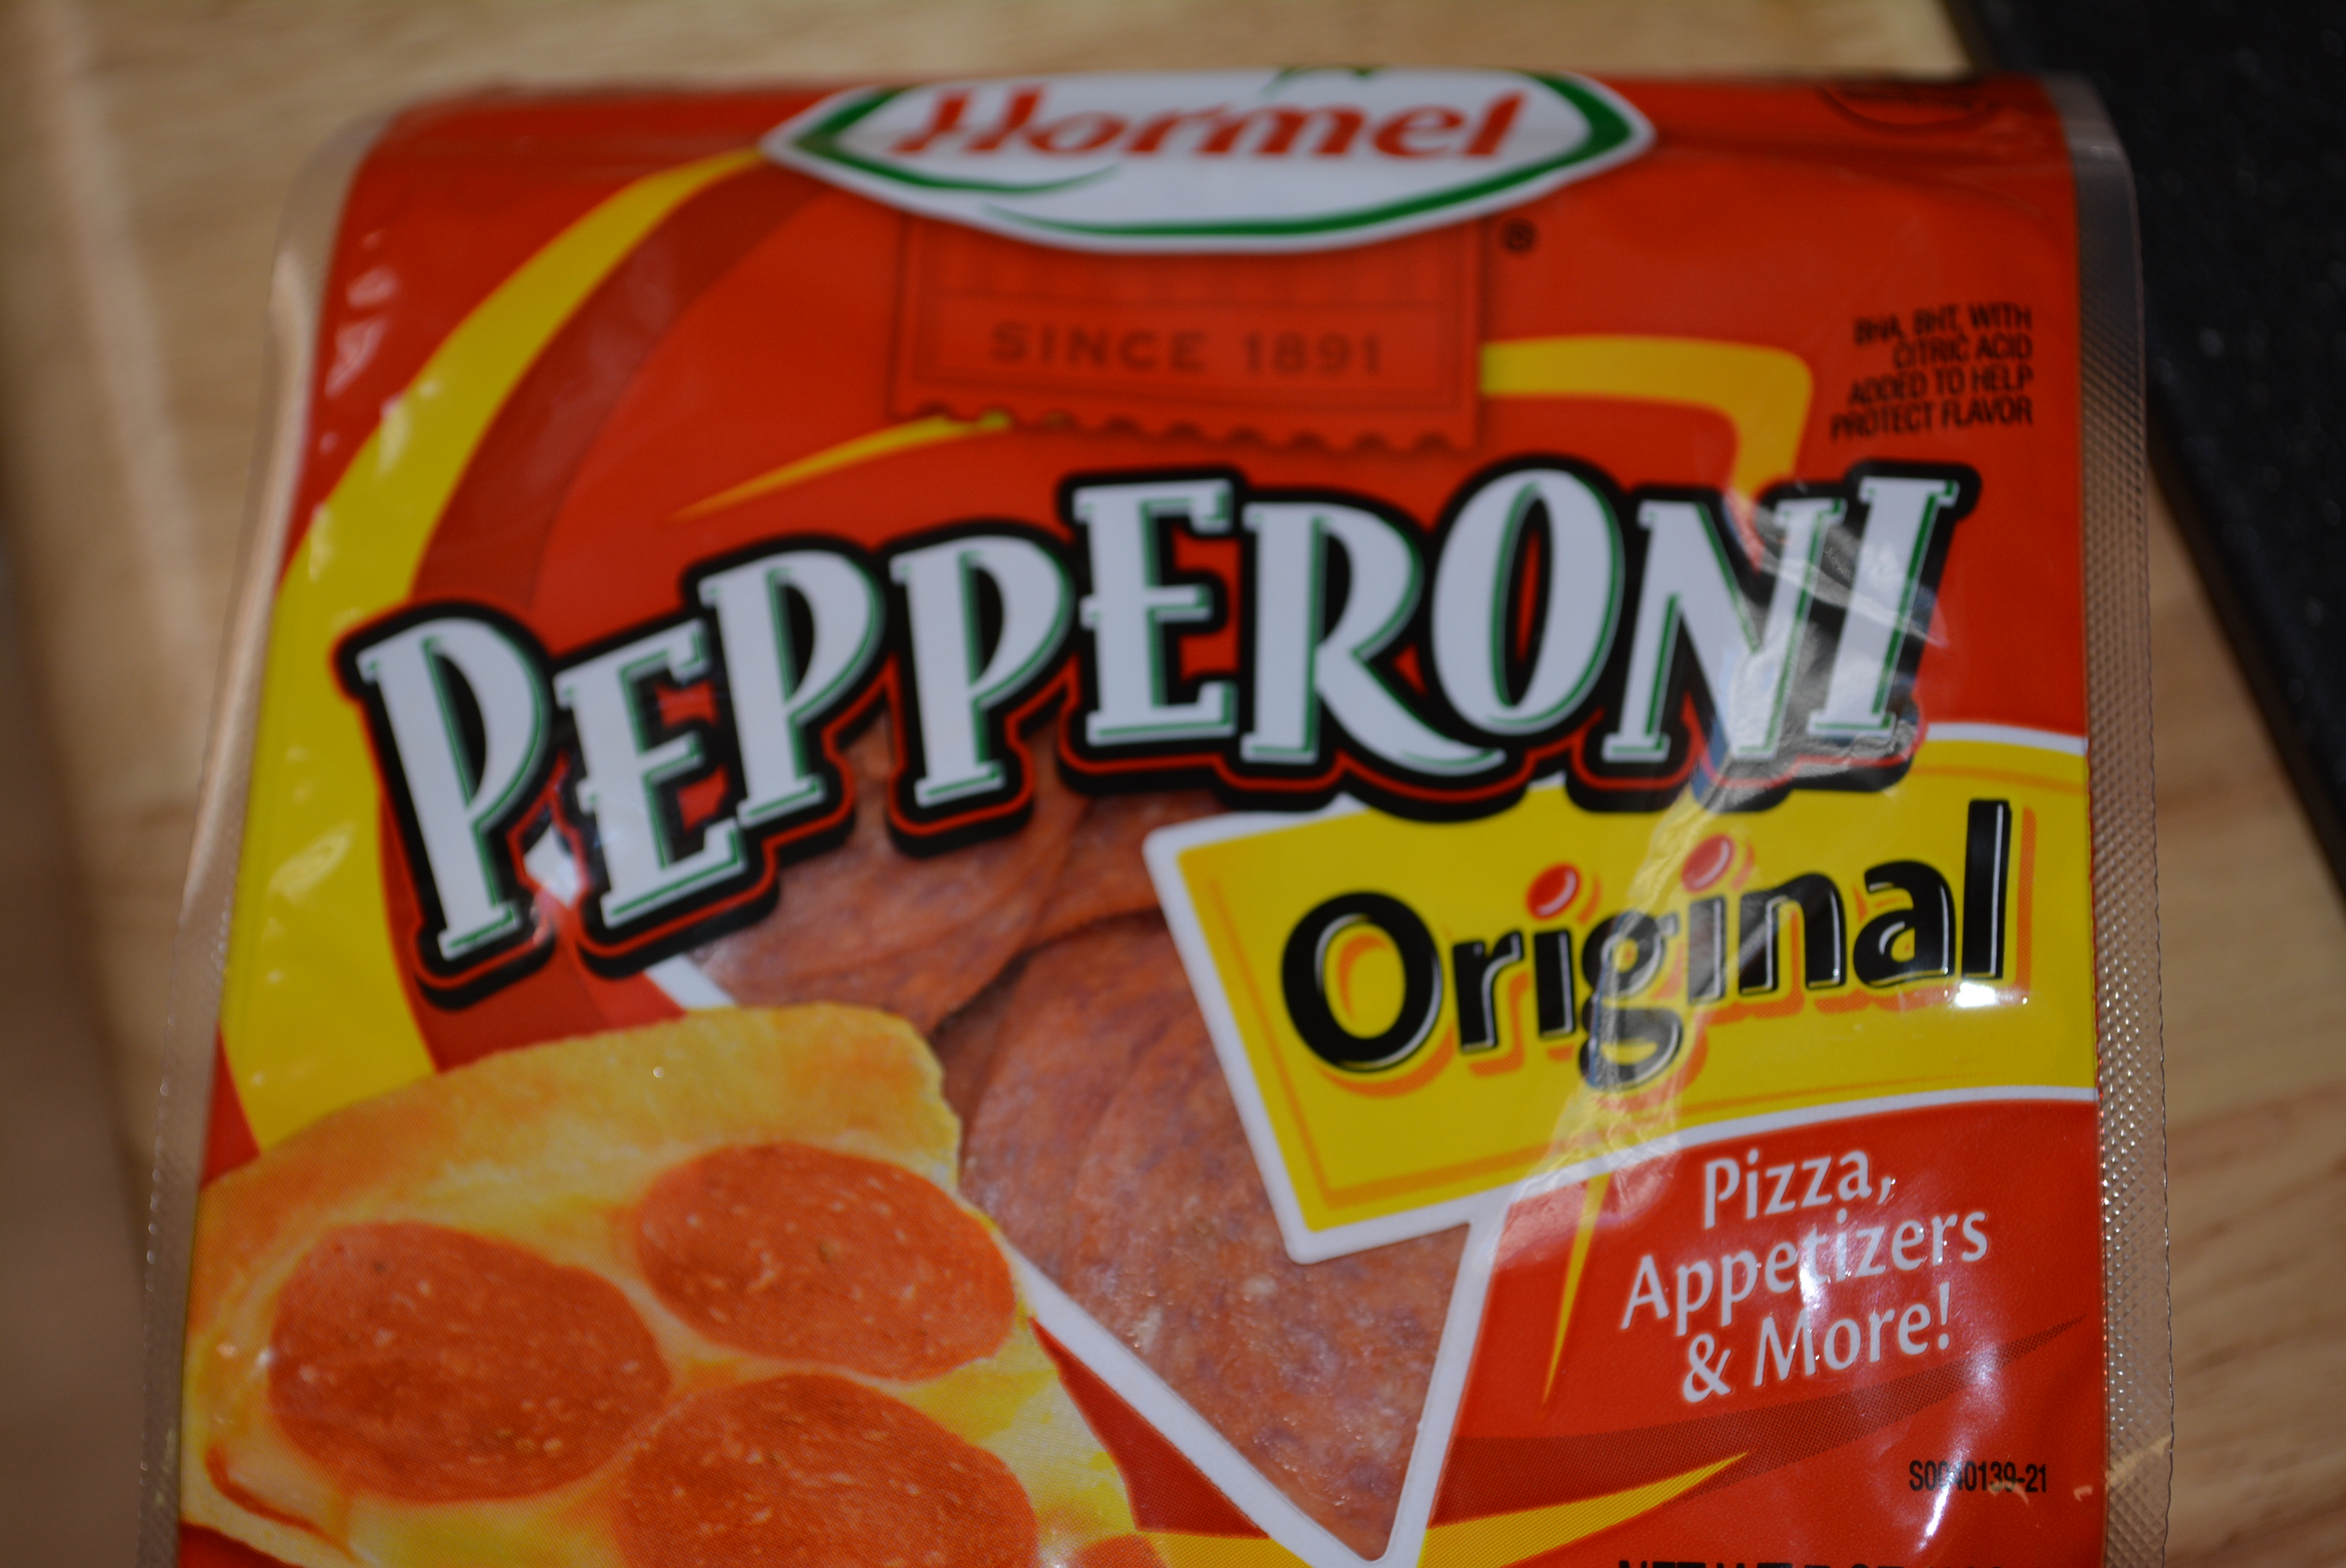
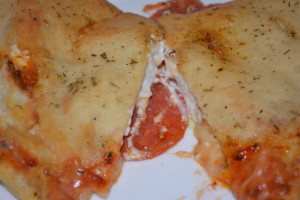
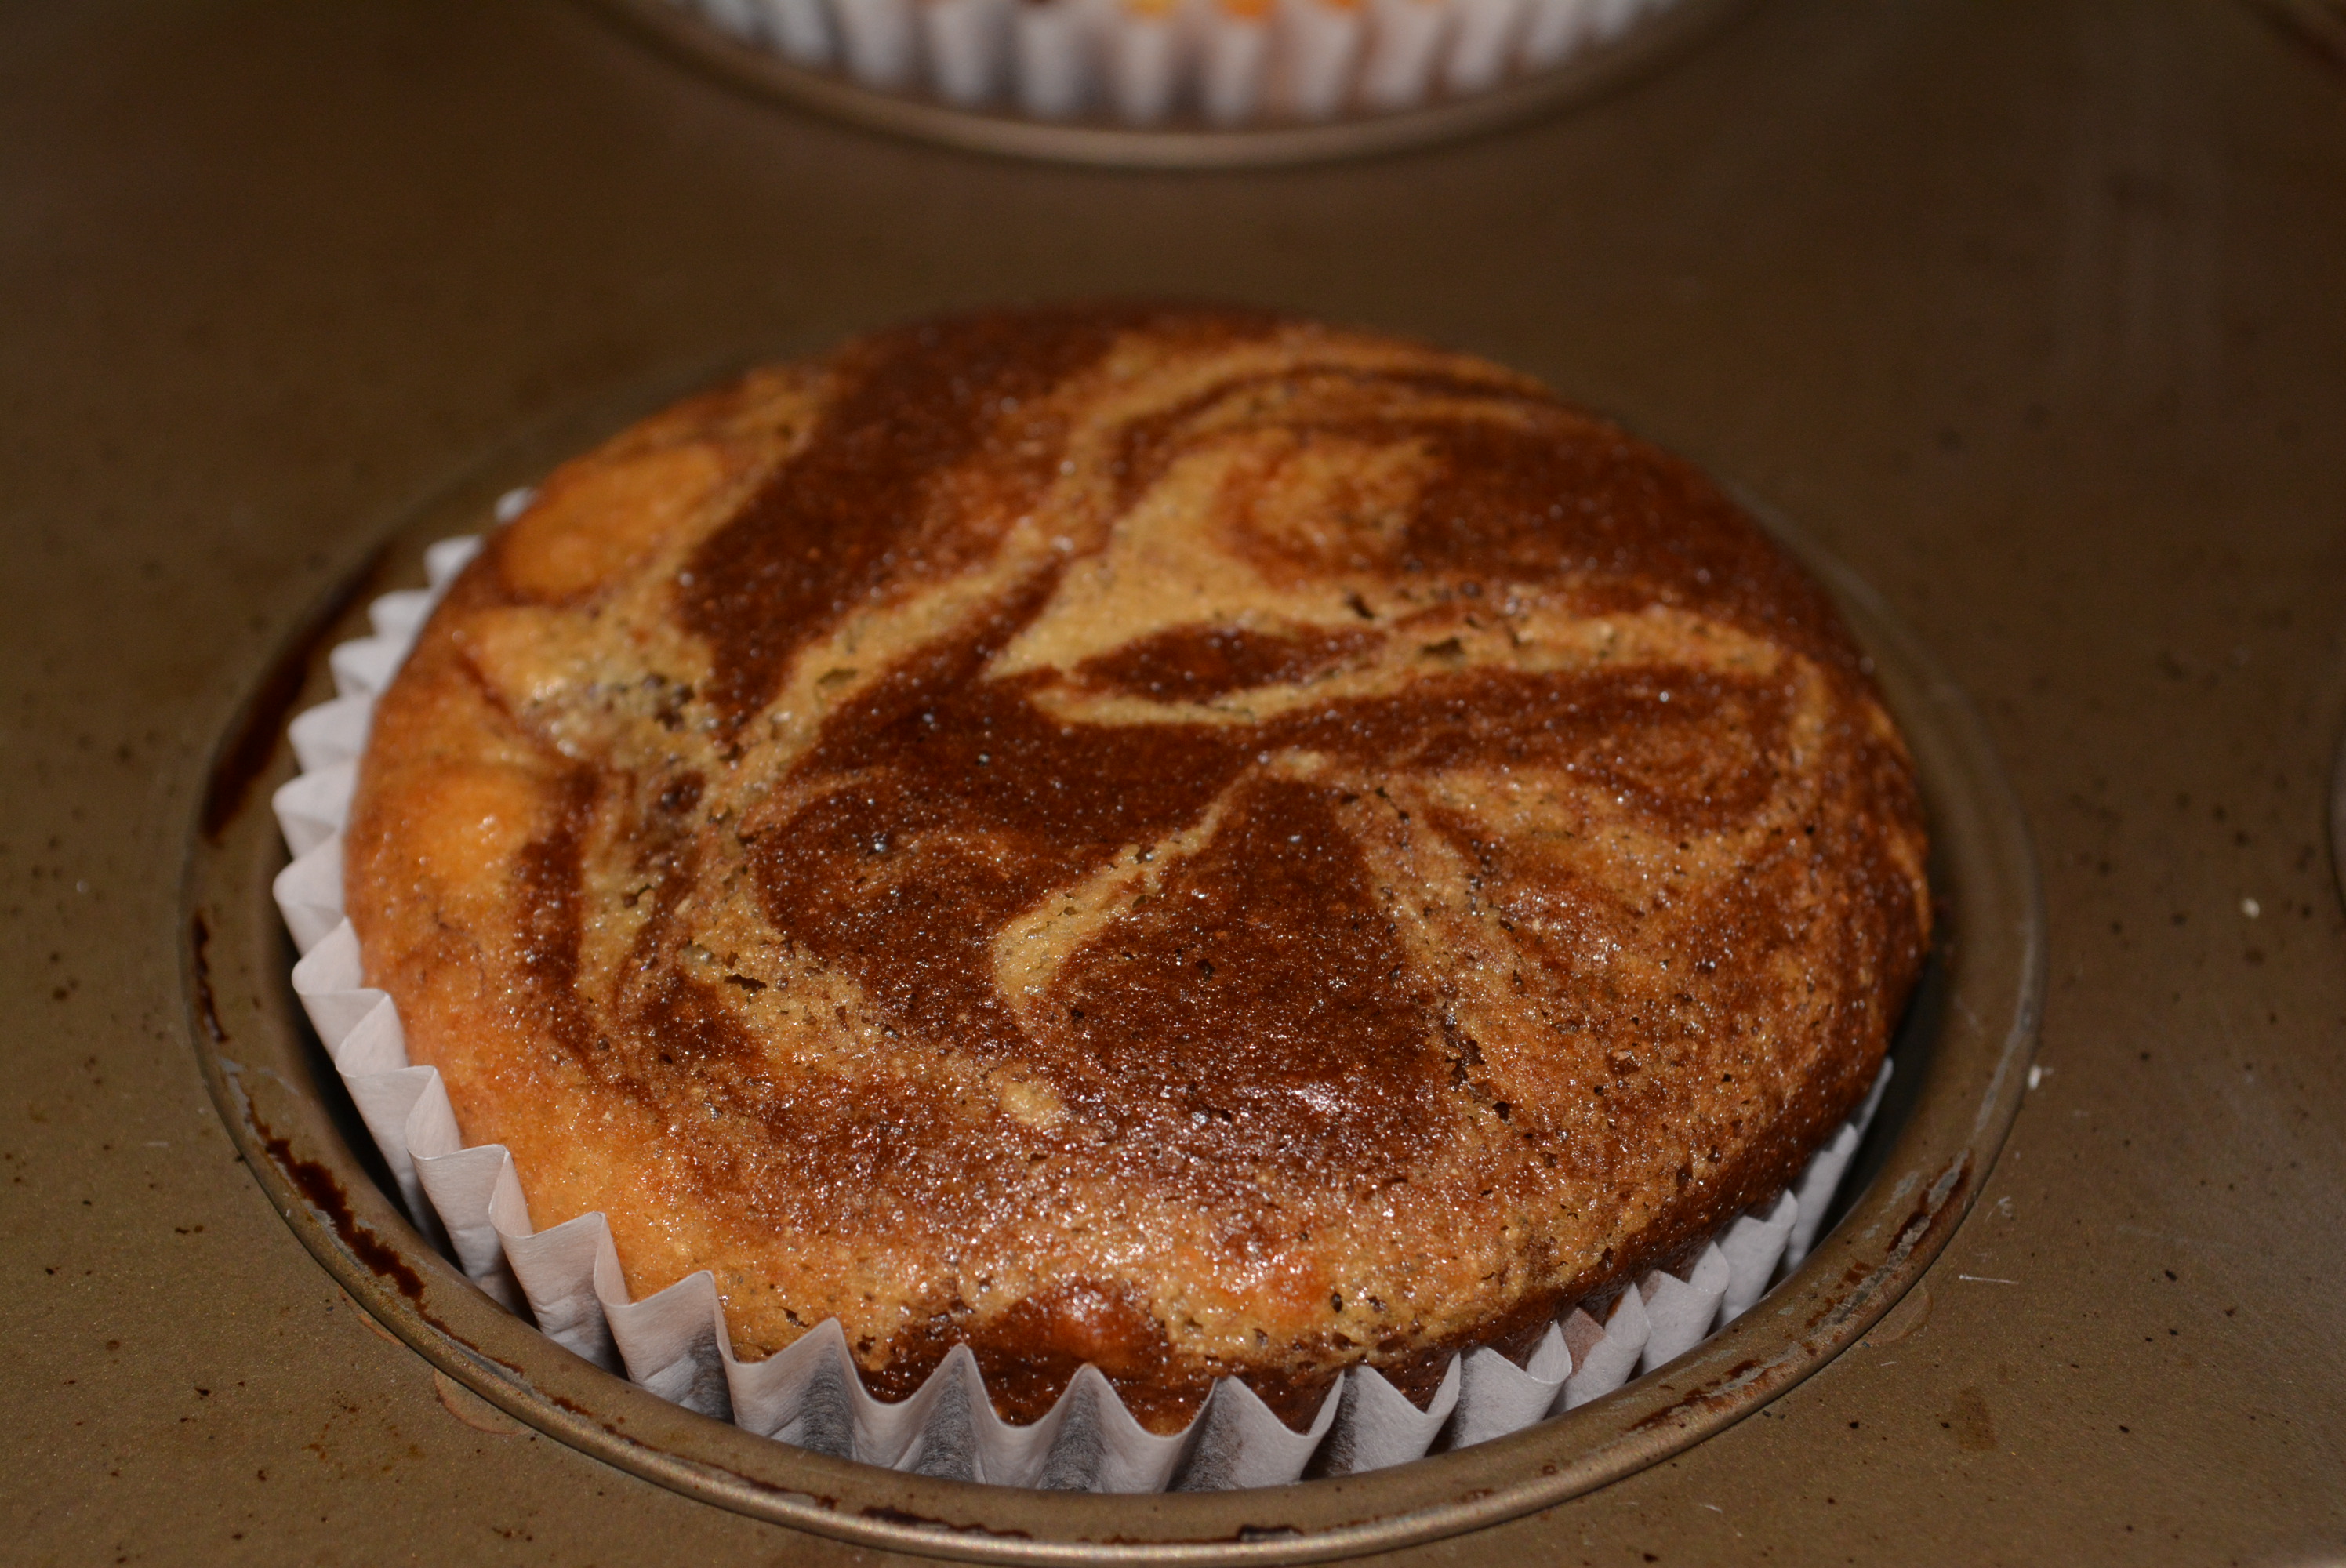
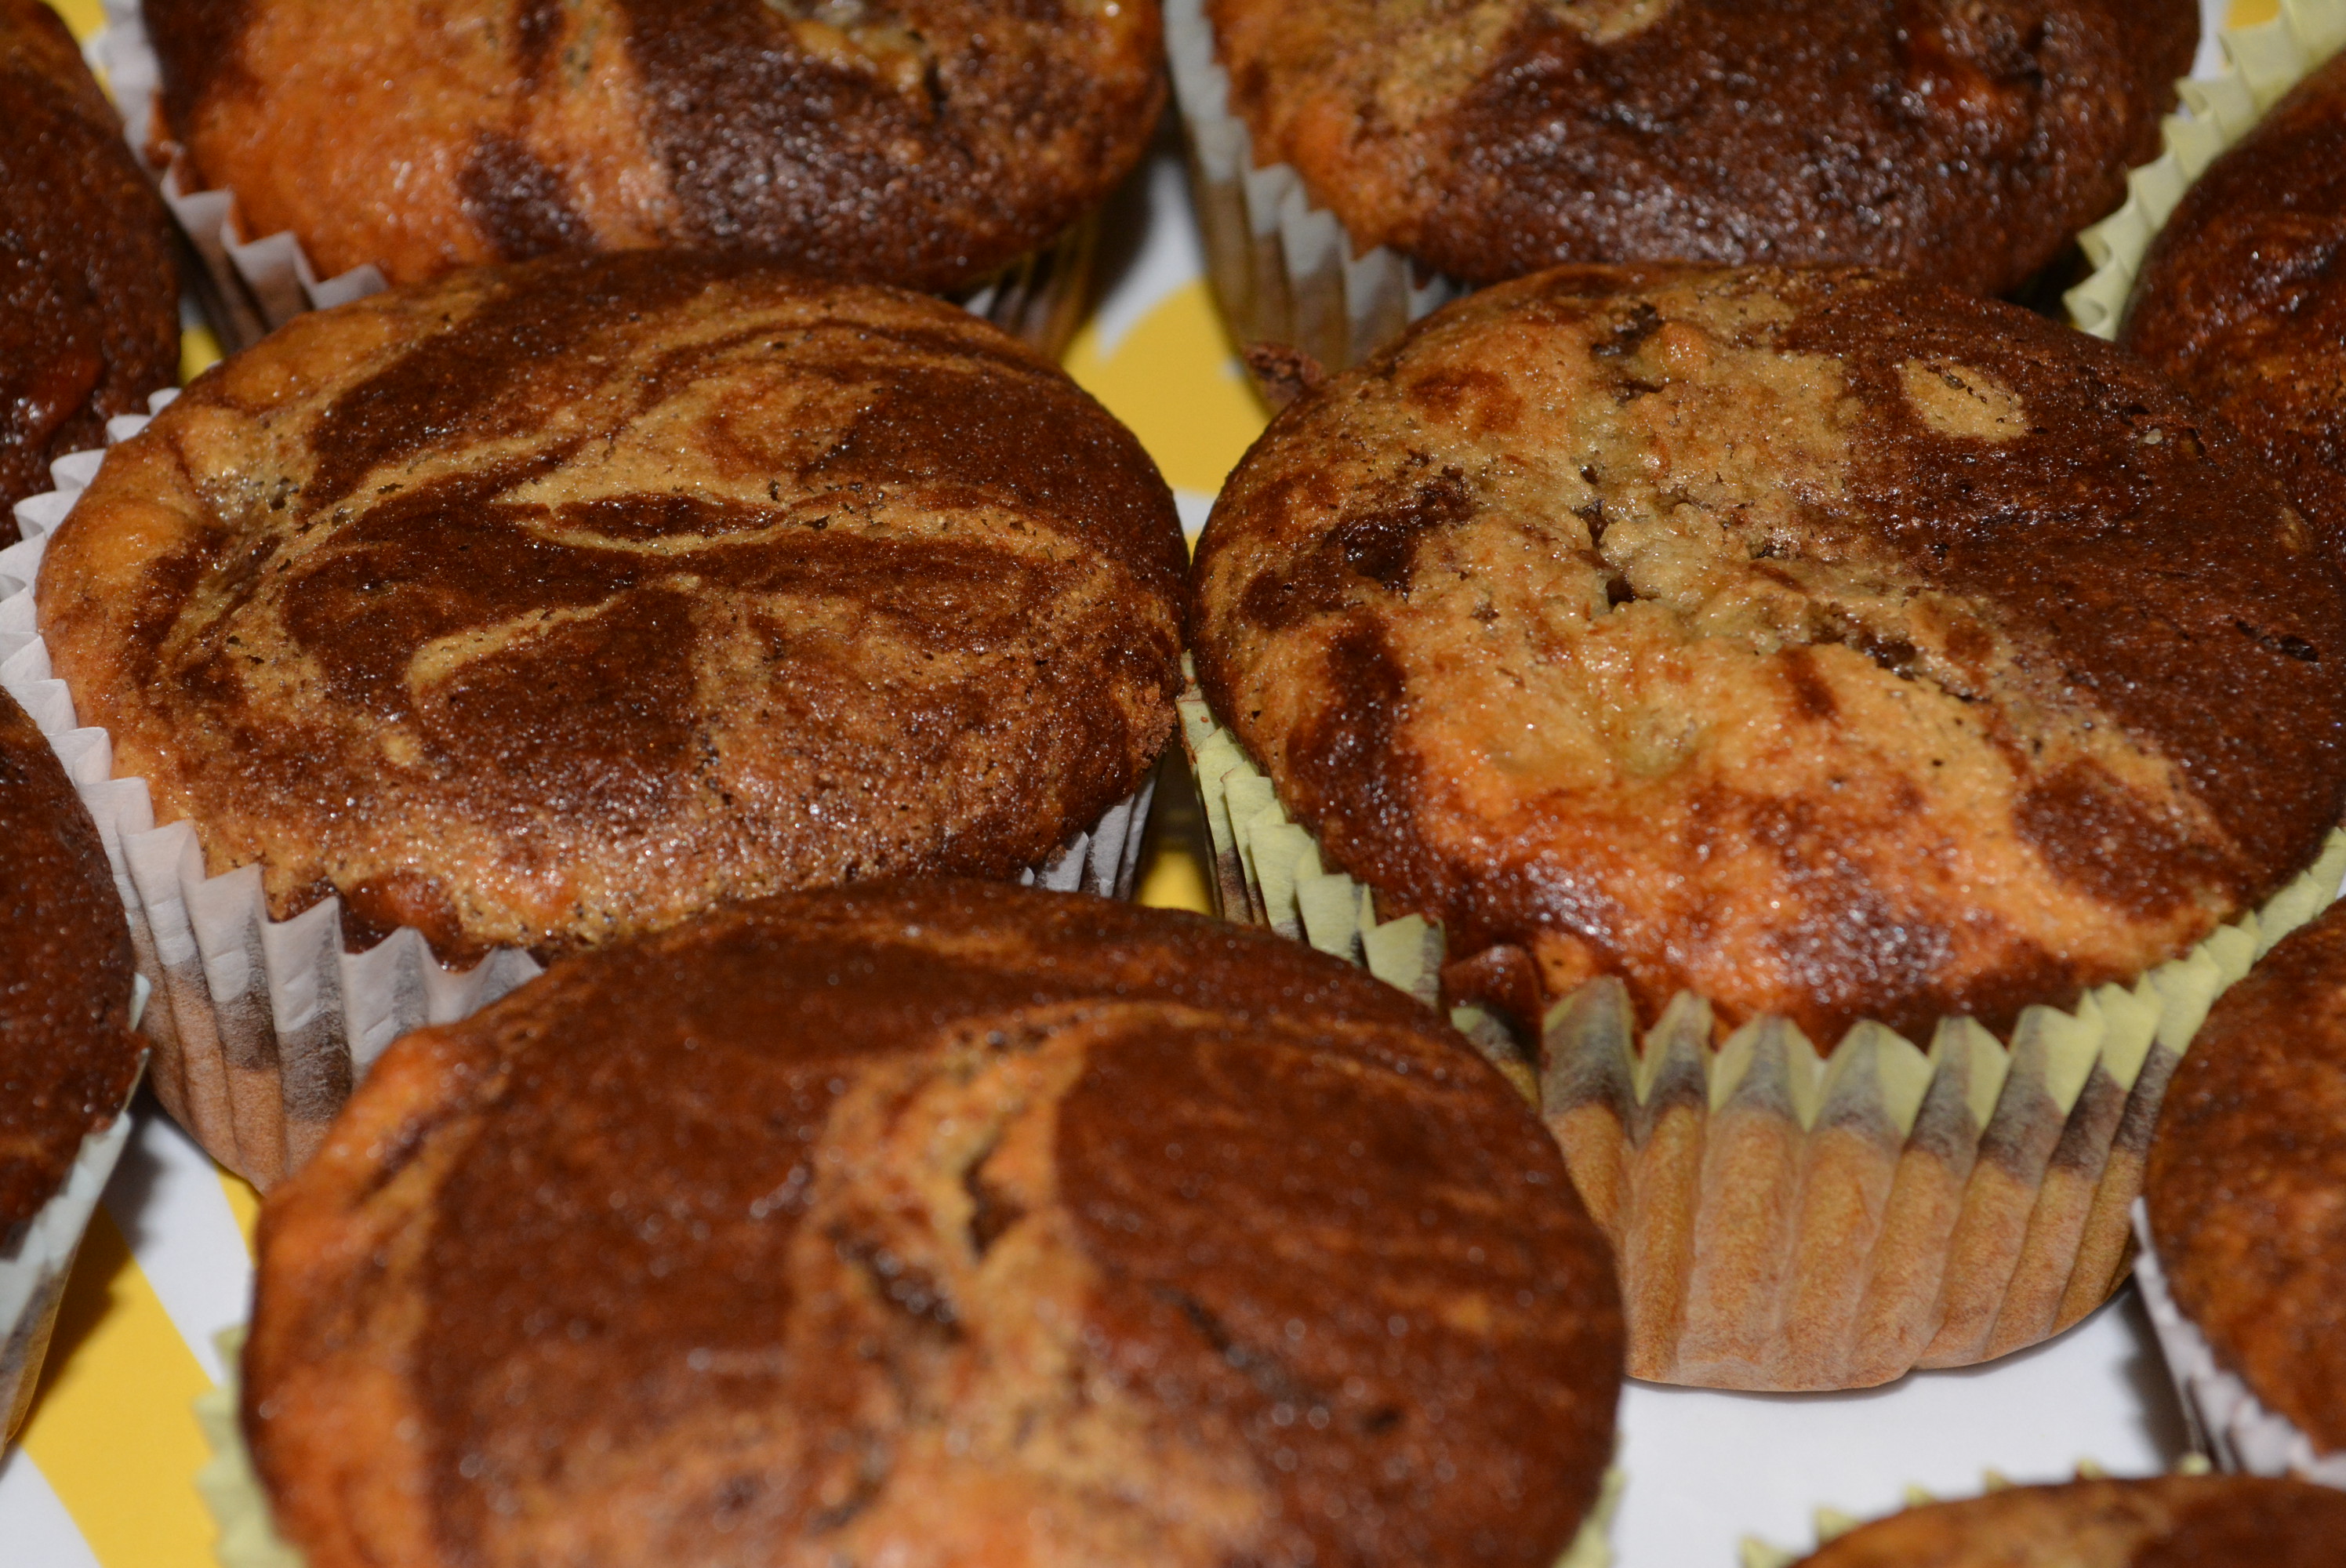
I personally love plain, cinnamon raisin, and everything bagels, all of which are Sweet Note Bagel varieties. For about $7.99 at our local store you get a package of four which can be stored in the freezer until you’re ready to enjoy. After just 45-60 seconds of defrosting in the microwave, just slice your bagel and toast briefly and you’re ready to go. Once the bagel is toasted,  add either a thin layer of low fat cream cheese or if you’re feeling a bit fancier try making a breakfast sandwich with the everything or plain, adding on scrambled egg, cheese, and bacon, yum! It is truly amazing how Sweet Note Bakery has created a gluten free bagel that tastes identical to a gluten filled version. They have a crispy crust on the outside and a chewy middle, just like the gluten filled ones I used to enjoy.

Size wise, they are about the same size of any other freezer bagel like Glutino gluten free bagels or even Lender’s regular bagels. Unfortunately, being that they are so delicious, I for one wish that they were bigger. They’re just that good! Who wouldn’t wish that one day we could grab a gluten free bagel that doesn’t necessarily fit in the palm of our hand. But hey, Sweet Note Bagels, while they are on the smaller side but are comparable to any other frozen bagel, are really just right and hit the spot every time!

Okay, so price wise, they are a bit pricey, however keep in mind these girls are a new business and need to start somewhere. Although I can’t afford these everyday, I certainly will continue to support them on occasion when I can (more often when I’m pregnant again for sure) and hopefully help them grow their business too. Everyday it seems, Sweet Note Bakery is sharing more and more locations that you can find their bagels; so hopefully one day in the near future, you’ll spot Sweet Note Bagels in your local grocery store at maybe a cheaper price too.

Grab a package of Sweet Note Bagels today! Their product is phenomenal and even makes you ask that question that you’re so used to asking in a bad way, “Are you sure this is gluten free?”. This time though when you’re asking that question, you’ll only be saying it because they taste that good, what a great feeling that is! So use Sweet Note Bakery’s store locator to see if you can grab some of these at a store near you. And if you can’t, no worries, just order some via their website! I highly recommend my three favorite varieties, cinnamon raisin, everything, and plain!      

Enjoy!

Sincerely,

Lindsay

Whole Foods Gluten Free Bakehouse Offers Cranberry Orange Scones

I LOVE scones; they’re a perfect breakfast treat on occasion or dessert now and then. Fruity or chocolaty, either way, they are a delicious start to the day or sweet finish to a meal! Since going gluten free I’ve tried my baking hand at preparing gluten free scones but haven’t quite been able to find the perfect recipe. While I’ve been figuring out the best recipe and ingredients, I’ve been so fortunate to find gluten free scones at not one, but two locations in the area. My husband and I first spotted gluten free store brand Cranberry Orange Scones at Whole Foods Market, a local grocer; soon after, we stumbled upon some Cranberry scones at a gluten free bakery nearby, Wildflour Bakery/Cafe. For more information and a sneak peak at Wildflour Bakery/Cafe’s Cranberry Scones, check out my review.

Whole Foods, along with Wegman’s, is one of the only grocery stores to offer store brand gluten free products. While Wegman’s labels all of their store brand products with gluten free symbols, if necessary, Whole Foods has produced a separate line of gluten free bakery items. Whole Foods Gluten Free Bakehouse offers gluten free scones, cakes, cupcakes, pies, breads, stuffing, and biscuits. Although I haven’t tried nearly all of their products, what I have tried so far have been amazing and better yet, they’re priced competitively with other gluten free name brands. 

Whole Foods Gluten Free Cranberry Orange Scones
Whole Foods Gluten Free Bakehouse Cranberry Orange Scones

In the freezer section of Whole Foods, you’ll find separate freezer cases for gluten free products. The cases are packed full of breads and pastries by Whole Foods Gluten Free Bakehouse, Udi’s, Rudi’s, and a couple of other gluten free brands. Nestled in the cases are these delicious gluten free cranberry orange scones. Coming in a pack of four, the scones are a substantial size that I usually cut in half to enjoy for breakfast or dessert. Keep them stored in the freezer until you’re ready to enjoy one of these pastries, then just pull one out, let it defrost at room temp (this doesn’t take too long) or zap it for a few seconds in the microwave, and enjoy by itself or with some gluten free butter along side of it. 

Gluten Free Cranberry Orange Scone

I personally love these scones. They’re perfectly firm with sweet cranberries scattered throughout and an essence of orange floating around. I’m partial to enjoying these a little on the cold side or room temp but have also dabbled in them warmed up with a little butter in the middle too! Either way, they’re delicious and I highly recommend them. So head over to your local Whole Foods and pick up your favorite bakery treat in their Gluten Free Bakehouse section!

Sincerely,

Lindsay

Gluten Free/Dairy Free Strawberry, Banana, And Peach Oatmeal Bake

So I purchased a new bag of gluten free oats the other day for a brand new recipe that I wanted to try. I’m always looking for new filling and tasty breakfast options. For me, breakfast is always one of my hardest meals of the day, especially while I was pregnant. It never failed, if I’d had a piece of toast and fruit to go with it, I would be hungry literally an hour later. Along with smoothies, I found that oatmeal was always a great, filling breakfast option to pair with fruit or even toast if you want.  

This baked oatmeal dish is both gluten and dairy free which is amazing if your trying to watch your dairy intake too. Rather than your traditional microwavable oatmeal packet, this oatmeal is baked and resembles more of an oatmeal cake. I combined some of my favorite fruits, including strawberries, bananas, and peaches, so delicious! This dish is perfect with all of the fresh fruit that’s available during the summer, but also works great too with frozen fruit that you stock up on in the winter. I’ve already added this recipe to my pregnancy recipe binder and can’t wait to bake this one up and nibble on it for breakfast, lunch, or dinner, whenever I’m in the mood, that is if I can beat my little one to it, who seemed to be a huge fan too!

Ingredients:

  • 1 3/4 cups dairy free milk (I used Silk Almondmilk Unsweetened Vanilla)
  • 1 egg
  • 2 over-ripened mashed bananas
  • 1 tbsp pure vanilla extract 
  • 1/4 tsp ground nutmeg
  • 1/4 tsp ground cinnamon
  • 1 tsp baking powder
  • 2 cups quick cooking oats (Bob’s Red Mill offers certified gluten free oats)
  • 1 cup chopped strawberries
  • 1 cup chopped peaches
  • 1 over ripened sliced banana for topping
  • 1/4 cup light brown sugar for topping

Directions:

  • Preheat oven to 375 degrees.
  • Mash two bananas in a small bowl and combine with 1 3/4 cups dairy free milk, 1 egg, 1 tbsp vanilla, 1/4 tsp nutmeg, and 1/4 tsp cinnamon.
  • To the wet mixture, stir in 2 cups quick cooking gluten free oats and 1 tsp baking powder.  
  • Combine oatmeal mixture with 1/2 cup chopped strawberries and 1/2 cup chopped peaches. Set aside the remaining strawberries and peaches for topping.
Oatmeal with peaches, strawberries, and bananas.
  • Spray baking dish with non-stick cooking spray and pour in oatmeal mixture.
  • Top with remaining strawberries and peaches (about 1/2 cup of each) and 1 whole banana sliced. 
Top with remaining fruit before baking.
Top with remaining fruit.
  • Finally, sprinkle with 1/4 cup light brown sugar.
Sprinkle light brown sugar on top before baking.
  • Bake oatmeal for 25 minutes
  • Set oven to broiler and broil for about 5 minutes, until top has begun to caramelize.
Baked oatmeal.
Baked oatmeal.
  • Enjoy! Note: Oatmeal is best enjoyed right after baking, but if you’re making the night before, just reheat in the oven the next morning and you’re good to go.
dsfs
Finish by broiling to crisp the top of your oatmeal!

When I baked this dish the other night, after little one went to bed, our house was filled with the most delicious aroma, kind of like fruity oatmeal cookies were baking in the oven! I couldn’t wait to try a bite and kind of forced Dan too as well, mind you it was near 9:00 when I was trying to throw this dish together for breakfast the next morning. It was delicious, perfectly sweet thanks to the varieties of fruit inside without being overly sweetened. The best part about this oatmeal, besides its taste that is, was how easy it was to put together; you could certainly throw this together and bake it for breakfast on a Sunday morning, and if you’re short on time, just bake the night before and reheat in the oven the next morning. The next best part is, it’s a healthy and gluten free (and dairy free too!) breakfast option, thanks to the gluten free oats, fresh fruit, and Silk Almondmilk! 

This is a wonderful gluten free and dairy free breakfast, lunch, and even dinner option, if your an occasional breakfast for dinner kind of person like I am. I can’t wait to try out even more fruit combinations in this dish, maybe mixed berry next time!

Sincerely,

Lindsay 

Gluten Free/Dairy Free Strawberry, Banana, and Peach Oatmeal Bake
Write a review
Print
Ingredients
  1. 1 3/4 cups dairy free milk (I used Silk Almondmilk Unsweetened Vanilla)
  2. 1 egg
  3. 2 over-ripened mashed bananas
  4. 1 tbsp pure vanilla extract
  5. 1/4 tsp ground nutmeg
  6. 1/4 tsp ground cinnamon
  7. 1 tsp baking powder
  8. 2 cups quick cooking oats (Bob's Red Mill offers certified gluten free oats)
  9. 1 cup chopped strawberries
  10. 1 cup chopped peaches
  11. 1 over ripened sliced banana for topping
  12. 1/4 cup light brown sugar for topping
Instructions
  1. Preheat oven to 375 degrees.
  2. Mash two bananas in a small bowl and combine with 1 3/4 cups dairy free milk, 1 egg, 1 tbsp vanilla, 1/4 tsp nutmeg, and 1/4 tsp cinnamon.
  3. To the wet mixture, stir in 2 cups quick cooking gluten free oats and 1 tsp baking powder.
  4. Combine oatmeal mixture with 1/2 cup chopped strawberries and 1/2 cup chopped peaches. Set aside the remaining strawberries and peaches for topping.
  5. Spray baking dish with non-stick cooking spray and pour in oatmeal mixture.
  6. Top with remaining strawberries and peaches (about 1/2 cup of each) and 1 whole banana sliced.
  7. Finally, sprinkle with 1/4 cup light brown sugar.
  8. Bake oatmeal for 25 minutes
  9. Set oven to broiler and broil for about 5 minutes, until top has begun to caramelize.
  10. Enjoy! Note: Oatmeal is best enjoyed right after baking, but if you're making the night before, just reheat in the oven the next morning and you're good to go.
Adapted from Food Family Finds
Gluten Free Mom To Be http://www.glutenfreemomtobe.com/

Katz Gluten Free Chocolate Buns: A Pregnant Woman’s Dream Pastry!

Mmmm, I can still smell my dad’s cinnamon bread, drizzled with sugary icing while cooling on our kitchen counter. This was certainly a holiday staple in our house, seeming like only yesterday when we were all so eager to take our first bites of my dad’s huge loaves of cinnamon bread. Such fond memories from years past that I’ll keep with me forever, but only as memories, since those delectable sweets were loaded with gluten.

Thanks to Katz (one of my all time favorite gluten free brands!), one of my childhood holiday staples can return with gusto! While perusing their website to see what new gluten free eats they offer, I stumbled upon these little babies, Chocolate Buns, along with their standard Cinnamon Bun counterpart. I was excited to discover that they offered a new pastry, as I’m certainly a huge fan of their dessert/ breakfast pastry options. I couldn’t resist ordering a box of each to give them a try, but I must admit I was most excited to try the chocolate version. 

Katz All New Chocolate Buns!

When my Chocolate Buns arrived, I couldn’t wait to tear open the box and check them out in person. Unfortunately though, I was a bit disappointed by the container that greeted me. After their shipping and handling, the container of chocolate buns was a bit messy with the buns moved about inside. It almost seemed like the container was just too big for the chocolate buns, so maybe a smaller container could prevent them from moving and flipping during shipping. I’m personally not very critical on presentation anyway, I’m more concerned with the important stuff, like their taste and texture. Despite the disarray of the container though, the chocolaty buns inside were a beautiful sight to be had. They were petite and perfect, who cares if there’s a little bit of extra chocolate smooshed on the outside of the chocolate bun anyway.

Chocolaty deliciousness! A pregnant woman's dream!
Chocolaty deliciousness! A pregnant woman’s dream!

So these chocolate buns are stored in the freezer and when you’re ready to eat one, just pop it onto a plate and thaw. I didn’t warm them up, however I’m sure you could zap them for a quick few seconds to just warm them slightly. After just one bite, I was hooked. These have certainly joined my list of all time favorite gluten free pastries. I have just one question for Katz though, where were these when I was pregnant?!?! I would’ve have been obsessed with these delicate pieces of chocolaty goodness. These are truly a gluten free pregnant woman’s dream come true (okay really any of us gluten free woman!), with the icing drizzled on top to the chocolate that finds itself spiraled between the pastry dough, each bite is the perfect amount of sweetness. The dough is perfectly textured, not too flaky but not too dense, and keeps it’s spirally bun structure with each bite. 

Okay, so size wise, these are no Disney World, Gaston’s Tavern humongous cinnamon buns; however, as far as a gluten free versions go, these are incredible! They are a perfect size for a quick morning pastry or a dessert after dinner, the only problem being that your left certainly wanting more because they were just that tasty. Another great perk for this one, is that these chocolate buns are free of gluten, dairy, and nuts, so if you nixed those from your diet for one reason or another you’re in luck! For more info on their chocolate buns, check them out here.

Price wise, these cost $5.99 for a pack of 4. Running at about $1.50 per chocolate bun, this isn’t terrible and is certainly right on point with prices that gluten free bakeries would charge, if they even offered an item like this. Better yet though, Katz offers promotions on their site frequently so you’ll more than likely be able to purchase these delectable bites with a promotional code that’ll save you a bit too, making these taste even sweeter.

As usual, Katz has not disappointed me. Now with each bite of a Chocolate or Cinnamon Bun I’ll be reminded of my dad’s holiday bread, at least until I brave converting that recipe to gluten free for myself (eek!). You certainly can’t ask for anything better from a gluten free product, beside it tasting phenomenal, looking even better, and reminding you of those sweet holiday memories that you’ll never forget. Katz continues to amaze me with just how perfect their gluten free items are in every way. Thanks again Katz for putting out another amazing product, and keep them coming! 

Sincerely,

Lindsay


RP’s Pasta Company, The Pioneer Of Fresh Gluten Free Pasta

As a true Italian, pasta was one of my family’s favorite dishes that we enjoyed at least once or twice a week along with a Sunday dinner or two. Spaghetti, fettuccine, penne, riagtoni, ravioli, tortellini, and lasagna, we enjoyed it in all shapes and sizes. On the occasion that we ate out, pasta was my go to meal, specifically vodka rigatoni, since I wasn’t a huge meat eater. As an adult, I continued to enjoy pasta in a variety of different forms, but one of my favorites was the fresh pasta that my then boyfriend and I would make. In fact, the night my boyfriend proposed to me he made our favorite dinner of fresh pasta with vodka sauce and meatballs. A few years down the road, my diagnosis of a severe gluten intolerance appeared, and it was goodbye to my pasta days, a truly heartbreaking day for this Italian. I thought that I had said goodbye forever to a staple that was part of so many memories throughout my life.

Although it’s been one heck of a process trying to find gluten free pasta that didn’t disintegrate while cooking and have a lackluster taste to boot, I’m so happy to have discovered the best substitutions for gluten filled regular pasta. While the boxed pastas by Ronzoni and Barilla, that have been released in recent months, are fantastic and stand out above all of the rest, I still do miss the occasional treat of enjoying the freshness and perfect al dente texture of fresh pasta. Thankfully, my husband, being the best non-gluten free spouse that a gluten free wife  could ask for, scoured the internet and found one of my favorite gluten free products to date, RP’s Gluten Free Pasta. 

Fresh gluten free pasta!

RP’s Pasta Company produces a number of varieties of fresh gluten free pasta, including fettuccini, linguini, fusilli, lasagna sheets, and spinach fettuccini. After a quick 2-3 minute boil, their pasta is cooked to perfection. Toss the pasta with your favorite sauce or just butter and cheese and you’re ready to enjoy! 

Fresh gluten free fettuccine.
Fresh gluten free fettuccine with creamy pesto sauce.

My favorite sauce to add on top is a creamy pesto, but I’m actually eager to try it with a homemade alfredo next time! I’m also super eager to try their fresh lasagna sheets which I’ve yet to spot at my local store, so I’m keeping my fingers crossed on that one. As far as price, their pasta is pretty affordable at $5.99 a package at Whole Foods. To stick to my family’s grocery budget, I keep to purchasing the boxed gluten free pastas for my week to week grocery shopping, but RP’s gluten free pasta is certainly on my list for the occasional trip to Whole Foods that I make about once every month or so. The best part is, is that the expiration date on their pastas is usually pretty far ahead, so you can store it in your fridge for an extended period of time but can always move it to your freezer if necessary later on. To check out RP’s gluten free pastas and where you might be able to purchase them, just take a peak at their website here.

I can’t give this product enough props, it truly is amazing what company’s are able to accomplish now with gluten free ingredients! RP’s Pasta Company has raised the bar when it comes to gluten free pasta with their fresh pasta version, a product until about year ago had gone totally absent in my life. They produce a standout product that will remain a gluten free staple in my home for many years to come and hopefully yours too!

Sincerely,

Lindsay 

General Mills Chex Now Makes Gluten Free Oatmeal! Another Gluten Free Product Thanks To General Mills!

Okay, so thanks to Twitter, I heard some very exciting news about the release of a brand new gluten free product courtesy of General Mills. After already producing the ever so successful and incredibly tasty gluten free Chex varieties, they are now pushing out Gluten Free Chex Oatmeal. I took at a peak at the Chex website and it looks like they are offering three varieties: original, maple brown sugar, and apple cinnamon.

Okay, so as far as availability, I haven’t actually seen these available in my local stores yet, but I’ve been told that they’re on their way! I for one cannot wait to snag my first box and give it a try. I can only hope that they have success and put out more varieties like my old favorites peach, strawberry, or blueberries and cream.

Even better news though, I have a coupon for this brand new product! Just follow this link to print your Chex Oatmeal coupon today and keep it on hand for when you spot this winner! 

Enjoy!

Sincerely,

Lindsay

Gluten Free Chocolate Peanut Butter Chex Treats

Growing up, I absolutely adored Rice Krispie Treats. They were so fun and easy to make with my mom and even better to eat. They were the perfect treat to bring in for birthdays at school or make for any holiday. Years later and I still could go for a good rice krispie treat, especially when I see those delicious, gourmet versions in Disney World at the Main Street Bakery. Hate to disappoint but these treats that are termed “Rice” Krispie Treats have a hefty amount of wheat in them, not quite what you’d think coming from a rice named treat.

Good news though, since going gluten free I’ve been witness to the release of Gluten Free RIce Krispies. I was so excited when I first purchased these but wasn’t overly thrilled with the taste in a bowl of cereal. They are probably pretty decent in treat form, covered in melted marshmallow but I like to stick with a cereal that I love plain or dressed up. Ever since my early gluten free days I’ve loved Chex cereal, from their chocolate, vanilla, and apple cinnamon flavors to rice or corn versions, each are equally as tasty and delicious but even better Gluten Free! I enjoy these so much that I once decided to try my hand at Chex treats rather than the traditional Rice Krispie versions.

These came out amazing! I crushed up the Chex cereal a bit so there were a few whole Chex scattered throughout small and dense cereal bits, all coated with marshmallow. They were incredibly delicious and perfectly gluten free while safely reminding me of the childhood treats that drew a smile many a day. Since my first trial with these I’ve tried many versions since, but one of my favorites combines chocolate and peanut butter. Today I’m introducing you to Gluten Free Chocolate Peanut Butter Chex Treats that remind you of the marshmallow treats that you once enjoyed while you were younger but with a new and delectable flair. FYI these are incredibly simple and easy to make!   

Ingredients:

  • 14 oz box Chocolate Chex
  • 10 oz bag mini marshmallows
  • 4 tbsp butter (I use Smart Balance or Land O’Lakes)
  • 3 heaping tbsp peanut butter (I like Skippy Natural or Smart Balance)
  • Non-stick cooking spray (I use Smart Balance)

Directions:

  • Spray 9″ x 13″ baking dish with non-stick cooking spray.
  • Add the whole 14 oz box of Chocolate Chex to large mixing bowl. I like to crush them a bit while they are still in their bag so they resemble rice krispie size with some whole Chex still floating around. 
Chocolate Chex
Chocolate Chex
  • Melt 4 tbsp of gluten free butter in a microwave safe bowl (about 30-60 sec).
  • Add 10 oz bag of mini marshmallows to melted butter and stir to coat. 
  • Melt marshmallows in microwave (about 1 – 1 1/2 minutes). Keep an eye on these in the microwave, as they do expand and can overflow the bowl easily.
  • Remove the bowl from the microwave and stir melted marshmallows until smooth. 
  • Add 3 heaping tbsp of gluten free peanut butter and stir until combined completely with marshmallows. Mixture should be smooth. 
Melted marshmallow mixed with peanut butter.
  • Pour melted marshmallow/peanut butter mixture into Chex and stir to combine, making sure all cereal is coated with marshmallow. This is going to be very sticky; I like to use a spatula and spray it with non-stick spray to limit sticking a bit.
  • Scoop sticky marshmallow/cereal mixture into baking dish and use a spatula or spoon sprayed with non-stick spray to press into an even layer.
jflkd;sajf
Chocolate peanut butter marshmallow treats pressed into baking dish.
  • Allow mixture to cool and then use a knife (sprayed in non-stick spray) to cut into squares.
jdsflkjsd
Cooled and cut chocolate peanut butter chex treats.
  • Enjoy!
lkhl
Enjoy!

Okay, my husband’s absolute favorite candy is the peanut butter cup, so I figured he’d be the perfect person to taste these first. And we have a winner; he absolutely loved them! I made these earlier in the morning so he started his day with a sweet treat before work but right when he got home he couldn’t wait to take another nibble! I have to agree, these are fantastic! I too love the legendary chocolate/peanut butter flavor combo so I knew I would love these but I didn’t realize just how tasty they’d be. So if you’re a peanut butter cup or chocolate/peanut butter ice cream fan, give these a try instead for something a bit different! 

TIP: I also like to make my Chex Treats dairy free as well for my nephew to enjoy. I simply do this by using his dairy free butter (Earth Balance) instead of my butter. So don’t be afraid to adjust this recipe for a different food allergy for instance a peanut allergy, in which case you could add equal amounts of another type of nut butter like almond or cashew or use pea butter which is a nut-free option that my nephew grew up on. 

Sincerely,

Lindsay

Gluten Free Chocolate Peanut Butter Chex Treats
Write a review
Print
Ingredients
  1. 14 oz box Chocolate Chex
  2. 10 oz bag mini marshmallows
  3. 4 tbsp butter (I use Smart Balance or Land O'Lakes)
  4. 3 heaping tbsp peanut butter (I like Skippy Natural or Smart Balance)
  5. Non-stick cooking spray (I use Smart Balance)
Instructions
  1. Spray 9" x 13" baking dish with non-stick cooking spray.
  2. Add the whole 14 oz box of Chocolate Chex to large mixing bowl. I like to crush them a bit while they are still in their bag so they resemble rice krispie size with some whole Chex still floating around.
  3. Melt 4 tbsp of gluten free butter in a microwave safe bowl (about 30-60 sec).
  4. Add 10 oz bag mini marshmallows to melted butter and stir to coat.
  5. Melt marshmallows in microwave (about 1 - 1 1/2 minutes). Keep an eye on these in the microwave, as they do expand and can overflow the bowl easily.
  6. Remove the bowl from the microwave and stir melted marshmallows until smooth.
  7. Add 3 heaping tbsp of gluten free peanut butter and stir until combined completely with marshmallows. Mixture should be smooth.
  8. Pour melted marshmallow/peanut butter mixture into Chex and stir to combine, making sure all cereal is coated with marshmallow. This is going to be very sticky; I like to use a spatula and spray it with non-stick spray to limit sticking a bit.
  9. Scoop sticky marshmallow/cereal mixture into baking dish and use a spatula or spoon sprayed with non-stick spray to press into an even layer.
  10. Allow mixture to cool and then use a knife (sprayed in non-stick spray) to cut into squares.
  11. Enjoy!
Gluten Free Mom To Be http://www.glutenfreemomtobe.com/

Crispy Gluten Free Calzones Stuffed With Ricotta, Mozzarella, and Sauce

Large, cheese and sauce filled pockets of crispy dough whose stuffings ooze out after your first cut, remember those? Calzones and strombolis had disappeared from my diet along with gluten several years ago but quickly made a homemade return when I discovered Bob’s Red Mill Gluten Free Pizza Crust Mix. And while I was pregnant I must say this mix, along with those easy to use premade gluten free pizza crusts, were a godsend as I craved pizzas and calzones like crazy. Pregnant or not, I just love the idea of a calzone that has all of the goodness of a pizza just wrapped up in a pocket of dough…so good!!!

From experience, I would say Bob’s Red Mill Gluten Free Pizza Crust Mix produces the best gluten free pizzas and calzones that give that beloved doughy texture, without them tasting and feeling like bread. Not to mention with one bag of the mix, that costs you about $3.49, you get at least 6 larger personal size calzones that give our family of 3 a couple of meals (You can certainly make a few very large calzones, but we prefer the personal size so we can customize each to each of our own preferences). I’m not going to lie, making pizzas or calzones essentially from scratch is not a quick undertaking, however the end result is fantastic and completely worth every second, not to mention depending on family size, you can get a few meals out of just one round! You can always do as I did while I was pregnant and recruit your spouse to assist with some of the more labor intensive tasks while you do the fun stuff like the assembly (or even just the eating part!). These calzones are so delicious and make my mouth water every time I think about them! Hope you enjoy them too!  

Ingredients for Tomato Sauce:

  • 28 oz can Tuttorosso Tomato Sauce
  • 1 tsp dried basil for tomato sauce
  • 1 tsp dried oregano for tomato sauce
  • 1 tsp dried parsley for tomato sauce
  • 2 tbsp minced garlic for tomato sauce
  • 2 tbsp olive oil for tomato sauce

Other Ingredients for Calzones:

  • 1 Bob’s Red Mill Gluten Free Pizza Crust Whole Grain Mix (includes 1 packet of yeast)
  • 2 eggs for pizza crust 
  • 2 tbsp olive oil for pizza crust
  • 1 1/2 cup warm water for pizza crust
  • 16 oz block of part skim mozzarella cheese (Galbani Sorrento is gluten free as indicated via phone, but as always call each time you purchase to review gluten status)
  • 1/2 cup part skim ricotta cheese (Galbani Sorrento)
  • Additional toppings desired such as broccoli or pepperoni (our favorite is Hormel which states gluten free on their packaging)
  • Gluten free all purpose flour for rolling out dough (I like Bob’s Red Mill)
  • Oregano and Garlic Salt to taste 

Gluten Free Tomato Sauce
Write a review
Print
Ingredients
  1. 28 oz can Tuttorosso Tomato Sauce
  2. 1 tsp dried basil for tomato sauce
  3. 1 tsp dried oregano for tomato sauce
  4. 1 tsp dried parsley for tomato sauce
  5. 2 tbsp minced garlic for tomato sauce
  6. 2 tbsp olive oil for tomato sauce (I use Pompeian)
Instructions
  1. Add 2 tbsp olive oil and 2 tbsp minced garlic to sauce pan.
  2. Cook garlic on low-medium heat until slightly browned.
  3. Add a 28 oz can of tomato sauce (I like Tutturosso).
  4. Stir sauce and heat on low-medium.
  5. Add 1 tsp of dried basil, oregano, and parsley and stir to combine.
  6. Taste sauce and add a bit of garlic salt if you'd like.
  7. Heat sauce for about 20-25 minutes.
  8. Remove from heat and set sauce aside.
Gluten Free Mom To Be http://www.glutenfreemomtobe.com/
Directions:

  • First prepare the sauce by adding 2 tbsp olive oil and 2 tbsp minced garlic to sauce pan.
  • Cook garlic on low-medium heat until slightly browned.
fdf
Minced garlic browning in olive oil. 
  • Add a 28 oz can of tomato sauce (I like Tutturosso).
  • Stir sauce and heat on low-medium.
  • Add 1 tsp of dried basil, oregano, and parsley and stir to combine.
  • Taste sauce and add a bit of garlic salt if you’d like.
  • Heat sauce for about 20-25 minutes.
  • Remove from heat and set sauce aside.
sdfsd
Tomato sauce with basil, oregano, parsley, and garlic.
  • Preheat your oven to 425 degrees.
  • Now prepare Bob’s Red Mill Gluten Free Pizza Crust Mix by first combining 1 1/2 cups warm water and 1 packet of yeast (included in the mix bag) with a mixer and set aside for several minutes.
  • Add 2 eggs and 2 tbsp olive oil to yeast and mix.
Prepare pizza crust first and set aside while you're preparing the fillings.
Prepare pizza crust first and set aside while you’re preparing the fillings.
  • Gradually add in Bob’s Red Mill pizza mix, mixing well after each addition. 
  • When all is combined, divide dough in half, cover with saran wrap, and allow to rise for about 20 minutes.
Prepared pizza/calzone dough.
  • While dough is rising, shred 16 oz block of part skim mozzarella cheese.
sad
Part skim mozzarella and ricotta I like for pizzas and calzones.
  • Collect all other fillings to assemble your calzones. We like Hormel pepperoni, Sorrento part skim ricotta cheese, and steamed broccoli. 
dfg
Hormel Pepperoni is gluten free!
  • Now we’re ready to separate and roll out our dough for our calzones.
  • Dust your counter, table, or cutting board with gluten free flour and add dough on top. Cover your hands in flour and begin to knead the dough. Do this until the dough is not too sticky to manage.
sfdsf
Knead dough with gluten free flour until it’s not too sticky to handle.
  • Divide dough into 6-7 individual servings. We had 6 personal size along with a smaller one for my little girl. Set all aside except for first one.
sdfsd
Divide dough into 6-7 smaller balls and set aside all except one.
  • Using a rolling pin dusted in gluten free flour, add gluten free flour to top of dough and begin to roll slowly. Take your time with this and don’t be afraid to keep adding little bits of flour as you go to prevent sticking. Roll out dough to form a thin circle. You can either do this on the baking sheet that you’ll be assembling the calzone on or on a separate surface that might give you more room, just remember you’ll have to move the dough to cook it later on. 
sfsdf
Using a rolling pin, flatten dough into a thin circle.
  • I usually like to roll out my dough on a large cutting board and then either slide it or pick it up to move it onto the baking sheet. However you’d like to do it, gently move the dough onto a baking sheet.
  • Now put together your calzones! First, to half of your circle, add some sauce, then some mozzarella and ricotta cheese, and broccoli or pepperoni or whichever other toppings you’d like. The best part here is you can add as much or as little of each of these things as you prefer! I personally love ricotta, mozzarella cheese, and sauce in mine! Just make sure to not over stuff your calzones and leave a bit of an edge to pinch your calzone closed. 
hfghf
Calzone stuffed with sauce, cheese, and veggies!
  • Turn over the empty half of your circle and pinch the cough closed, making sure to create a sealed pocket on all sides. Then using a sharp knife, add several slits to the top. I use this part to mark each of our different calzones, i.e. little one’s have two slits, mine have three, and Dan’s have four.
  • Before cooking, sprinkle tops with a little bit of garlic salt and oregano.
sfdsf
Add calzones to nonstick baking sheet.
  • Cook calzones for 14-16 minutes until tops begin to turn golden brown. Optional: Halfway through you can brush olive oil on tops to give a golden, crispy crust.
sfs
Cook calzones for 14 to 16 minutes!
  • Enjoy!
dsfds
Enjoy!

I love the combination of the tomato sauce, ricotta, and mozzarella cheese all sandwiched into this fabulous gluten free pizza dough. If you have extra sauce, which we always have a ton, we like to take each bite and dip it into a little sauce on the side, it just adds a little something extra (if you still have extra, add it to a freezer bag when it’s cooled and freeze it for next time or another recipe). I think the best part of this recipe is that these calzones always reheat very well. As a family of 3 we never finish all of the calzones that are made, so we always have leftovers for the next day’s lunch or dinner. It’s so simple to reheat these, all you have to do is pop them into the microwave or oven, whatever is available, for a few minutes and they taste just as good as the day before. After just one bite of one of these calzones, you’ll remember the wonderful flavors of the gluten filled ones that you enjoyed years ago but now you can enjoy without the dangers of gluten!

Sincerely,

Lindsay

TIP: Although I have two non-gluten free eaters in my house, when I make something like these calzones from scratch that requires flour and any other potential gluten containing ingredient, I stick with only making a gluten free version to prevent any inevitable cross contamination. Usually, on a daily basis I prefer to make two versions, one for my daughter and husband and the other for me, when it’s easily and safely accomplished. In this case though, when flour is involved, I shy away from bringing out my gluten free and their regular flour at the same time, thus eliminating the worry of cross contaminating during the prep and of course the necessity of keeping everything separate while cooking too. Altogether, making just one version of the calzones is safer for me and my gluten diners sure have not complained about their gluten free calzones one bit. In fact, each time my husband raves about how delicious they turn out! 


Crispy And Cheesy Gluten Free Calzones
Crispy dough pockets filled with cheese and sauce!
Write a review
Print
Ingredients for Tomato Sauce
  1. 28 oz can Tuttorosso Tomato Sauce
  2. 1 tsp dried basil for tomato sauce
  3. 1 tsp dried oregano for tomato sauce
  4. 1 tsp dried parsley for tomato sauce
  5. 2 tbsp minced garlic for tomato sauce
  6. 2 tbsp olive oil for tomato sauce
Other Ingredients for Calzones
  1. 1 Bob's Red Mill Gluten Free Pizza Crust Whole Grain Mix (includes 1 packet of yeast)
  2. 2 eggs for pizza crust
  3. 2 tbsp olive oil for pizza crust
  4. 1 1/2 cup warm water for pizza crust
  5. 16 oz block of part skim mozzarella cheese (Galbani Sorrento is gluten free as indicated via phone, but as always call each time you purchase to review gluten status)
  6. 1/2 cup part skim ricotta cheese (Galbani Sorrento)
  7. Additional toppings desired such as broccoli or pepperoni (our favorite is Hormel which states gluten free on their packaging)
  8. Gluten free all purpose flour for rolling out dough (I like Bob's Red Mill)
  9. Oregano and Garlic Salt to taste
Instructions
  1. First prepare the sauce by adding 2 tbsp olive oil and 2 tbsp minced garlic to sauce pan.
  2. Cook garlic on low-medium heat until slightly browned.
  3. Add a 28 oz can of tomato sauce (I like Tutturosso).
  4. Stir sauce and heat on low-medium.
  5. Add 1 tsp of dried basil, oregano, and parsley and stir to combine.
  6. Taste sauce and add a bit of garlic salt if you'd like.
  7. Heat sauce for about 20-25 minutes.
  8. Remove from heat and set sauce aside.
  9. Preheat your oven to 425 degrees.
  10. Now prepare Bob's Red Mill Gluten Free Pizza Crust Mix by first combining 1 1/2 cups warm water and 1 packet of yeast (included in the mix bag) with a mixer and set aside for several minutes.
  11. Add 2 eggs and 2 tbsp olive oil to yeast and mix.
  12. Gradually add in Bob's Red Mill pizza mix, mixing well after each addition.
  13. When all is combined, divide dough in half, cover with saran wrap, and allow to rise for about 20 minutes.
  14. While dough is rising, shred 16 oz block of part skim mozzarella cheese.
  15. Collect all other fillings to assemble your calzones. We like Hormel pepperoni, Sorrento part skim ricotta cheese, and steamed broccoli.
  16. Now we're ready to separate and roll out our dough for our calzones.
  17. Dust your counter, table, or cutting board with gluten free flour and add dough on top. Cover your hands in flour and begin to knead the dough. Do this until the dough is not too sticky to manage.
  18. Divide dough into 6-7 individual servings. We had 6 personal size along with a smaller one for my little girl. Set all aside except for first one.
  19. Using a rolling pin dusted in gluten free flour, add gluten free flour to top of dough and begin to roll slowly. Take your time with this and don't be afraid to keep adding little bits of flour as you go to prevent sticking. Roll out dough to form a thin circle. You can either do this on the baking sheet that you'll be assembling the calzone on or on a separate surface that might give you more room, just remember you'll have to move the dough to cook it later on.
  20. I usually like to roll out my dough on a large cutting board and then either slide it or pick it up to move it onto the baking sheet. However you'd like to do it, gently move the dough onto a baking sheet.
  21. Now put together your calzones! First, to half of your circle, add some sauce, then some mozzarella and ricotta cheese, and broccoli or pepperoni or whichever other toppings you'd like. The best part here is you can add as much or as little of each of these things as you prefer! I personally love mozzarella, ricotta, and sauce! Just make sure to not over stuff your calzones and leave a bit of an edge to pinch your calzone closed.
  22. Turn over the empty half of your circle and pinch the cough closed, making sure to create a sealed pocket on all sides. Then using a sharp knife, add several slits to the top. I use this part to mark each of our different calzones, i.e. little one's have two slits, mine have three, and Dan's have four.
  23. Before cooking, sprinkle tops with a little bit of garlic salt and oregano.
  24. Cook calzones for 14-16 minutes until tops begin to turn golden brown. Optional: Halfway through you can brush olive oil on tops to give a golden, crispy crust.
  25. Enjoy!
Gluten Free Mom To Be http://www.glutenfreemomtobe.com/

Katz’s Perfectly Soft Gluten Free Sprinkle Cookies, Just Like My Favorite Italian Cookies

Clear your cabinets and make room for these soft and delectable gluten free sprinkle cookies!

Growing up, I remember making those occasional trips to Italian Peoples Bakery and our parents treating us to their perfect Italian cookies; my favorites of which were those brightly colored leaf cookies that are stuffed with chocolate fudge in the middle and the light and soft sprinkle cookies. They brought many smiles on Saturdays after dance class that’s for sure! As the years have passed, those trips dwindled down but I still remember the lightness of those cookies and how they literally melted in your mouth. 

In my experience with gluten free baking, it’s rare to describe gluten free pastries as being light and soft, but in Katz’s case, these terms are used quite often. They’ve succeeded yet again in producing a fantastic sprinkle cookie that is sure to make any gluten free Italian or cookie lover happy! An added bonus about these cookies is that they’re also dairy and nut free as well, only containing soy and eggs. So, if you happen to have multiple food restrictions or allergies you might just be in luck!

Katz sprinkled cookies are dairy and gluten free.
Katz sprinkled cookies are dairy, nut, and gluten free.

On their website, these cookies sell for $5.19 for a 6 oz package. Their shelf life is 4 months, that’s right I said 4 months, not to say that I’m promising that they’ll make it that long on your shelf though. This extended shelf life is a fantastic perk with Katz products allowing you to buy in bulk either by the case or individually when they have one of their many promotions. 

Katz sprinkle cookies in their glory!

If you haven’t had Italian sprinkle cookies, these gluten free treats are also just like Luna Rosa’s which are those gourmet cookies that are adorned with chocolate sprinkles, multi-colored sprinkles, sandwiched with fudge or jelly, dusted with powder sugar, or dipped in chocolate. These are my mother’s favorite cookies that my dad surprises her with on special days like a birthday or holiday, but I always used to sneak one every now and then in my gluten days. Katz’s gluten free sprinkle cookies resemble the classics from my childhood perfectly with their extremely soft, melt in your mouth kind of texture and mildly sweet flavor with the extra touch from the sprinkles, which are those long, soft kind that are perfection.

These cookies are an amazing snack and a great alternative to your homemade standbys. There were many a pregnant day that I perused Katz’s website for a different baked good that I hadn’t had success in making gluten free for myself yet. When I came upon these sprinkle cookies, I was instantly thrown back into those fond days of being a kid and enjoying those gluten filled sweets. I couldn’t help but give them a try and thanks to Katz they certainly lived up to my memories, making me miss Italian Peoples or Luna Rosas a bit less. So treat yourself or your little one to one of Katz’s gourmet gluten free cookies which you can check out on their site here. As always, make sure you check into their promotions to try to save a bit!

Sincerely,

Lindsay

Gluten Free Banana Chocolate Breakfast Muffins

During my pregnancy, breakfast was always one of my most difficult meals of the day. My non-pregnant breakfast menu usually consisted of a bowl of cereal or either a regular or Greek yogurt both accompanied by a piece of fruit. Unfortunately, this regimen couldn’t stand up to my increased appetite during pregnancy. To bulk up my first meal of the day I turned to gluten free smoothies, Katz bagels, muffins, toast, and occasional treats of donuts. I only wish that I had come across this recipe for these delicious muffins during that time. Muffins are a perfectly filling breakfast item that can be incredibly tasty and very healthy to boot! After making these gluten free Banana Chocolate Breakfast Muffins, thanks to Sarah at Sarah Bakes Gluten Free Treats, I know my breakfasts during my future pregnancies will be filling and also incredibly satisfying.

These muffins are deliciously moist with just the right amount of sweetness, not to mention they treat you to a little bit of chocolate! They are fantastic for breakfast, especially when paired with a piece of fruit or a smoothie. You can even indulge a little and eat a whole or a half of a muffin for a late afternoon snack. Be sure to add this one to your recipe book as you’ll be making these over and over during both your pregnant and not pregnant days!

Ingredients:

  • 1 1/4 cup and an extra 1/4 cup gluten free flour (I used Bob’s Red Mill All Purpose Flour)
  • 1 tsp baking powder
  • 1/2 tsp baking soda
  • 1/2 tsp salt
  • 2 bananas mashed
  • 1/2 cup unsweetened coconut milk (I used So Delicious)
  • 1/2 cup sugar
  • 1/3 cup canola oil (I used Smart Balance)
  • 1/4 cup pure honey (I used Groeb Farms)
  • 1 tsp pure vanilla extract (McCormick)
  • 1/4 cup unsweetened cocoa powder (I used Hershey)
Ingredients
Ingredients for these delicious Gluten Free Banana Chocolate Breakfast Muffins.

Directions: 

  • Preheat oven to 350 degrees. Add 12 paper liners to a muffin tin or spray tin with nonstick cooking spray. 
  • First, combine most of the dry ingredients including 1 1/4 cup flour, 1 tsp baking powder, 1/2 tsp baking soda, and a 1/2 tsp salt. To mix well and also break up any clumps in the mixture, I like to use a whisk.
Dry Ingredients
Mix some of the dry ingredients first. 
  • Peel and mash two bananas in a large mixing bowl.
Mash bananas
Mash two bananas.
  • To the bananas, mix in 1/2 cup unsweetened coconut milk, 1/2 cup sugar, 1/3 cup oil, 1/4 cup honey, and 1 tsp vanilla. 
sdfsd
Banana mixture.
  • To the wet ingredients, add in the flour mixture and stir to combine.
  • Now you’re going to split the batter into two by removing 1 1/2 cups of the batter and pouring into a separate mixing bowl (I just added this to a larger measuring cup). With these separated batters, you’re going to prepare a chocolaty version and a banana version to eventually mix in the muffin tins. 
Divide banana batter into two.
  • To the new batter, mix in 1/4 cup additional gluten free flour until all is combined.
  • To the original bowl of batter, add 1/4 cup unsweetened cocoa powder and mix well to combine. 
Banana and chocolate batters.
Prepare the banana and chocolate batters.
  • Add 1 tbsp banana batter to all of the muffins (you’ll have just enough for 12 muffins). This should fill each muffin about halfway. 
Muffins 3/4 full
Muffins filled about halfway with banana batter.
  • Similar to banana batter, add 1 tbsp of chocolate batter on top of each muffin.
Add chocolate batter on top and swirl.
  • Using a toothpick, swirl batter through muffin. 
sfds
Banana and chocolate swirled together.
  • Place muffins into the oven and bake for about 15-17 minutes. To make sure they’re done, insert a toothpick into the center and make sure it comes out clean. 
sfsdf
After only 15 minutes, muffins are puffed up and ready to go!
  • Remove all of the muffins to cool and store them in a container.
ghf
So yummy!
  • Enjoy!
fdsfs
Banana chocolate muffins perfect for a breakfast or snack.

I made these for the first time on a Sunday morning with my little one and husband Dan in the other room. And the aroma that filled the house while these were baking was intoxicating, making each one of us salivate waiting for our first taste. When I pulled them out of the oven and let them cool a bit, it was just in time for lunch. Dan eagerly grabbed a muffin while I cut one in half for my little girl and I to enjoy. Needless to say, the reviews on this one were fantastic from both the gluten free and non-gluten free diners, as evident by the quiet sounds of chewing and empty plates remaining. In fact, my little one’s new thing is to make a “mmm” sound while she eats, but not for everything, just her favorites like a few dinner and dessert items and apparently these banana chocolate muffins as well! It was so sweet watching her handle the muffin half and shovel in bite after bite, each eliciting that ”mmmm” stamp of approval and a huge toothy smile. As you can see, these were a hit for us and will certainly be making many more appearances in the years to come!

Just a note, these muffins are also dairy free too! I have a nephew who has milk, egg, nut, gluten/wheat, and fish allergies so I’m always searching and experimenting with recipes to make tasty options for him. The poor thing is 7 now and has grown up with a very limited selection of foods that unfortunately are not the most tasty and appealing, especially in the dessert area. So I passed one of these along to my sister to share with him and it received rave reviews from this extremely picky 1st grade food critic! It was so exciting to hear how much he enjoyed the little treat that I sent over, assuring me that these muffins that are gluten and dairy free are truly just as fantastic as I thought they were! So whether you’re pregnant or not pregnant or following a gluten free, dairy free, or even regular diet, give these try! They are truly magnificent and will not disappoint!

TIP: To keep these fresh and moist, store them in an airtight container. I kept them in a large Ziploc container and they were finished within the next 5-6 days! 

Sincerely,

Lindsay


Gluten Free Banana Chocolate Breakfast Muffins
Yields 12
Write a review
Print
Prep Time
15 min
Cook Time
15 min
Total Time
30 min
Prep Time
15 min
Cook Time
15 min
Total Time
30 min
Ingredients
  1. 1 1/4 cup and an extra 1/4 cup gluten free flour (I used Bob's Red Mill All Purpose Flour)
  2. 1 tsp baking powder
  3. 1/2 tsp baking soda
  4. 1/2 tsp salt
  5. 2 bananas mashed
  6. 1/2 cup unsweetened coconut milk (I used So Delicious)
  7. 1/2 cup sugar
  8. 1/3 cup canola oil (I used Smart Balance)
  9. 1/4 cup pure honey (I used Groeb Farms)
  10. 1 tsp pure vanilla extract (McCormick)
  11. 1/4 cup unsweetened cocoa powder (I used Hershey)
Instructions
  1. Preheat oven to 350 degrees. Add 12 paper liners to a muffin tin or spray tin with nonstick cooking spray.
  2. First, combine most of the dry ingredients including 1 1/4 cup flour, 1 tsp baking powder, 1/2 tsp baking soda, and a 1/2 tsp salt. To mix well and also break up any clumps in the mixture, I like to use a whisk.
  3. Peel and mash two bananas in a large mixing bowl.
  4. To the bananas, mix in 1/2 cup unsweetened coconut milk, 1/2 cup sugar, 1/3 cup oil, 1/4 cup honey, and 1 tsp vanilla.
  5. To the wet ingredients, add in the flour mixture and stir to combine.
  6. Now you're going to split the batter into two by removing 1 1/2 cups of the batter and pouring into a separate mixing bowl (I just added this to a larger measuring cup). With these separated batters, you're going to prepare a chocolaty version and a banana version to eventually mix in the muffin tins.
  7. To the new batter, mix in 1/4 cup additional gluten free flour until all is combined.
  8. To the original bowl of batter, add 1/4 cup unsweetened cocoa powder and mix well to combine.
  9. Add 1 tbsp banana batter to all of the muffins (you'll have just enough for 12 muffins). This should fill each muffin about halfway.
  10. Similar to banana batter, add 1 tbsp of chocolate batter on top of each muffin.
  11. Using a toothpick, swirl batter through muffin.
  12. Place muffins into the oven and bake for about 15-17 minutes. To make sure they're done, insert a toothpick into the center and make sure it comes out clean.
  13. Remove all of the muffins to cool and store them in a container.
  14. Enjoy!
Adapted from Sarah Bakes Gluten Free Treats
Gluten Free Mom To Be http://www.glutenfreemomtobe.com/

1 2 3 4