Growing up, I absolutely adored Rice Krispie Treats. They were so fun and easy to make with my mom and even better to eat. They were the perfect treat to bring in for birthdays at school or make for any holiday. Years later and I still could go for a good rice krispie treat, especially when I see those delicious, gourmet versions in Disney World at the Main Street Bakery. Hate to disappoint but these treats that are termed “Rice” Krispie Treats have a hefty amount of wheat in them, not quite what you’d think coming from a rice named treat.
Good news though, since going gluten free I’ve been witness to the release of Gluten Free RIce Krispies. I was so excited when I first purchased these but wasn’t overly thrilled with the taste in a bowl of cereal. They are probably pretty decent in treat form, covered in melted marshmallow but I like to stick with a cereal that I love plain or dressed up. Ever since my early gluten free days I’ve loved Chex cereal, from their chocolate, vanilla, and apple cinnamon flavors to rice or corn versions, each are equally as tasty and delicious but even better Gluten Free! I enjoy these so much that I once decided to try my hand at Chex treats rather than the traditional Rice Krispie versions.
These came out amazing! I crushed up the Chex cereal a bit so there were a few whole Chex scattered throughout small and dense cereal bits, all coated with marshmallow. They were incredibly delicious and perfectly gluten free while safely reminding me of the childhood treats that drew a smile many a day. Since my first trial with these I’ve tried many versions since, but one of my favorites combines chocolate and peanut butter. Today I’m introducing you to Gluten Free Chocolate Peanut Butter Chex Treats that remind you of the marshmallow treats that you once enjoyed while you were younger but with a new and delectable flair. FYI these are incredibly simple and easy to make!
Ingredients:
14 oz box Chocolate Chex
10 oz bag mini marshmallows
4 tbsp butter (I use Smart Balance or Land O’Lakes)
3 heaping tbsp peanut butter (I like Skippy Natural or Smart Balance)
Non-stick cooking spray (I use Smart Balance)
Directions:
Spray 9″ x 13″ baking dish with non-stick cooking spray.
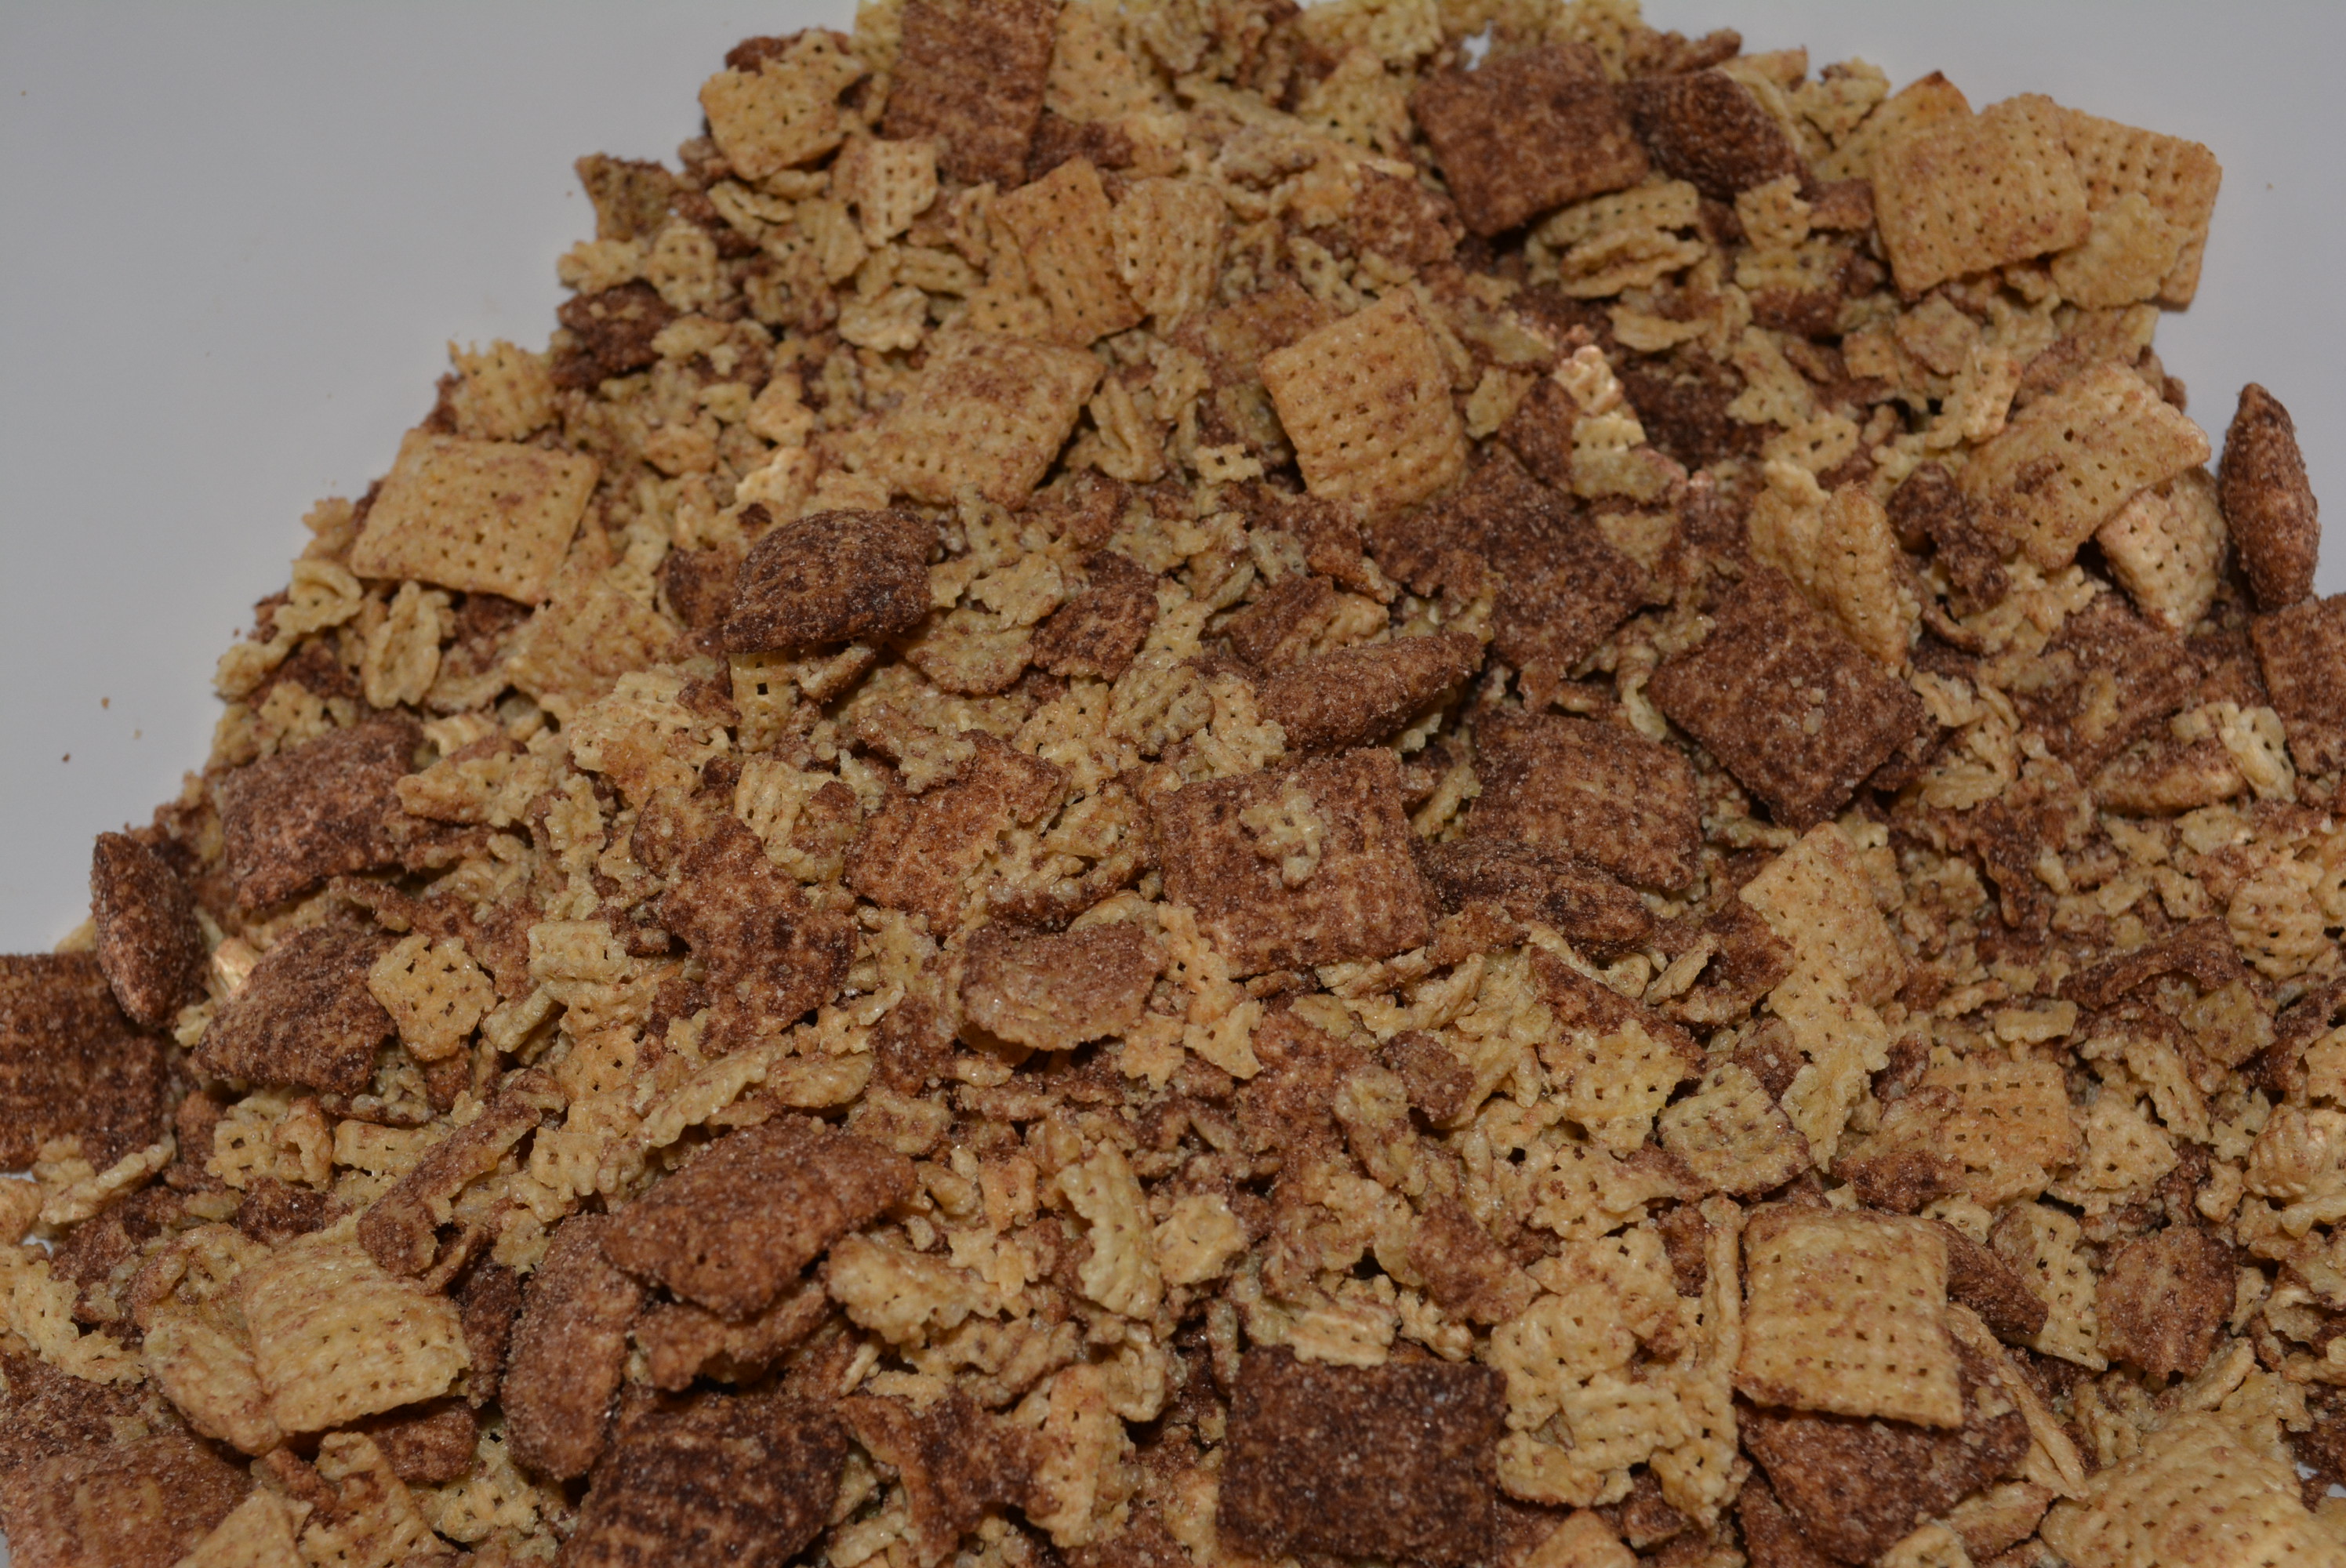
Add the whole 14 oz box of Chocolate Chex to large mixing bowl. I like to crush them a bit while they are still in their bag so they resemble rice krispie size with some whole Chex still floating around.
Chocolate Chex
Melt 4 tbsp of gluten free butter in a microwave safe bowl (about 30-60 sec).
Add 10 oz bag of mini marshmallows to melted butter and stir to coat.
Melt marshmallows in microwave (about 1 – 1 1/2 minutes). Keep an eye on these in the microwave, as they do expand and can overflow the bowl easily.
Remove the bowl from the microwave and stir melted marshmallows until smooth.
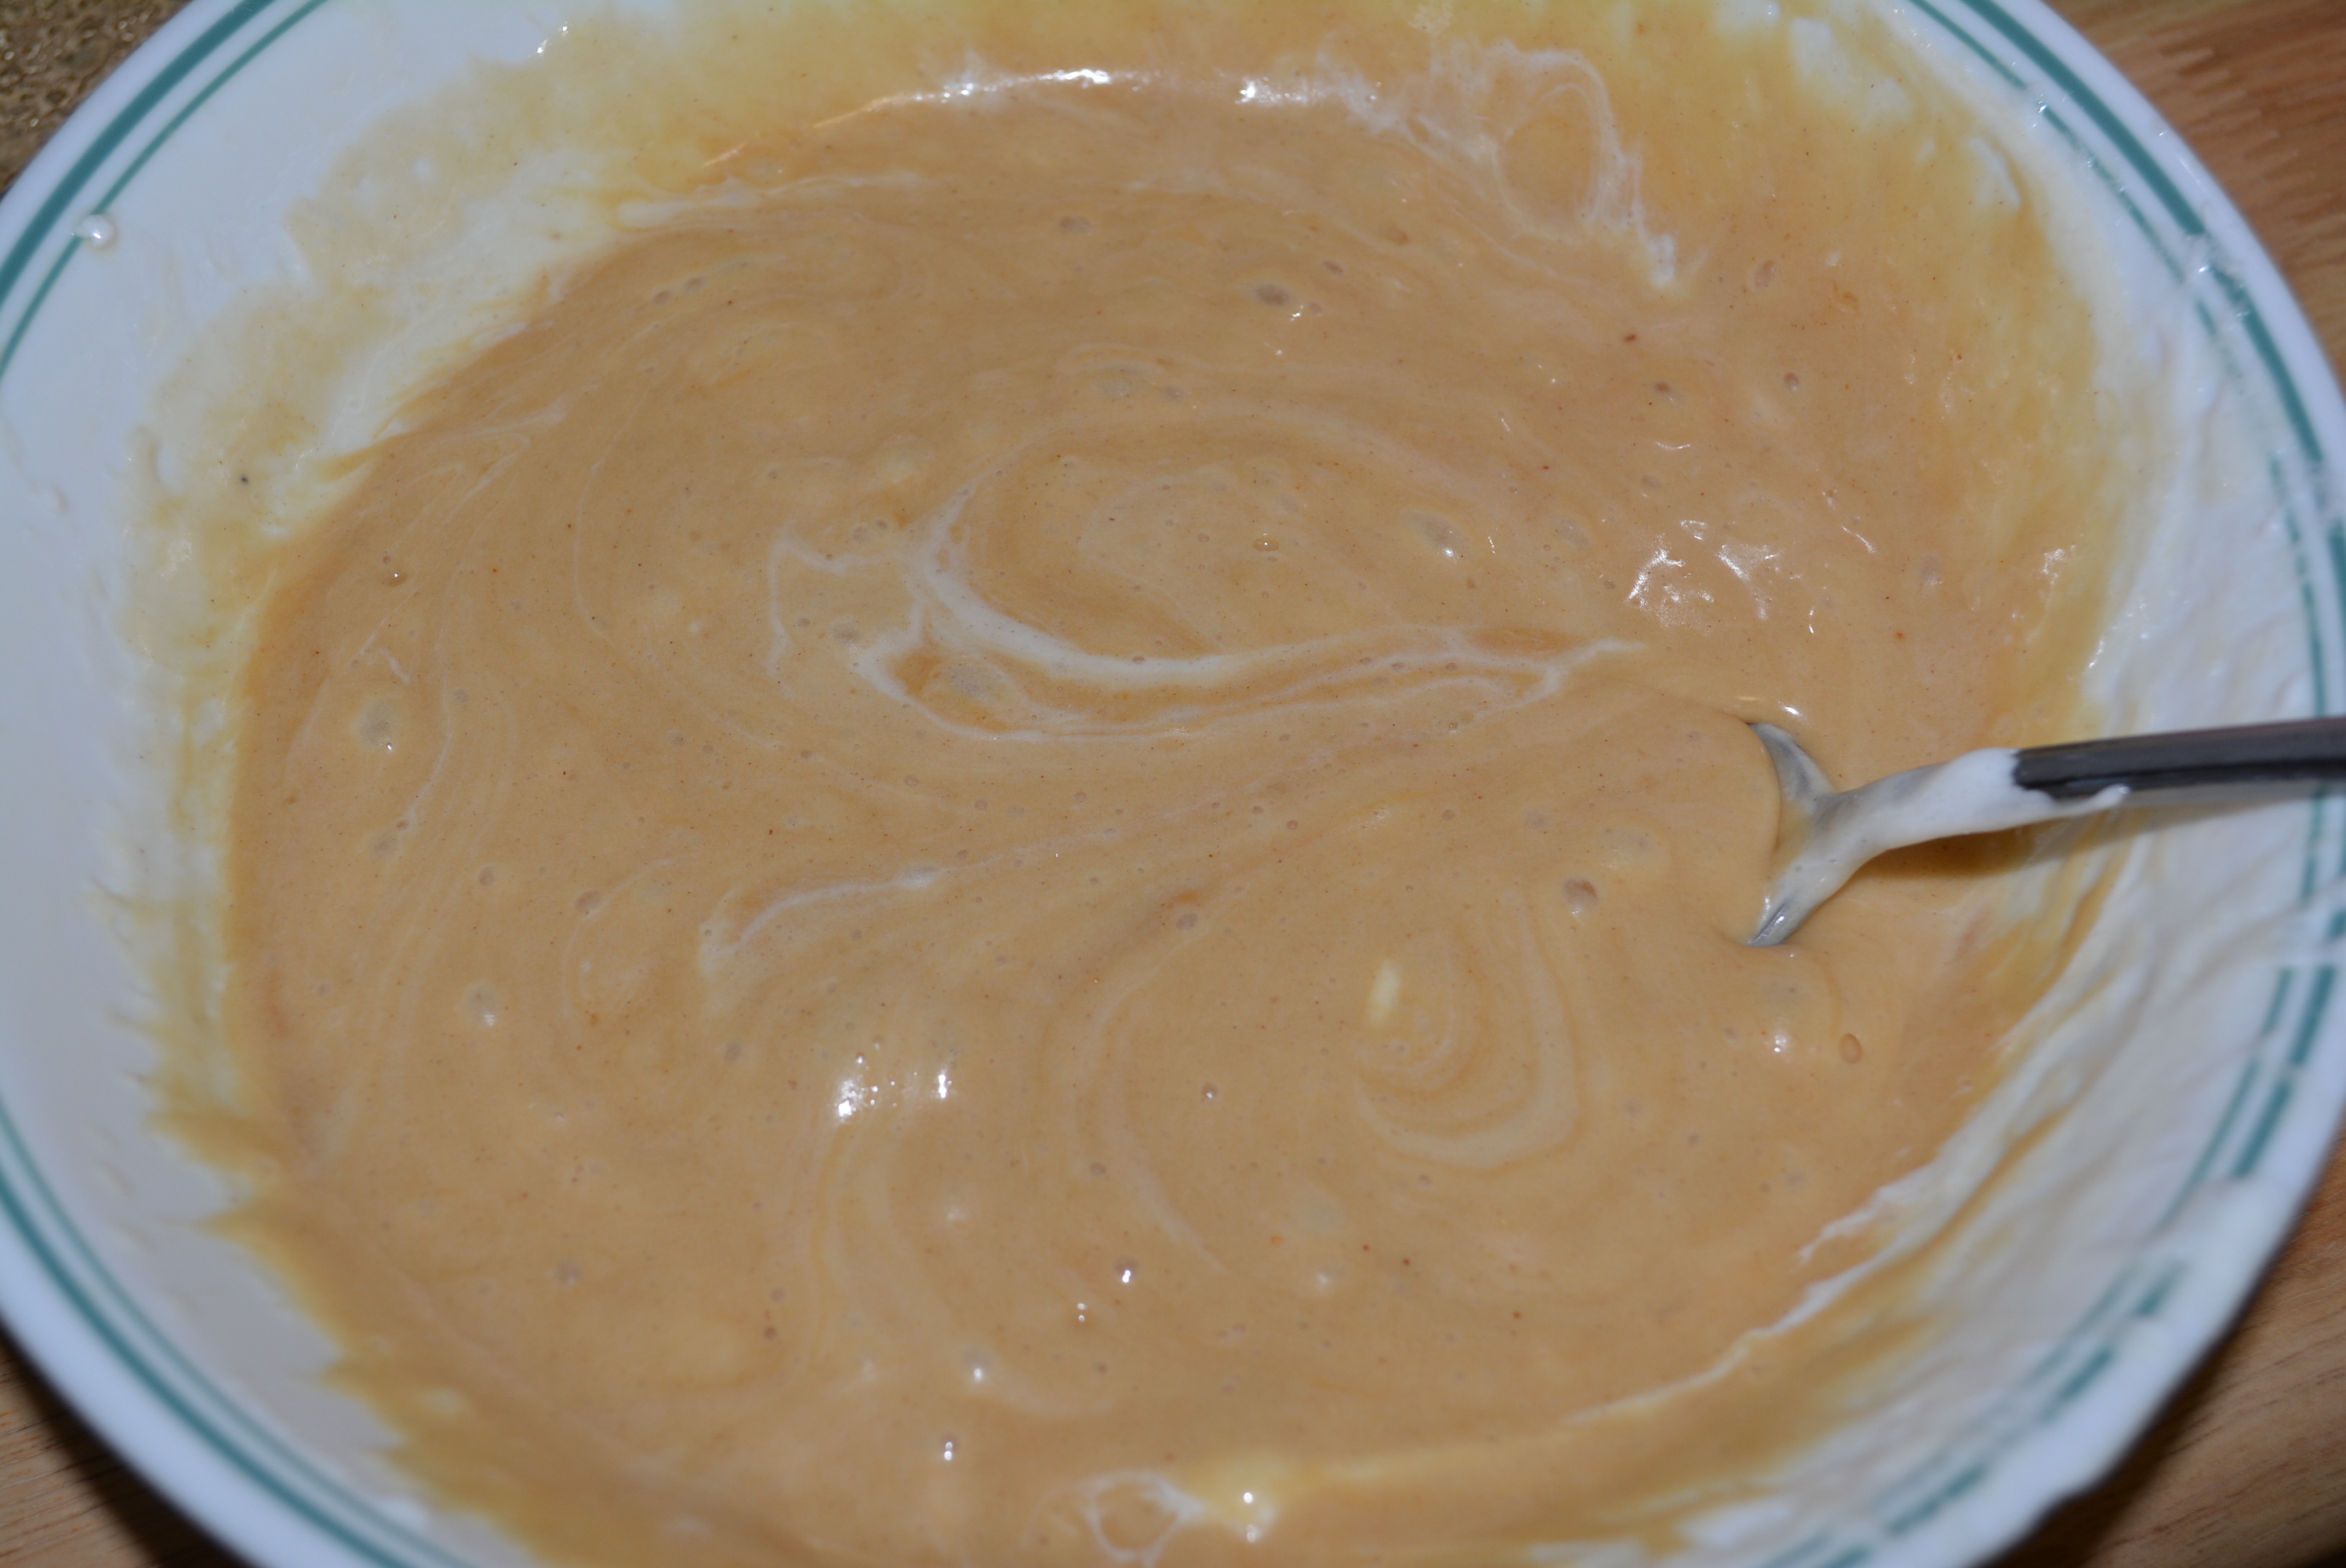
Add 3 heaping tbsp of gluten free peanut butter and stir until combined completely with marshmallows. Mixture should be smooth.
Melted marshmallow mixed with peanut butter.
Pour melted marshmallow/peanut butter mixture into Chex and stir to combine, making sure all cereal is coated with marshmallow. This is going to be very sticky; I like to use a spatula and spray it with non-stick spray to limit sticking a bit.
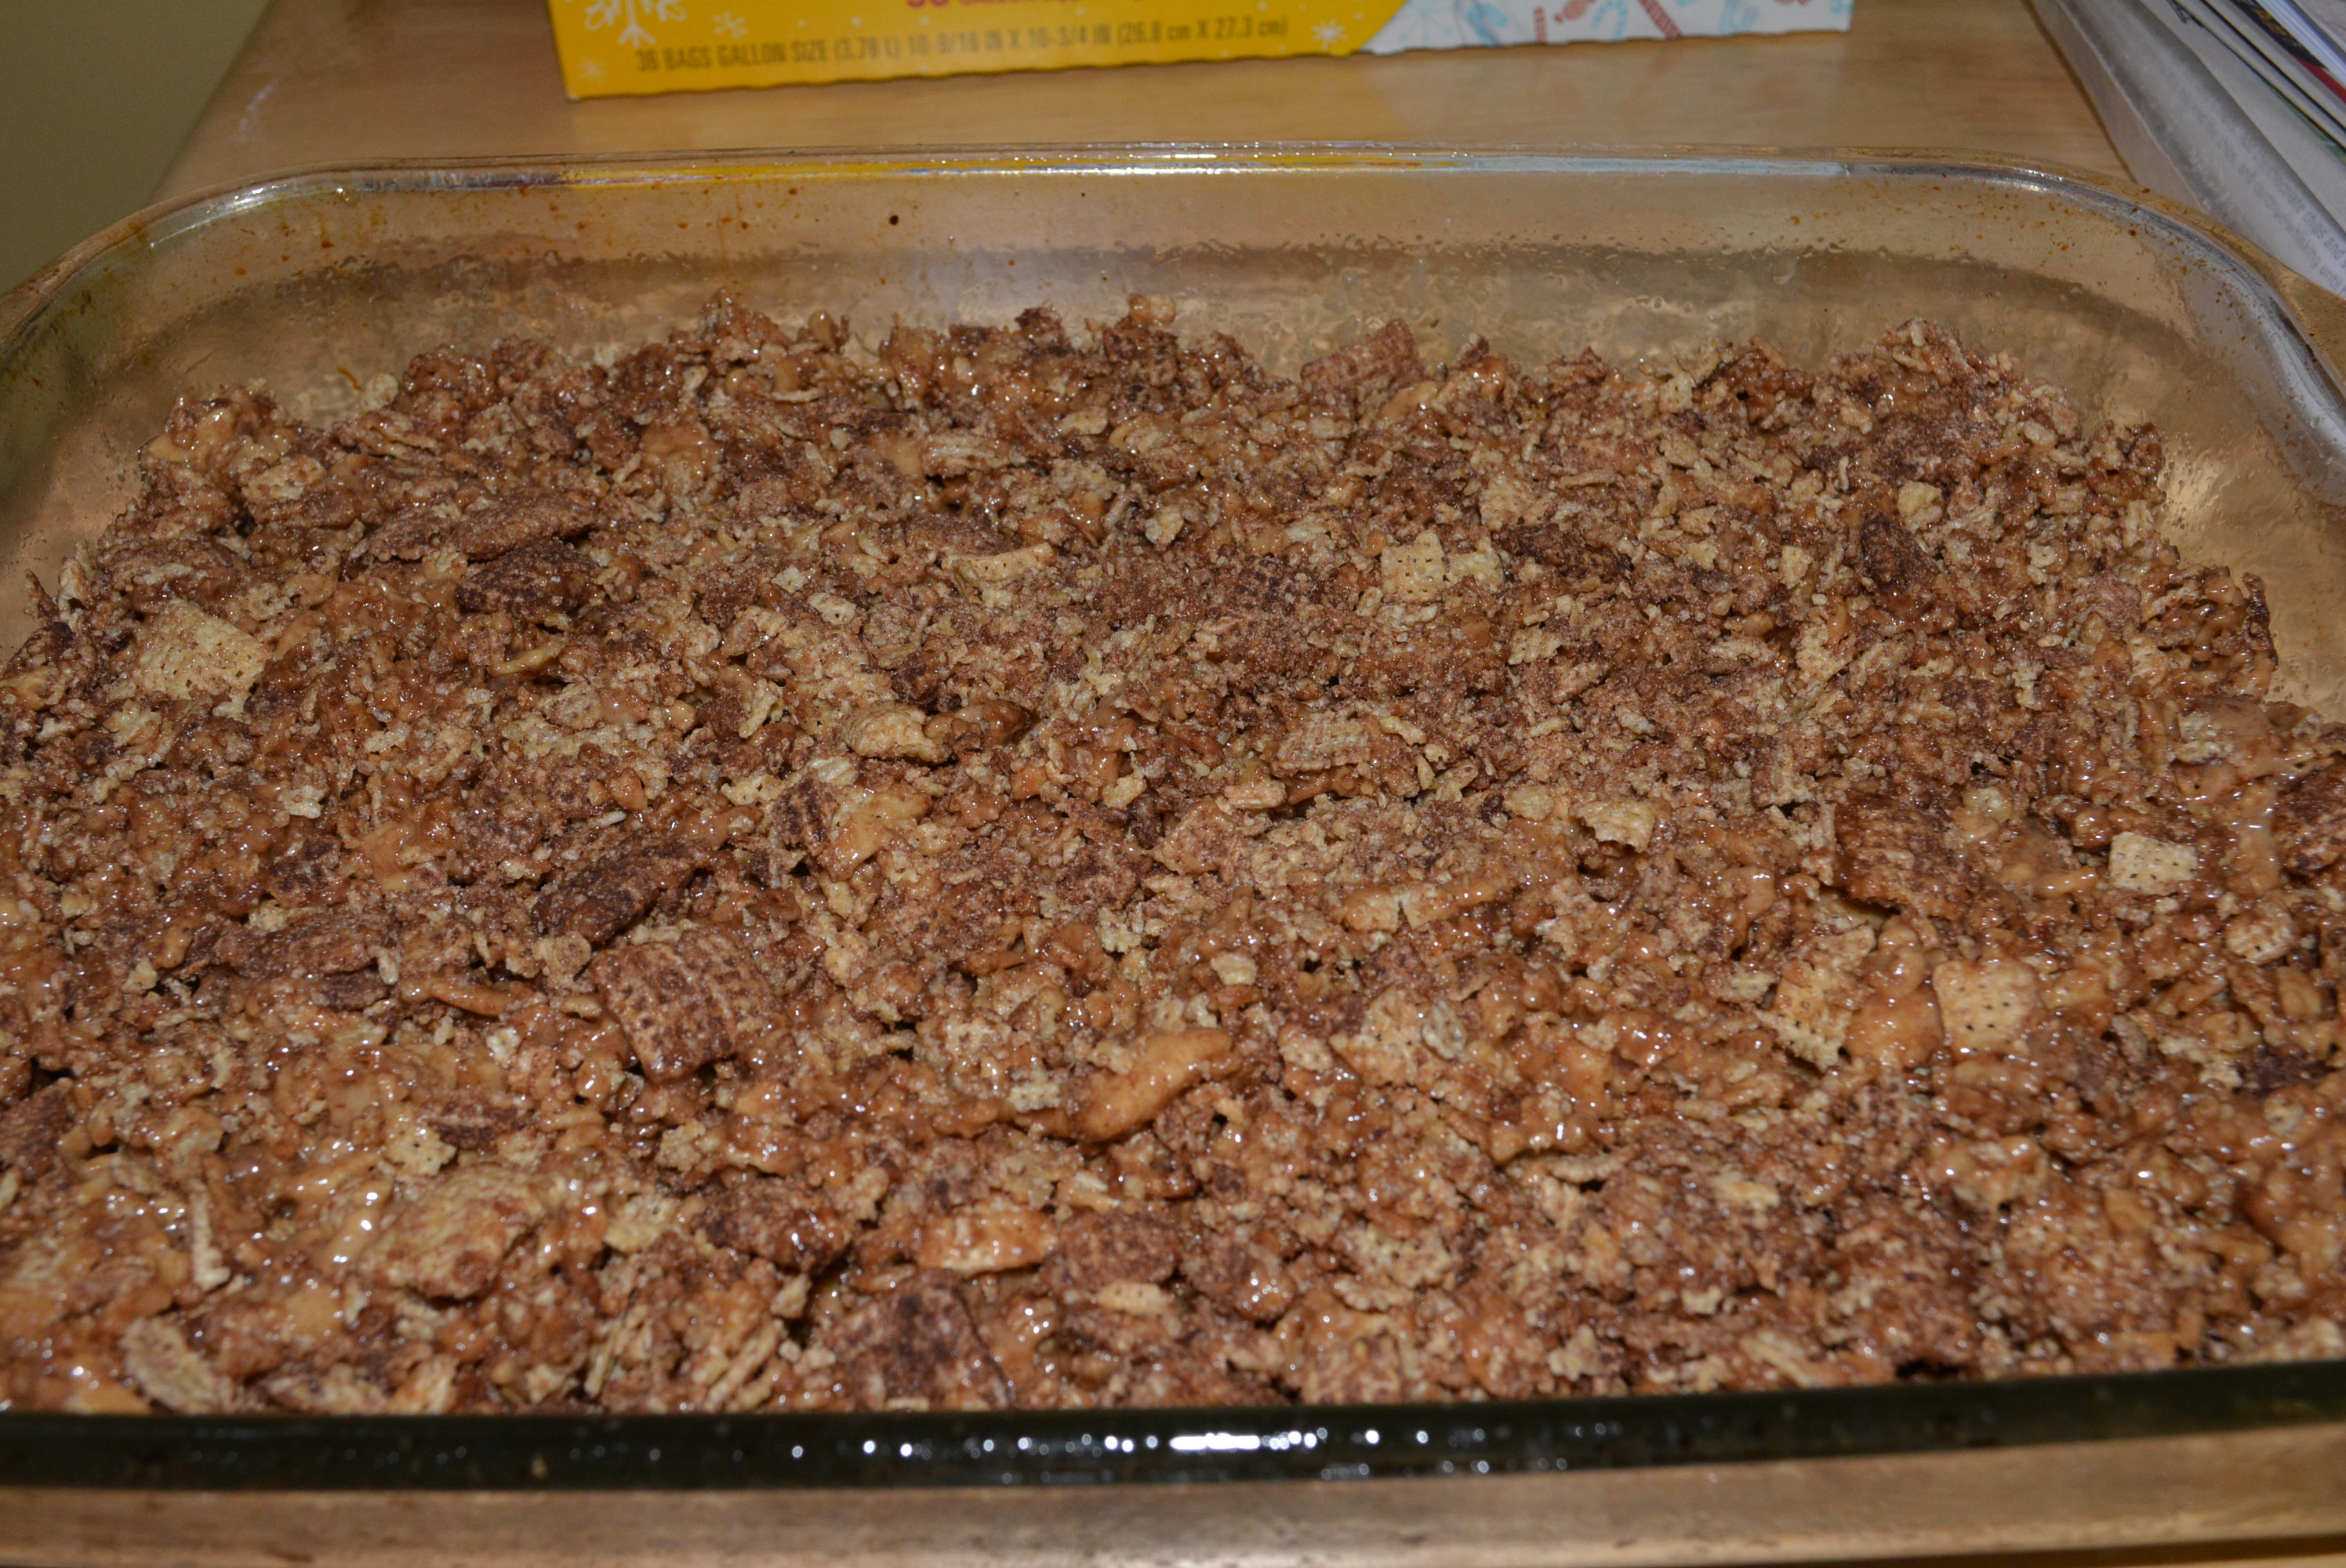
Scoop sticky marshmallow/cereal mixture into baking dish and use a spatula or spoon sprayed with non-stick spray to press into an even layer.
Chocolate peanut butter marshmallow treats pressed into baking dish.
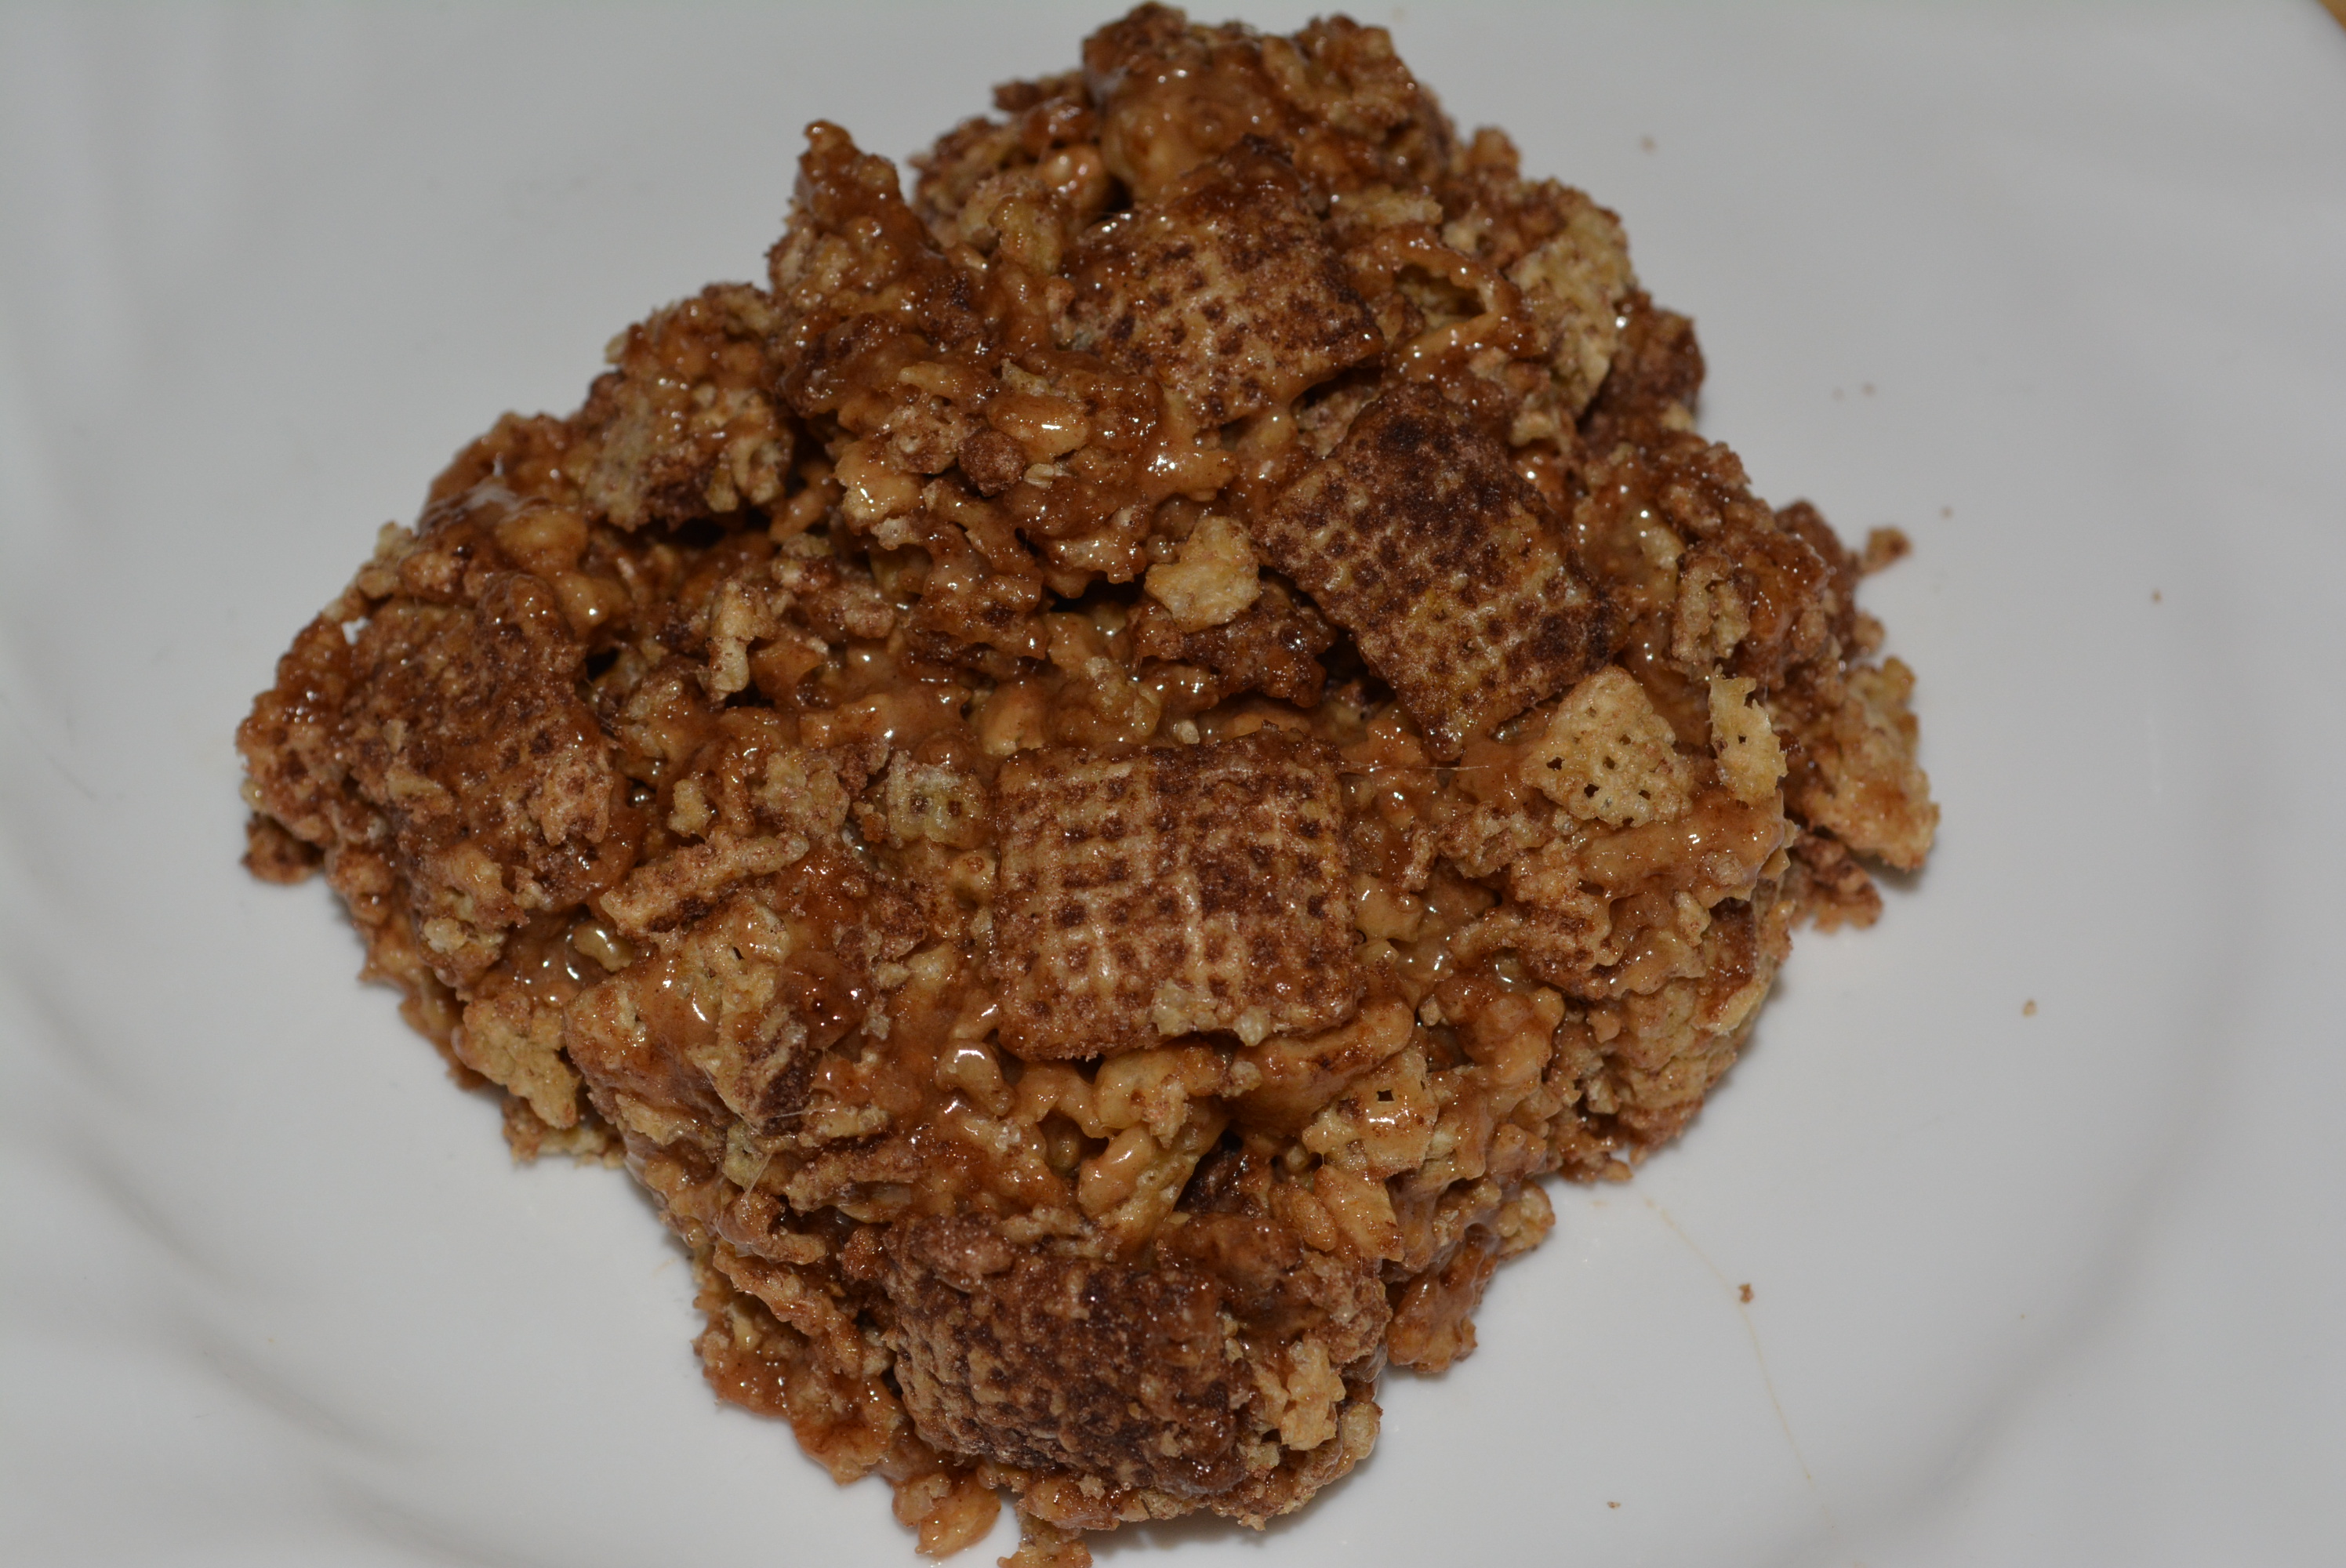
Allow mixture to cool and then use a knife (sprayed in non-stick spray) to cut into squares.
Cooled and cut chocolate peanut butter chex treats.
Enjoy!
Enjoy!
Okay, my husband’s absolute favorite candy is the peanut butter cup, so I figured he’d be the perfect person to taste these first. And we have a winner; he absolutely loved them! I made these earlier in the morning so he started his day with a sweet treat before work but right when he got home he couldn’t wait to take another nibble! I have to agree, these are fantastic! I too love the legendary chocolate/peanut butter flavor combo so I knew I would love these but I didn’t realize just how tasty they’d be. So if you’re a peanut butter cup or chocolate/peanut butter ice cream fan, give these a try instead for something a bit different!
TIP: I also like to make my Chex Treats dairy free as well for my nephew to enjoy. I simply do this by using his dairy free butter (Earth Balance) instead of my butter. So don’t be afraid to adjust this recipe for a different food allergy for instance a peanut allergy, in which case you could add equal amounts of another type of nut butter like almond or cashew or use pea butter which is a nut-free option that my nephew grew up on.
4 tbsp butter (I use Smart Balance or Land O'Lakes)
3 heaping tbsp peanut butter (I like Skippy Natural or Smart Balance)
Non-stick cooking spray (I use Smart Balance)
Instructions
Spray 9" x 13" baking dish with non-stick cooking spray.
Add the whole 14 oz box of Chocolate Chex to large mixing bowl. I like to crush them a bit while they are still in their bag so they resemble rice krispie size with some whole Chex still floating around.
Melt 4 tbsp of gluten free butter in a microwave safe bowl (about 30-60 sec).
Add 10 oz bag mini marshmallows to melted butter and stir to coat.
Melt marshmallows in microwave (about 1 - 1 1/2 minutes). Keep an eye on these in the microwave, as they do expand and can overflow the bowl easily.
Remove the bowl from the microwave and stir melted marshmallows until smooth.
Add 3 heaping tbsp of gluten free peanut butter and stir until combined completely with marshmallows. Mixture should be smooth.
Pour melted marshmallow/peanut butter mixture into Chex and stir to combine, making sure all cereal is coated with marshmallow. This is going to be very sticky; I like to use a spatula and spray it with non-stick spray to limit sticking a bit.
Scoop sticky marshmallow/cereal mixture into baking dish and use a spatula or spoon sprayed with non-stick spray to press into an even layer.
Allow mixture to cool and then use a knife (sprayed in non-stick spray) to cut into squares.
Enjoy!
By Gluten Free Mom To Be
Gluten Free Mom To Be http://www.glutenfreemomtobe.com/
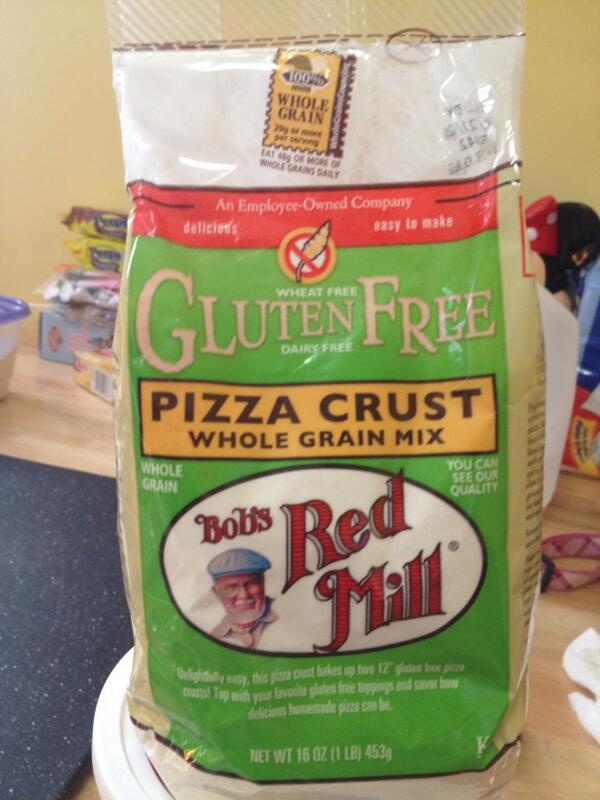
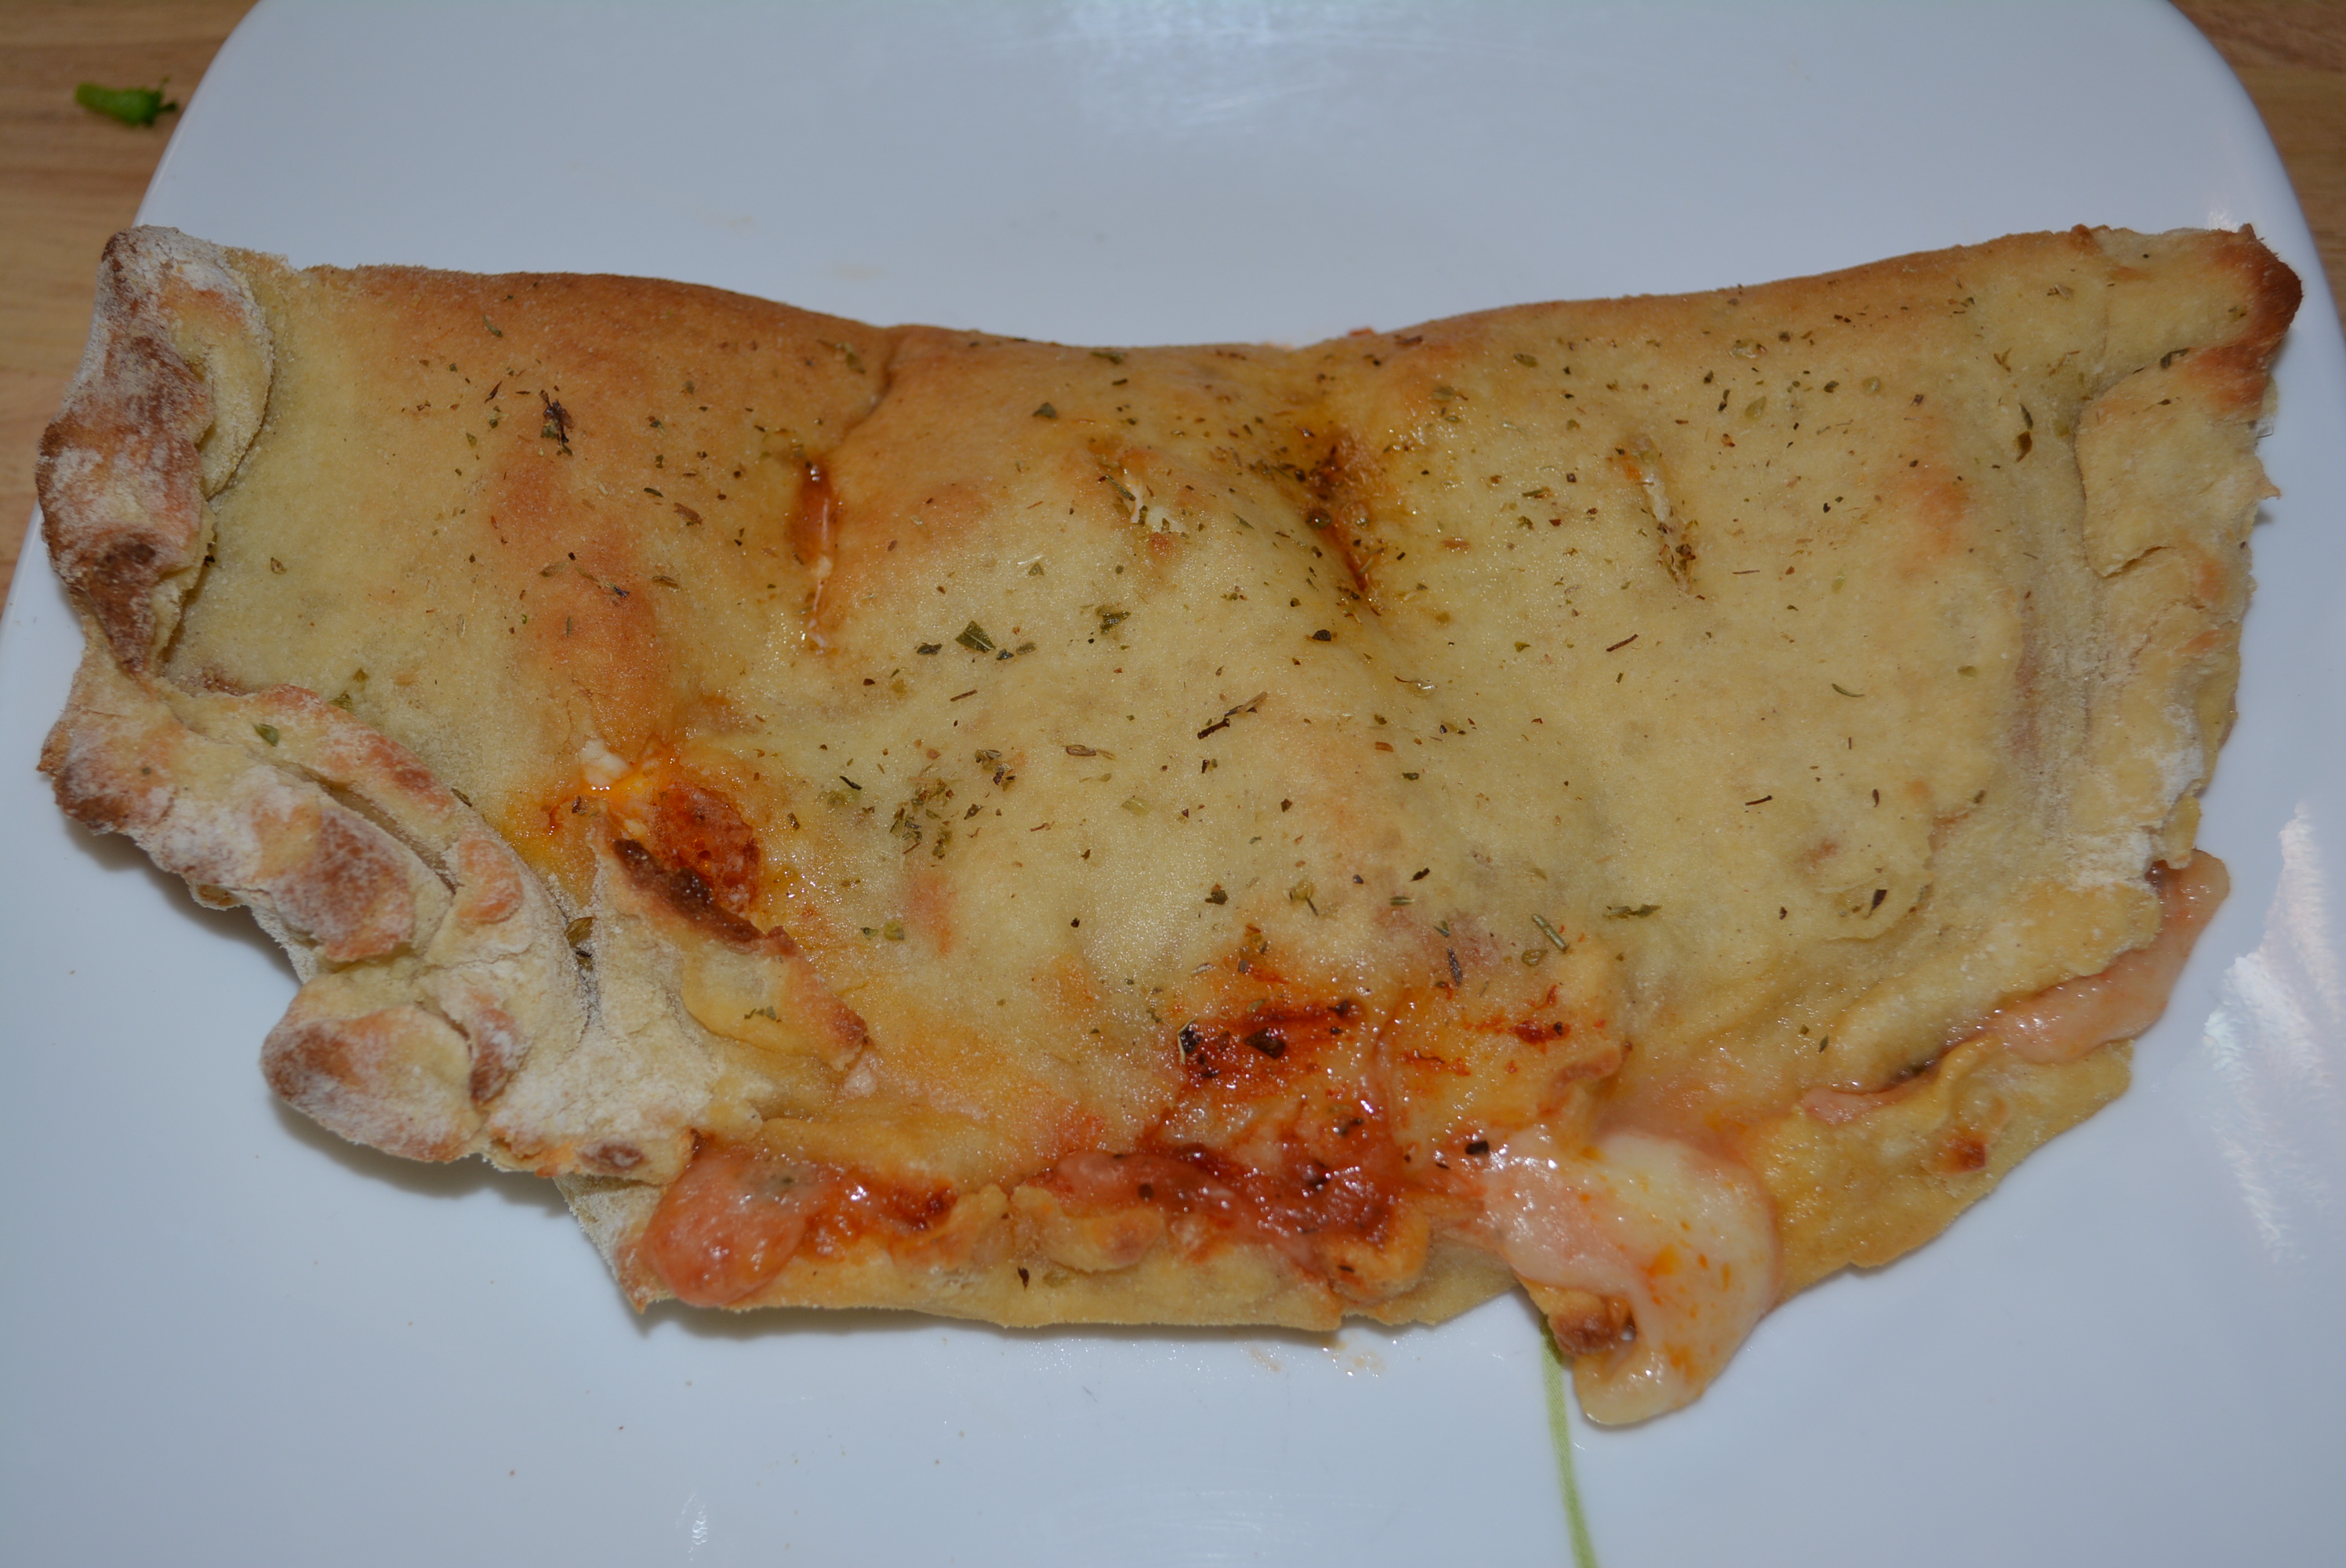
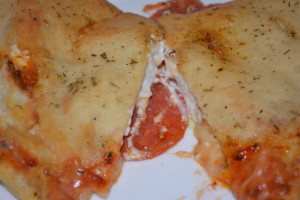
Large, cheese and sauce filled pockets of crispy dough whose stuffings ooze out after your first cut, remember those? Calzones and strombolis had disappeared from my diet along with gluten several years ago but quickly made a homemade return when I discovered Bob’s Red Mill Gluten Free Pizza Crust Mix. And while I was pregnant I must say this mix, along with those easy to use premade gluten free pizza crusts, were a godsend as I craved pizzas and calzones like crazy. Pregnant or not, I just love the idea of a calzone that has all of the goodness of a pizza just wrapped up in a pocket of dough…so good!!!
From experience, I would say Bob’s Red Mill Gluten Free Pizza Crust Mix produces the best gluten free pizzas and calzones that give that beloved doughy texture, without them tasting and feeling like bread. Not to mention with one bag of the mix, that costs you about $3.49, you get at least 6 larger personal size calzones that give our family of 3 a couple of meals (You can certainly make a few very large calzones, but we prefer the personal size so we can customize each to each of our own preferences). I’m not going to lie, making pizzas or calzones essentially from scratch is not a quick undertaking, however the end result is fantastic and completely worth every second, not to mention depending on family size, you can get a few meals out of just one round! You can always do as I did while I was pregnant and recruit your spouse to assist with some of the more labor intensive tasks while you do the fun stuff like the assembly (or even just the eating part!). These calzones are so delicious and make my mouth water every time I think about them! Hope you enjoy them too!
Ingredients for Tomato Sauce:
28 oz can Tuttorosso Tomato Sauce
1 tsp dried basil for tomato sauce
1 tsp dried oregano for tomato sauce
1 tsp dried parsley for tomato sauce
2 tbsp minced garlic for tomato sauce
2 tbsp olive oil for tomato sauce
Other Ingredients for Calzones:
1 Bob’s Red Mill Gluten Free Pizza Crust Whole Grain Mix (includes 1 packet of yeast)
2 eggs for pizza crust
2 tbsp olive oil for pizza crust
1 1/2 cup warm water for pizza crust
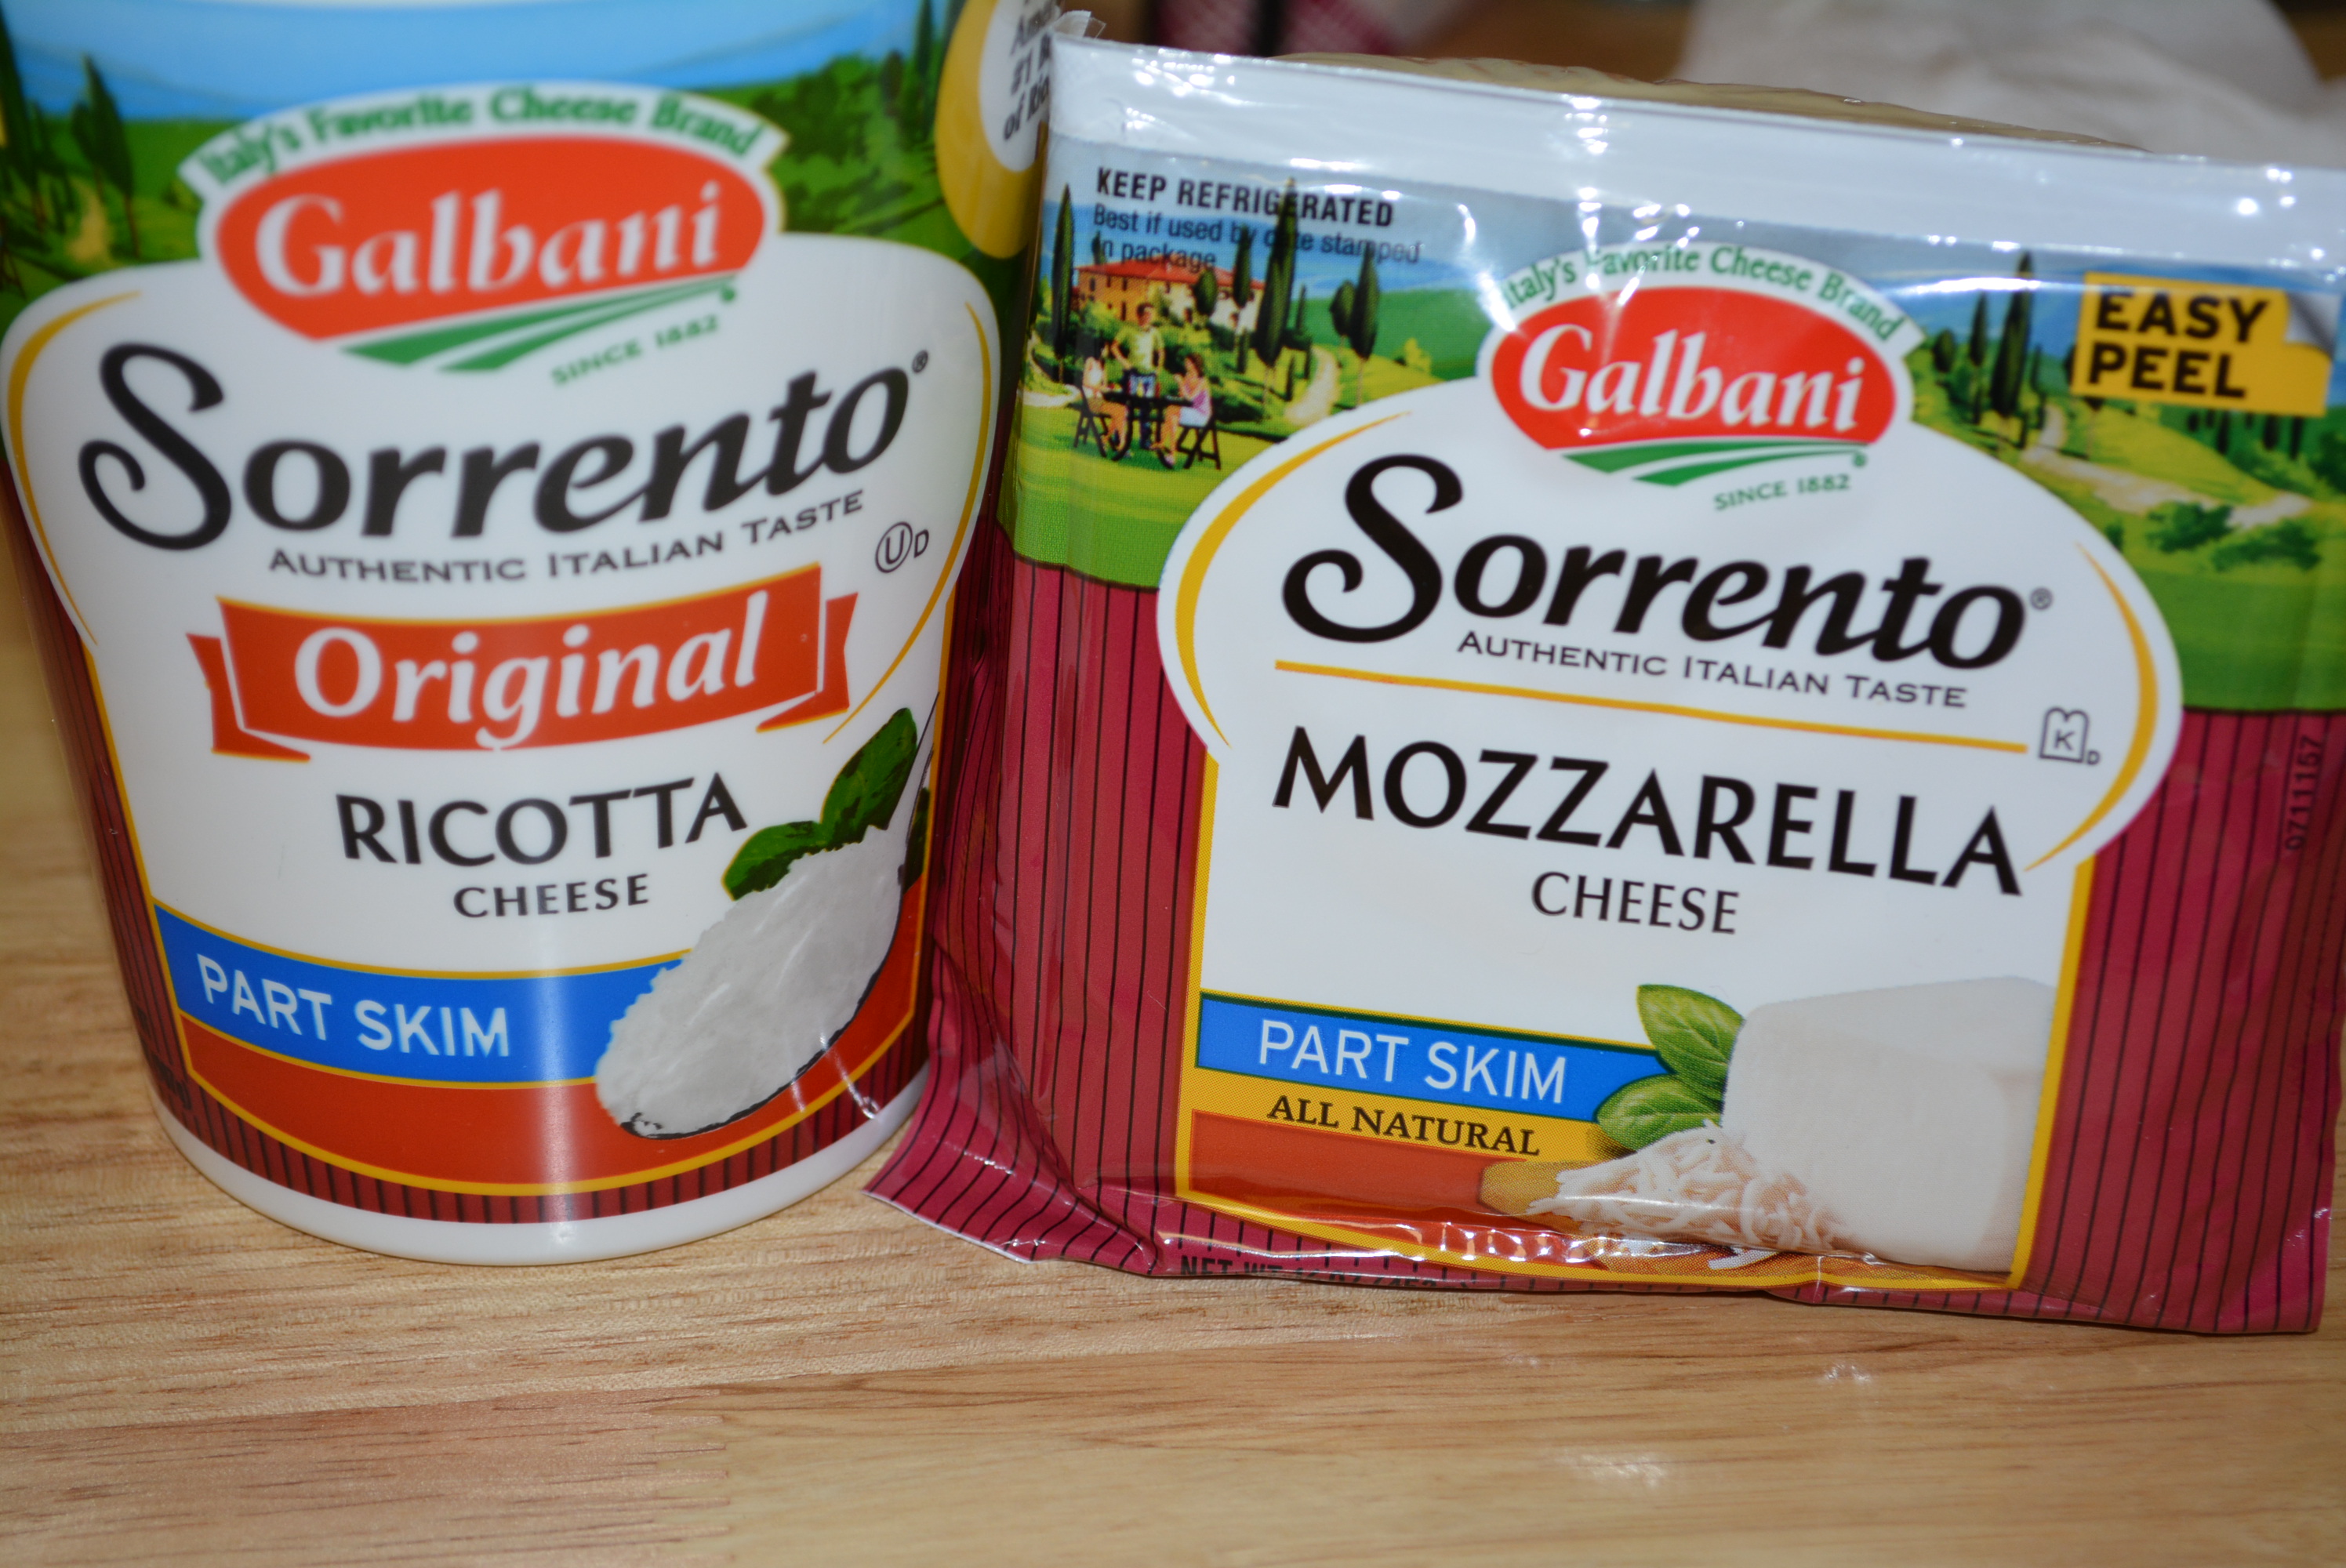
16 oz block of part skim mozzarella cheese (Galbani Sorrento is gluten free as indicated via phone, but as always call each time you purchase to review gluten status)
1/2 cup part skim ricotta cheese (Galbani Sorrento)
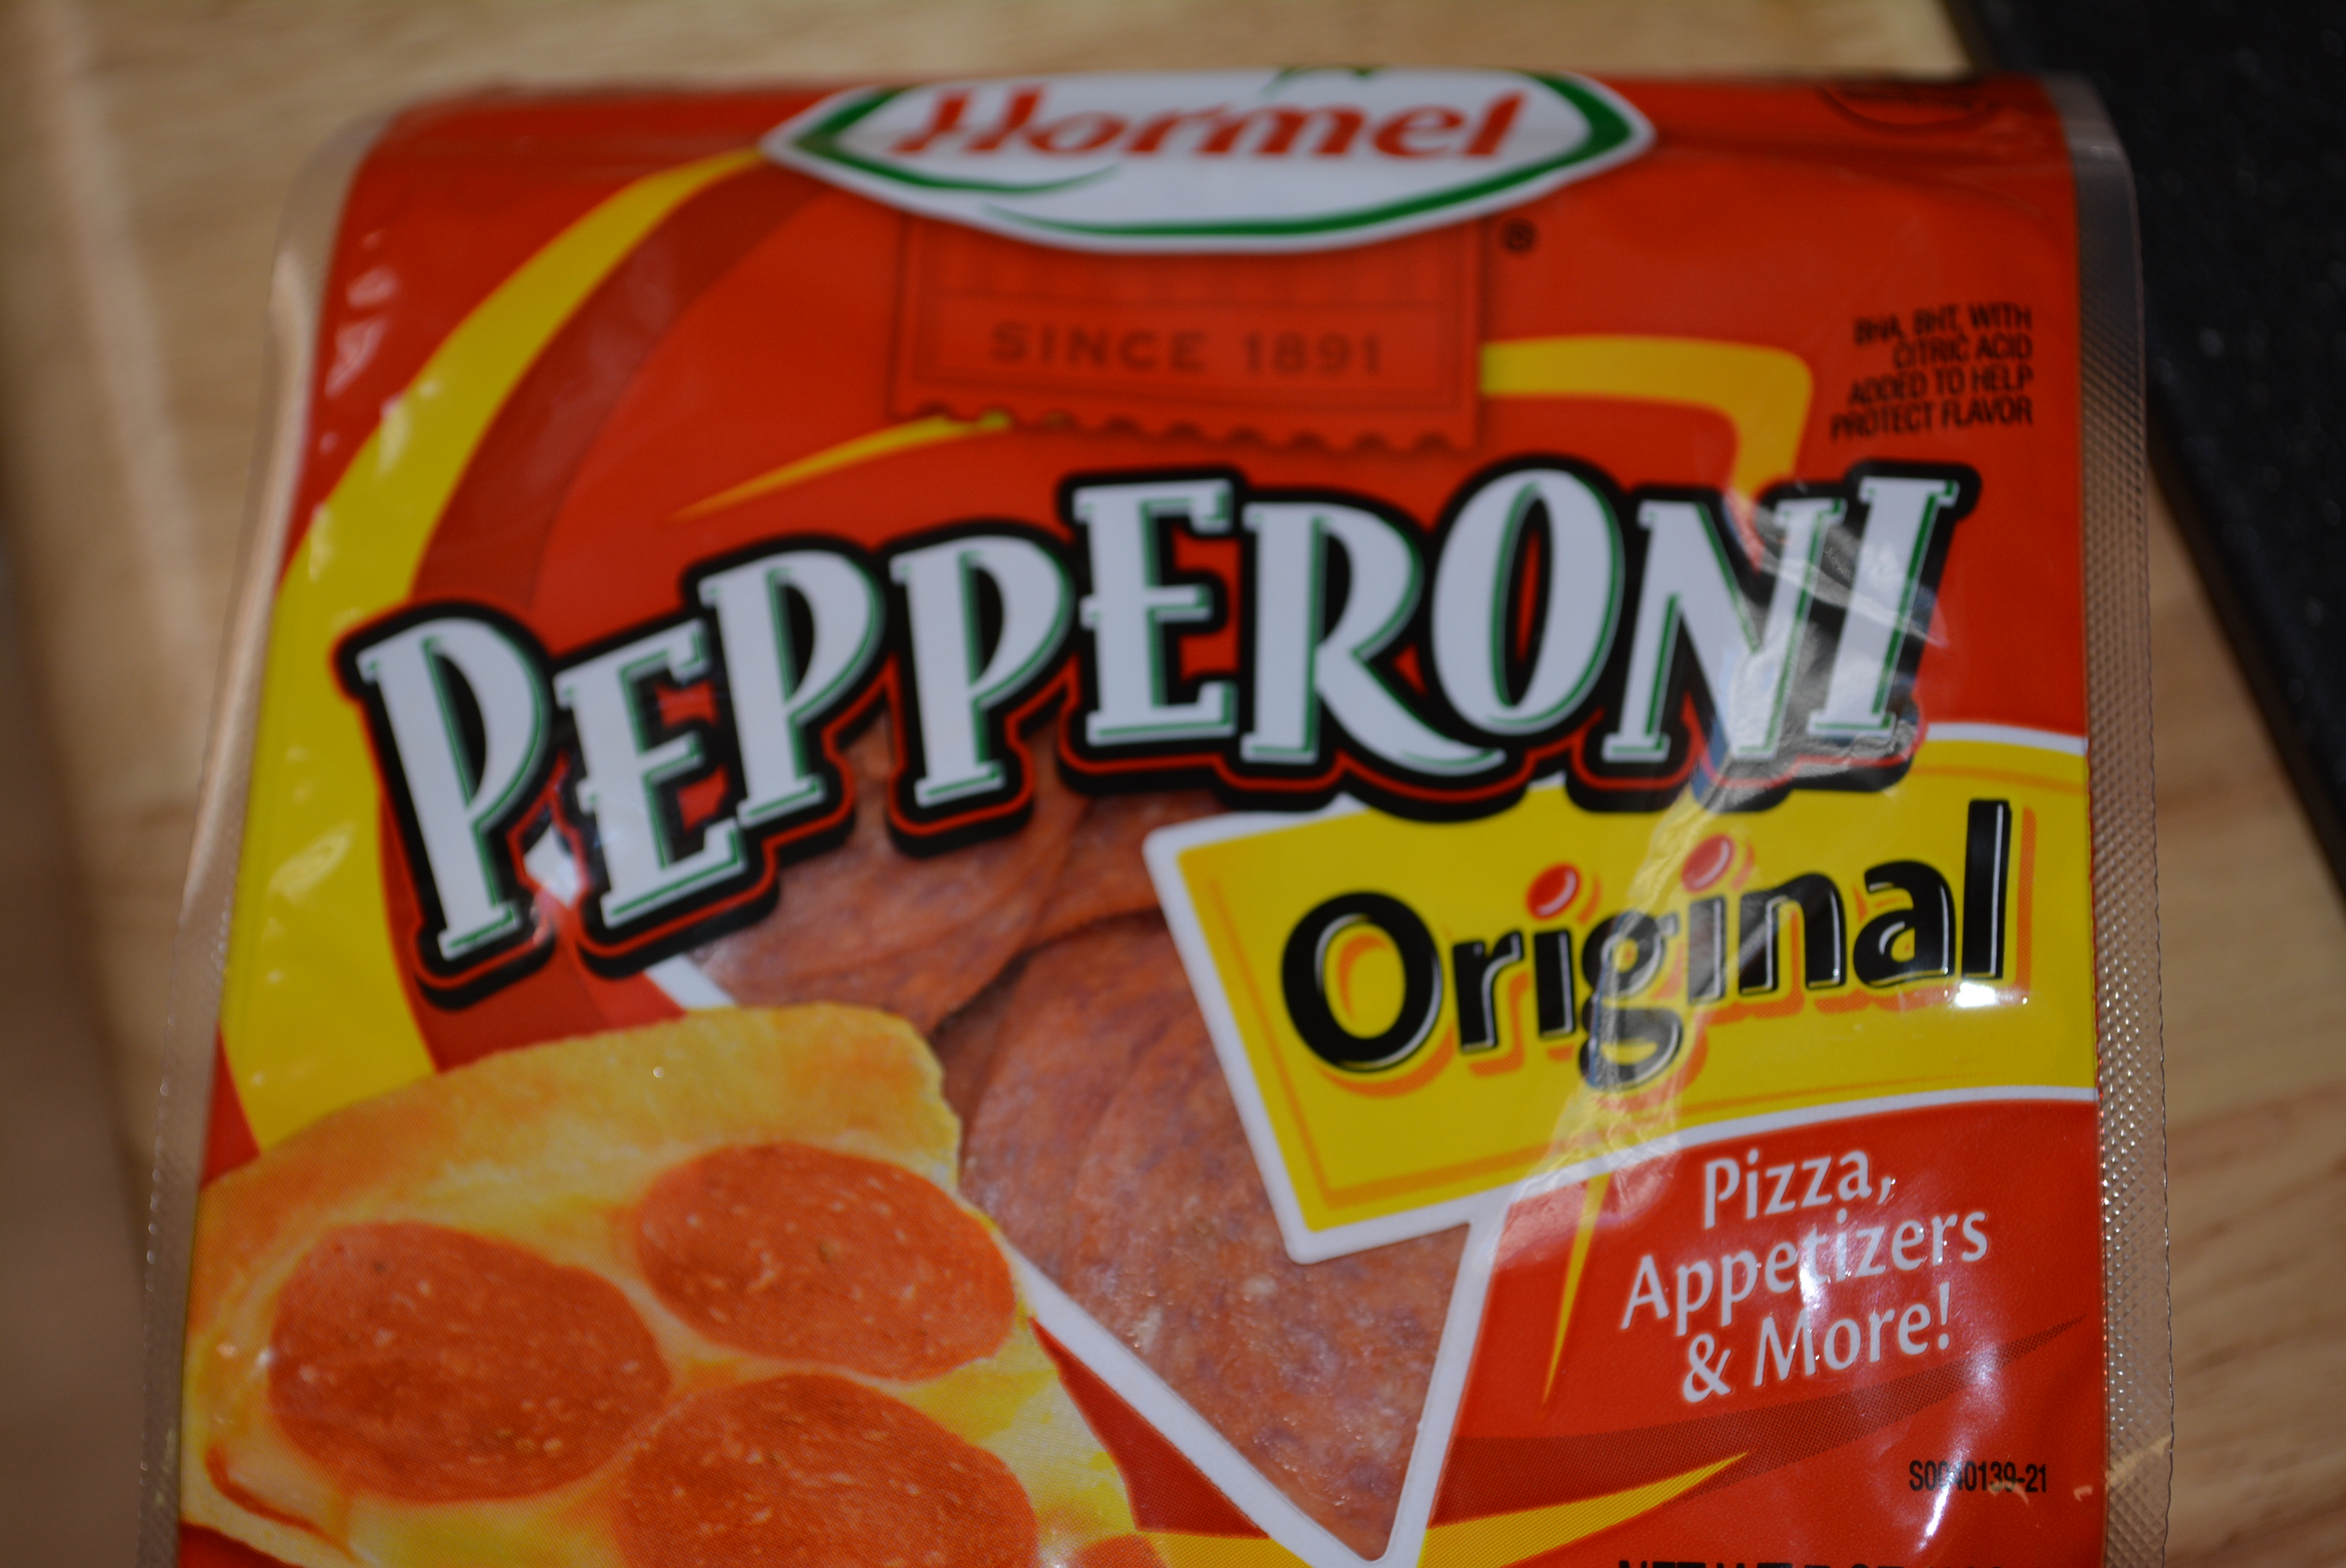
Additional toppings desired such as broccoli or pepperoni (our favorite is Hormel which states gluten free on their packaging)
Gluten free all purpose flour for rolling out dough (I like Bob’s Red Mill)
2 tbsp olive oil for tomato sauce (I use Pompeian)
Instructions
Add 2 tbsp olive oil and 2 tbsp minced garlic to sauce pan.
Cook garlic on low-medium heat until slightly browned.
Add a 28 oz can of tomato sauce (I like Tutturosso).
Stir sauce and heat on low-medium.
Add 1 tsp of dried basil, oregano, and parsley and stir to combine.
Taste sauce and add a bit of garlic salt if you'd like.
Heat sauce for about 20-25 minutes.
Remove from heat and set sauce aside.
By Gluten Free Mom To Be
Gluten Free Mom To Be http://www.glutenfreemomtobe.com/
Directions:
First prepare the sauce by adding 2 tbsp olive oil and 2 tbsp minced garlic to sauce pan.
Cook garlic on low-medium heat until slightly browned.
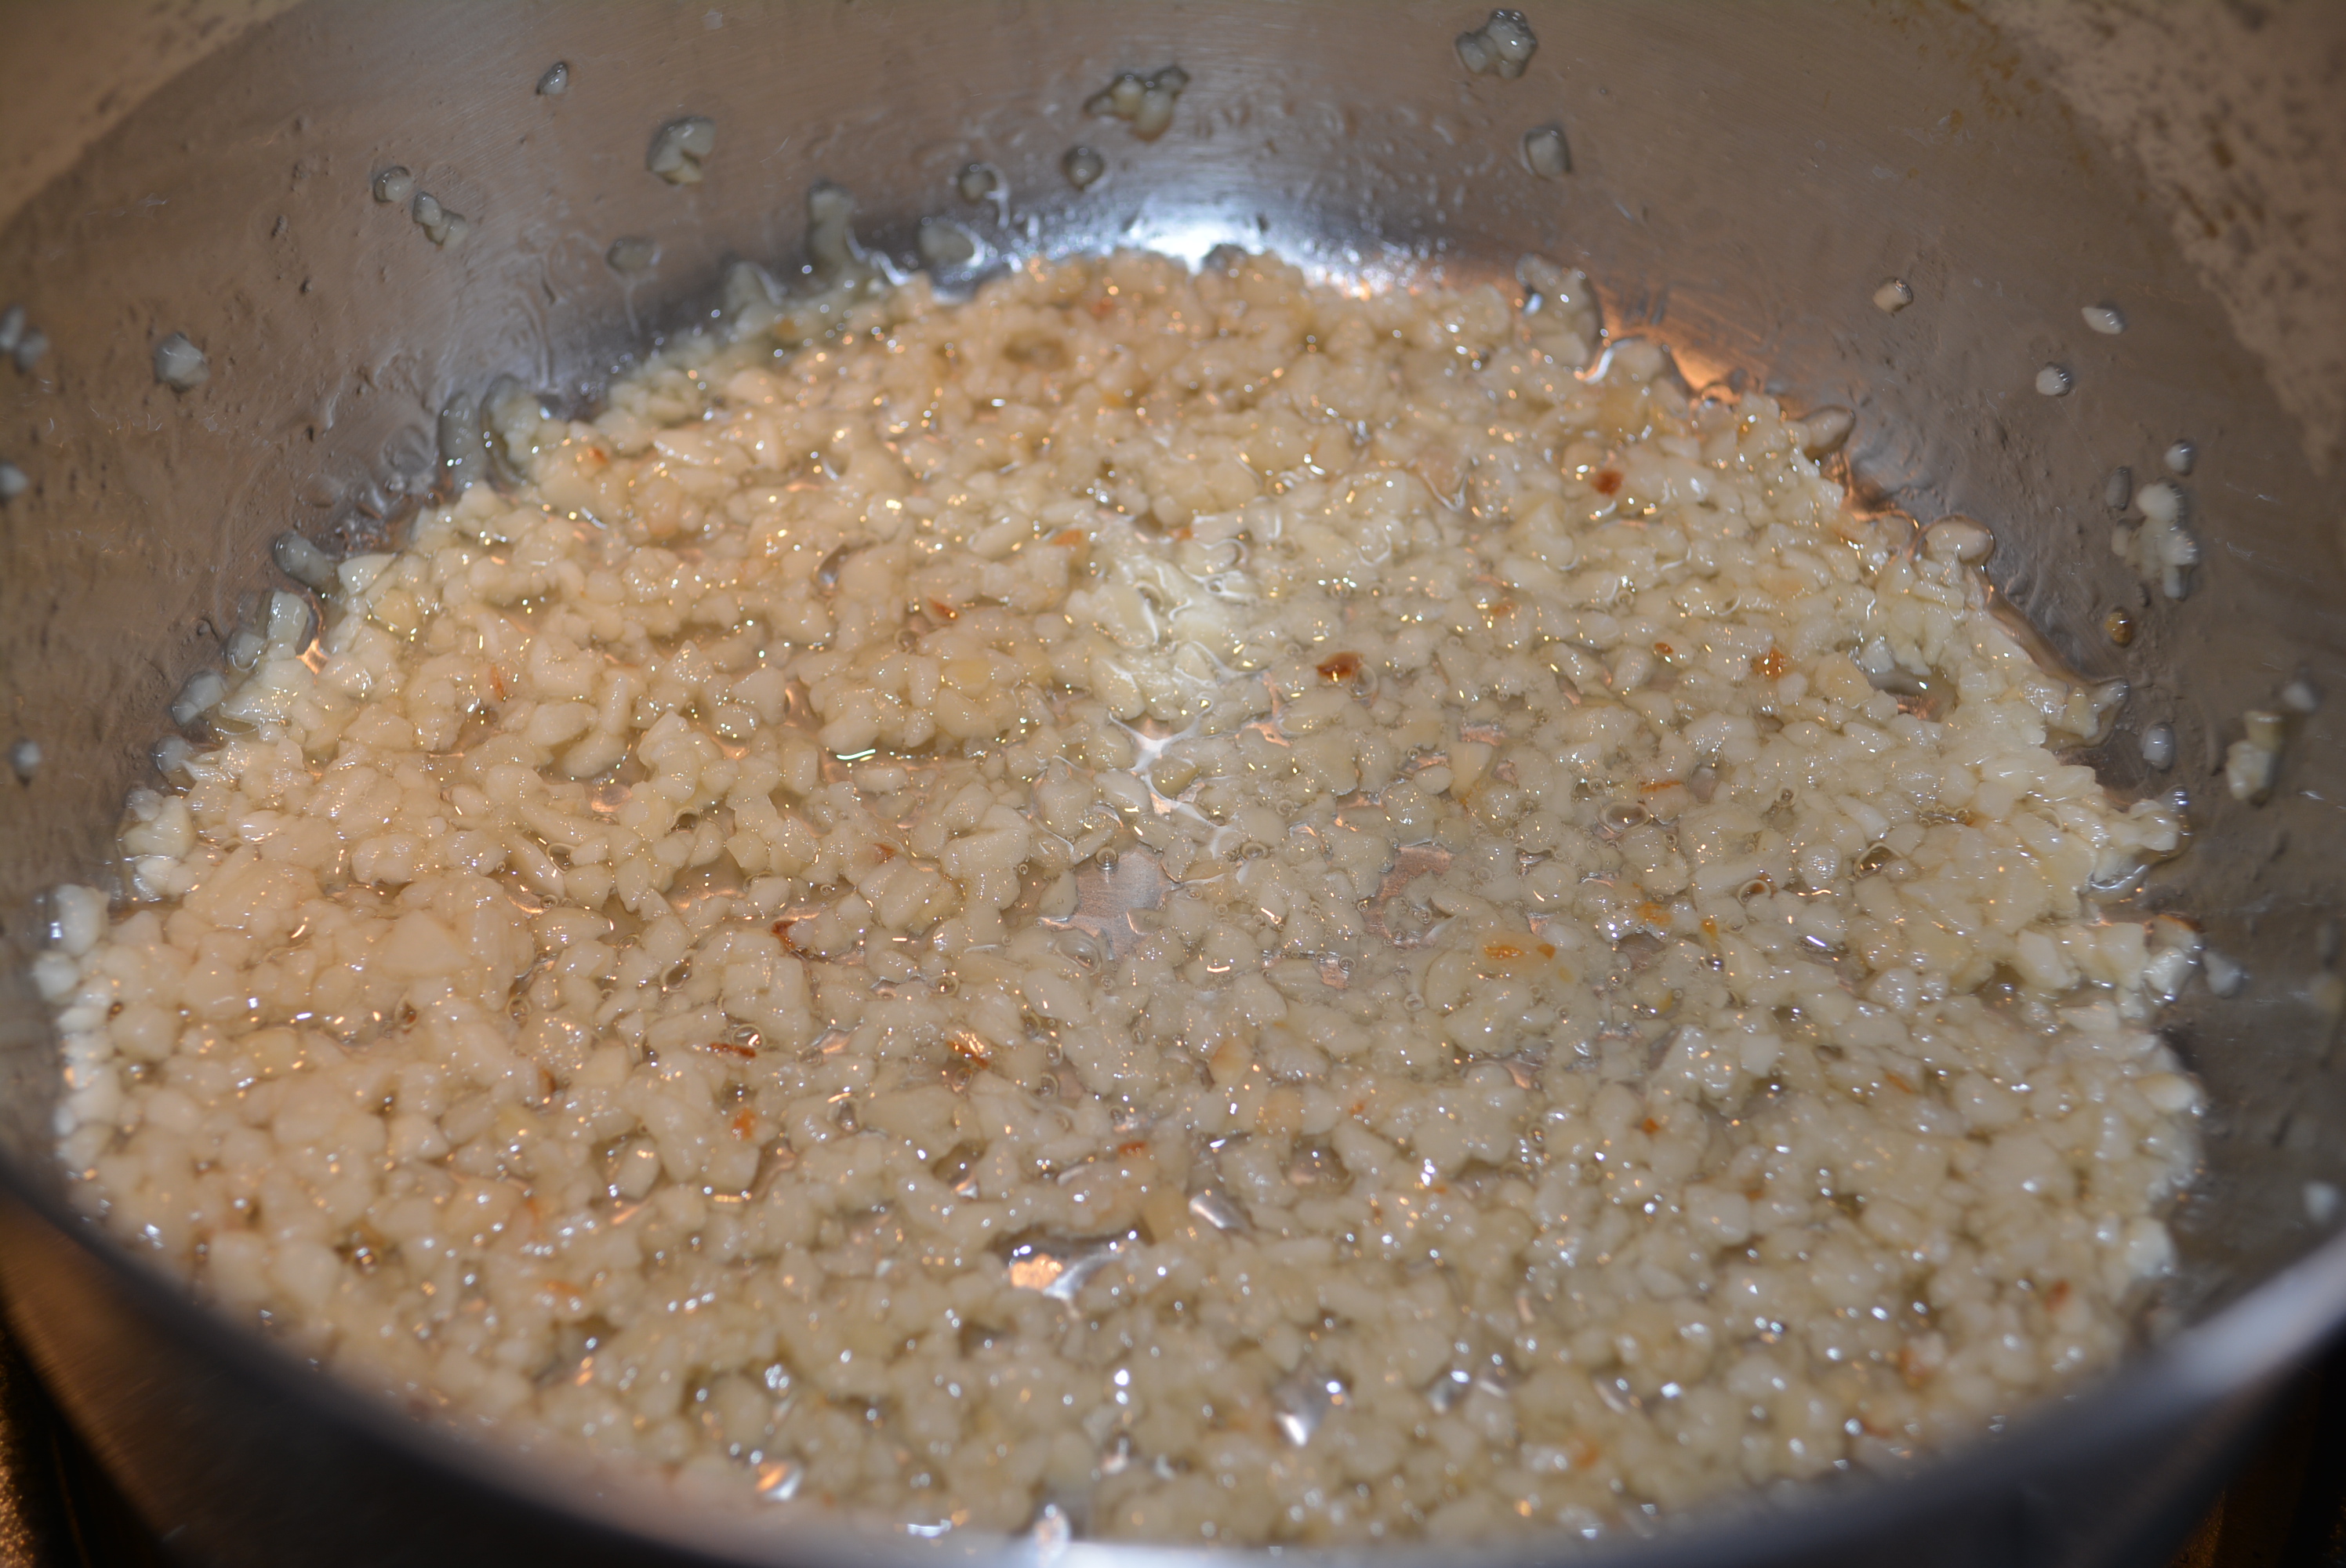
Minced garlic browning in olive oil.
Add a 28 oz can of tomato sauce (I like Tutturosso).
Stir sauce and heat on low-medium.
Add 1 tsp of dried basil, oregano, and parsley and stir to combine.
Taste sauce and add a bit of garlic salt if you’d like.
Heat sauce for about 20-25 minutes.
Remove from heat and set sauce aside.
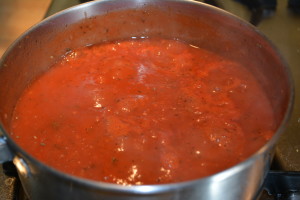
Tomato sauce with basil, oregano, parsley, and garlic.
Preheat your oven to 425 degrees.
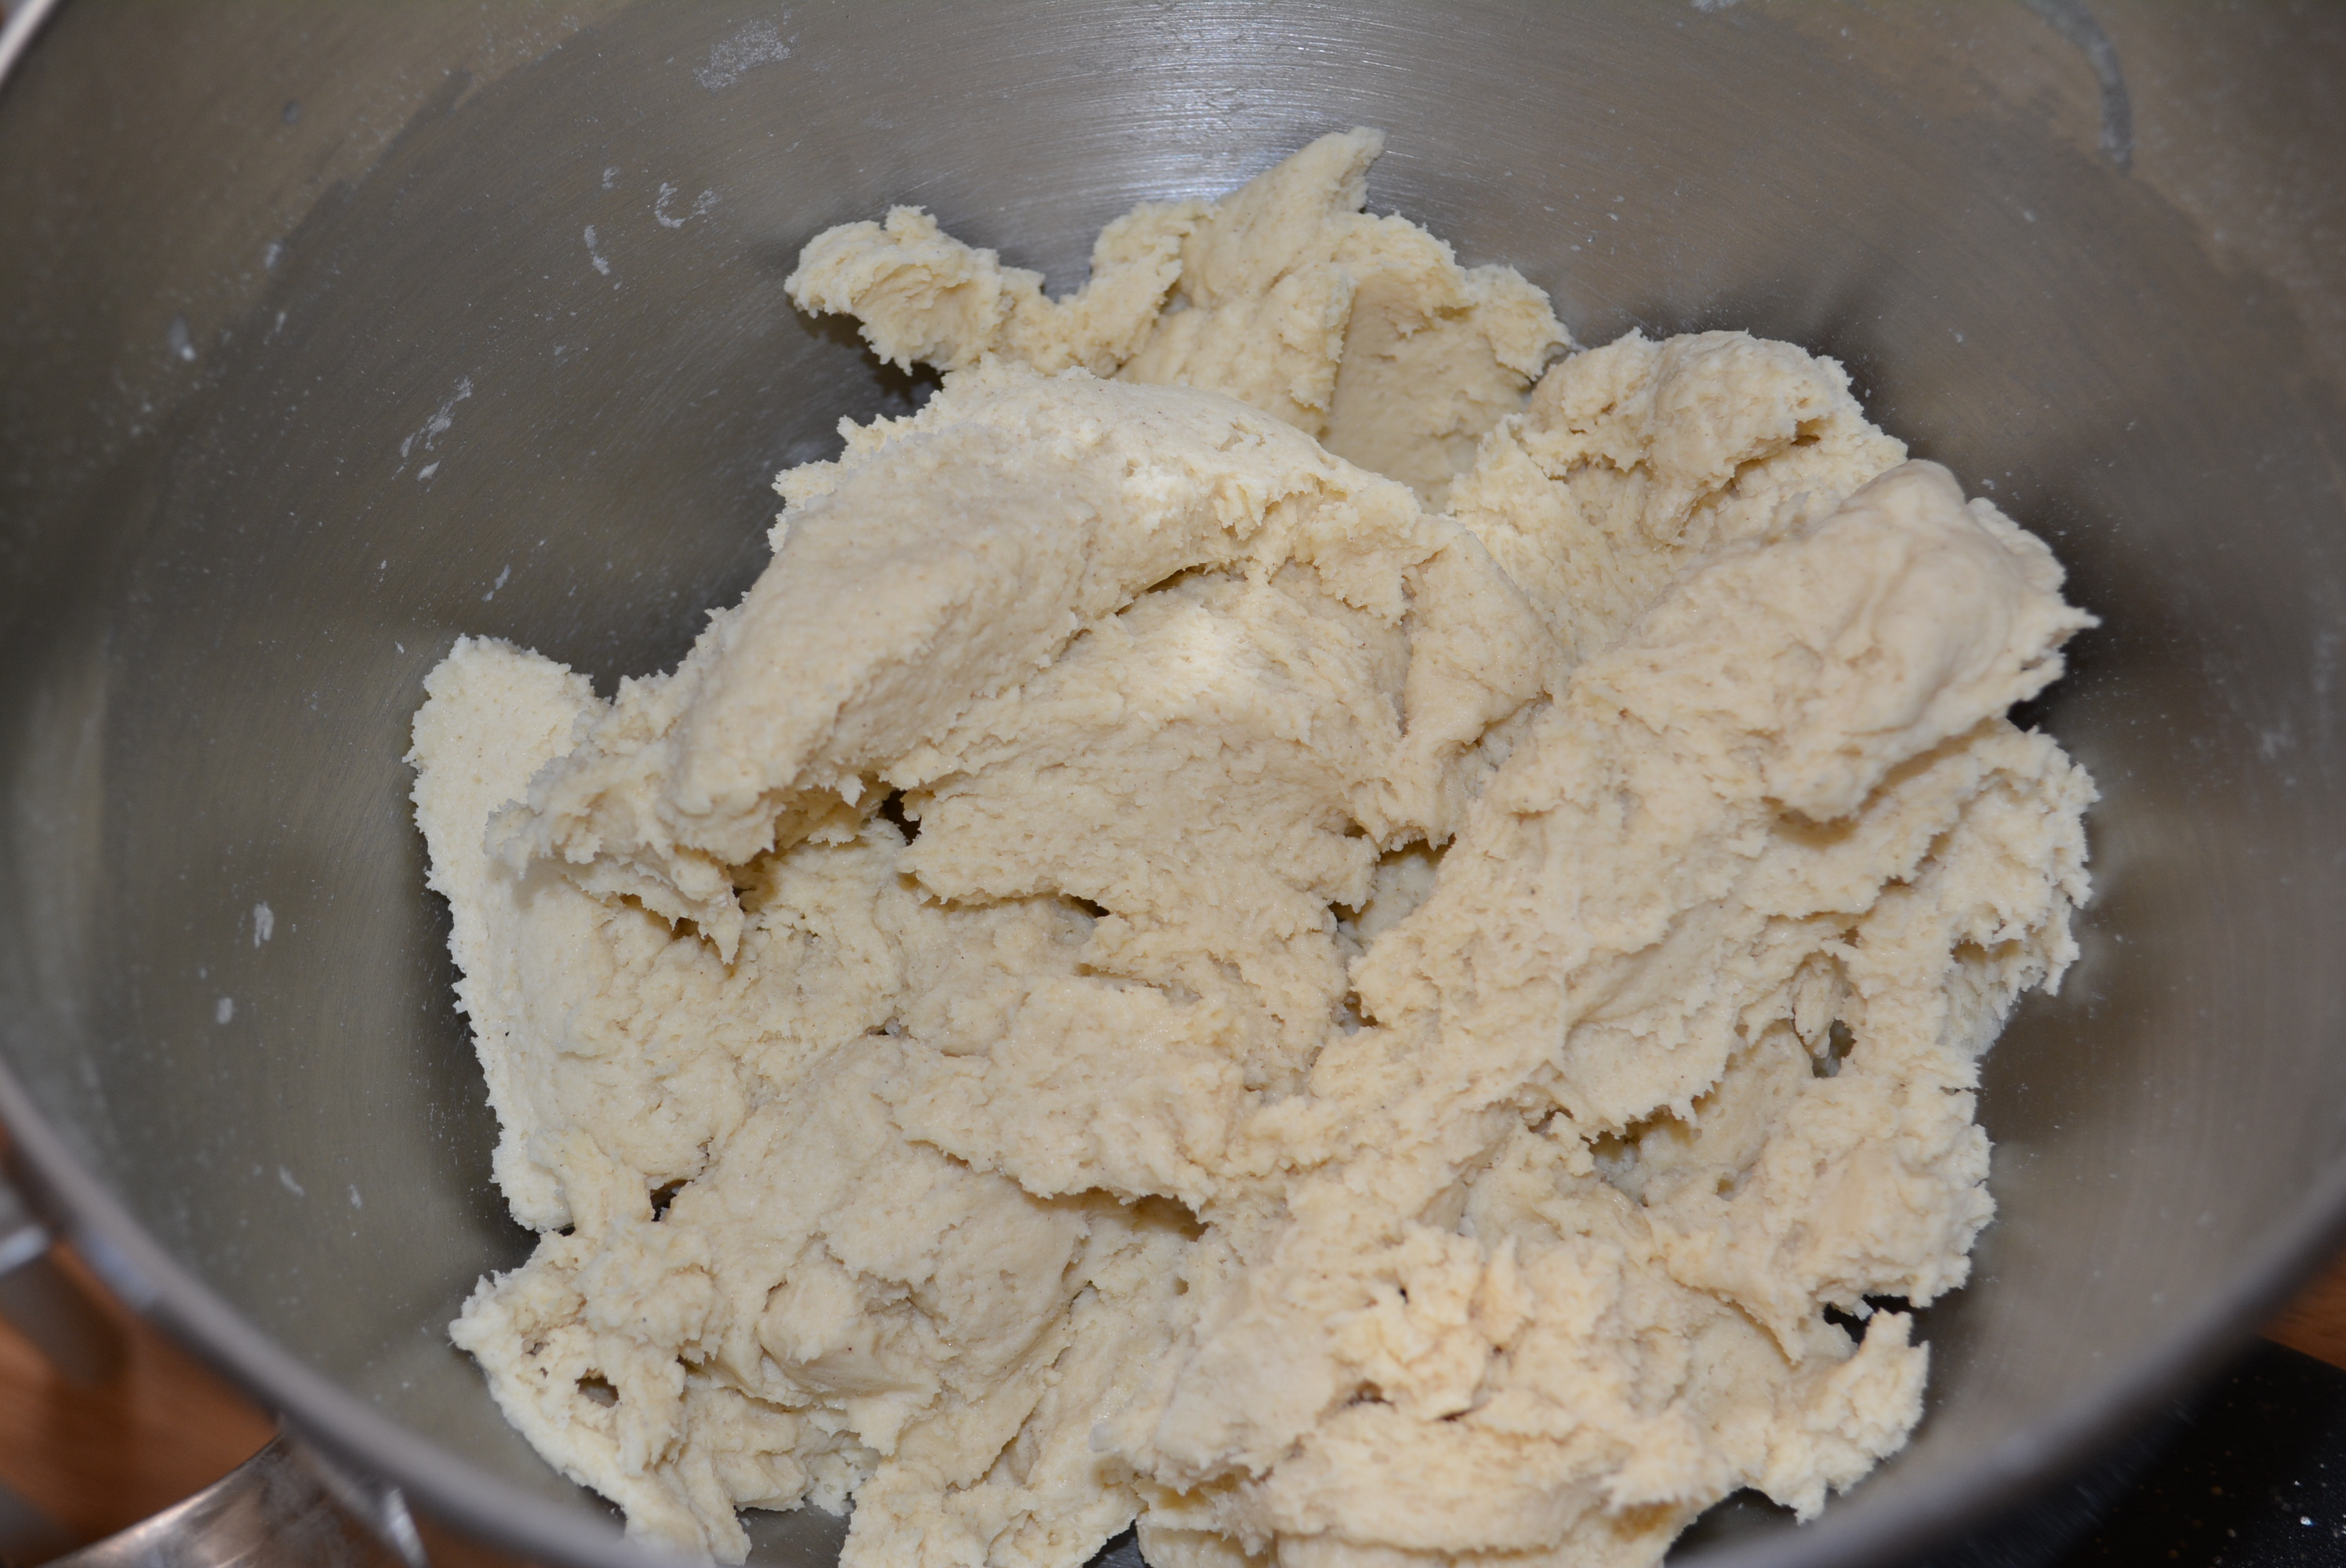
Now prepare Bob’s Red Mill Gluten Free Pizza Crust Mix by first combining 1 1/2 cups warm water and 1 packet of yeast (included in the mix bag) with a mixer and set aside for several minutes.
Add 2 eggs and 2 tbsp olive oil to yeast and mix.
Prepare pizza crust first and set aside while you’re preparing the fillings.
Gradually add in Bob’s Red Mill pizza mix, mixing well after each addition.
When all is combined, divide dough in half, cover with saran wrap, and allow to rise for about 20 minutes.
Prepared pizza/calzone dough.
While dough is rising, shred 16 oz block of part skim mozzarella cheese.
Part skim mozzarella and ricotta I like for pizzas and calzones.
Collect all other fillings to assemble your calzones. We like Hormel pepperoni, Sorrento part skim ricotta cheese, and steamed broccoli.
Hormel Pepperoni is gluten free!
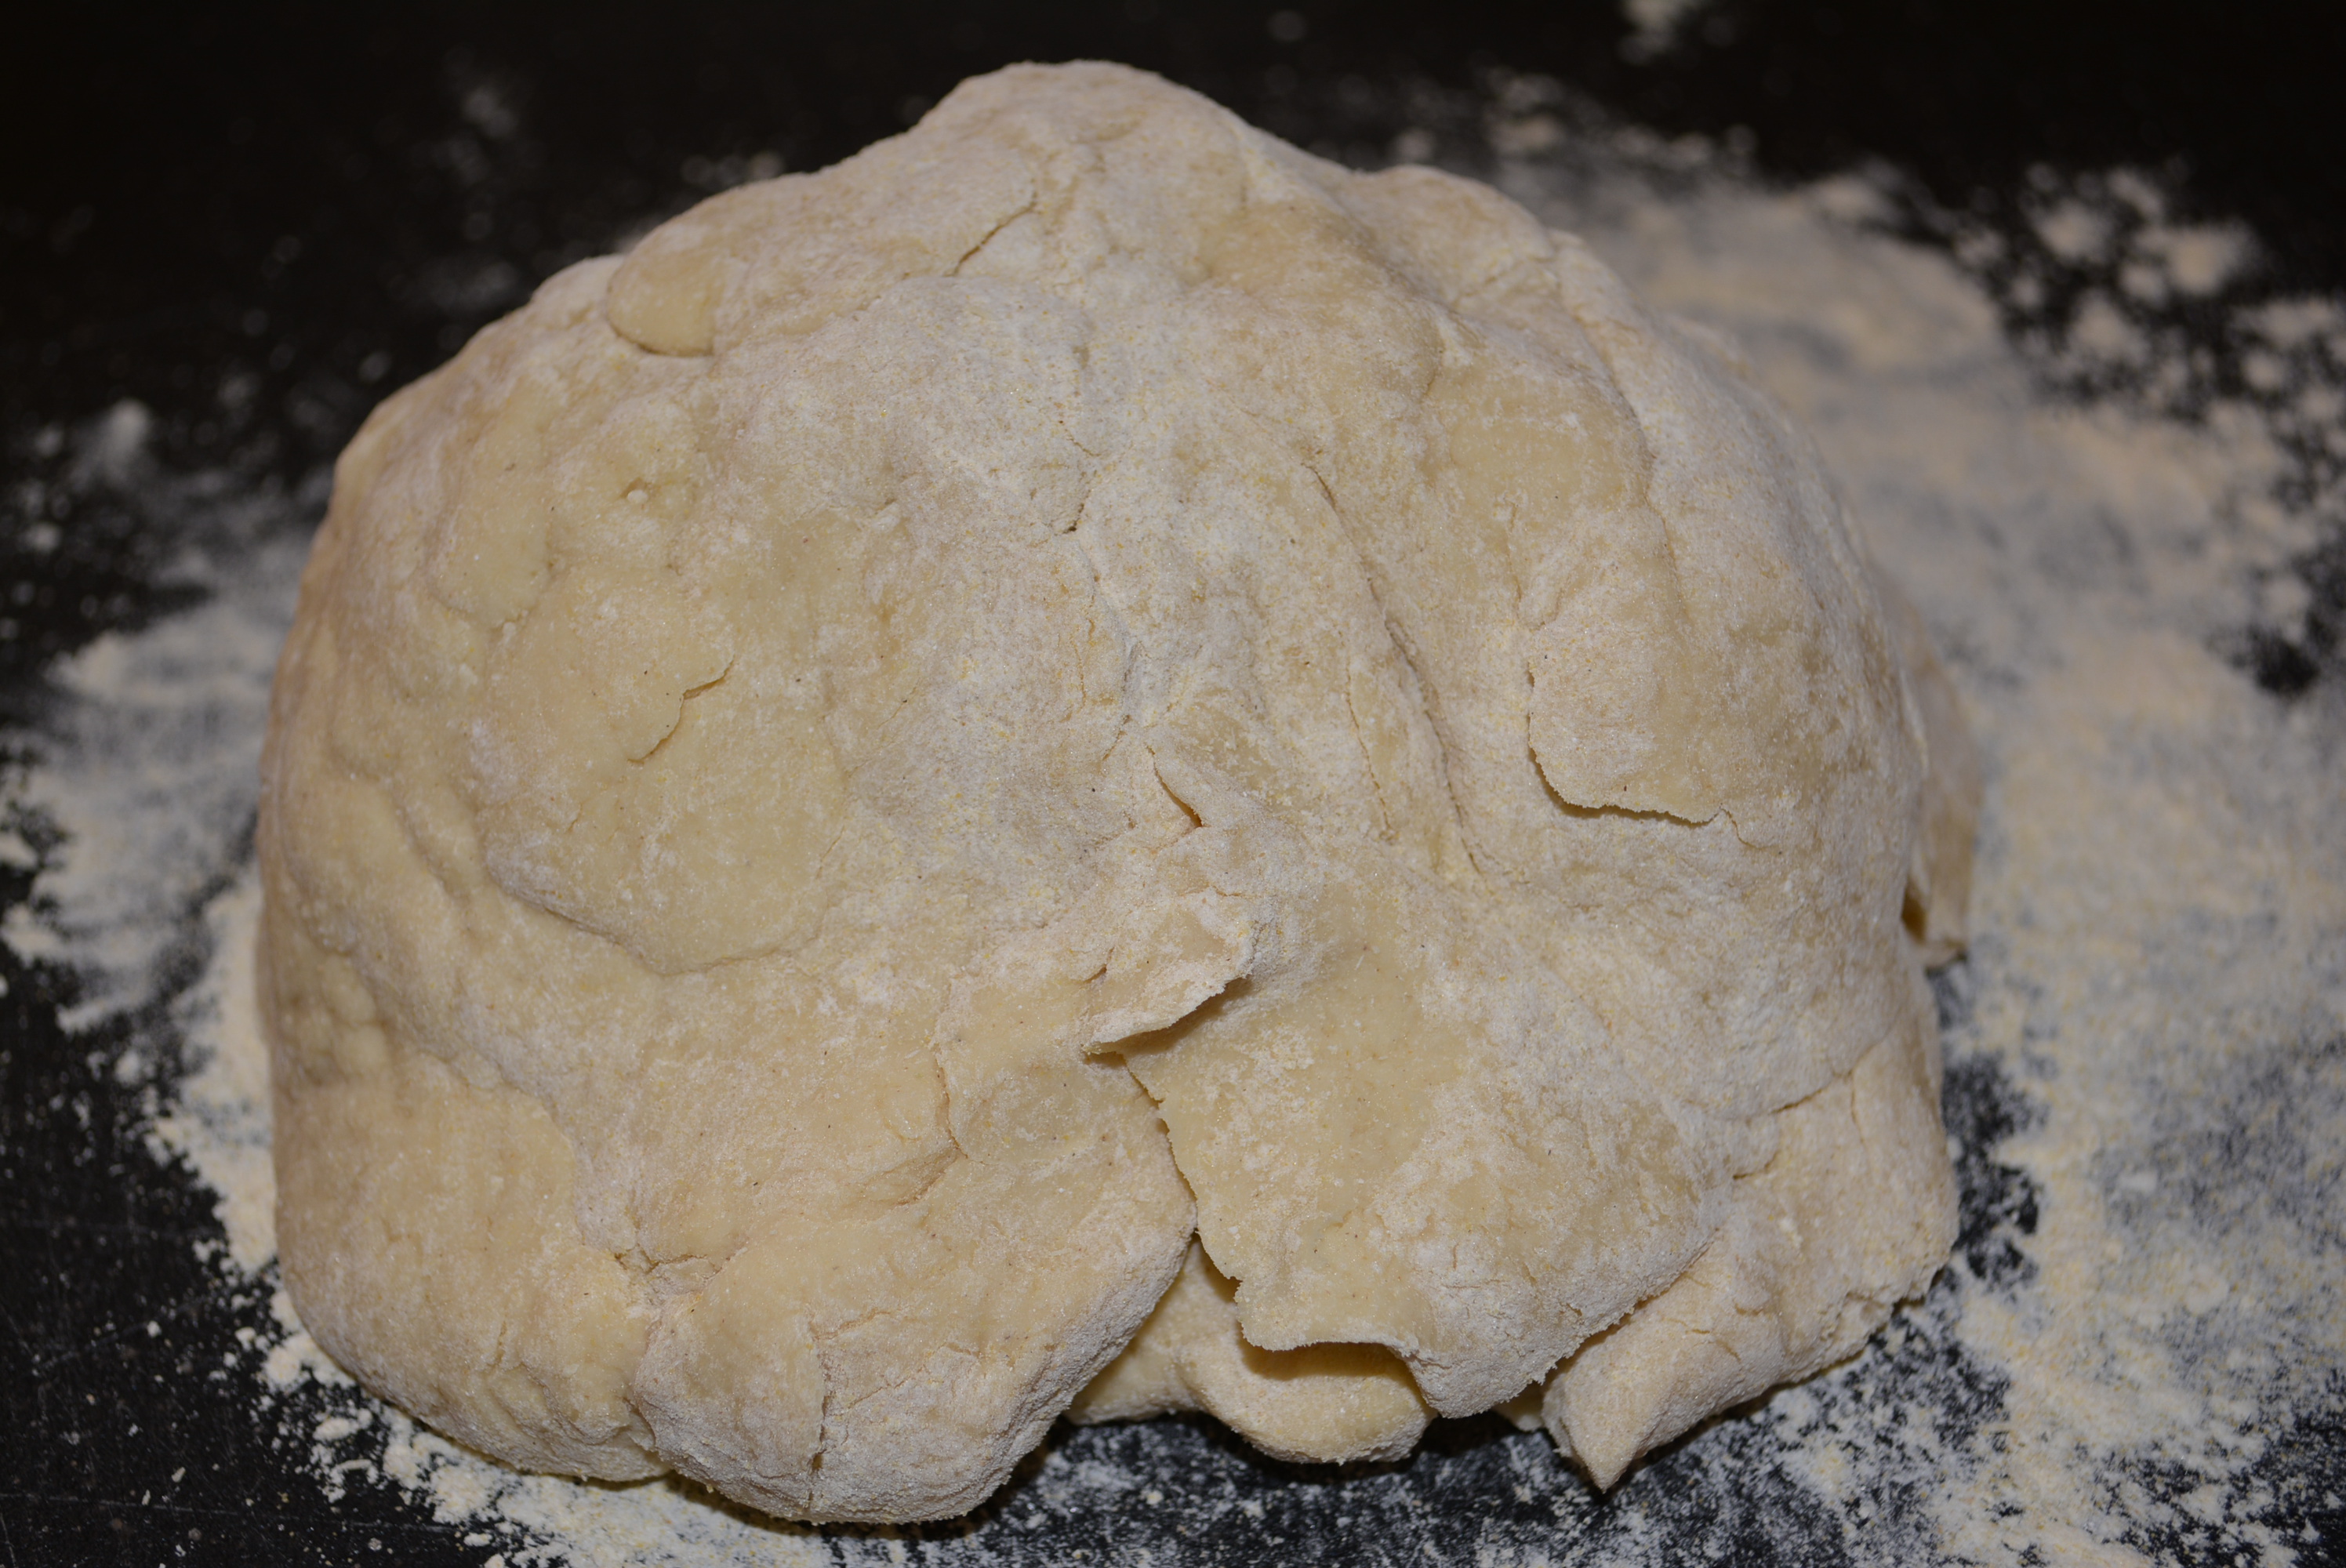
Now we’re ready to separate and roll out our dough for our calzones.
Dust your counter, table, or cutting board with gluten free flour and add dough on top. Cover your hands in flour and begin to knead the dough. Do this until the dough is not too sticky to manage.
Knead dough with gluten free flour until it’s not too sticky to handle.
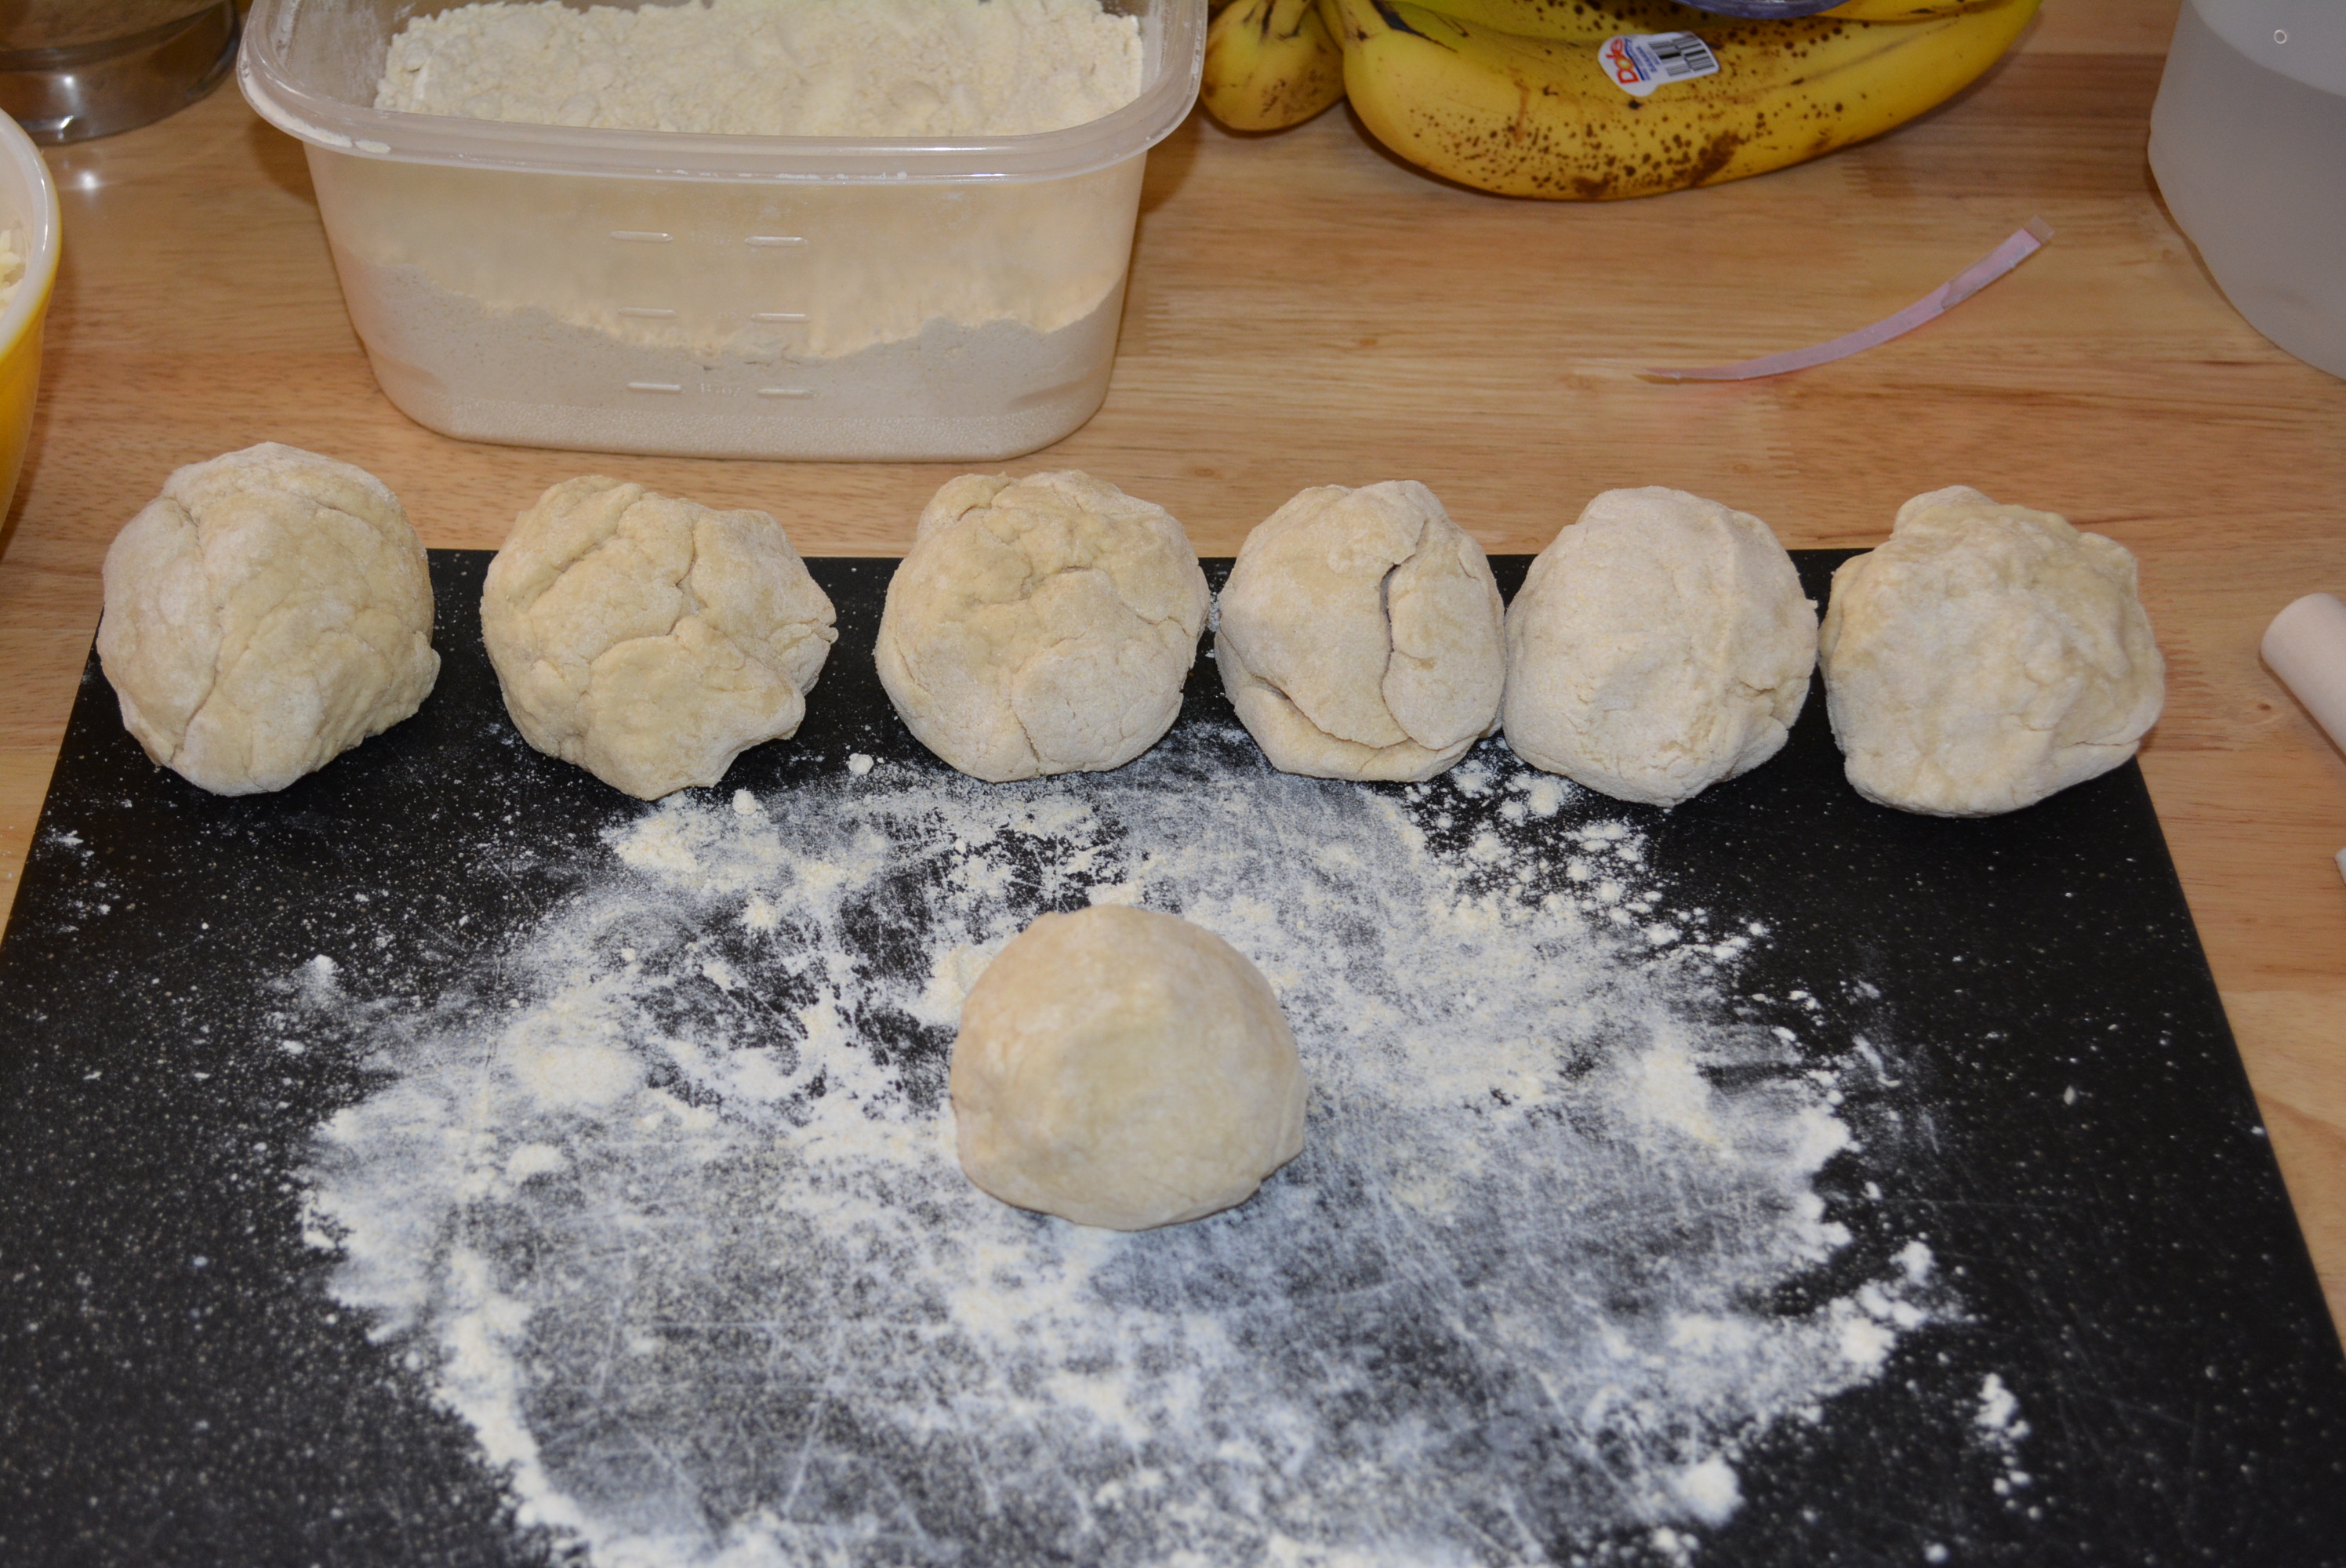
Divide dough into 6-7 individual servings. We had 6 personal size along with a smaller one for my little girl. Set all aside except for first one.
Divide dough into 6-7 smaller balls and set aside all except one.
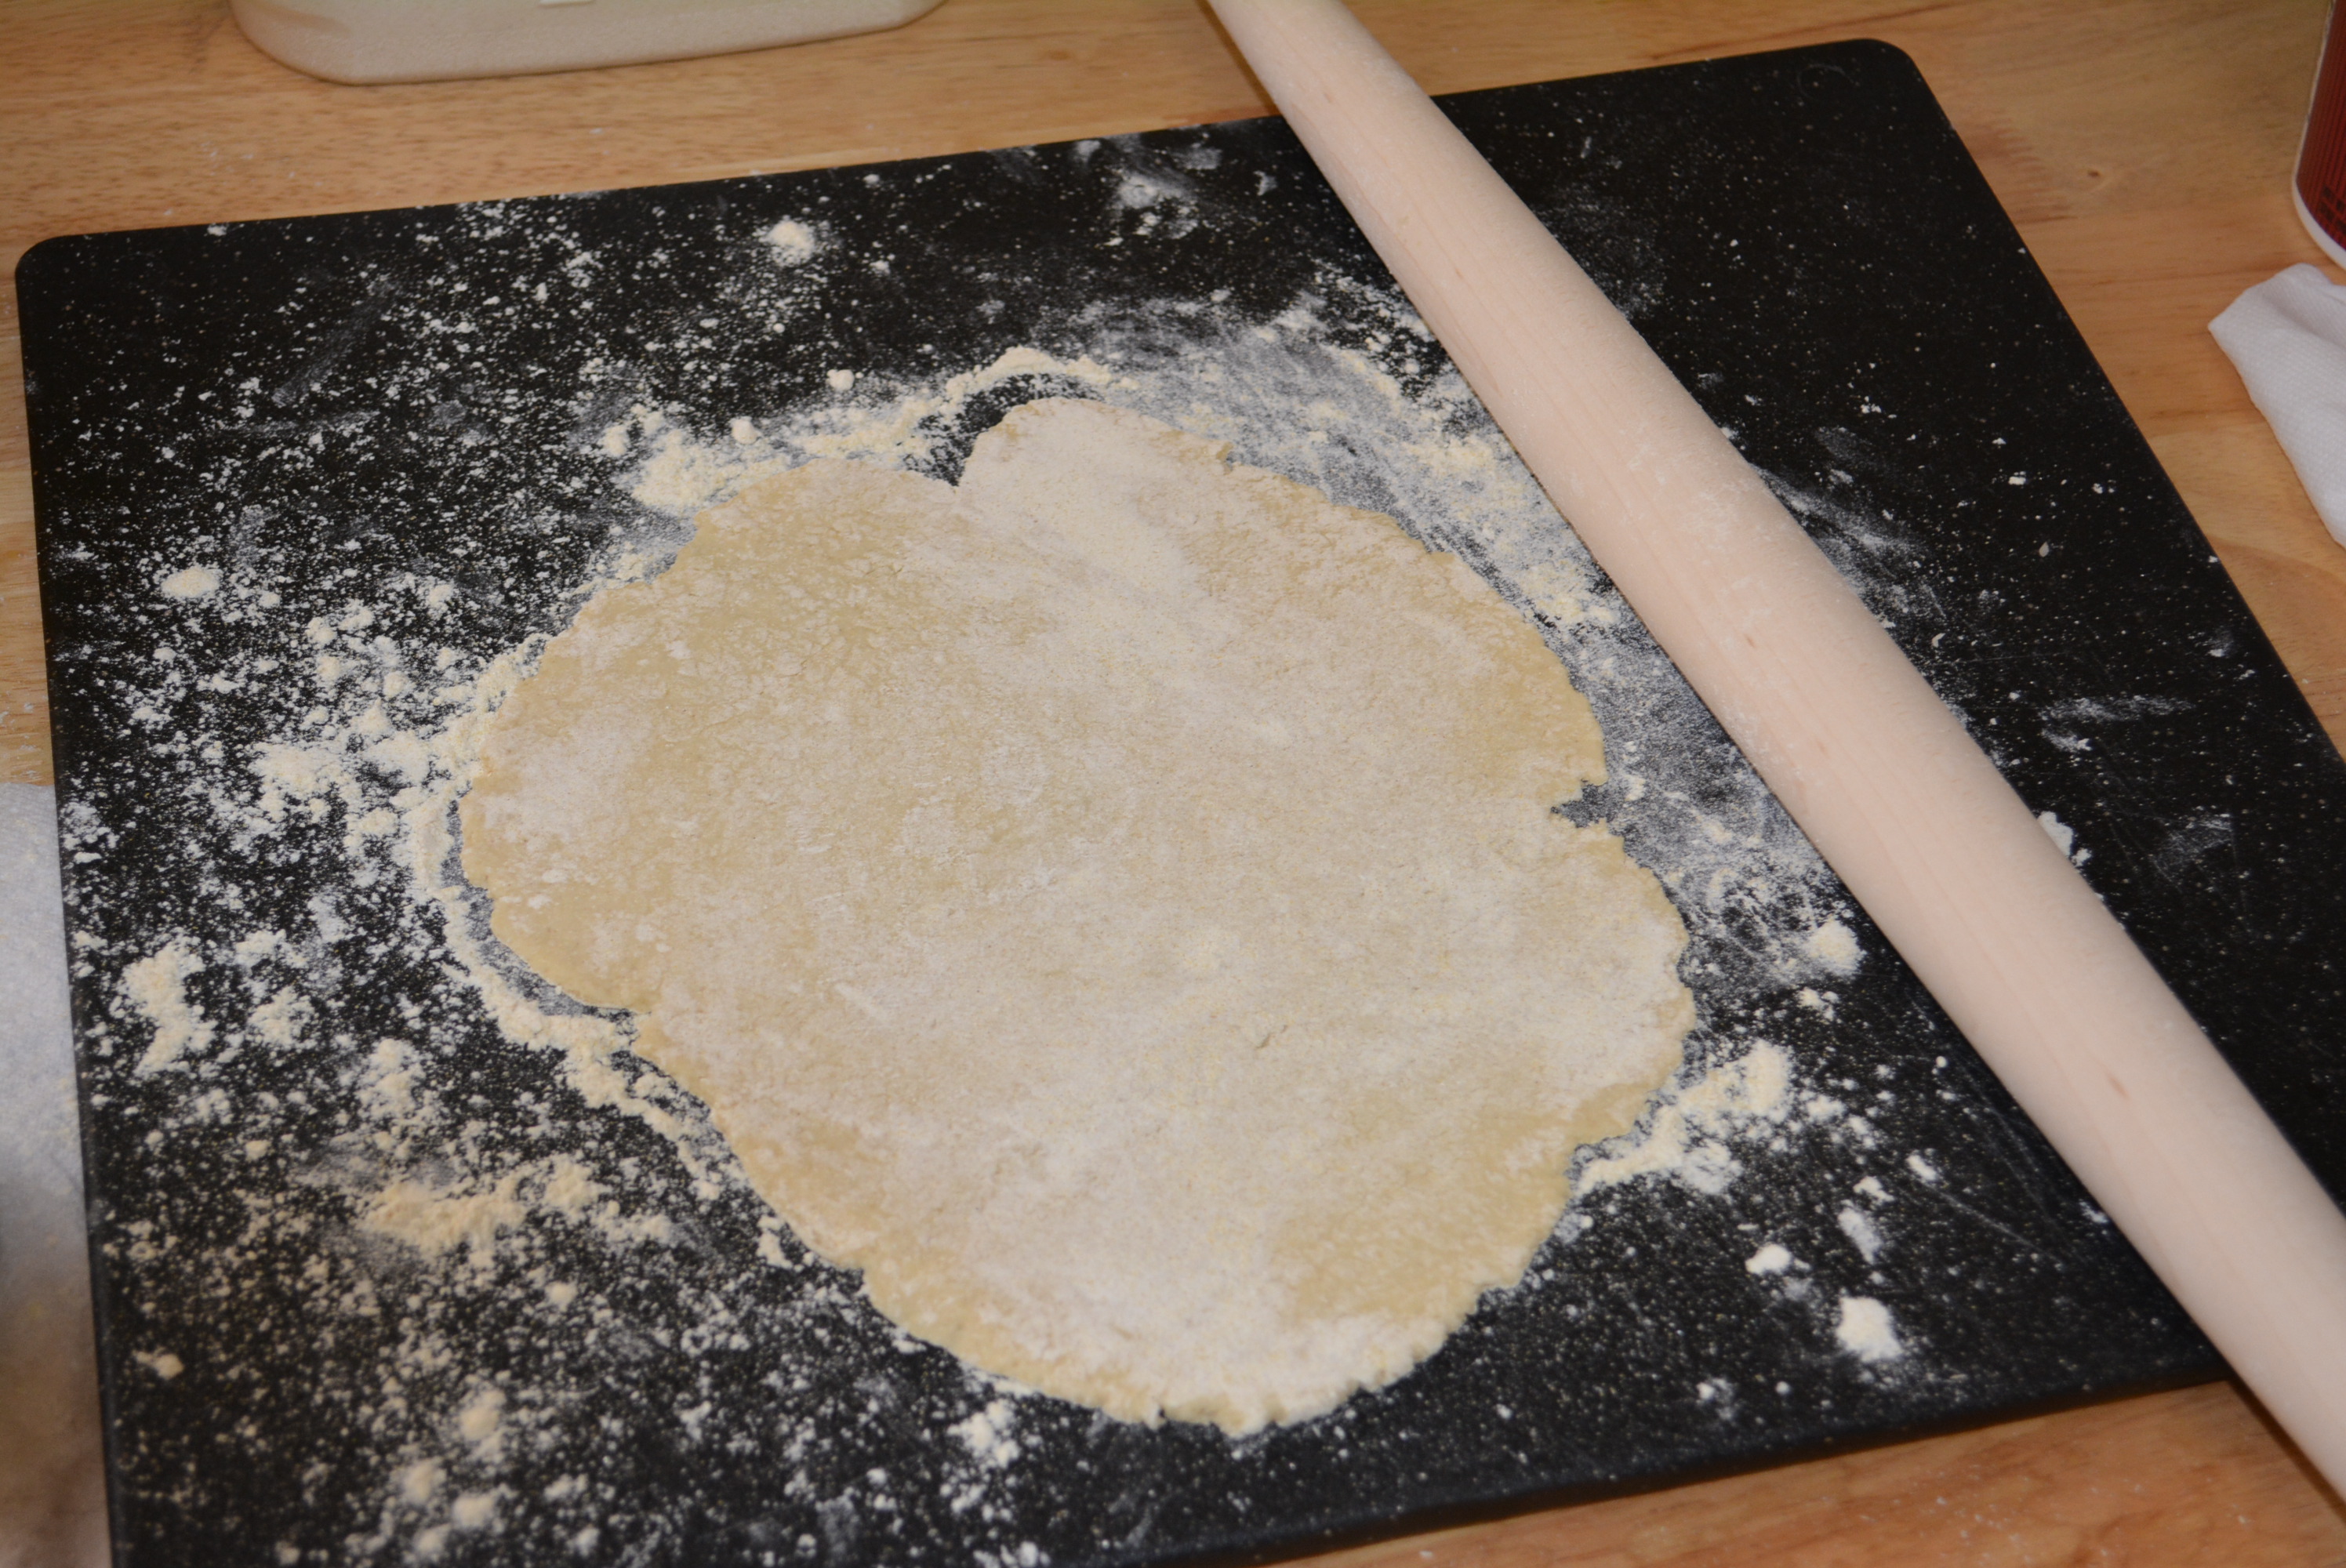
Using a rolling pin dusted in gluten free flour, add gluten free flour to top of dough and begin to roll slowly. Take your time with this and don’t be afraid to keep adding little bits of flour as you go to prevent sticking. Roll out dough to form a thin circle. You can either do this on the baking sheet that you’ll be assembling the calzone on or on a separate surface that might give you more room, just remember you’ll have to move the dough to cook it later on.
Using a rolling pin, flatten dough into a thin circle.
I usually like to roll out my dough on a large cutting board and then either slide it or pick it up to move it onto the baking sheet. However you’d like to do it, gently move the dough onto a baking sheet.
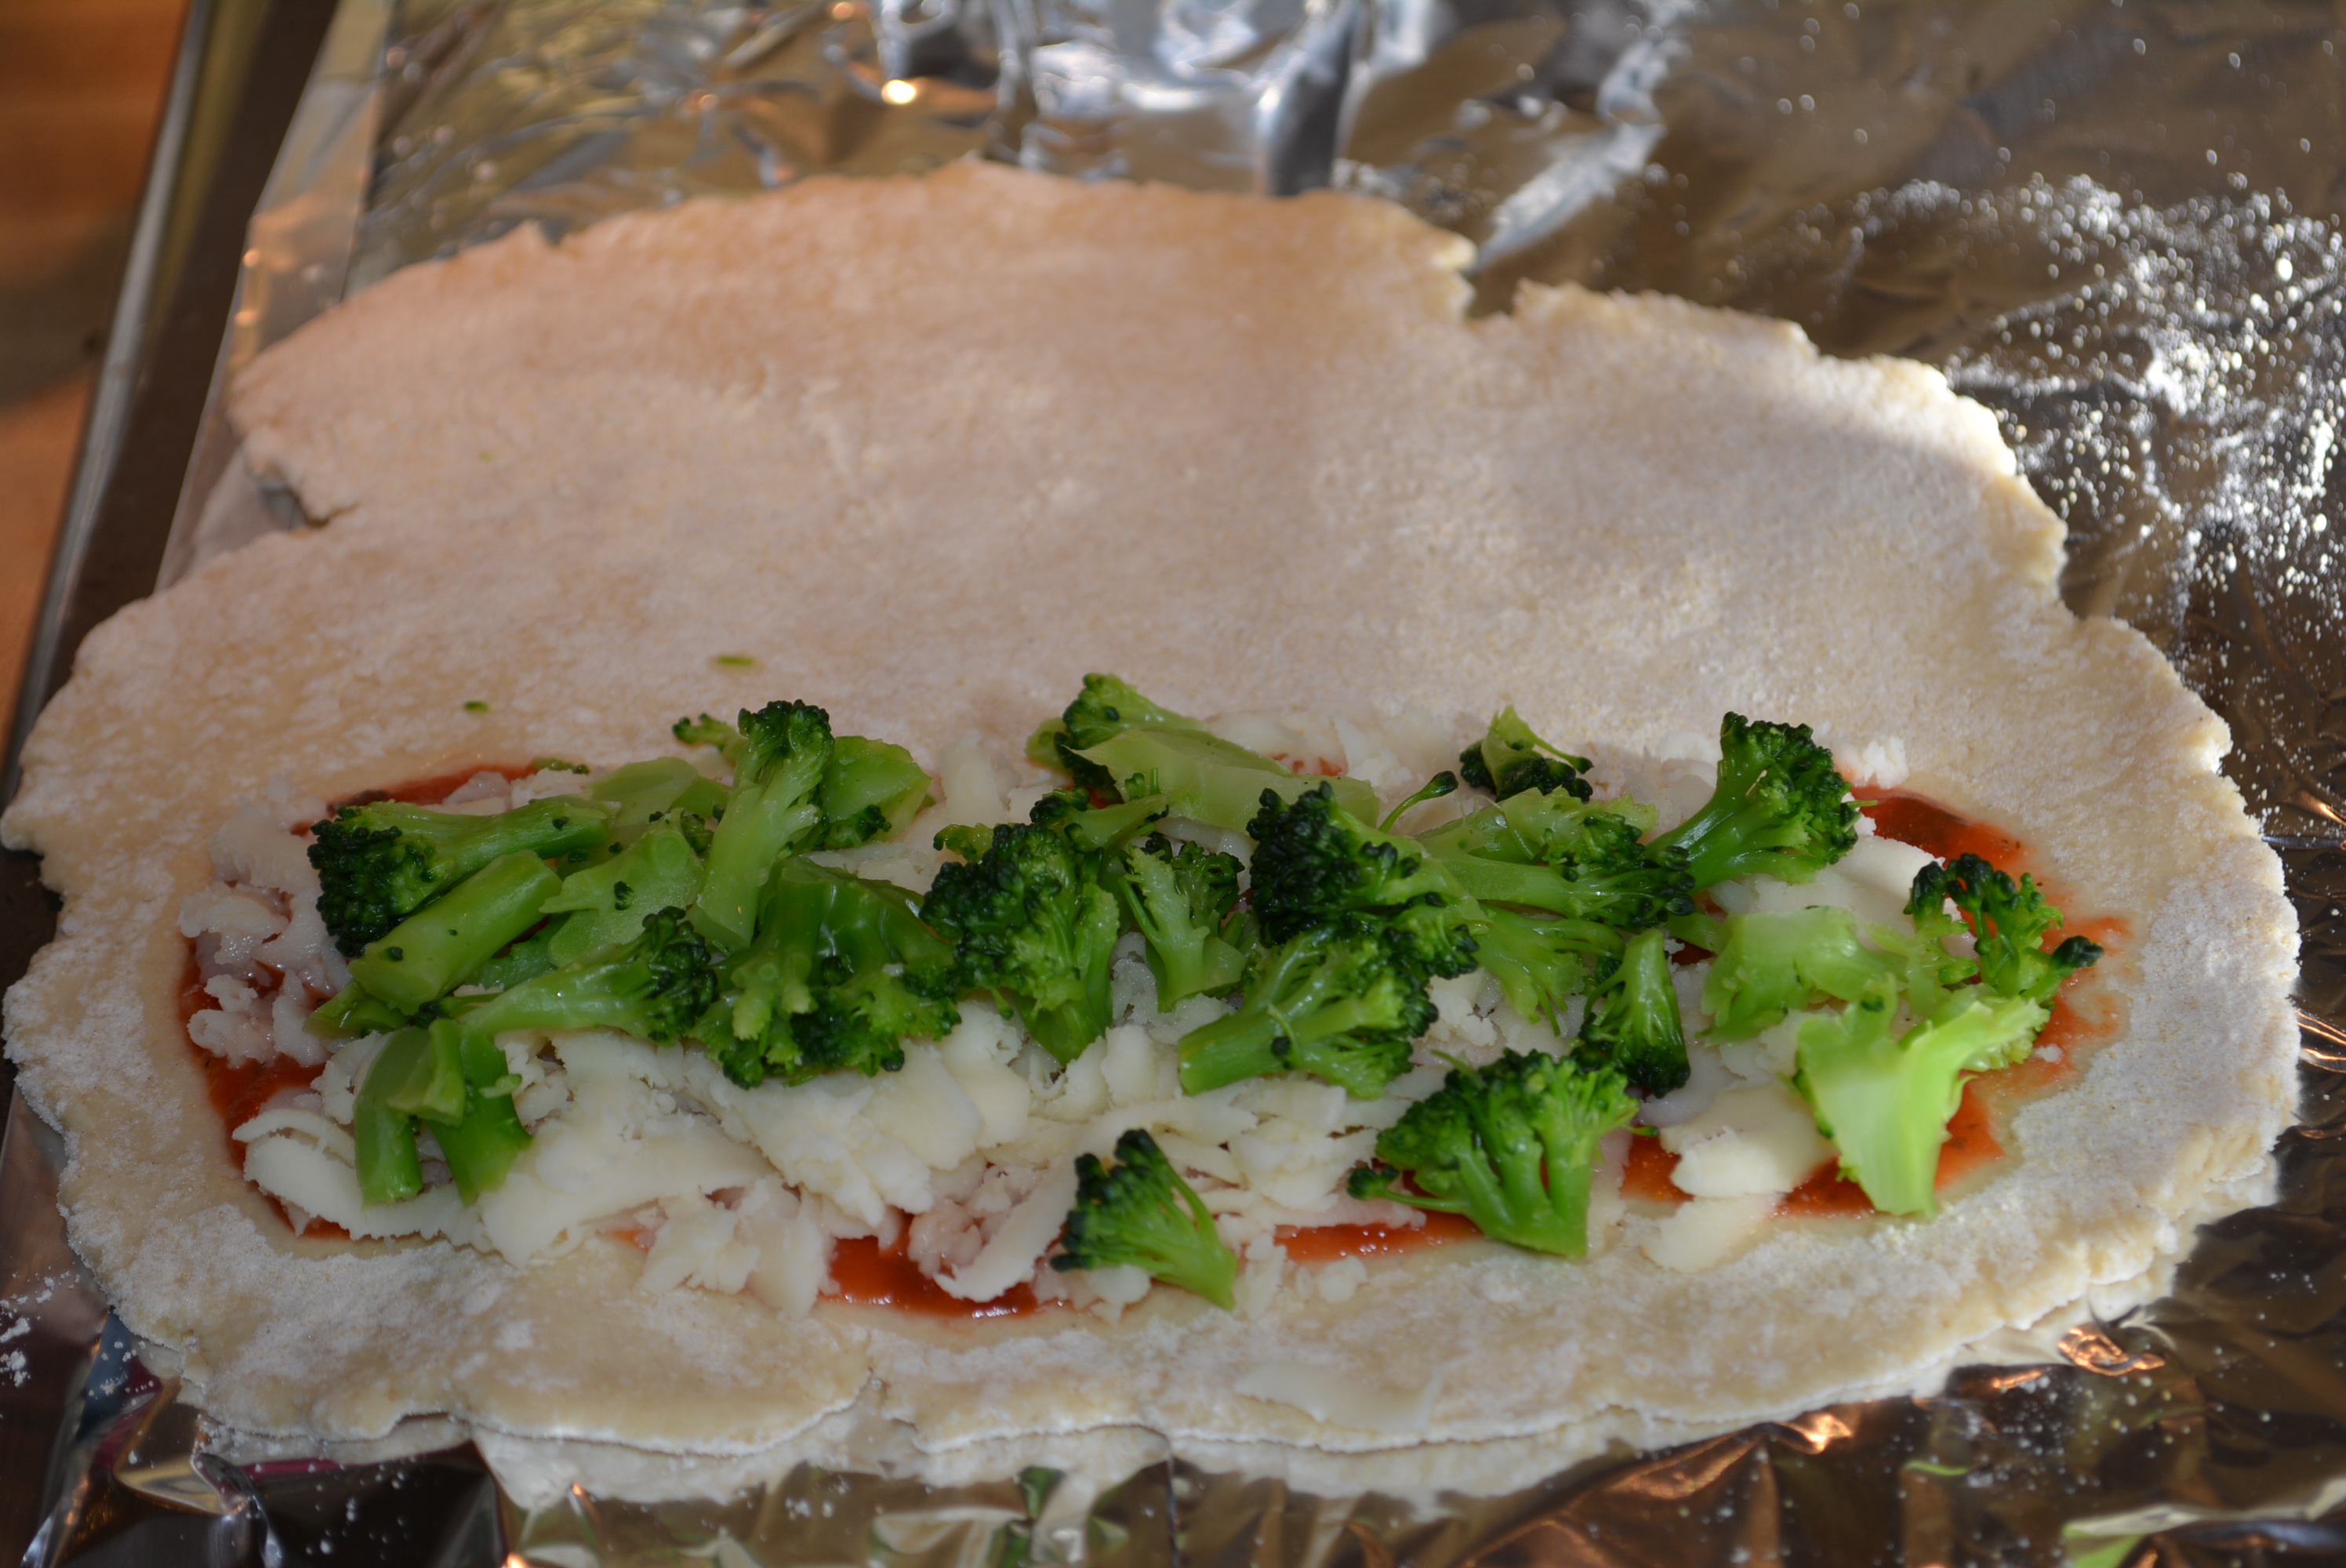
Now put together your calzones! First, to half of your circle, add some sauce, then some mozzarella and ricotta cheese, and broccoli or pepperoni or whichever other toppings you’d like. The best part here is you can add as much or as little of each of these things as you prefer! I personally love ricotta, mozzarella cheese, and sauce in mine! Just make sure to not over stuff your calzones and leave a bit of an edge to pinch your calzone closed.
Calzone stuffed with sauce, cheese, and veggies!
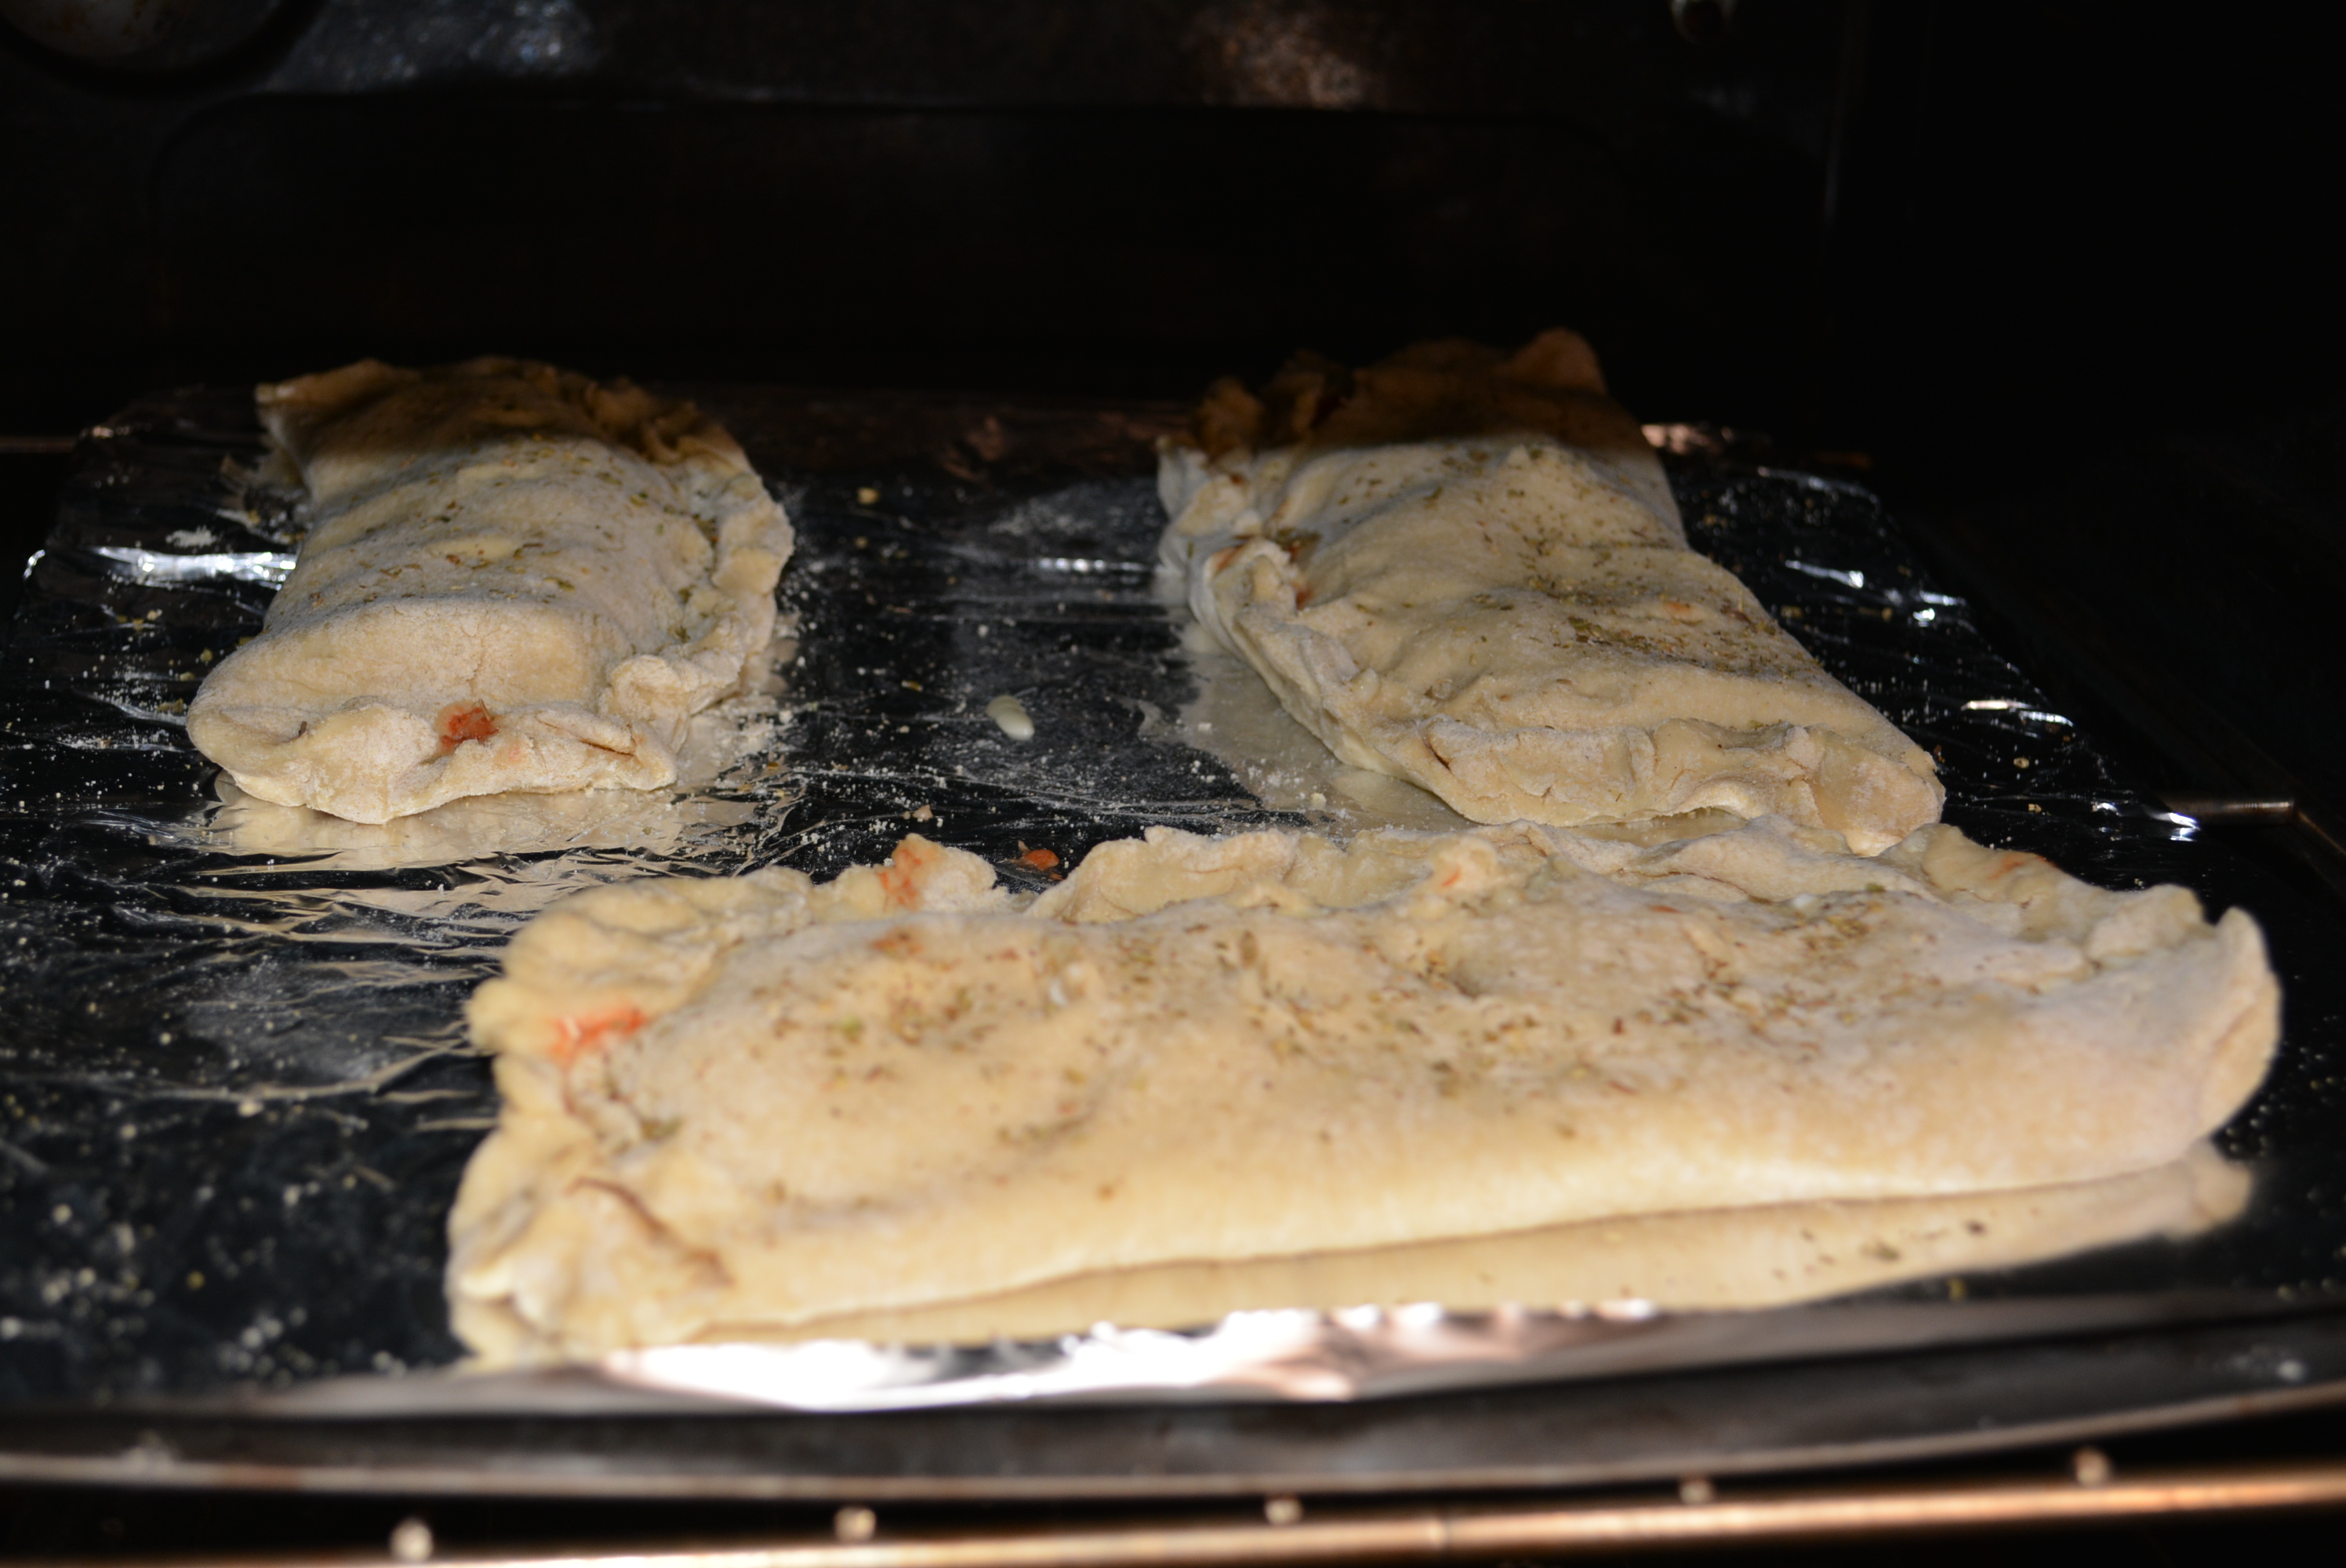
Turn over the empty half of your circle and pinch the cough closed, making sure to create a sealed pocket on all sides. Then using a sharp knife, add several slits to the top. I use this part to mark each of our different calzones, i.e. little one’s have two slits, mine have three, and Dan’s have four.
Before cooking, sprinkle tops with a little bit of garlic salt and oregano.
Add calzones to nonstick baking sheet.
Cook calzones for 14-16 minutes until tops begin to turn golden brown. Optional: Halfway through you can brush olive oil on tops to give a golden, crispy crust.
Cook calzones for 14 to 16 minutes!
Enjoy!
Enjoy!
I love the combination of the tomato sauce, ricotta, and mozzarella cheese all sandwiched into this fabulous gluten free pizza dough. If you have extra sauce, which we always have a ton, we like to take each bite and dip it into a little sauce on the side, it just adds a little something extra (if you still have extra, add it to a freezer bag when it’s cooled and freeze it for next time or another recipe). I think the best part of this recipe is that these calzones always reheat very well. As a family of 3 we never finish all of the calzones that are made, so we always have leftovers for the next day’s lunch or dinner. It’s so simple to reheat these, all you have to do is pop them into the microwave or oven, whatever is available, for a few minutes and they taste just as good as the day before. After just one bite of one of these calzones, you’ll remember the wonderful flavors of the gluten filled ones that you enjoyed years ago but now you can enjoy without the dangers of gluten!
Sincerely,
Lindsay
TIP: Although I have two non-gluten free eaters in my house, when I make something like these calzones from scratch that requires flour and any other potential gluten containing ingredient, I stick with only making a gluten free version to prevent any inevitable cross contamination. Usually, on a daily basis I prefer to make two versions, one for my daughter and husband and the other for me, when it’s easily and safely accomplished. In this case though, when flour is involved, I shy away from bringing out my gluten free and their regular flour at the same time, thus eliminating the worry of cross contaminating during the prep and of course the necessity of keeping everything separate while cooking too. Altogether, making just one version of the calzones is safer for me and my gluten diners sure have not complained about their gluten free calzones one bit. In fact, each time my husband raves about how delicious they turn out!
Crispy And Cheesy Gluten Free Calzones
2014-05-07 09:19:08
Crispy dough pockets filled with cheese and sauce!
1 Bob's Red Mill Gluten Free Pizza Crust Whole Grain Mix (includes 1 packet of yeast)
2 eggs for pizza crust
2 tbsp olive oil for pizza crust
1 1/2 cup warm water for pizza crust
16 oz block of part skim mozzarella cheese (Galbani Sorrento is gluten free as indicated via phone, but as always call each time you purchase to review gluten status)
1/2 cup part skim ricotta cheese (Galbani Sorrento)
Additional toppings desired such as broccoli or pepperoni (our favorite is Hormel which states gluten free on their packaging)
Gluten free all purpose flour for rolling out dough (I like Bob's Red Mill)
Oregano and Garlic Salt to taste
Instructions
First prepare the sauce by adding 2 tbsp olive oil and 2 tbsp minced garlic to sauce pan.
Cook garlic on low-medium heat until slightly browned.
Add a 28 oz can of tomato sauce (I like Tutturosso).
Stir sauce and heat on low-medium.
Add 1 tsp of dried basil, oregano, and parsley and stir to combine.
Taste sauce and add a bit of garlic salt if you'd like.
Heat sauce for about 20-25 minutes.
Remove from heat and set sauce aside.
Preheat your oven to 425 degrees.
Now prepare Bob's Red Mill Gluten Free Pizza Crust Mix by first combining 1 1/2 cups warm water and 1 packet of yeast (included in the mix bag) with a mixer and set aside for several minutes.
Add 2 eggs and 2 tbsp olive oil to yeast and mix.
Gradually add in Bob's Red Mill pizza mix, mixing well after each addition.
When all is combined, divide dough in half, cover with saran wrap, and allow to rise for about 20 minutes.
While dough is rising, shred 16 oz block of part skim mozzarella cheese.
Collect all other fillings to assemble your calzones. We like Hormel pepperoni, Sorrento part skim ricotta cheese, and steamed broccoli.
Now we're ready to separate and roll out our dough for our calzones.
Dust your counter, table, or cutting board with gluten free flour and add dough on top. Cover your hands in flour and begin to knead the dough. Do this until the dough is not too sticky to manage.
Divide dough into 6-7 individual servings. We had 6 personal size along with a smaller one for my little girl. Set all aside except for first one.
Using a rolling pin dusted in gluten free flour, add gluten free flour to top of dough and begin to roll slowly. Take your time with this and don't be afraid to keep adding little bits of flour as you go to prevent sticking. Roll out dough to form a thin circle. You can either do this on the baking sheet that you'll be assembling the calzone on or on a separate surface that might give you more room, just remember you'll have to move the dough to cook it later on.
I usually like to roll out my dough on a large cutting board and then either slide it or pick it up to move it onto the baking sheet. However you'd like to do it, gently move the dough onto a baking sheet.
Now put together your calzones! First, to half of your circle, add some sauce, then some mozzarella and ricotta cheese, and broccoli or pepperoni or whichever other toppings you'd like. The best part here is you can add as much or as little of each of these things as you prefer! I personally love mozzarella, ricotta, and sauce! Just make sure to not over stuff your calzones and leave a bit of an edge to pinch your calzone closed.
Turn over the empty half of your circle and pinch the cough closed, making sure to create a sealed pocket on all sides. Then using a sharp knife, add several slits to the top. I use this part to mark each of our different calzones, i.e. little one's have two slits, mine have three, and Dan's have four.
Before cooking, sprinkle tops with a little bit of garlic salt and oregano.
Cook calzones for 14-16 minutes until tops begin to turn golden brown. Optional: Halfway through you can brush olive oil on tops to give a golden, crispy crust.
Enjoy!
By Gluten Free Mom To Be
Gluten Free Mom To Be http://www.glutenfreemomtobe.com/
While most of my days are filled with blogging and chasing my toddler and fur baby around I’m always in search of a quick and easy dinner option that I can make both gluten free for myself and regular for my daughter and husband. As you may have caught onto by now, pesto is a key ingredient in a number of my family’s favorite dishes. I decided last night to bring out the pesto again and put together one of my all time favorite pizza combinations, Tomato and Chicken atop a pesto slathered pizza crust, a combination I was first introduced to on Pillsbury’s recipe site.
Being short on time combined with relatively empty pantry shelves (after a busy weekend, I’m overdo for a grocery shopping trip), I knew this one would be a perfect option for dinner. I pulled out a jar of gluten free pesto sauce, along with a frozen Udi’s pizza crust, a box of Perdue Shortcuts, and a few other ingredients from my refrigerator and I was almost ready to put my pizza together. When you’re missing fresh ingredients to make your own pesto sauce, it’s wonderful to be able to turn to a convenient and guaranteed gluten free premade option, especially on a busy night. Some of my favorite jarred pesto sauce brands include Wegmans store brand, Bellino, Cento, and Classico. (If you do have all of the ingredients on hand and a few spare minutes feel free to use my homemade pesto sauce recipe here.) Another quick substitute that is a huge timesaver to defrosting, cooking up, and carving your own chicken breasts are pre-cooked chicken strips like those produced by Perdue, my favorites that I use often are the Honey or Grilled varieties. After gathering and quickly preparing your ingredients, this pizza takes only a few minutes to put together and only about 7 minutes more to cook. And there you go! A wonderfully gluten free Tomato and Chicken Pesto Pizza that’s prepped, cooked, and ready to enjoy in only 15 minutes!
Ingredients:
Udi’s Pizza Crust
2-3 tbsp pesto sauce (homemade or gluten free jarred like Wegmans, Classico, Cento, and Bellino)
1 small plum tomato, thinly sliced
1/4 – 1/2 cup diced chicken breast (half a 9 oz bag of Perdue Shortcuts, I used the honey variety)
1/4 – 1/2 cup shredded part skim mozzarella cheese (Sorrento is gluten free)
garlic salt to taste
Ingredients for my divine gluten free tomato and chicken pesto pizza.
Directions:
Preheat oven to 375 degrees.
Place pizza crust on baking sheet.
Wash and cut tomato into thin slices.
Prepare chicken breast strips according to package instructions and dice into bite-size pieces.
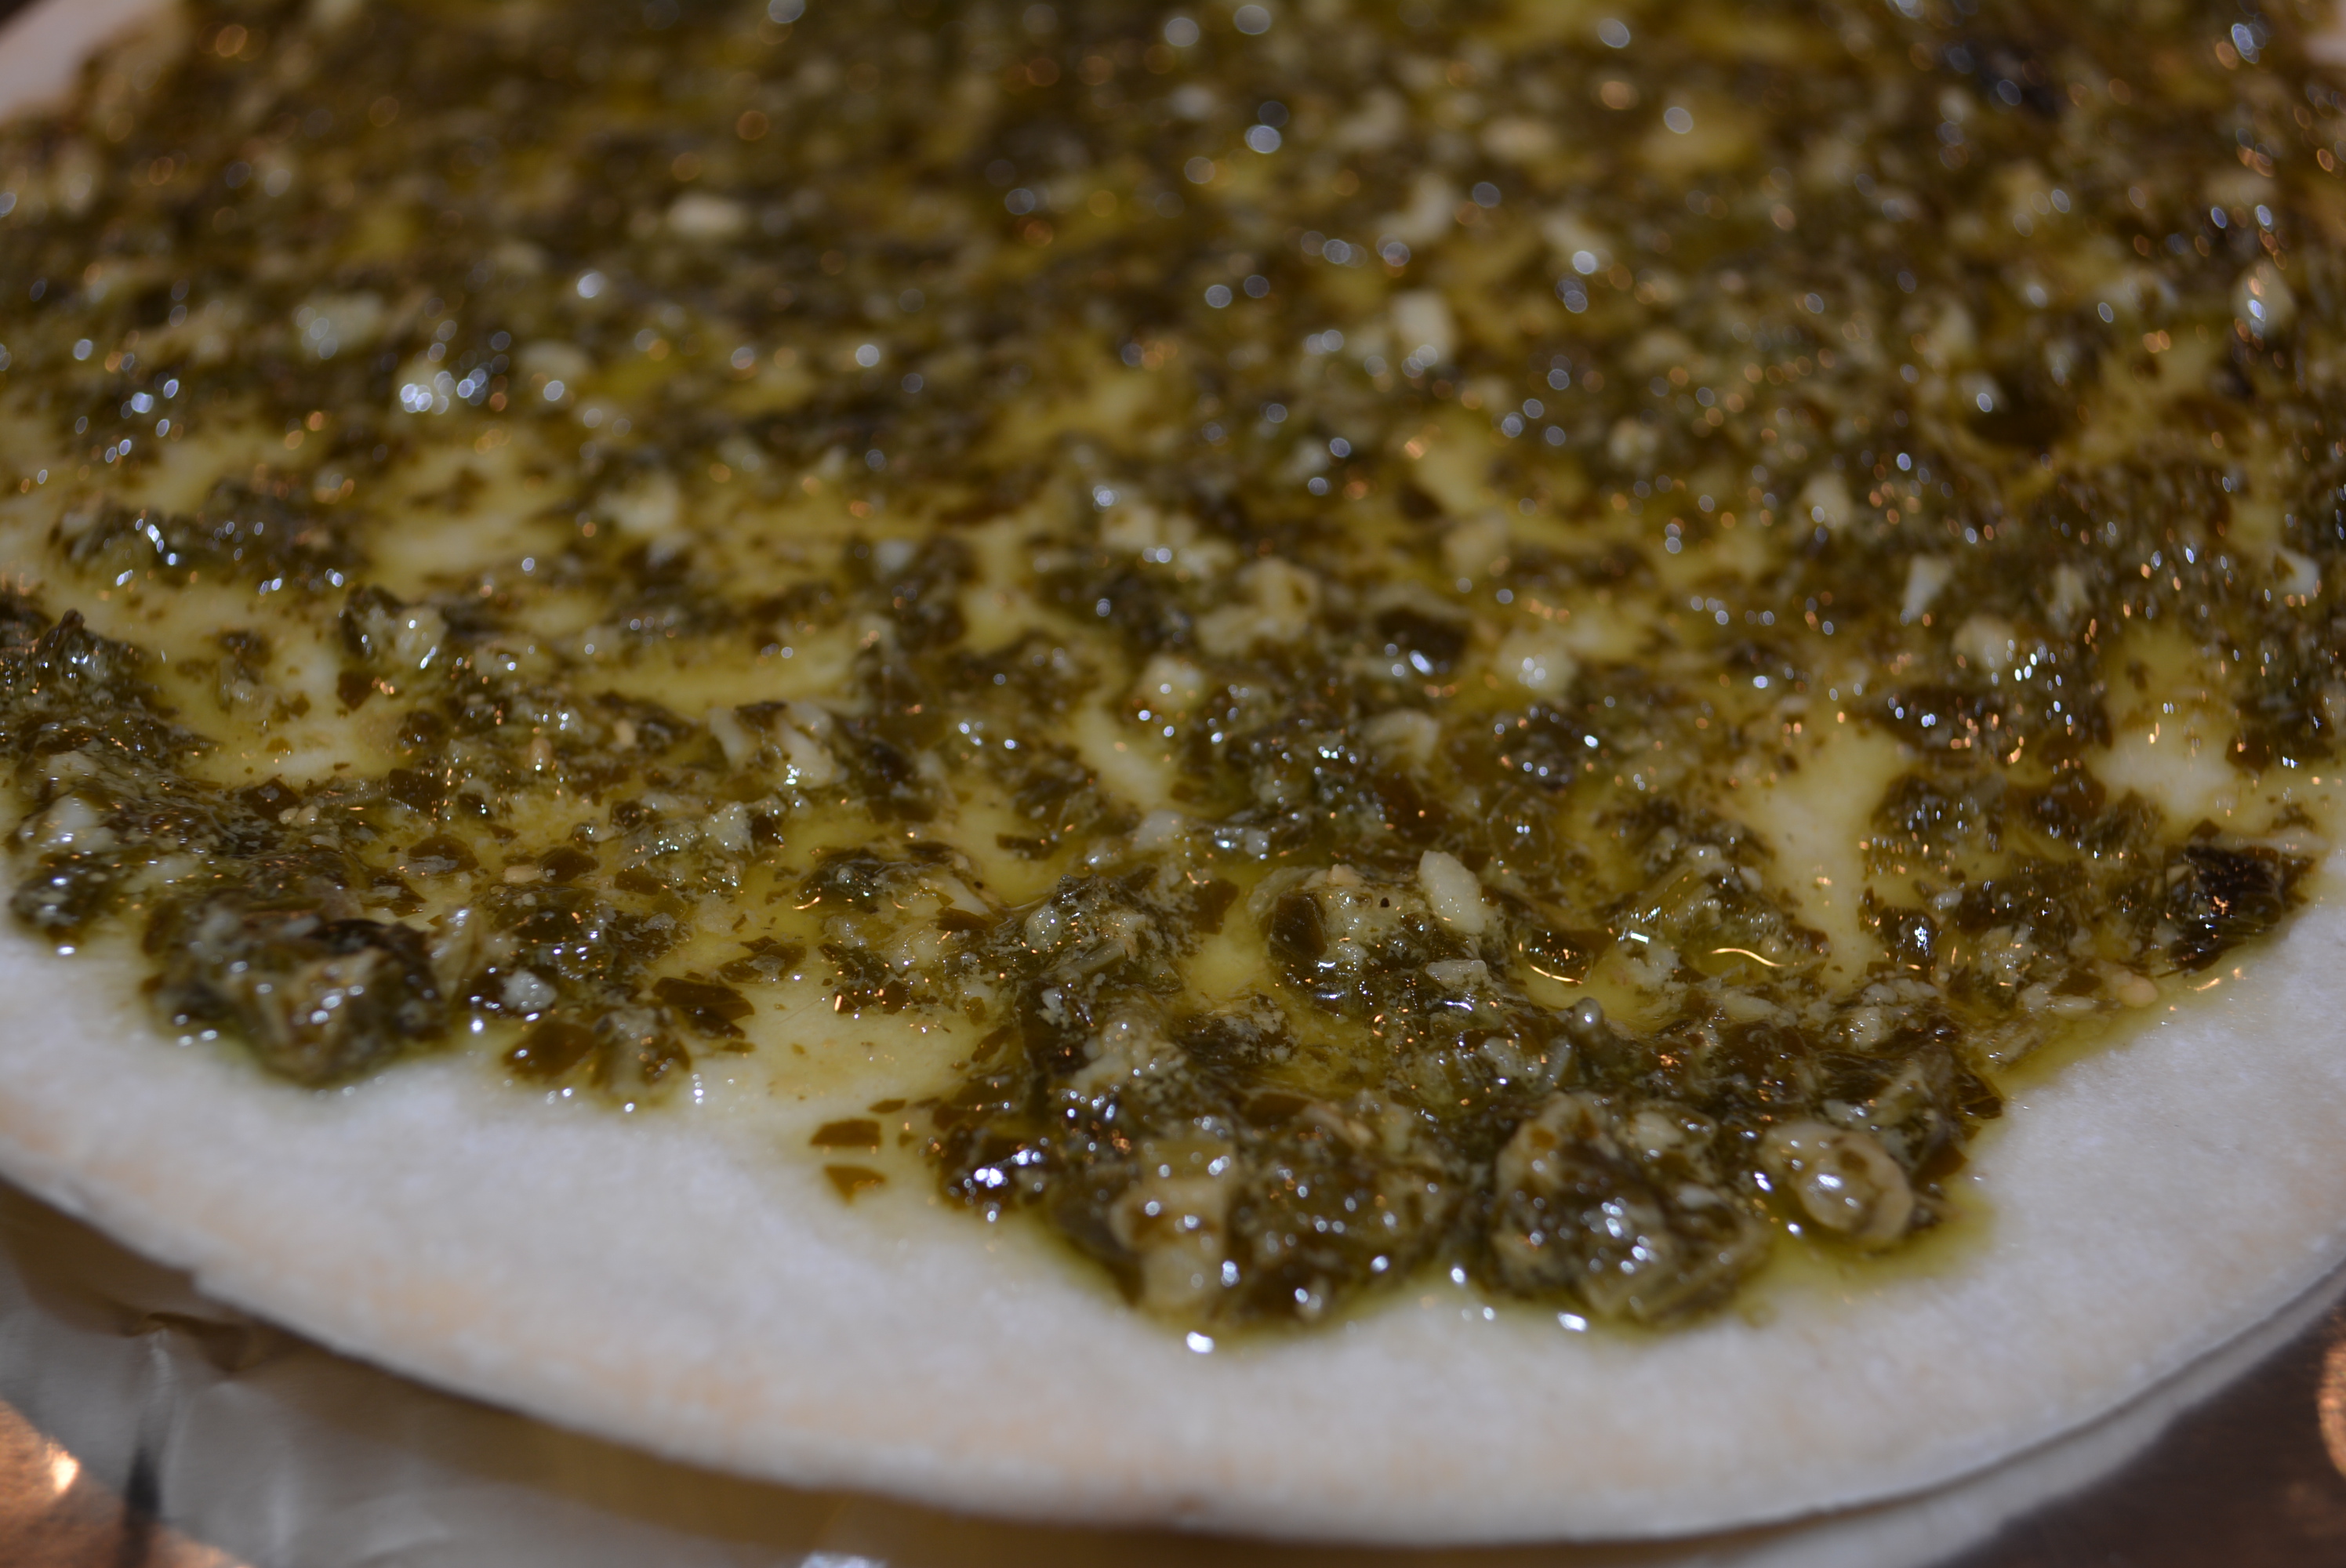
Add 2-3 tbsp of pesto sauce to pizza crust and use back of spoon to smooth out a thin layer across the entire crust, being sure though to leave about 1/4 inch on the edge free of sauce.
Pesto sauce added to pizza crust.
Sprinkle a handful of shredded mozzarella cheese atop pesto sauce, creating a thin, cheesy layer.
Add thin layer of mozzarella cheese to pizza.
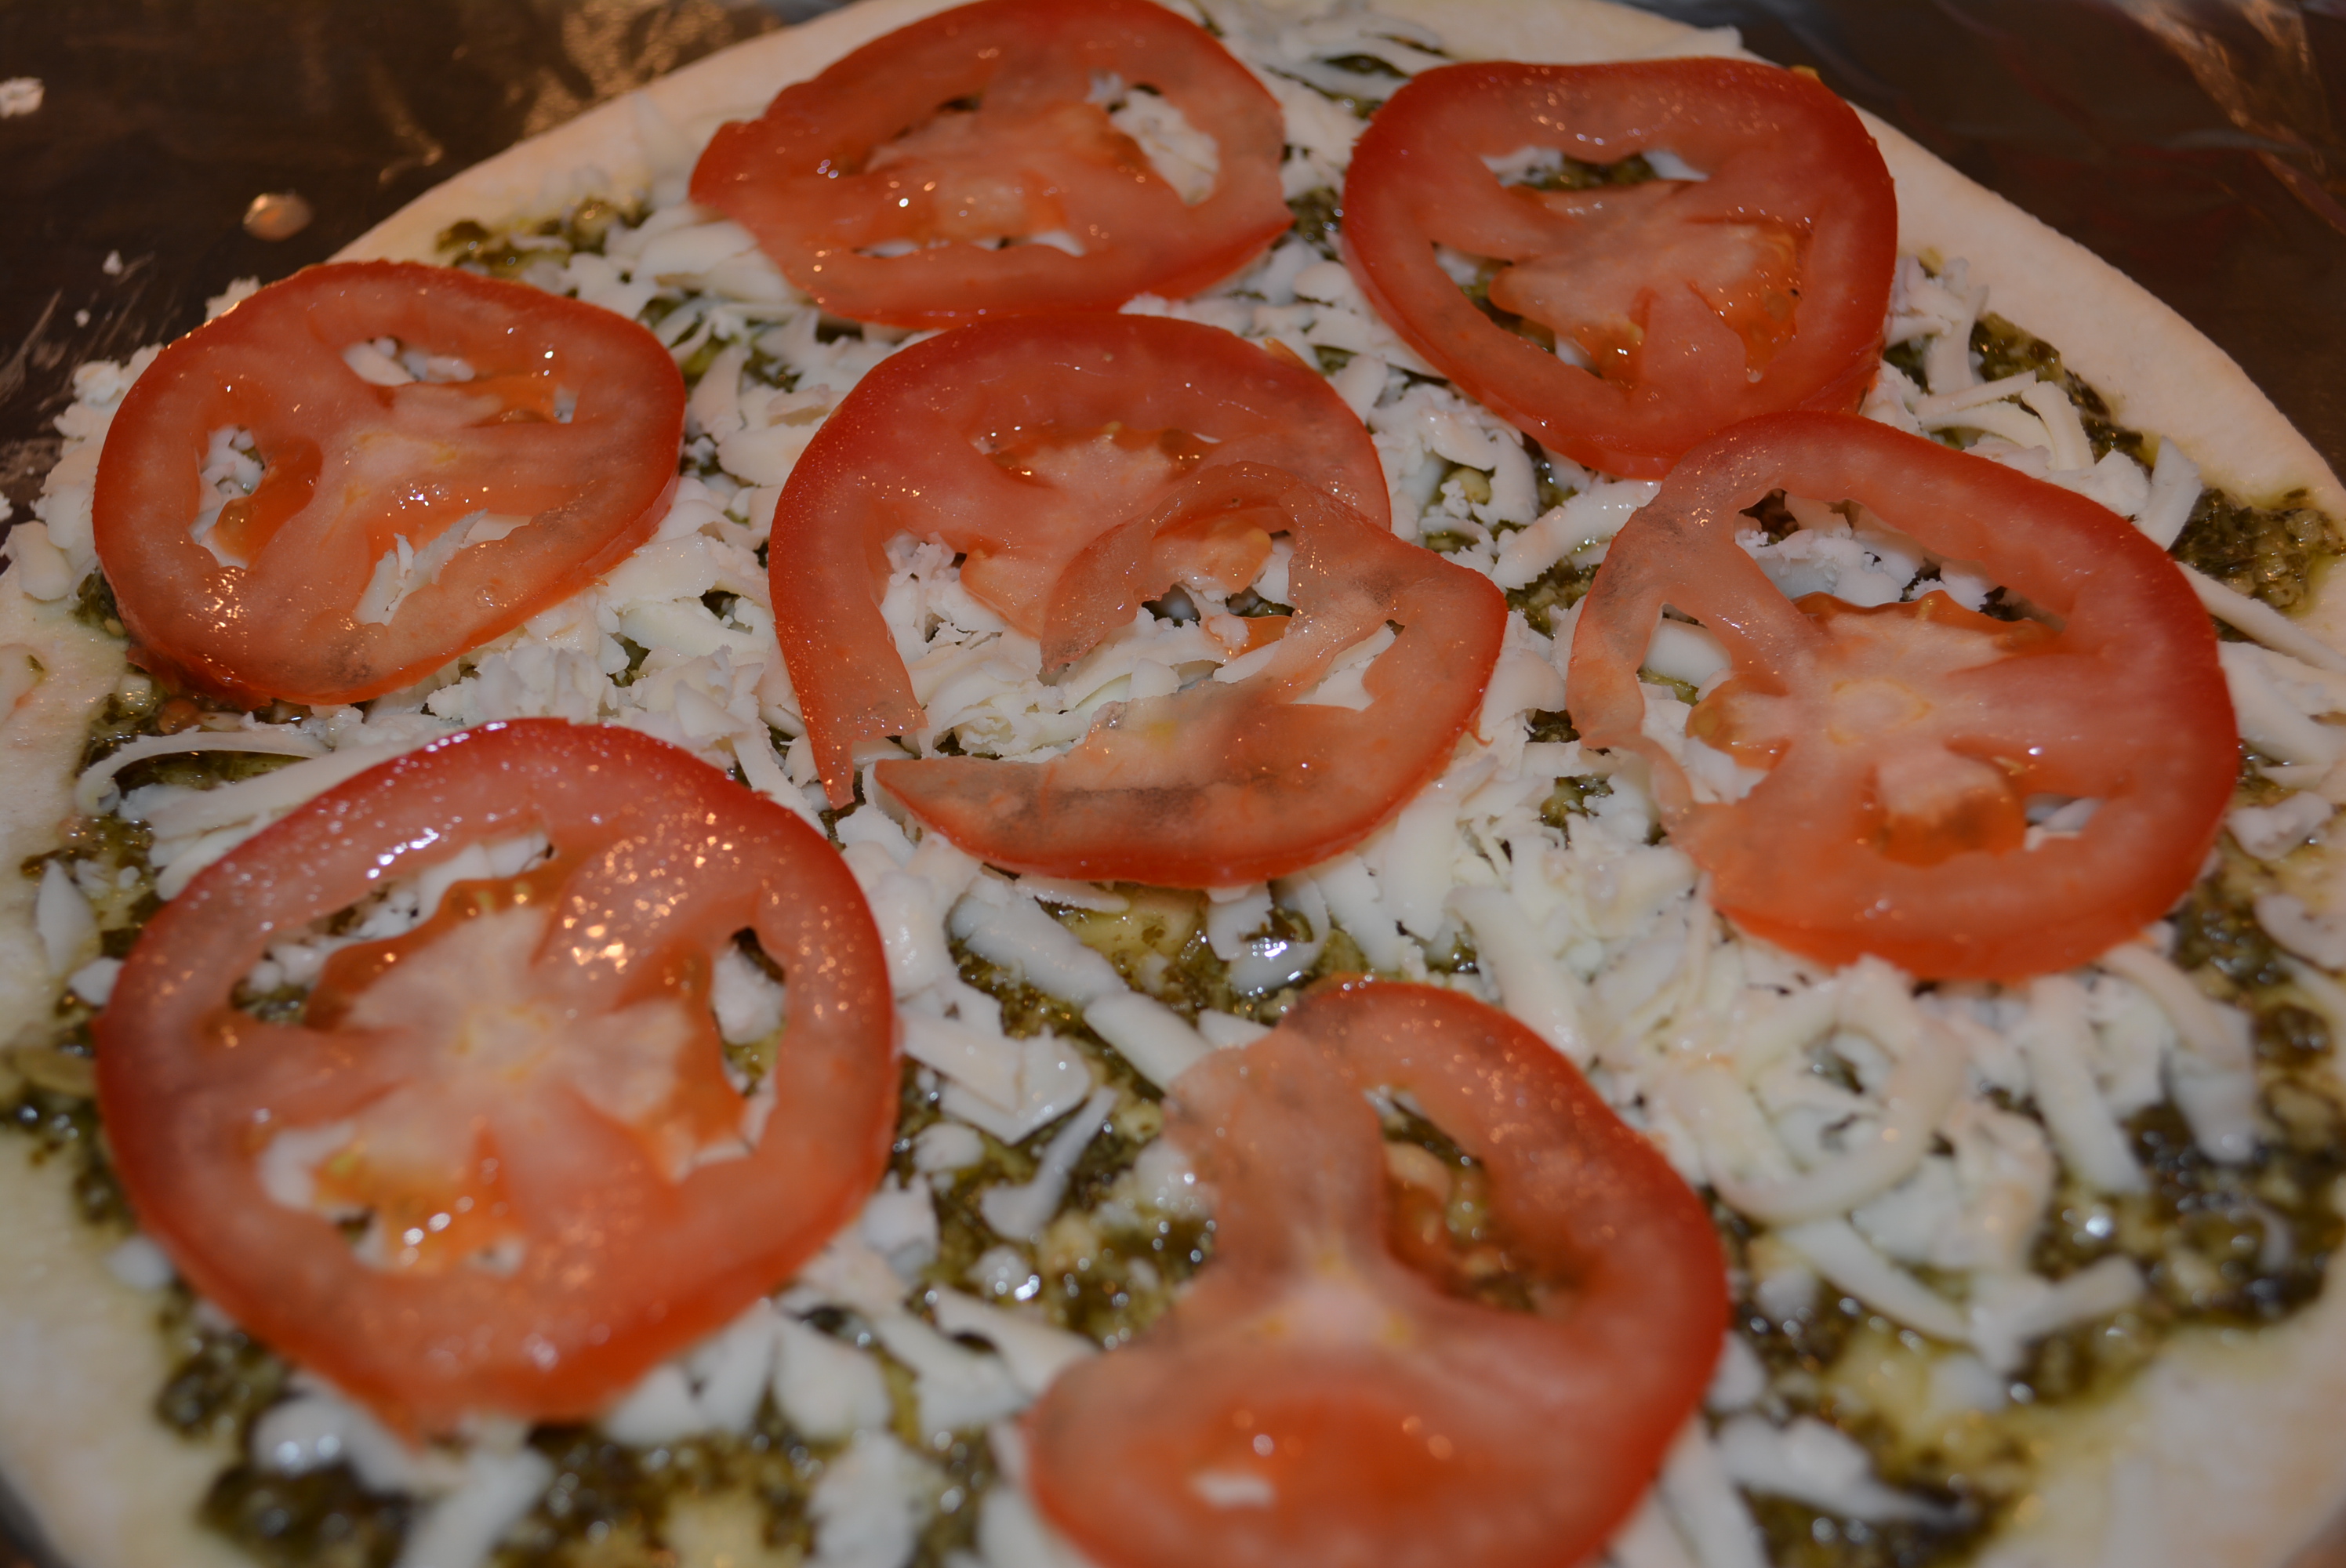
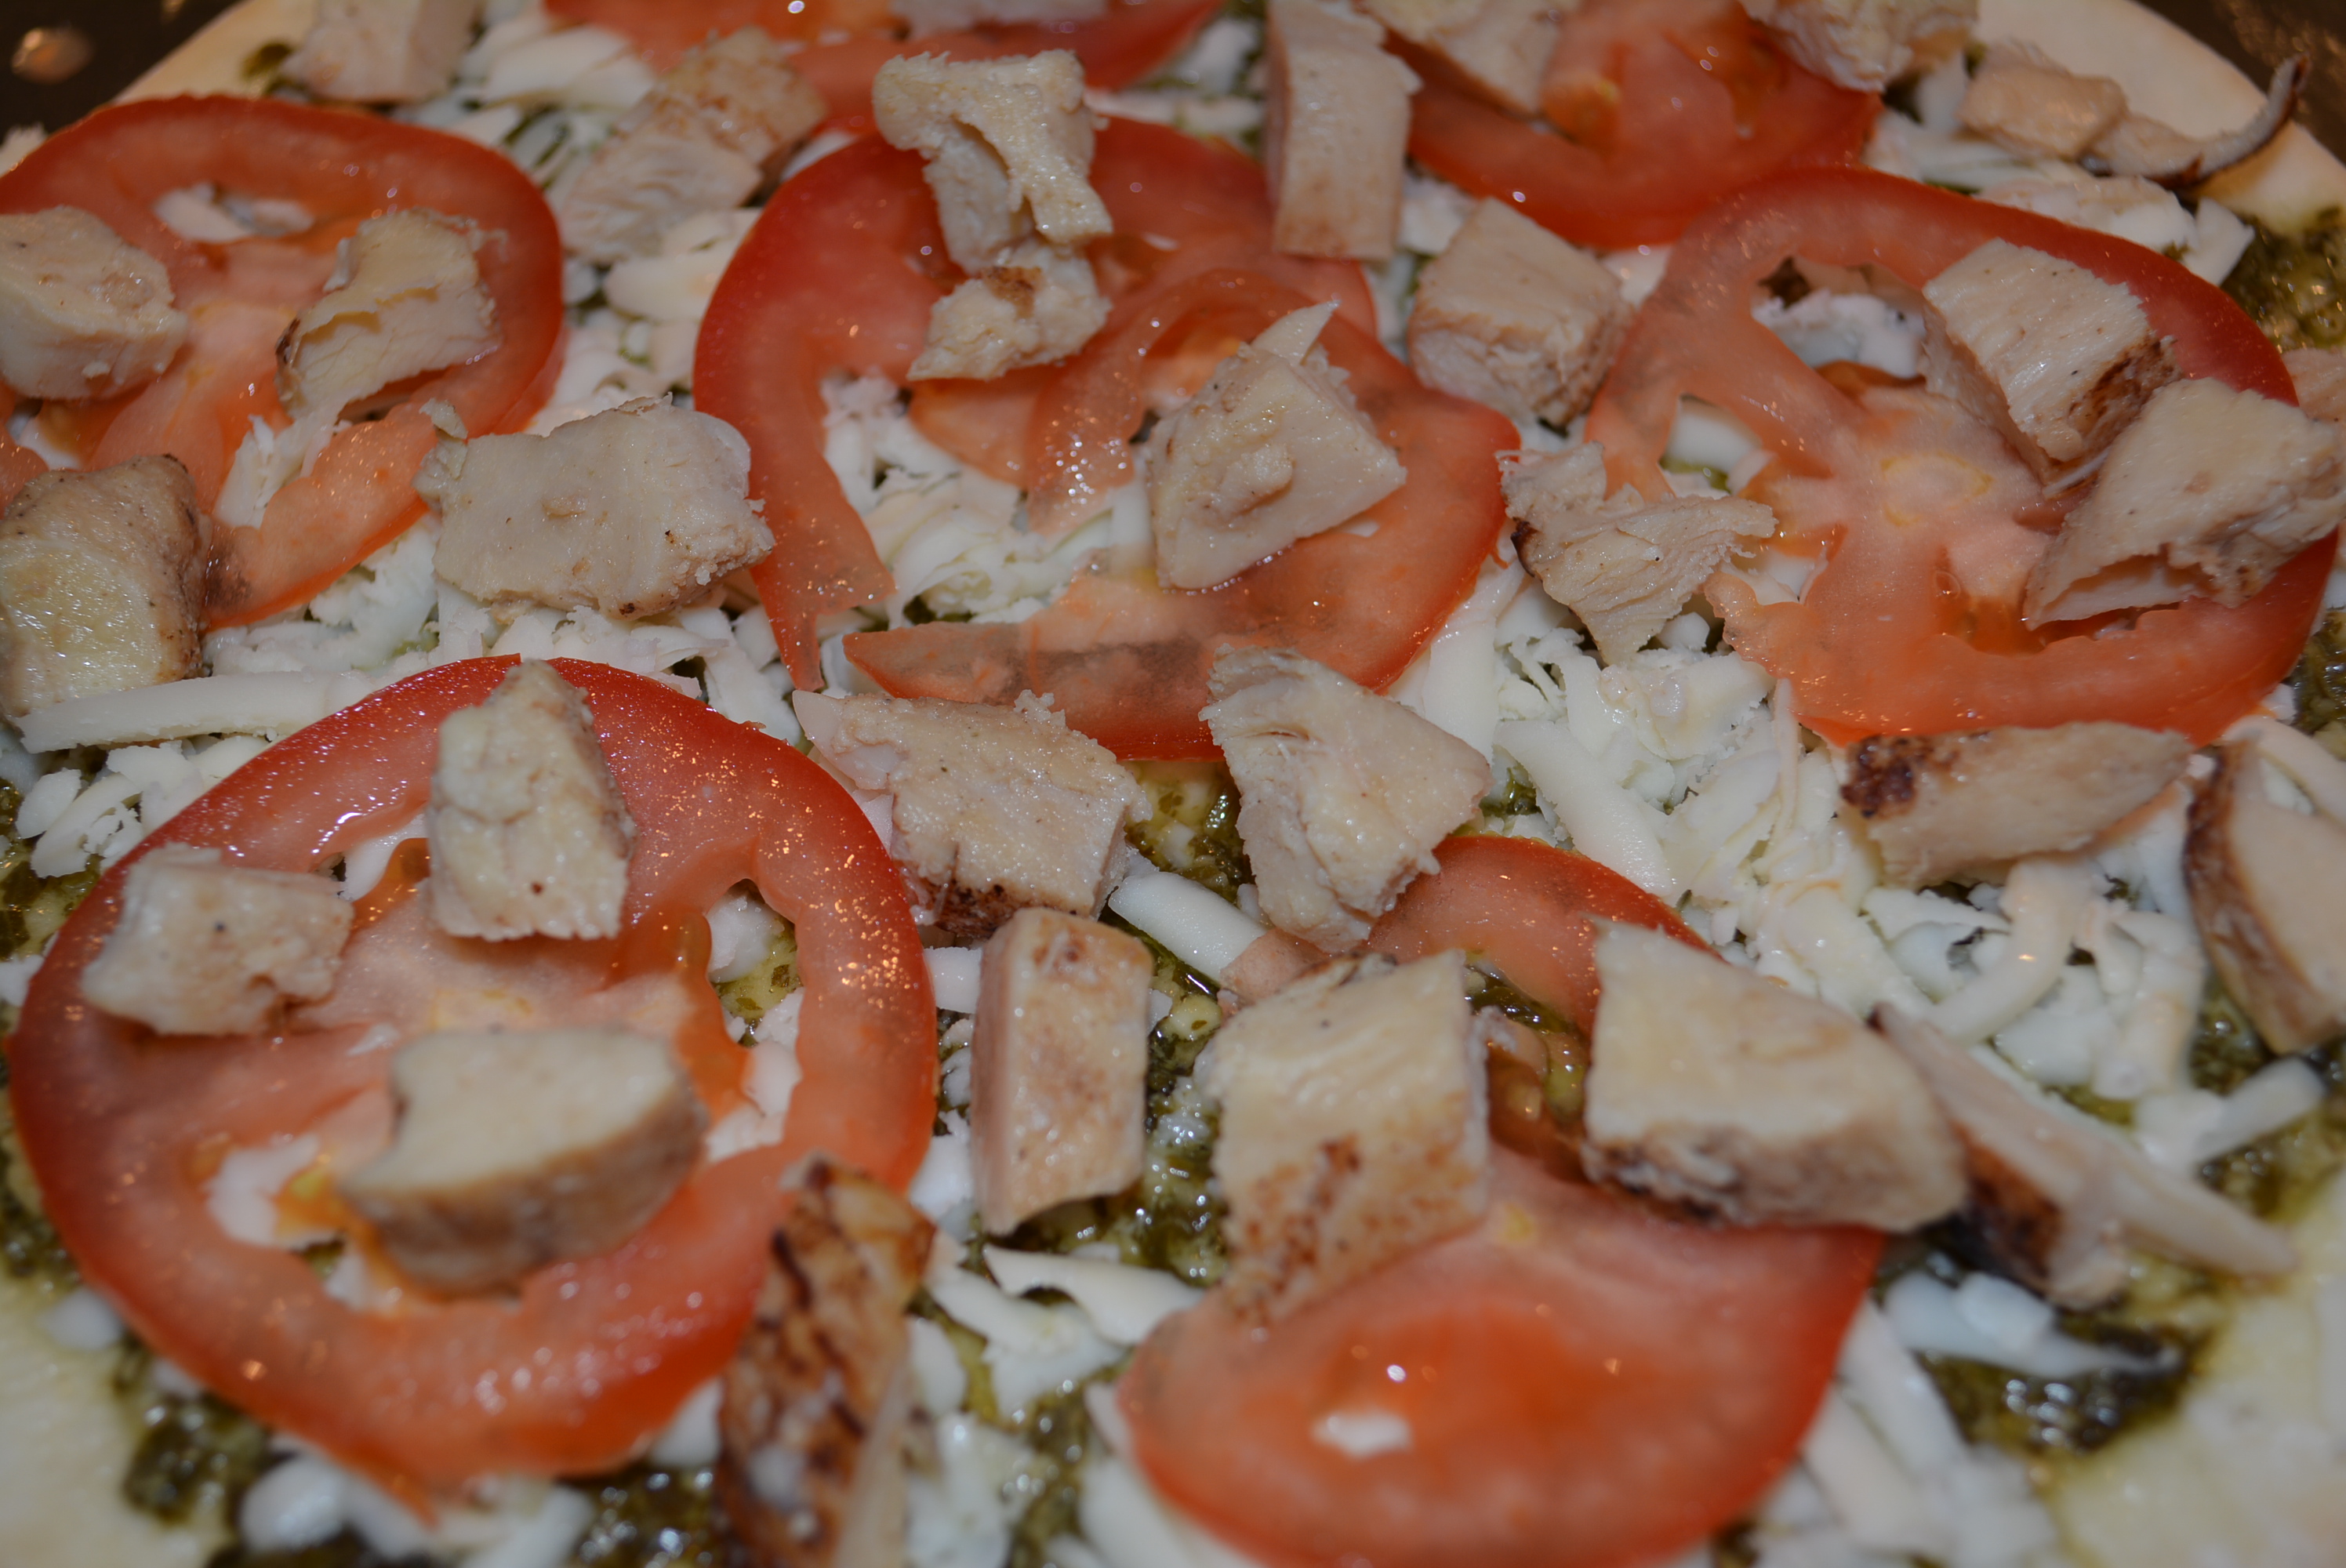
Layer tomato slices atop the thin cheese layer.
Tomato layer on pesto pizza.
Add 1/4 – 1/2 cup diced chicken on top of the tomatoes, being sure to distribute evenly.
Diced chicken added evenly over pizza.
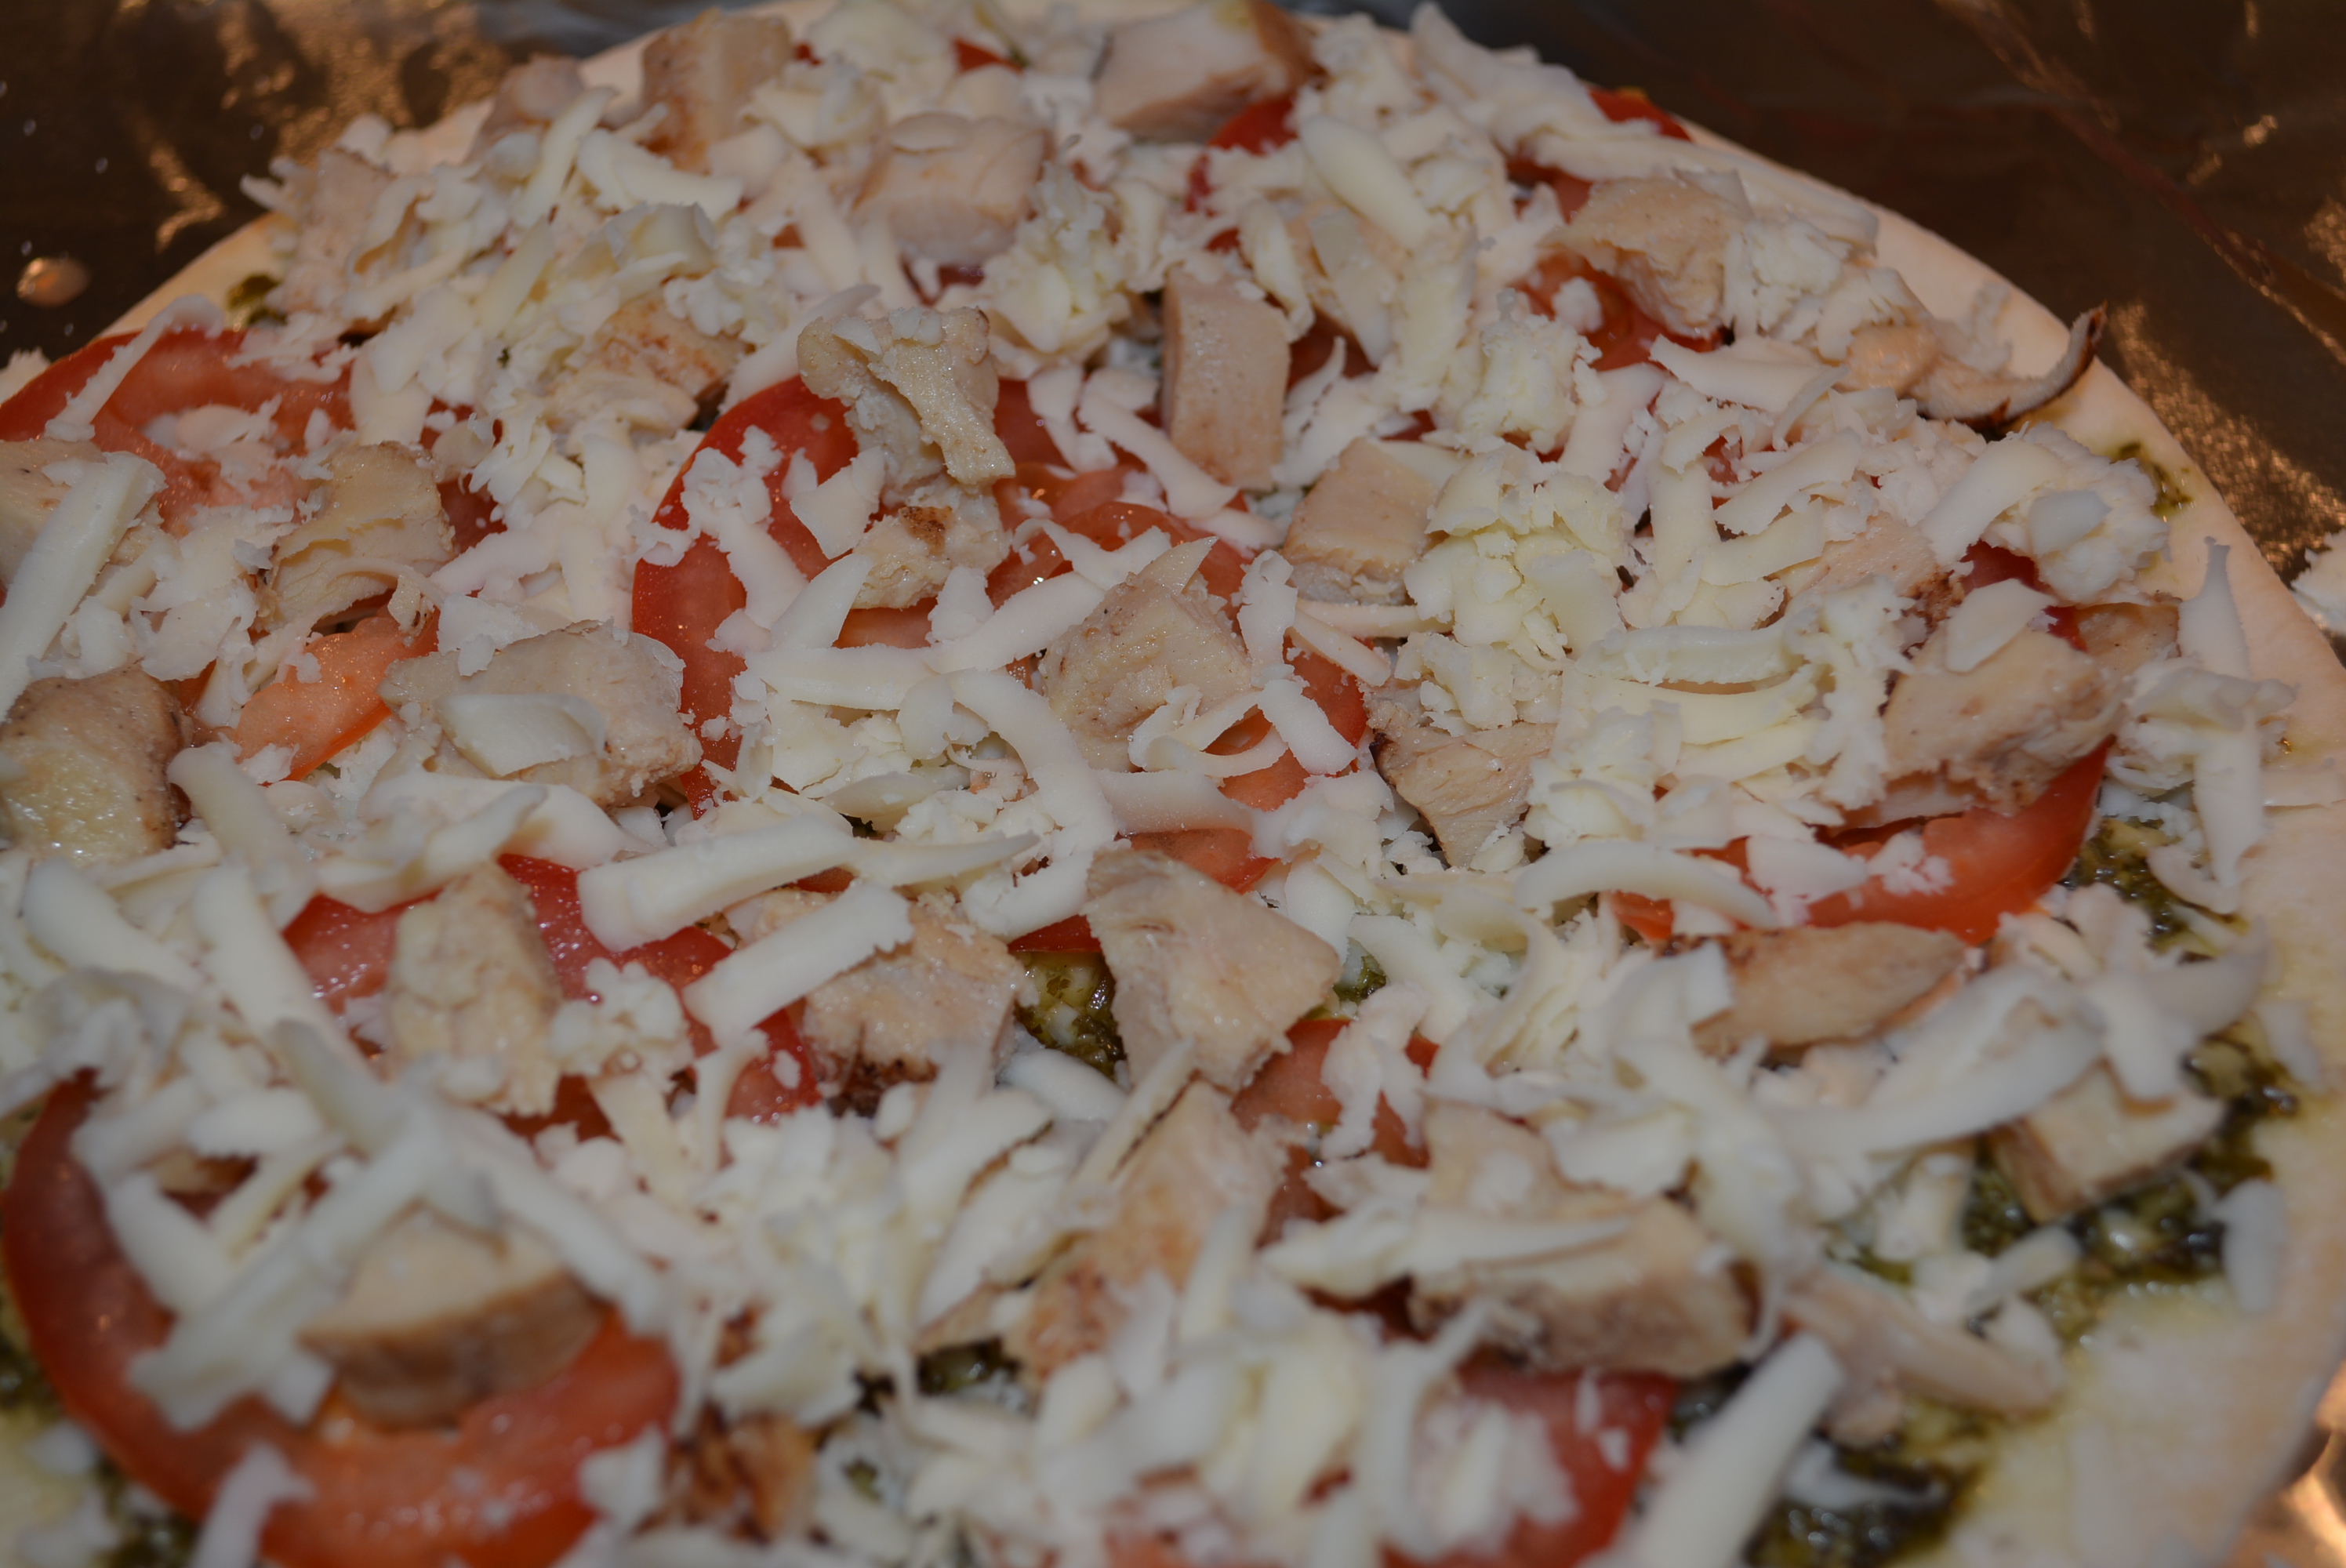
Finish pizza by sprinkling remaining cheese on top of chicken and tomatoes. Dust with a little bit of garlic salt to taste.
Pizza is ready to go into the oven.
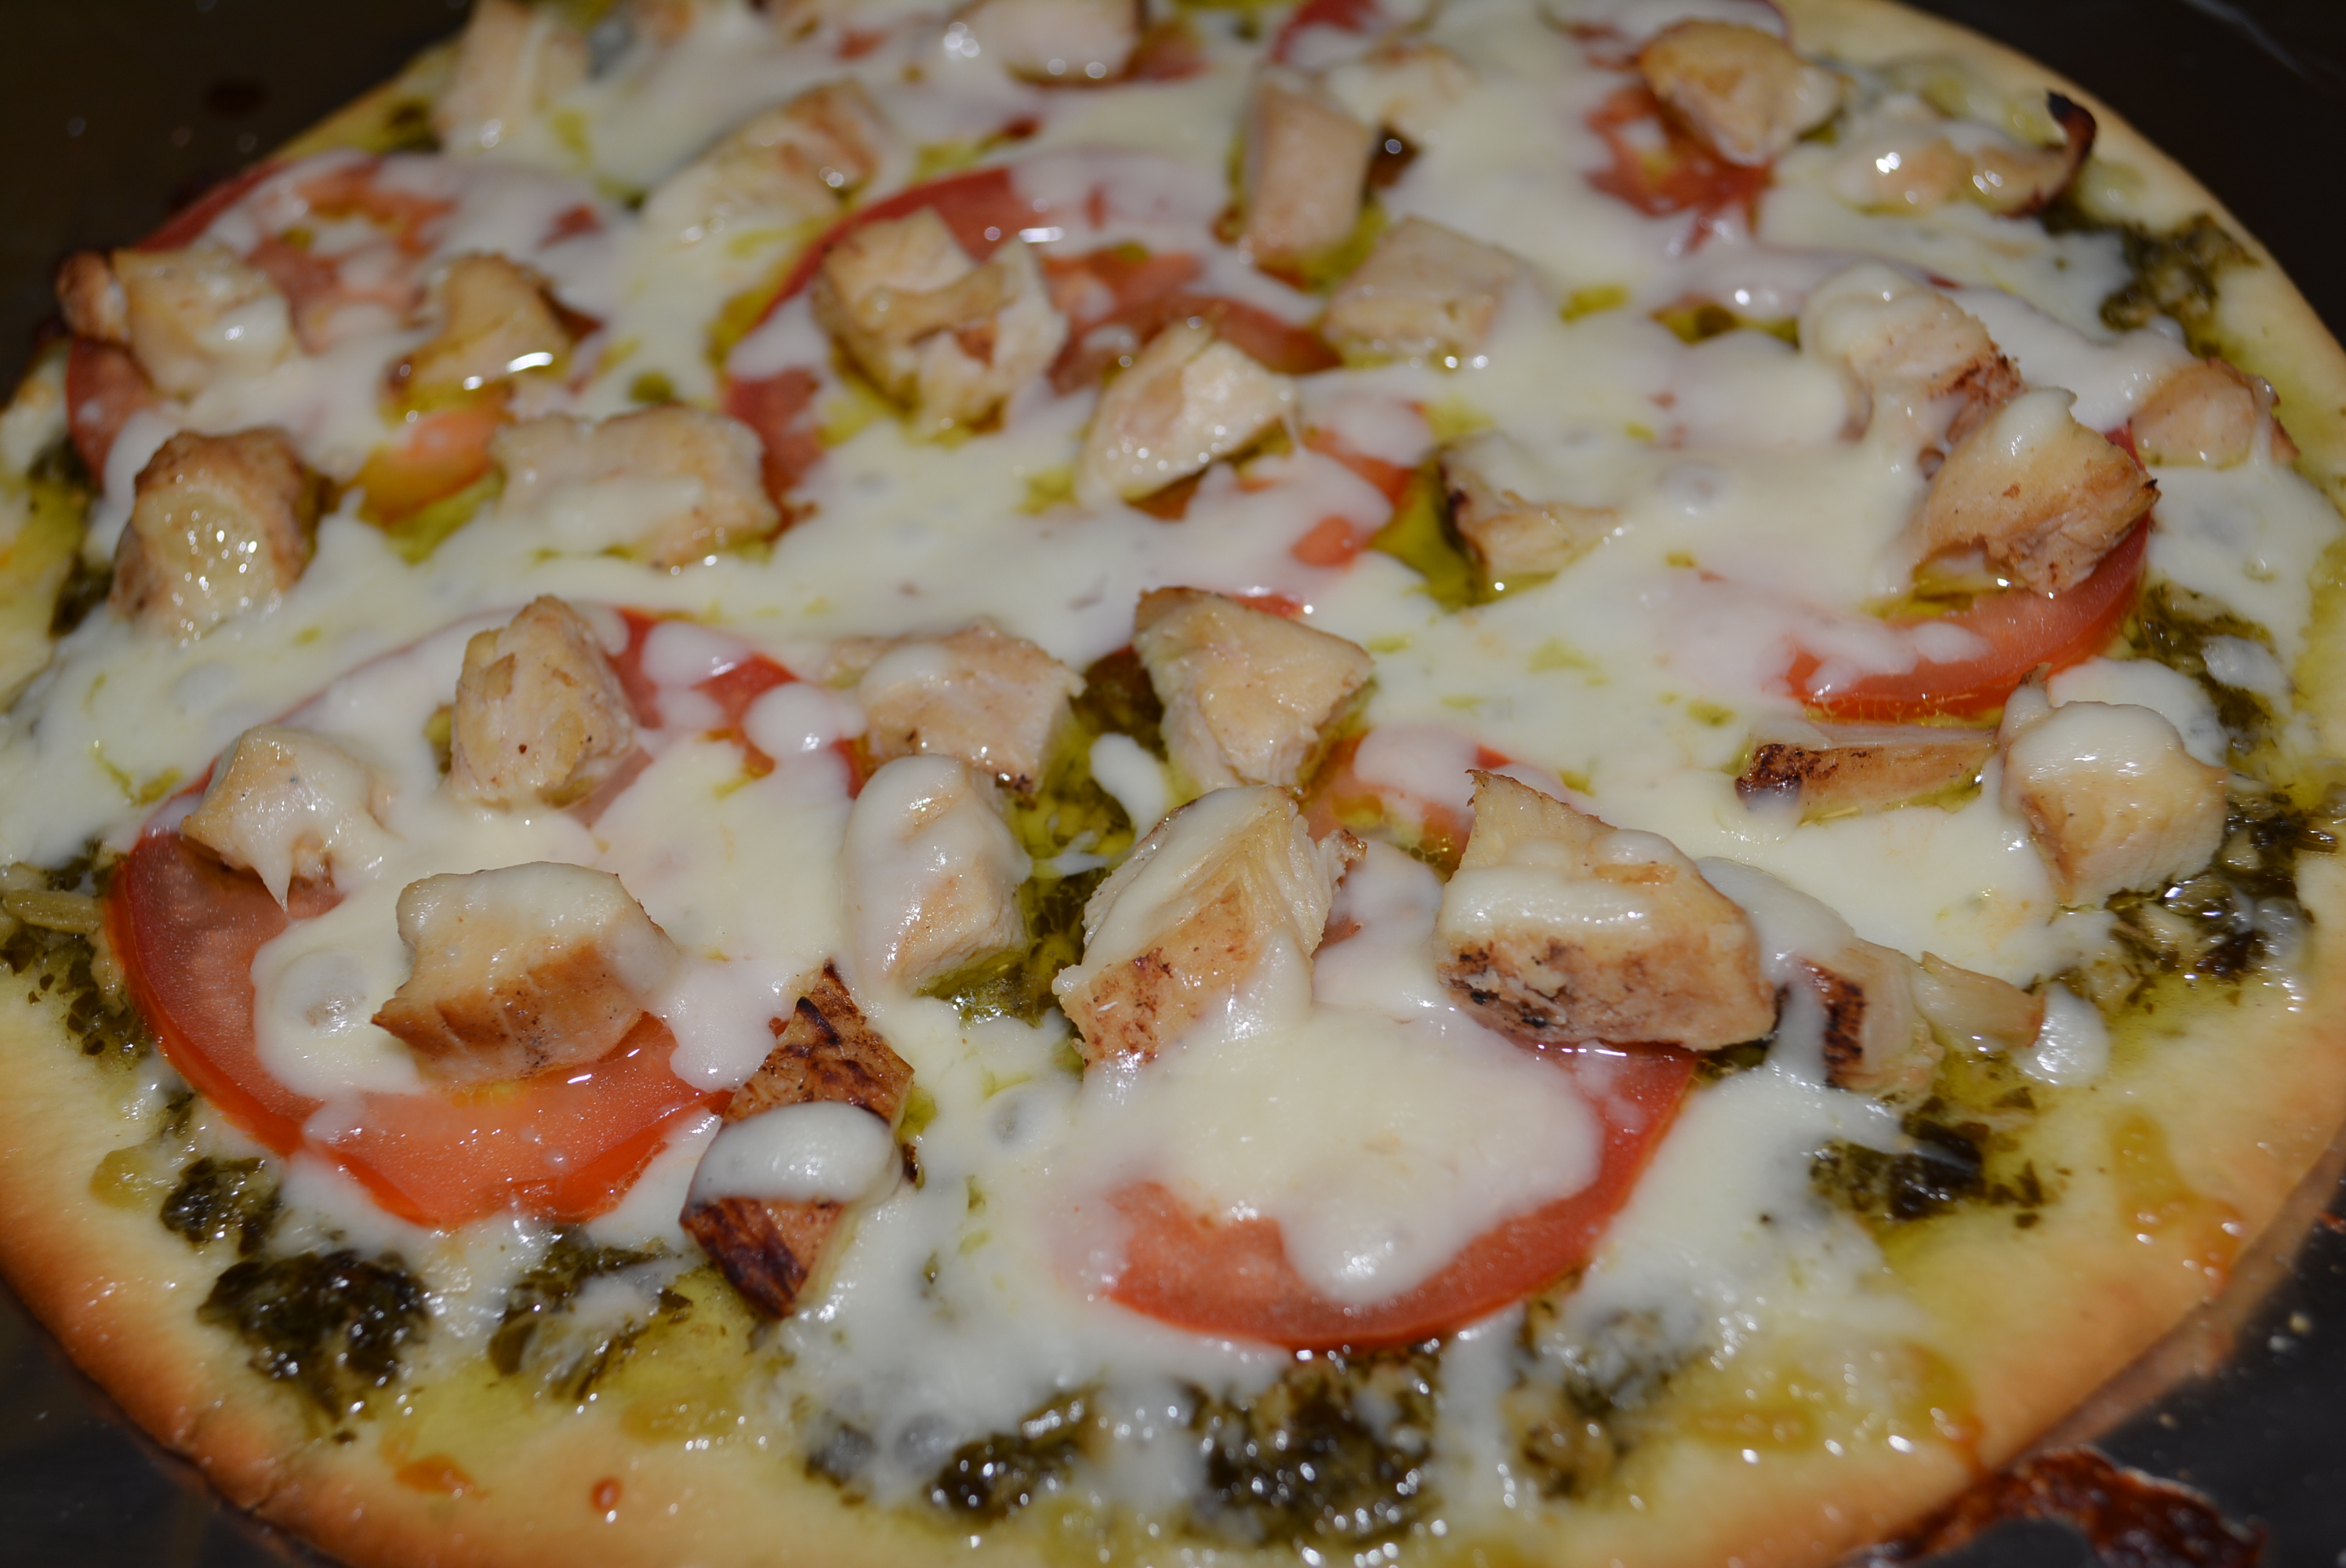
Cook pizza for between 5-7 minutes until crust becomes golden brown.
Tomato and chicken pesto pizza fresh out of the oven.
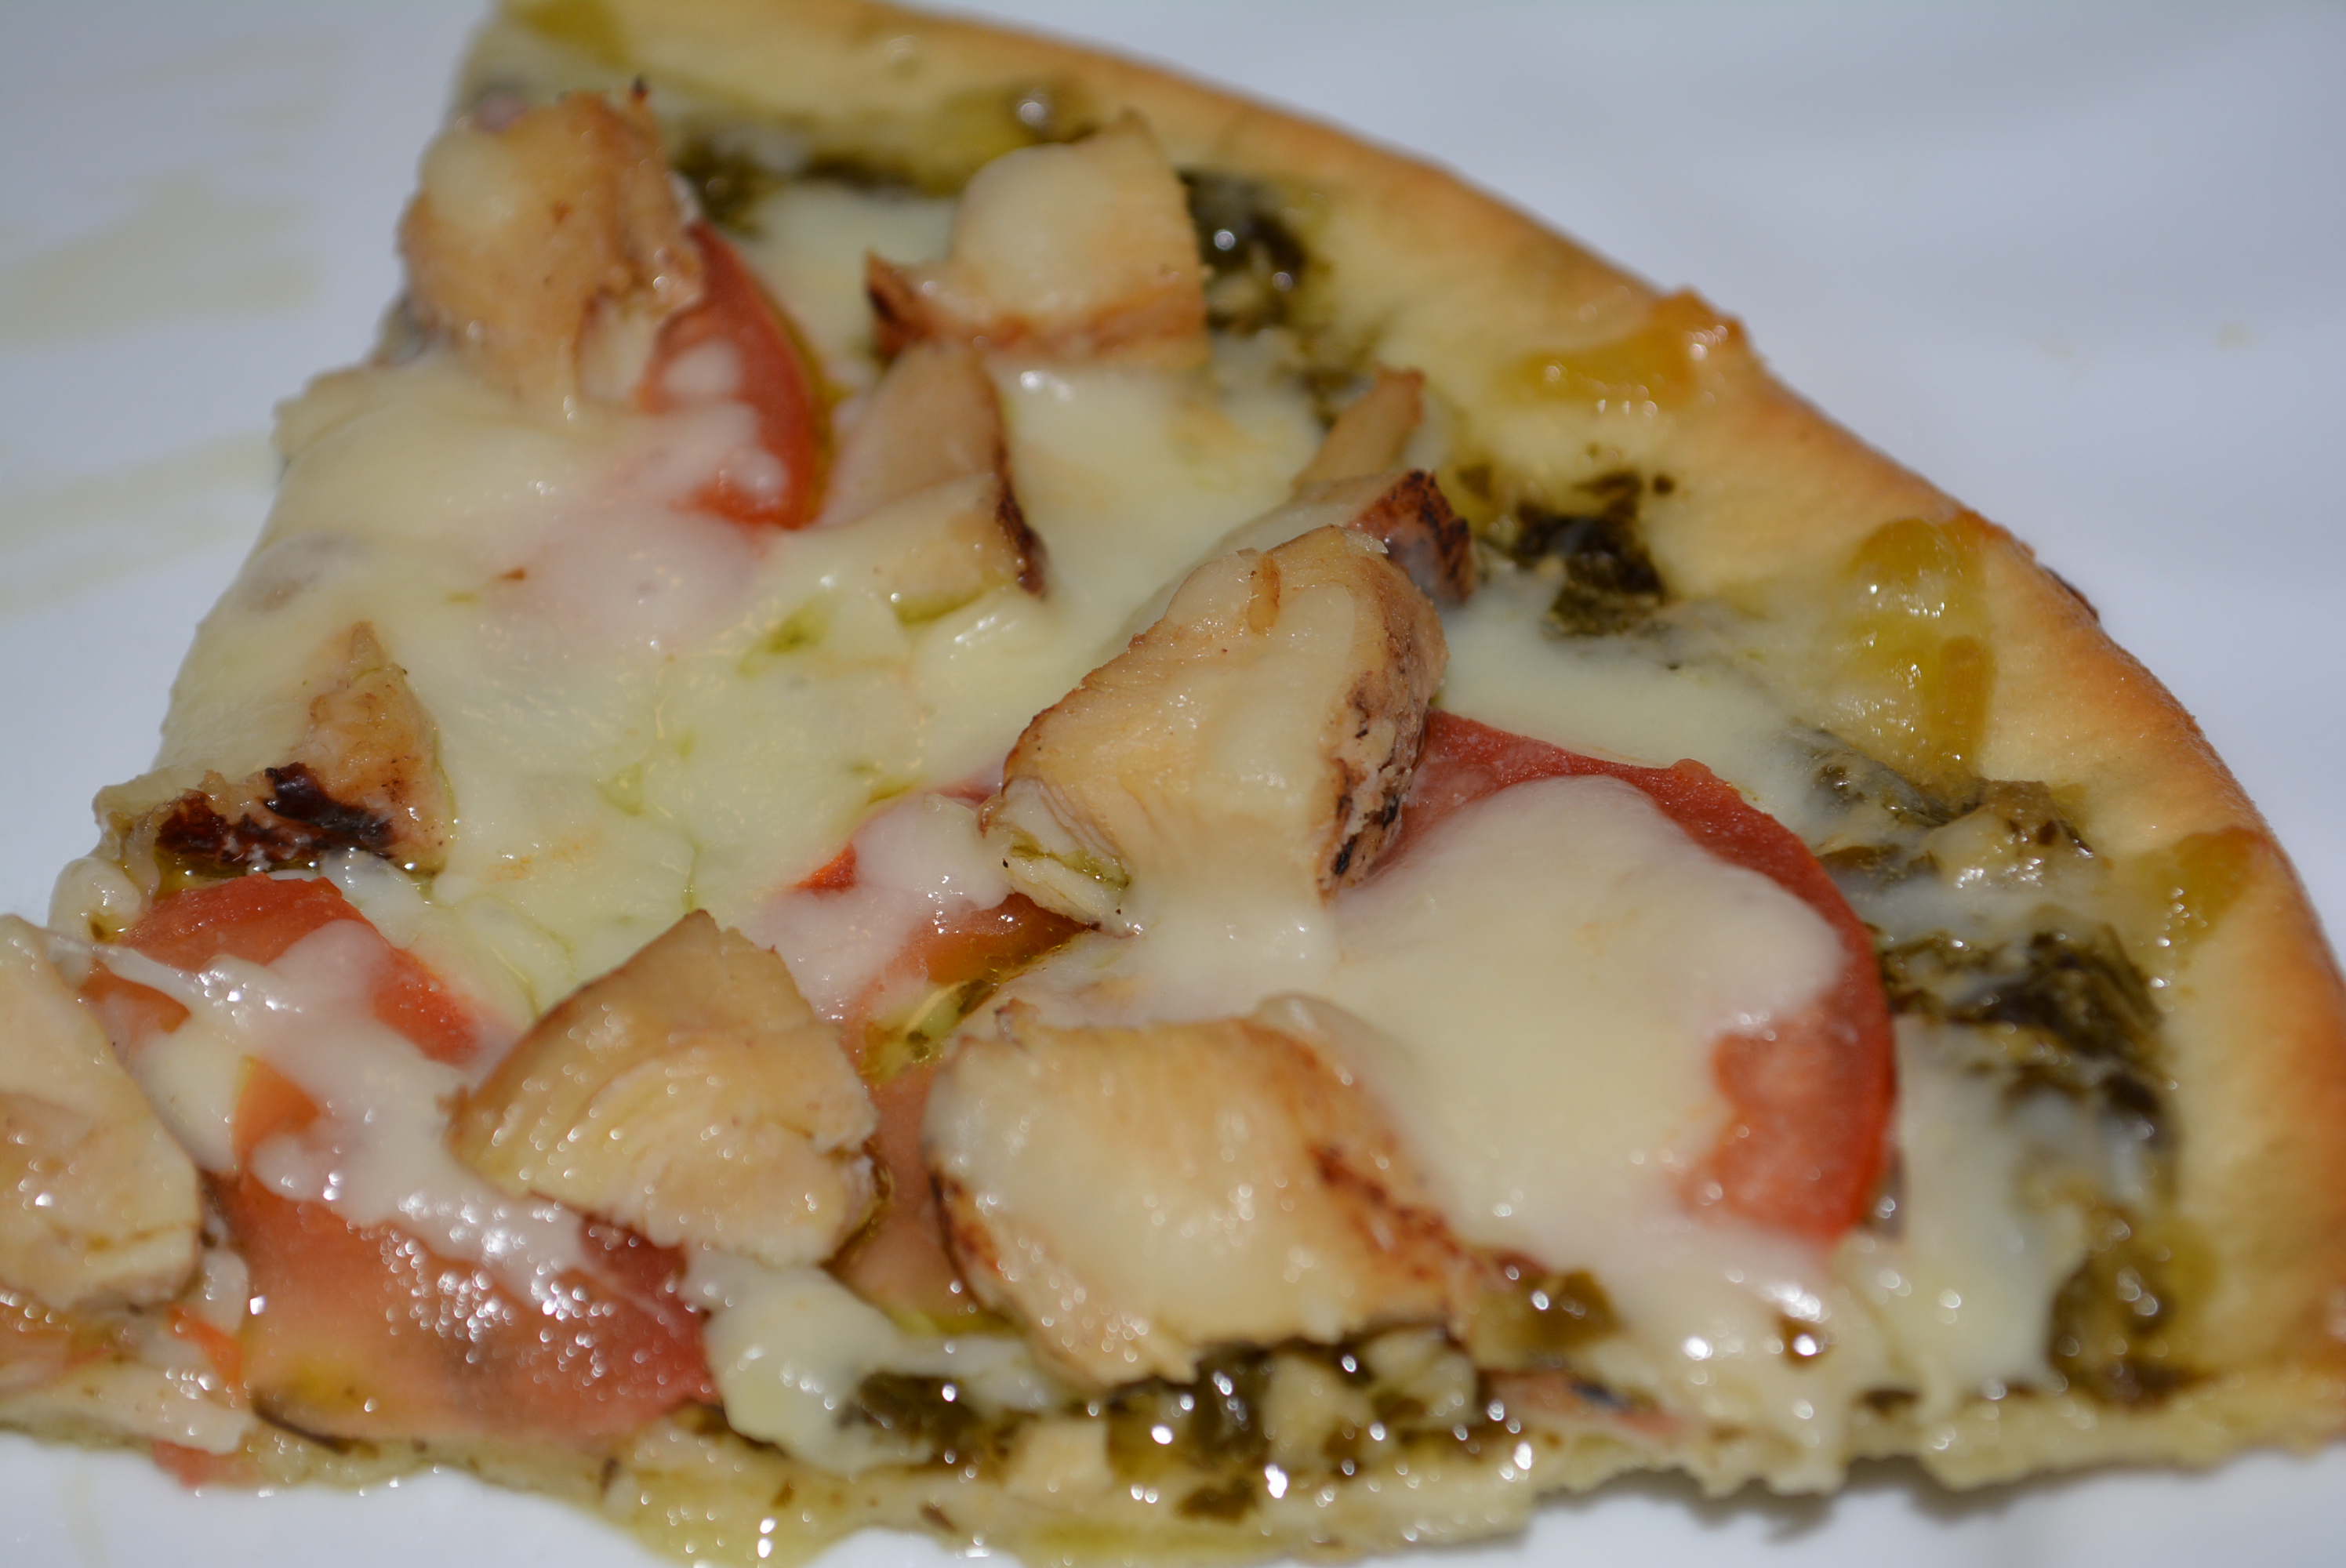
Let the pizza cool slightly before slicing and then enjoy!
Enjoy!
Some of my favorite recipes are those that are either inherently gluten free or can be made both gluten free and regular very easily. That makes me one happy mommy! Whenever homemade pizza is on the menu in our house, I pull out my premade gluten free pizza crusts or gluten free pizza mix along with a large premade regular pizza crust (no mixes here, I don’t usually like gluten filled flour floating around in our kitchen). Last night was no exception, all I had to do was double the ingredients. I always make sure when prepping my pizzas to do the gluten free one first to prevent cross contamination and while that one is cooking, I move on to the regular one.
This is a divine alternative to your traditional tomato and cheese gluten free pizza! Any gluten free dinner that can be put together in only a few minutes, cooked for about the same amount of time, and taste as delectable as this one is a winner in my book! Enjoy!
2-3 tbsp pesto sauce (homemade or gluten free jarred like Wegmans, Classico, Cento, and Bellino)
1 small plum tomato, thinly sliced
1/4 - 1/2 cup diced chicken breast (half a 9 oz bag of Perdue Shortcuts, I used the honey variety)
1/4 - 1/2 cup shredded part skim mozzarella cheese (Sorrento is gluten free)
garlic salt to taste
Instructions
Preheat oven to 375 degrees.
Place pizza crust on baking sheet.
Wash and cut tomato into thin slices.
Prepare chicken breast strips according to package instructions and dice into bite-size pieces.
Add 2-3 tbsp of pesto sauce to pizza crust and use back of spoon to smooth out a thin layer across the entire crust, being sure though to leave about 1/4 inch on the edge free of sauce.
Sprinkle a handful of shredded mozzarella cheese atop pesto sauce, creating a thin, cheesy layer.
Layer tomato slices atop the thin cheese layer.
Add 1/4 - 1/2 cup diced chicken on top of the tomatoes, being sure to distribute evenly.
Finish pizza by sprinkling remaining cheese on top of chicken and tomatoes. Dust with a little bit of garlic salt to taste.
Cook pizza for between 5-7 minutes until crust becomes golden brown.
Let the pizza cool slightly before slicing and then enjoy!
By Gluten Free Mom To Be
Adapted from Pillsbury
Adapted from Pillsbury
Gluten Free Mom To Be http://www.glutenfreemomtobe.com/
I love playing around with gluten free pizzas, trying to make new and tasty options as opposed to my usual cheese and sauce. From white pizzas with ricotta cheese to tomato pies topped with grilled chicken and tomato slices, each concoction I’ve tried, I’ve loved! One ingredient though that translates well not just smothering pasta but also on pizzas is pesto sauce. I’ve always loved pesto sauce, which thank goodness is gluten free by nature! I’ve thrown pesto sauce on a number of gluten free pizzas, and no matter which crust or toppings I chose, each time the sauce married perfectly.
In search of a different take on my pesto pizza, I came upon Musings of a Housewife’s Pesto and Goat Cheese Pizza. What a fantastic twist on my usual mozzarella cheese, goat cheese! I actually don’t eat goat cheese very often so I was excited to add it to a pizza. Short on time, rather than mixing up my pizza dough from scratch, I opted to use my favorite thin crust pizzas by Udi’s. With my husband and daughter not requiring a gluten free crust, I used a premade regular crust for them and my Udi’s gluten free crust for myself. And voila! A unique twist with some of my favorite ingredients that my whole family enjoyed! Yes, even my 16 month old enjoyed the unique flavor and creaminess of the goat cheese combined with the pesto sauce. I can’t wait to make this dinner again, which by the way took only 15 minutes to prep and 10 minutes to cook!
Ingredients:
2 Udi’s gluten free pizza crusts
1/2 – 3/4 cup pesto (you can prepare your own as I did or use your favorite jarred version; my favorite jarred pesto sauces are Wegmans store brand which states gluten free on the label (how fantastic!), Cento (states gluten free on website), and Bellino (states gluten free on website))
2 plum tomatoes, sliced or diced
3.5 – 4 oz crumbled goat cheese (Alouette or Chavrie, both brands state gluten free, might be on the packaging, but definitely on their websites)
salt and pepper to taste
Homemade Pesto Sauce Ingredients:
1/3 cup olive oil and 2 additional tbsp for blending (I like Pompeian which states gluten free on its label)
2 cups firmly packed fresh basil
1/2 cup pine nuts (make sure these are gluten free; although these by nature are gluten free, they can share equipment with wheat products)
1/2 cup grated Parmesan cheese
3 to 4 garlic cloves, peeled and quartered
1/4 tsp salt
pepper to taste
Add all ingredients to food processor blender; cover and process or blend until mixture is smooth (make sure you stop and scrape sides); while blending or processing, add up to 2 additional tbsp of olive oil to reach creamy consistency; add black pepper to taste.
This recipe makes about 3/4 cup of pesto sauce, enough for this recipe!
1/3 cup olive oil and 2 additional tbsp for blending (I like Pompeian, which states gluten free on its label)
2 cups firmly packed fresh basil
1/2 cup pine nuts (make sure these are gluten free; although these by nature are gluten free, they can share equipment with wheat products)
1/2 cup grated Parmesan cheese
3 to 4 garlic cloves, peeled and quartered
1/4 tsp salt
pepper to taste
Instructions
Add all ingredients to food processor blender.
Cover and process or blend until mixture is smooth (make sure you stop and scrape sides).
While blending or processing, add up to 2 additional tbsp of olive oil to reach creamy consistency.
Add black pepper to taste.
This recipe makes about 3/4 cup of pesto sauce!
By Gluten Free Mom To Be
Adapted from Better Homes and Gardens Cookbook
Adapted from Better Homes and Gardens Cookbook
Gluten Free Mom To Be http://www.glutenfreemomtobe.com/
Directions:
Preheat oven to 375 degrees.
Add 2 Udi’s pizza crusts to baking sheets.
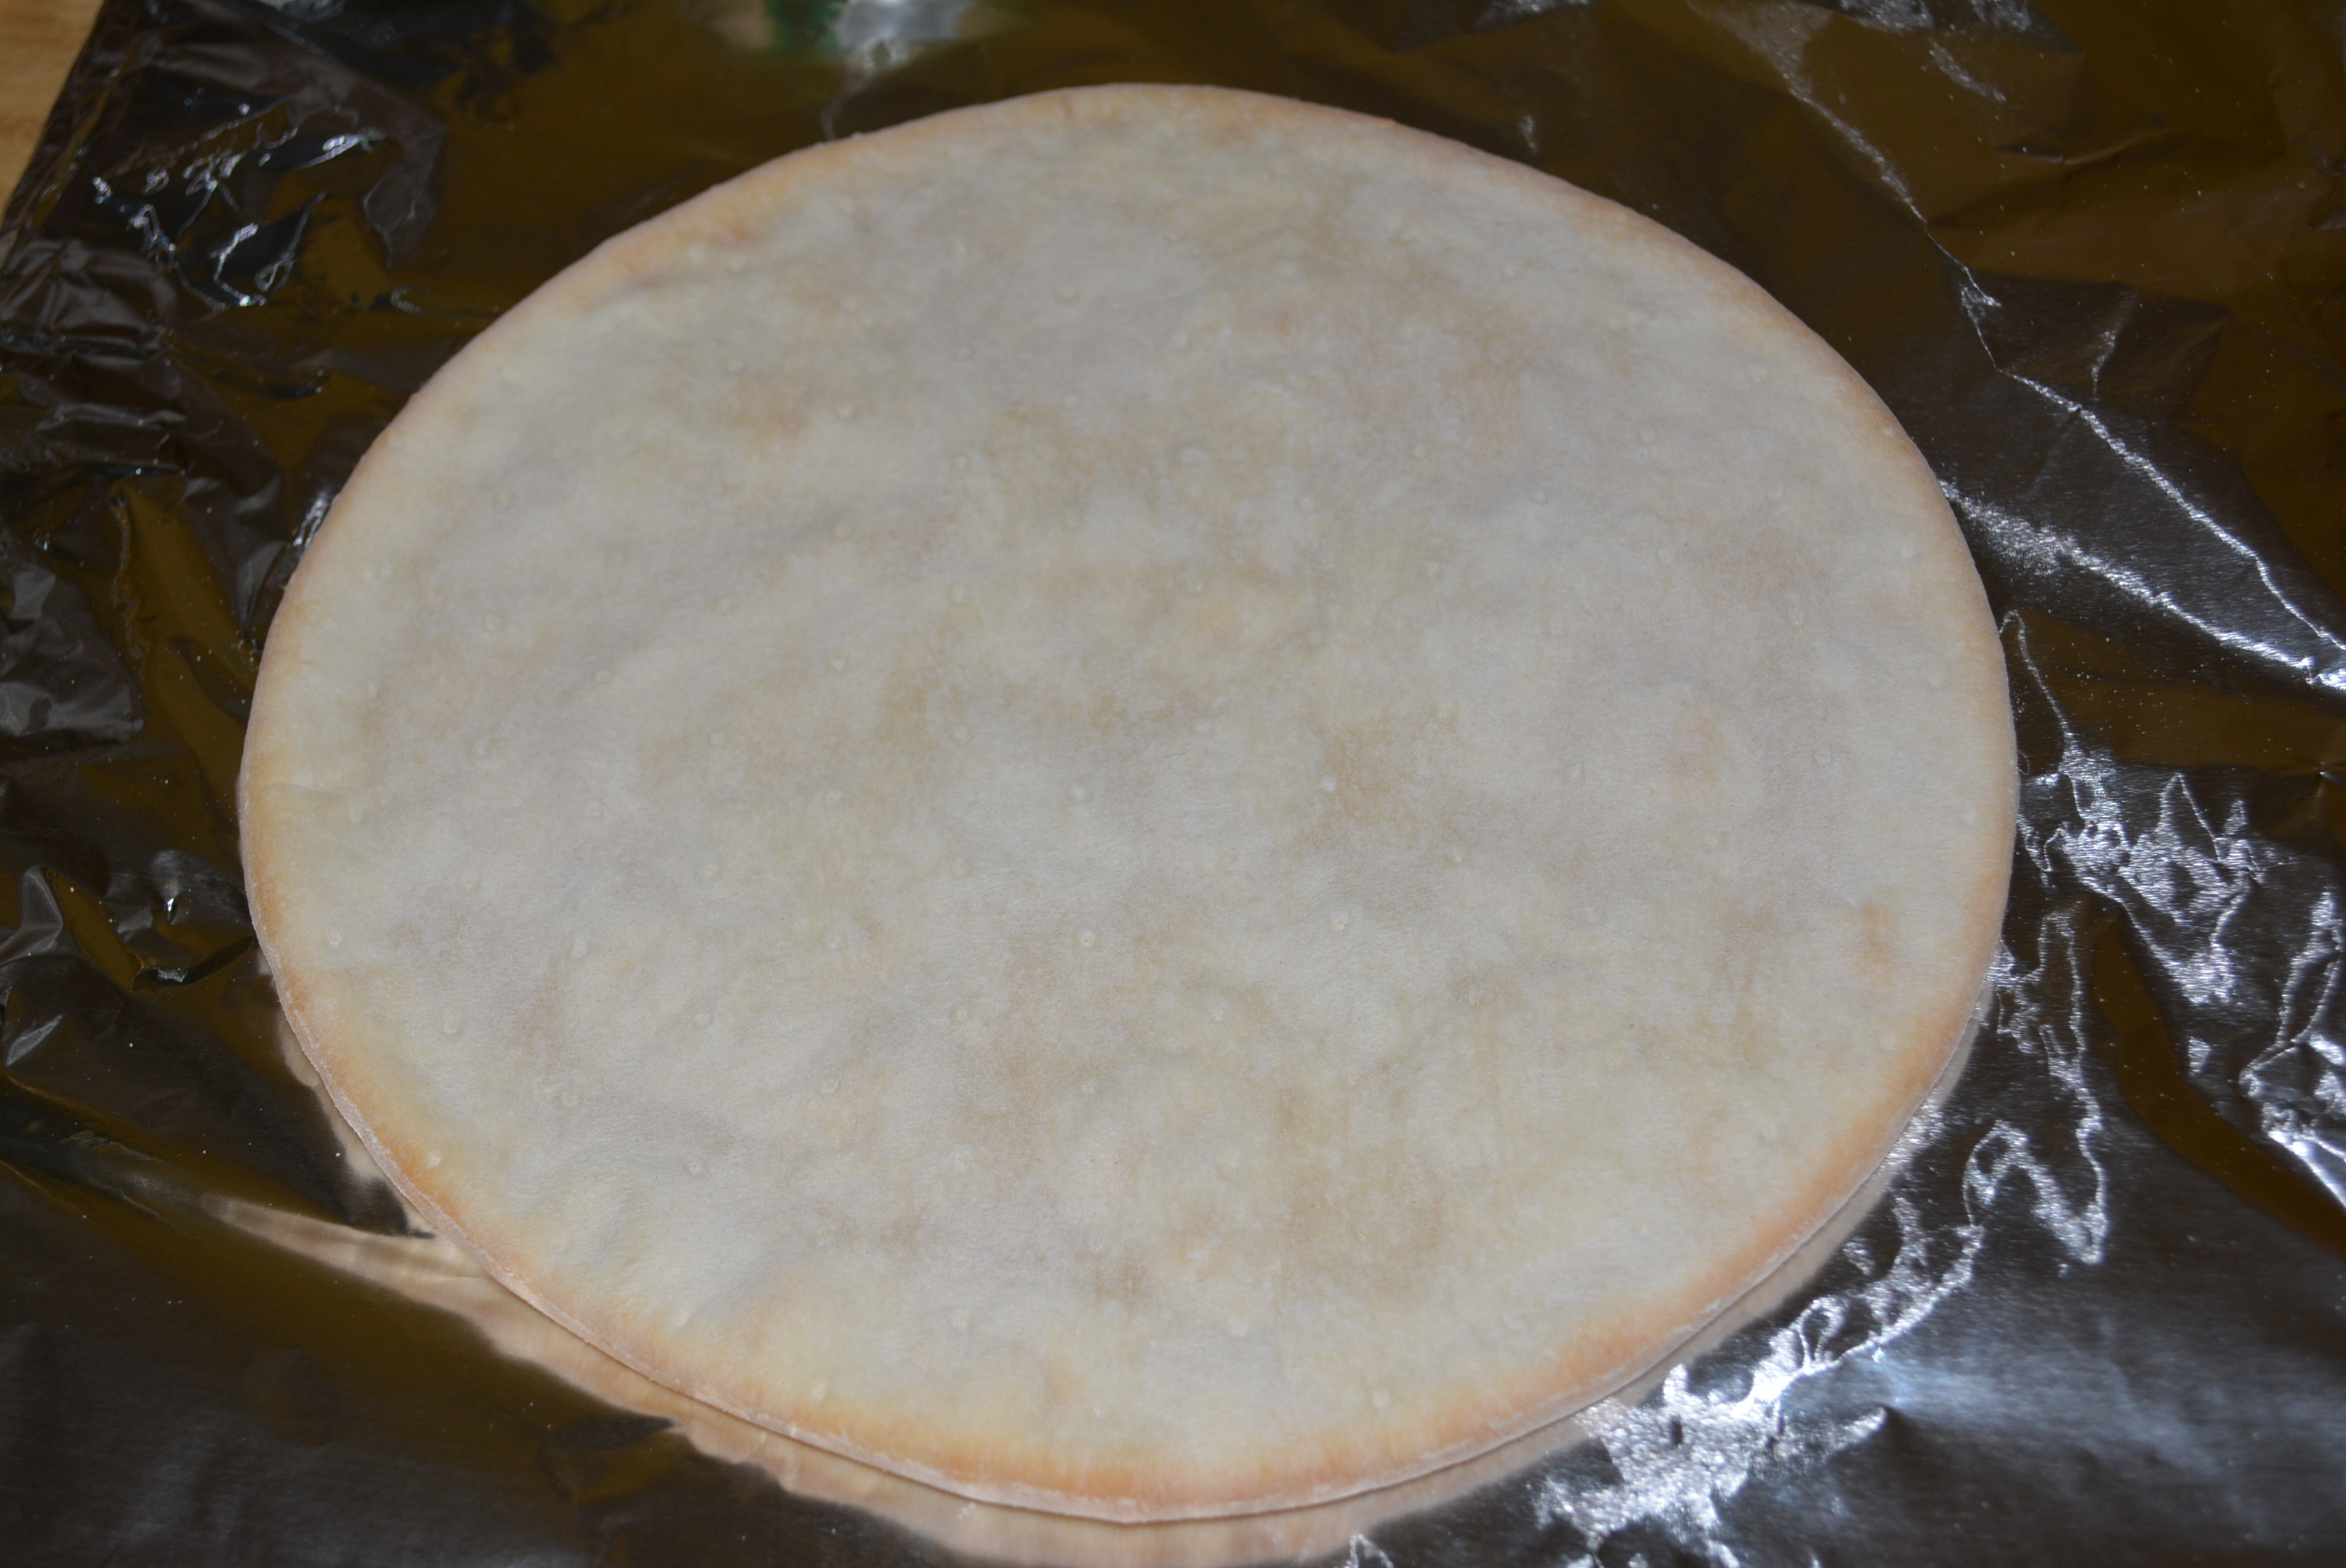
Udi’s thin gluten free crust.
Prepare pesto sauce using the recipe above. My pesto recipe is derived from my favorite cookbook from my pre-gluten free days, Better Homes and Garden Cookbook, but of course is made to be gluten free. Even though they certainly don’t have an allergy friendly section in this one, I still refer to it for recipe ideas and cooking staples, like sauces. If you are short on time or just prefer to use a jarred pesto sauce, just make sure to choose one that is gluten free (I recommended a few of my favorites in the ingredients section).
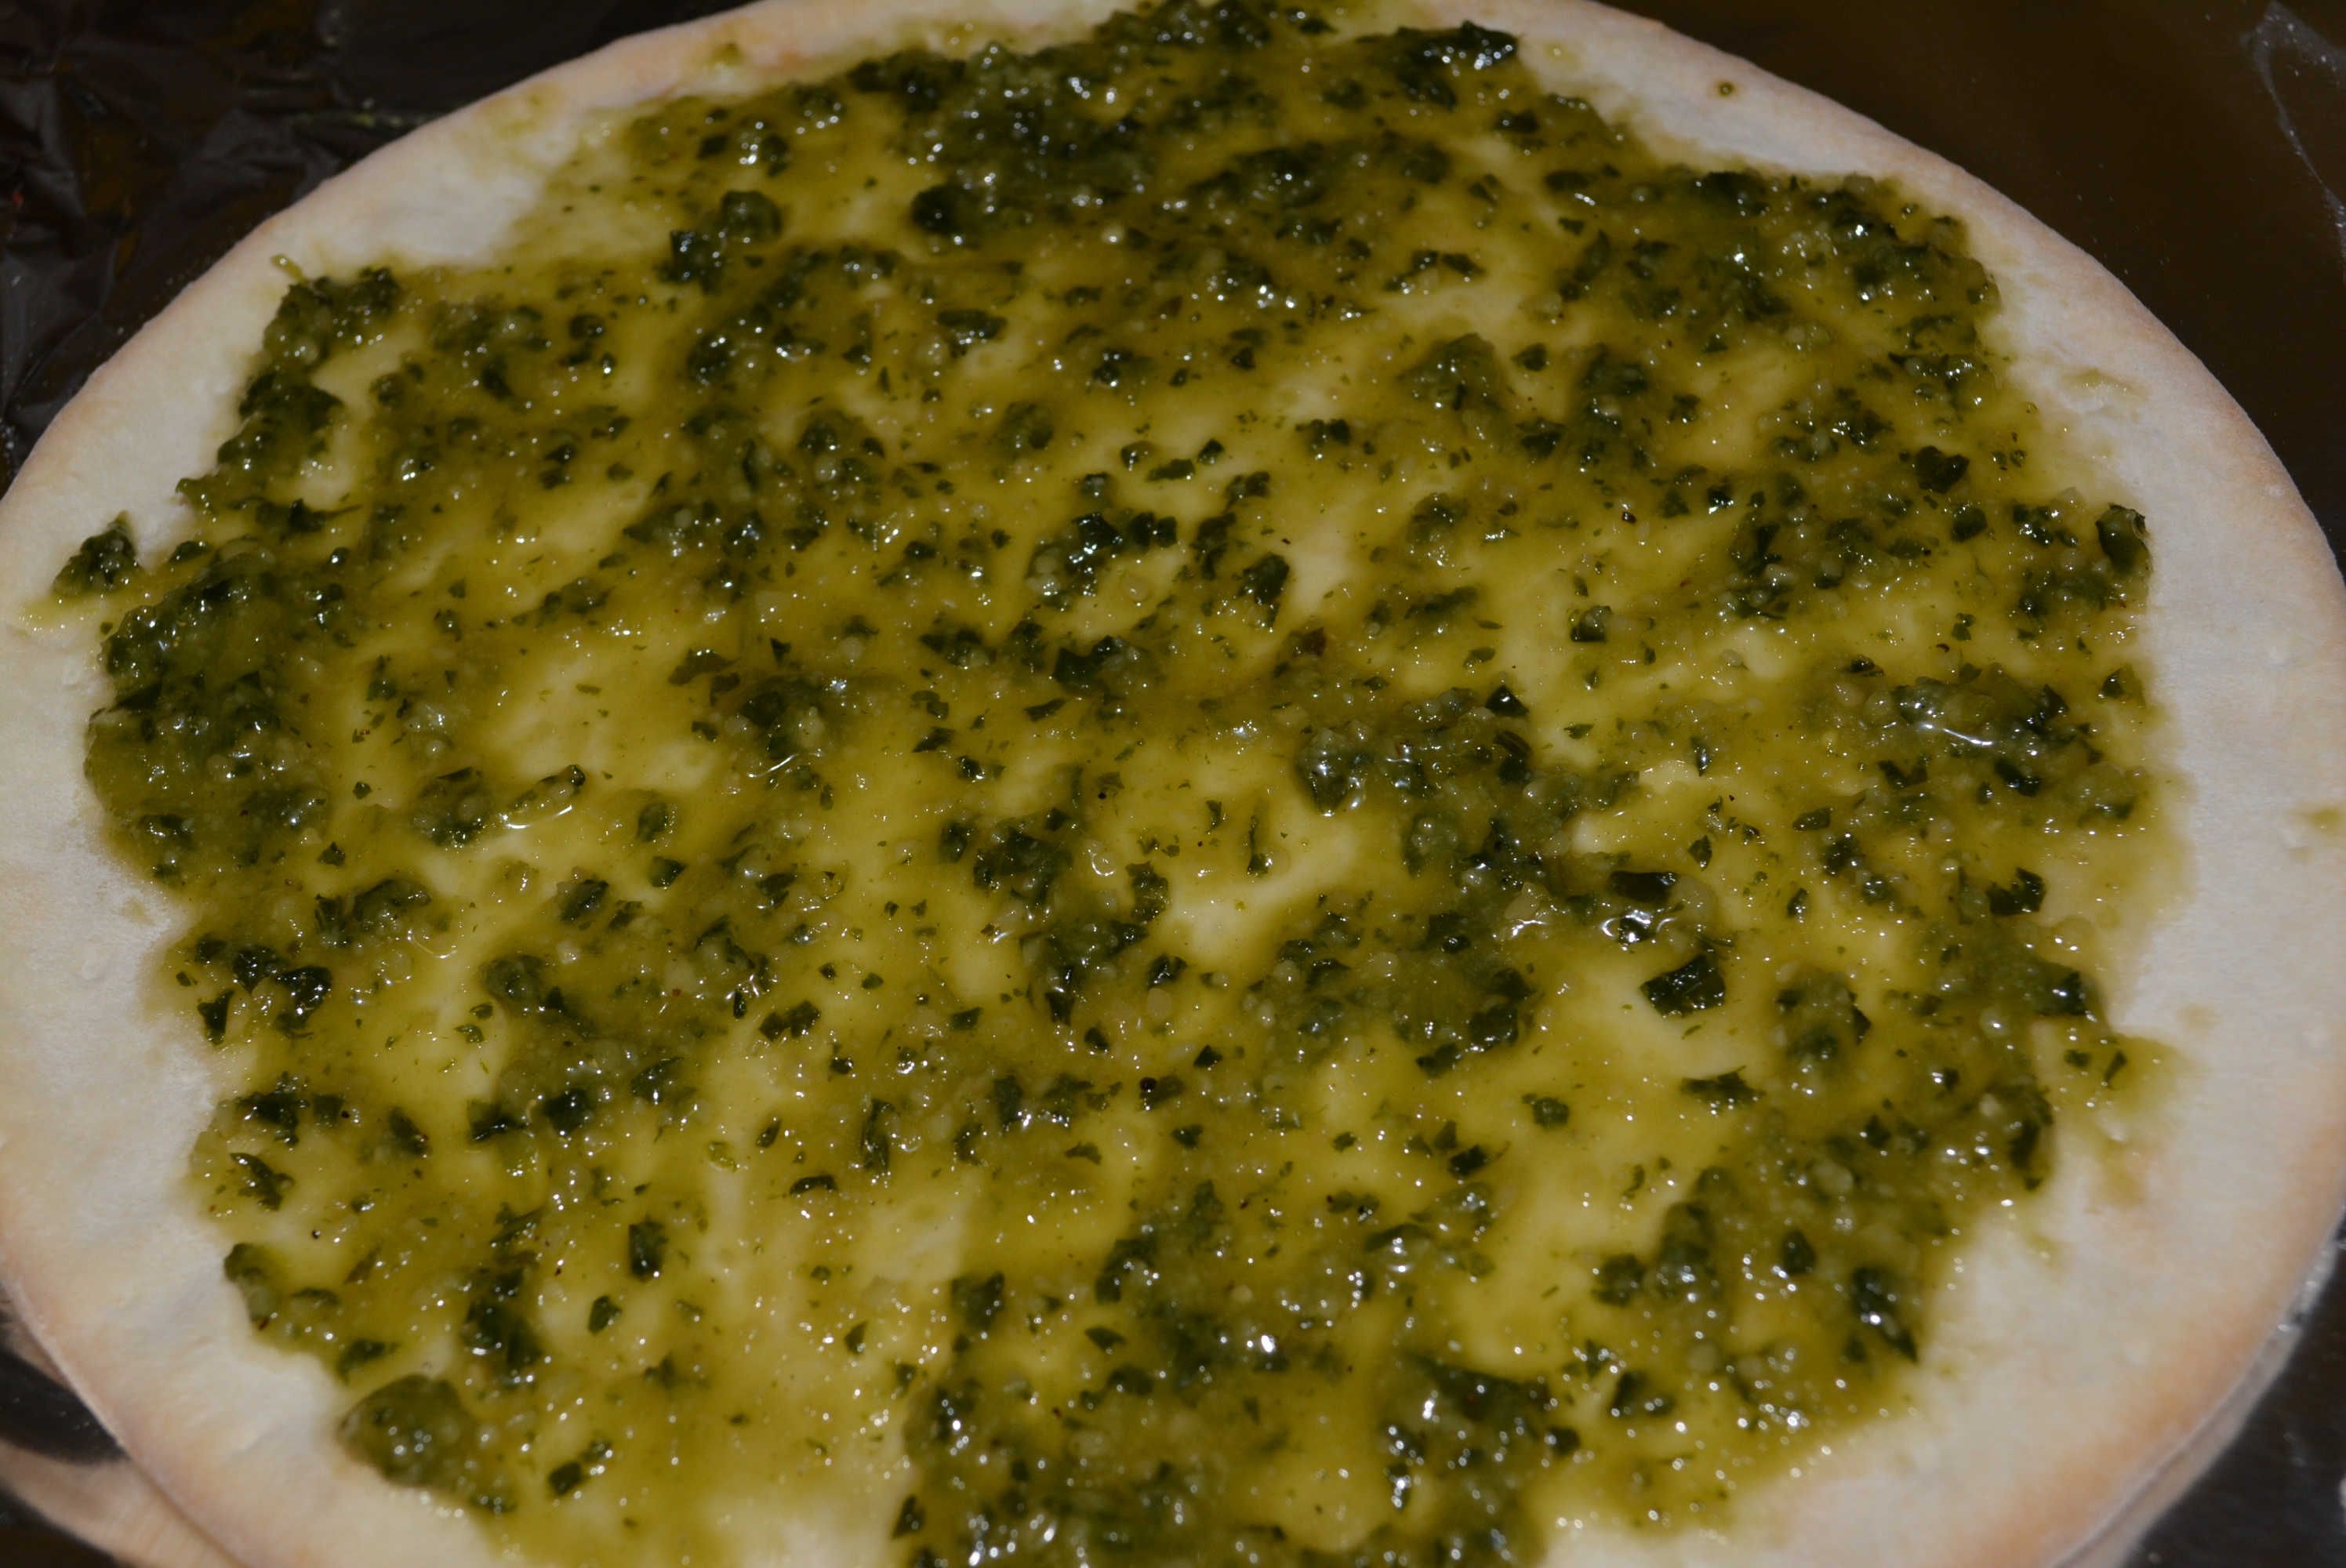
Once pesto sauce is ready, divide evenly between the two pizza crusts, adding to the center of each. Using the back of a spoon, gently spread the pesto sauce across the surface of the pizza crust, to about half an inch from the edge.
Pesto sauce layered onto pizza crust.
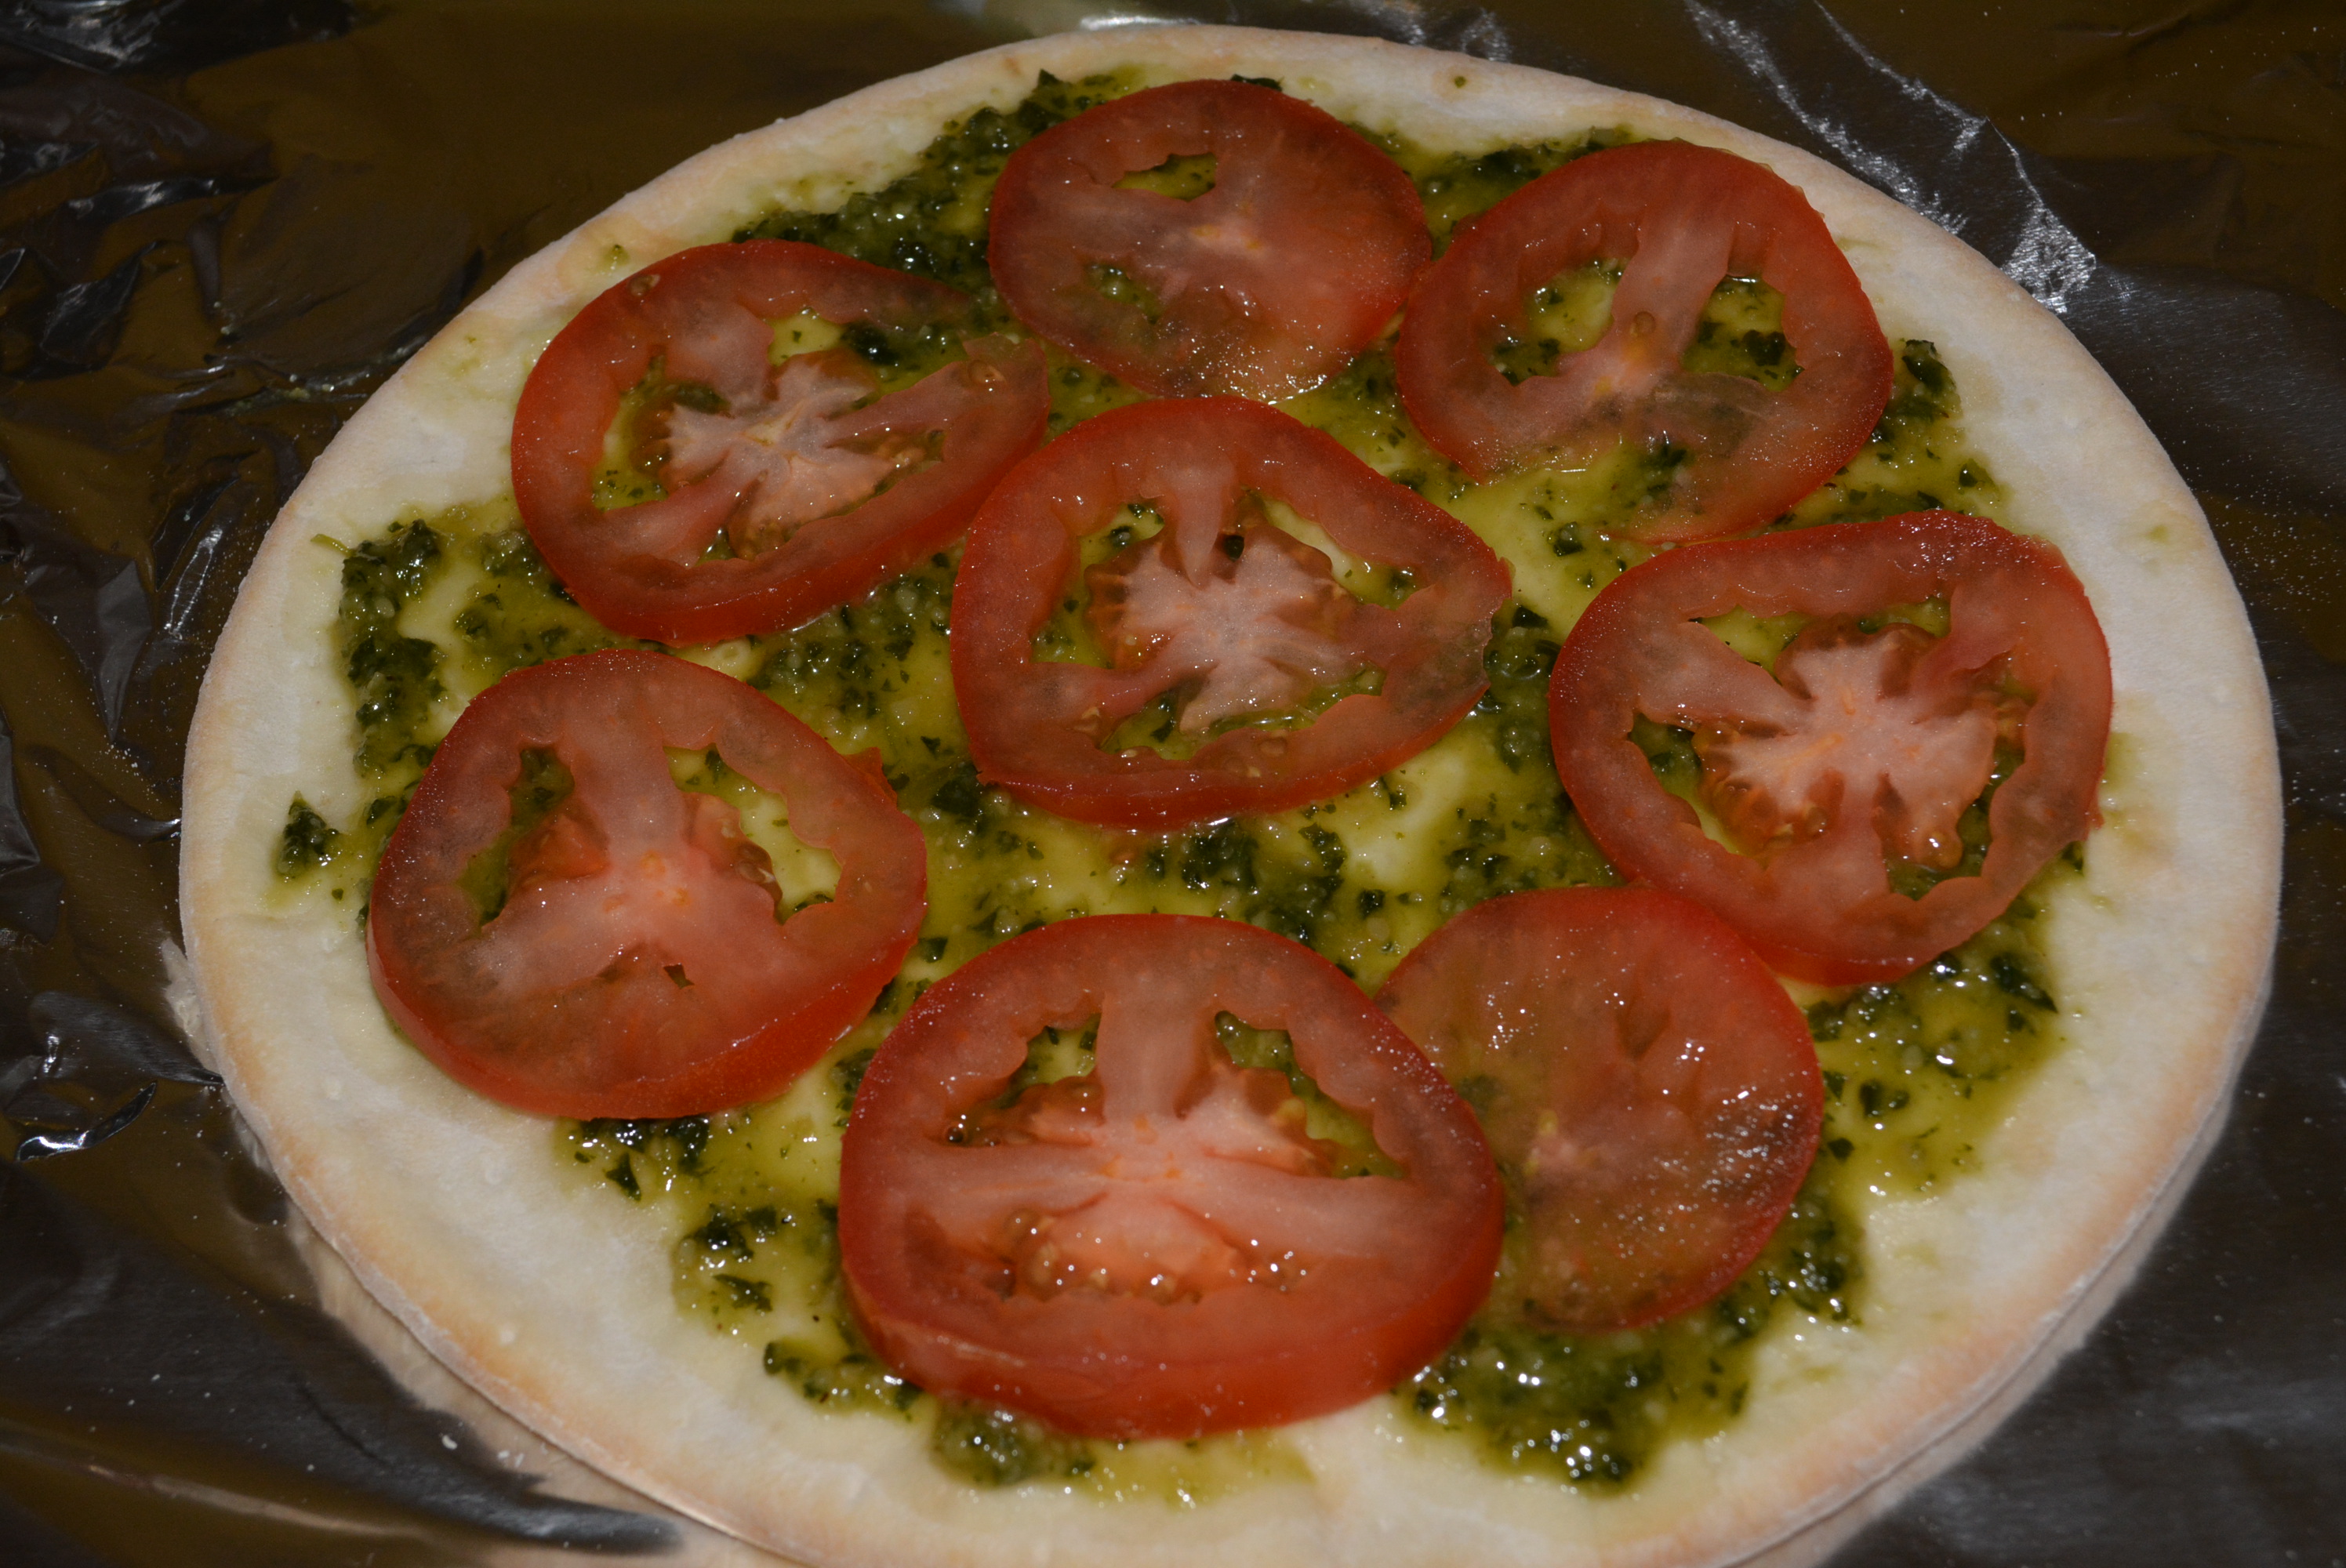
Slice or dice two plum tomatoes. I prefer slices on my pizzas, but use whatever you’d like.
Layer tomatoes on top of pesto sauce.
Sliced tomatoes layered on top of the pesto sauce.
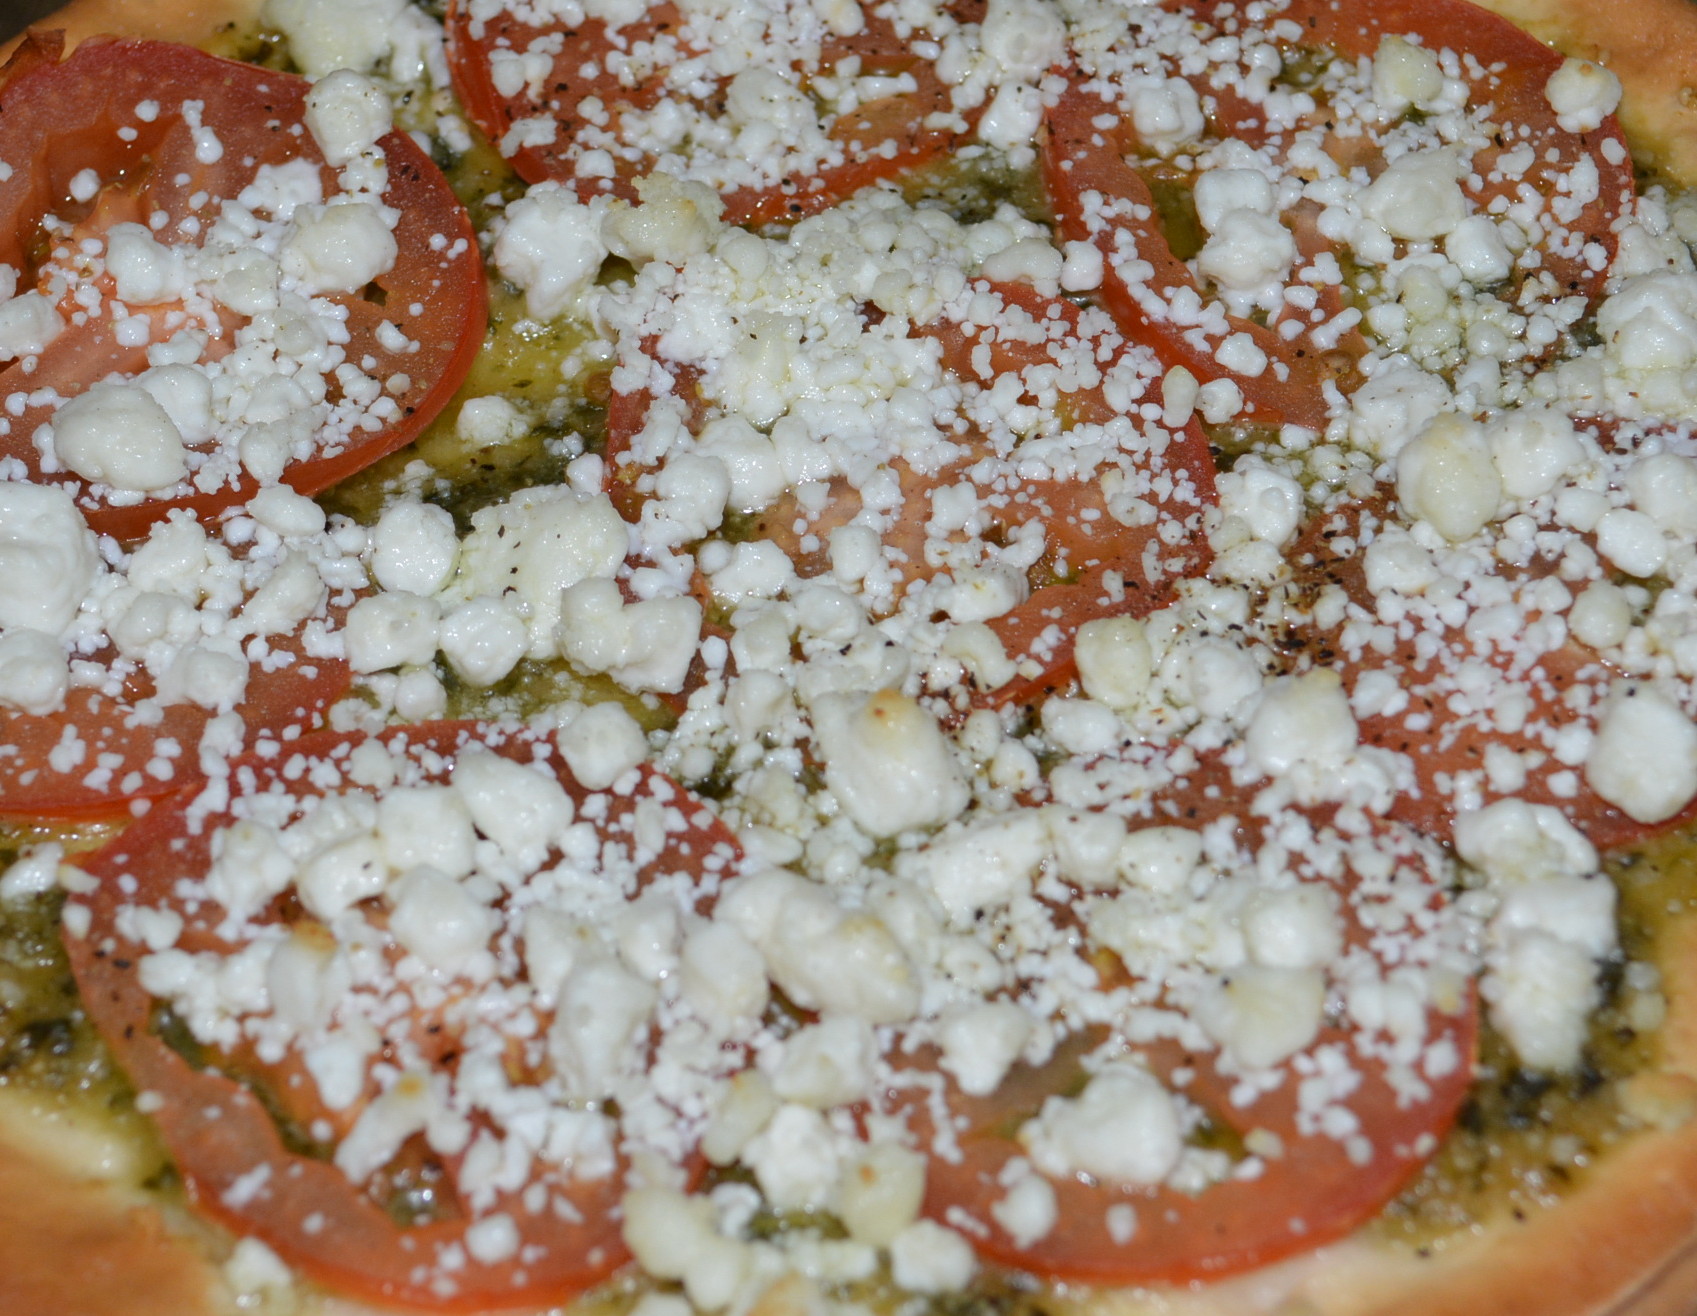
Add crumbled goat cheese to tops of pizzas.
Finish pizzas with a sprinkle of salt and pepper.
Gluten Free pesto goat cheese pizza ready for the oven!
Cook pizzas for about 5-7 minutes until crust turns a light golden brown.
Cool slightly and slice to enjoy!
Enjoy!
If you love pesto sauce as much as I do and haven’t tried adding it to a homemade pizza, you absolutely must give it a try! There’s just something about the combination of the olive oil based basil sauce and the pizza crust that just works. Top the sauce with any cheese or toppings of your liking, but if you’re in the mood for something a bit different, pick up some goat cheese and tomatoes and put this Gluten Free Goat Cheese Pesto Pizza together. The creaminess of the goat cheese combines perfectly with the pesto sauce and sliced tomatoes. It’s so simple and easy to put together and will quickly become a family favorite!
1/2 - 3/4 cup pesto (you can use homemade or jarred, my favorite jarred pesto sauces are Wegmans store brand which states gluten free on the label (how fantastic!), Cento (states gluten free on website), and Bellino (states gluten free on website))
2 plum tomatoes, sliced or diced
3.5 - 4 oz goat cheese (Alouette or Chavrie, both brands state gluten free, might be on the packaging, but definitely on their websites)
salt and pepper to taste
Homemade Gluten Free Pesto Sauce
1/3 cup olive oil and 2 additional tbsp for blending (I like Pompeian which states gluten free on its label)
2 cups firmly packed fresh basil
1/2 cup pine nuts (make sure these are gluten free; although these by nature are gluten free, they can share equipment with wheat products)
1/2 cup grated Parmesan cheese
3 to 4 garlic cloves, peeled and quartered
1/4 tsp salt
pepper to taste
Add all ingredients to food processor blender; cover and process or blend until mixture is smooth (make sure you stop and scrape sides); while blending or processing, add up to 2 additional tbsp of olive oil to reach creamy consistency; add black pepper to taste.
This recipe makes about 3/4 cup of pesto sauce, enough for this recipe!
Instructions
Preheat oven to 375 degrees.
Add 2 Udi's pizza crusts to baking sheets.
Prepare pesto sauce using the recipe above. My pesto recipe is derived from my favorite cookbook from my pre-gluten free days, Better Homes and Garden Cookbook, but of course is made to be gluten free. Even though they certainly don't have an allergy friendly section in this one, I still refer to it for recipe ideas and cooking staples, like sauces. If you are short on time or just prefer to use a jarred pesto sauce, just make sure to choose one that is gluten free (I recommended a few of my favorites in the ingredients section).
Once pesto sauce is ready, divide evenly between the two pizza crusts, adding to the center of each. Using the back of a spoon, gently spread the pesto sauce across the surface of the pizza crust, to about half an inch from the edge.
Slice or dice two plum tomatoes. I prefer slices on my pizzas, but use whatever you'd like.
Layer tomatoes on top of pesto sauce.
Add goat cheese to tops of pizzas.
Finish pizzas with a sprinkle of salt and pepper.
Cook pizzas for about 5-7 minutes until crust turns a light golden brown.
Cool slightly and slice to enjoy!
By Gluten Free Mom To Be
Adapted from Musings of a Housewife
Adapted from Musings of a Housewife
Gluten Free Mom To Be http://www.glutenfreemomtobe.com/
It’s been quite a few years since I’ve been able to enjoy a soft, floury tortilla that was stuffed with my favorite salads and the forbidden gluten. As a pickier eater, salads and wraps used to be one of my go to meals at a number of restaurants. But as with many of my favorite dishes from years past, gluten was a main ingredient, now making them obsolete in my diet.
Although we’ve yet to reach the point where I can enjoy a wrap yet again at Red Robin or Saladworks, another amazing feat has been reached for the gluten free community by the release of Udi’s gluten free tortillas. Slowly but surely, some of my past cabinet staples are reemerging in a gluten free form. Each time I see a new gluten free product in the store, I first cross my fingers that this one will succeed and be consistently stocked, but then I feel overwhelmed with encouragement that the restrictions facing allergy and other dietary folk are beginning to break down. It’s amazing how the release of a simple gluten free product could be so overwhelming but it truly does fill you with complete and utter gratitude for those who are even attempting the task.
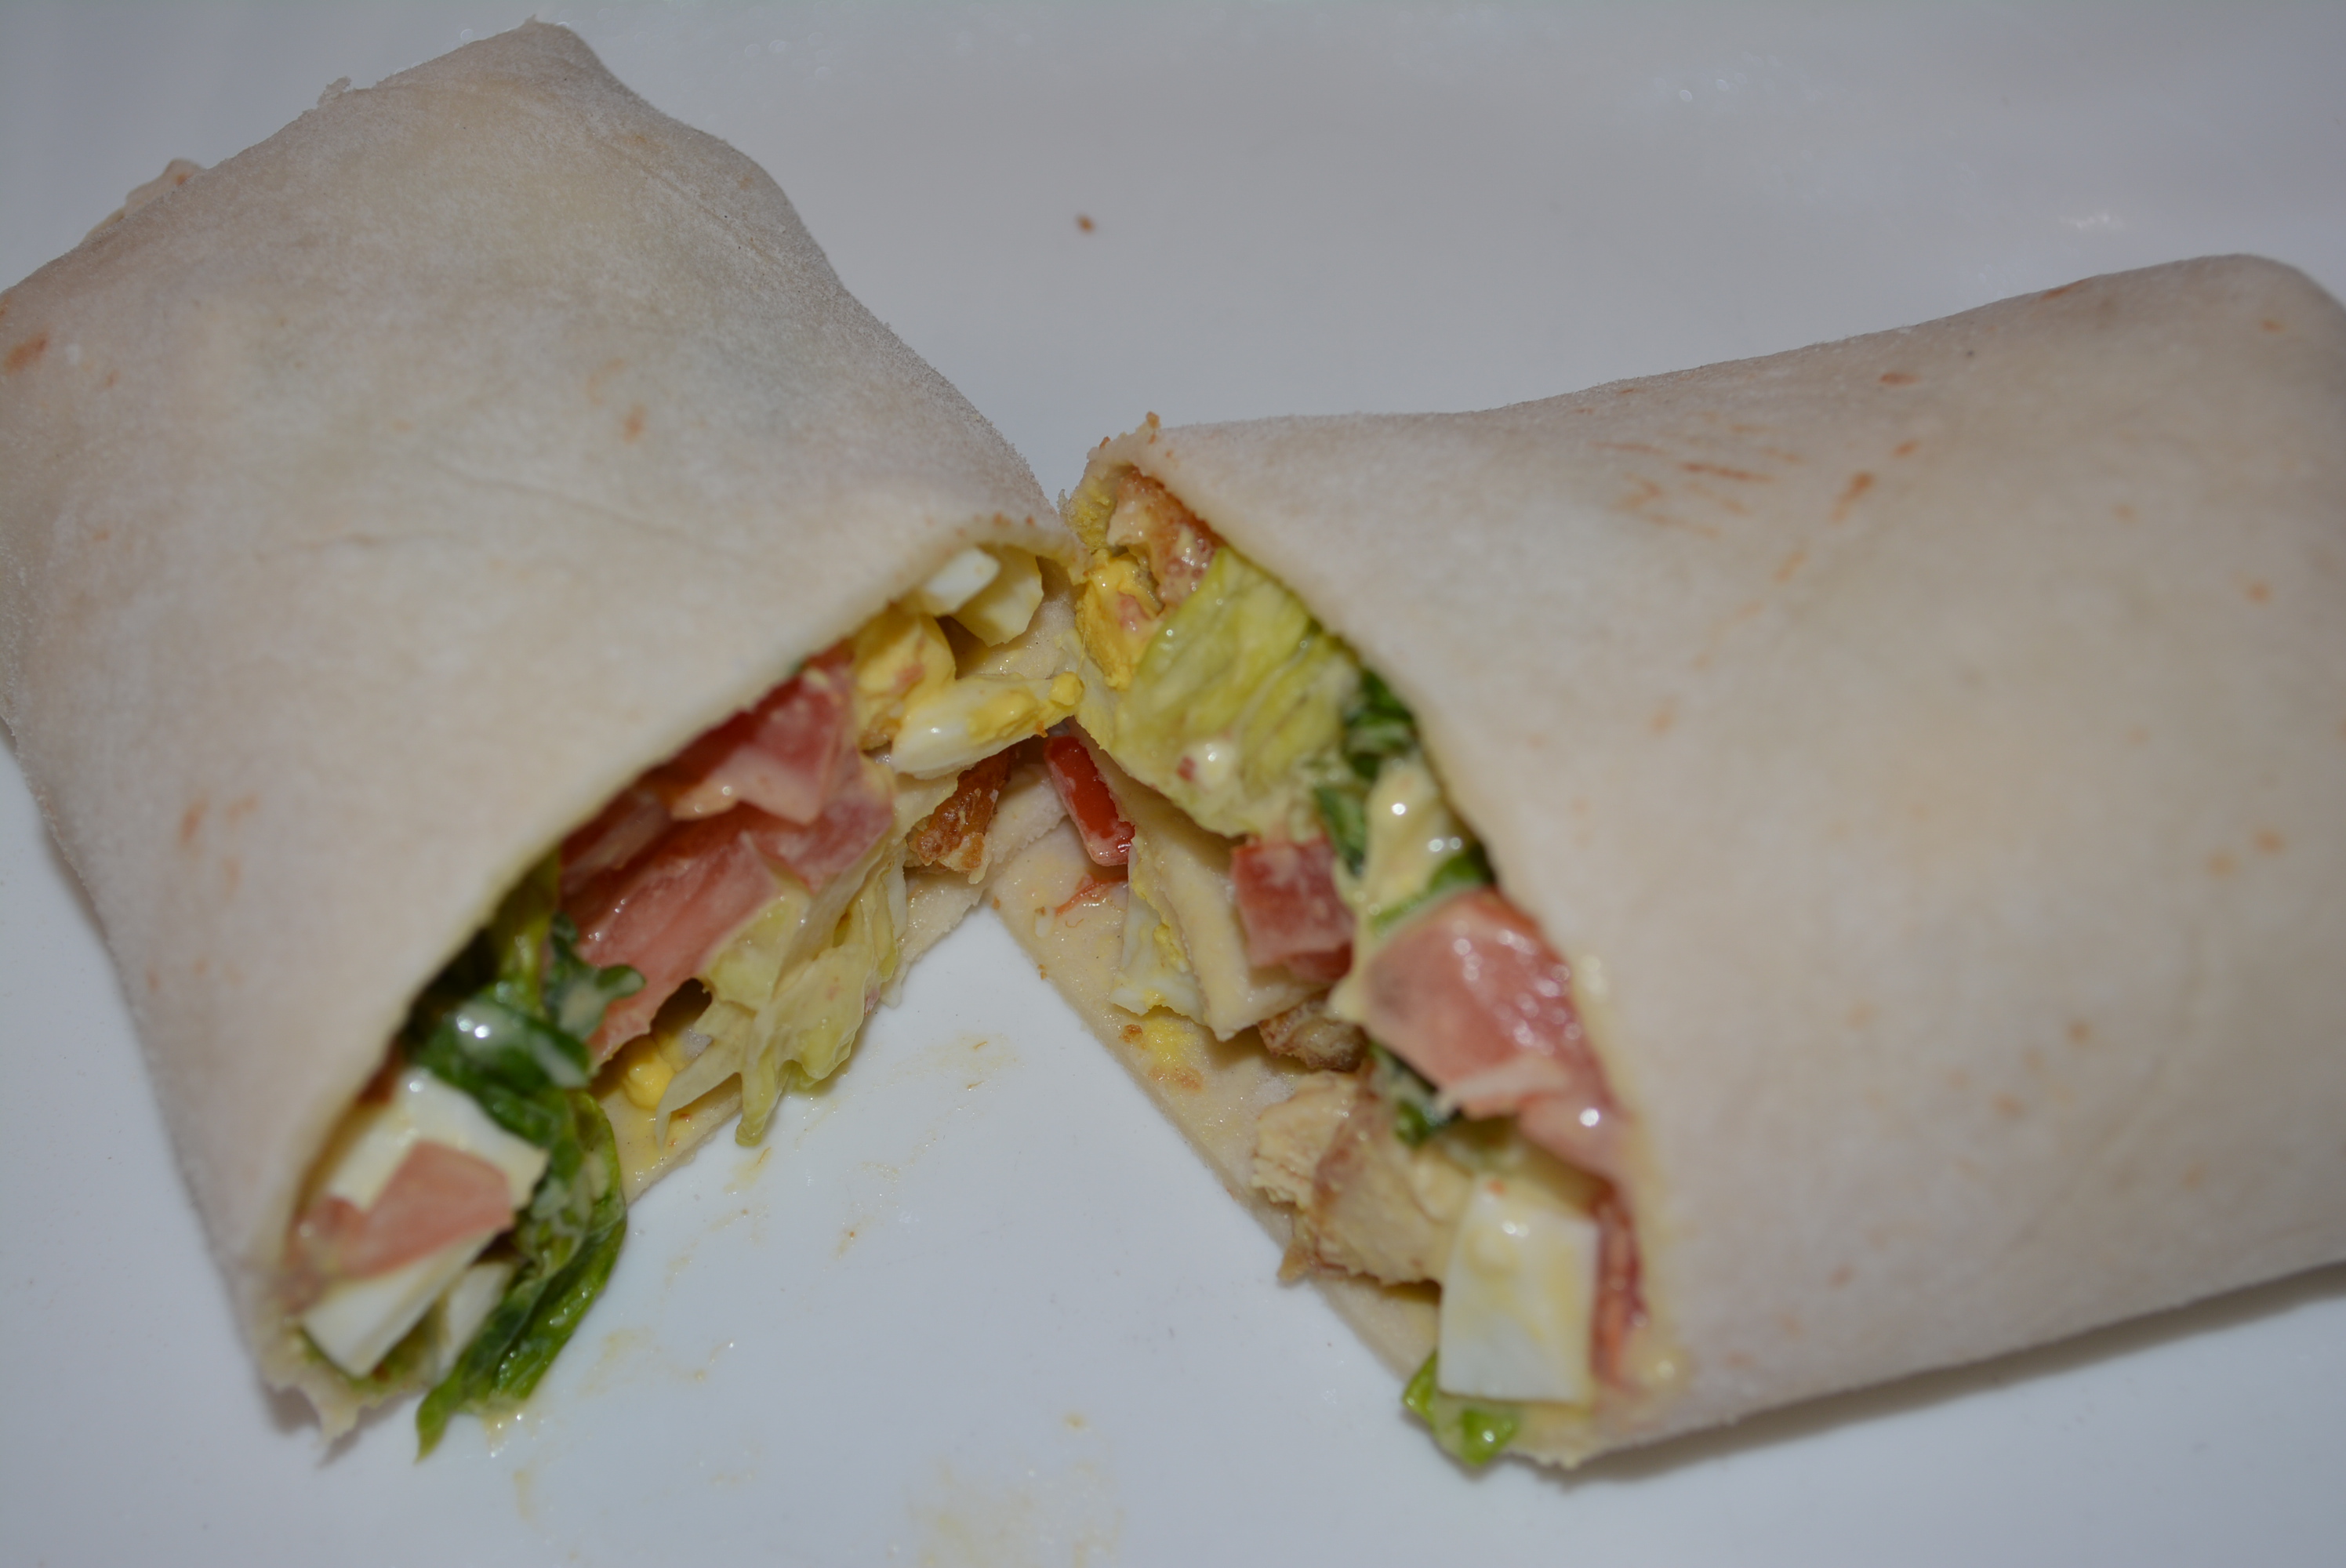
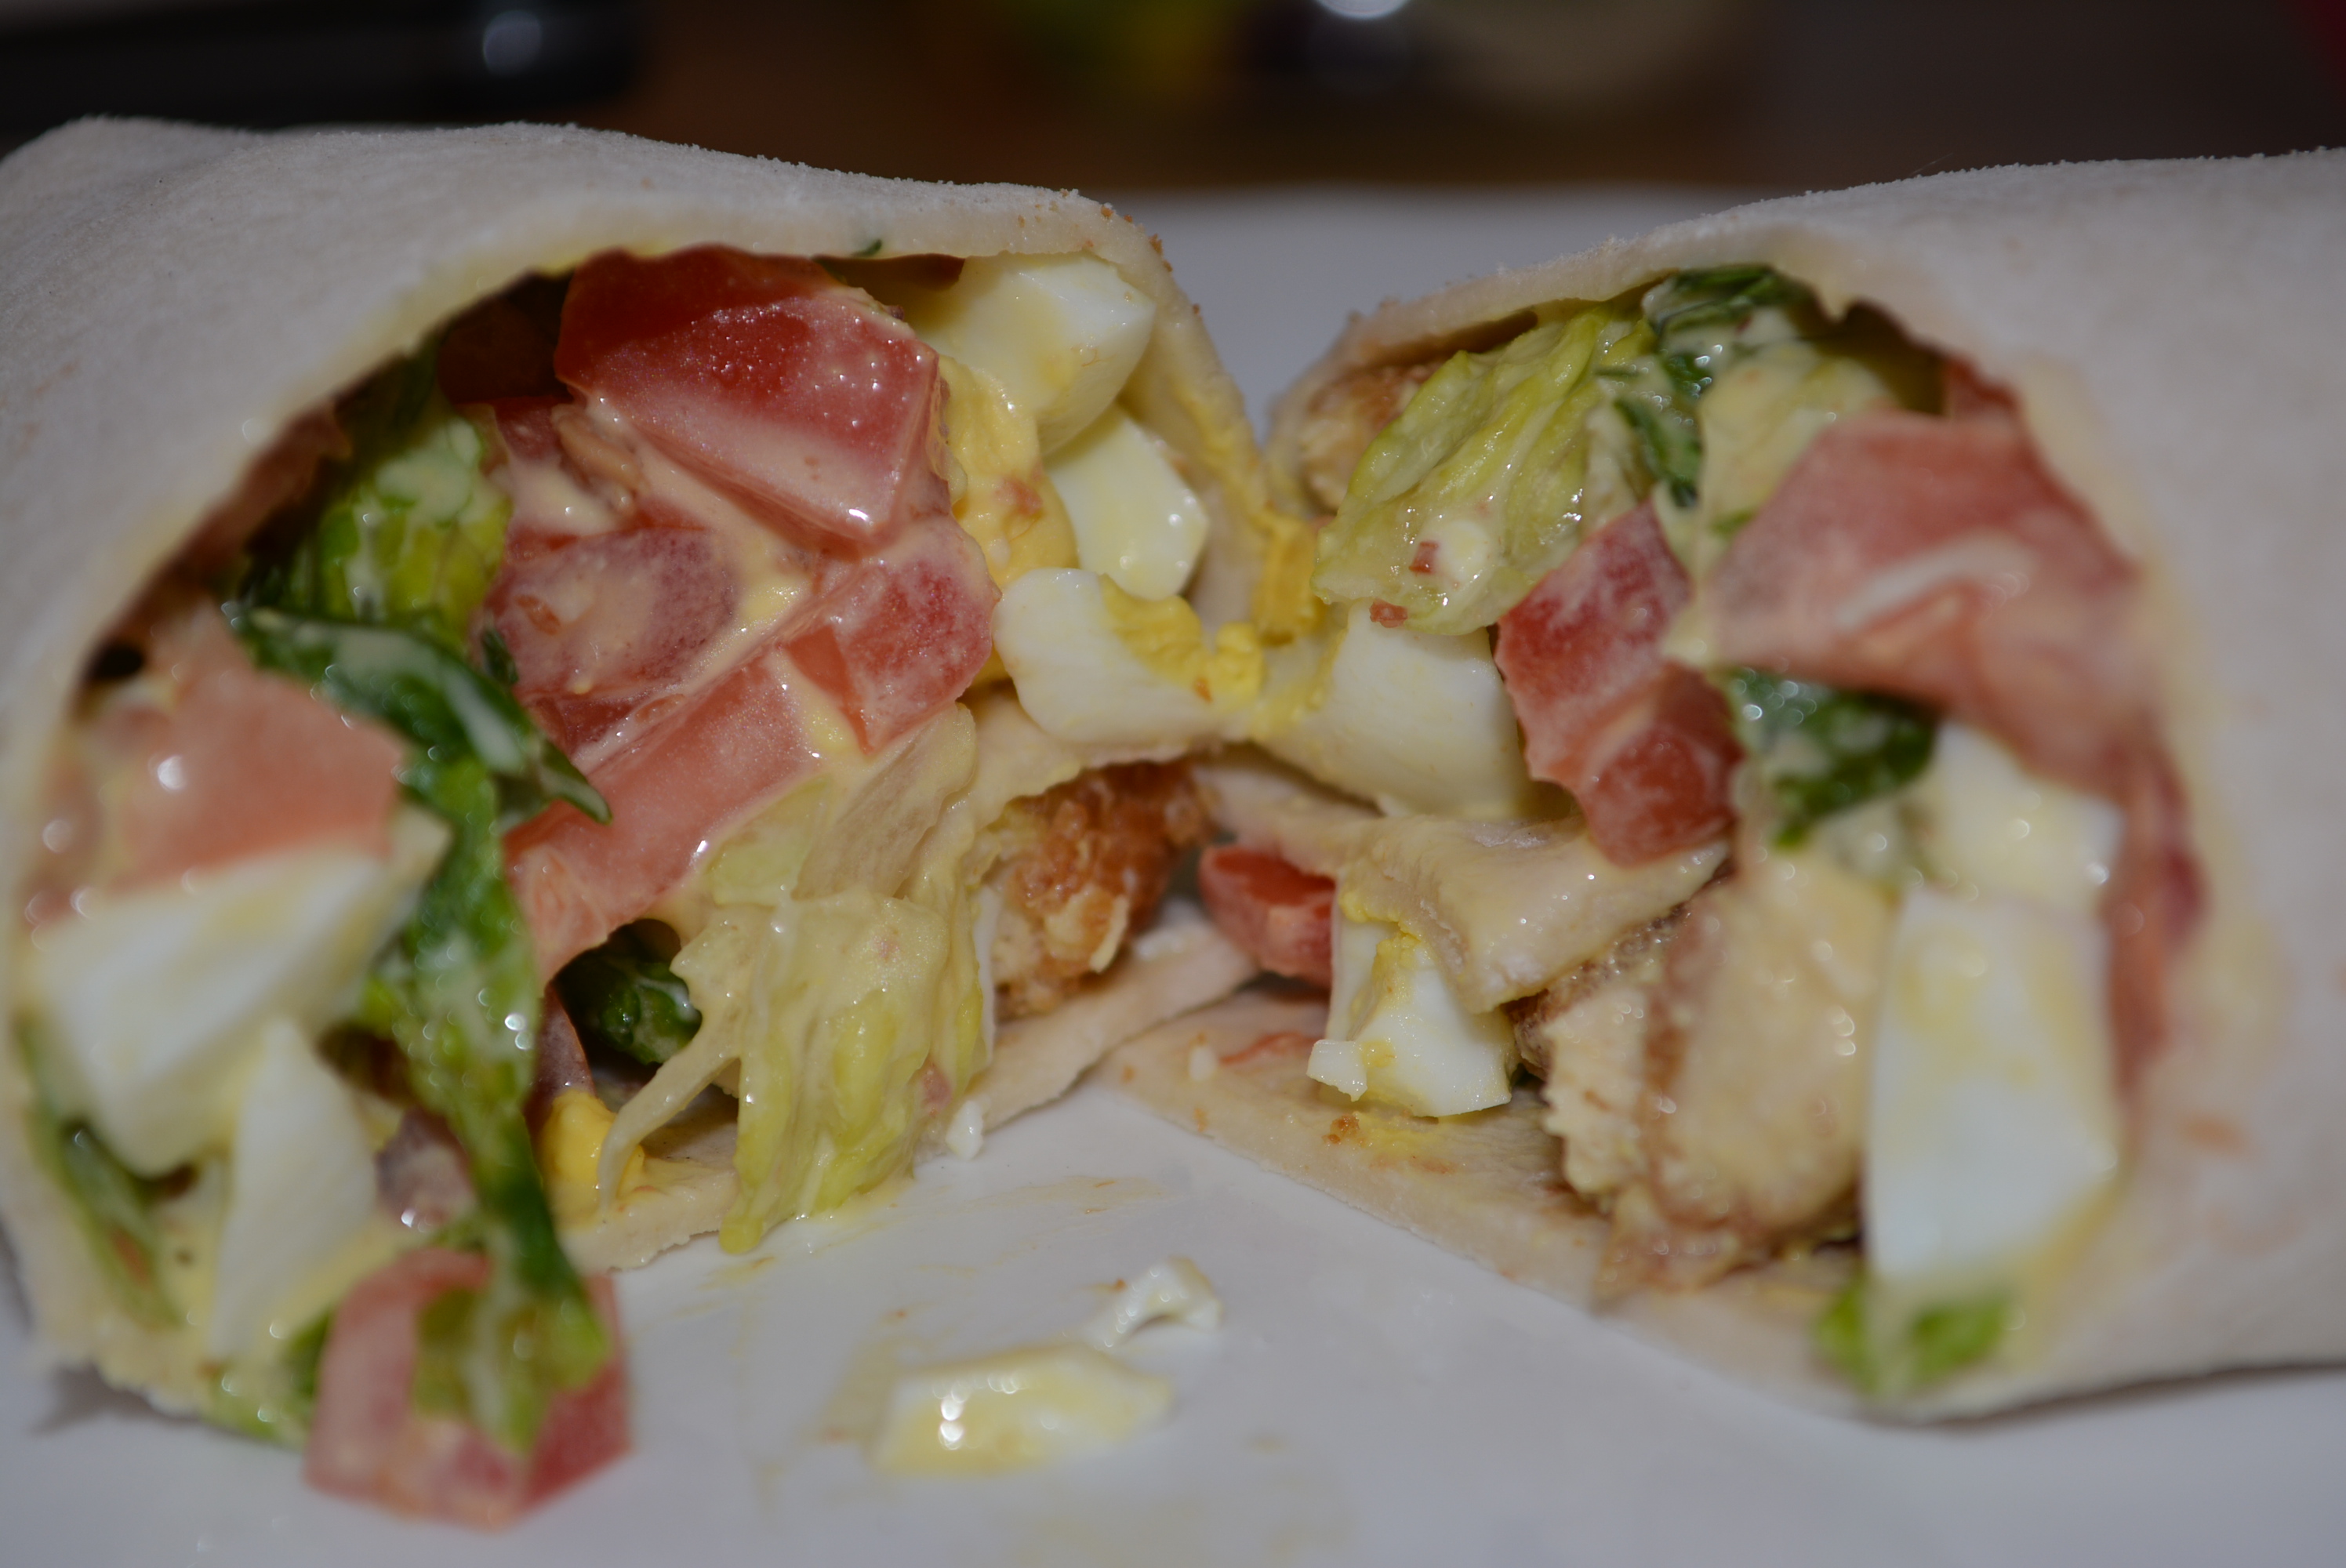
The addition of these tortillas back into my diet has expanded my lunch menu tremendously. For my first trial, I decided to recreate Red Robin’s Crispy Chicken Wrap. Using some basic ingredients that I always keep around, along with one of my other new favorite additions to the gluten free world, Perdue’s Simply Smart Gluten Free Breaded Chicken Strips, I created an amazing gluten free wrap that could certainly stand up to the gluten equivalent.
Ingredients:
Udi’s Large Tortillas
Romaine Lettuce
Blue Cheese Dressing (Wishbone is gluten free; I also enjoy Marie’s)
Tomatoes
Bacon (I like to use Hormel’s Real Bacon Bits)
Hardboiled Eggs
Breaded Chicken Strips (I love Perdue’s Simply Smart Gluten Free Chicken Strips (in the frozen section))
Amounts of these ingredients vary depending on how many wraps you are preparing and how much of each ingredient you like. I usually add equal parts of each. For one wrap for myself, I add about one handful of each ingredient, prepare salad mixture, and add accordingly to wrap. No worries if you have extra, you can always enjoy this as a salad on the side!
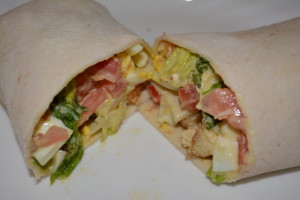
Crispy Chicken Cobb Wrap
Directions:
For my first wrap, I prepared enough ingredients to add about one handful of each to the wrap.
Preheat oven and prepare breaded chicken strips.
Additionally, add eggs to water and prepare hardboiled eggs.
While eggs and chicken are cooking, wash lettuce and tomatoes, chop into small bite size pieces, and add to a small mixing bowl.
Add 1-2 tablespoons of bacon to mixing bowl.
When eggs are ready, rinse with cold water so they’re cool enough to handle, chop, and add to other ingredients.
Similarly, when chicken has finished cooking, chop one or two strips into bite size pieces and combine with other ingredients.
Add several tablespoons of dressing, as much as desired, to ingredients and mix to coat all with dressing.
Wrap one tortilla with a damp paper towel and microwave for about 25 seconds to moisten and soften.
Remove paper towel and spoon salad mixture onto center of tortilla, making sure to not add too much and leave sides and top and bottom free for wrapping. Feel free to leave any extra to eat separately as a salad.
Turn up top and bottom and pull one side over to the other to wrap. Add toothpicks and cut wrap diagonally to enjoy!
Tortillas stuffed with Cobb salad!
Udi’s has certainly done me proud by producing such an outstanding product that I’ll be stocking in my refrigerator for years to come. To find these tortillas in a store near you, just use Udi’s tool here on their website. I hope you give these a try as soon as you can, you’ll be so glad that you did when you taste the gluten free love that Udi’s baked into these!
Sincerely,
Lindsay
Quick And Easy And Gluten Free Crispy Chicken Cobb Wraps
Blue Cheese Dressing (Wishbone is gluten free; I also enjoy Marie's)
Tomatoes
Bacon (I like to use Hormel's Real Bacon Bits)
Hardboiled Eggs
Breaded Chicken Strips (I love Perdue's Simply Smart Gluten Free Chicken Strips (in the frozen section))
Amounts of these ingredients vary depending on how many wraps you are preparing and how much of each ingredient you like. I usually add equal parts of each. For one wrap for myself, I add about one handful of each ingredient, prepare salad mixture, and add accordingly to wrap. No worries if you have extra, you can always enjoy this as a salad on the side!
Instructions
For my first wrap, I prepared enough ingredients to add about one handful of each to the wrap.
Preheat oven and prepare breaded chicken strips.
Additionally, add eggs to water and prepare hardboiled eggs.
While eggs and chicken are cooking, wash lettuce and tomatoes, chop into small bite size pieces, and add to a small mixing bowl.
Add 1-2 tablespoons of bacon to mixing bowl.
When eggs are ready, rinse with cold water so they're cool enough to handle, chop, and add to other ingredients.
Similarly, when chicken has finished cooking, chop one or two strips into bite size pieces and combine with other ingredients.
Add several tablespoons of dressing, as much as desired, to ingredients and mix to coat all with dressing.
Wrap one tortilla with a damp paper towel and microwave for about 25 seconds to moisten and soften.
Remove paper towel and spoon salad mixture onto center of tortilla, making sure to not add too much and leave sides and top and bottom free for wrapping. Feel free to leave any extra to eat separately as a salad.
Turn up top and bottom and pull one side over to the other to wrap. Add toothpicks and cut wrap diagonally to enjoy!
By Gluten Free Mom To Be
Gluten Free Mom To Be http://www.glutenfreemomtobe.com/
Well, Easter 2014 went off without a hitch!!! My favorite part of course was watching my little girl experience all of the holiday traditions for the first time with big bright eyes and a smile to boot. This year was so different than last year when she was a stationary little 3 month old so we were so excited to pack our Easter full of fun and tradition. In the early AM, little one rose extra early than usual, I like to think in the anticipation of wanting to see what the Easter Bunny had brought. After being sprung from her crib she walked out of her room only to go straight for the diaper bag by her toy chest; no surprise that she literally locked eyes on Mommy’s bag that’s strictly off limits, completely overlooking the oodles and oodles of new toys and treats that the Easter Bunny had brought. After a little redirection, her eyes locked onto the mound of Easter fun that awaited her and with mouth open in shock she went straight for her brand new plush Minnie backpack from Mommy and Daddy!
With no problem, she had sorted through her Easter Basket and the toys along with it, scattering everything throughout the entire living room. Onto a quick breakfast and a little playtime and then we were off to church. A lengthy church service later and our little toddler was excited for fun with her cousins at Nanny and Pop Pop’s house! The Easter Bunny had made a stop there too, leaving lots of fun surprises for her and her five cousins. What caught my daughter’s attention there? Well that would be the eggs that we had dyed last weekend there in preparation for the Easter Bunny’s visit. She promptly dug out the dyed Easter eggs from her cousin’s baskets and brought them back to Mommy and Daddy for her to examine and play with…it’s the simple things right!!! After two quick Easter egg hunts, one at Nanny and Pop Pop’s and back at home, which I’ve now learned is probably one of her favorite activities to participate in, it was time for lunch and a much needed nap before dinner.
Being the first year that we actually hosted the holiday dinner at our home, I was so excited to create some gluten free menu items that everyone could enjoy! We usually run our holiday dinners in kind of a potluck fashion where each family member brings along a different dish. So this year, going along with tradition, my parents prepared the ham and baked beans, my grandparents brought along a potato salad, my aunt a fruit salad, and my cousin and siblings added a side dish or dessert and some of the other dinner essentials. As far as my contributions, I prepared my grandmother’s coleslaw, deviled eggs, jello jigglers for my nieces and nephews, and strawberry and vanillla chex treats that I was first introduced to by Iowa Girl Eats.
In preparation this past week for the cooking fest that was about to occur for the holiday, I was so busy running around to multiple food stores, picking up different gluten free items that I needed. Yes I did say multiple food stores, as life cannot be as simple as for my main grocery store located only 10 minutes down the road to have everything. Can you tell that this is a huge sticking point for me? Do any of you have to frequent multiple food stores to collect your favorite gluten free products? Anyway, little one and I made our way to some of my favorite gluten free havens, Wegmans, Whole Foods, and Trader Joe’s, where the aisles are much more welcoming to the gluten free shopper. Although I try to only make occasional trips to these, mainly because of their appealing gluten free selection always causing more of a small grocery shopping trip than a quick stop, unfortunately for my grocery budget this week, I also stocked up on a few other different gluten free items that hadn’t made an appearance in our house in quite awhile. Finally all stocked up and ready to go, I was ready for our Easter dinner and couldn’t be more excited for our awaiting menu.
I must say this year, our dinner did not disappoint. We had a ton of variety for all of our diners, gluten free and non-gluten free. Take a look at some of our menu choices below and feel free to give some of the dishes a try for dinner tonight, your next cook out, or even one of the next holidays!
Main Dish: a Cook’s spiral ham…This one unfortunately was not gluten free. In past years it has been, but Cook’s has indicated now that although their ham is inherently gluten free, the suppliers of spices and other ingredients can alter their formulations thus changing gluten content as well. Sadly, Cook’s indicates that they cannot guarantee that their hams are 100% gluten free, which for me makes it 100% off limits. To read their gluten statement, take a look at their FAQs section on their website here. For my gluten free substitution I contemplated making my own small ham or ham steak but to be honest I was short on time and was really in the mood for a lunch meat kind of ham (not very special and holiday like, but it was tasty to me). So instead of a potential gluten run in, I ate a gluten free Black Bear Virginia Ham sandwich substitute, delicious!
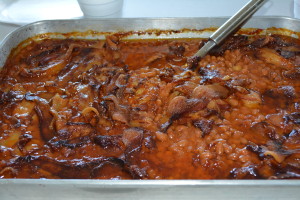
Gluten Free Baked Beans: This one is one of my dad’s signatures. He’s been making these ever since I can remember, definitely making them a holiday tradition. In recent years, he’s had to adapt a little and make sure all of the ingredients are allergy friendly and gluten free, but still follows the same recipe!
7 lb 2 oz can Pork and Beans (our store brand is gluten free, but choose whichever brand is gluten free that is available to you)
1/4-1/3 cup French's Mustard (gluten free)
3/4 cup Heinz Ketchup (gluten free)
1/2-3/4 cup Vermont Maid Maple Syrup (gluten free)
1 lb Bacon Ends (choose a brand that is gluten free that is available to you)
Brown Sugar to dot top of baked beans
Instructions
Preheat oven to 325 degrees.
Spread baked beans in a 16 x 13 baking pan.
Add 1/4-1/3 cup of mustard to center of beans and stir to combine. Add either amount depending on personal taste, i.e. if you love a mustard flavor go with the 1/3 cup.
Place 3/4 cup of ketchup to center of beans and stir.
Stir in 1/2-3/4 cup of maple syrup until all is combined with baked bean mixture. Again, add either amount depending on personal taste, i.e. if you like a sweeter baked bean than go with the 3/4 cup.
Dot top with brown sugar and use a knife to swirl into bean mixture.
Lay 1 lb of bacon ends evenly across the entire surface of the baked beans.
Place prepared baked beans on the middle rack of your oven and bake for 3 hours or until bacon is crisp on top.
Enjoy!
By Gluten Free Mom To Be
Gluten Free Mom To Be http://www.glutenfreemomtobe.com/
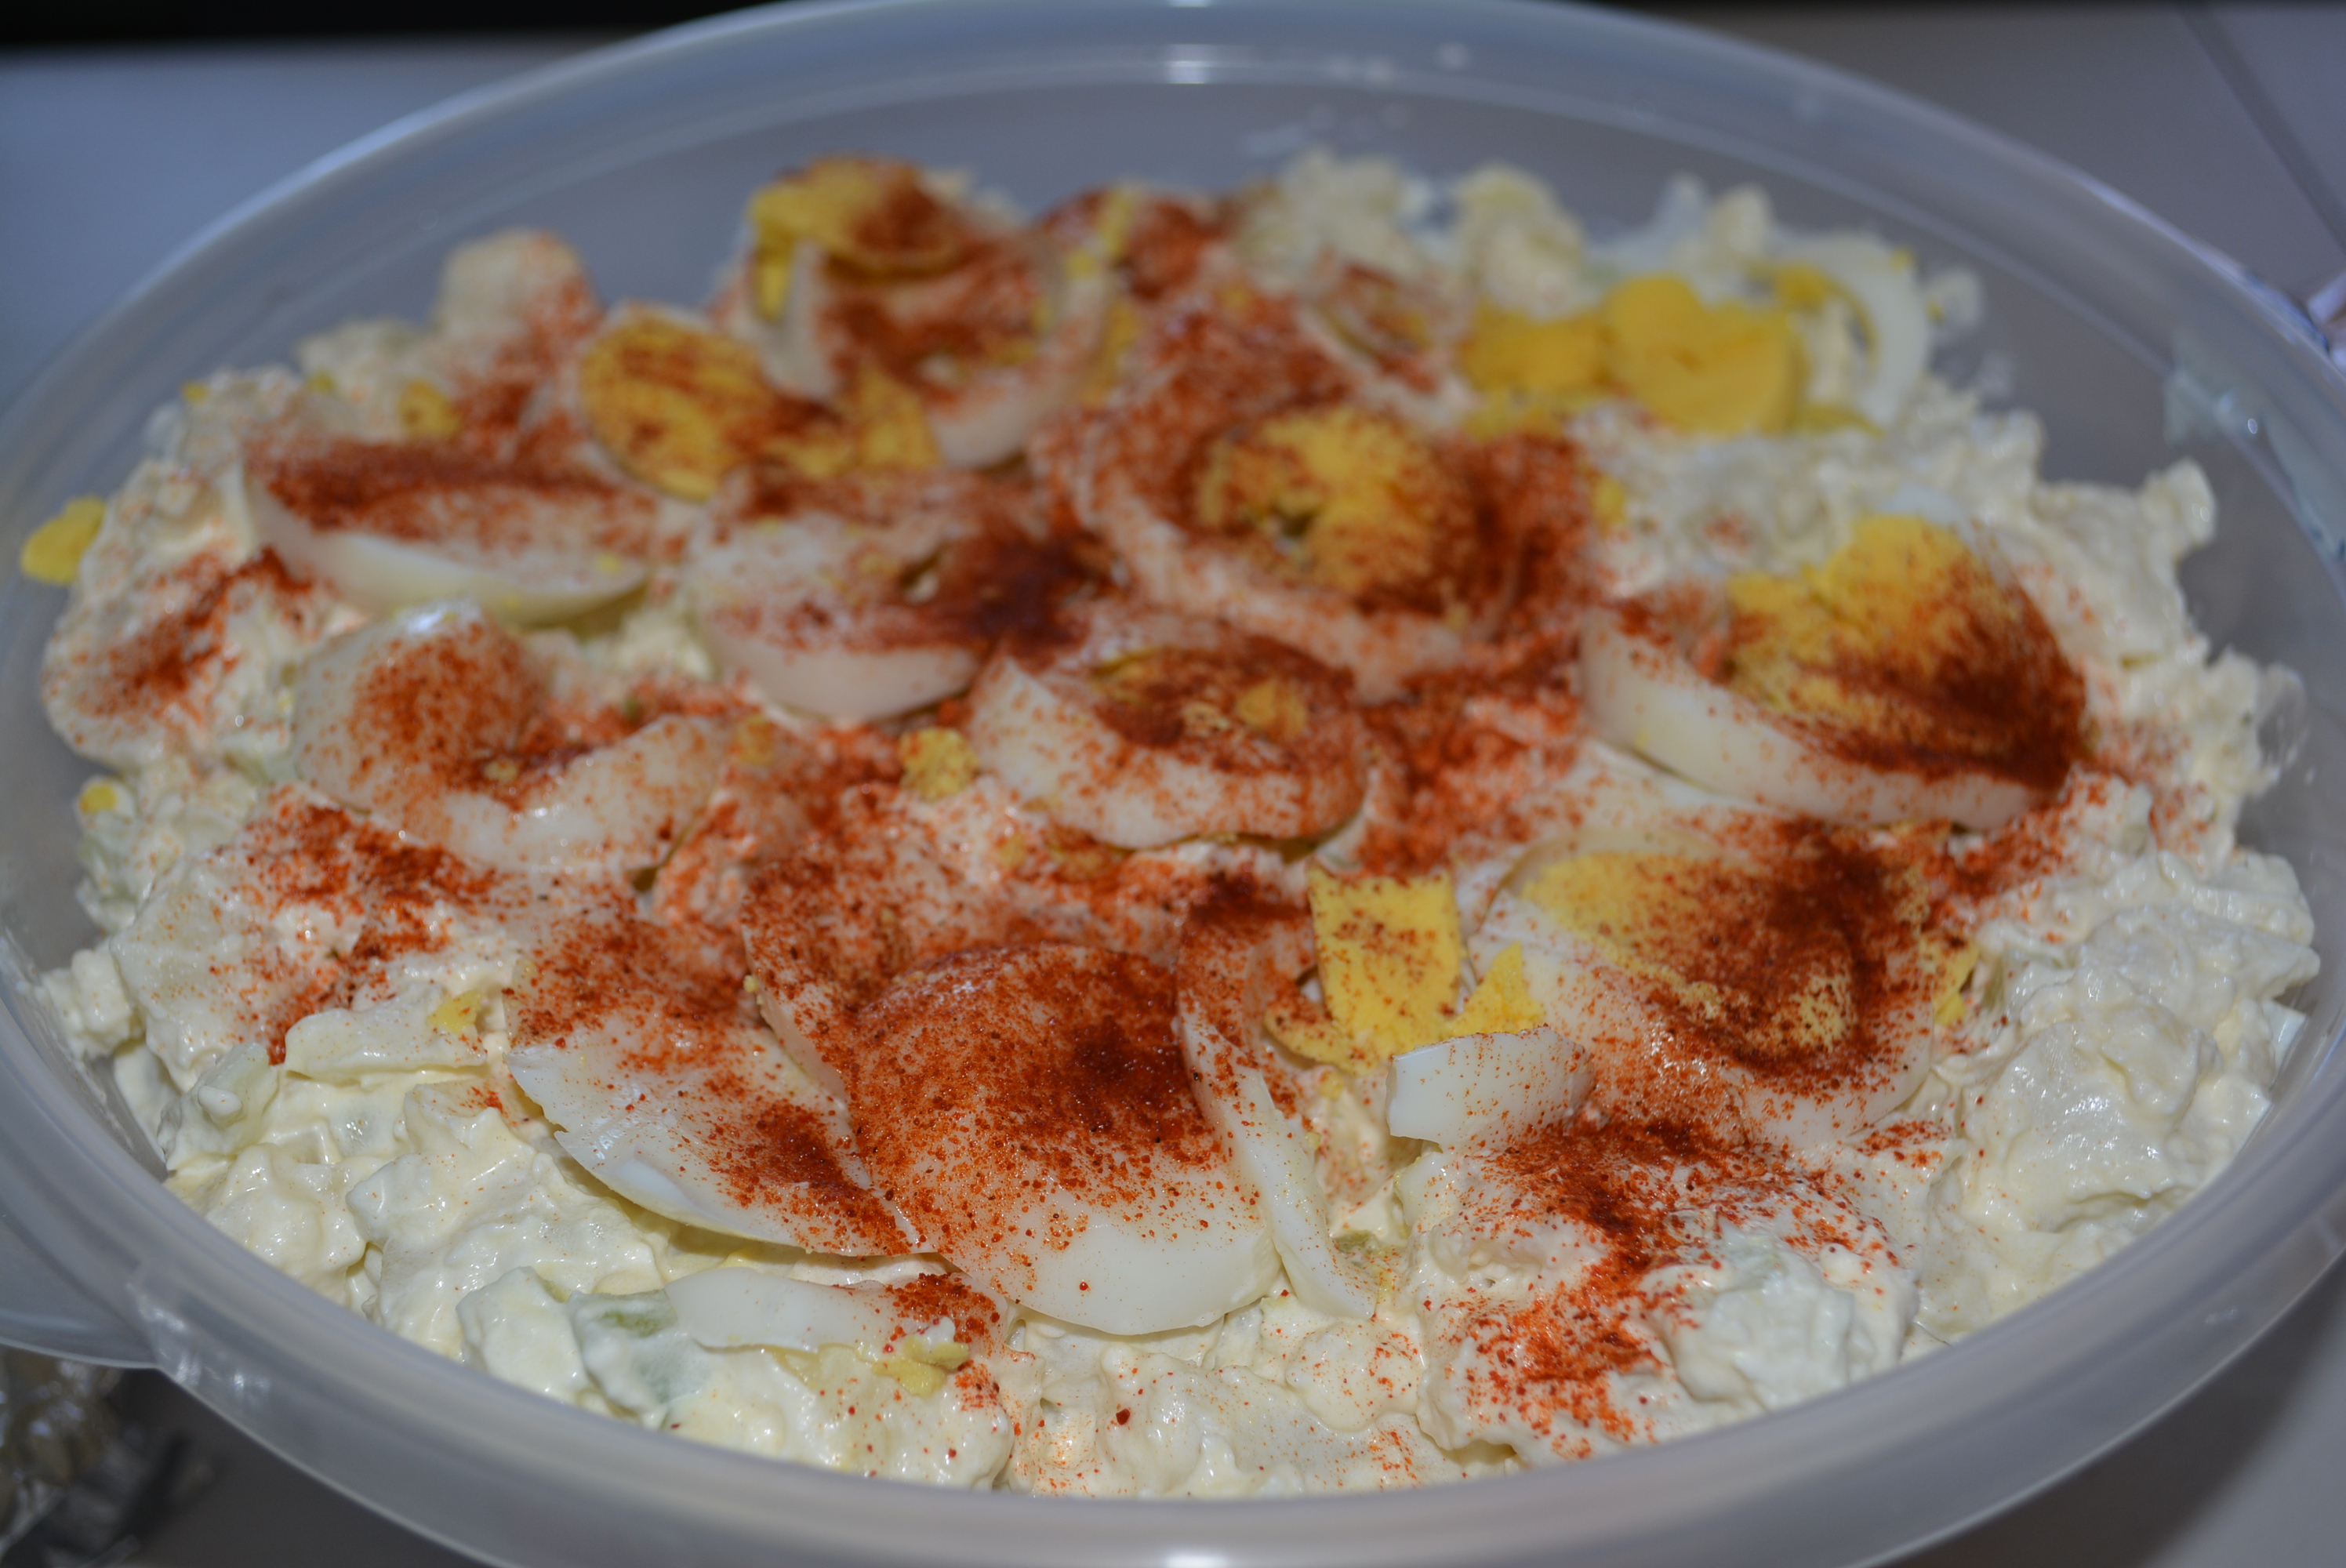
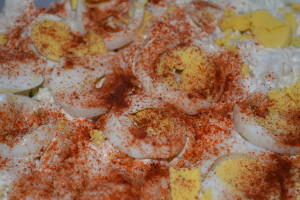
Gluten Free Potato Salad: This one along with my coleslaw, are family staples. We always have a potato salad and coleslaw for our holiday meals. Now that I’ve inherited the coleslaw recipe from my grandmother, I get to make that one a few more times throughout the year along with each holiday. The potato salad though is still my grandmother’s favorite and is a special treat for everyone just on holidays; she even makes sure to use gluten free ingredients for me (Love that!)!
5 lb bag of Yukon potatoes (use 1-2 potatoes per person)
4 hardboiled eggs (or more if desired)
1 cup celery (about 4 stalks; adjust this number if you prefer more celery)
1 medium yellow onion chopped
Hellmann’s Mayonnaise (either regular or light, both are marked gluten free; amount varies depending on number of potatoes used)
Light Sour Cream (check the label and call the company of whichever brand you choose unless it states gluten free explicitly on the label; amount varies depending on number of potatoes used)
Paprika
Salt to taste
Instructions
Wash and clean as many Yukon potatoes as needed.
Add potatoes to pot and cover with water.
Bring to a boil and cook until potatoes are fork tender.
While potatoes are cooking, prepare hardboiled eggs.
Pour off water and leave potatoes in pot until cool enough to handle.
Peel and cut potatoes into quarters or bite size pieces and add them to a large bowl.
Peel and slice two of the hardboiled eggs for adding to the top of the salad and chop remaining two and mix in with the potatoes. (Feel free to adjust this if you'd like.)
Chop about one cup of celery (4 stalks); this amount can vary according to personal taste, add more if you're a celery lover or less if you prefer.
Mix celery in with the potatoes and eggs.
Chop one medium yellow onion and combine with the potato mixture.
Prepare mayonnaise and sour cream mixture, similar to the dressing used for my coleslaw, creating a 2:1 ratio of mayo to sour cream. Taste mixture, making sure there is a good balance between mayonnaise and sour cream. Prepare plenty of dressing to make sure the potato salad is nice and creamy. Amounts will vary depending upon how many potatoes you need but my best advice would be to start with a larger amount and add what is needed; don't be afraid to make more later, just make sure you taste as you go!
Mix in dressing with the potato mixture, making sure all is coated and creamy. Make sure you add plenty of the mayo and sour cream mixture, as the potatoes are sure to absorb some of it and you don't want a dry potato salad.
Taste and add salt as needed.
Top with sliced hardboiled eggs.
Dust top with paprika.
The secret to this one is to use enough dressing to keep it creamy!
By Gluten Free Mom To Be
Gluten Free Mom To Be http://www.glutenfreemomtobe.com/
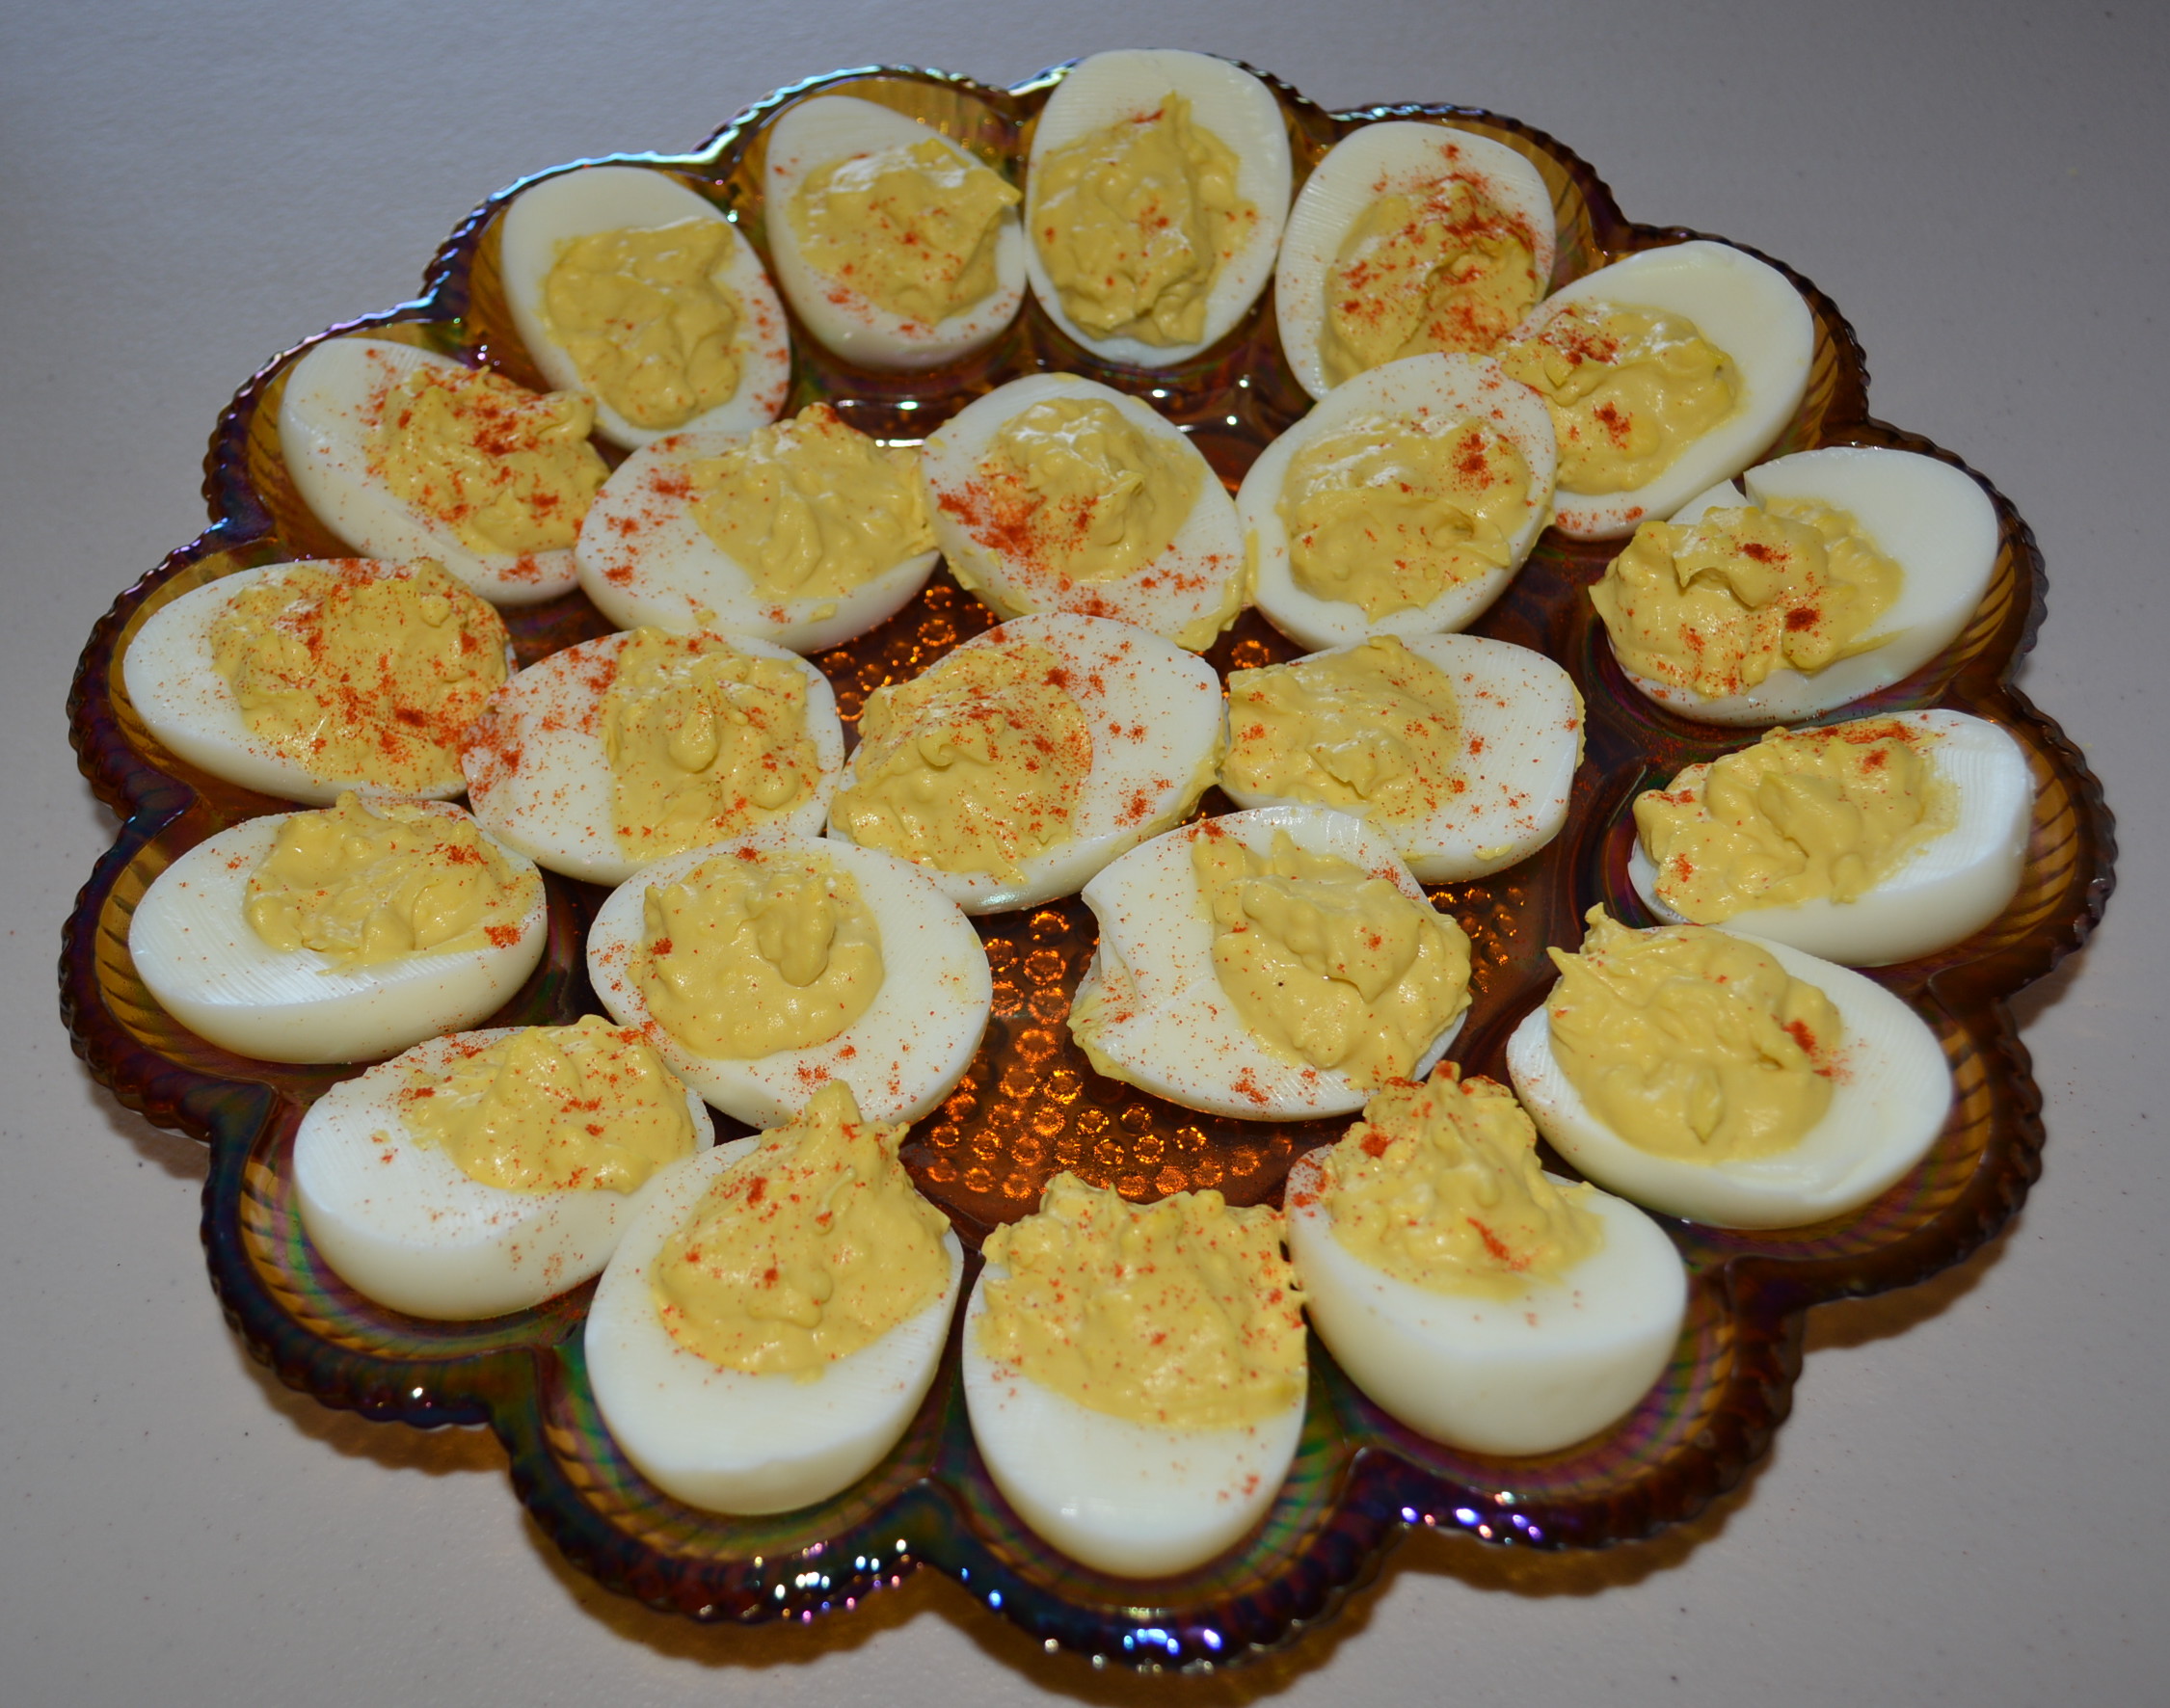
Gluten Free and Dairy Free Deviled Eggs: These are by far one of my favorite side dishes for holidays or everyday. They’re such a tasty little side that always remind me of family get togethers and summer cookouts, making them perfect for any dinner! Check out my recipe here for these wonderful gluten free bites that are easy to make and enjoyed by all.
Deviled eggs dusted with paprika.
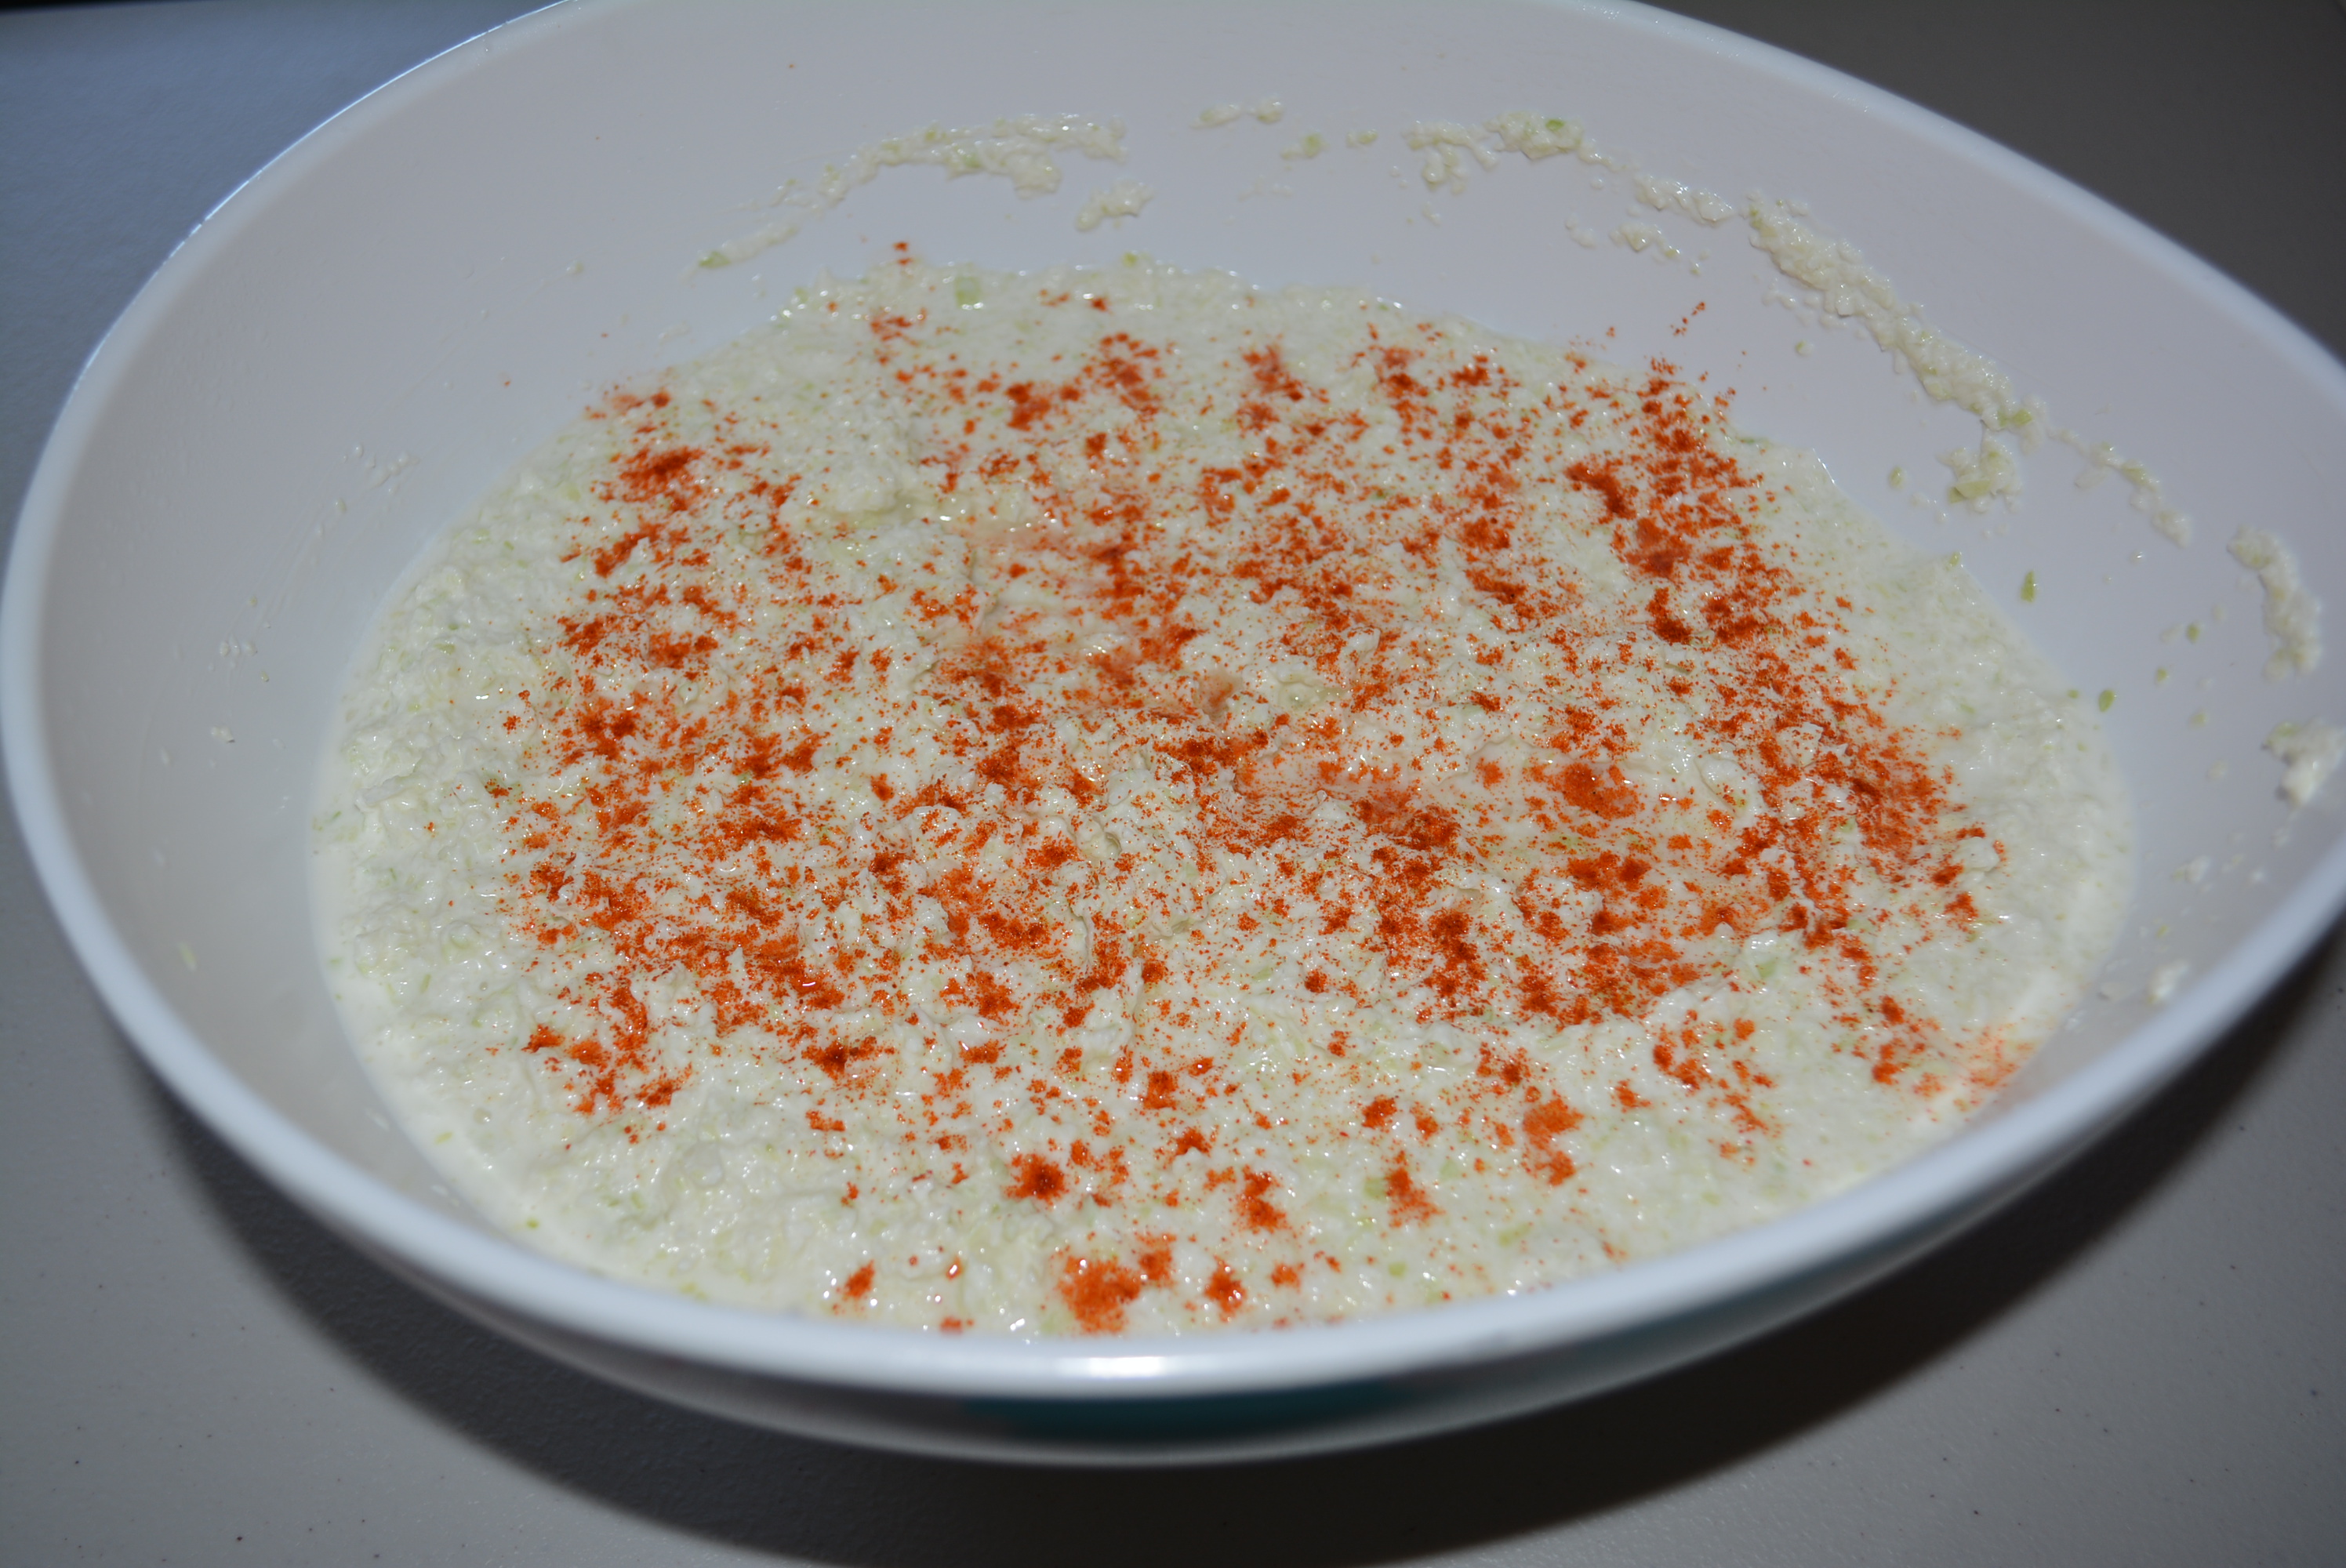
Gluten Free Coleslaw: This a perfect combination of finely chopped cabbage, mayo, and sour cream. Just season with salt and top with paprika and you’re ready to enjoy. This year I received the stamp of approval from my grandmother, this recipe’s founding mother, making it taste just that much better. Give this one a try this summer or for any holiday dinner. Check out my gluten free coleslaw recipe here.
Gluten free coleslaw, perfect for any holiday.
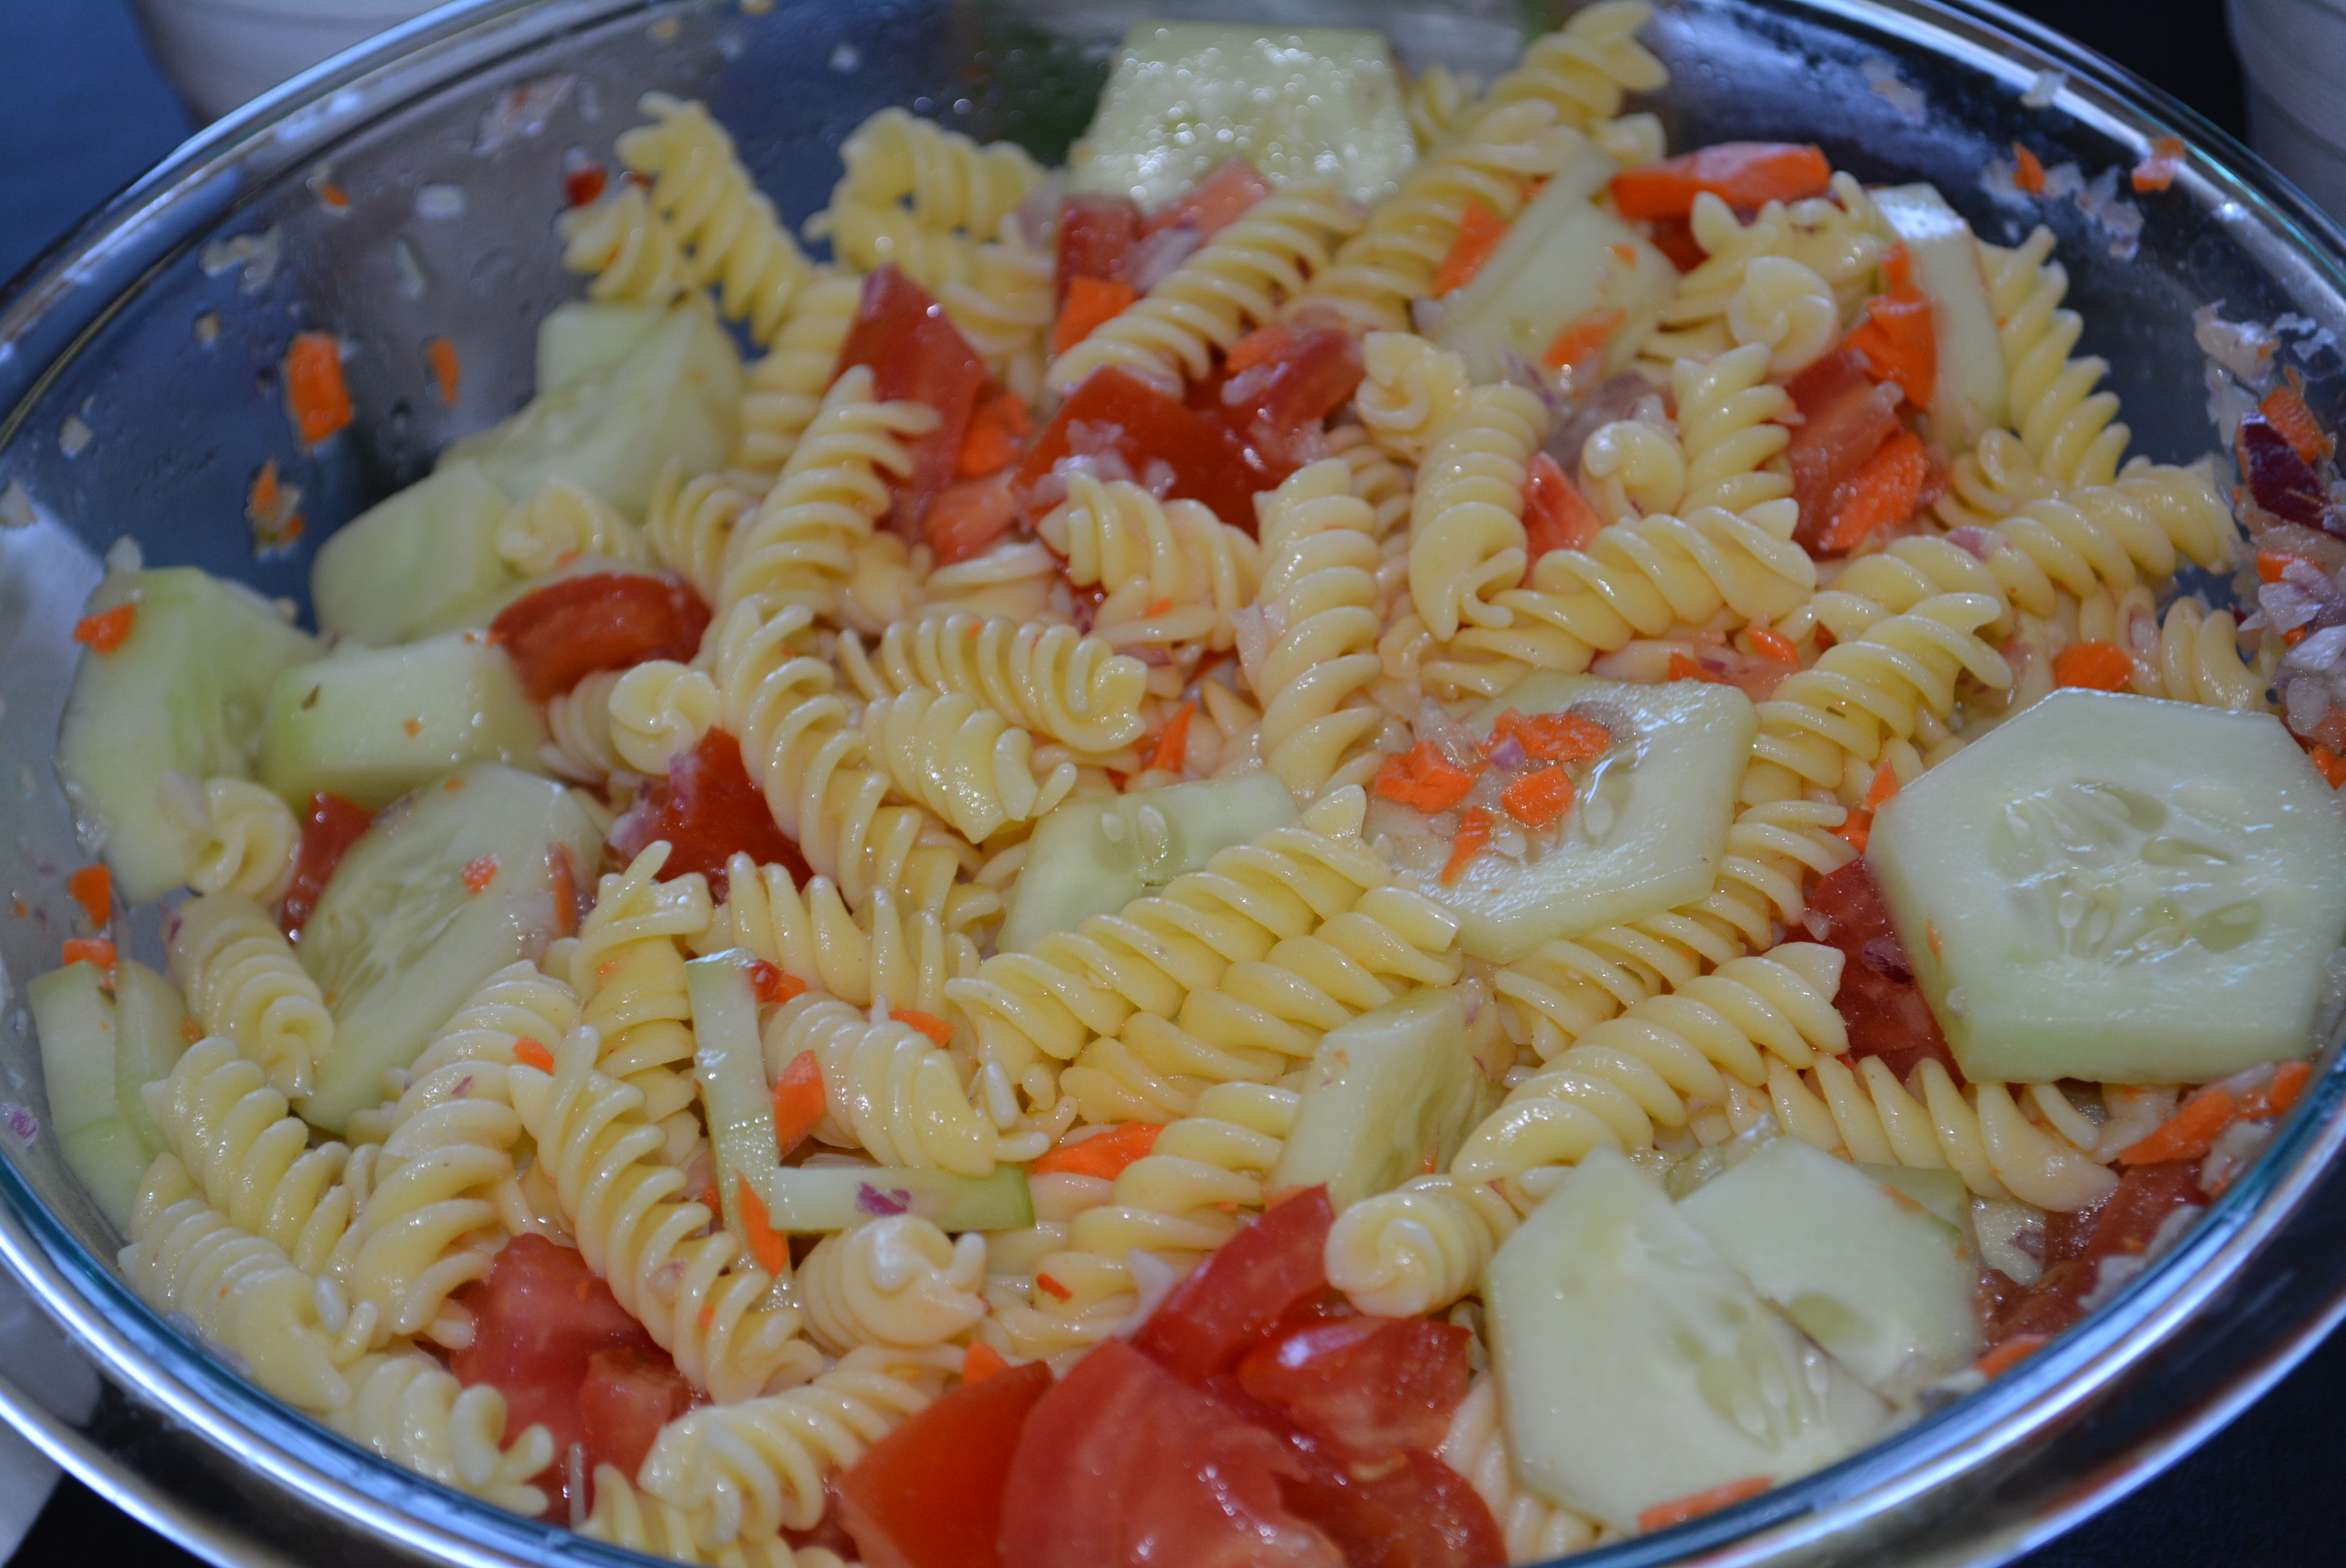
Gluten Free and Dairy Free Pasta Salad: This year my sister-in-law treated us allergy folk as well as all the other diners to two versions of a pasta salad, only difference was the pasta used! Gluten free pasta, tomatoes, cucumbers, onions, and carrots all topped with Wish Bone Italian Dressing! Just simply cook your pasta of choice according to the box directions, chop up any type of add ins you’d like, and top with the desired amount of Wish Bone Italian Dressing (or really any gluten free dressing)! So simple, yet so delicious!
Gluten free pasta salad courtesy of my sister-in-law.
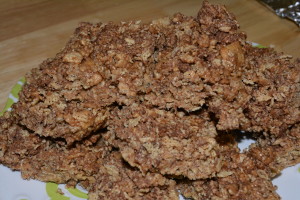
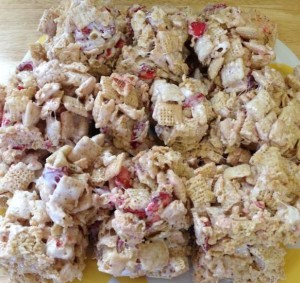
Gluten Free and Dairy Free Strawberry and Vanilla Chex Treats: I came upon this recipe just in time for Easter thanks to Iowa Girl Eats. Instead of making a strictly gluten free version though, I made a dairy free one as well, perfect for my little allergy ridden nephew! These are absolutely delicious with the combination of the freeze-dried strawberries and the Vanilla Chex! I’m so glad I have some leftover for my family to nibble on today!
Gluten Free and Dairy Free Strawberry Marshmallow Treats
Gluten Free and Dairy Free Strawberry and Vanilla Chex Treats
4 tbsp gluten free, dairy free butter (I used Earth Balance)
10 oz bag mini marshmallows (I used my store brand)
13.5 oz box Vanilla Chex
1- 1.2 oz bag freeze-dried strawberries (I used Crunchies brand, purchased at Wegmans, and actually may try two bags next time I loved the addition so much)
One of my all time favorite summer salads that we probably make a few times a week in our house is a gluten free cucumber tomato salad with an oil and vinegar dressing. It pairs so well with any meal, from barbecues to holidays, I think I’ve made it for a number of them. The best part is is that it is so simple to put together! My favorite time to make this is during the summer, when we have fresh tomatoes and cucumbers from our garden. Nothing beats using your own veggies especially incredibly ripe tomatoes…so good!!! Even if it’s not summer though, this is equally as delicious year round, and trust me we enjoy that way. For a little twist on this classic oil and vinegar dressing I like to use a roasted garlic infused red wine vinegar by Pompeian, which is gluten free. I love the flavor of garlic so anytime I can add it to a dish in a subtle way I’m eager too and this was a perfect item to do just that.
This dish is so easily gluten free and only uses four ingredients, most of which are cabinet staples in our house. For this one, I’m just going to touch on the ingredients and how to quickly throw everything together, not going into too much detail. This recipe is so flexible and can be tweaked as you need it or prefer, i.e. using as much of each ingredient as necessary for the size of your dinner party, more tomatoes than cucumbers, more of vinegar flavor than oil, etc.. So just gather as many tomatoes and cucumbers as you’d like and top them with your perfect combination of gluten free oil and vinegar!
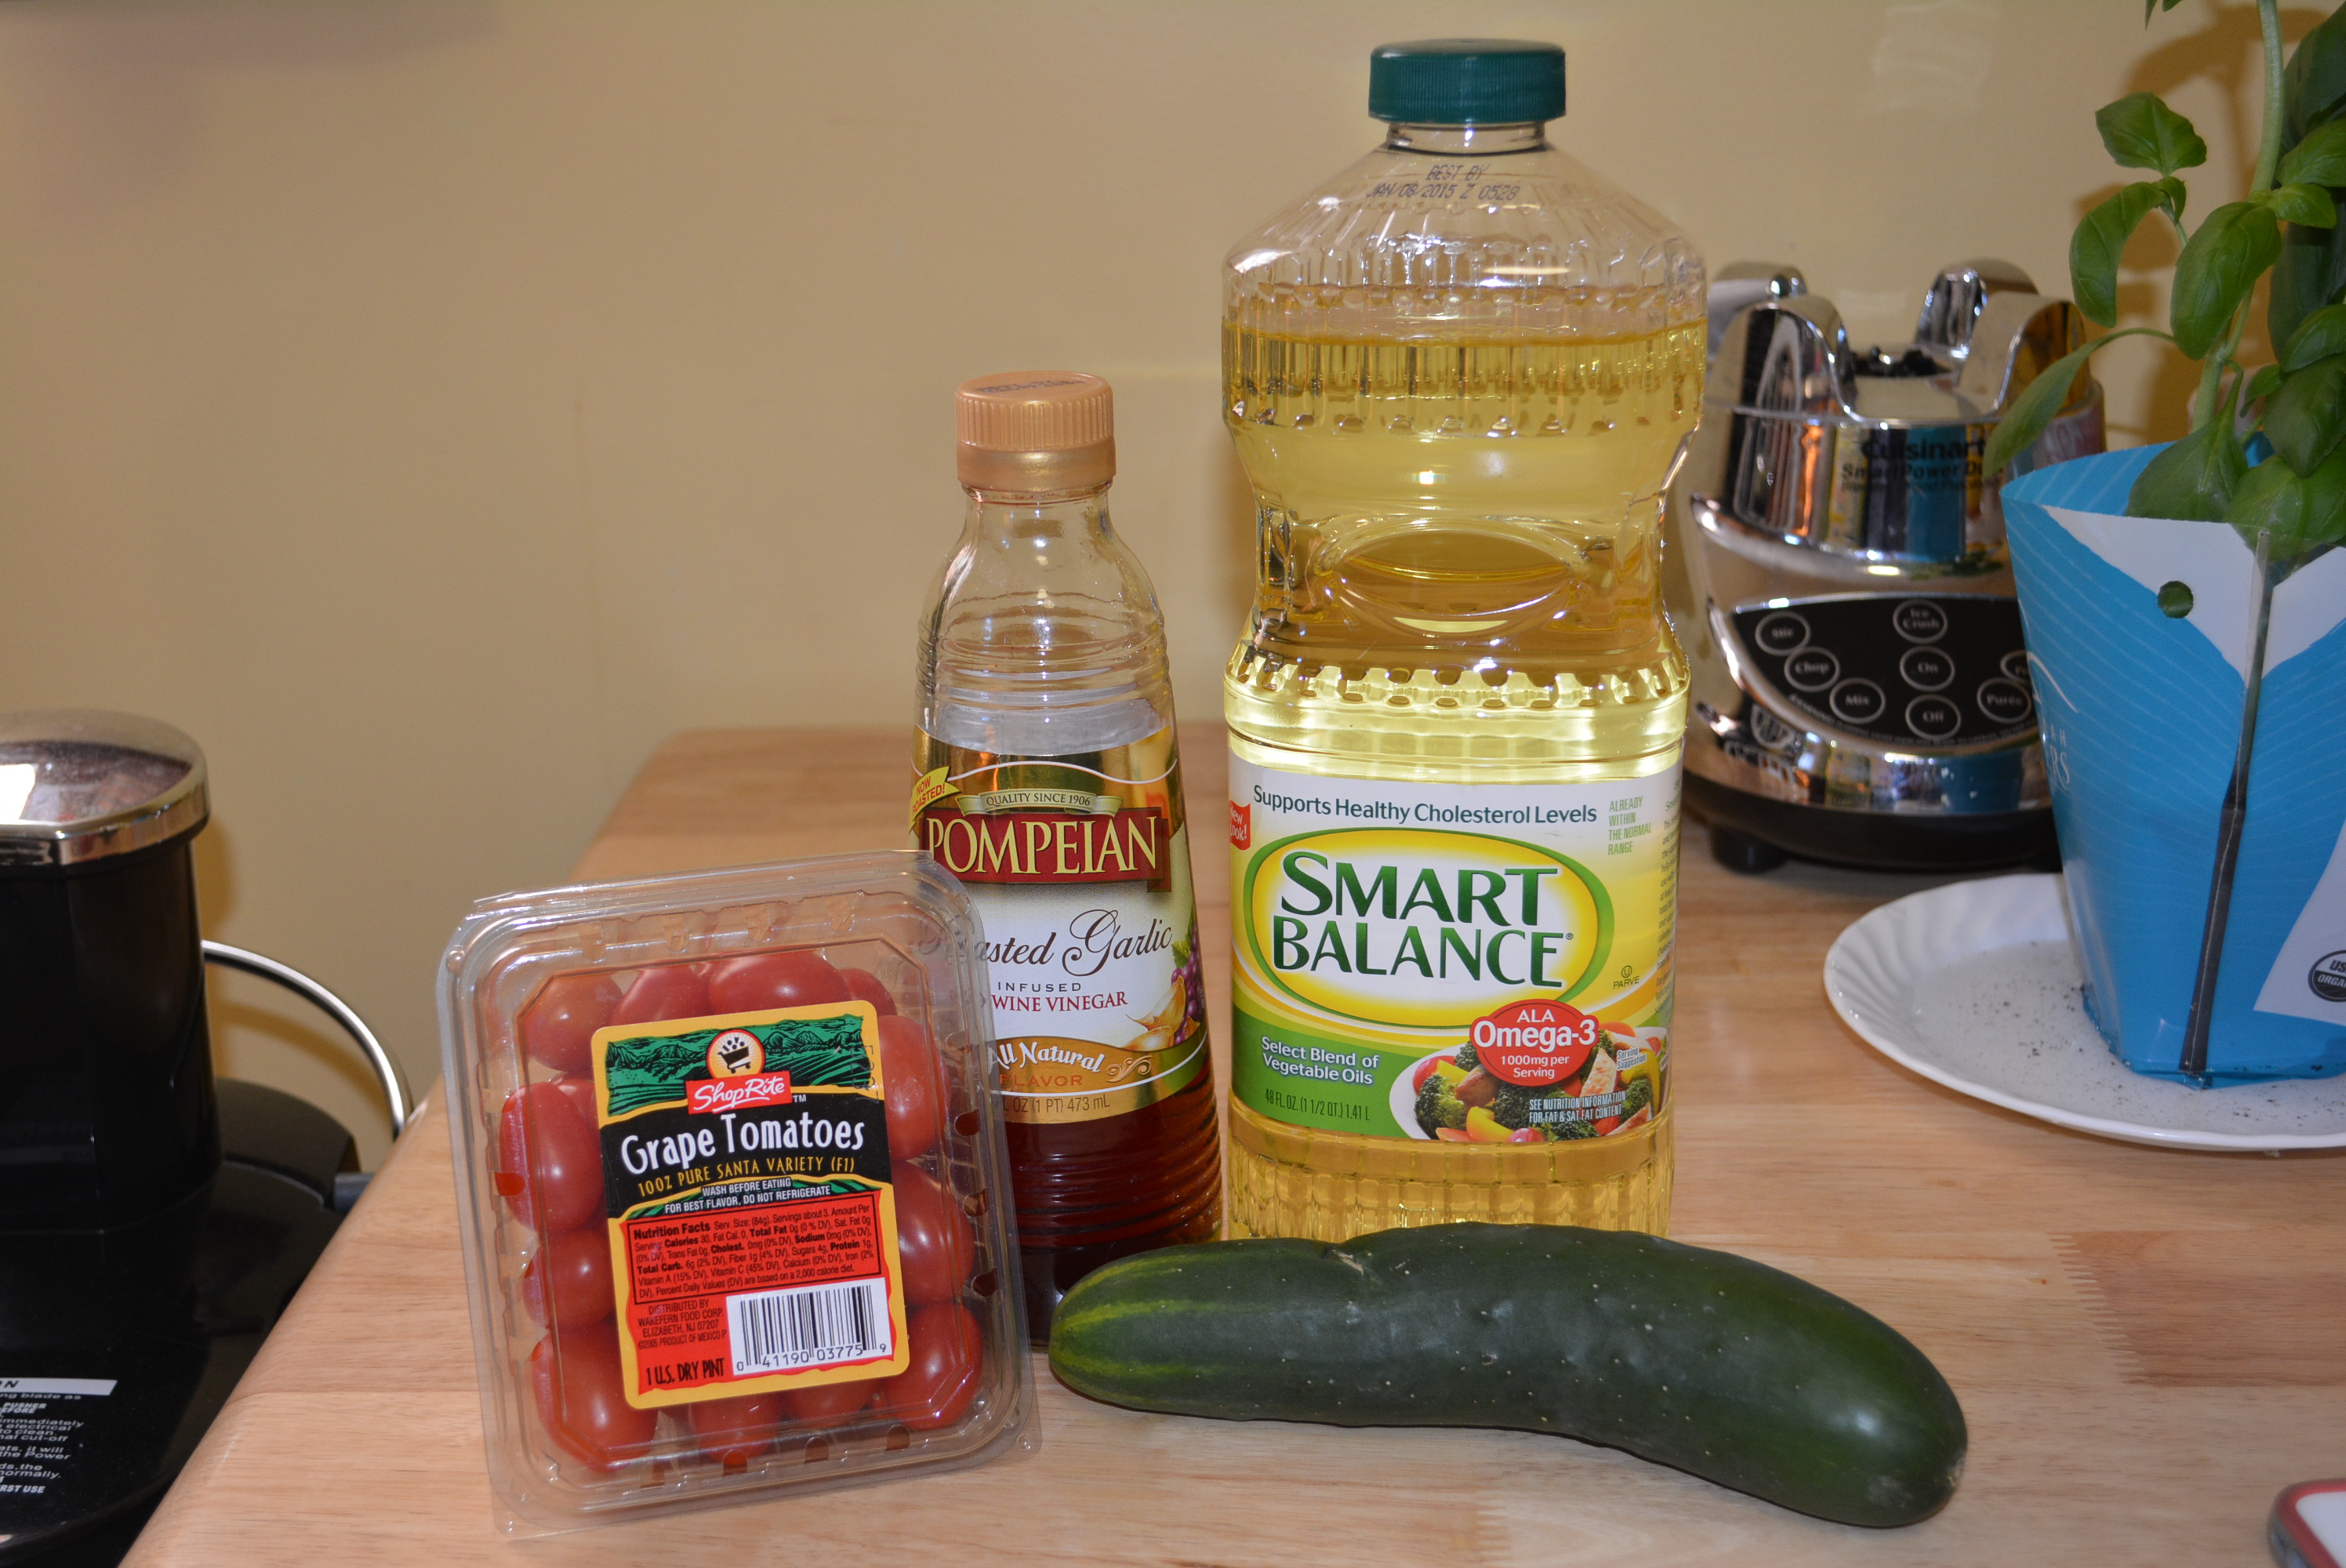
Ingredients:
Tomatoes (any size tomatoes will do)
Cucumbers
Pompeian Roasted Garlic Infused Red Wine Vinegar
Smart Balance Oil
Note: Total amounts and ratios of tomatoes to cucumbers can vary depending on your own personal preference. I like to end up with equal parts tomatoes to cucumbers so I just chop up and go from there. For my small family of three, I usually chop up a medium cucumber and two plum tomatoes/2 cups of grape tomatoes (or whatever I have on hand).
Tomato cucumber salad ingredients.
Directions:
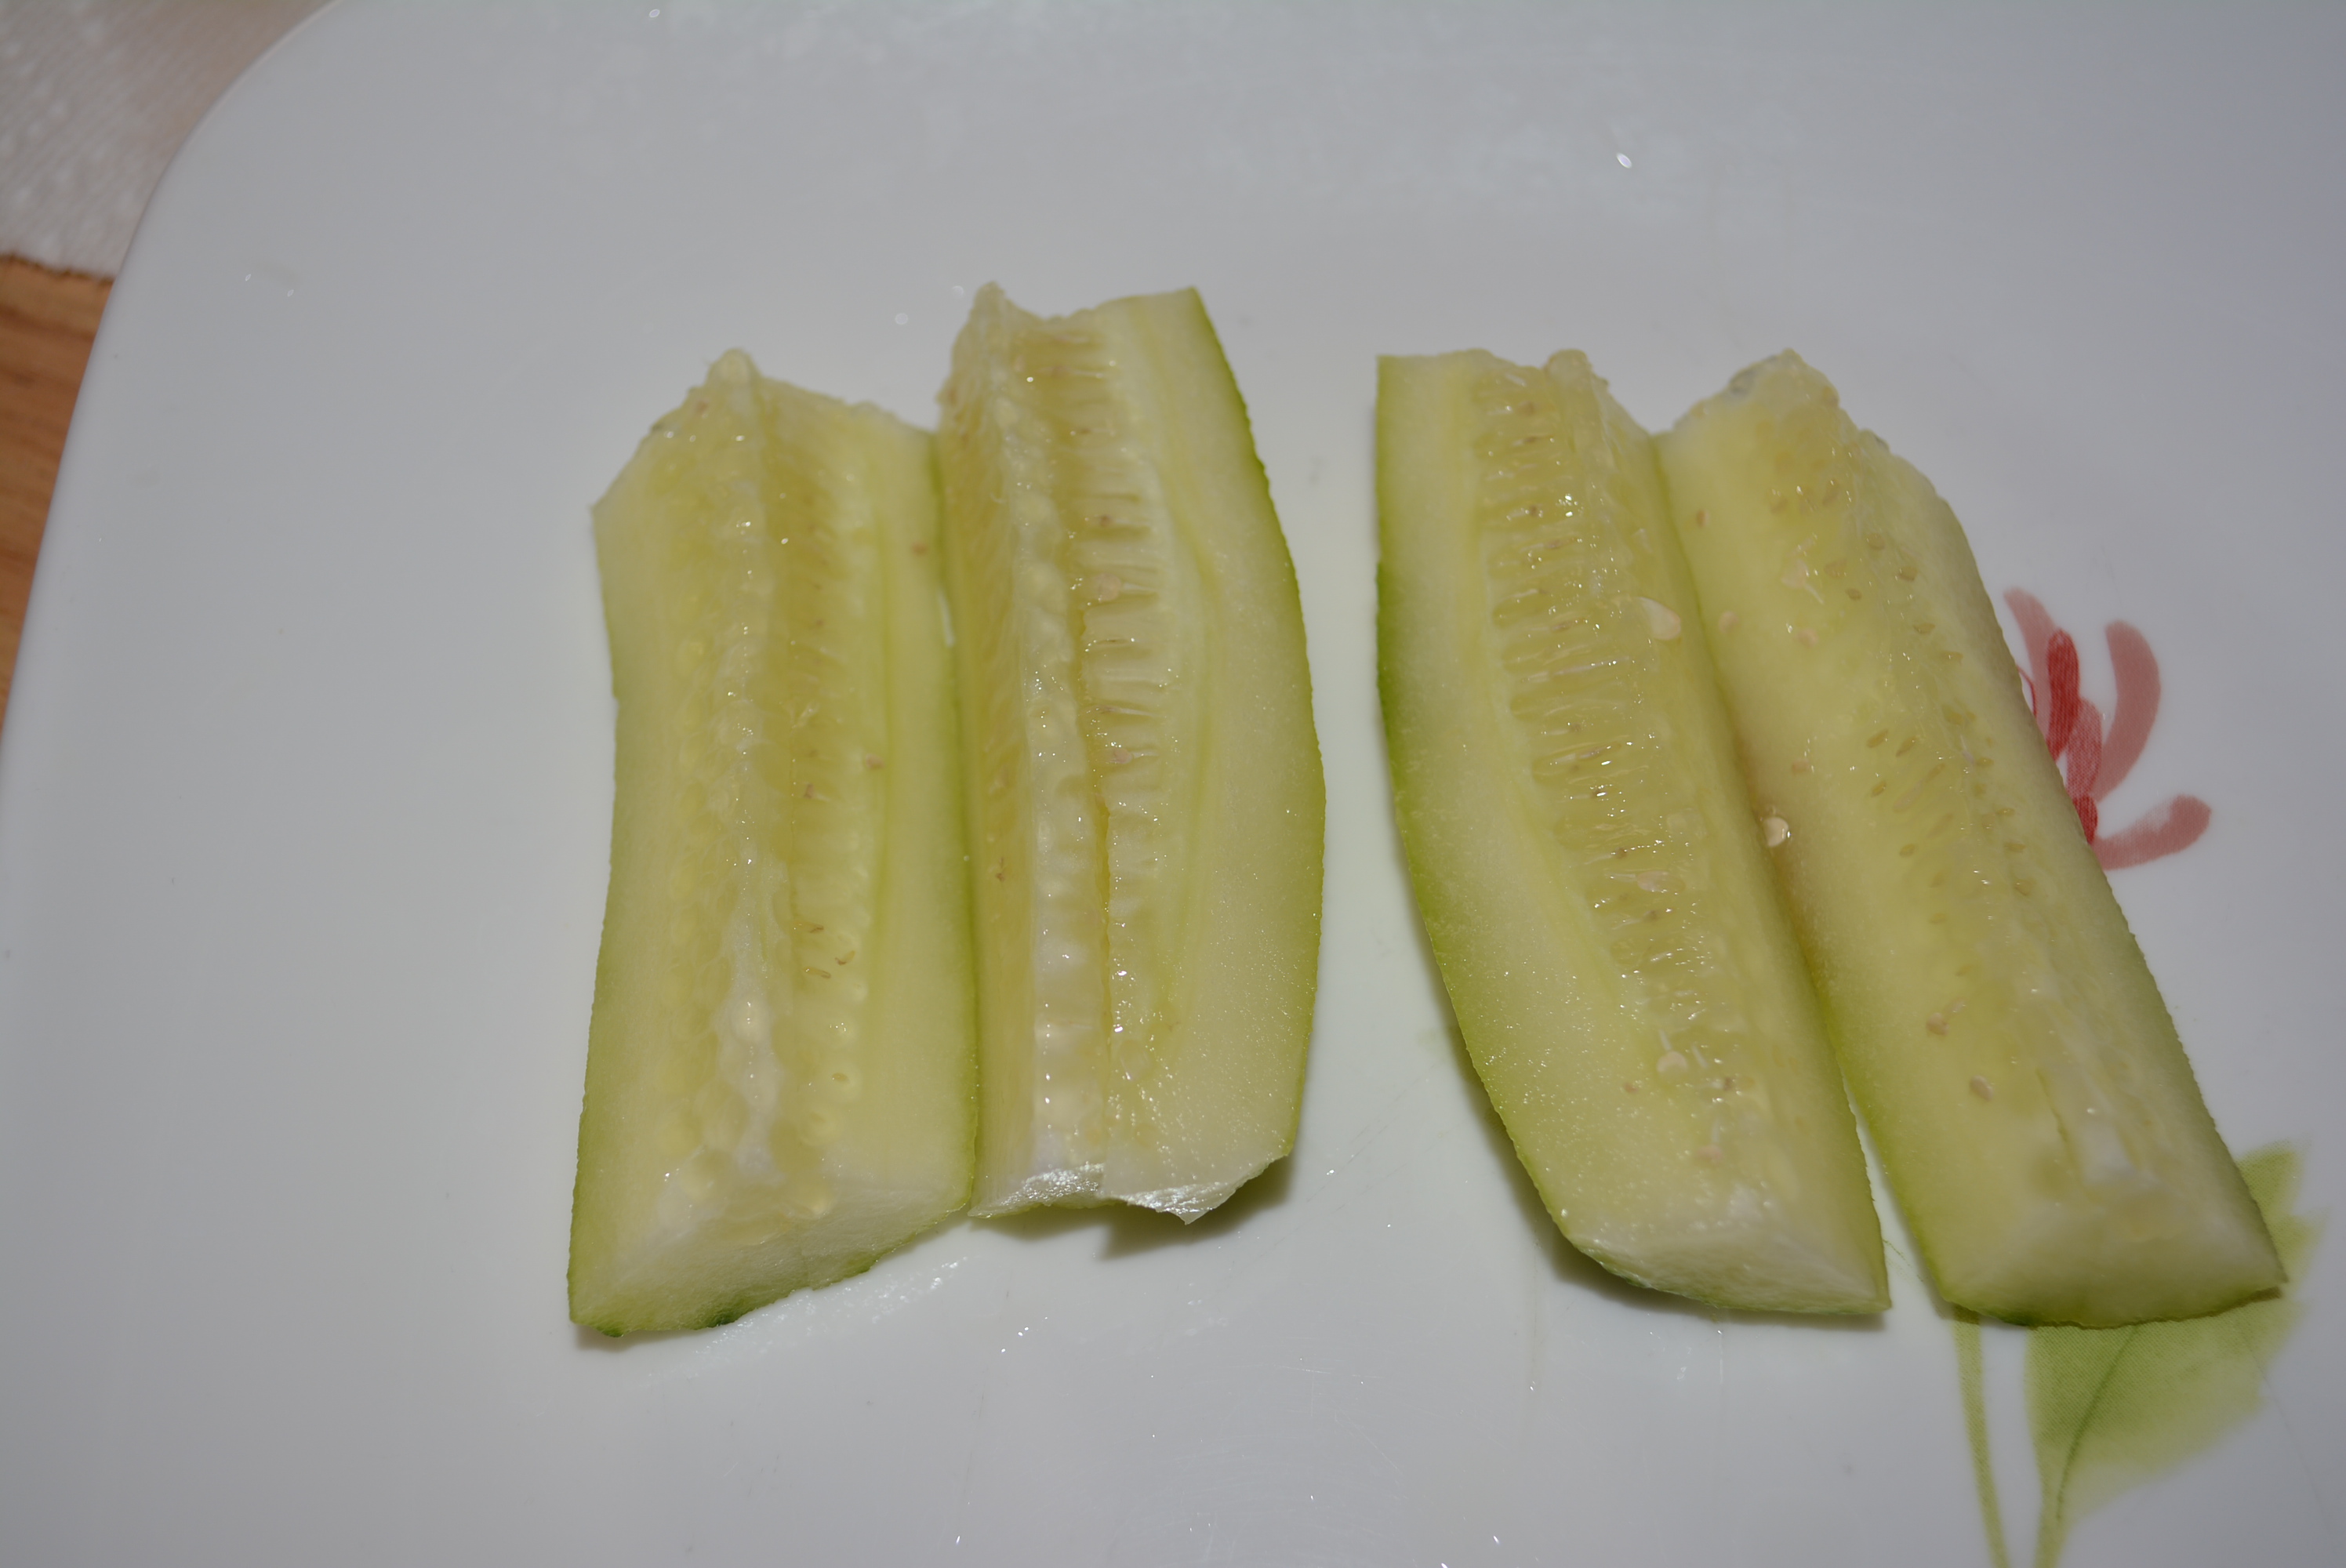
Wash and peel cucumber.
Cut cucumber long ways into quarters and then chop into bite-size pieces.
Optional: When I have extra time to spare, I add these to a bowl, dust them with salt, and leave them for 1/2 hr to 1 hr, this allows the water to drain from the cucumbers which tend to hold a ton of water. I have to say though, this step doesn’t happen often for me so don’t worry if you are short on time, this is completely optional.
Slice cucumber into small bite-size pieces.
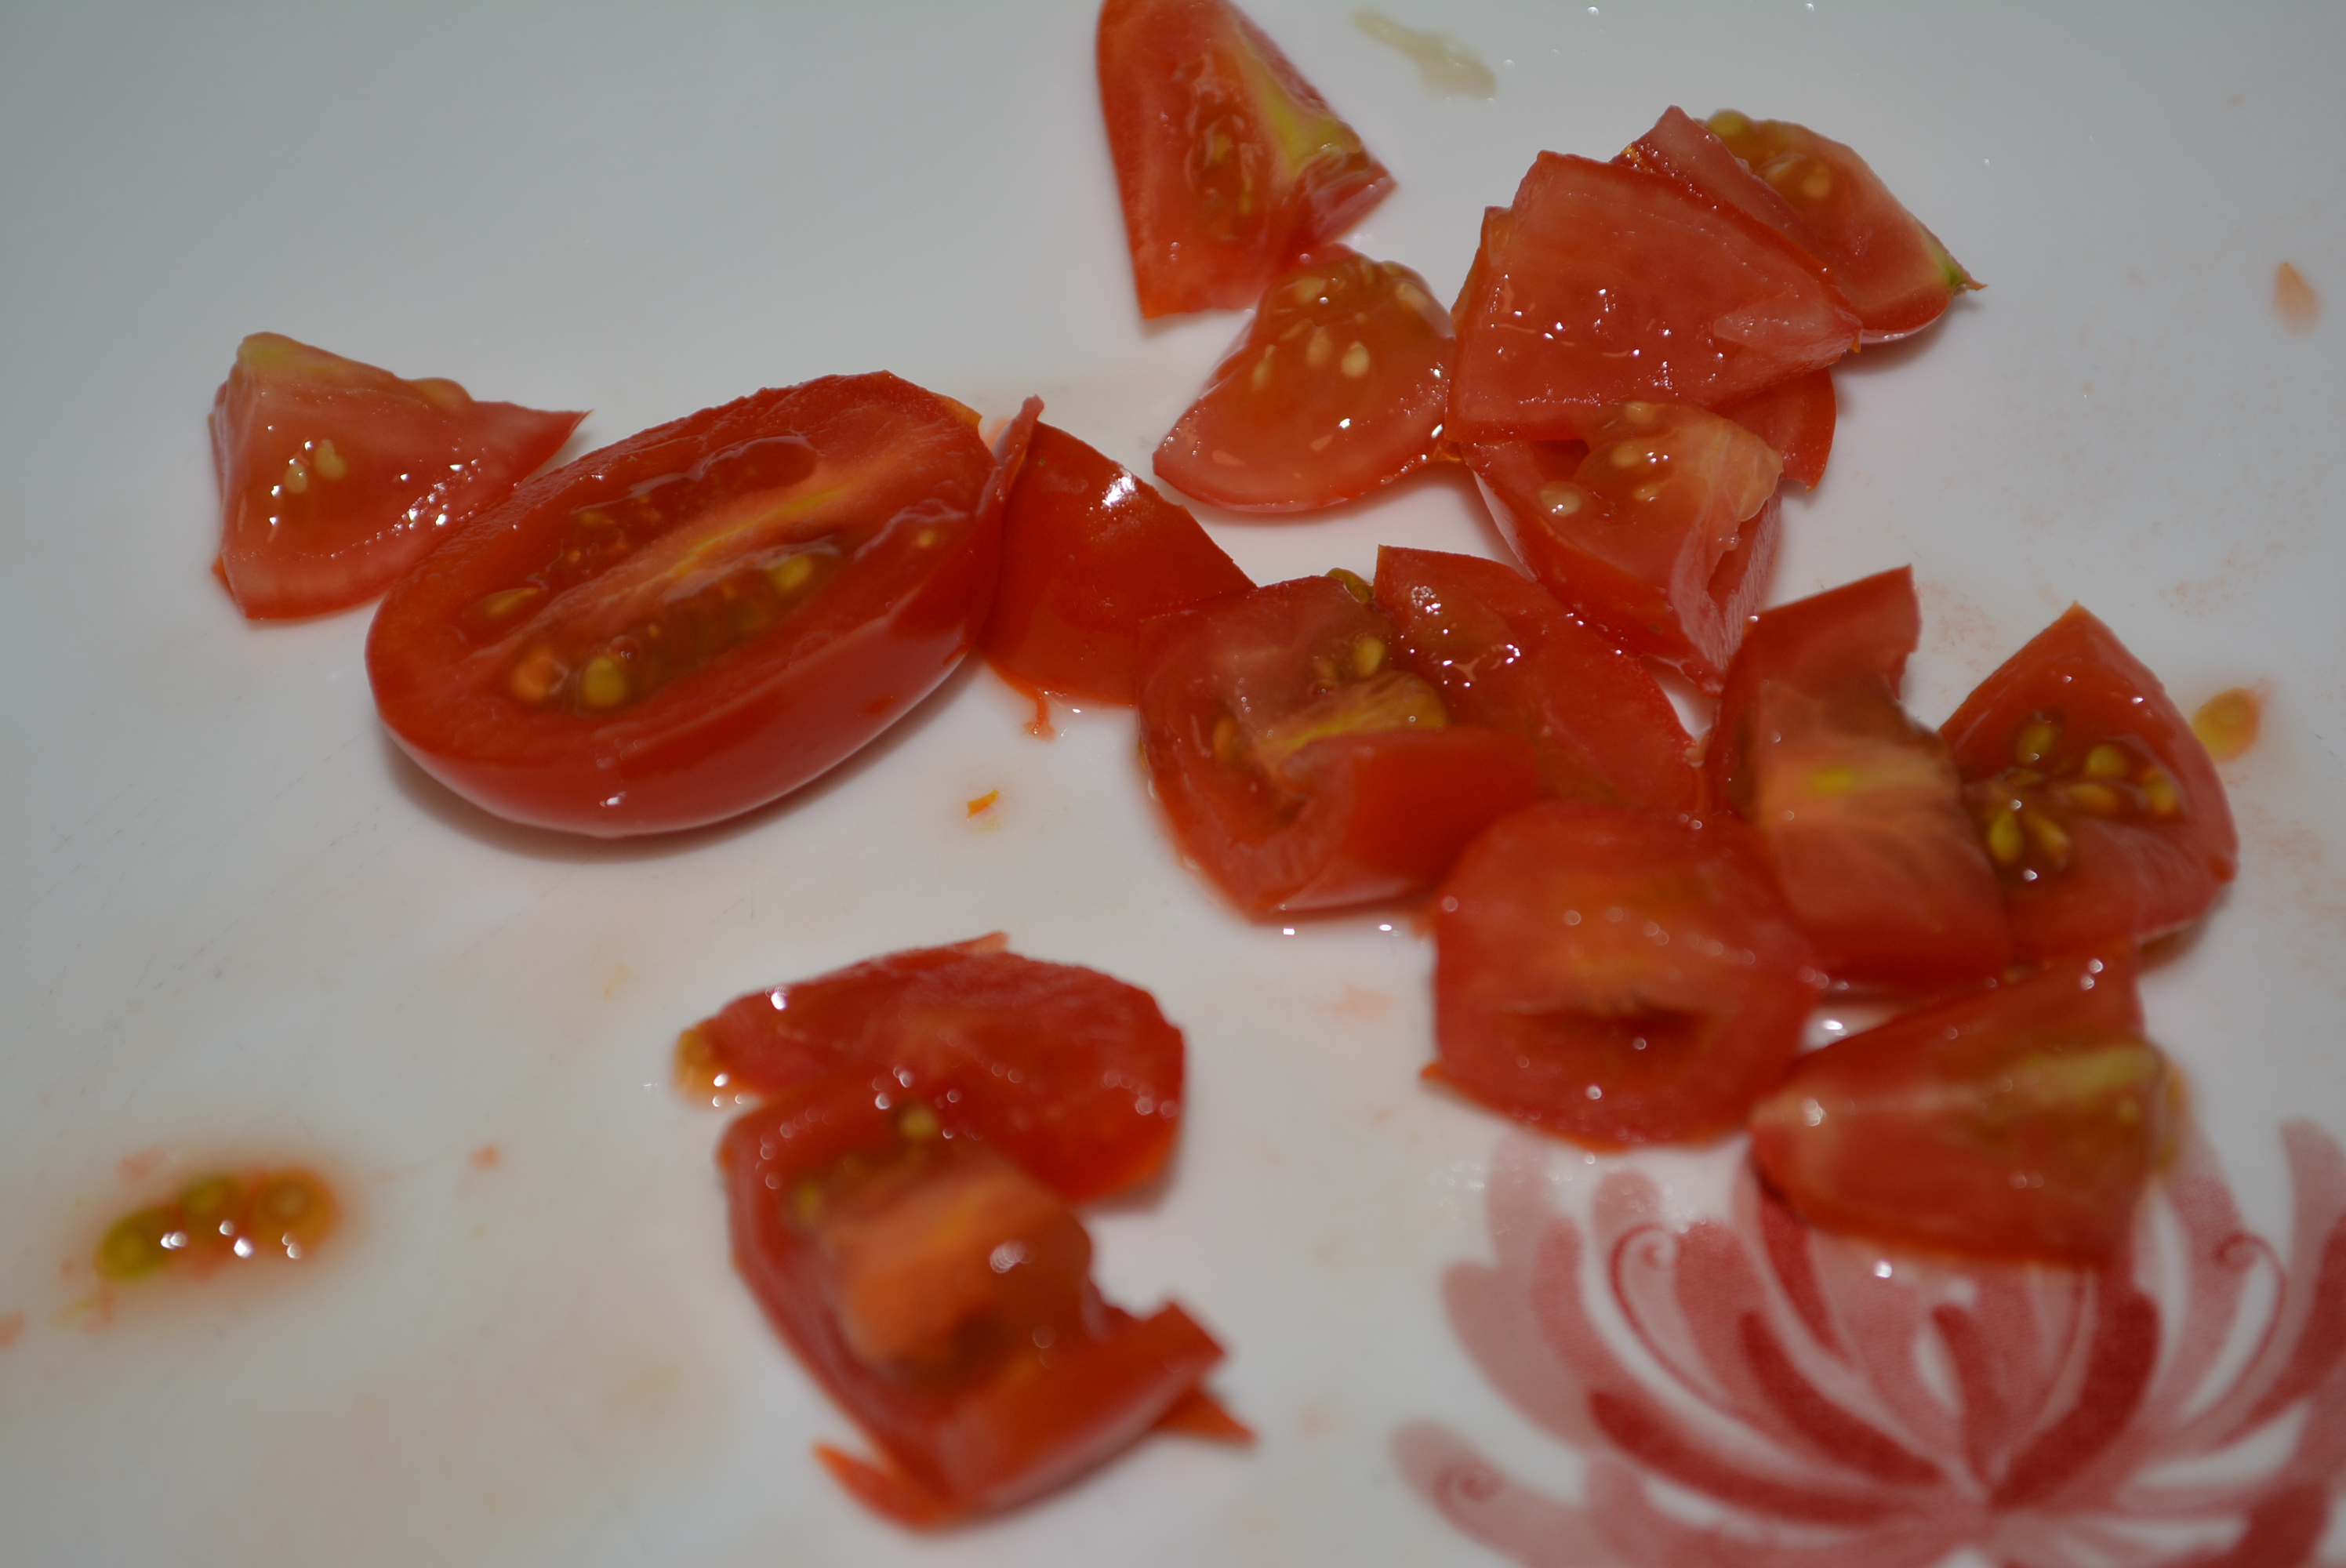
Wash and chop tomatoes into bite-size pieces. I even like to cut grape tomatoes into smaller pieces, making bite-size pieces for my little one to enjoy!
Quarter grape tomatoes or cut large tomatoes into bite-size pieces.
Note: When making the dressing, the amount and balance of oil to vinegar is really based on your own personal taste. What I like to do is mix the dressing first and then adjust the volume once I add in the cucumbers and tomatoes.
Of course this is completely dependent upon how much chopped tomato and cucumber you have, but I usually start with 1/4 cup oil and then add in about half that amount of vinegar. Taste and adjust as you desire.
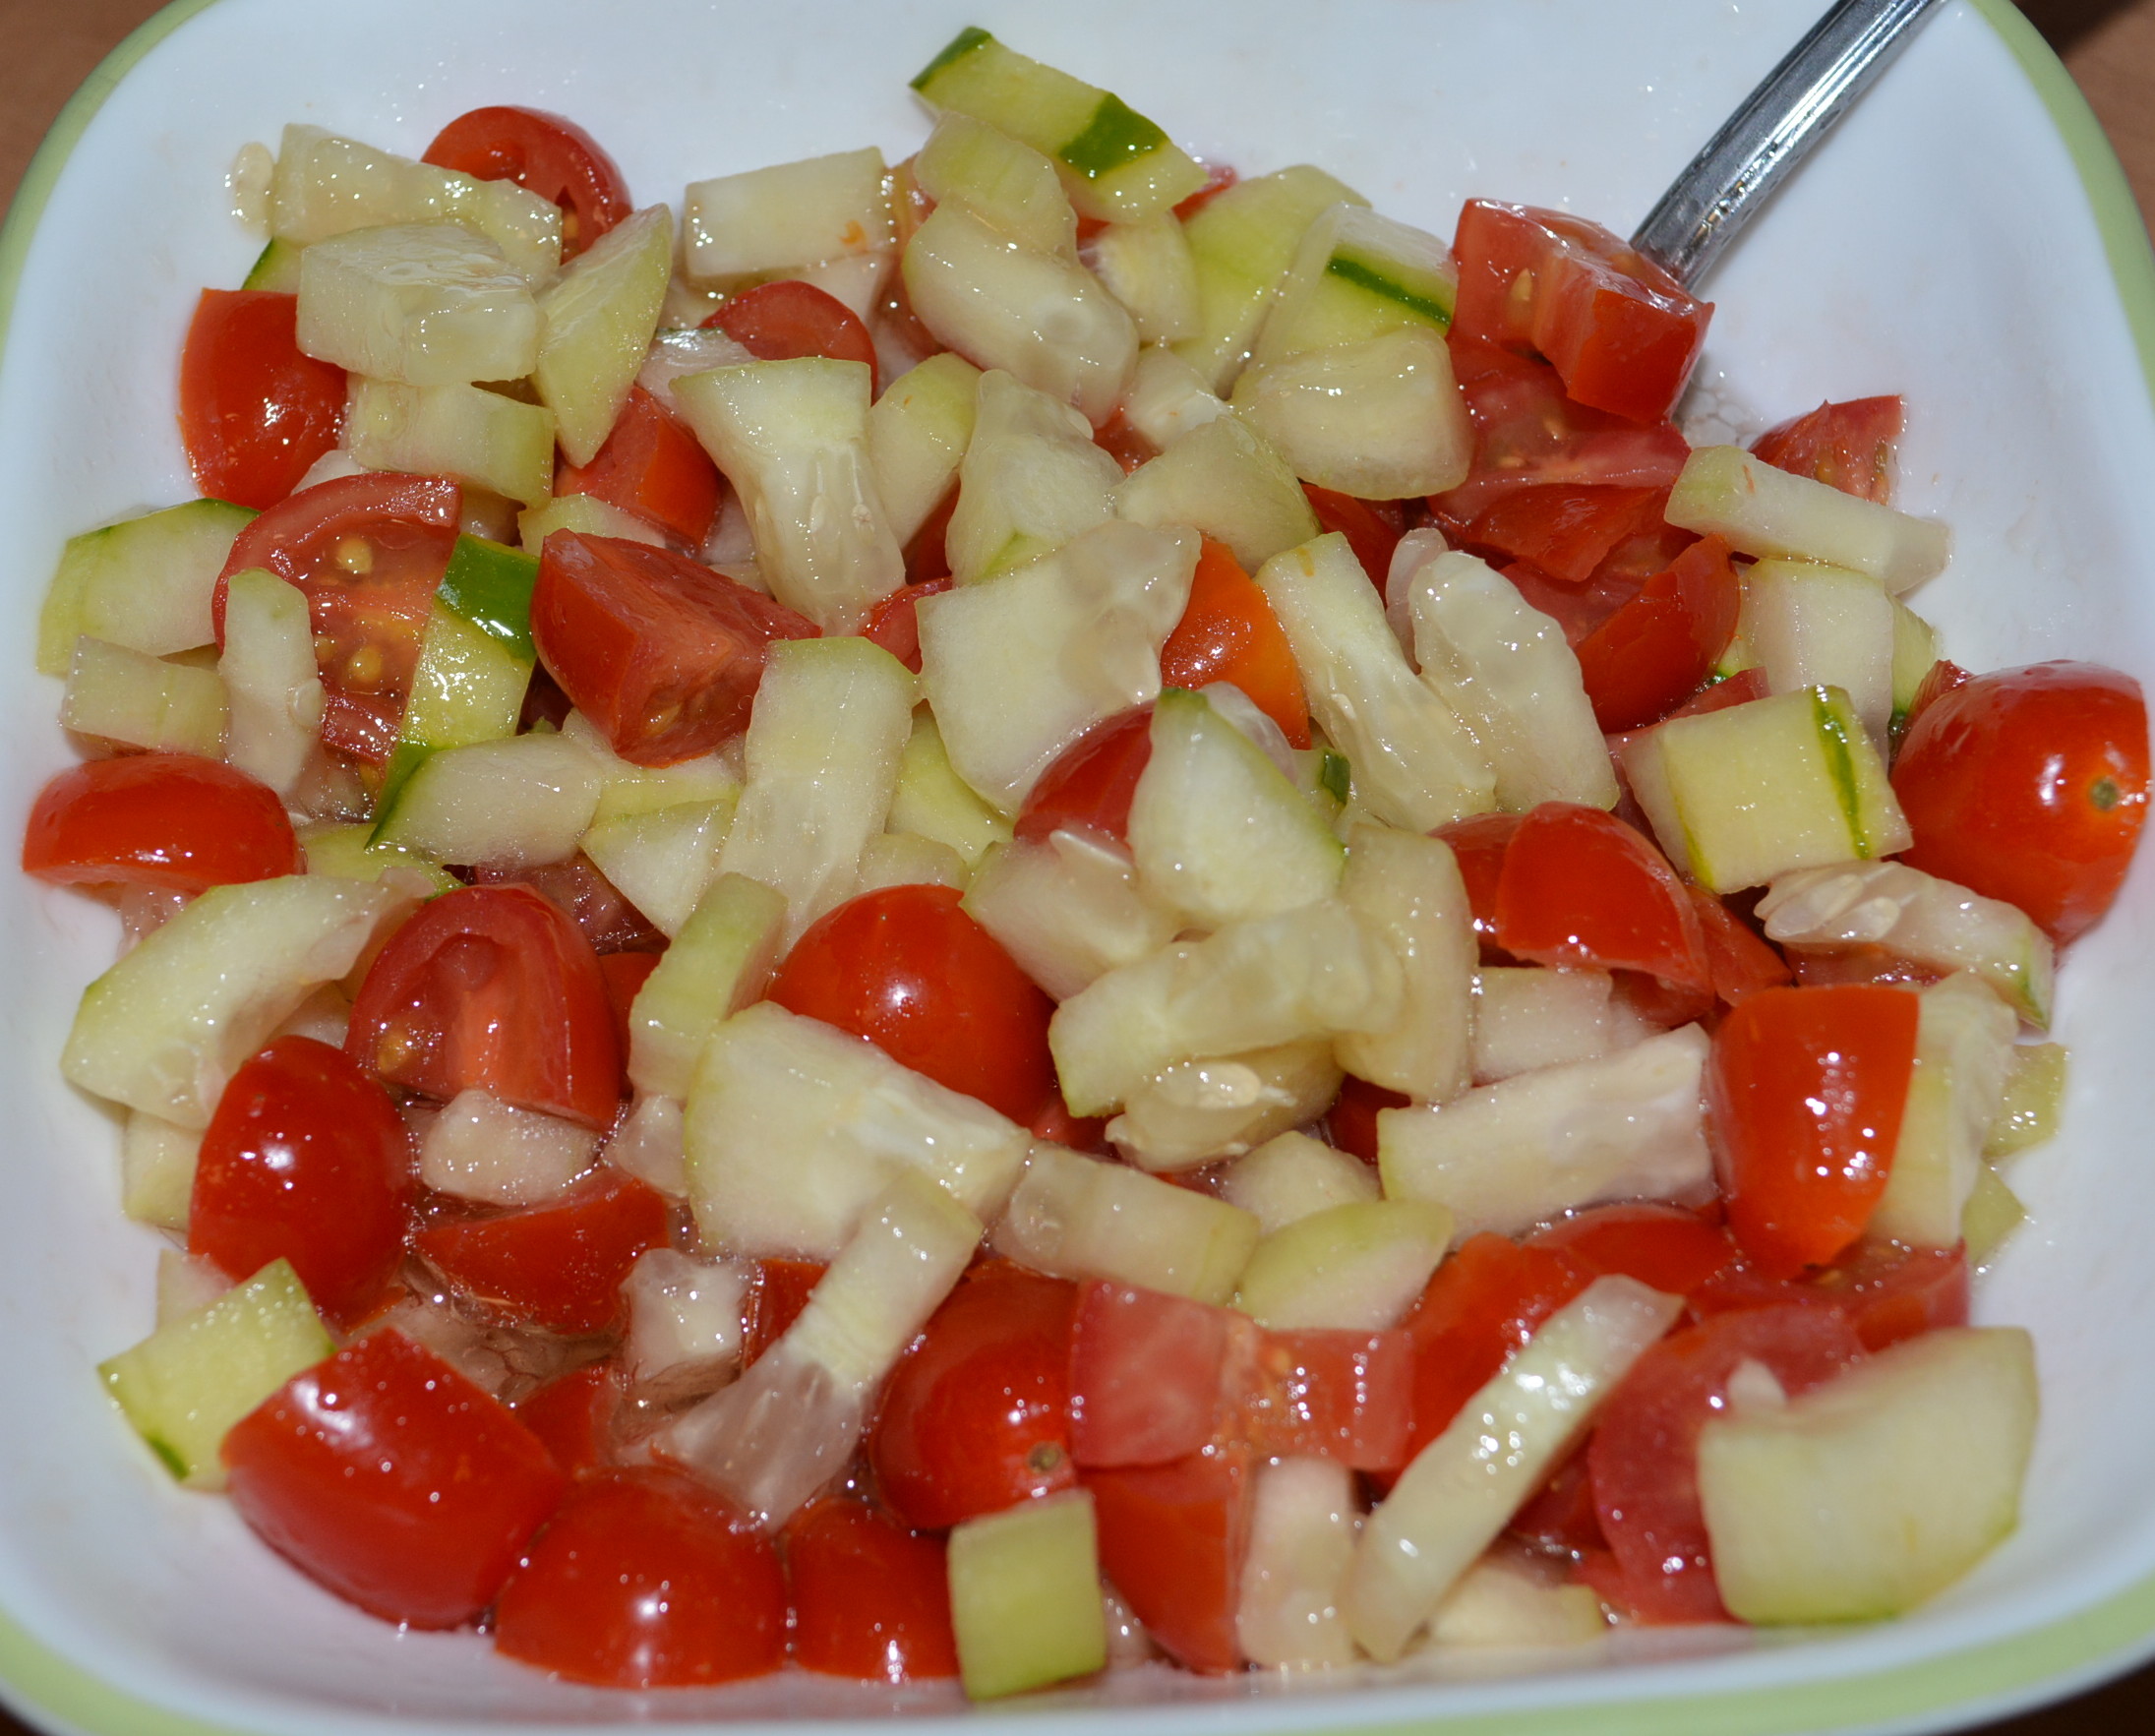
Mix in dressing, tomatoes, and cucumbers making sure all are coated with dressing. Feel free to add more dressing if needed or desired at this point. You don’t need a ton of dressing on this salad, a little goes a long way and the veggies don’t have to be swimming in it; just as long as you mix up the salad well and all veggies have been coated with the dressing you’re good to go.
Add enough vinegar and oil to suit your tastes.
I like to taste a bite to see how it all goes together. At this point you can either add more dressing or even add a little salt or garlic salt and pepper to taste.
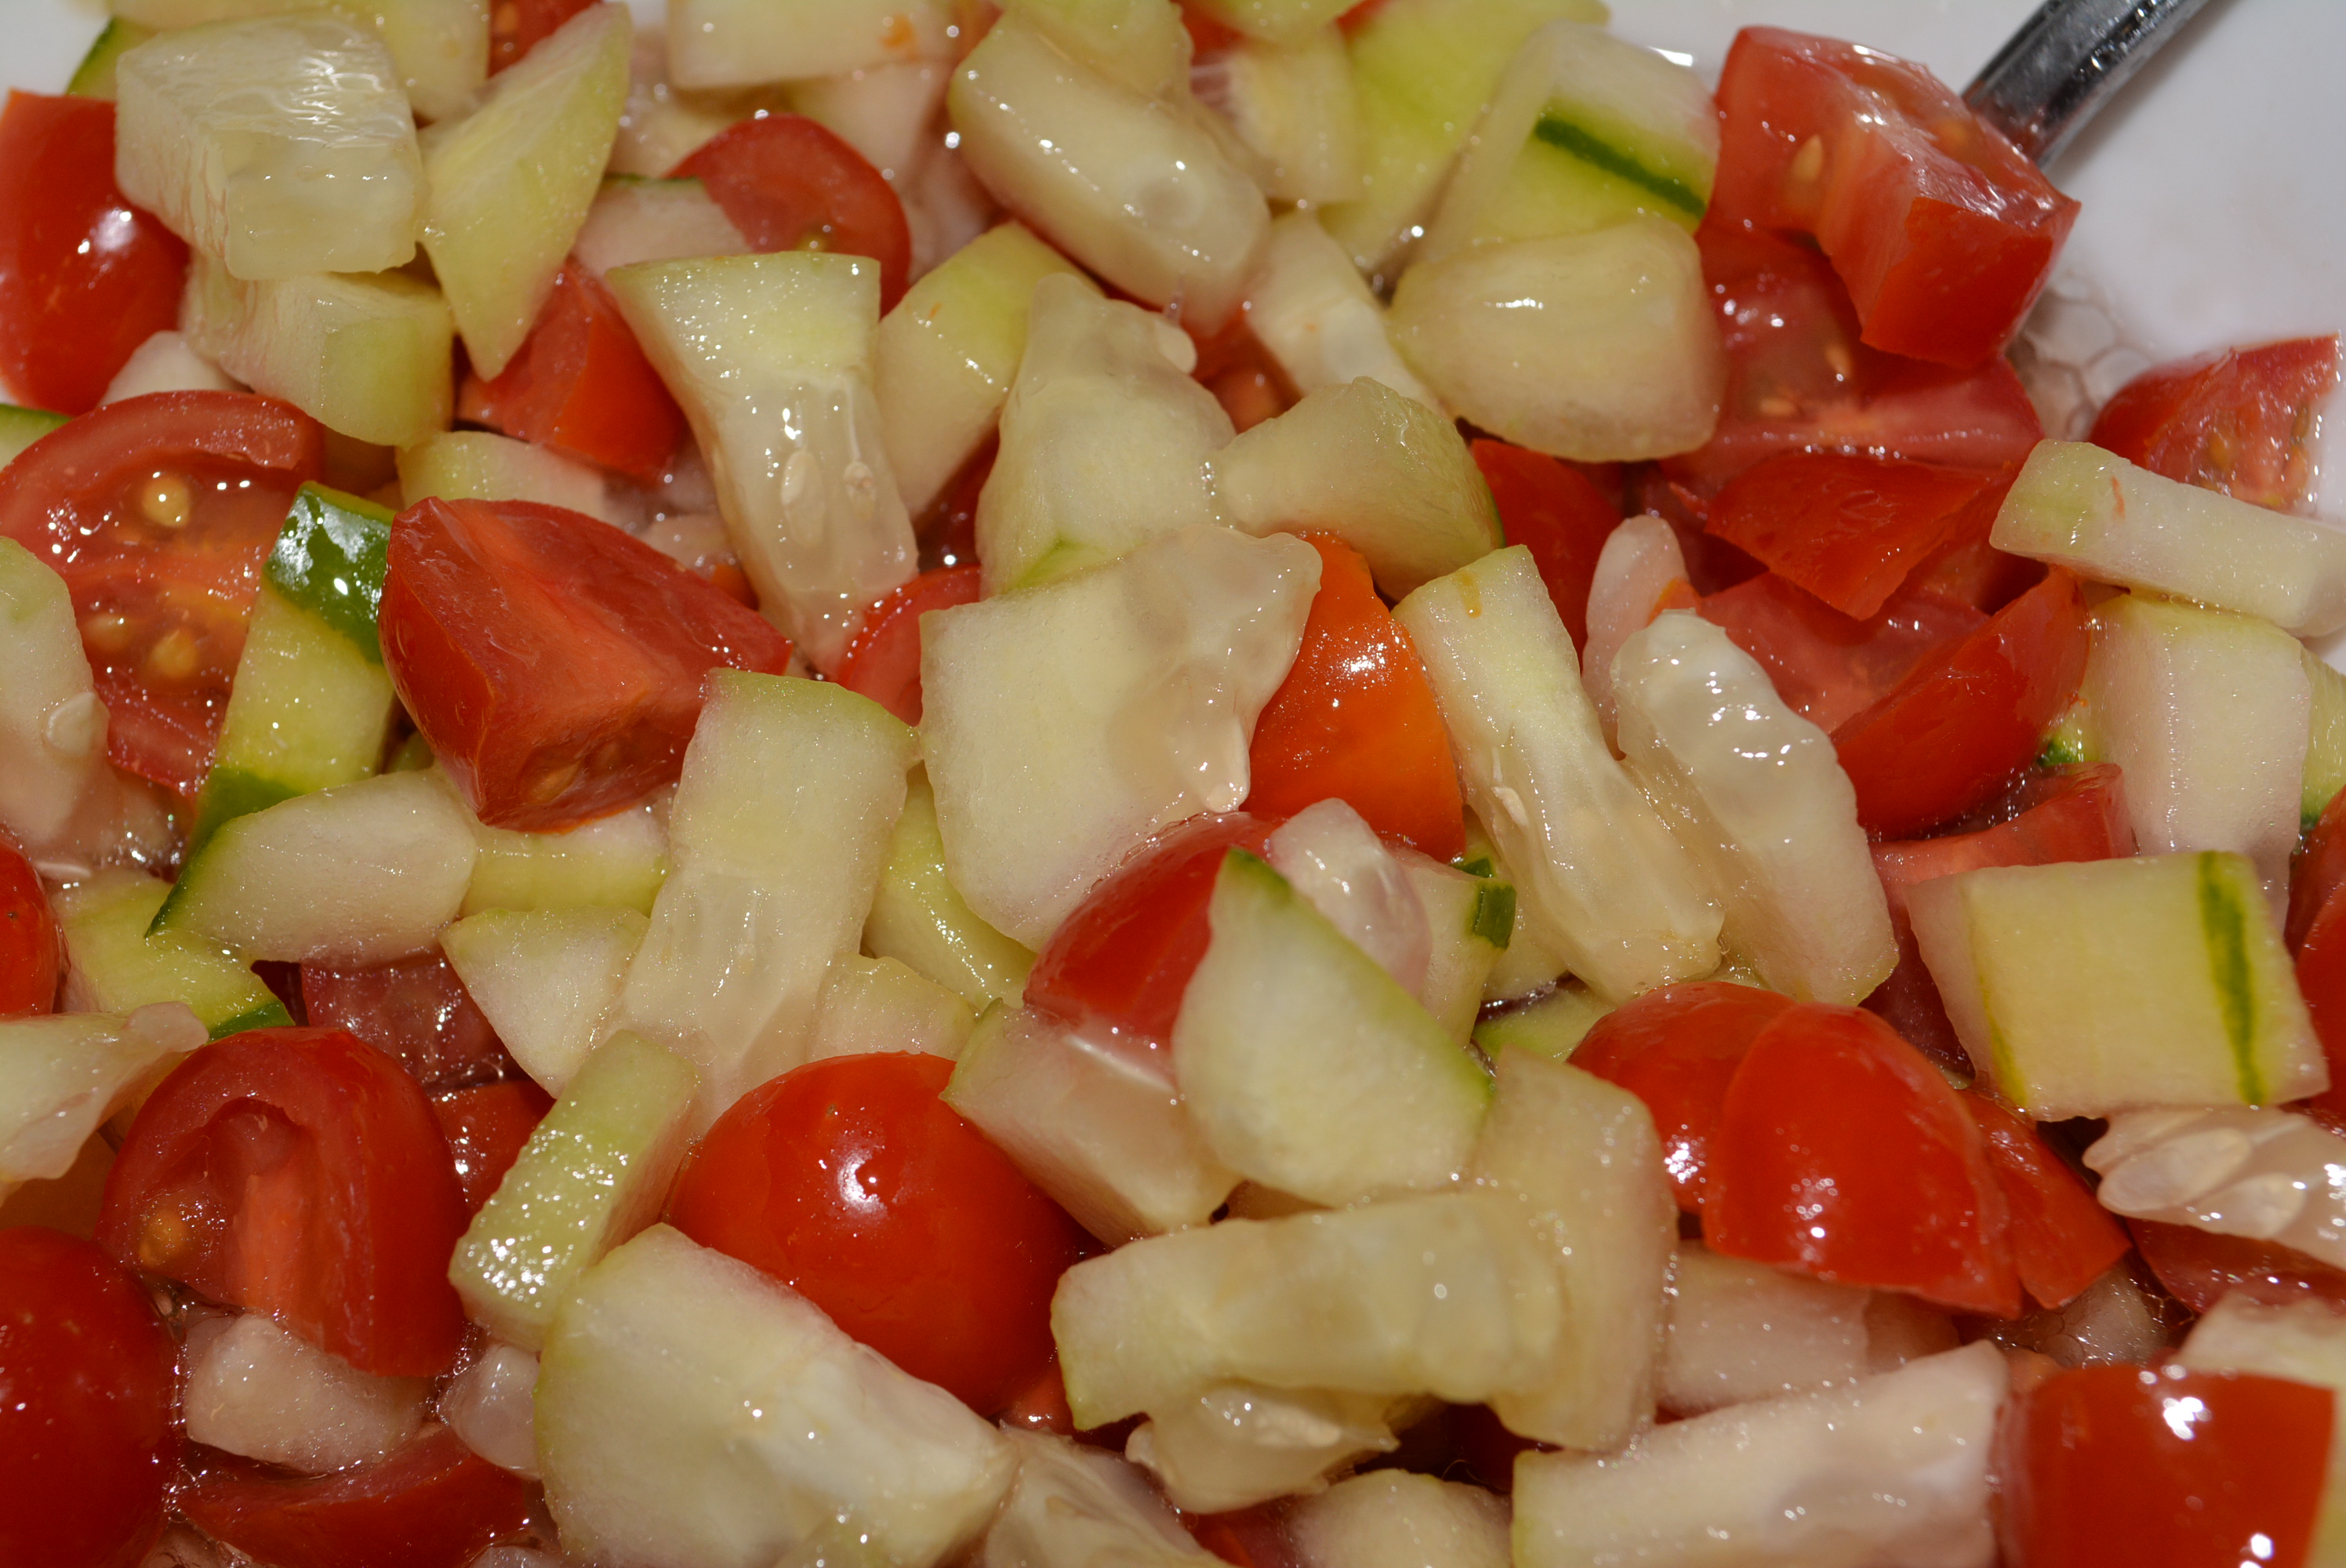
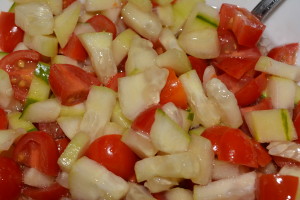
Perfect summery salad with a hint of garlic!
And there you have it! A light and summery salad, with only four ingredients, that you can enjoy year round! As you can tell, this recipe is incredibly flexible and can be customized to your own personal tastes, that’s the beauty of it. So file this one away in your recipe book and maybe even add it to your Easter dinner this weekend! It only takes about 10 minutes in all to make and is such a tasty addition to your meal!
Sincerely,
Lindsay
Gluten Free Cucumber and Tomato Salad
2014-04-18 07:42:54
A summery salad infused with garlic that can be enjoyed year round!
Note: Total amounts and ratios of tomatoes to cucumbers can vary depending on your personal preference. I like to end up with equal parts tomatoes to cucumbers so I just chop up and go from there. For my small family of three, I usually chop up a medium cucumber and two plum tomatoes/2 cups of grape tomatoes (or whatever I have on hand).
Instructions
Wash and peel cucumber.
Cut cucumber long ways into quarters and then chop into bite-size pieces.
Optional: When I have extra time to spare, I add these to a bowl, dust them with salt, and leave them for 1/2 hr to 1 hr, this allows the water to drain from the cucumbers which tend to hold a ton of water. I have to say though, this step doesn't happen often for me, so don't worry if you are short on time, this is completely optional.
Wash and chop tomatoes into bite-size pieces. I even like to cut grape tomatoes into smaller pieces, making bite-size pieces for my little one to enjoy.
Note: When making the dressing, the amount and balance of oil to vinegar is really based on your own personal taste. What I like to do is mix the dressing first and then adjust the volume once I add in the cucumbers and tomatoes.
Of course this is completely dependent upon how much chopped tomato and cucumber you have, but I usually start with 1/4 cup oil and then add in about half that amount of vinegar. Taste and adjust as you desire.
Mix in dressing, tomatoes, and cucumbers making sure all are coated with dressing. Feel free to add more dressing if needed or desired at this point. You don't need a ton of dressing on this salad, a little goes a long way and your veggies don't need to be swimming in it; so keep it light, just as long as you mix up the salad well and all veggies have been coated with the dressing you're good to go.
By Gluten Free Mom To Be
Gluten Free Mom To Be http://www.glutenfreemomtobe.com/
One of my favorite lunch locations when we vacation in Disney World is the Flame Tree Barbecue in Animal Kingdom. While we do make barbecue dishes often at home during the summer months, it’s such a rarity to be able to enjoy it out at restaurants because of the dreaded gluten component, hence making it truly a treat to be able to indulge in some fantastic gluten free barbecue courtesy of Disney. They offer so many options from barbecue chicken to ribs, but by far my favorite is the pulled pork. The pulled pork is perfectly smoked and seasoned and is incredibly tender and juicy. It’s so delicious! While our next trip to Disney is only a little over four weeks away now, I just couldn’t get out of my mind those perfectly flavored pulled pork sandwiches and then I came across this wonderful recipe from Musings of a Housewife. After adding a few personal twists, I made a delicious gluten free pulled pork sandwich which could definitely stand up to Disney’s magical version. So pull out your slow cooker, toss in a few ingredients, and you’ll be set by dinner time with a flavorful gluten free barbecue dish!
Ingredients:
crock pot
5-6 lb pork shoulder
1 large yellow onion, sliced into rings
1 jar barbecue sauce (I used Sweet Baby Rays Honey Barbecue Sauce, states gluten free on label)
salt and pepper
gluten free rolls (I used Schar hot dog rolls, lightly toasted)
Directions:
Slice one large yellow onion into rings and add to the bottom of your crockpot.
Add the pork shoulder to the crockpot and dust with salt and pepper on all sides.
Cover and cook on low for a total of 10 hours.
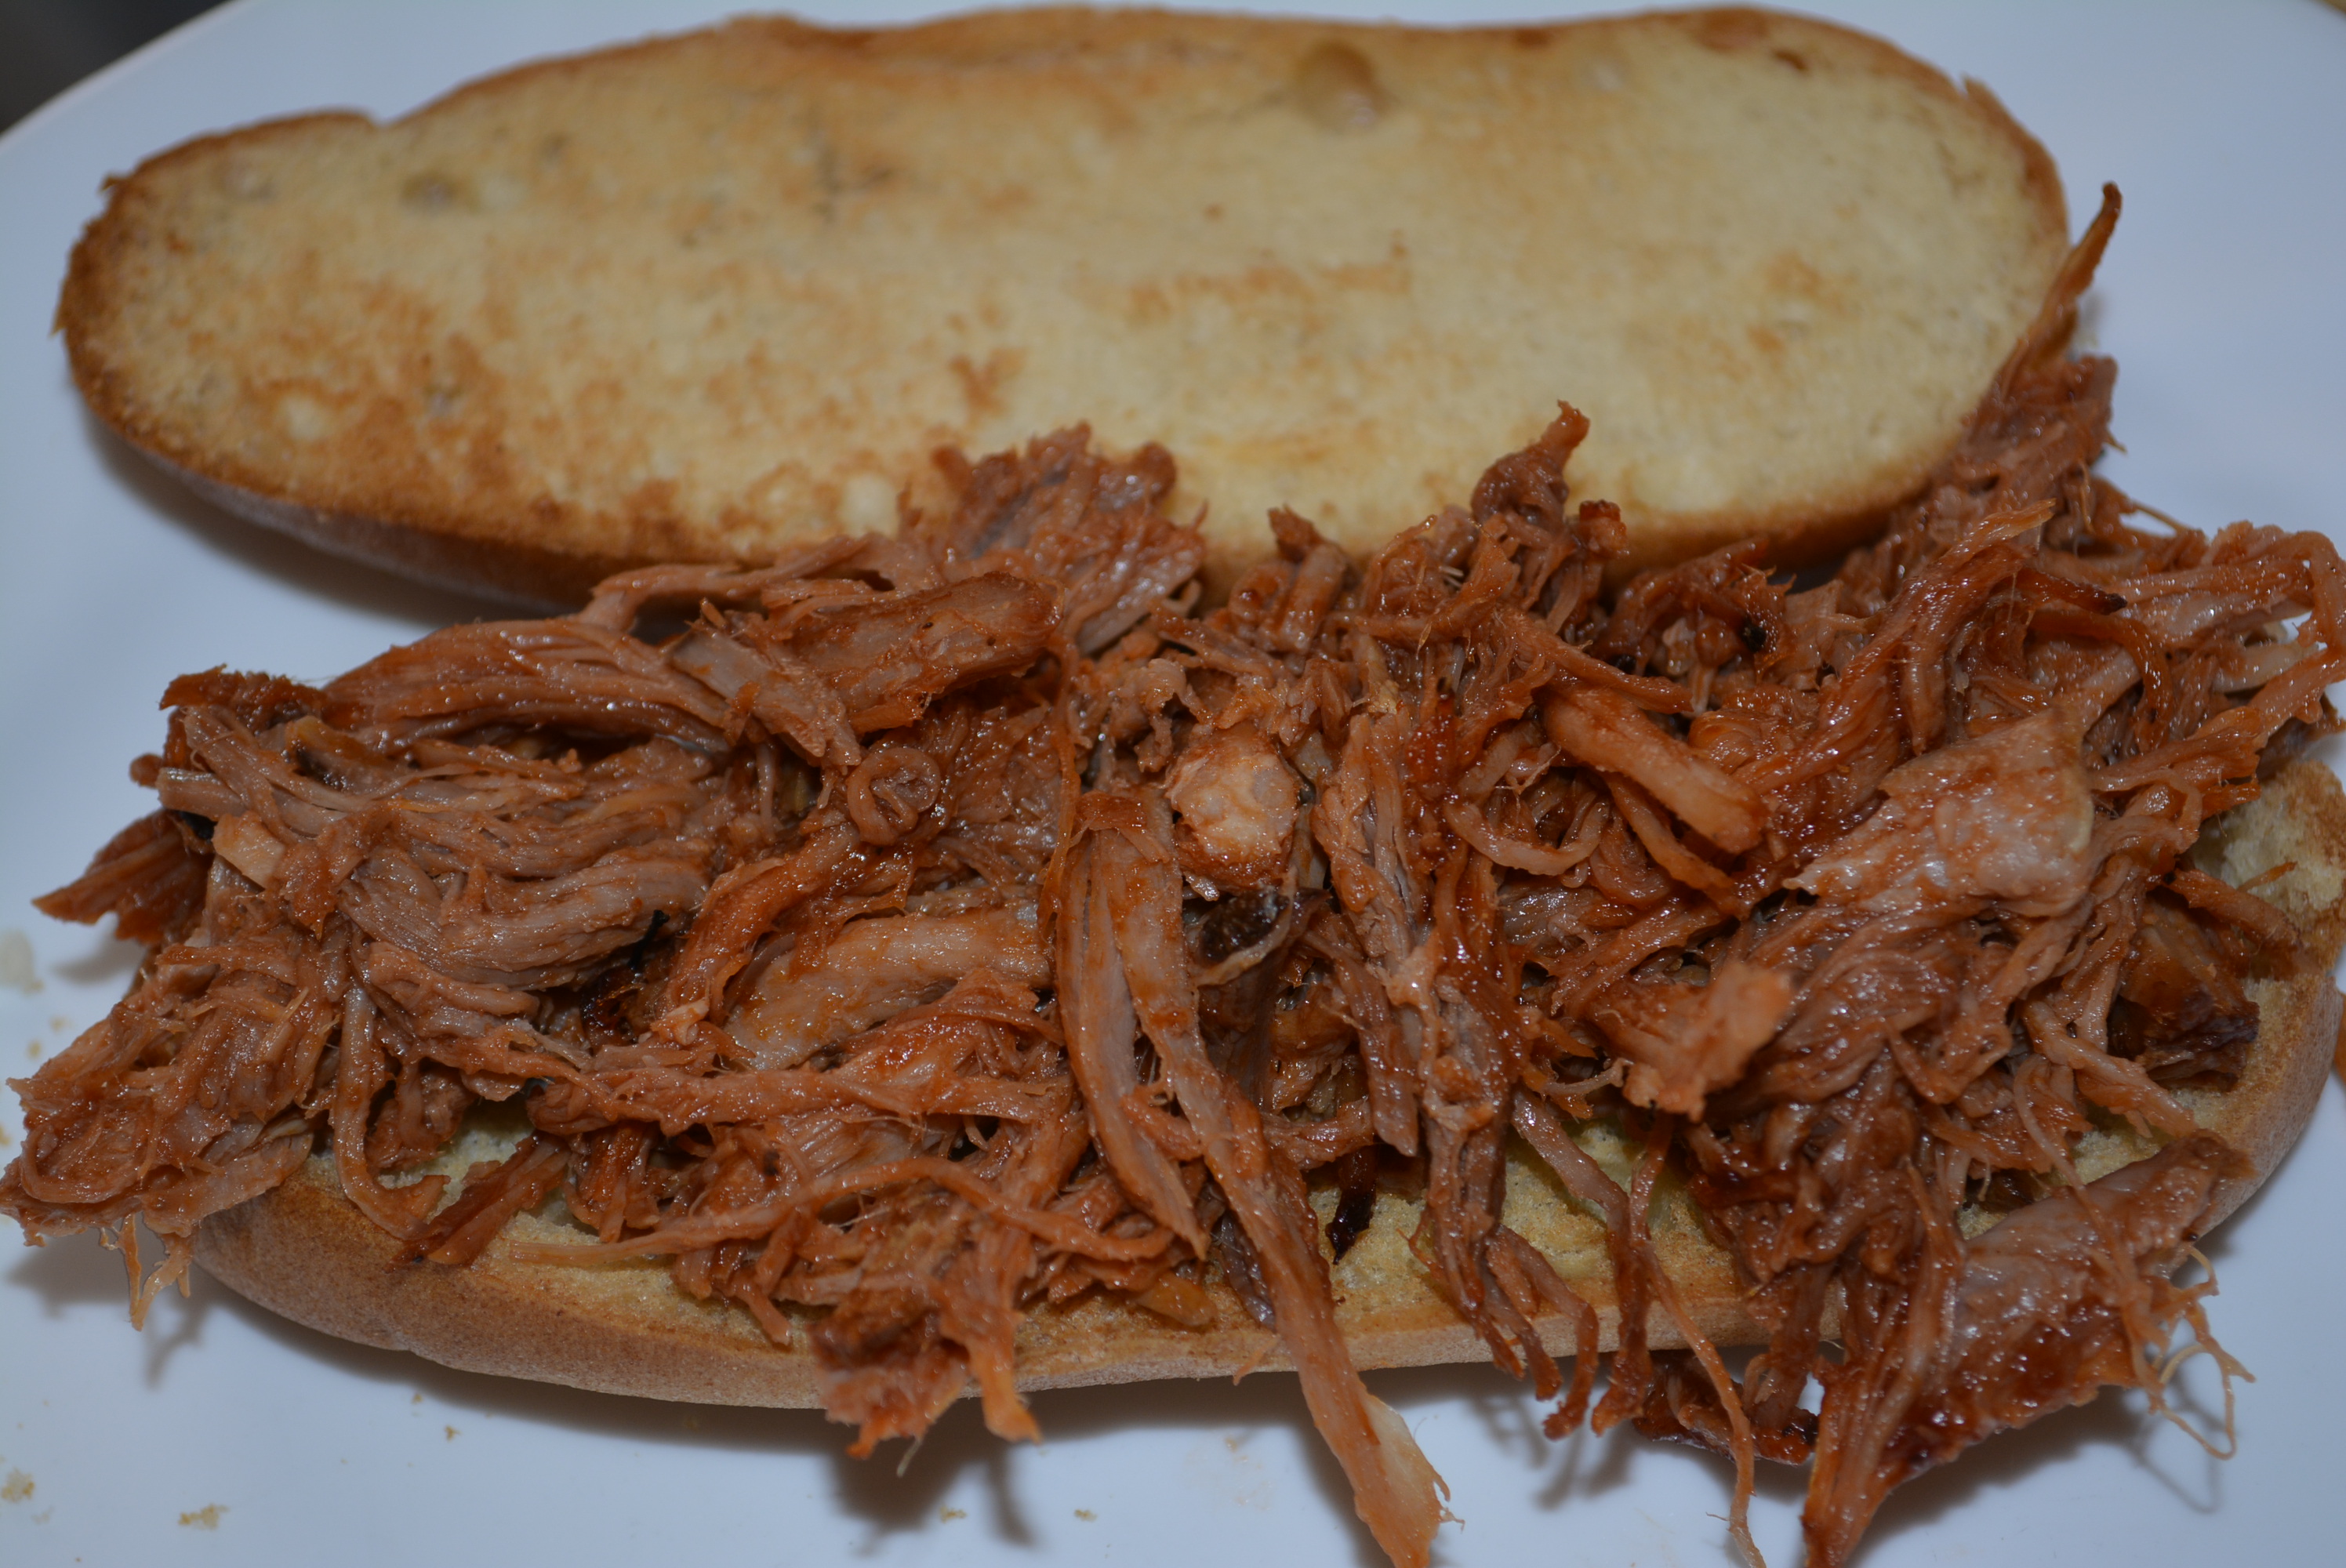
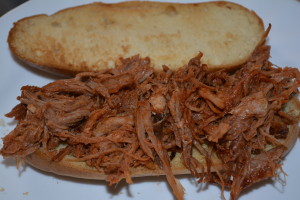
Gluten free pulled pork on a Schar hot dog bun.
After 9 hours, add 1/3 of a bottle of barbecue sauce to top and sides of pork shoulder.
Cover and cook for an additional hour on low.
After 10 hours total of cooking, the pork should easily pull off with a fork. Time may vary depending on slow cooker. Just keep an eye on your pork; once it’s falling apart, you’re ready to remove it from the crockpot.
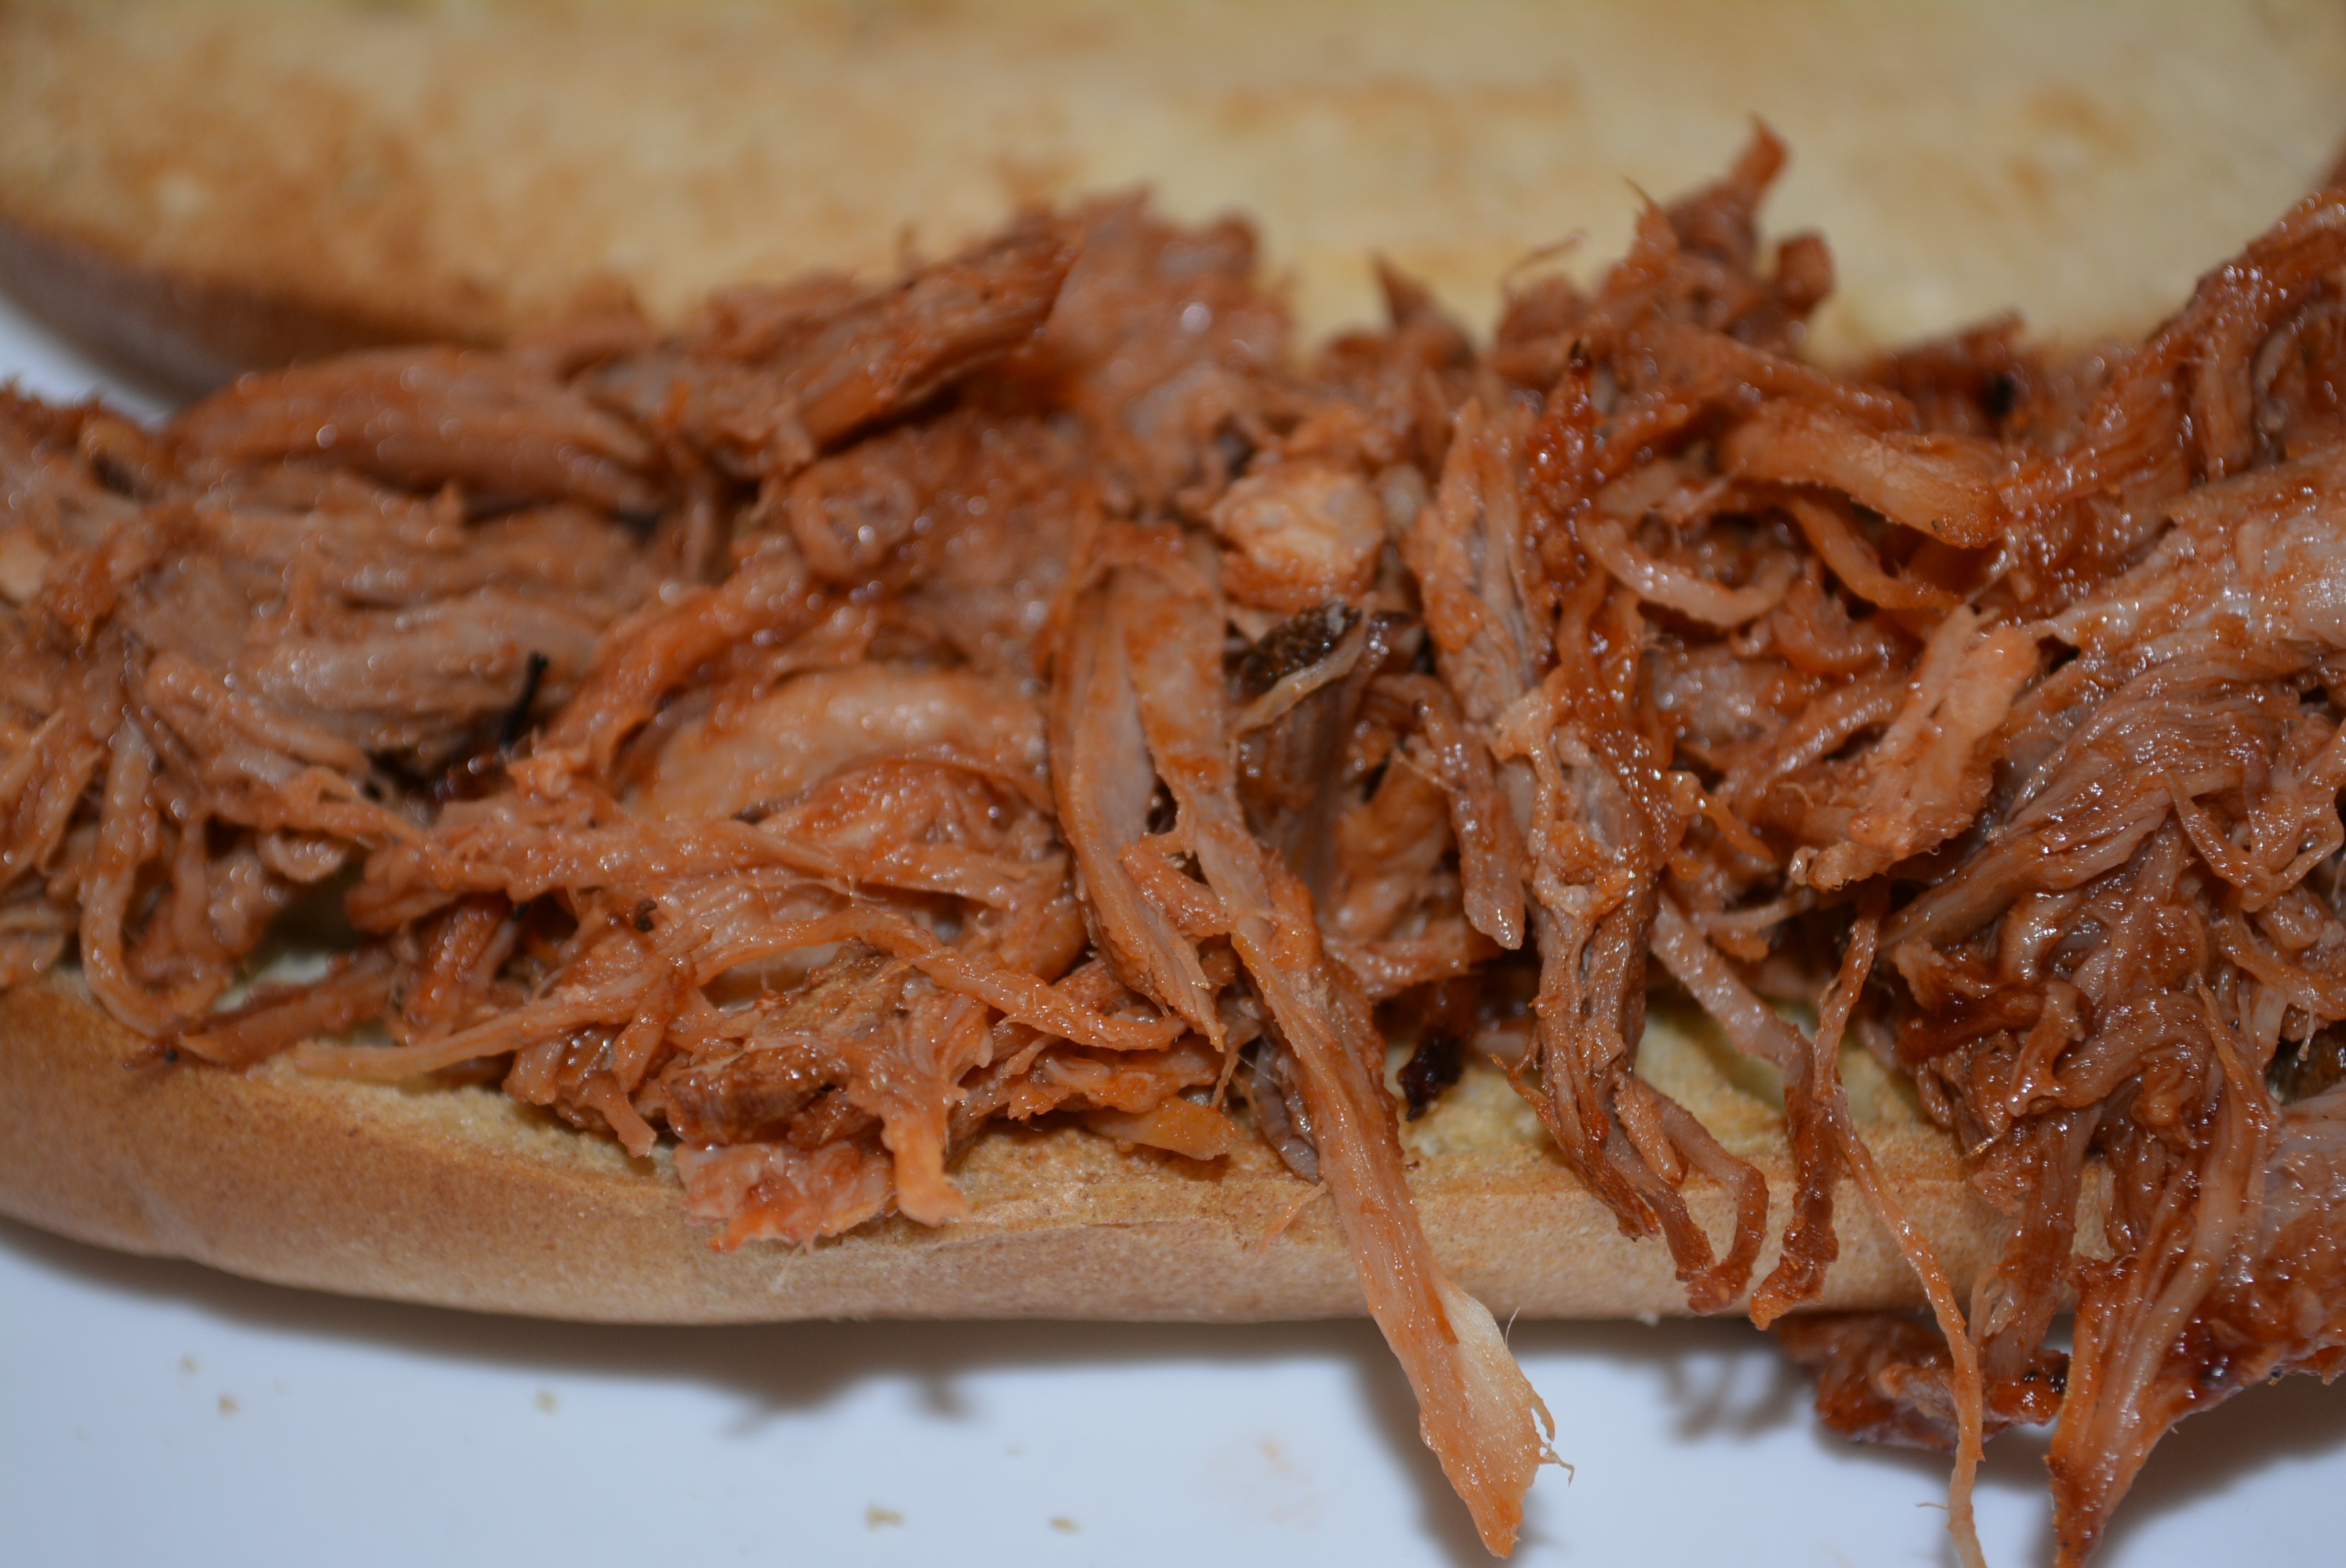
Moist pork coated with a sweet honey barbecue sauce.
Remove pork shoulder from the crockpot and begin to shred with two forks. Do this until all pork has been shredded.
Mix in an additional 1/3 of a bottle of barbecue sauce. You can also add n the onions with the pork as well if you’d like (I’m only a fan of the onion flavor, not so much the actual onions themselves, so I didn’t mix these in).
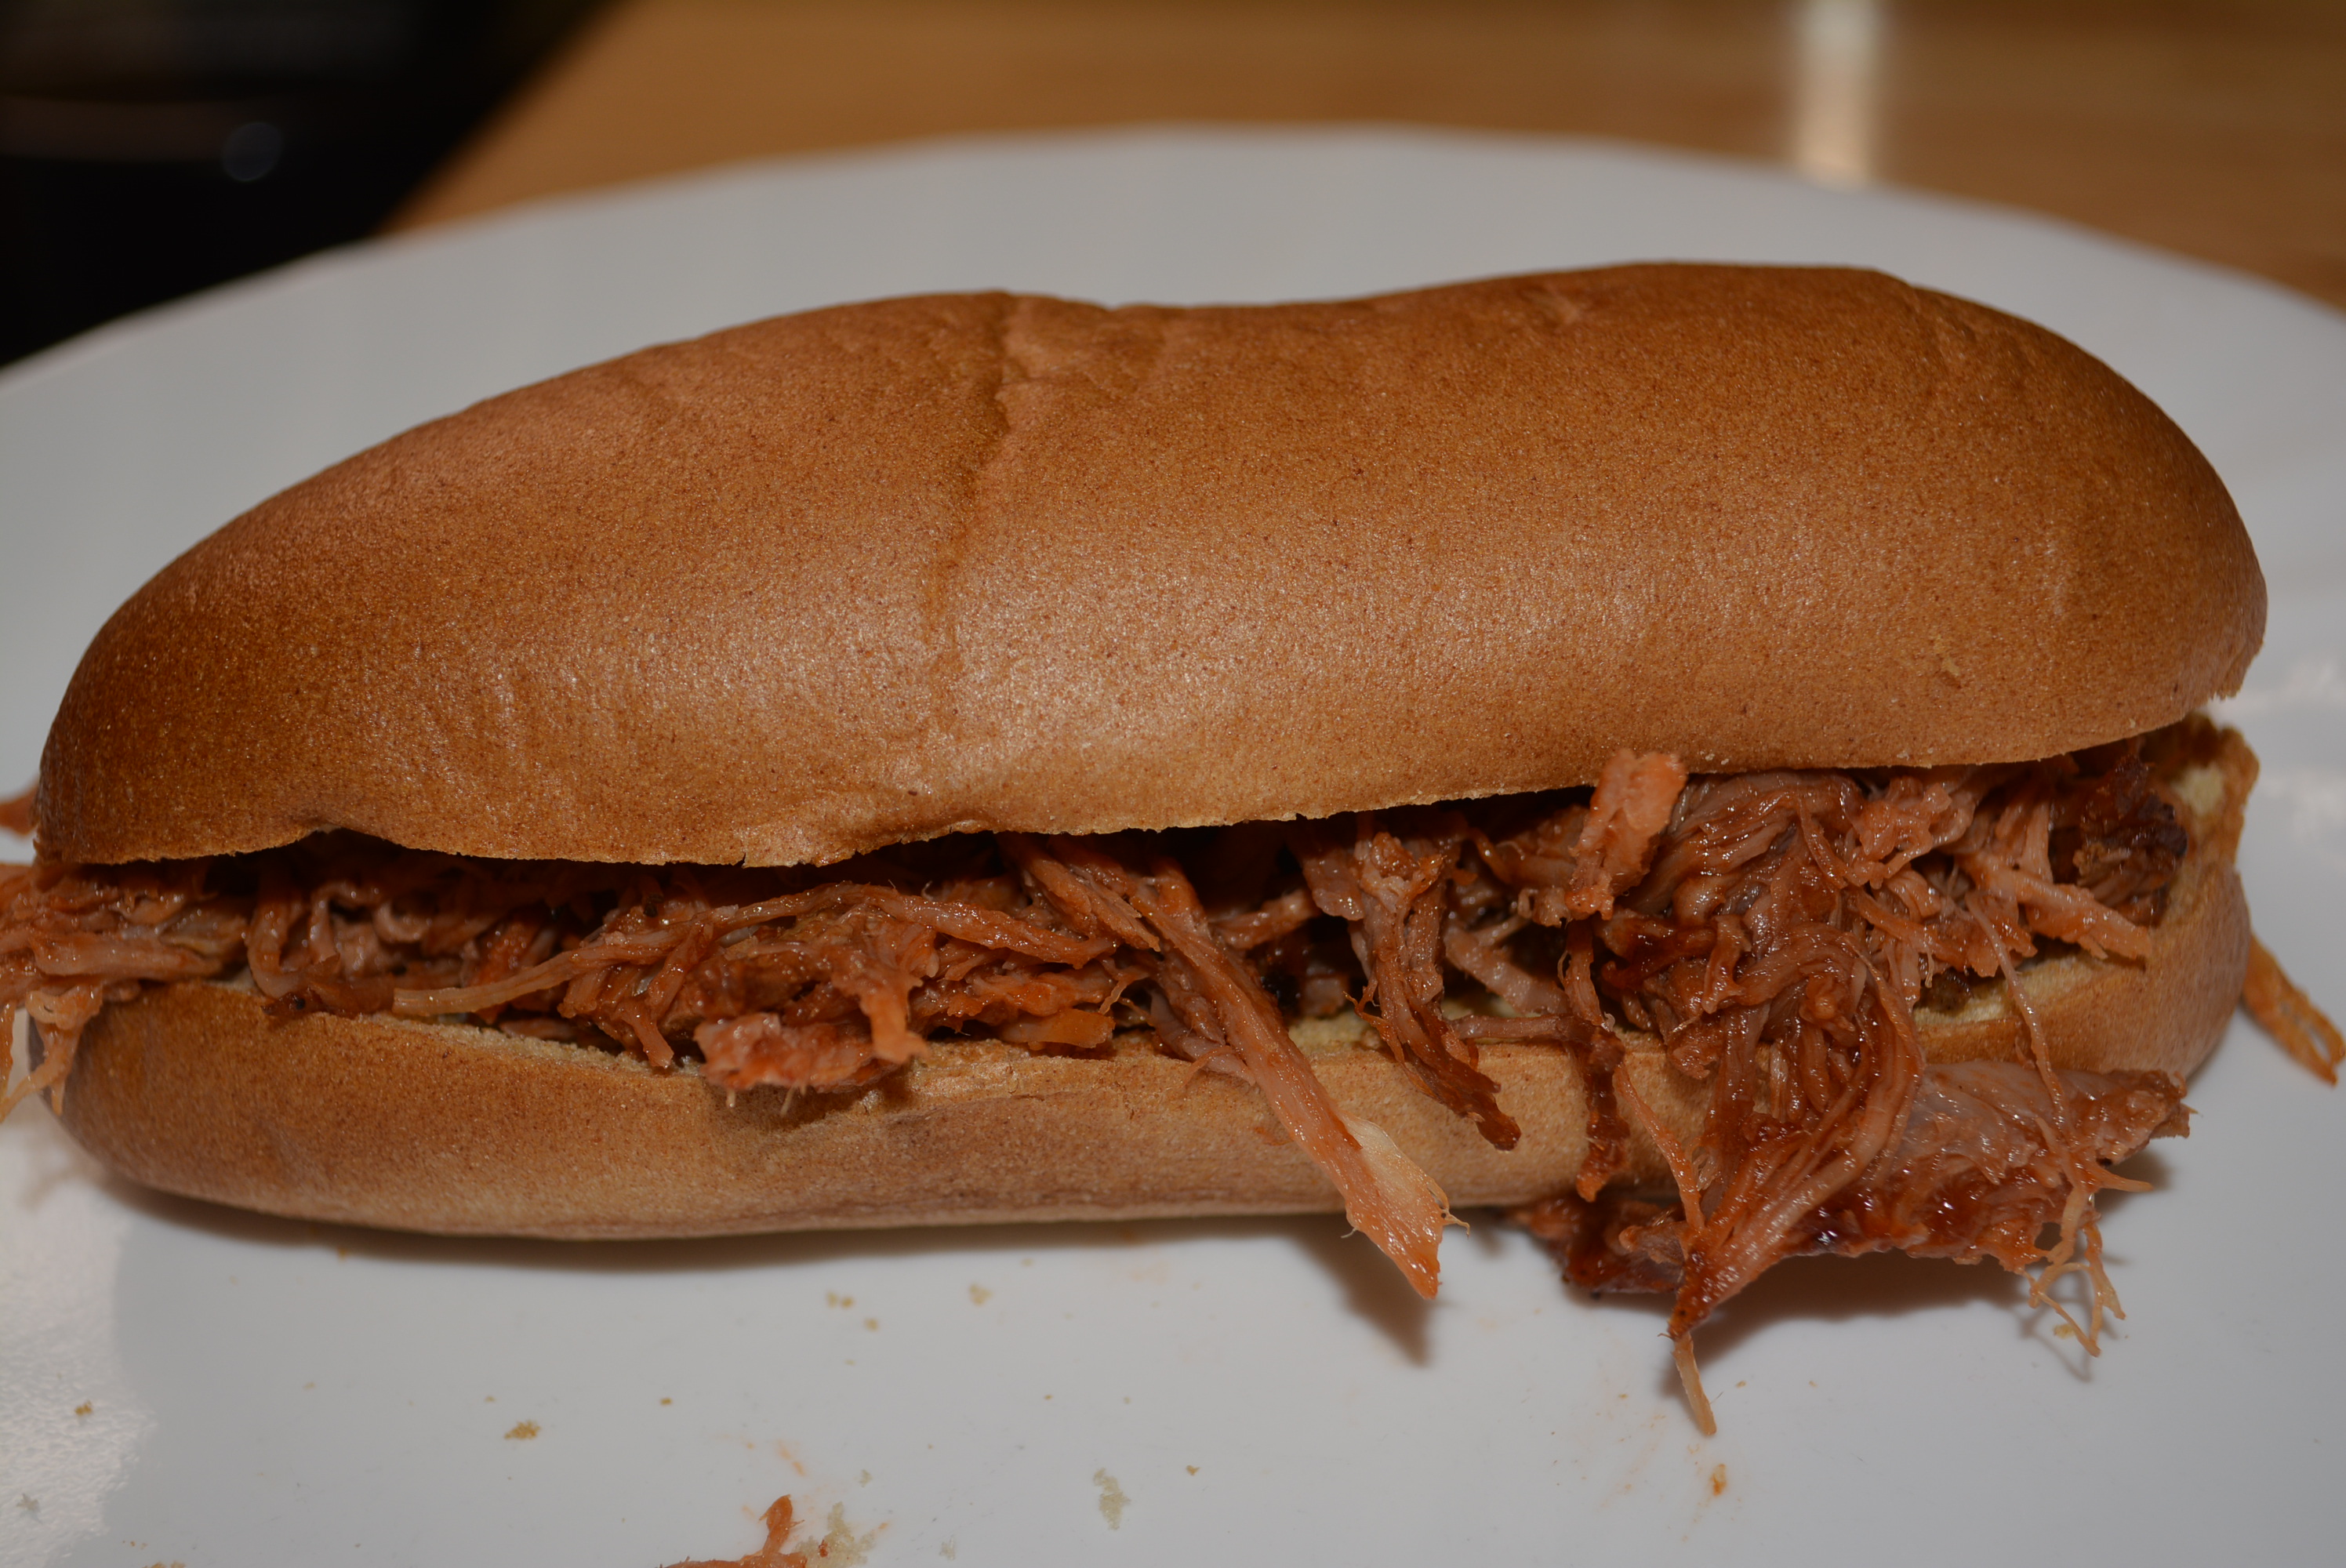
Reserve the last third of barbecue sauce for serving. Serve on lightly toasted gluten free rolls and enjoy!
Perfect barbecue pulled pork!
Note: I made this dish a day ahead and this made enough for our family of three for two nights of dinners and even lunches if you’d like! If you’d like to make it a day early follow all instructions as directed. After mixing in second third of barbecue sauce add pulled pork to an oven safe dish and wrap up tightly. Refrigerate overnight and when you’re ready for dinner the next day turn the oven on to a warm setting. Add a little bit more barbecue sauce to pulled pork to keep it moist while warming, mix making sure all is evenly coated, and warm for about 10 minutes, keeping an eye on the pork making sure it doesn’t dry out. While pork is warming, toast rolls and prepare sides. Enjoy!
The best part of this recipe is that it’s so flexible. Everyone has different preferences on barbecue flavor, so feel free to play around with any kind of barbecue sauce and amounts of them you’d like. I’m not a huge fun of overly saucy pulled pork so I used just the right amount to keep the pork tender, juicy, and flavorful without being too bogged down with sauce. To complement the pulled pork, I paired it with a lightly toasted Schar hot dog roll and the two were absolute perfection! These turned out incredibly well and I can’t wait to bring this dish out for our family cookouts this summer!
1 jar barbecue sauce (I used Sweet Baby Rays Honey Barbecue Sauce, states gluten free on label)
salt and pepper
gluten free rolls (I used Schar hot dog rolls, lightly toasted)
Instructions
Slice one large yellow onion into rings and add to the bottom of your crockpot.
Add the pork shoulder to the crockpot and dust with salt and pepper on all sides.
Cover and cook on low for a total of 10 hours.
After 9 hours, add 1/3 of a bottle of barbecue sauce to top and sides of pork shoulder.
Cover and cook for an additional hour on low.
After 10 hours total of cooking, the pork should easily pull off with a fork. Time may vary depending on slow cooker. Just keep an eye on your pork; once it's falling apart, you're ready to remove it from the crockpot.
Remove pork shoulder from the crockpot and begin to shred with two forks. Do this until all pork has been shredded.
Mix in an additional 1/3 of a bottle of barbecue sauce. You can also add n the onions with the pork as well if you'd like (I'm only a fan of the onion flavor, not so much the actual onions themselves, so I didn't mix these in).
Reserve the last third of barbecue sauce for serving. Serve on lightly toasted gluten free rolls and enjoy!
Notes
I made this dish a day ahead and this made enough for our family of three for two nights of dinners and even lunches if you'd like! If you'd like to make it a day early follow all instructions as directed. After mixing in second third of barbecue sauce add pulled pork to an oven safe dish and wrap up tightly. Refrigerate overnight and when you're ready for dinner the next day turn the oven on to a warm setting. Add a little bit more barbecue sauce to pulled pork to keep it moist while warming, mix making sure all is evenly coated, and warm for about 10 minutes, keeping an eye on the pork making sure it doesn't dry out. While pork is warming, toast rolls and prepare sides. Enjoy!
By Gluten Free Mom To Be
Adapted from Musings of a Housewife
Adapted from Musings of a Housewife
Gluten Free Mom To Be http://www.glutenfreemomtobe.com/
During my pregnancy, breakfast was always one of my most difficult meals of the day. My non-pregnant breakfast menu usually consisted of a bowl of cereal or either a regular or Greek yogurt both accompanied by a piece of fruit. Unfortunately, this regimen couldn’t stand up to my increased appetite during pregnancy. To bulk up my first meal of the day I turned to gluten free smoothies, Katz bagels, muffins, toast, and occasional treats of donuts. I only wish that I had come across this recipe for these delicious muffins during that time. Muffins are a perfectly filling breakfast item that can be incredibly tasty and very healthy to boot! After making these gluten free Banana Chocolate Breakfast Muffins, thanks to Sarah at Sarah Bakes Gluten Free Treats, I know my breakfasts during my future pregnancies will be filling and also incredibly satisfying.
These muffins are deliciously moist with just the right amount of sweetness, not to mention they treat you to a little bit of chocolate! They are fantastic for breakfast, especially when paired with a piece of fruit or a smoothie. You can even indulge a little and eat a whole or a half of a muffin for a late afternoon snack. Be sure to add this one to your recipe book as you’ll be making these over and over during both your pregnant and not pregnant days!
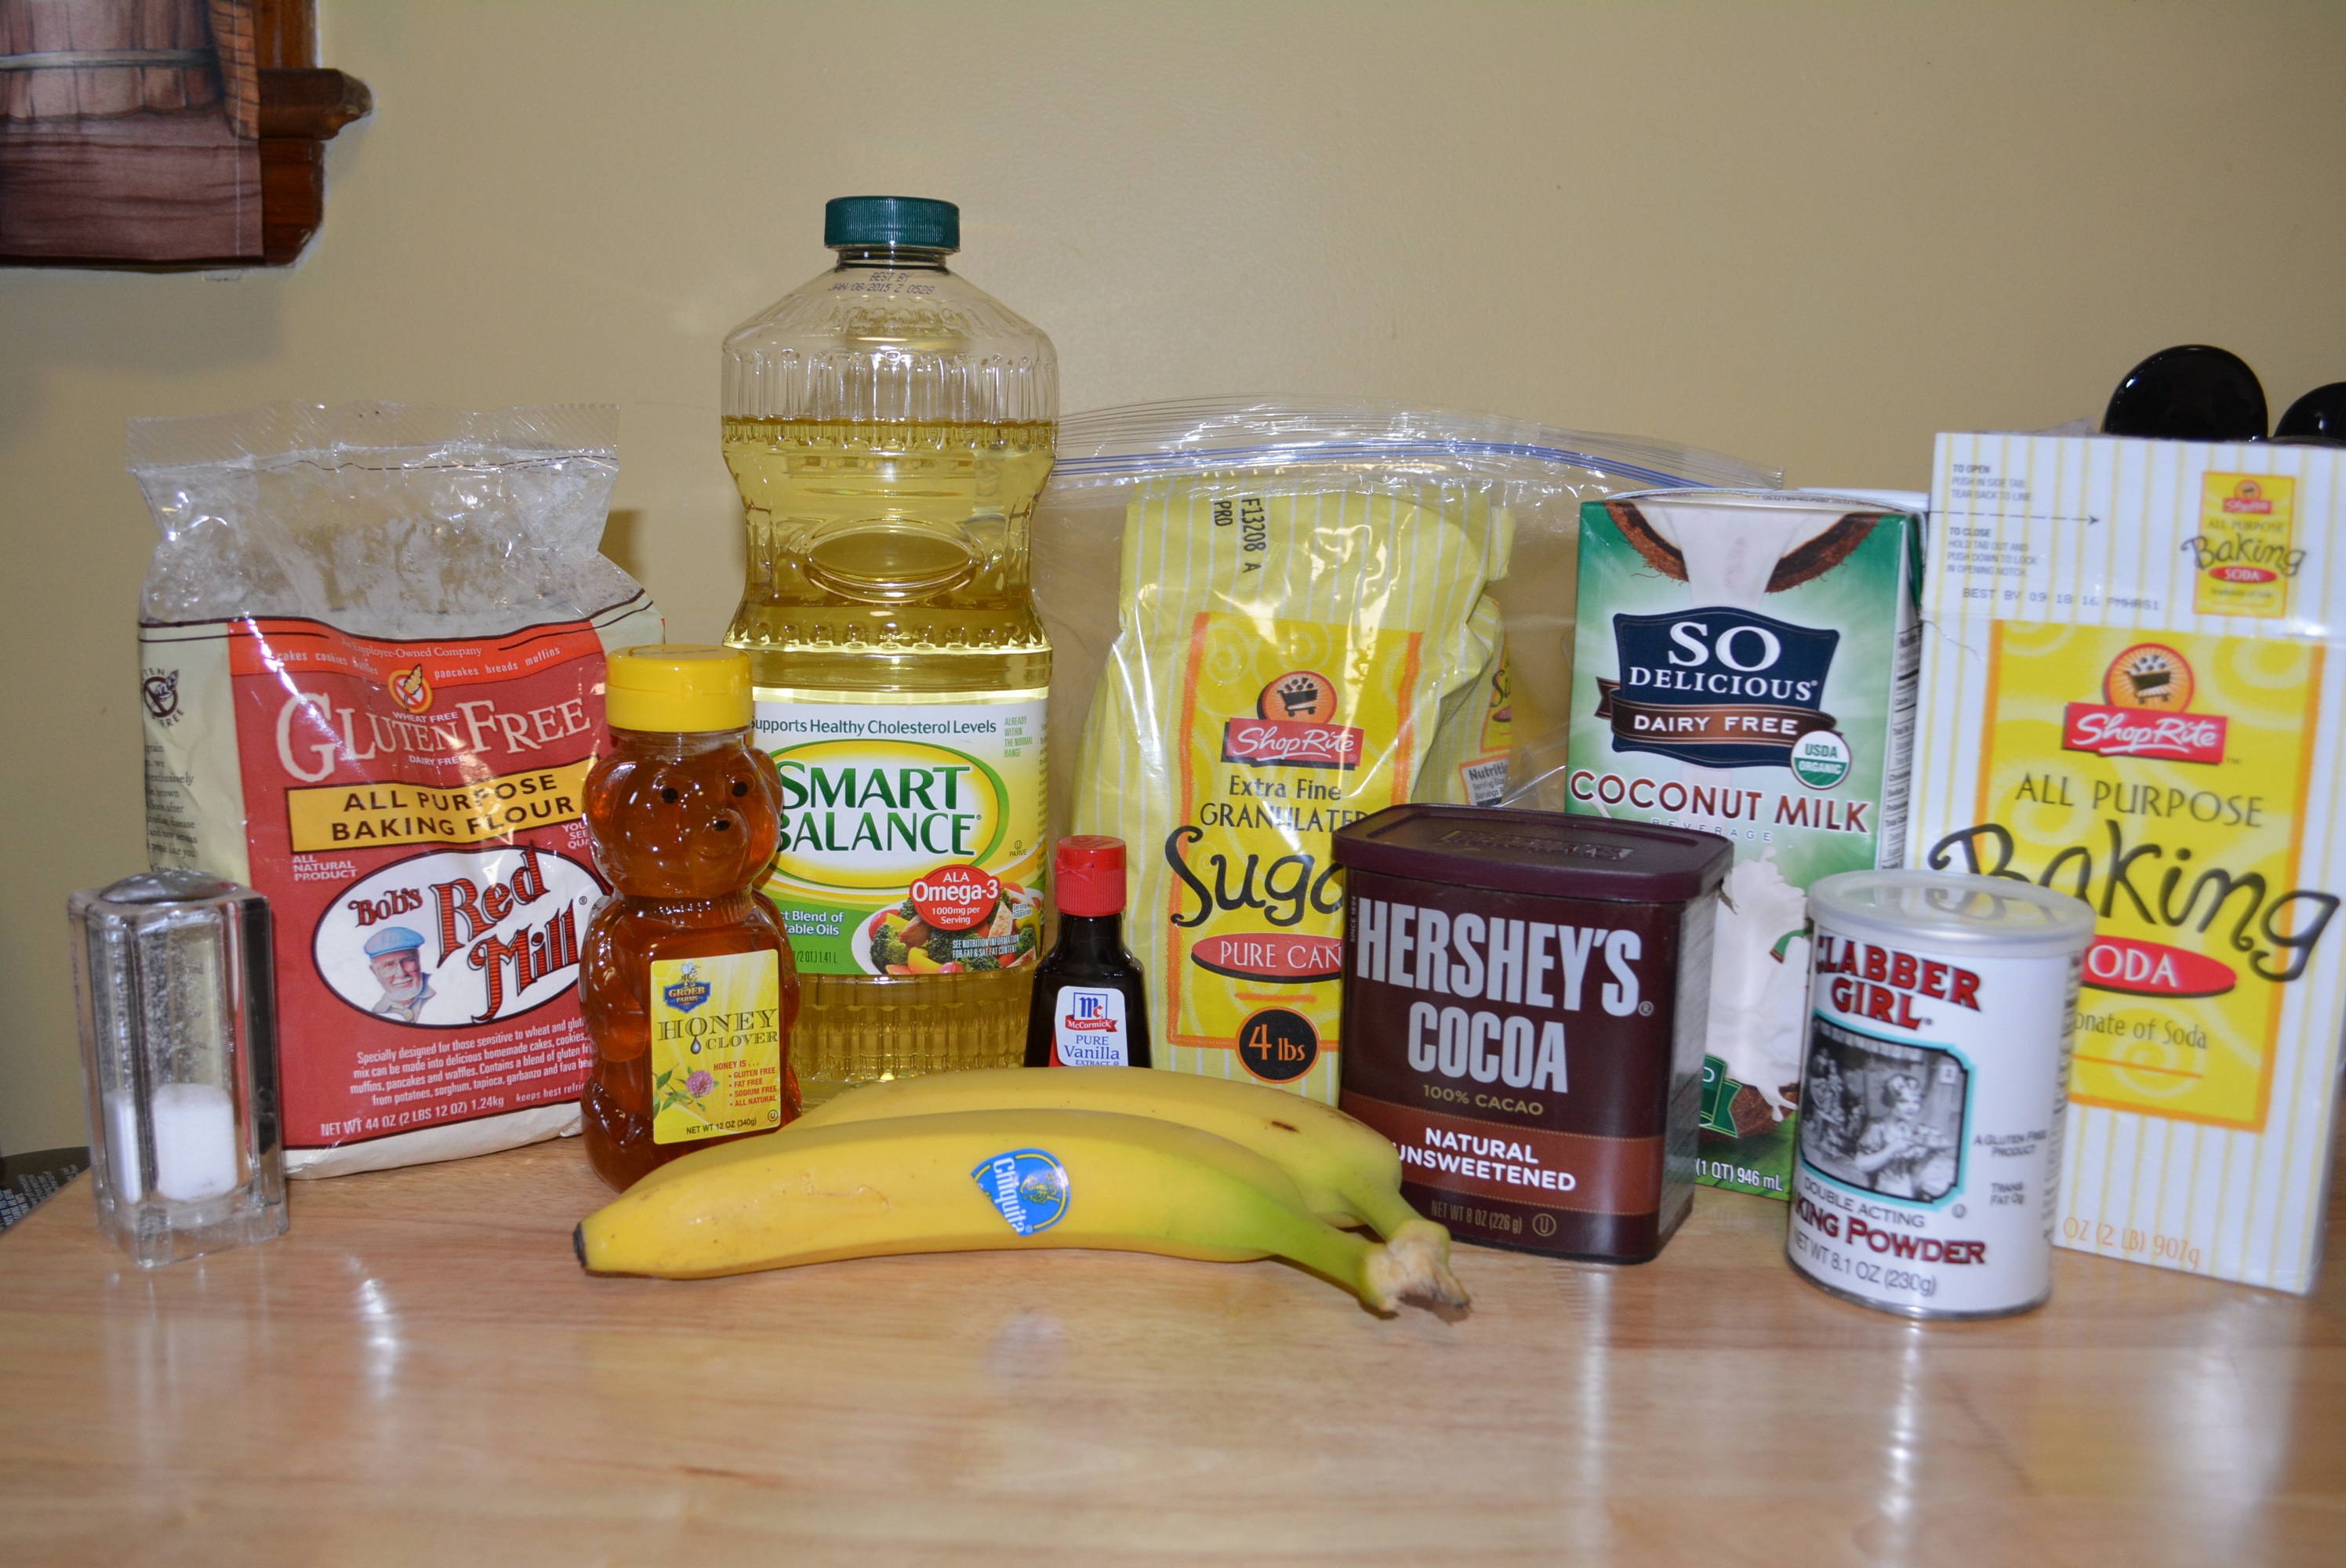
Ingredients:
1 1/4 cup and an extra 1/4 cup gluten free flour (I used Bob’s Red Mill All Purpose Flour)
1 tsp baking powder
1/2 tsp baking soda
1/2 tsp salt
2 bananas mashed
1/2 cup unsweetened coconut milk (I used So Delicious)
1/2 cup sugar
1/3 cup canola oil (I used Smart Balance)
1/4 cup pure honey (I used Groeb Farms)
1 tsp pure vanilla extract (McCormick)
1/4 cup unsweetened cocoa powder (I used Hershey)
Ingredients for these delicious Gluten Free Banana Chocolate Breakfast Muffins.
Directions:
Preheat oven to 350 degrees. Add 12 paper liners to a muffin tin or spray tin with nonstick cooking spray.
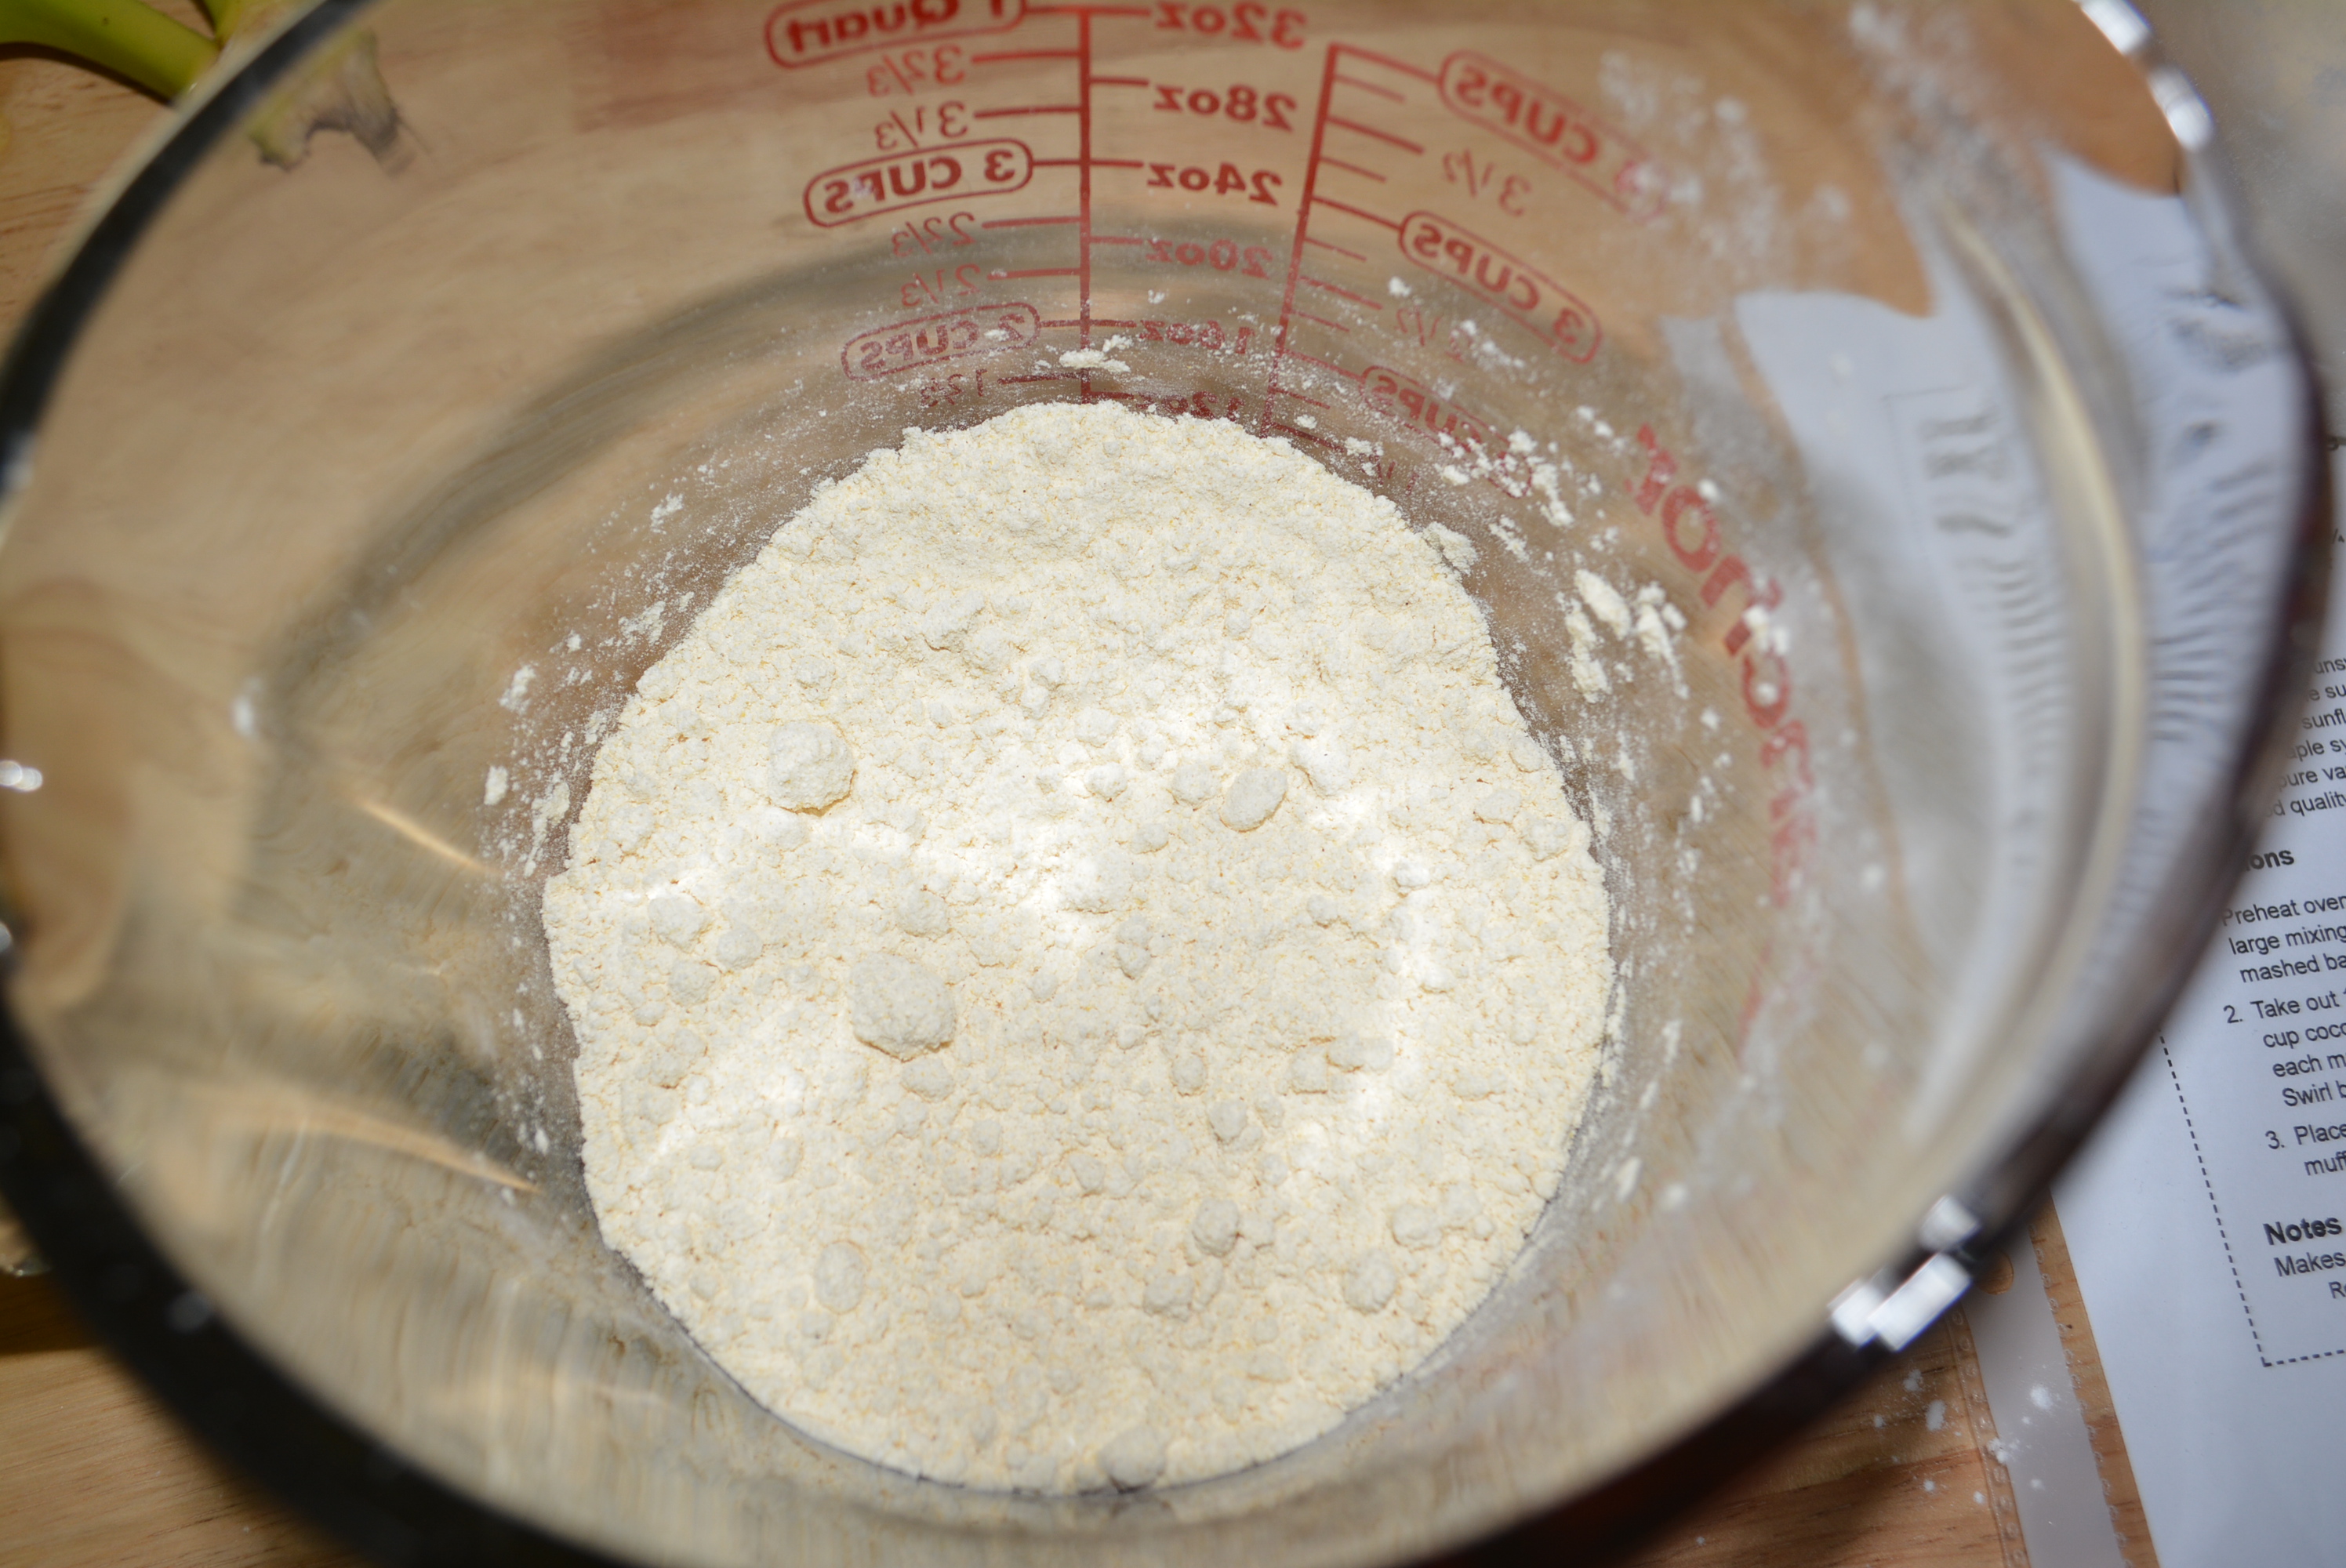
First, combine most of the dry ingredients including 1 1/4 cup flour, 1 tsp baking powder, 1/2 tsp baking soda, and a 1/2 tsp salt. To mix well and also break up any clumps in the mixture, I like to use a whisk.
Mix some of the dry ingredients first.
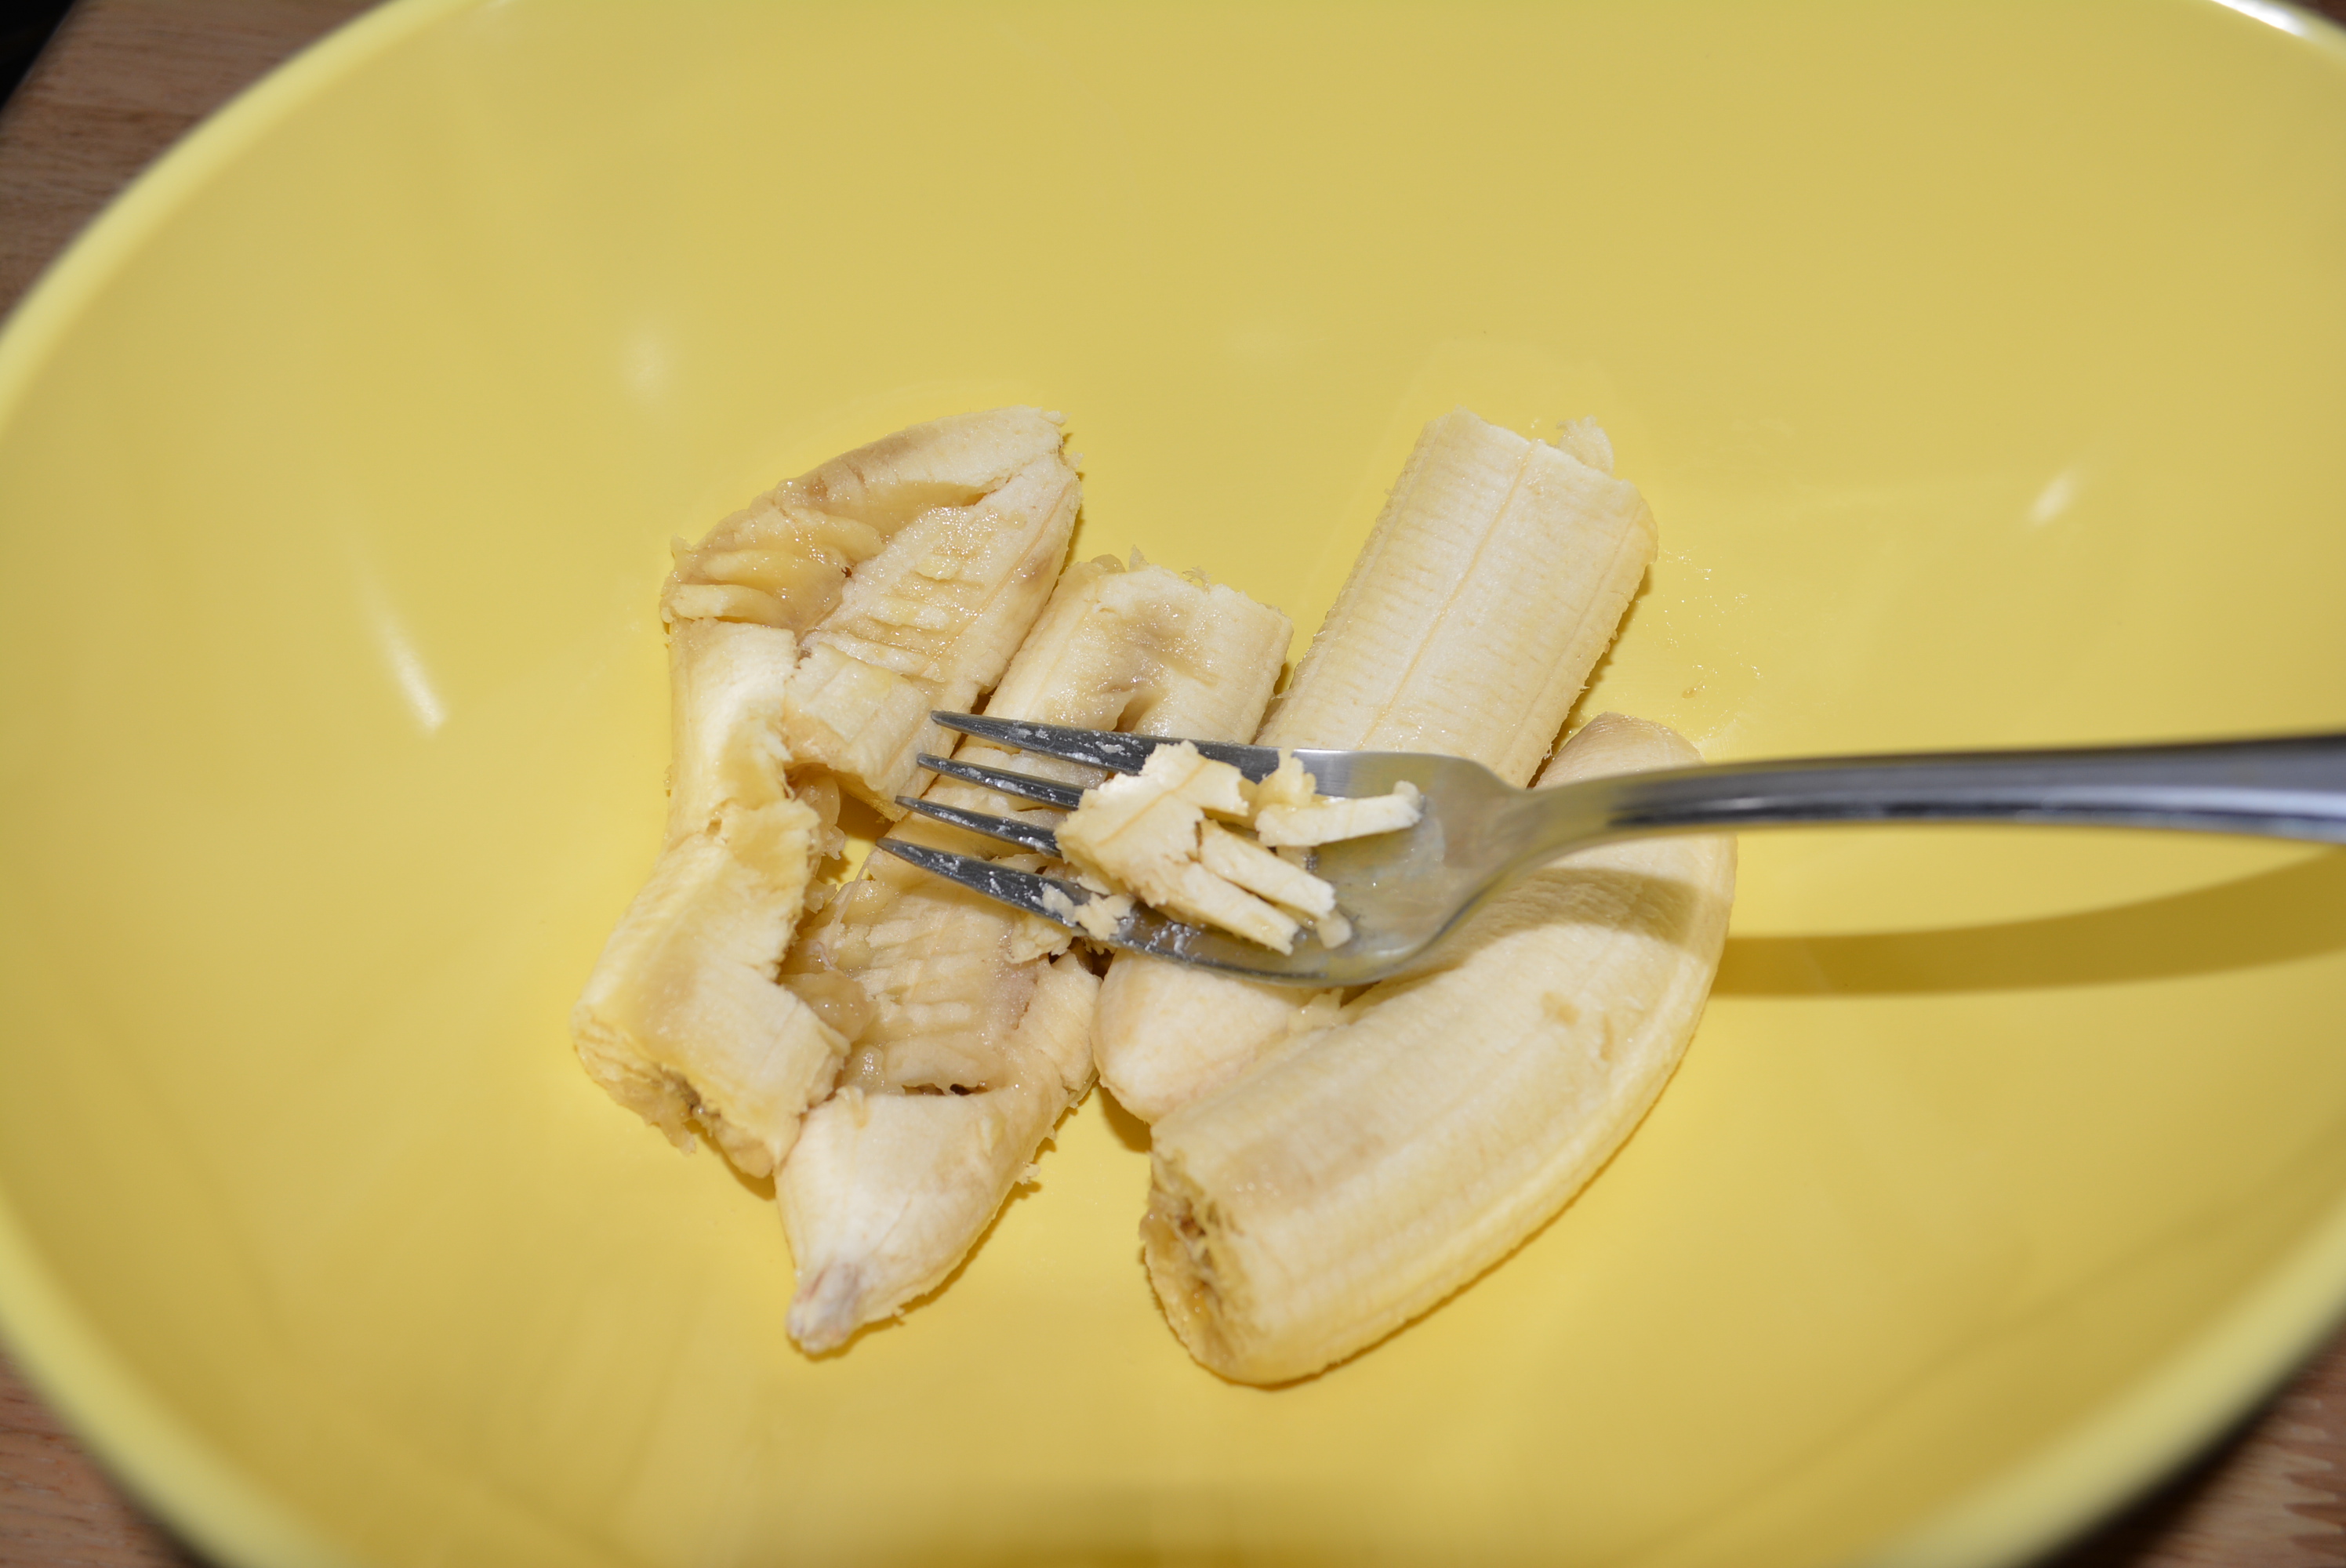
Peel and mash two bananas in a large mixing bowl.
Mash two bananas.
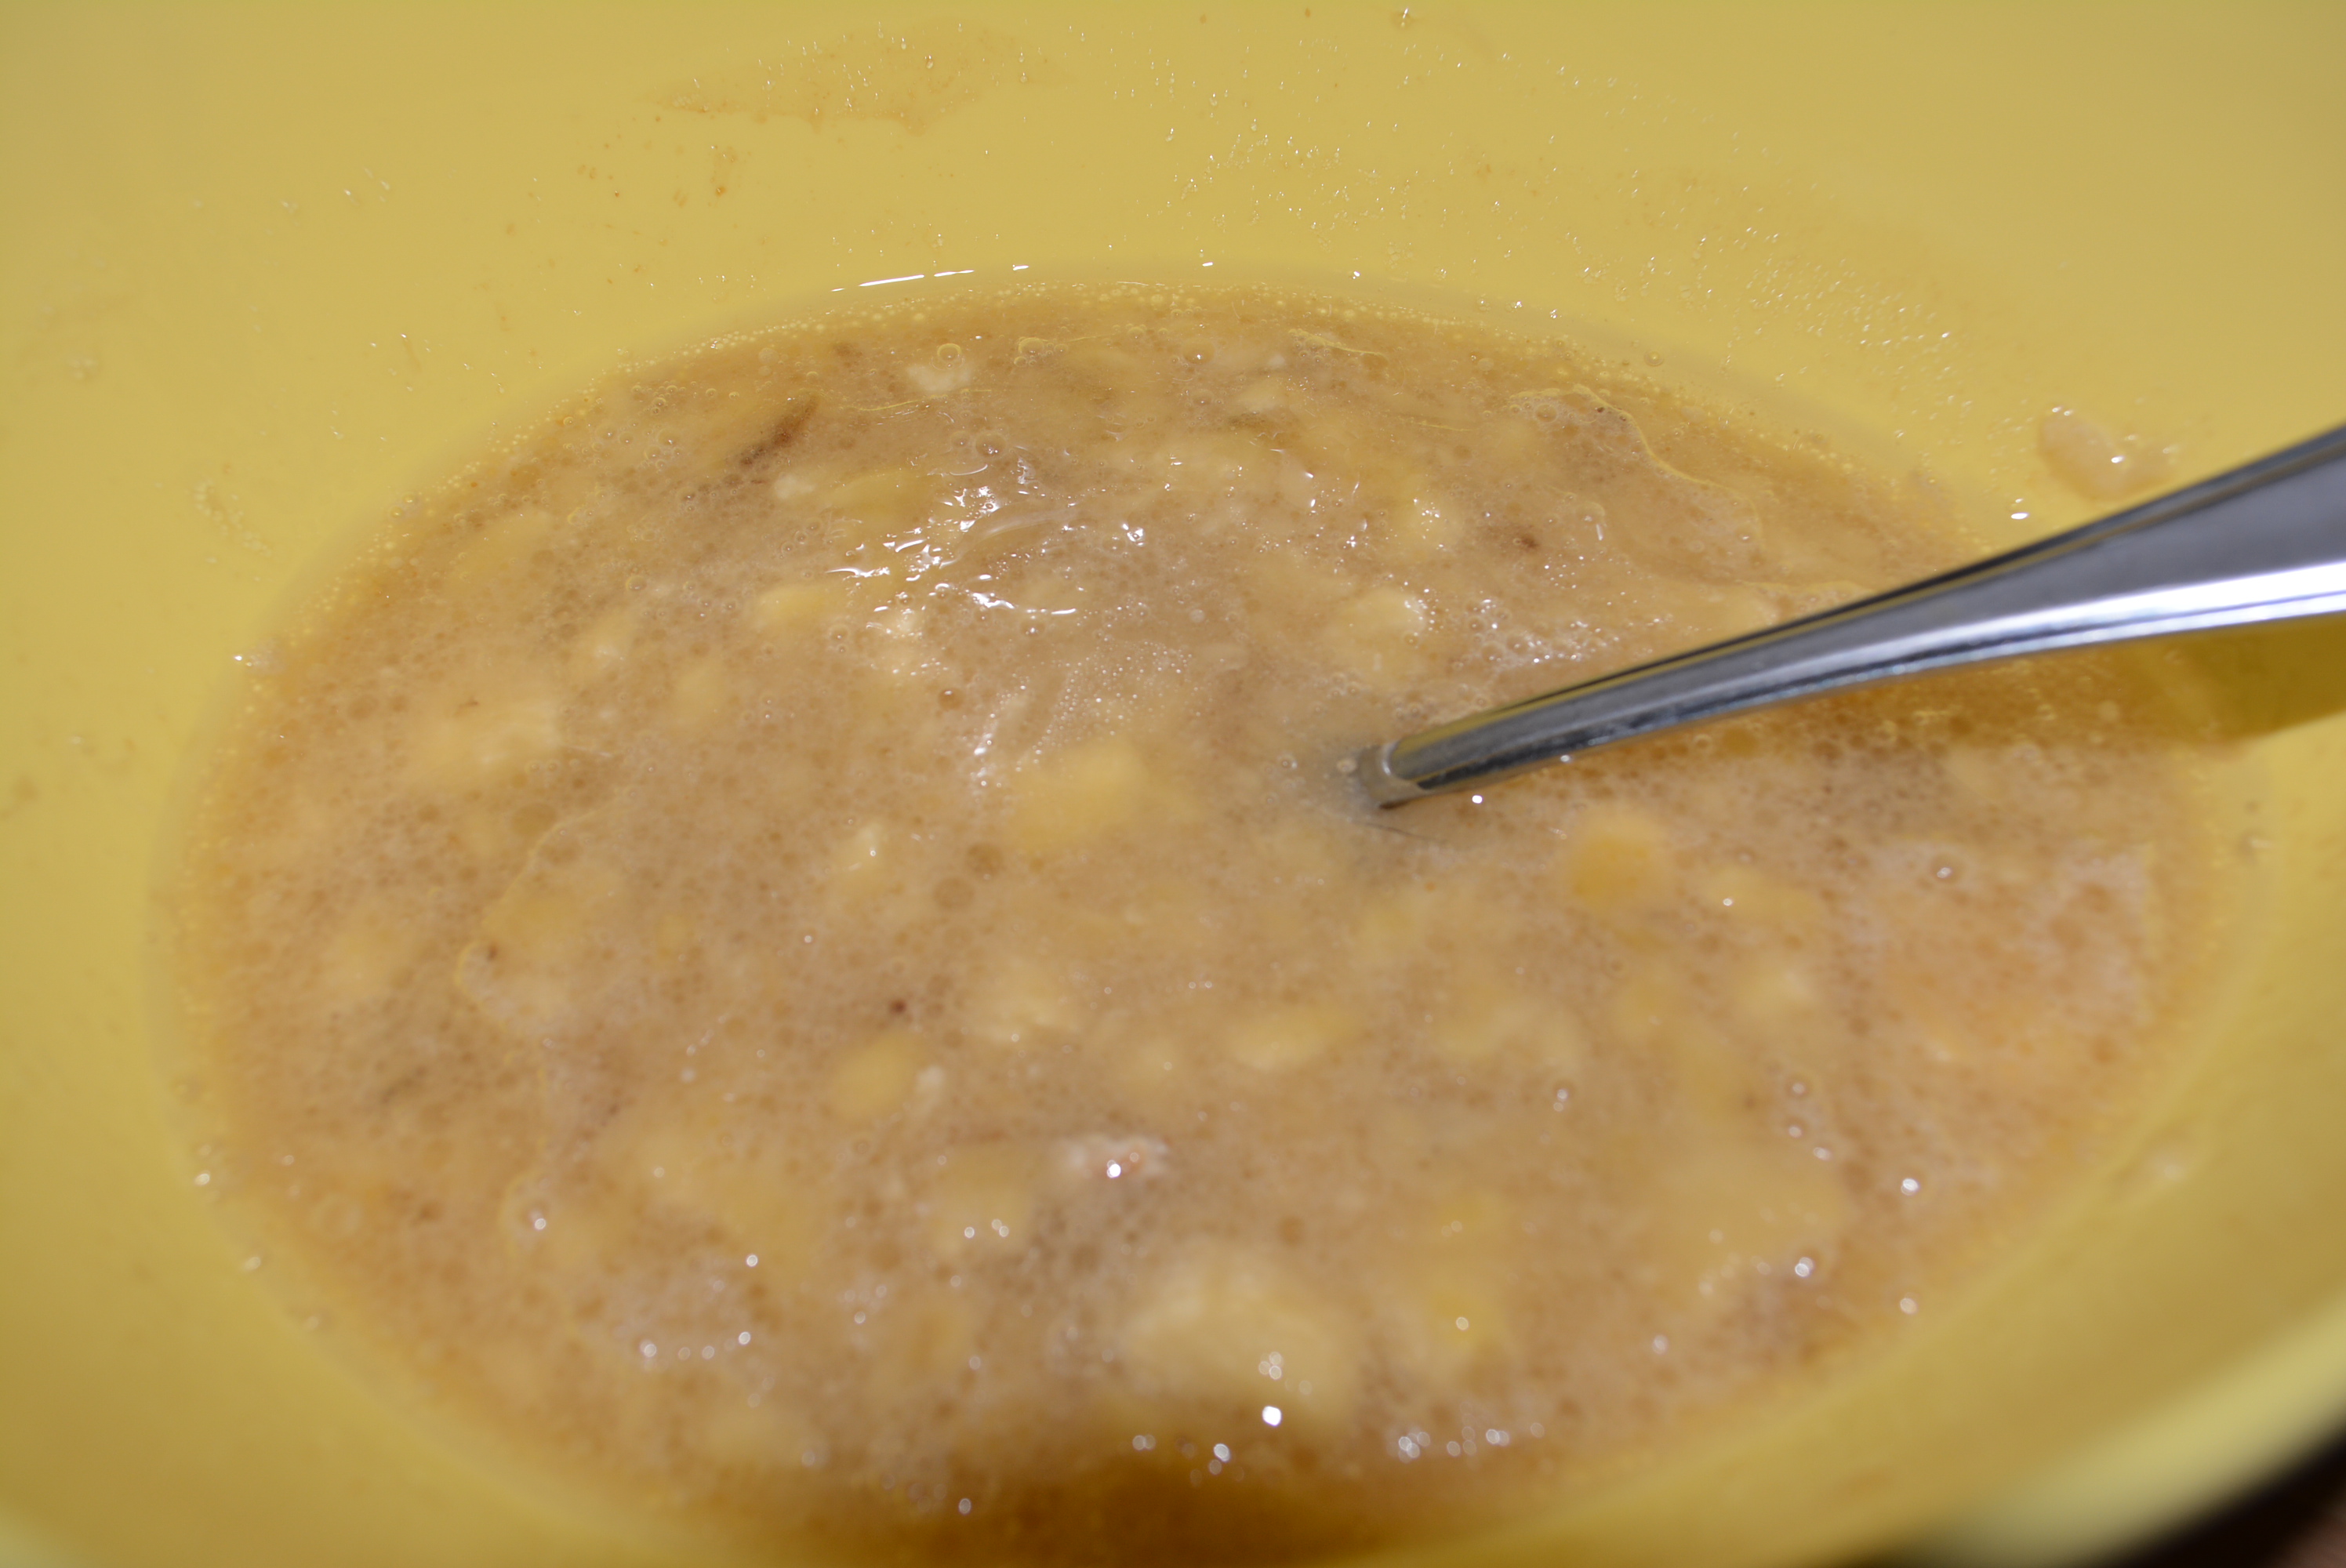
To the bananas, mix in 1/2 cup unsweetened coconut milk, 1/2 cup sugar, 1/3 cup oil, 1/4 cup honey, and 1 tsp vanilla.
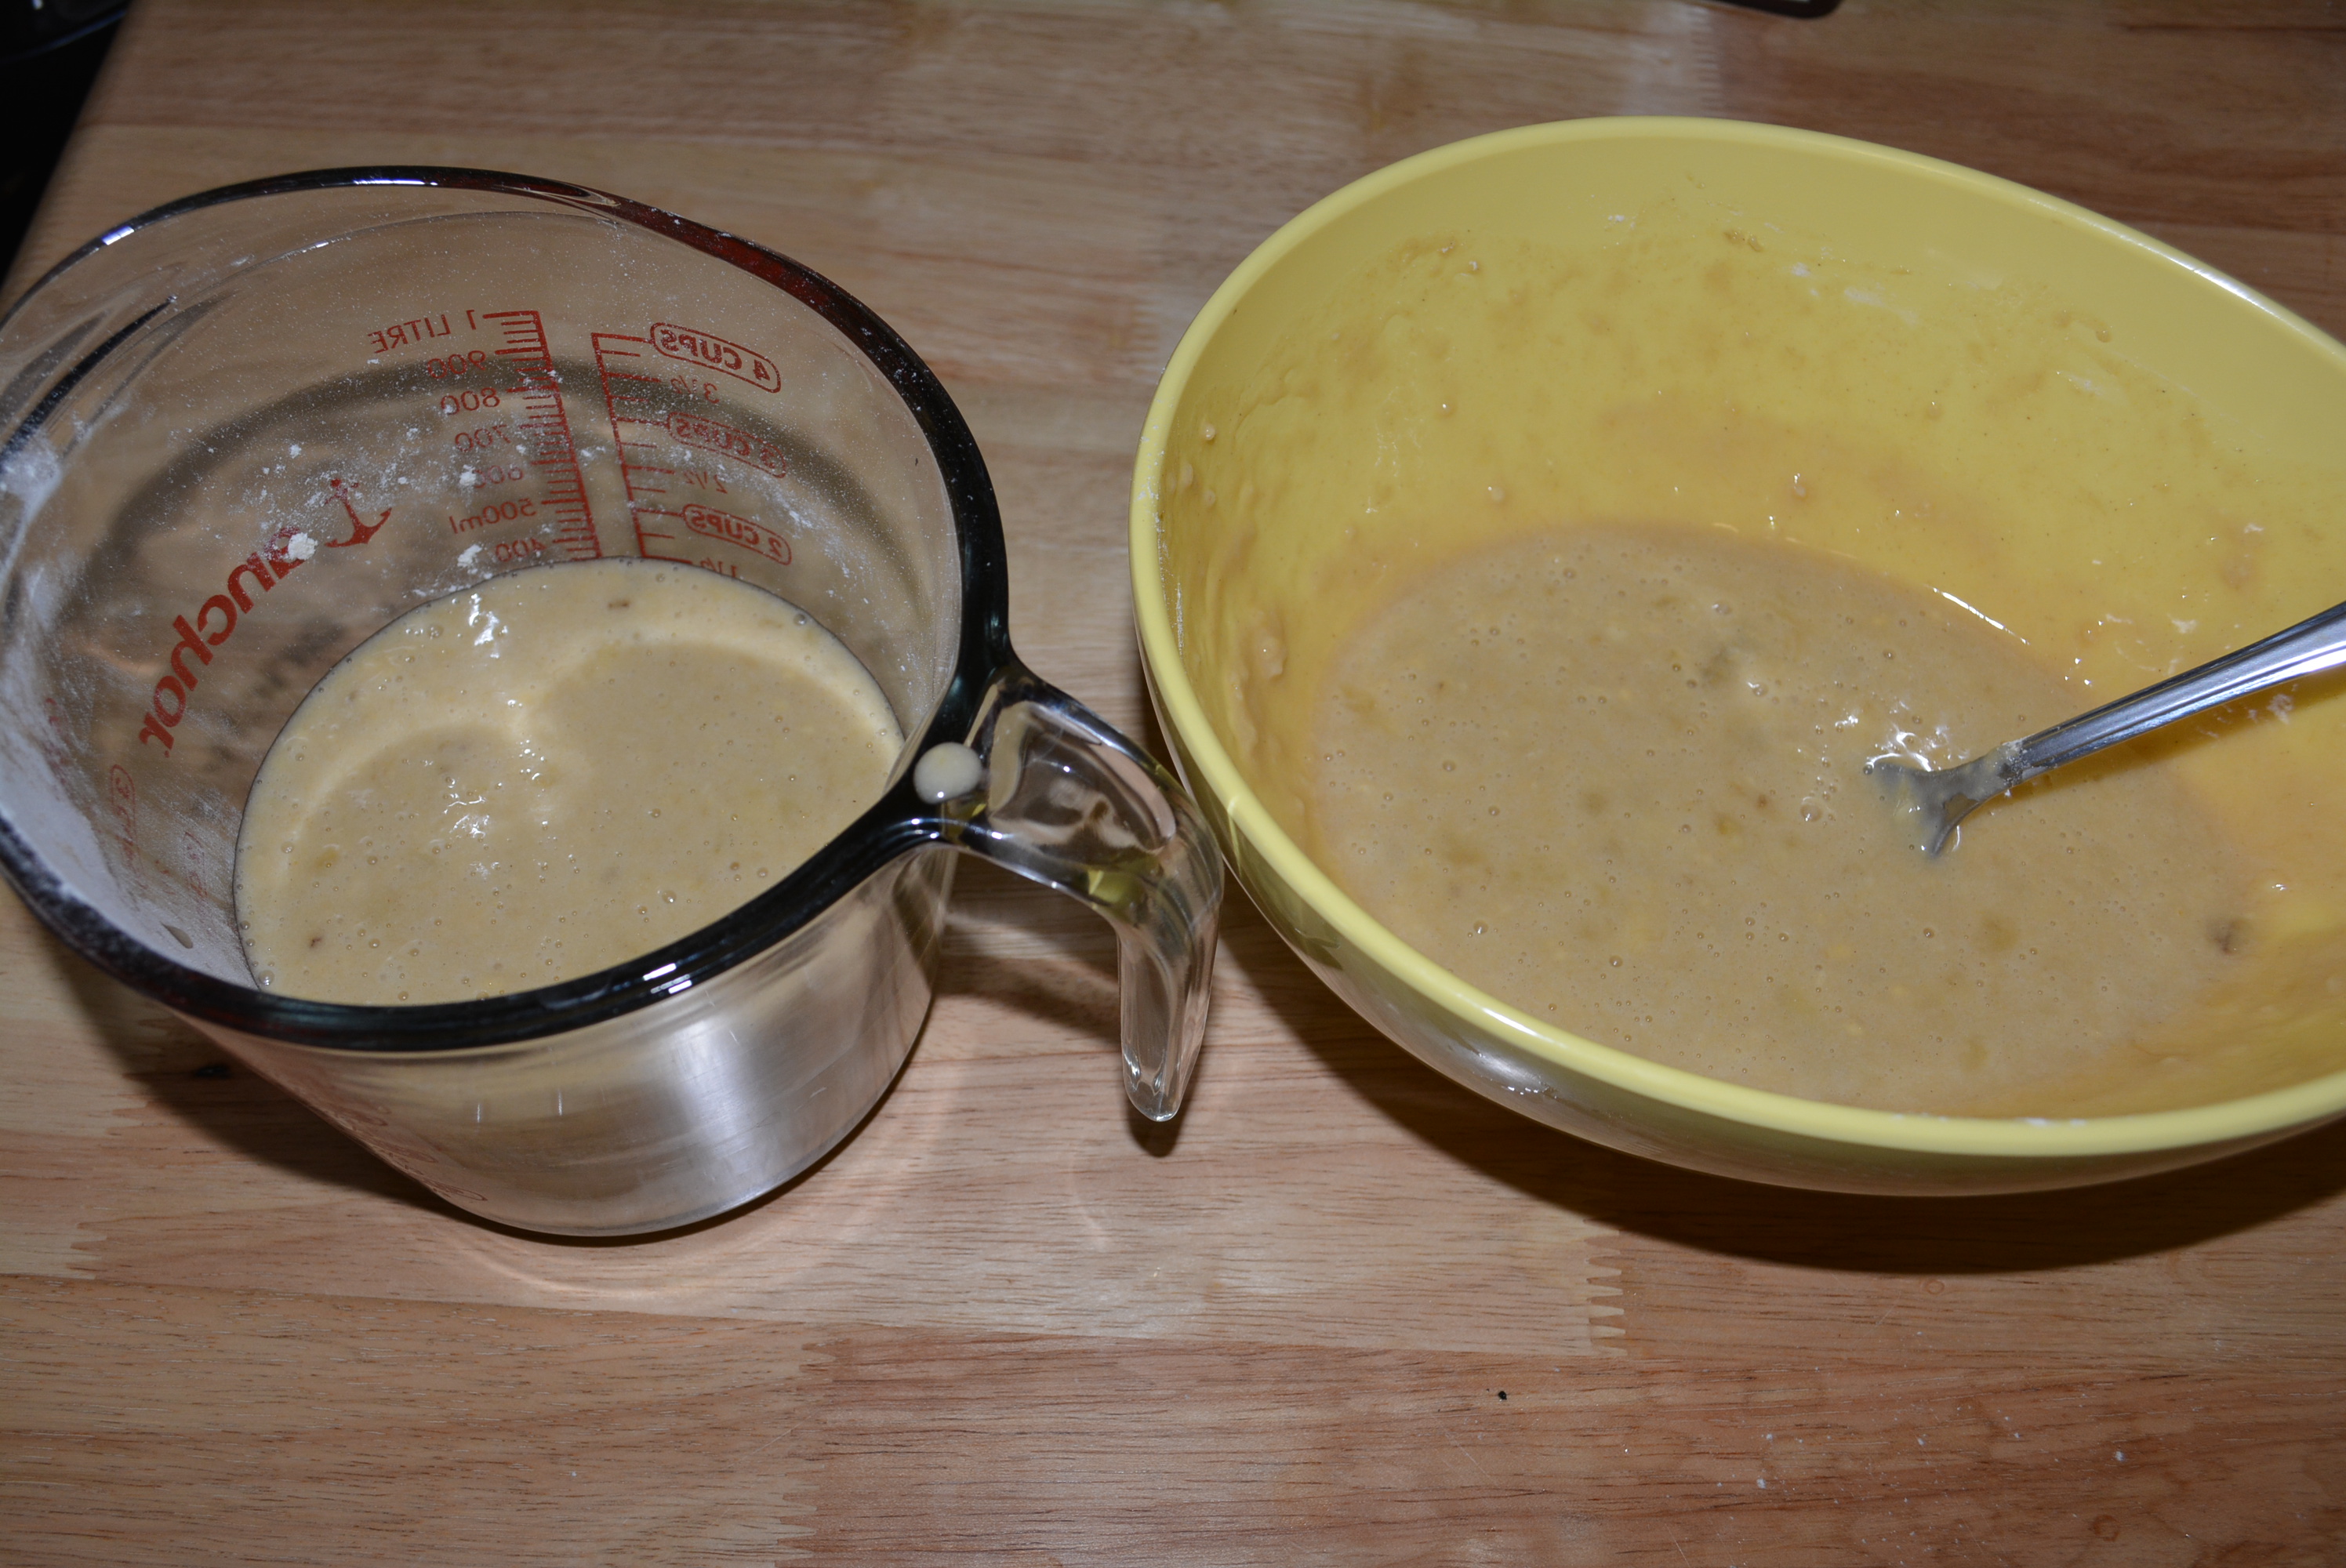
Banana mixture.
To the wet ingredients, add in the flour mixture and stir to combine.
Now you’re going to split the batter into two by removing 1 1/2 cups of the batter and pouring into a separate mixing bowl (I just added this to a larger measuring cup). With these separated batters, you’re going to prepare a chocolaty version and a banana version to eventually mix in the muffin tins.
Divide banana batter into two.
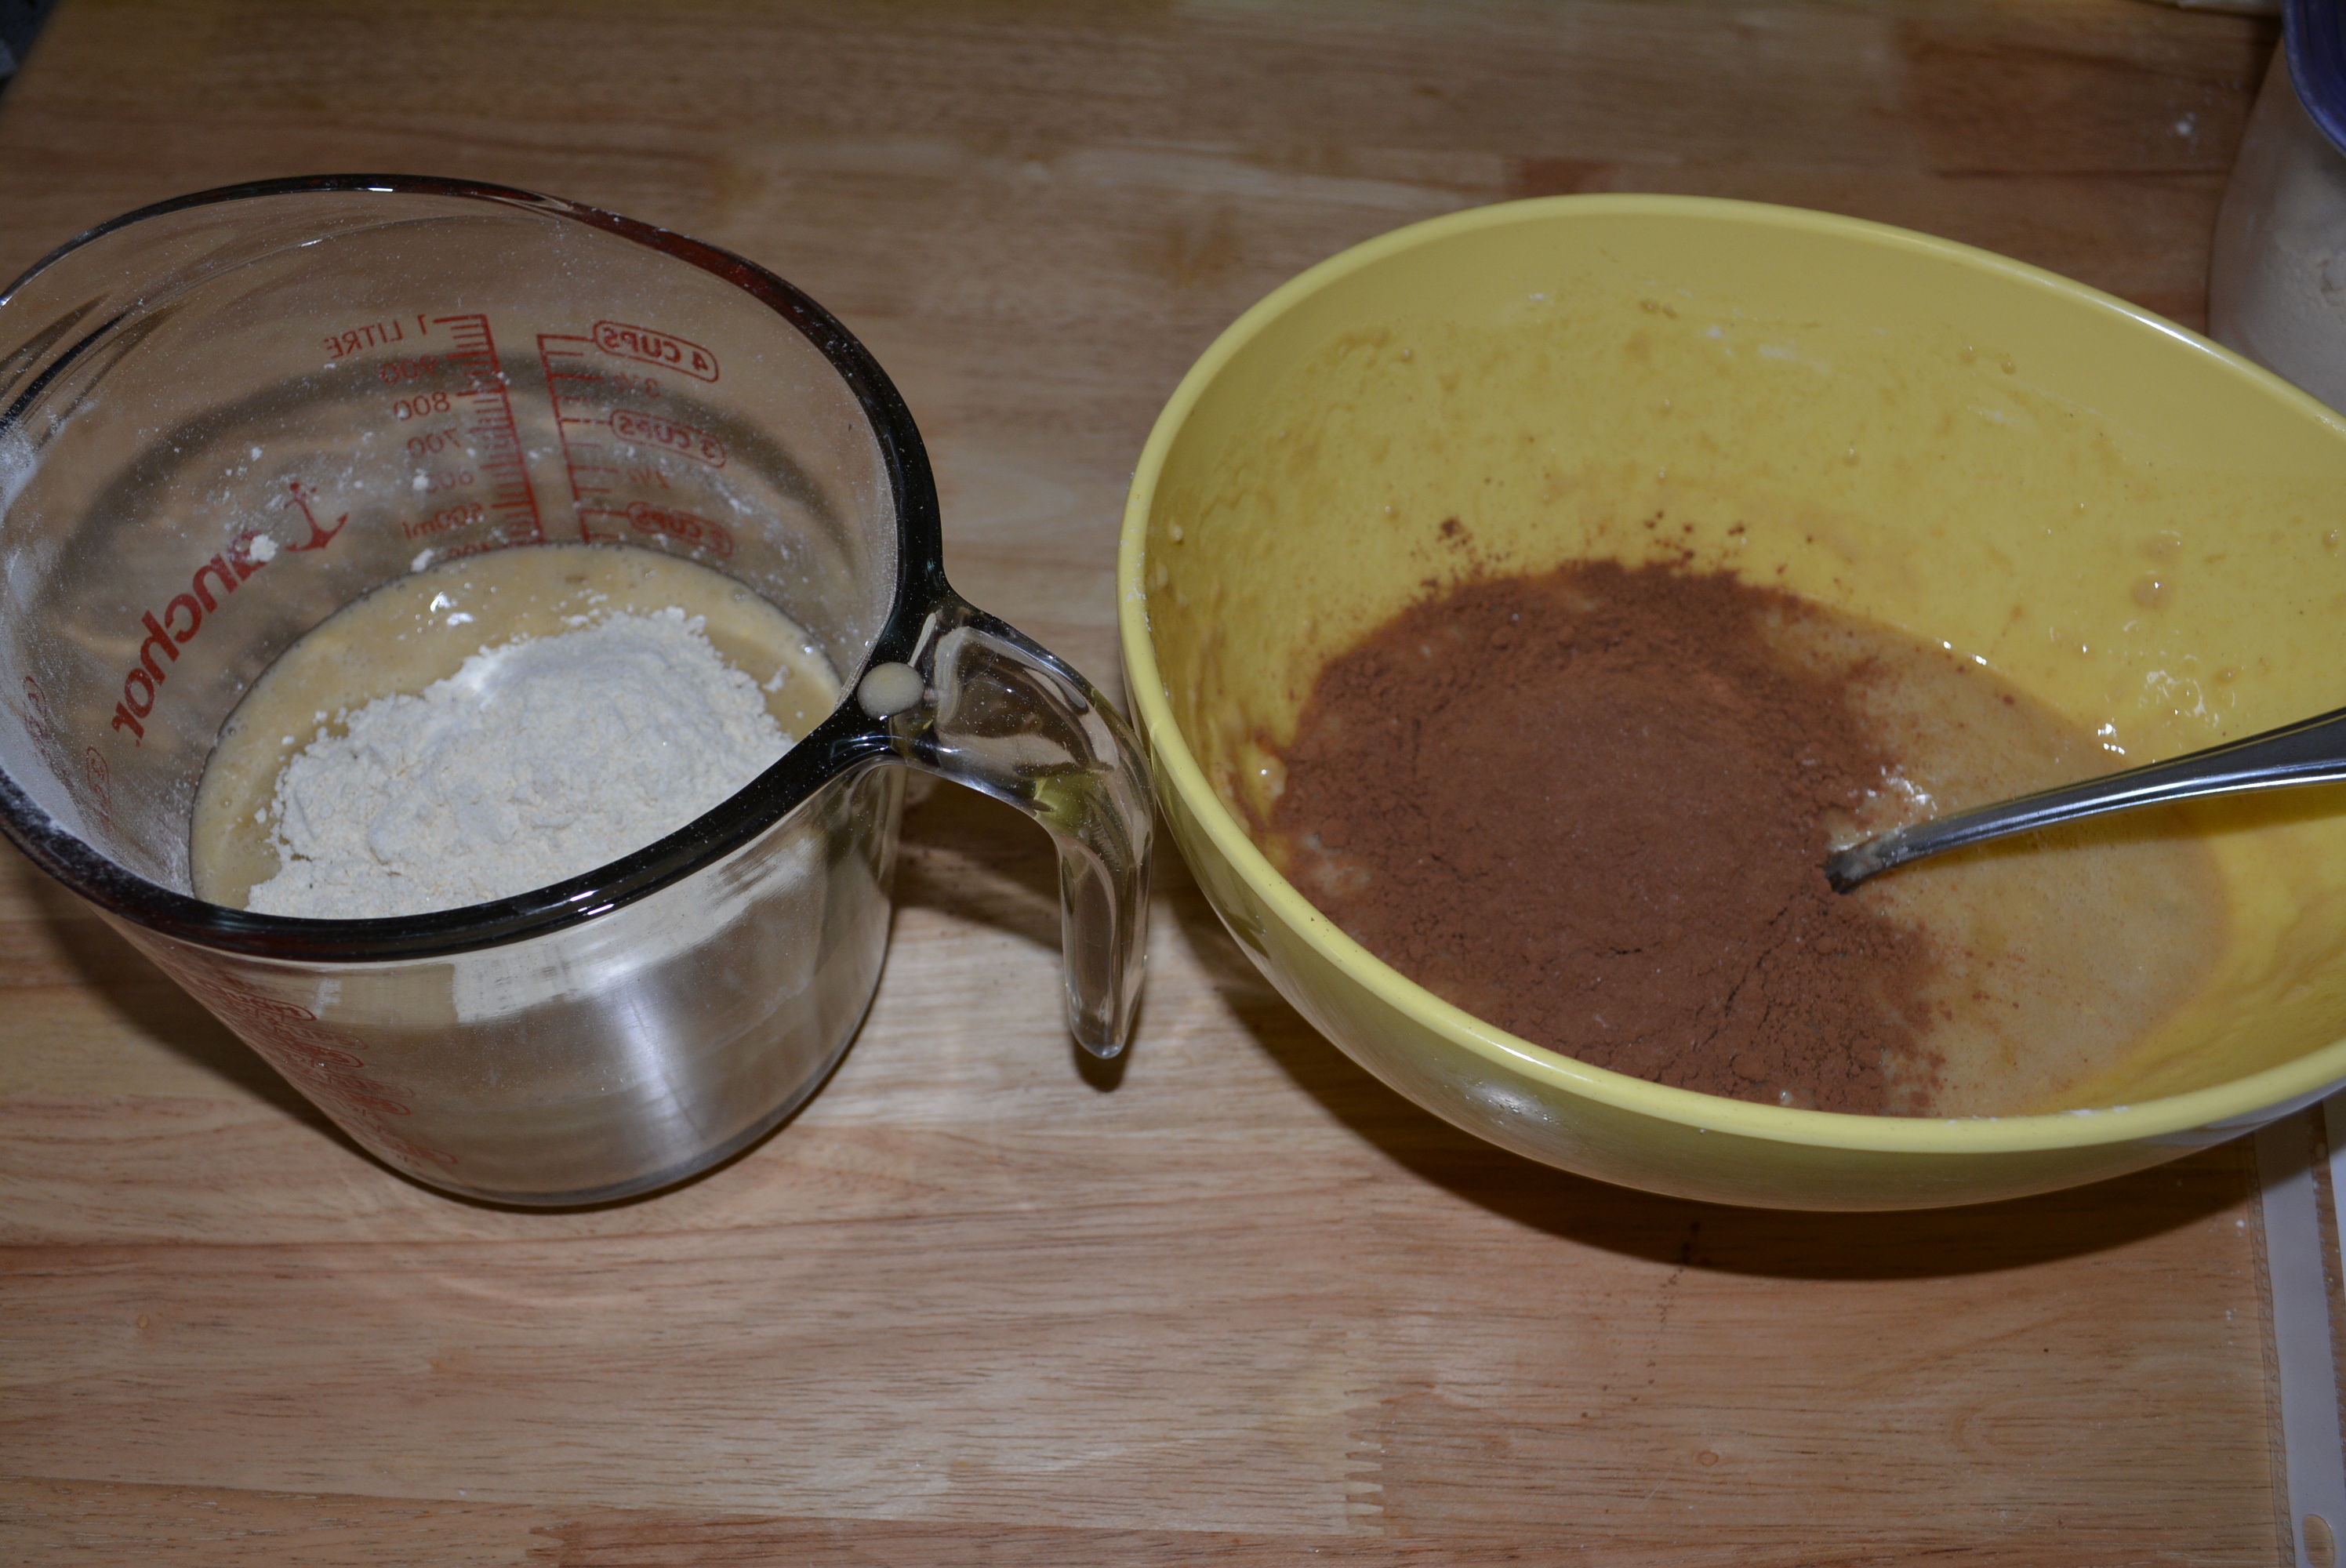
To the new batter, mix in 1/4 cup additional gluten free flour until all is combined.
To the original bowl of batter, add 1/4 cup unsweetened cocoa powder and mix well to combine.
Prepare the banana and chocolate batters.
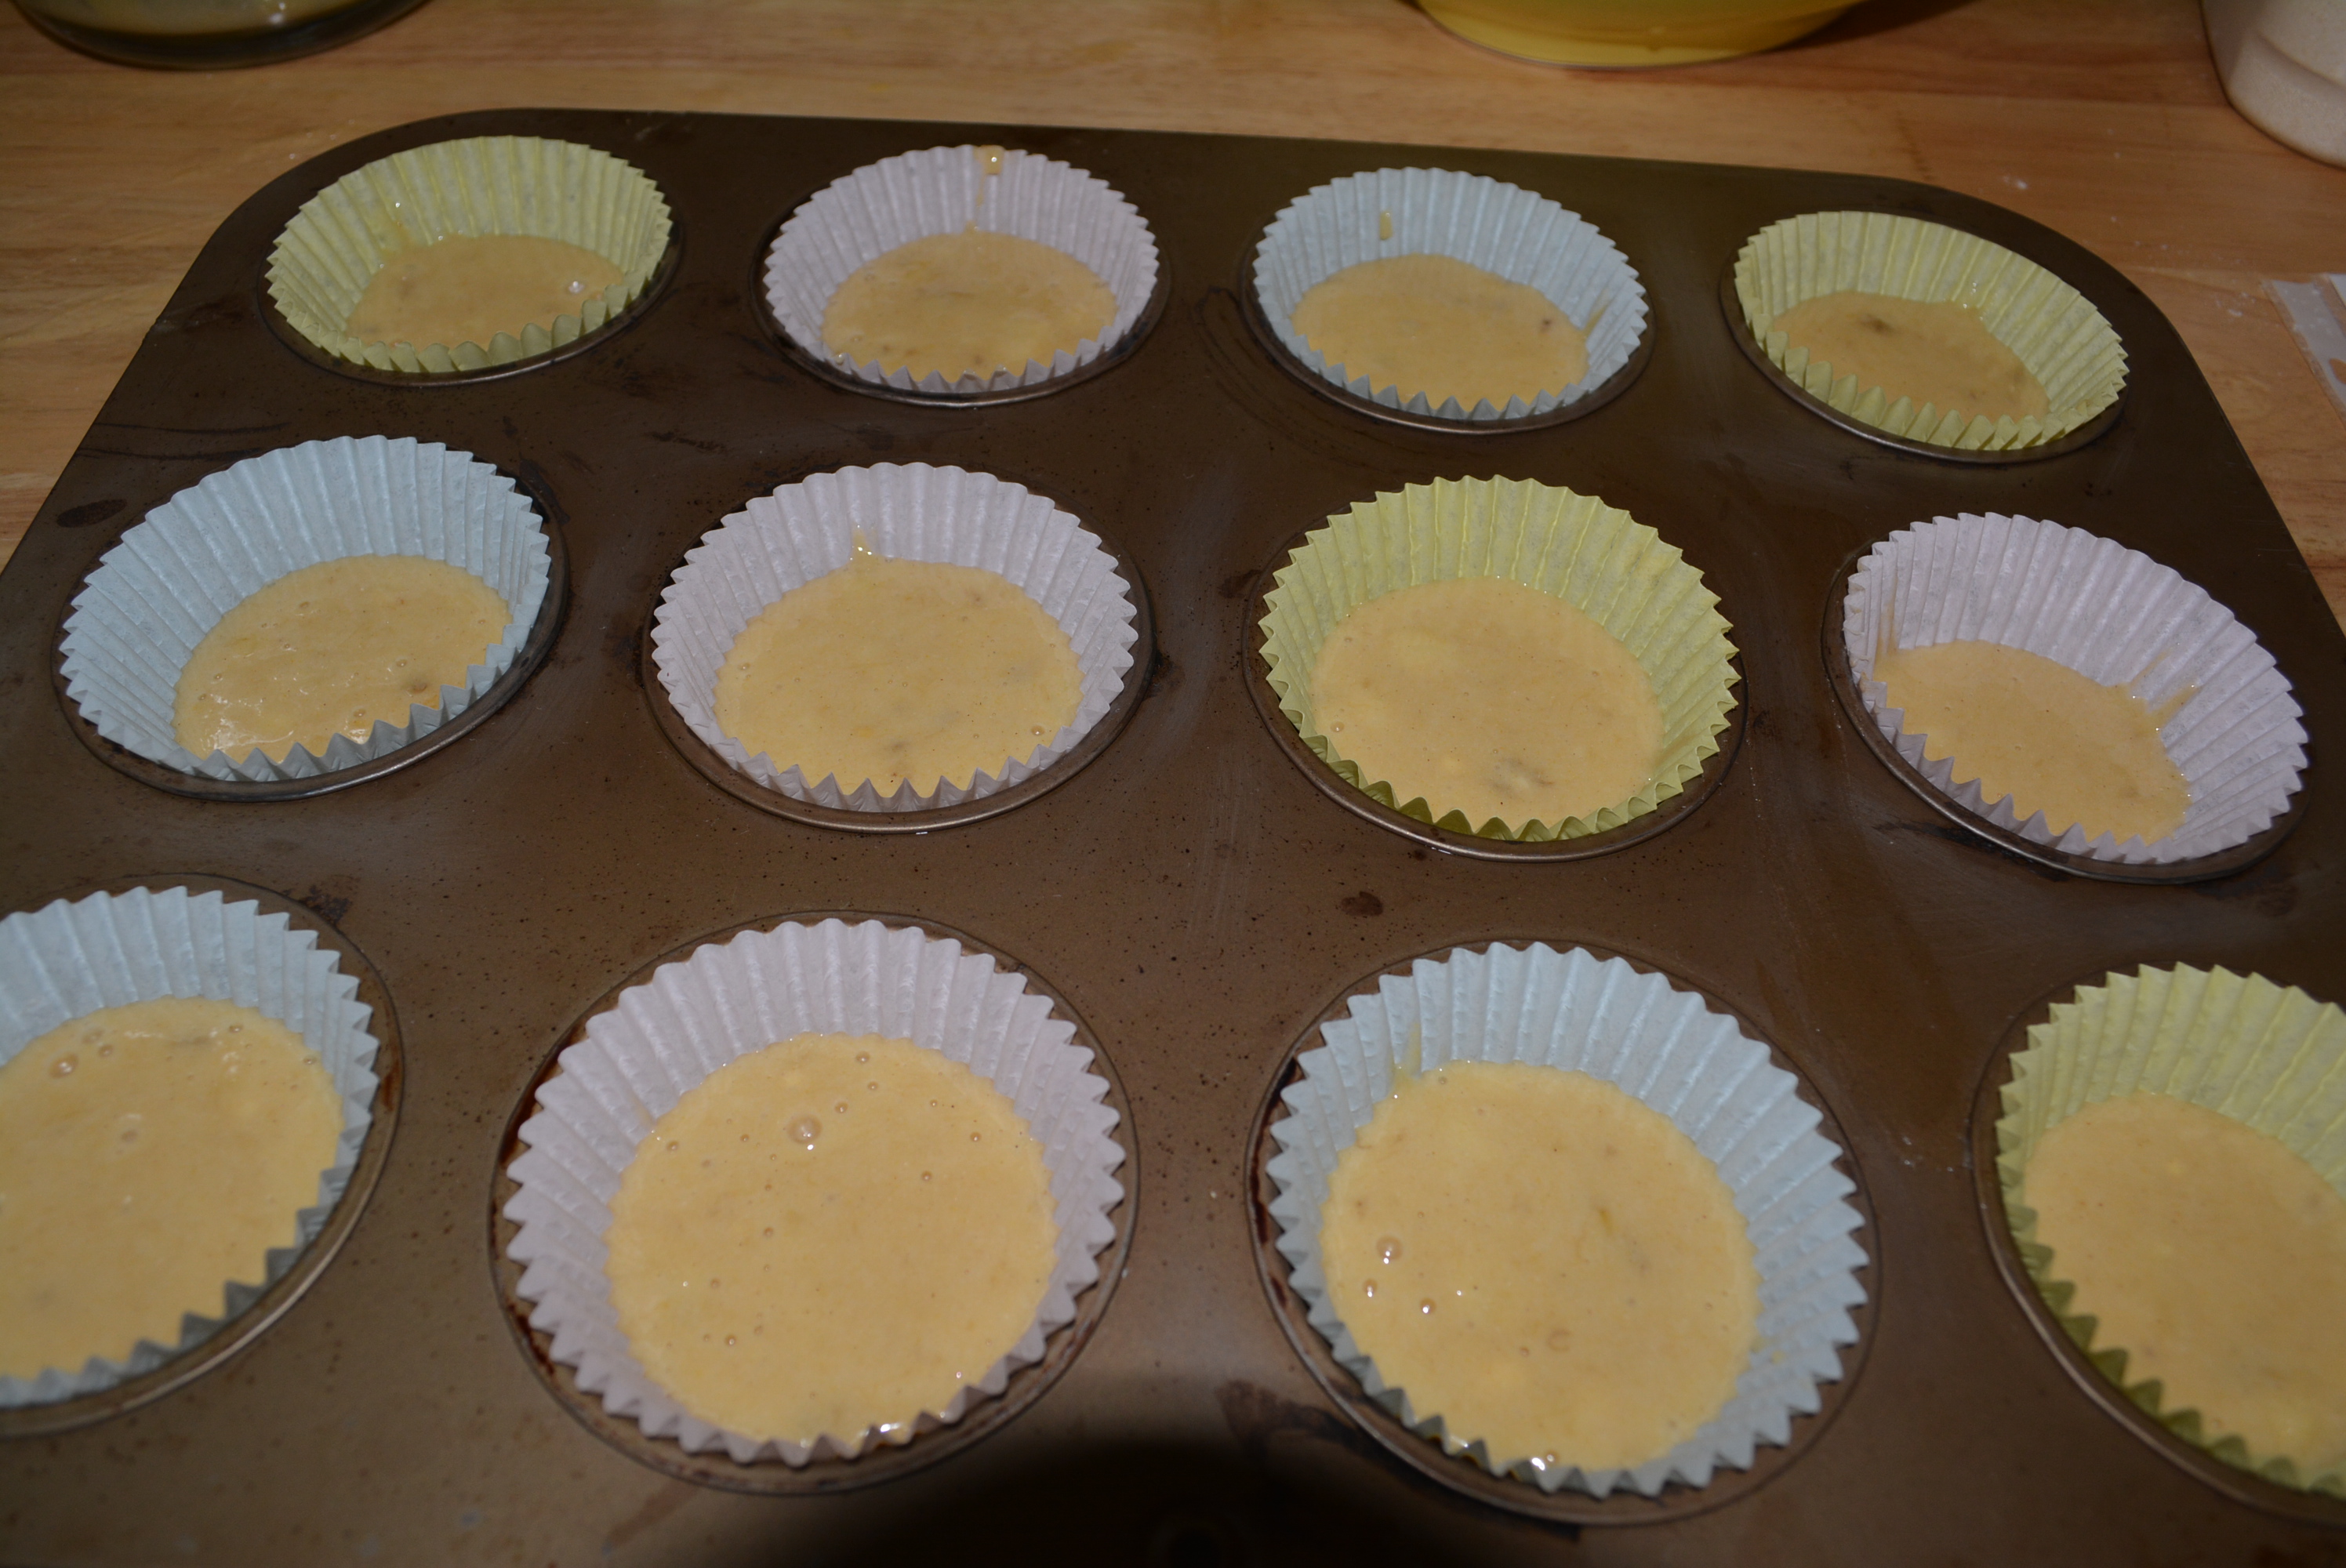
Add 1 tbsp banana batter to all of the muffins (you’ll have just enough for 12 muffins). This should fill each muffin about halfway.
Muffins filled about halfway with banana batter.
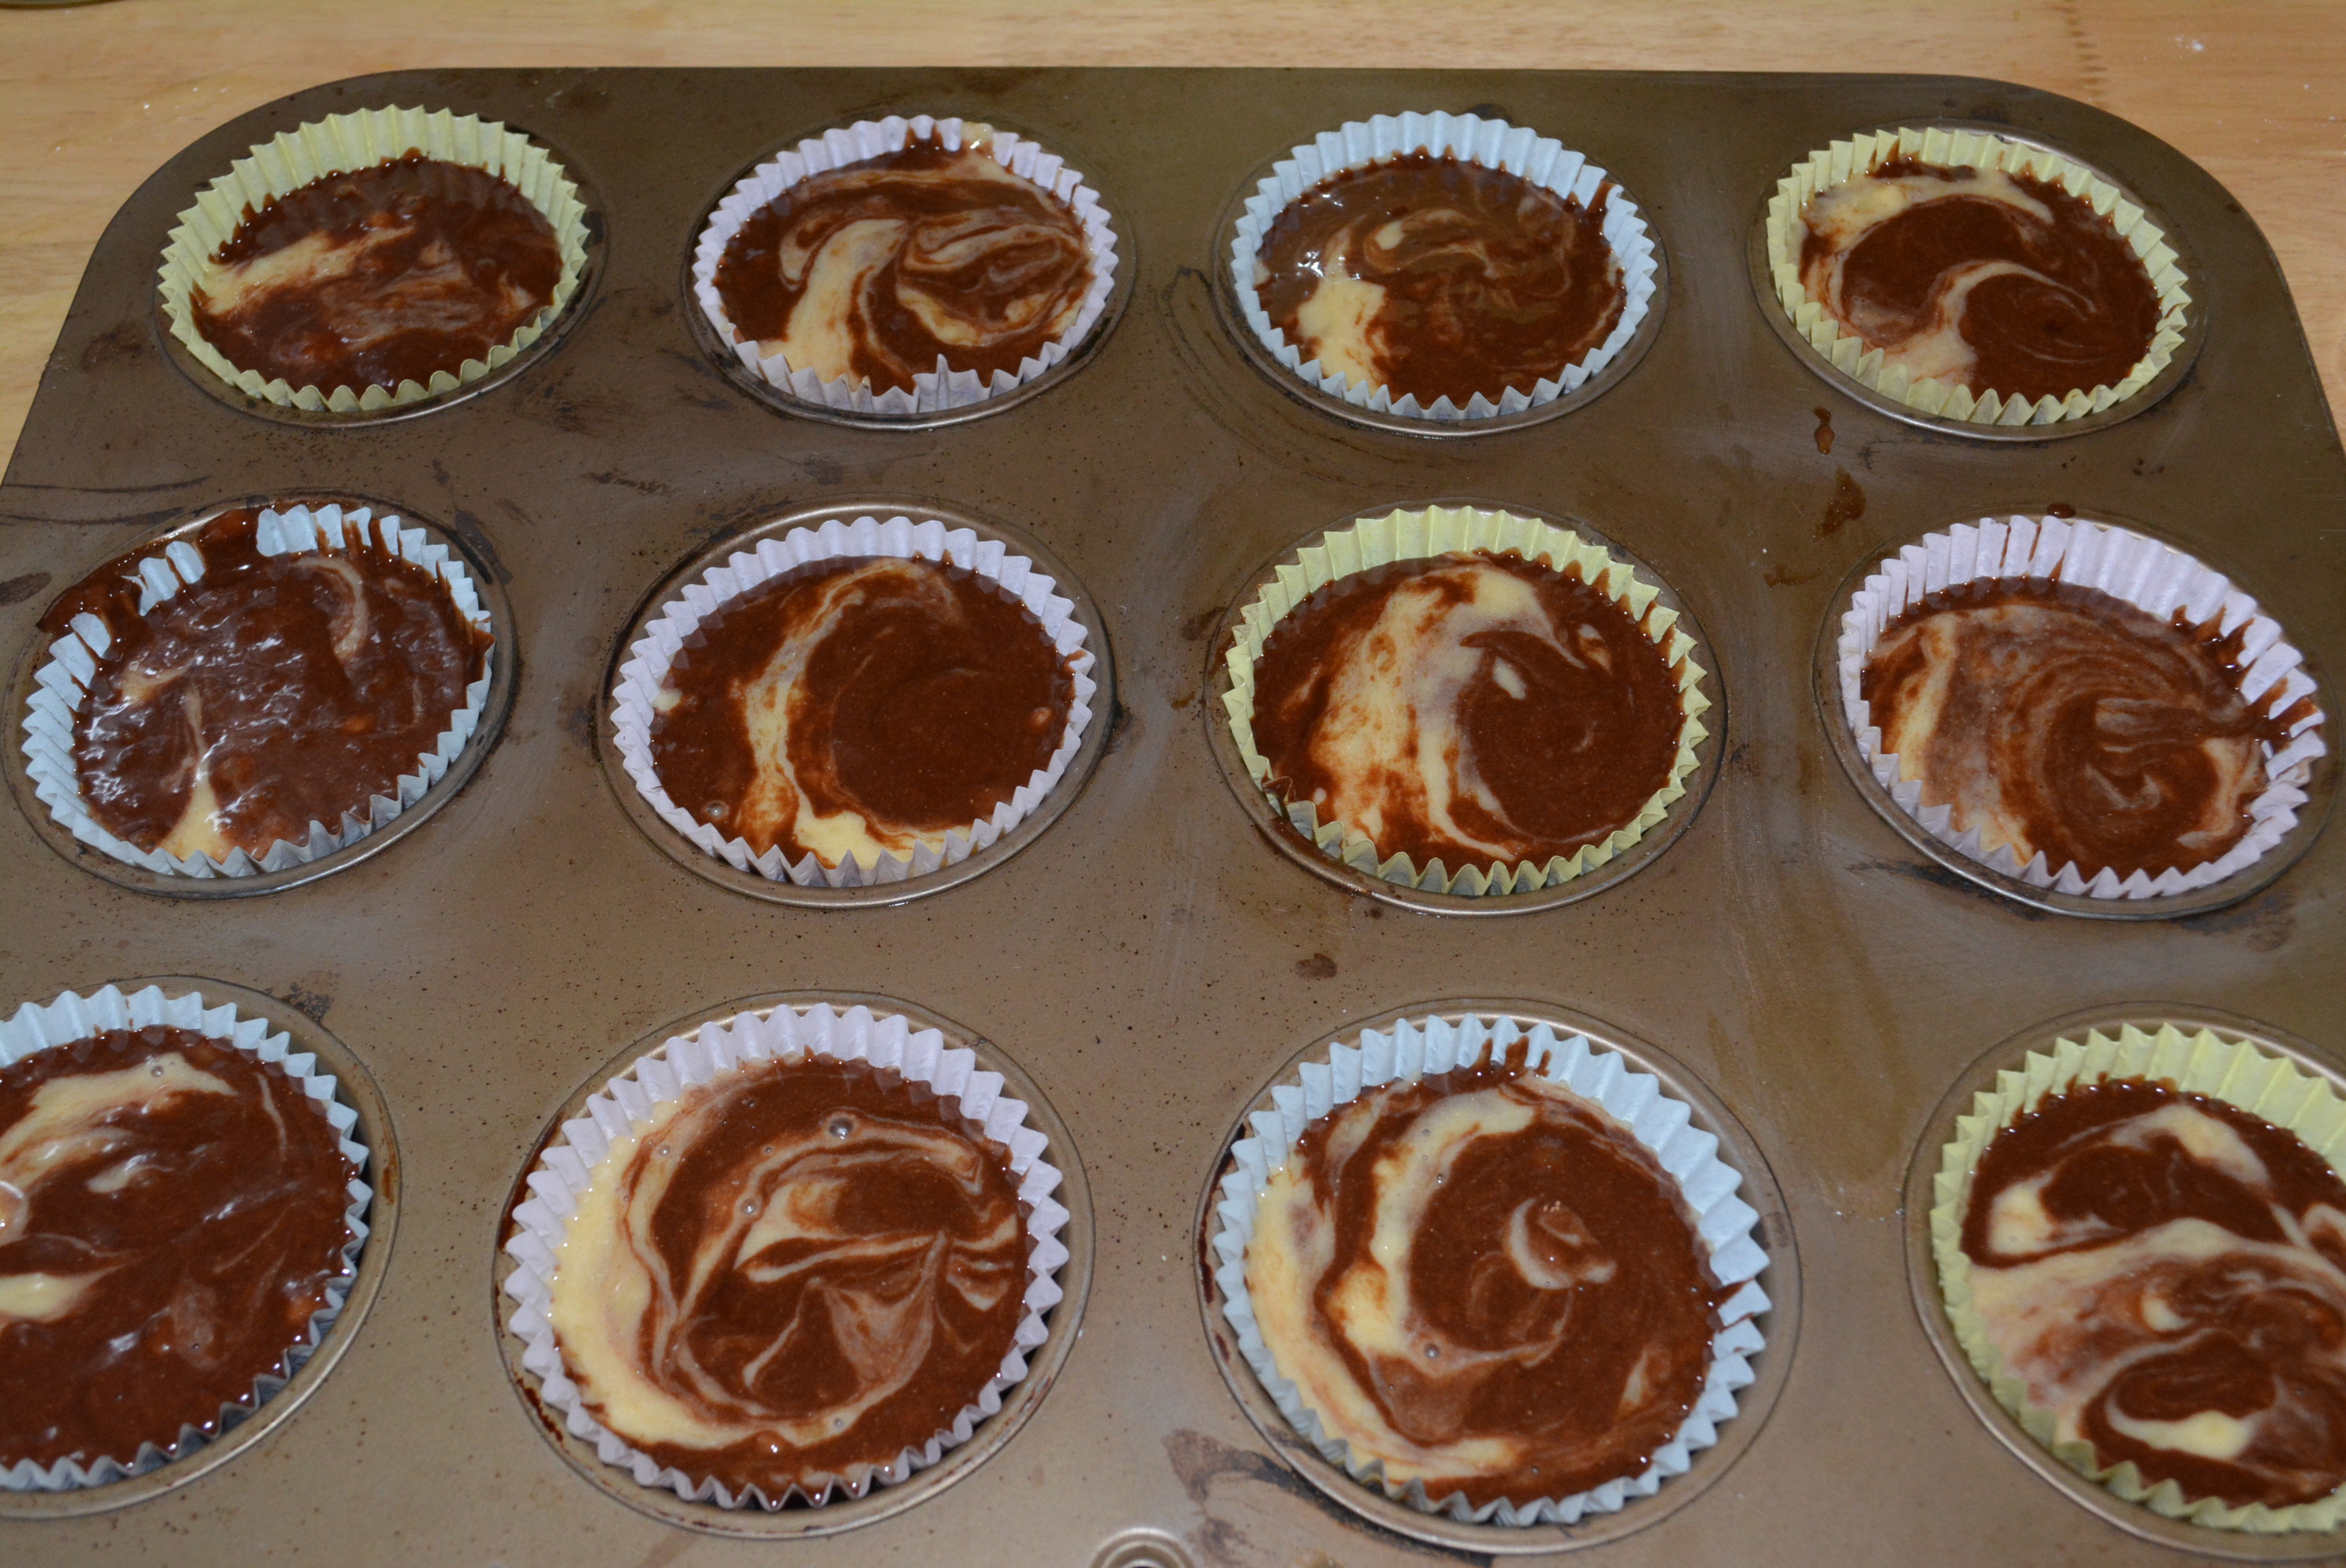
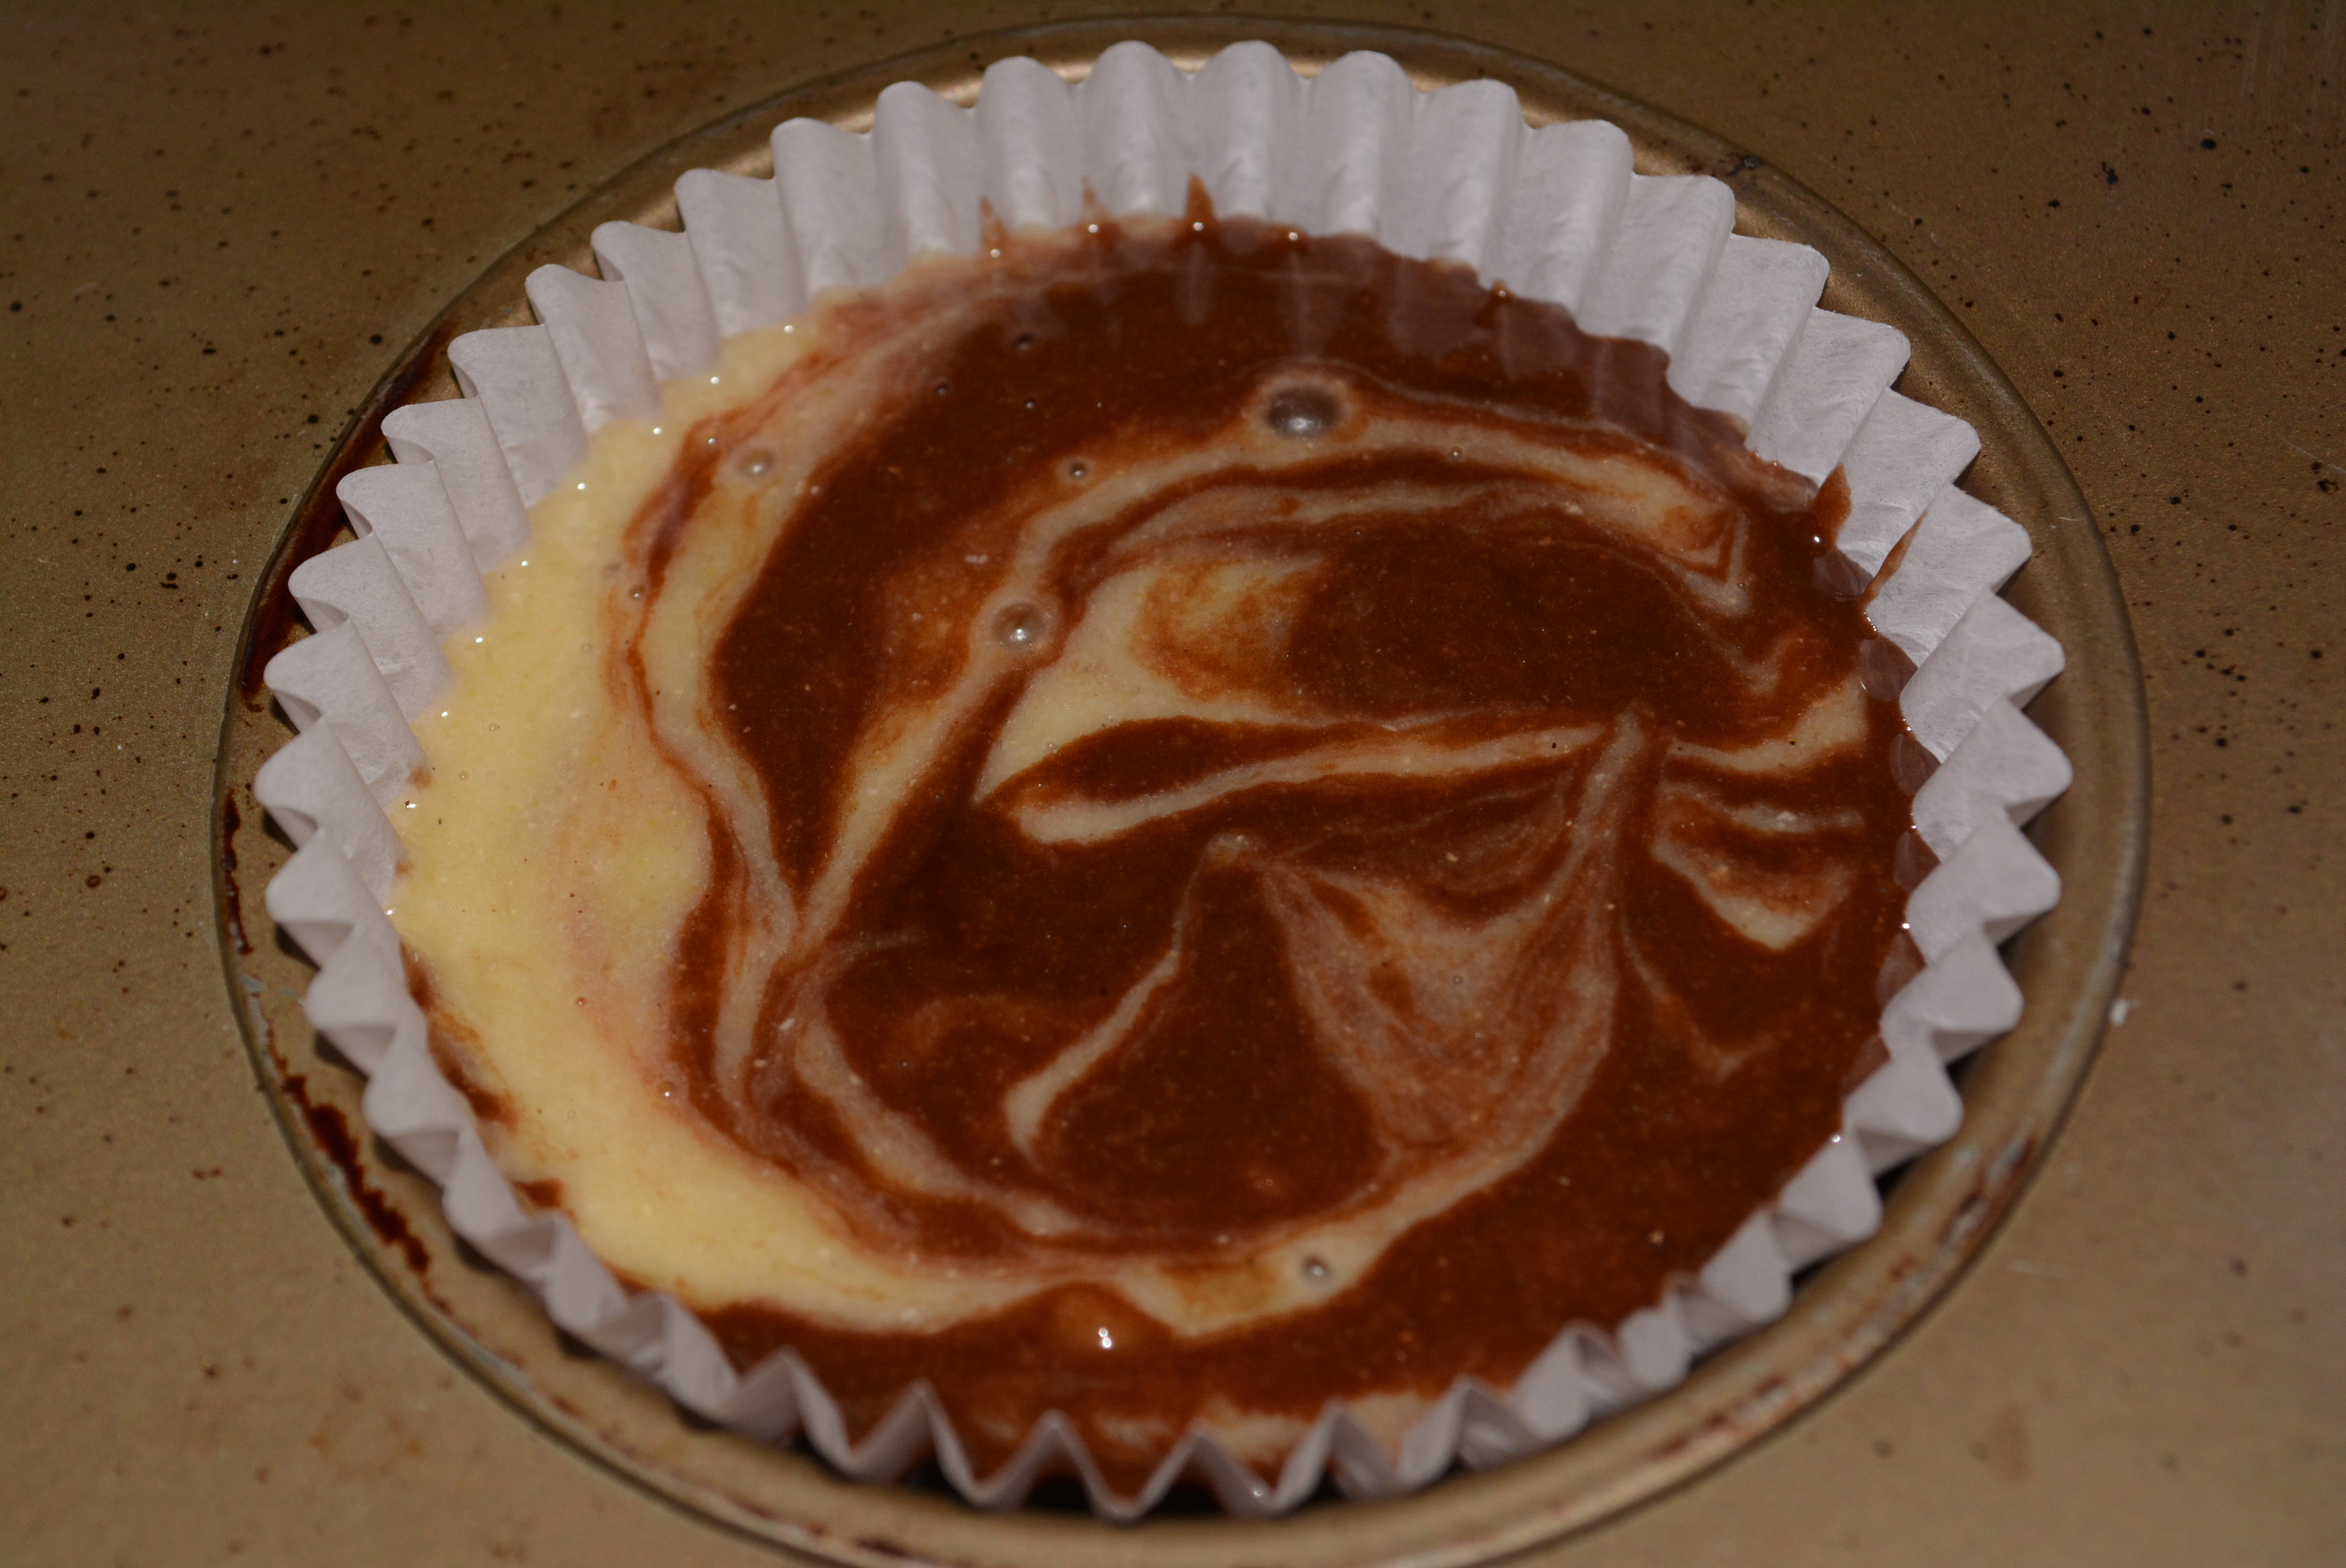
Similar to banana batter, add 1 tbsp of chocolate batter on top of each muffin.
Add chocolate batter on top and swirl.
Using a toothpick, swirl batter through muffin.
Banana and chocolate swirled together.
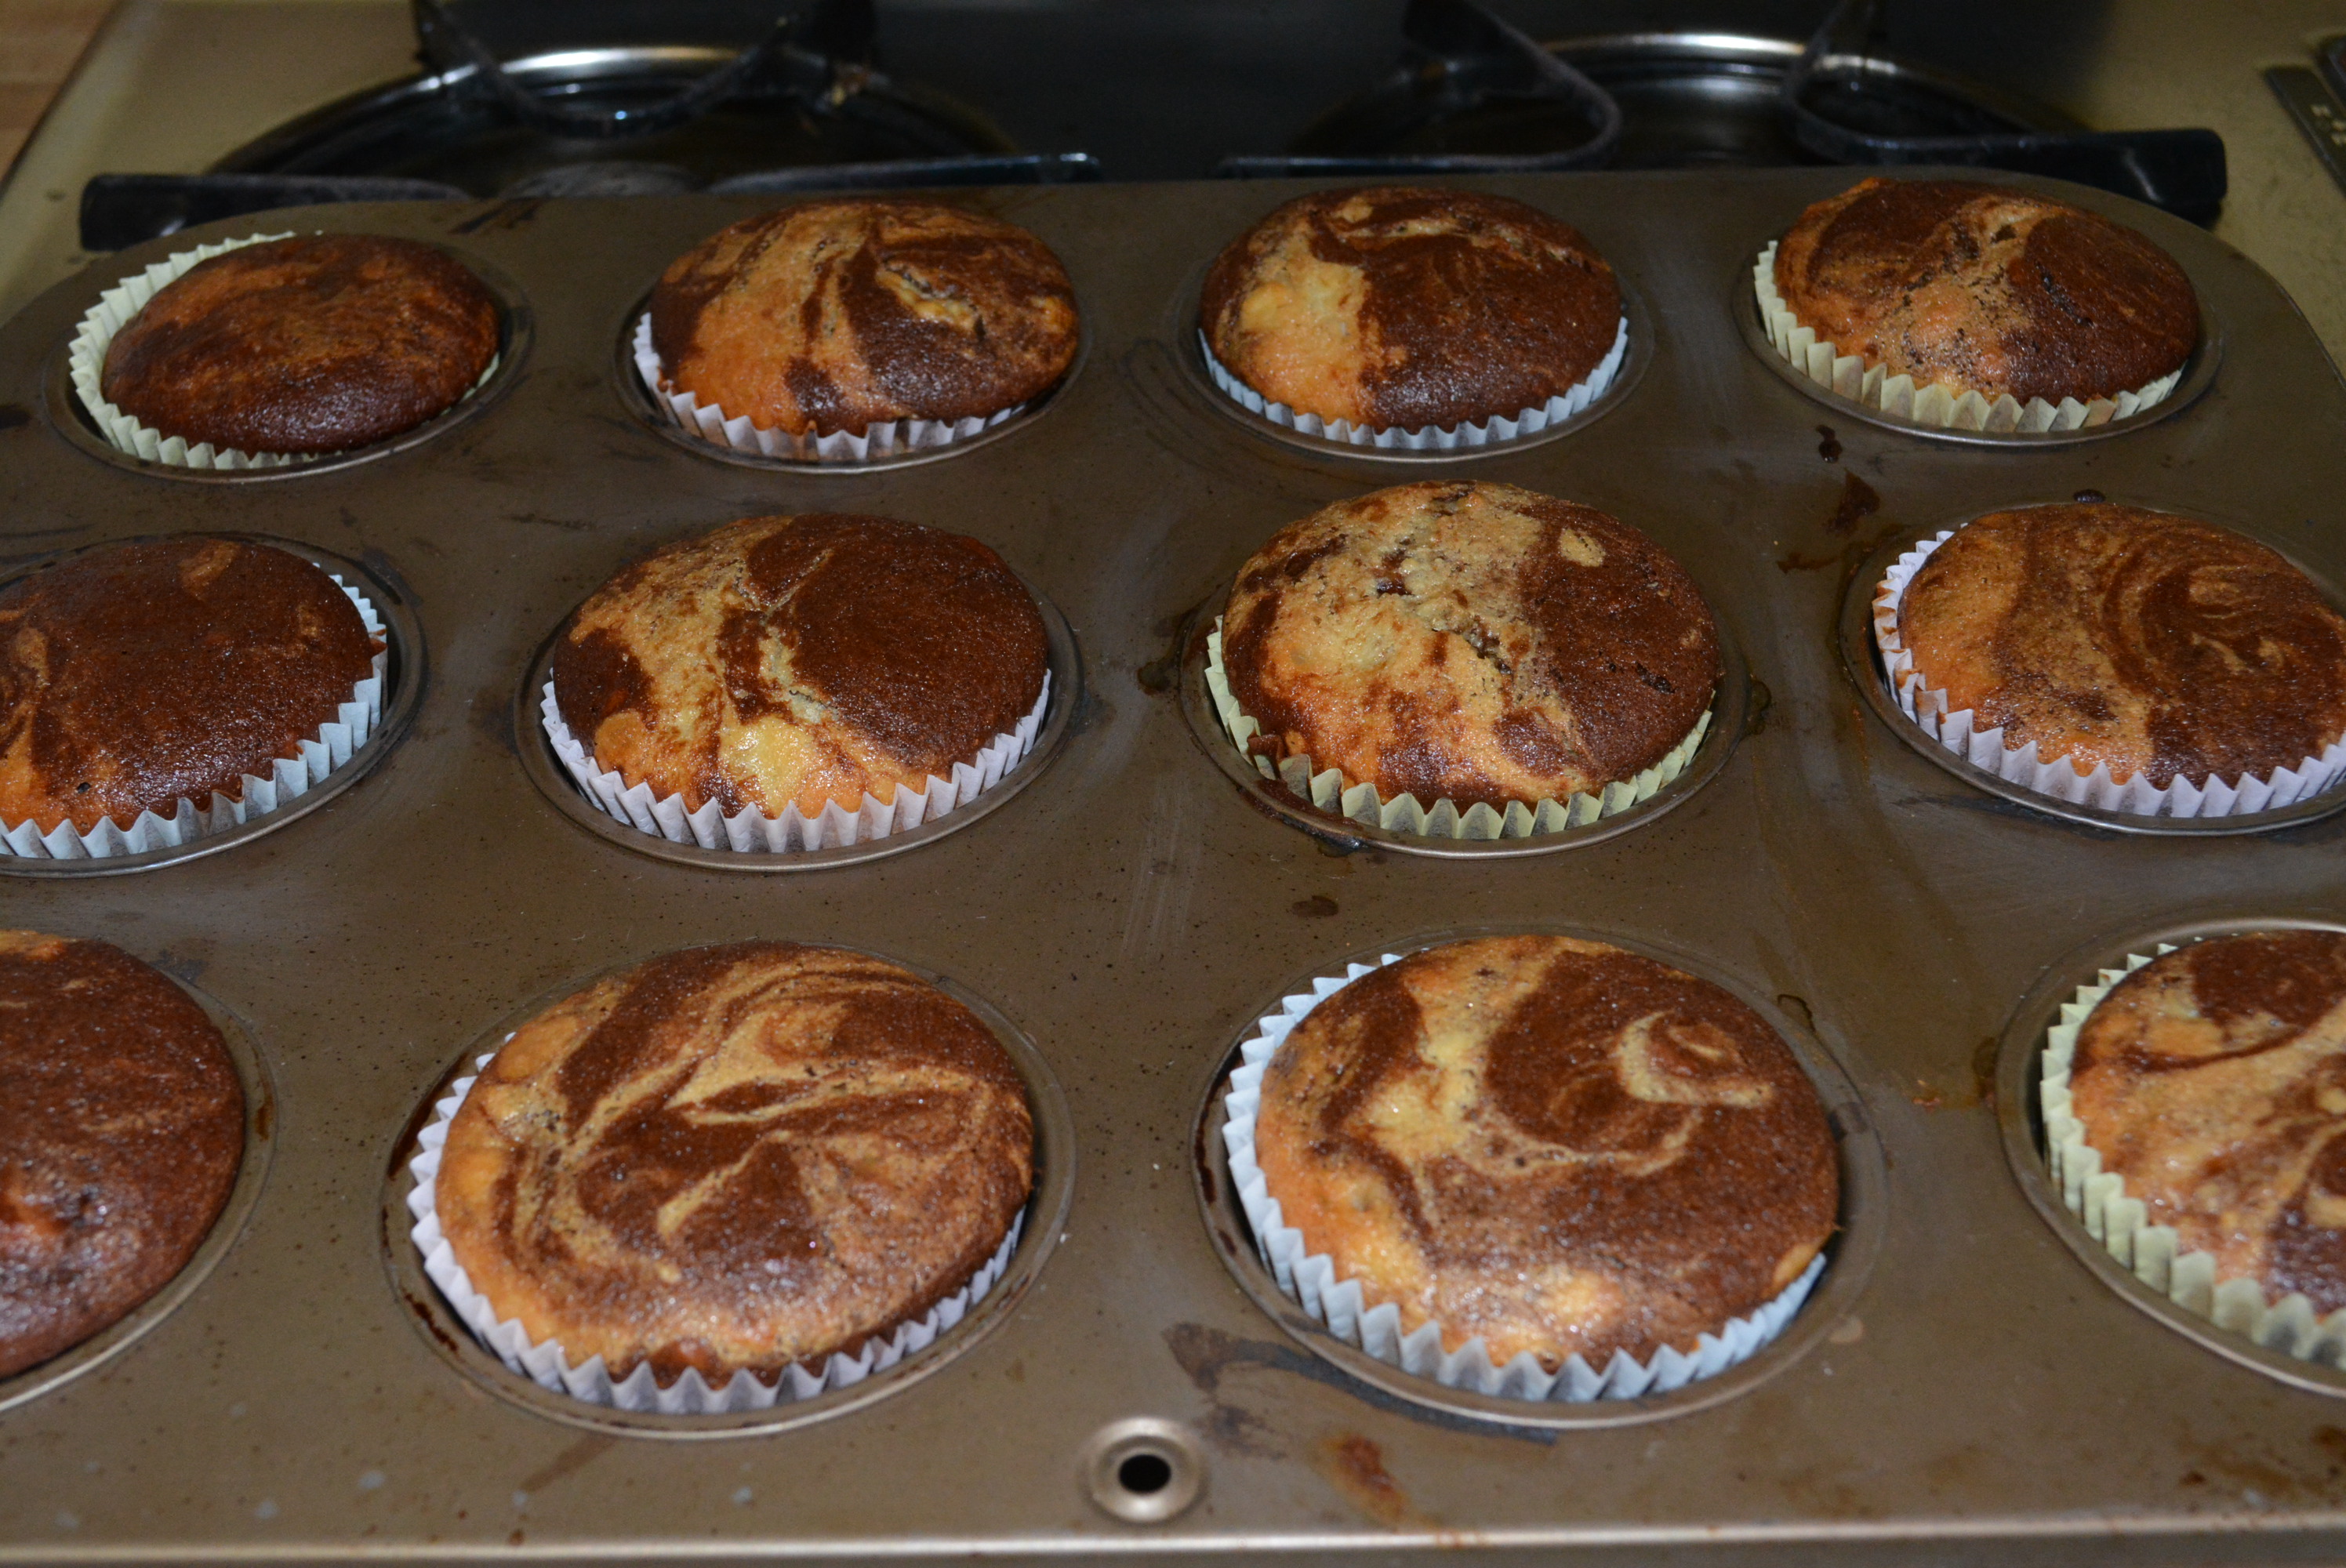
Place muffins into the oven and bake for about 15-17 minutes. To make sure they’re done, insert a toothpick into the center and make sure it comes out clean.
After only 15 minutes, muffins are puffed up and ready to go!
Remove all of the muffins to cool and store them in a container.
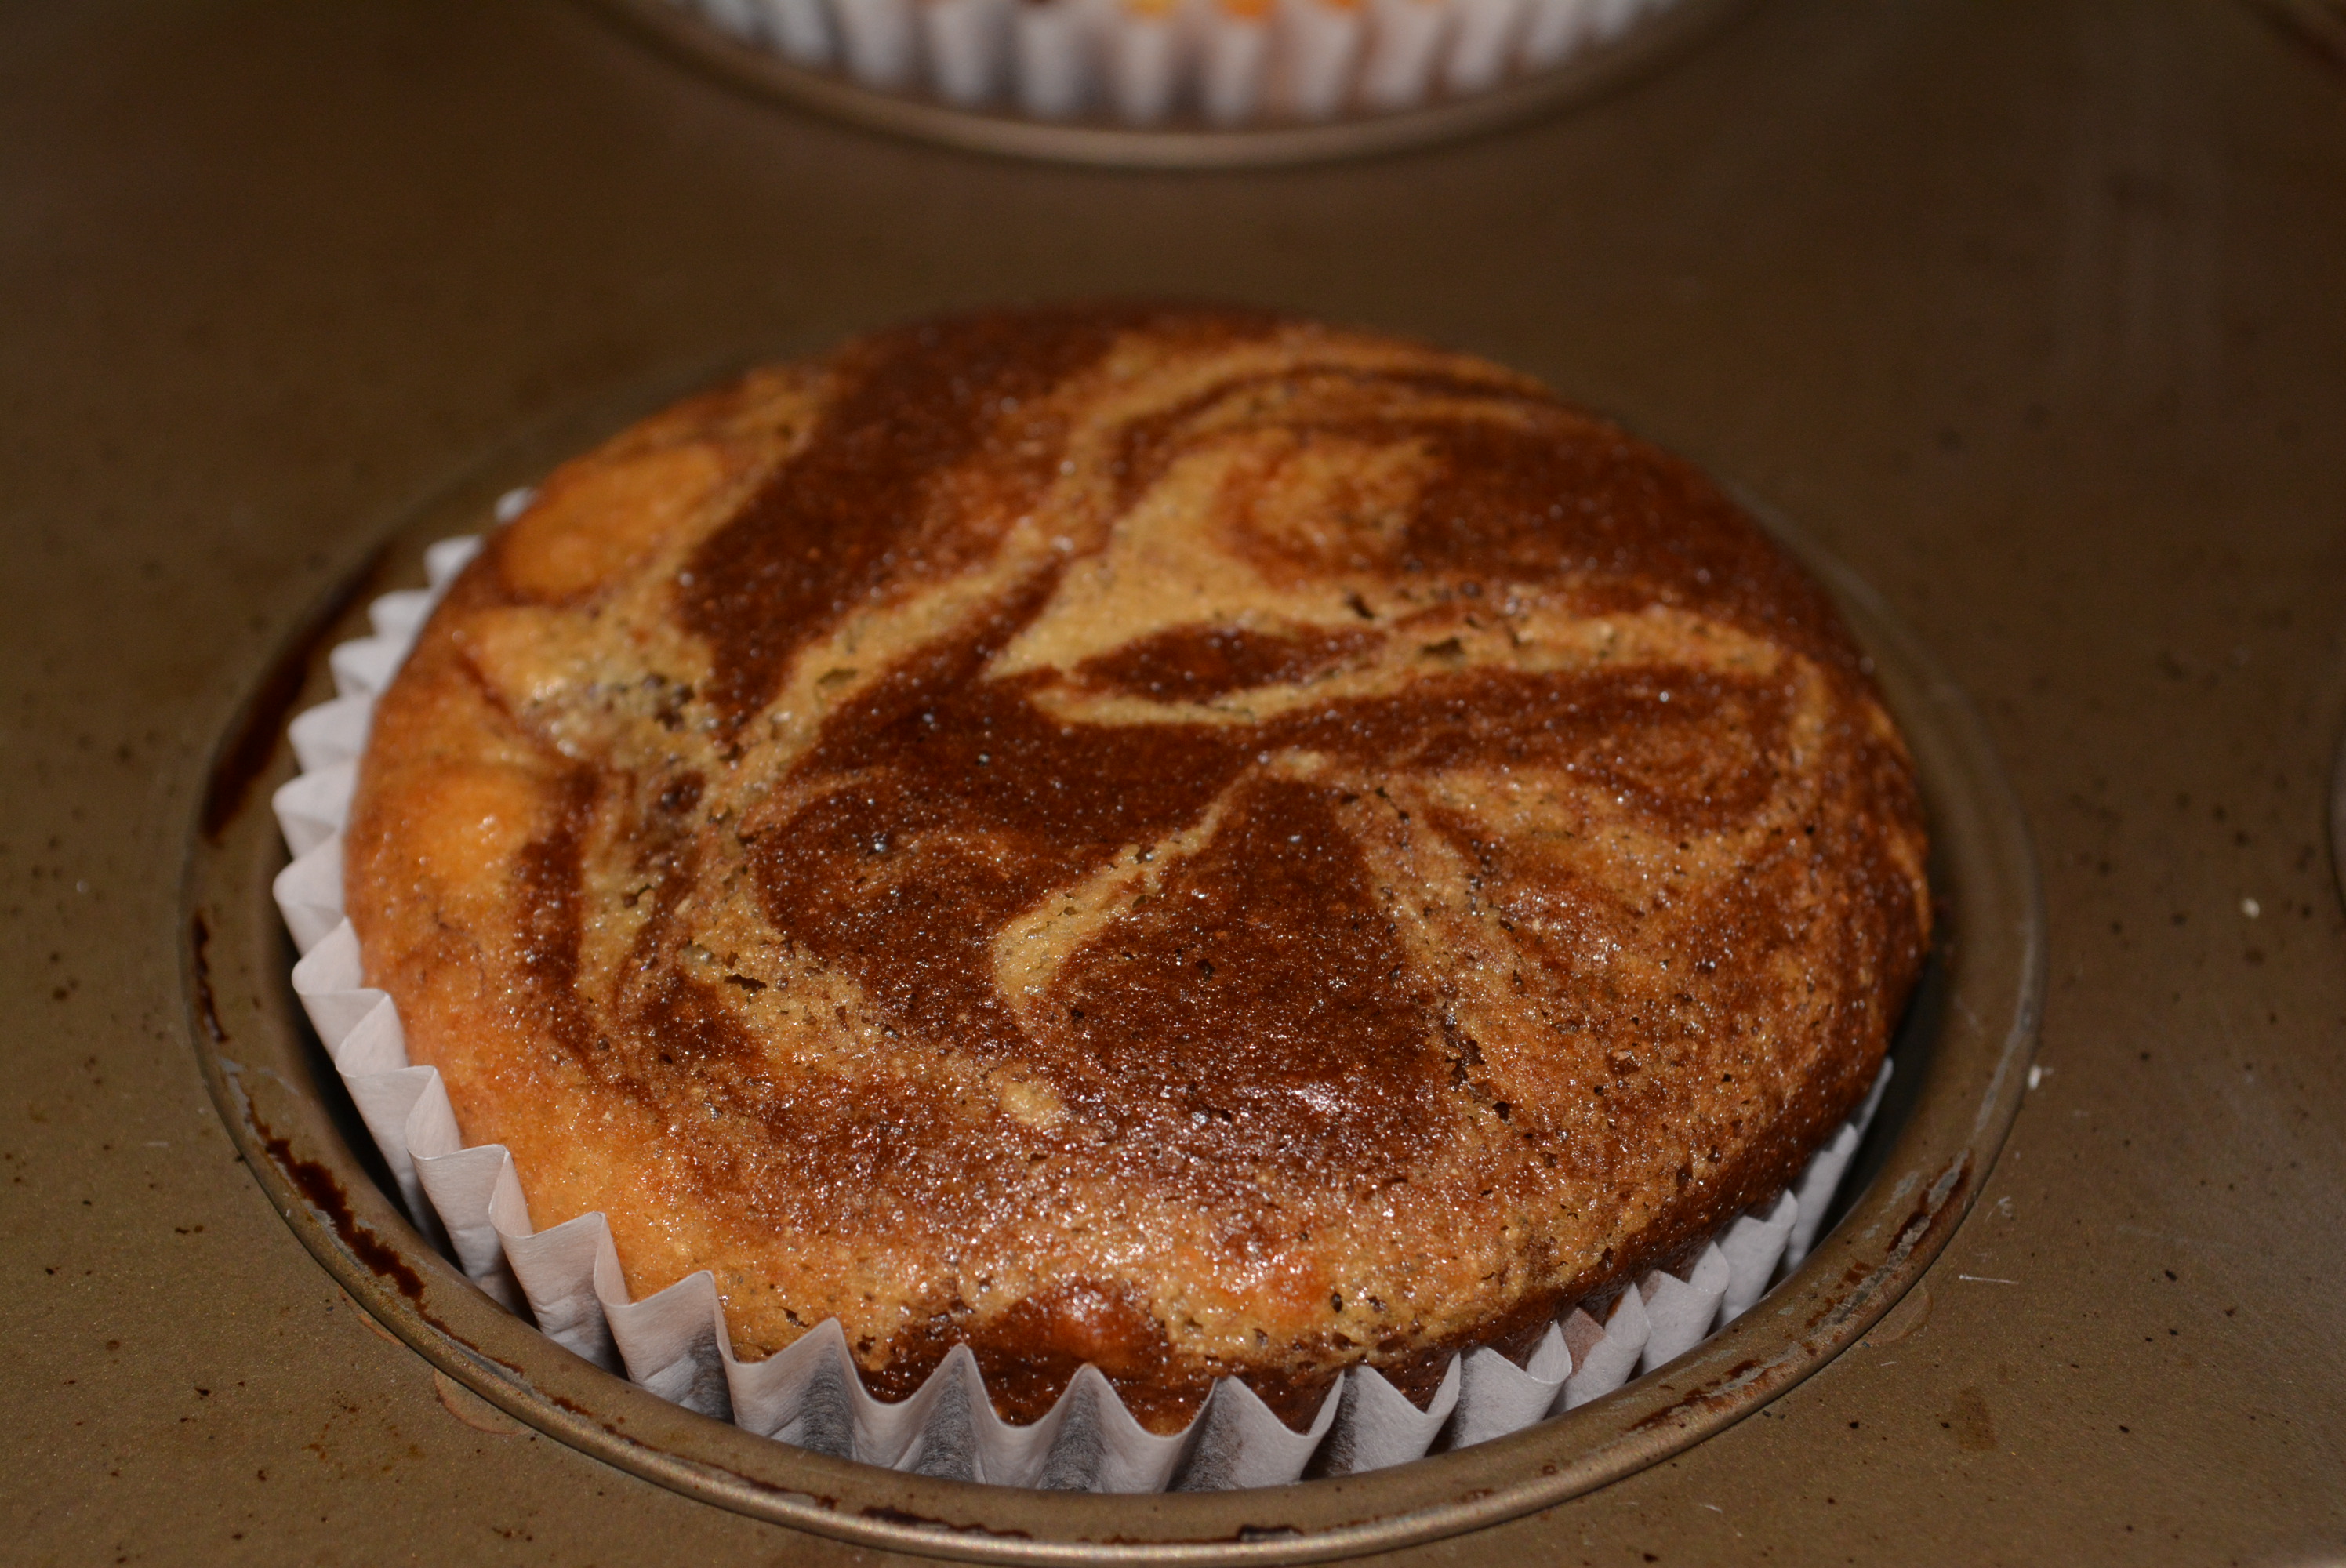
So yummy!
Enjoy!
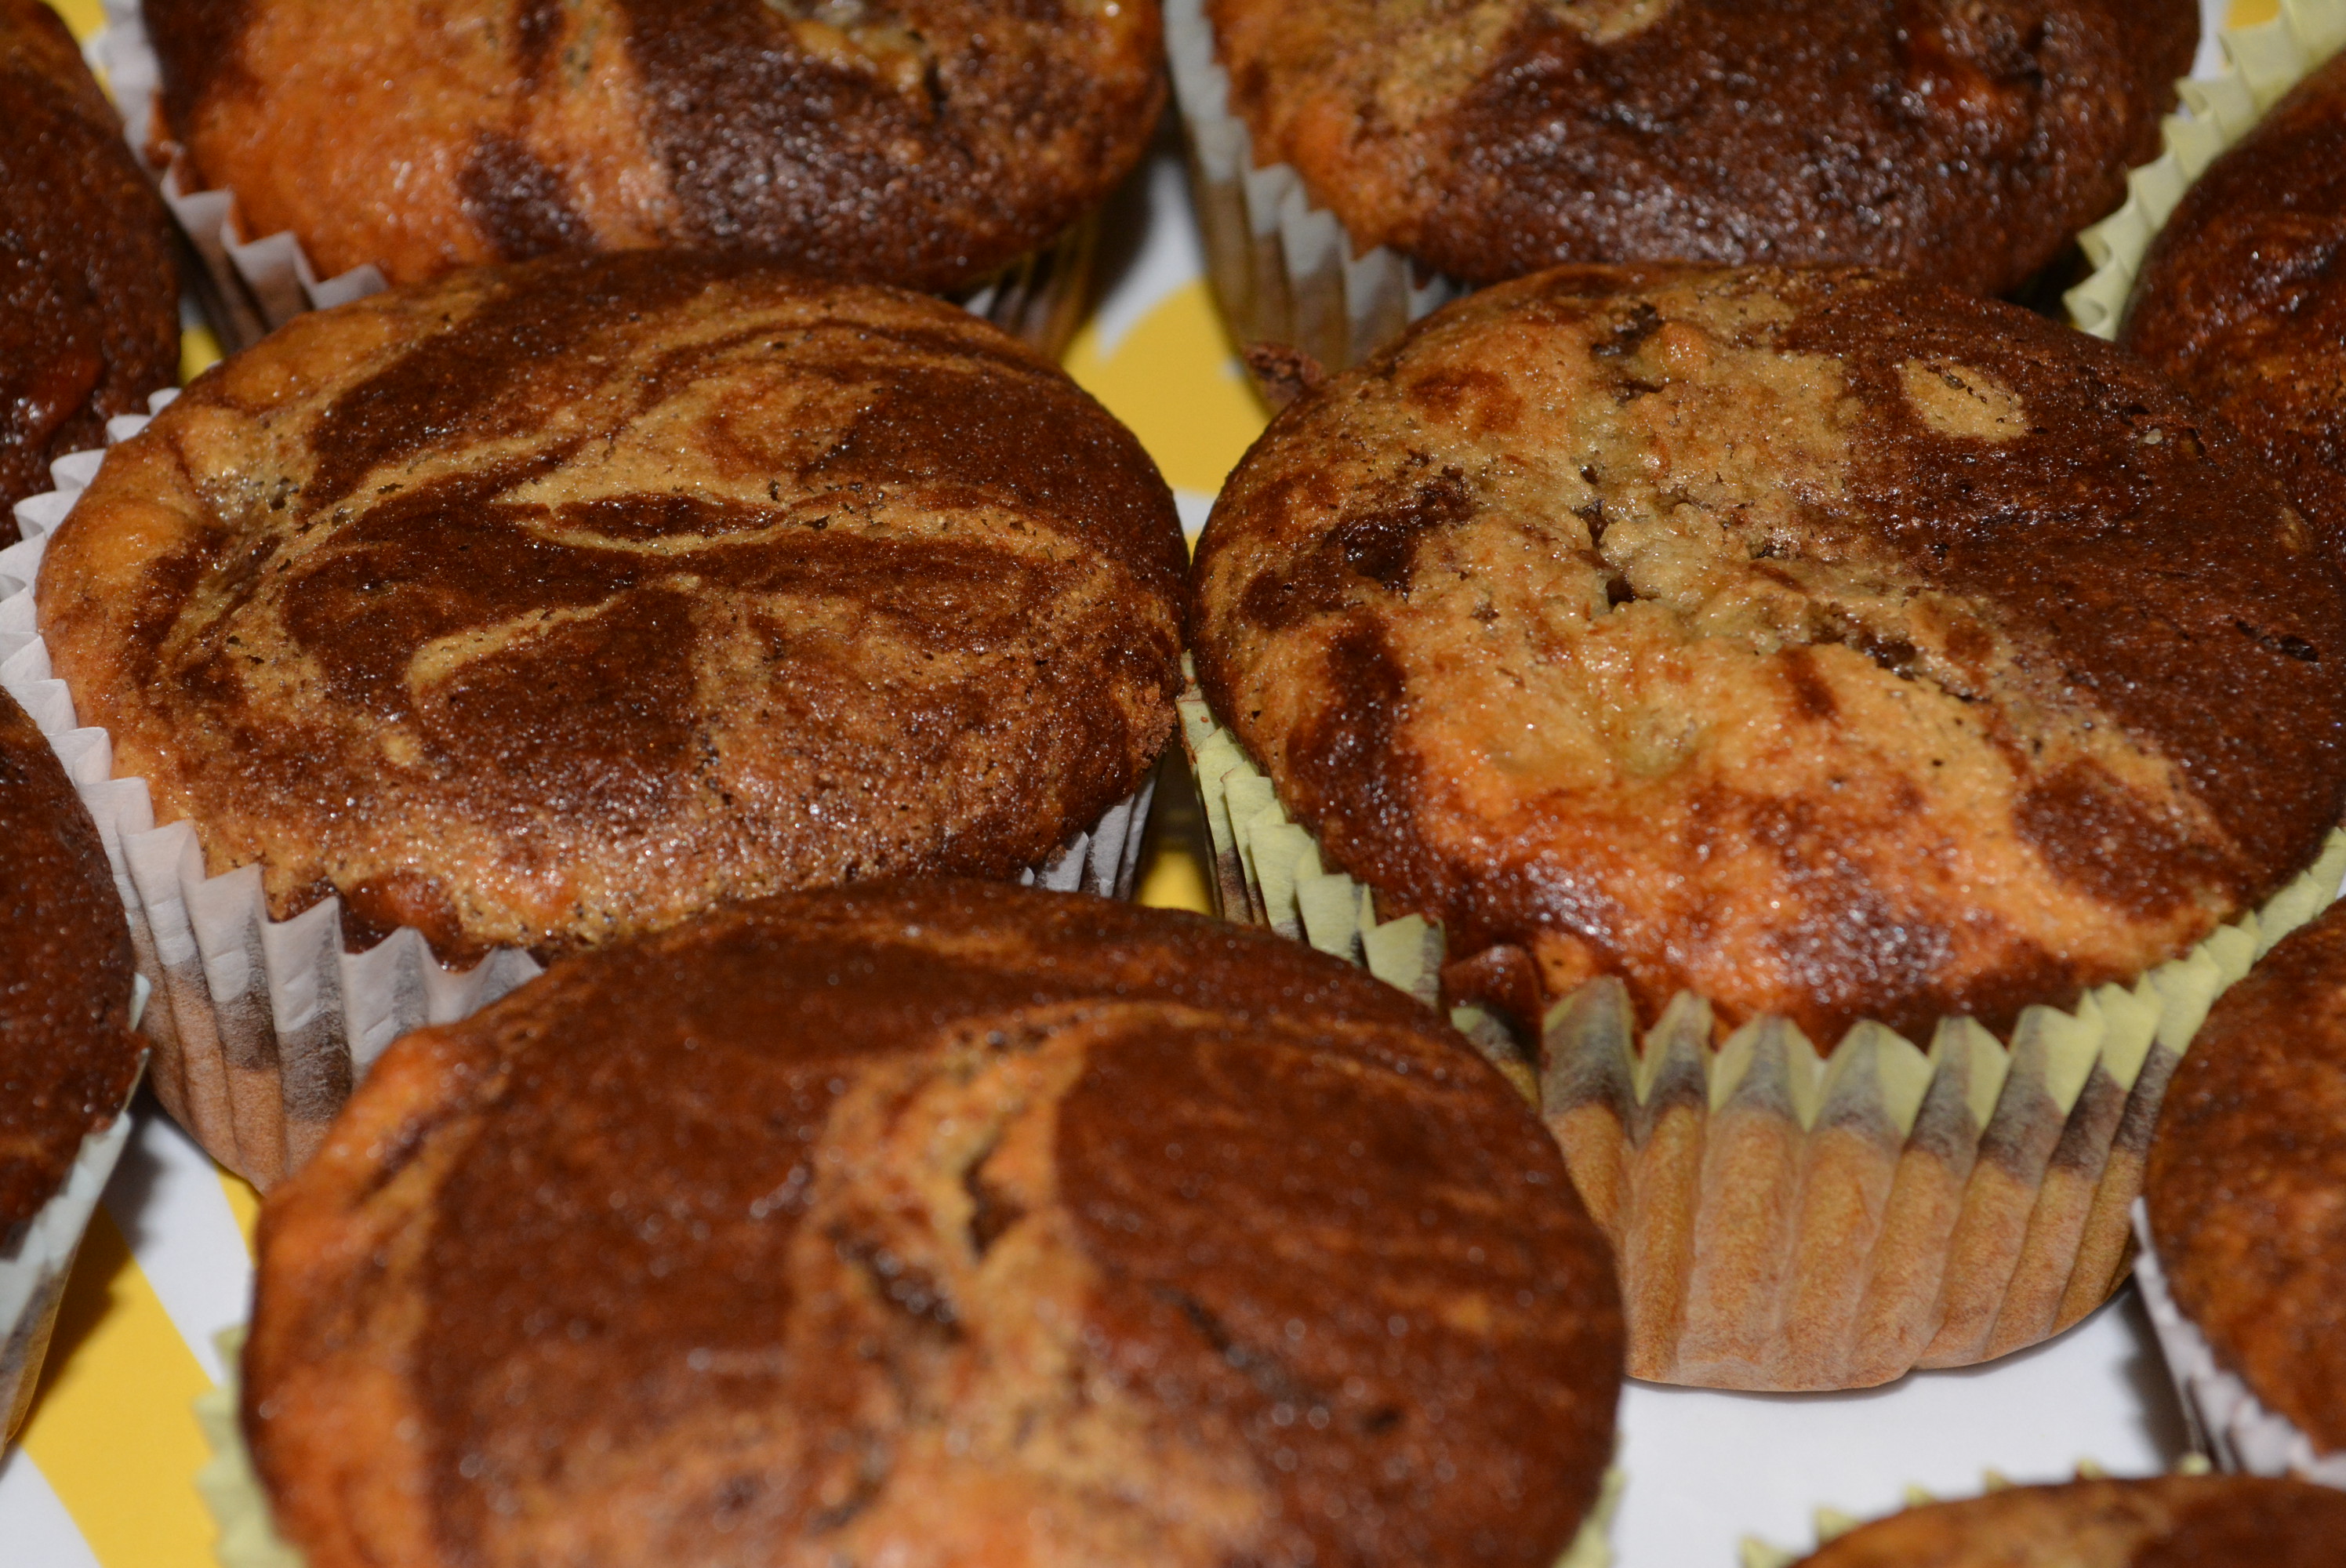
Banana chocolate muffins perfect for a breakfast or snack.
I made these for the first time on a Sunday morning with my little one and husband Dan in the other room. And the aroma that filled the house while these were baking was intoxicating, making each one of us salivate waiting for our first taste. When I pulled them out of the oven and let them cool a bit, it was just in time for lunch. Dan eagerly grabbed a muffin while I cut one in half for my little girl and I to enjoy. Needless to say, the reviews on this one were fantastic from both the gluten free and non-gluten free diners, as evident by the quiet sounds of chewing and empty plates remaining. In fact, my little one’s new thing is to make a “mmm” sound while she eats, but not for everything, just her favorites like a few dinner and dessert items and apparently these banana chocolate muffins as well! It was so sweet watching her handle the muffin half and shovel in bite after bite, each eliciting that ”mmmm” stamp of approval and a huge toothy smile. As you can see, these were a hit for us and will certainly be making many more appearances in the years to come!
Just a note, these muffins are also dairy free too! I have a nephew who has milk, egg, nut, gluten/wheat, and fish allergies so I’m always searching and experimenting with recipes to make tasty options for him. The poor thing is 7 now and has grown up with a very limited selection of foods that unfortunately are not the most tasty and appealing, especially in the dessert area. So I passed one of these along to my sister to share with him and it received rave reviews from this extremely picky 1st grade food critic! It was so exciting to hear how much he enjoyed the little treat that I sent over, assuring me that these muffins that are gluten and dairy free are truly just as fantastic as I thought they were! So whether you’re pregnant or not pregnant or following a gluten free, dairy free, or even regular diet, give these try! They are truly magnificent and will not disappoint!
TIP: To keep these fresh and moist, store them in an airtight container. I kept them in a large Ziploc container and they were finished within the next 5-6 days!
1 1/4 cup and an extra 1/4 cup gluten free flour (I used Bob's Red Mill All Purpose Flour)
1 tsp baking powder
1/2 tsp baking soda
1/2 tsp salt
2 bananas mashed
1/2 cup unsweetened coconut milk (I used So Delicious)
1/2 cup sugar
1/3 cup canola oil (I used Smart Balance)
1/4 cup pure honey (I used Groeb Farms)
1 tsp pure vanilla extract (McCormick)
1/4 cup unsweetened cocoa powder (I used Hershey)
Instructions
Preheat oven to 350 degrees. Add 12 paper liners to a muffin tin or spray tin with nonstick cooking spray.
First, combine most of the dry ingredients including 1 1/4 cup flour, 1 tsp baking powder, 1/2 tsp baking soda, and a 1/2 tsp salt. To mix well and also break up any clumps in the mixture, I like to use a whisk.
Peel and mash two bananas in a large mixing bowl.
To the bananas, mix in 1/2 cup unsweetened coconut milk, 1/2 cup sugar, 1/3 cup oil, 1/4 cup honey, and 1 tsp vanilla.
To the wet ingredients, add in the flour mixture and stir to combine.
Now you're going to split the batter into two by removing 1 1/2 cups of the batter and pouring into a separate mixing bowl (I just added this to a larger measuring cup). With these separated batters, you're going to prepare a chocolaty version and a banana version to eventually mix in the muffin tins.
To the new batter, mix in 1/4 cup additional gluten free flour until all is combined.
To the original bowl of batter, add 1/4 cup unsweetened cocoa powder and mix well to combine.
Add 1 tbsp banana batter to all of the muffins (you'll have just enough for 12 muffins). This should fill each muffin about halfway.
Similar to banana batter, add 1 tbsp of chocolate batter on top of each muffin.
Using a toothpick, swirl batter through muffin.
Place muffins into the oven and bake for about 15-17 minutes. To make sure they're done, insert a toothpick into the center and make sure it comes out clean.
Remove all of the muffins to cool and store them in a container.
Enjoy!
By Gluten Free Mom To Be
Adapted from Sarah Bakes Gluten Free Treats
Adapted from Sarah Bakes Gluten Free Treats
Gluten Free Mom To Be http://www.glutenfreemomtobe.com/
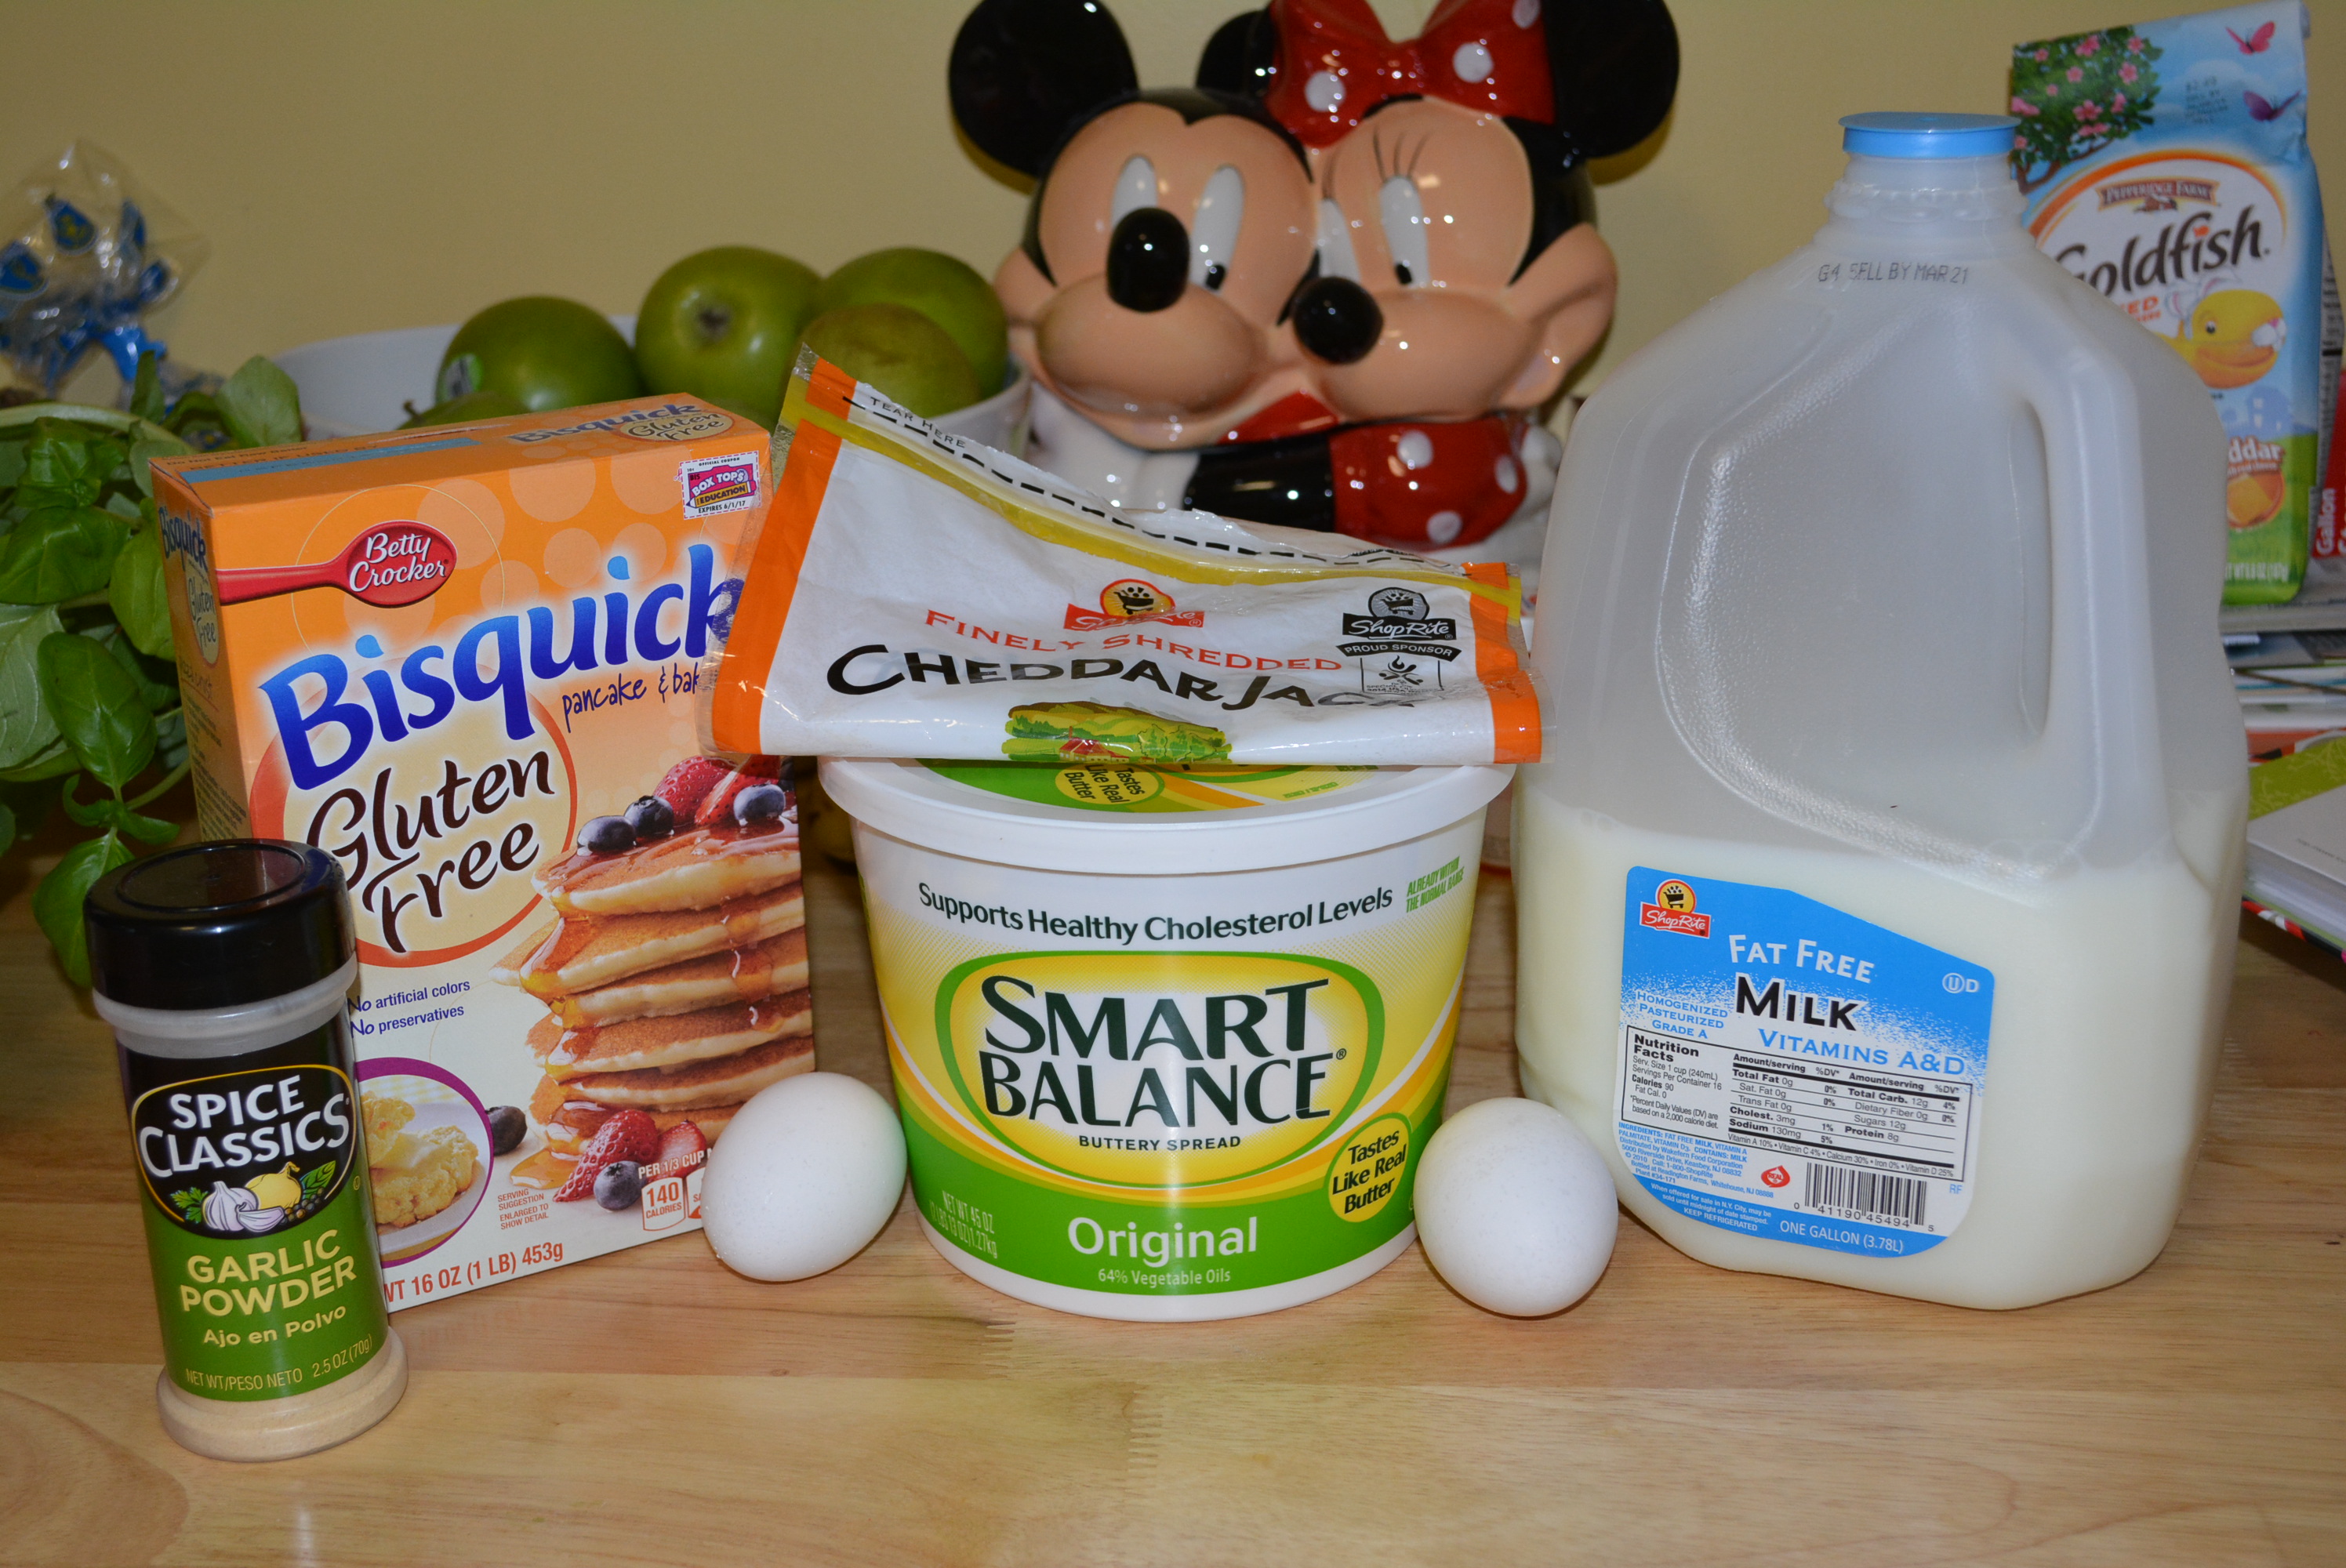
A given for any holiday meal is a side of rolls. We usually have always had Pillsbury biscuits, you know the kind you have to pop open the roll and peel them apart (that was always my favorite part)! In recent years however, much to my dismay, I haven’t been able to grab one of these fluffy delights. This year, however, is a whole different story and I’m so excited to share these Gluten Free Garlicky Cheddar Biscuits. Thanks to Betty Crocker’s Bisquick mix, which I introduced you to here not too long ago, I’m now able to make light and fluffy biscuits that are perfect for any meal, holiday or everyday. This great mix combined with Betty Crocker’s fabulous recipe, you’ll end up with delicious garlic biscuits flavored with just a hint of cheese. Make sure you pick up a box of this wonderfully versatile mix and give these biscuits a try for your Easter holiday this year!
Ingredients:
Depending on how many people you have you can adjust the recipe accordingly. For a normal dinner for just my husband, daughter, and myself I usually half the recipe to make about 6 normal size biscuits.
2 cups Bisquick Gluten Free Mix
1/4 tsp garlic powder
1/4 cup firm butter (Smart Balance)
2/3 cup skim milk
1/2 cup shredded Cheddar Jack or Cheddar cheese
3 eggs
1/4 cup melted butter (Garlic Butter Topping)
1/4 tsp garlic powder (Garlic Butter Topping)
Ingredients for Fluffy Gluten Free Cheddar Biscuits.
Directions:
Preheat oven to 425 degrees.
In a medium bowl, add 2 cups Bisquick mix and 1/4 tsp garlic powder and combine.
Using a fork, cut in 1/4 cup cold, firm butter until mixture has coarse crumbs throughout (this makes the biscuits fluffy), so the more crumbs the better!
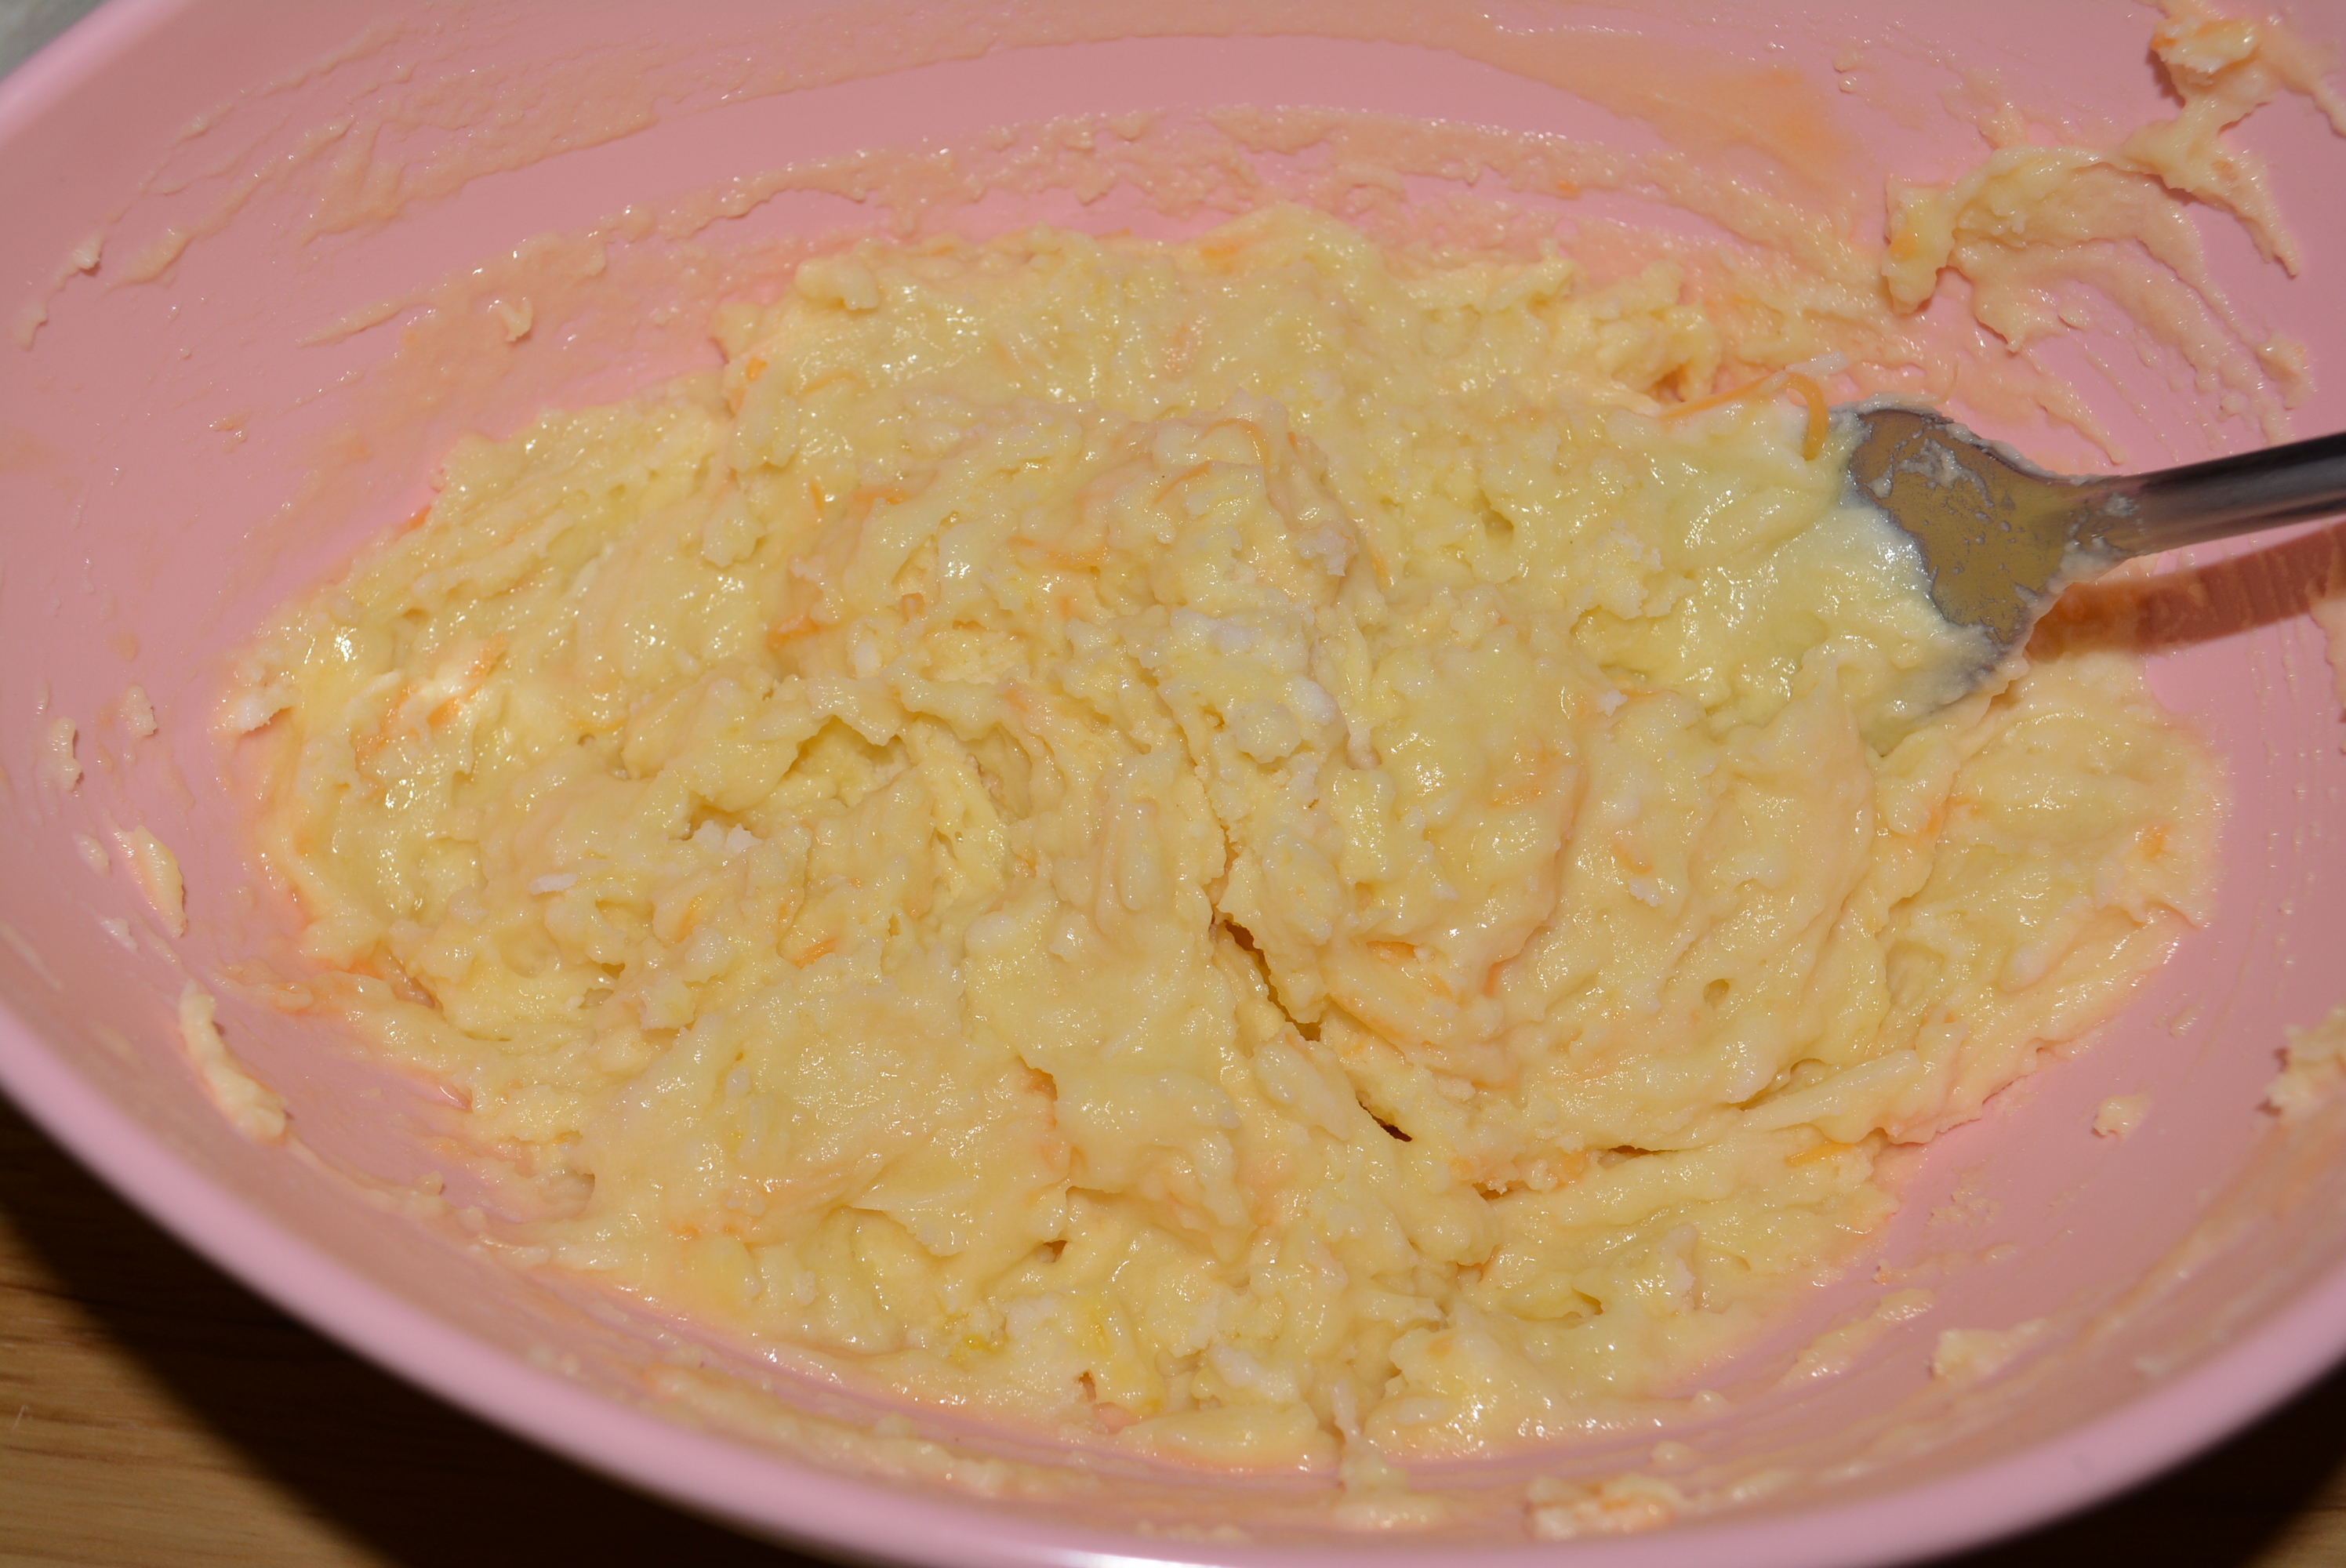
Mix in 2/3 cup milk, 3 eggs, and 1/2 cup cup shredded cheese until you form a soft dough.
Batter all mixed up!
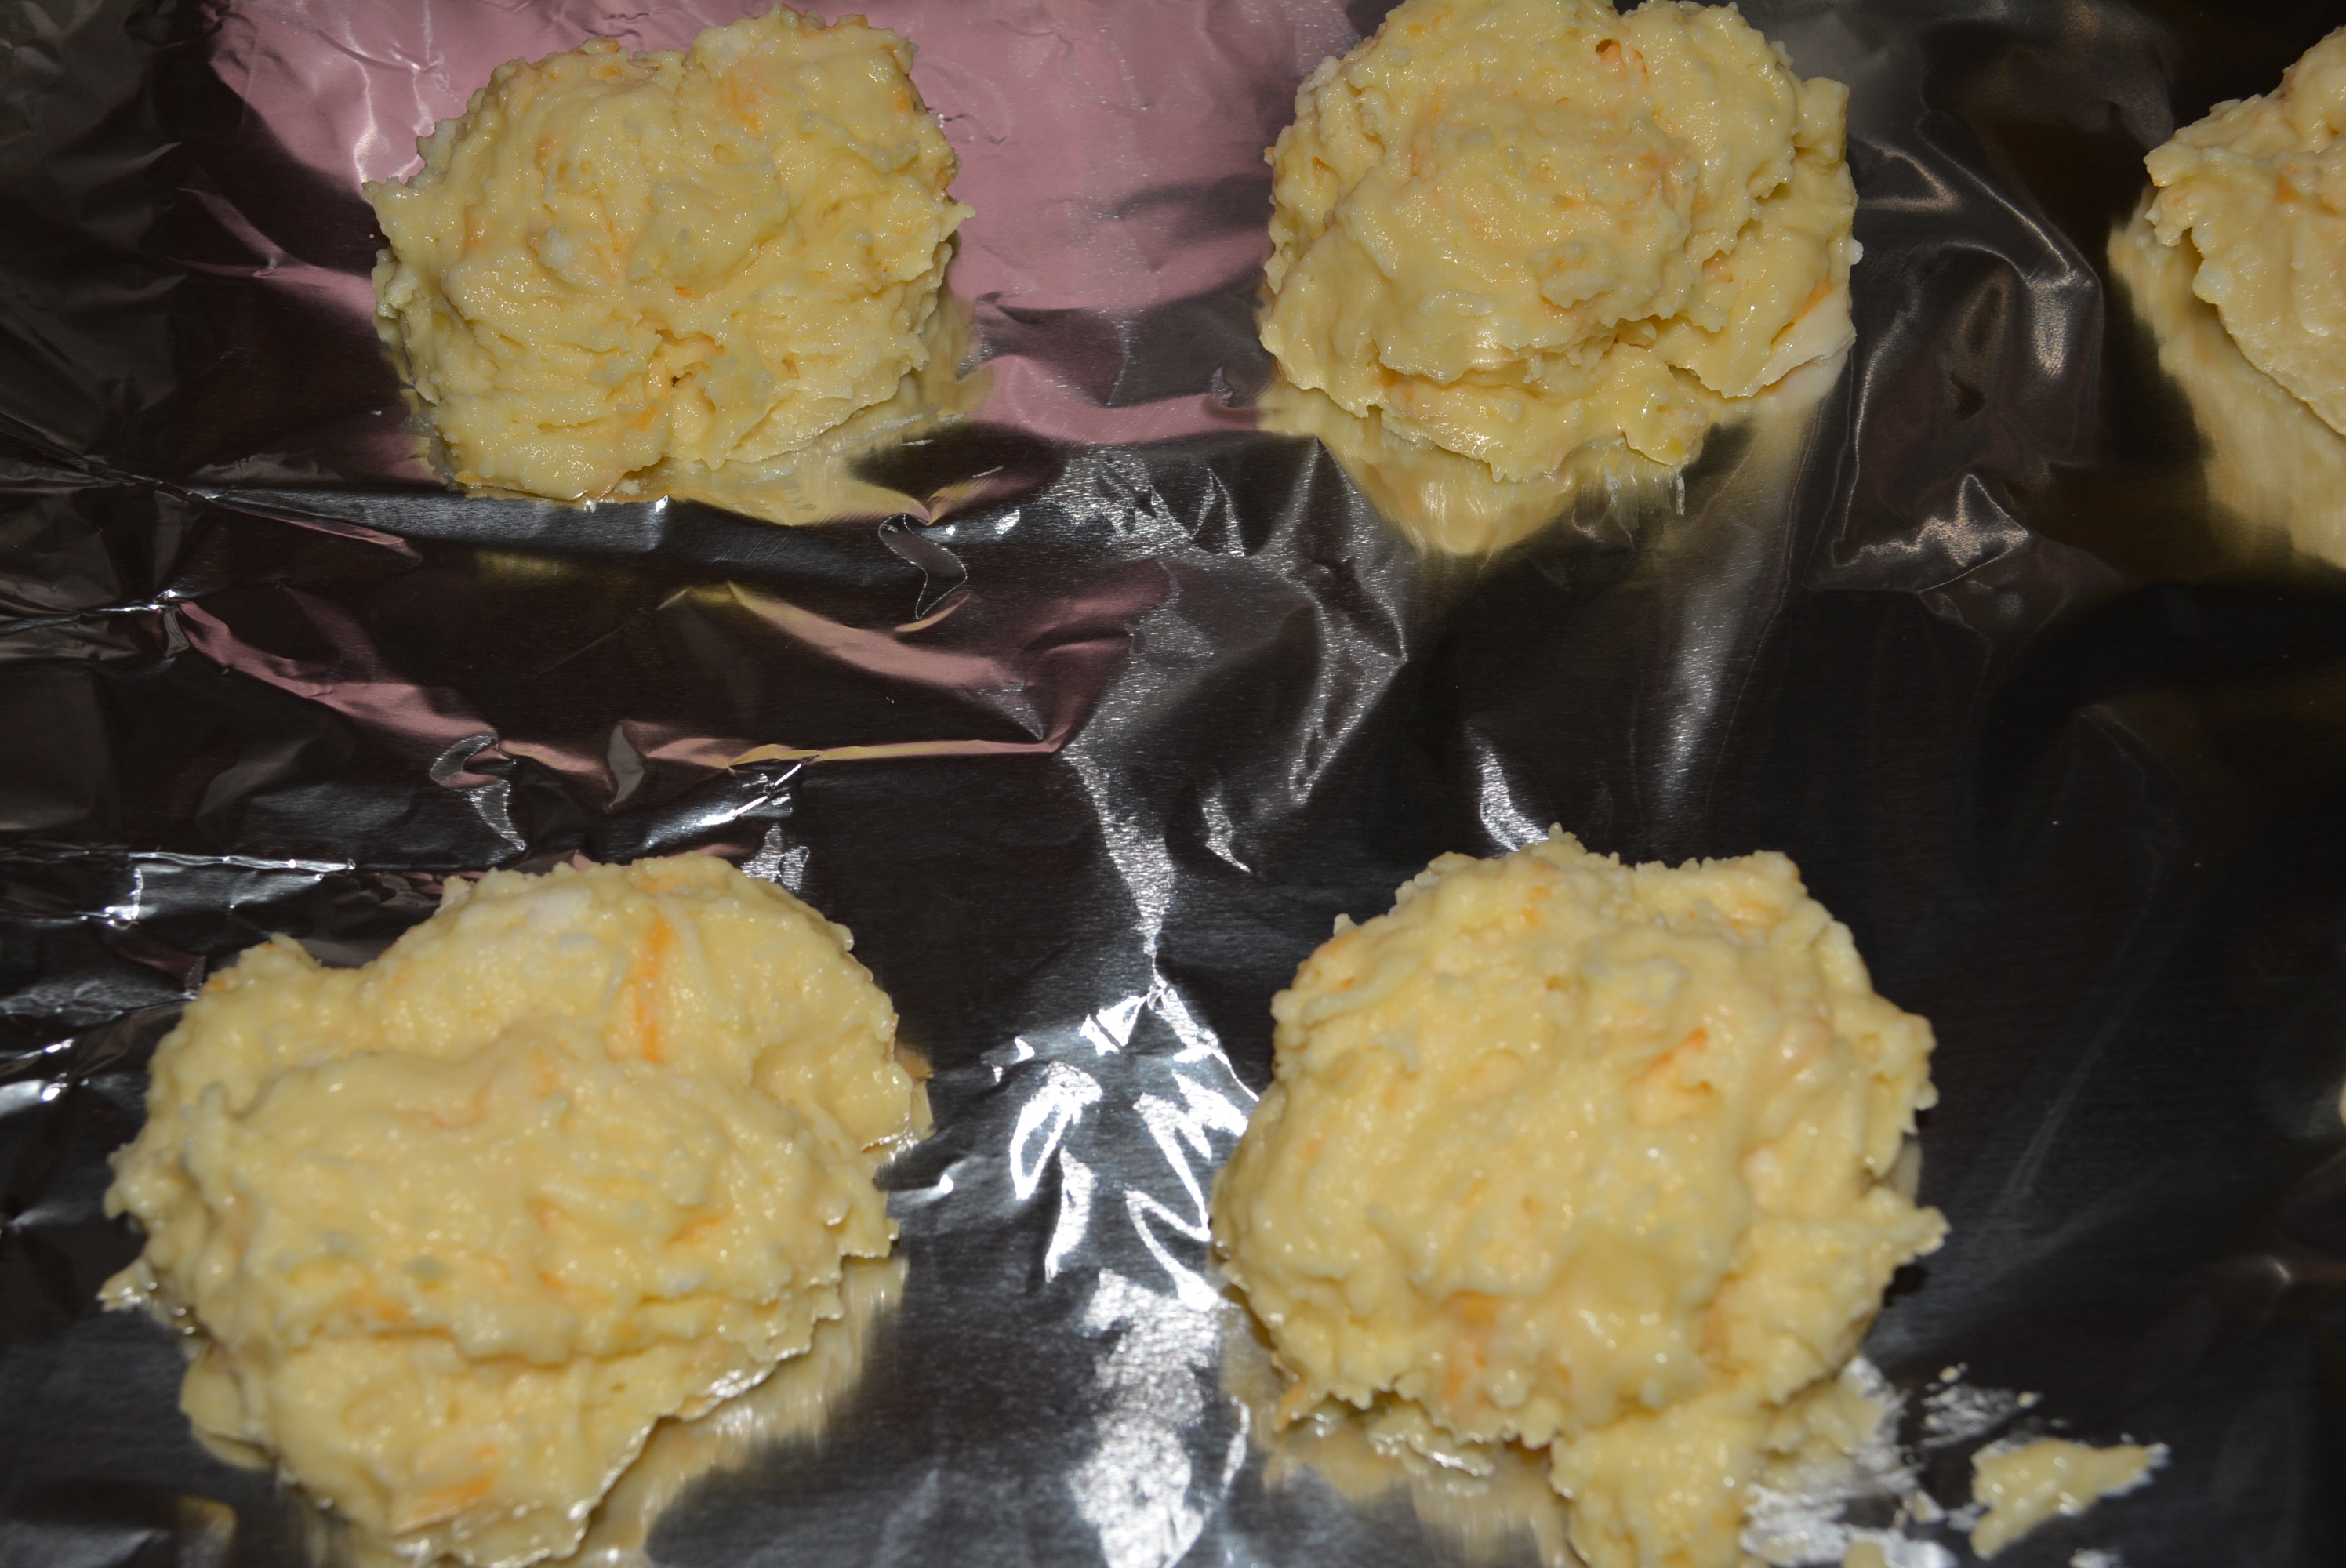
Using a tablespoon, add heaping spoonfuls to an ungreased cookie sheet. Depending on size, you’ll usually get between 10 and 12 biscuits from this amount of batter.
Biscuits ready to be cooked.
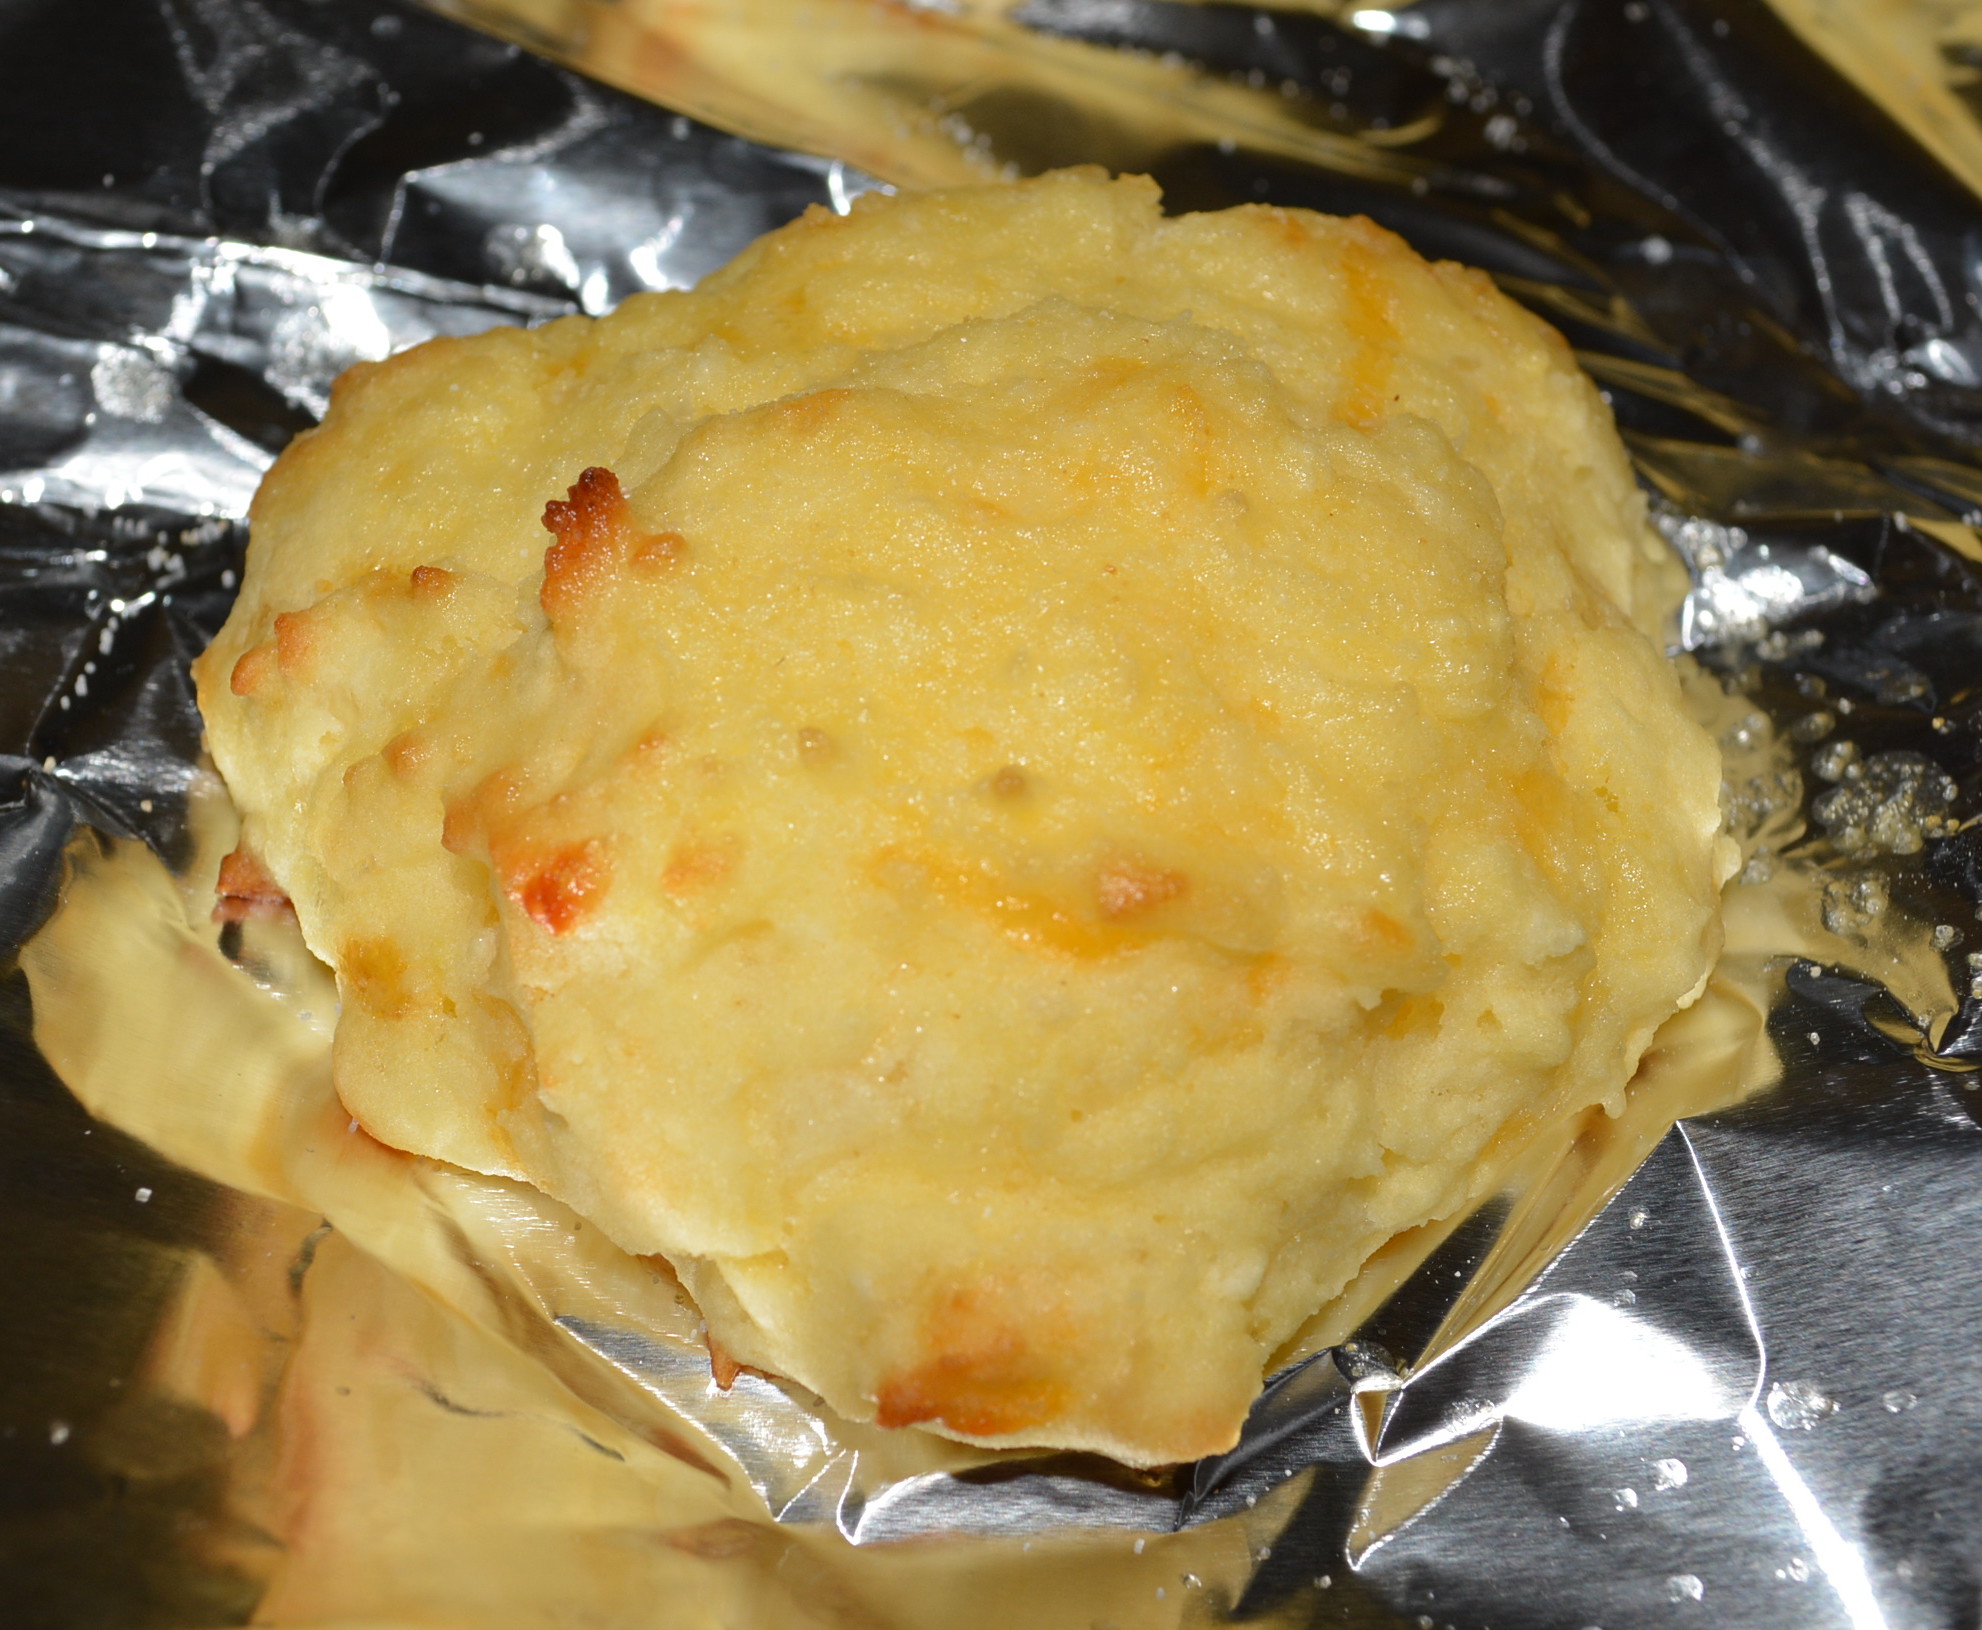
Bake biscuits for about 8 to 10 minutes until tops are a light golden brown. I like to touch the middle of of the biggest one to make sure the biscuit is firm and cooked all the way through.
For topping, add 1/4 cup butter to microwavable bowl and melt.
To melted butter, mix in 1/4 tsp garlic powder.
Before removing biscuits from baking sheet, brush melted garlic butter on top of the biscuits.
After 10 minutes you get lightly browned biscuits!
Serve biscuits warm and with butter!
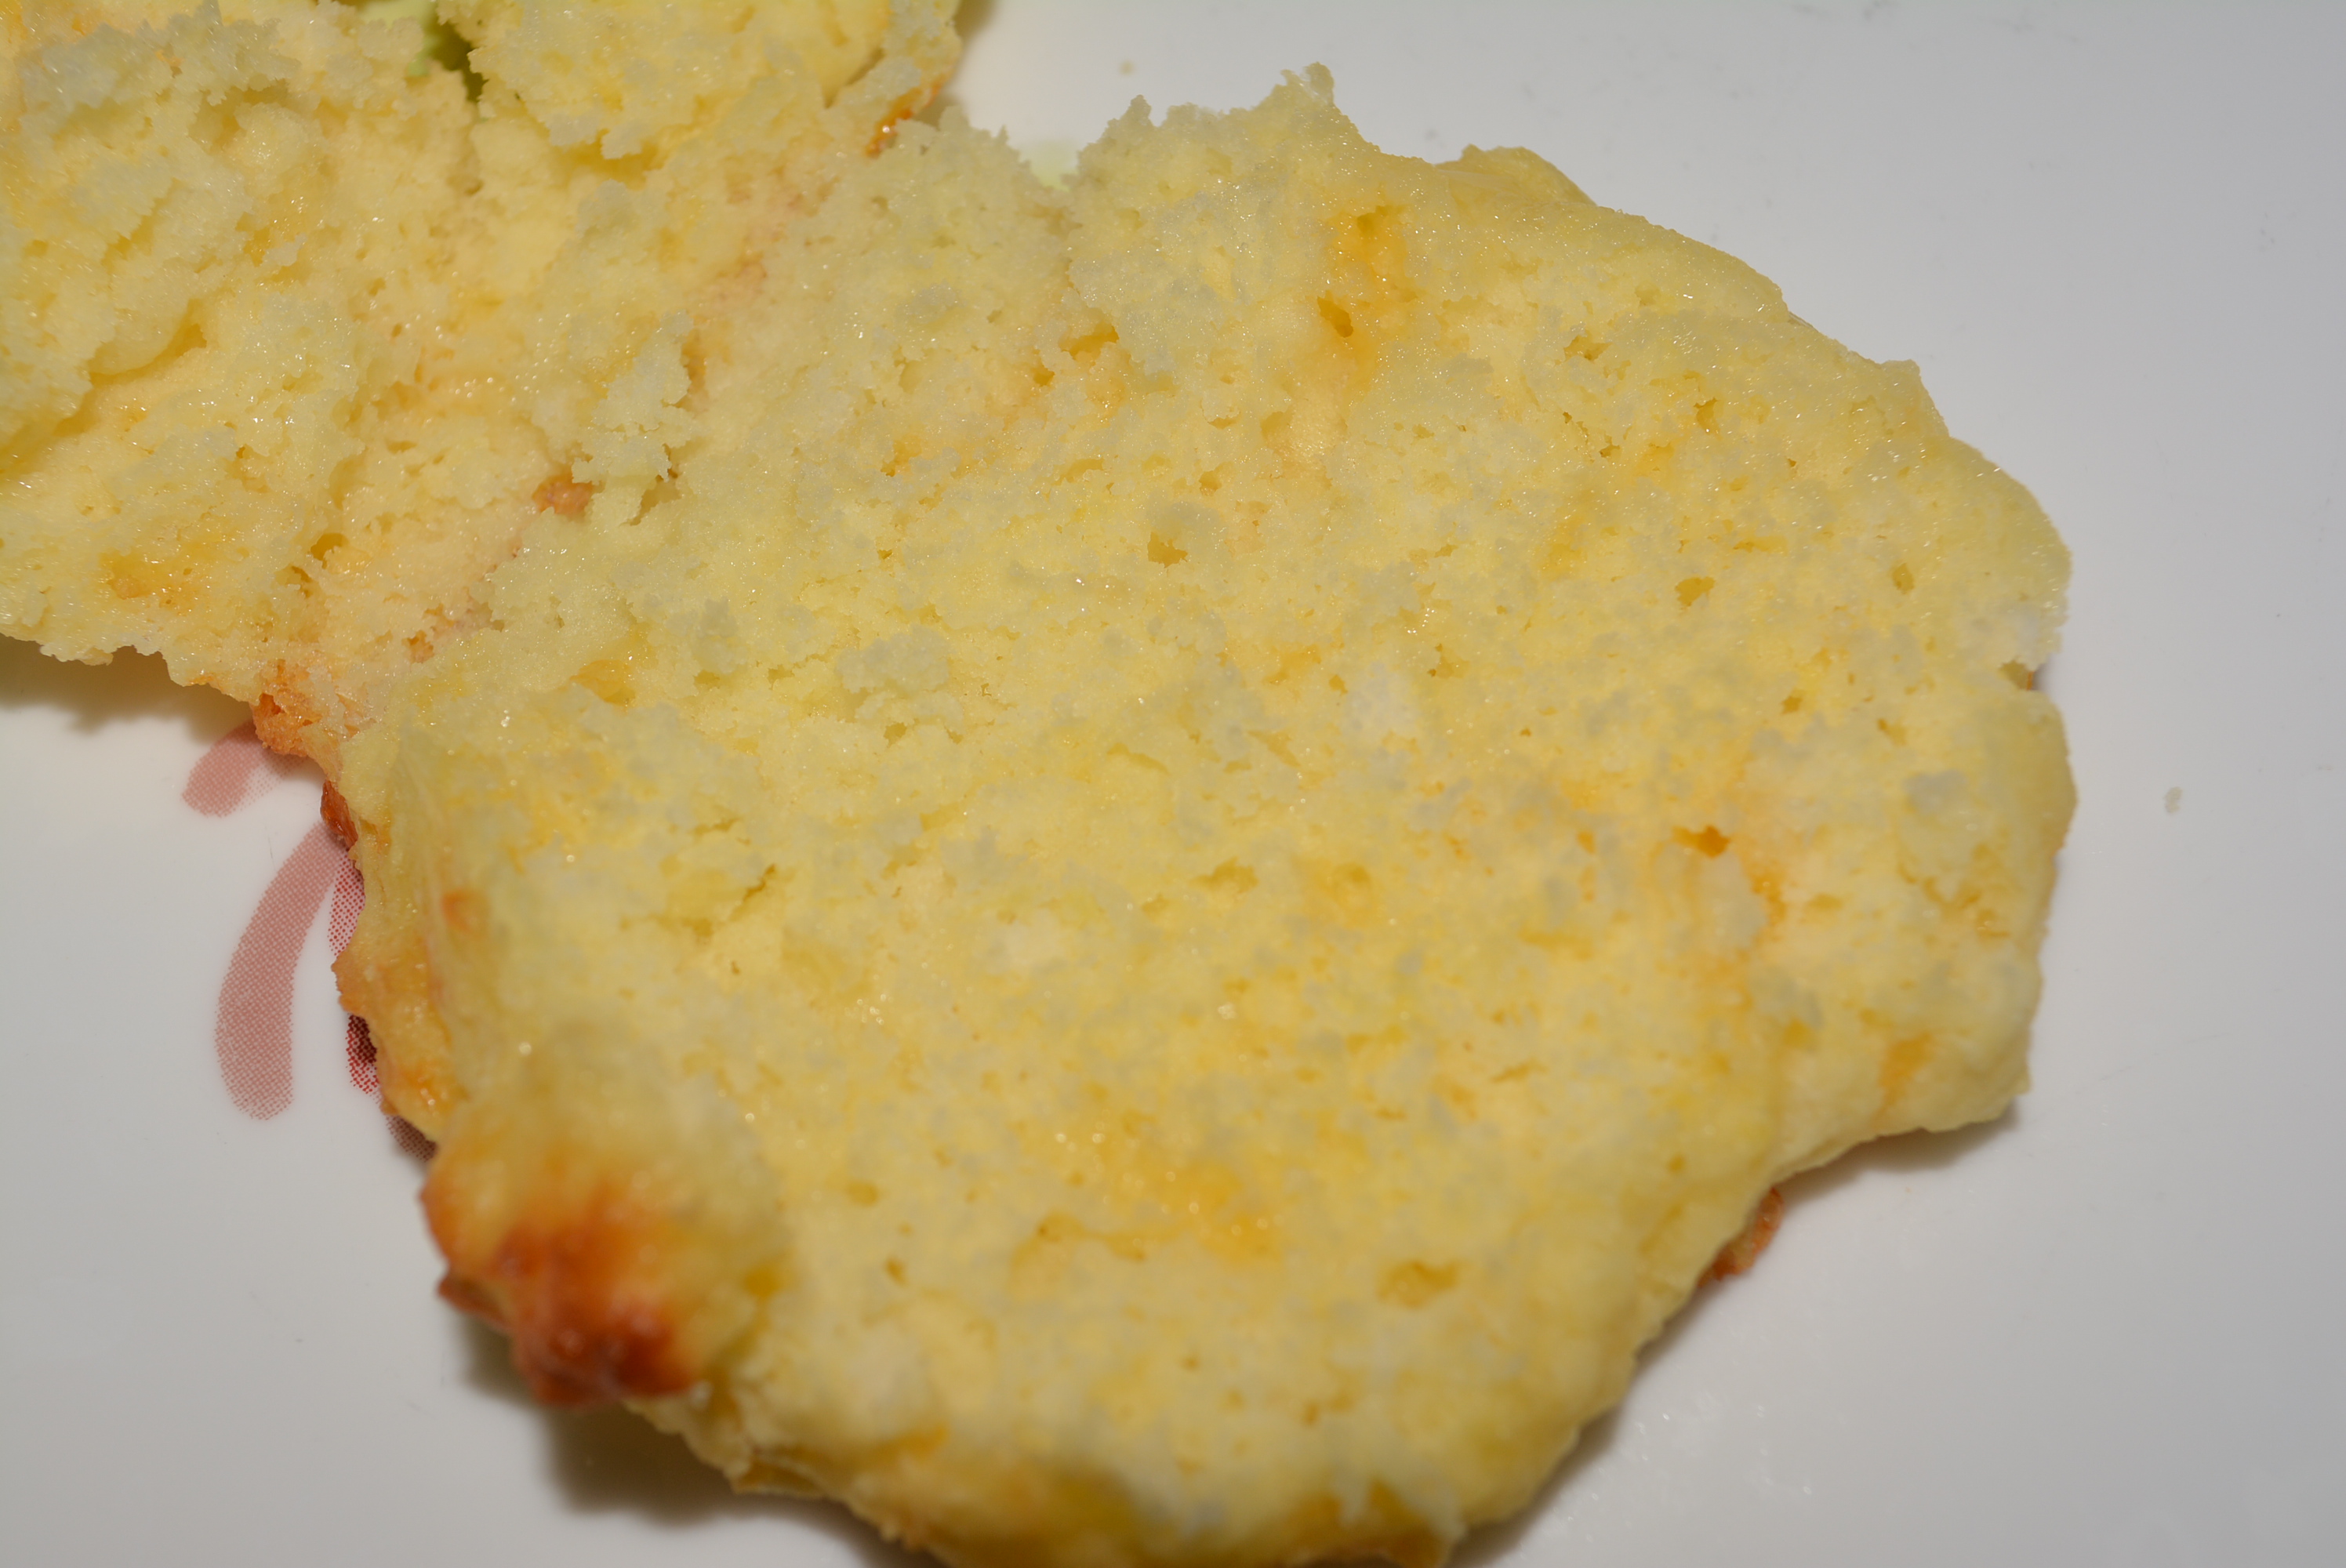
Fluffy inside of biscuit!
These biscuits are so quick and easy to make and bake, making them a perfect addition to any holiday meal! When dinner’s ready, just pull out your favorite butter and add some to the middle of your biscuits to create a wonderfully moist center! A light butter is the perfect addition to these fluffy pillows of garlicky gluten free goodness! The best thing about these biscuits is the texture, which everyone knows can be lacking in gluten free baked goods but I assure you that that is not the case for these. These biscuits are perfectly light and fluffy and moist at the same time, just what a biscuit should be and very reminiscent of those warm and buttery gluten filled biscuits that you could get at Cracker Barrel or even in a breakfast sandwich at McDonalds. I don’t know about you but I’m definitely in the mood for a warm biscuit now. I might just have to whip up a batch of these for little one and myself, maybe for egg sandwiches? The possibilities are endless!
TIP: You can even prepare these ahead of time and heat them slightly for a few minutes at a warm setting in your oven when you’re ready to enjoy.
I shared this recipe and more here on Gluten Free Easily’s Gluten-Free Wednesdays.
Sincerely,
Lindsay
Fluffy Gluten Free Garlicky Cheddar Biscuits
2014-04-06 08:12:13
Biscuits are so quick and easy and come out perfect each time!
In a medium bowl, add 2 cups Bisquick mix and 1/4 tsp garlic powder and combine.
Using a fork, cut in 1/4 cup cold, firm butter until mixture has coarse crumbs throughout (this makes the biscuits fluffy), so the more crumbs the better!
Mix in 2/3 cup milk, 3 eggs, and 1/2 cup cup shredded cheese until you form a soft dough.
Using a tablespoon, add heaping spoonfuls to an ungreased cookie sheet. Depending on size, you'll usually get between 10 and 12 biscuits from this amount of batter.
Bake biscuits for about 8 to 10 minutes until tops are a light golden brown. I like to touch the middle of of the biggest one to make sure the biscuit is firm and cooked all the way through.
For topping, add 1/4 cup butter to microwavable bowl and melt.
To melted butter, mix in 1/4 tsp garlic powder.
Before removing biscuits from baking sheet, brush melted garlic butter on top of the biscuits.
Serve biscuits warm and with butter!
By Gluten Free Mom To Be
Adapted from Betty Crocker
Adapted from Betty Crocker
Gluten Free Mom To Be http://www.glutenfreemomtobe.com/