Gluten Free Breakfast

The Holy Grail of Gluten Free Donuts

There’s nothing worse than a nagging craving that you can’t fulfill, especially while pregnant. While living a gluten free pregnancy, this is bound to happen. There were many days during my pregnancy that I couldn’t stop thinking about eating a donut, especially the chocolate frosted and sprinkled kind from Dunkin Donuts. Much to my dismay, these donuts are full of gluten and totally off limits in my diet. After scouring food stores and searching online I did find several brands of gluten free donuts, unfortunately after trying them I learned they didn’t resemble a regular donut in neither price nor texture and taste.

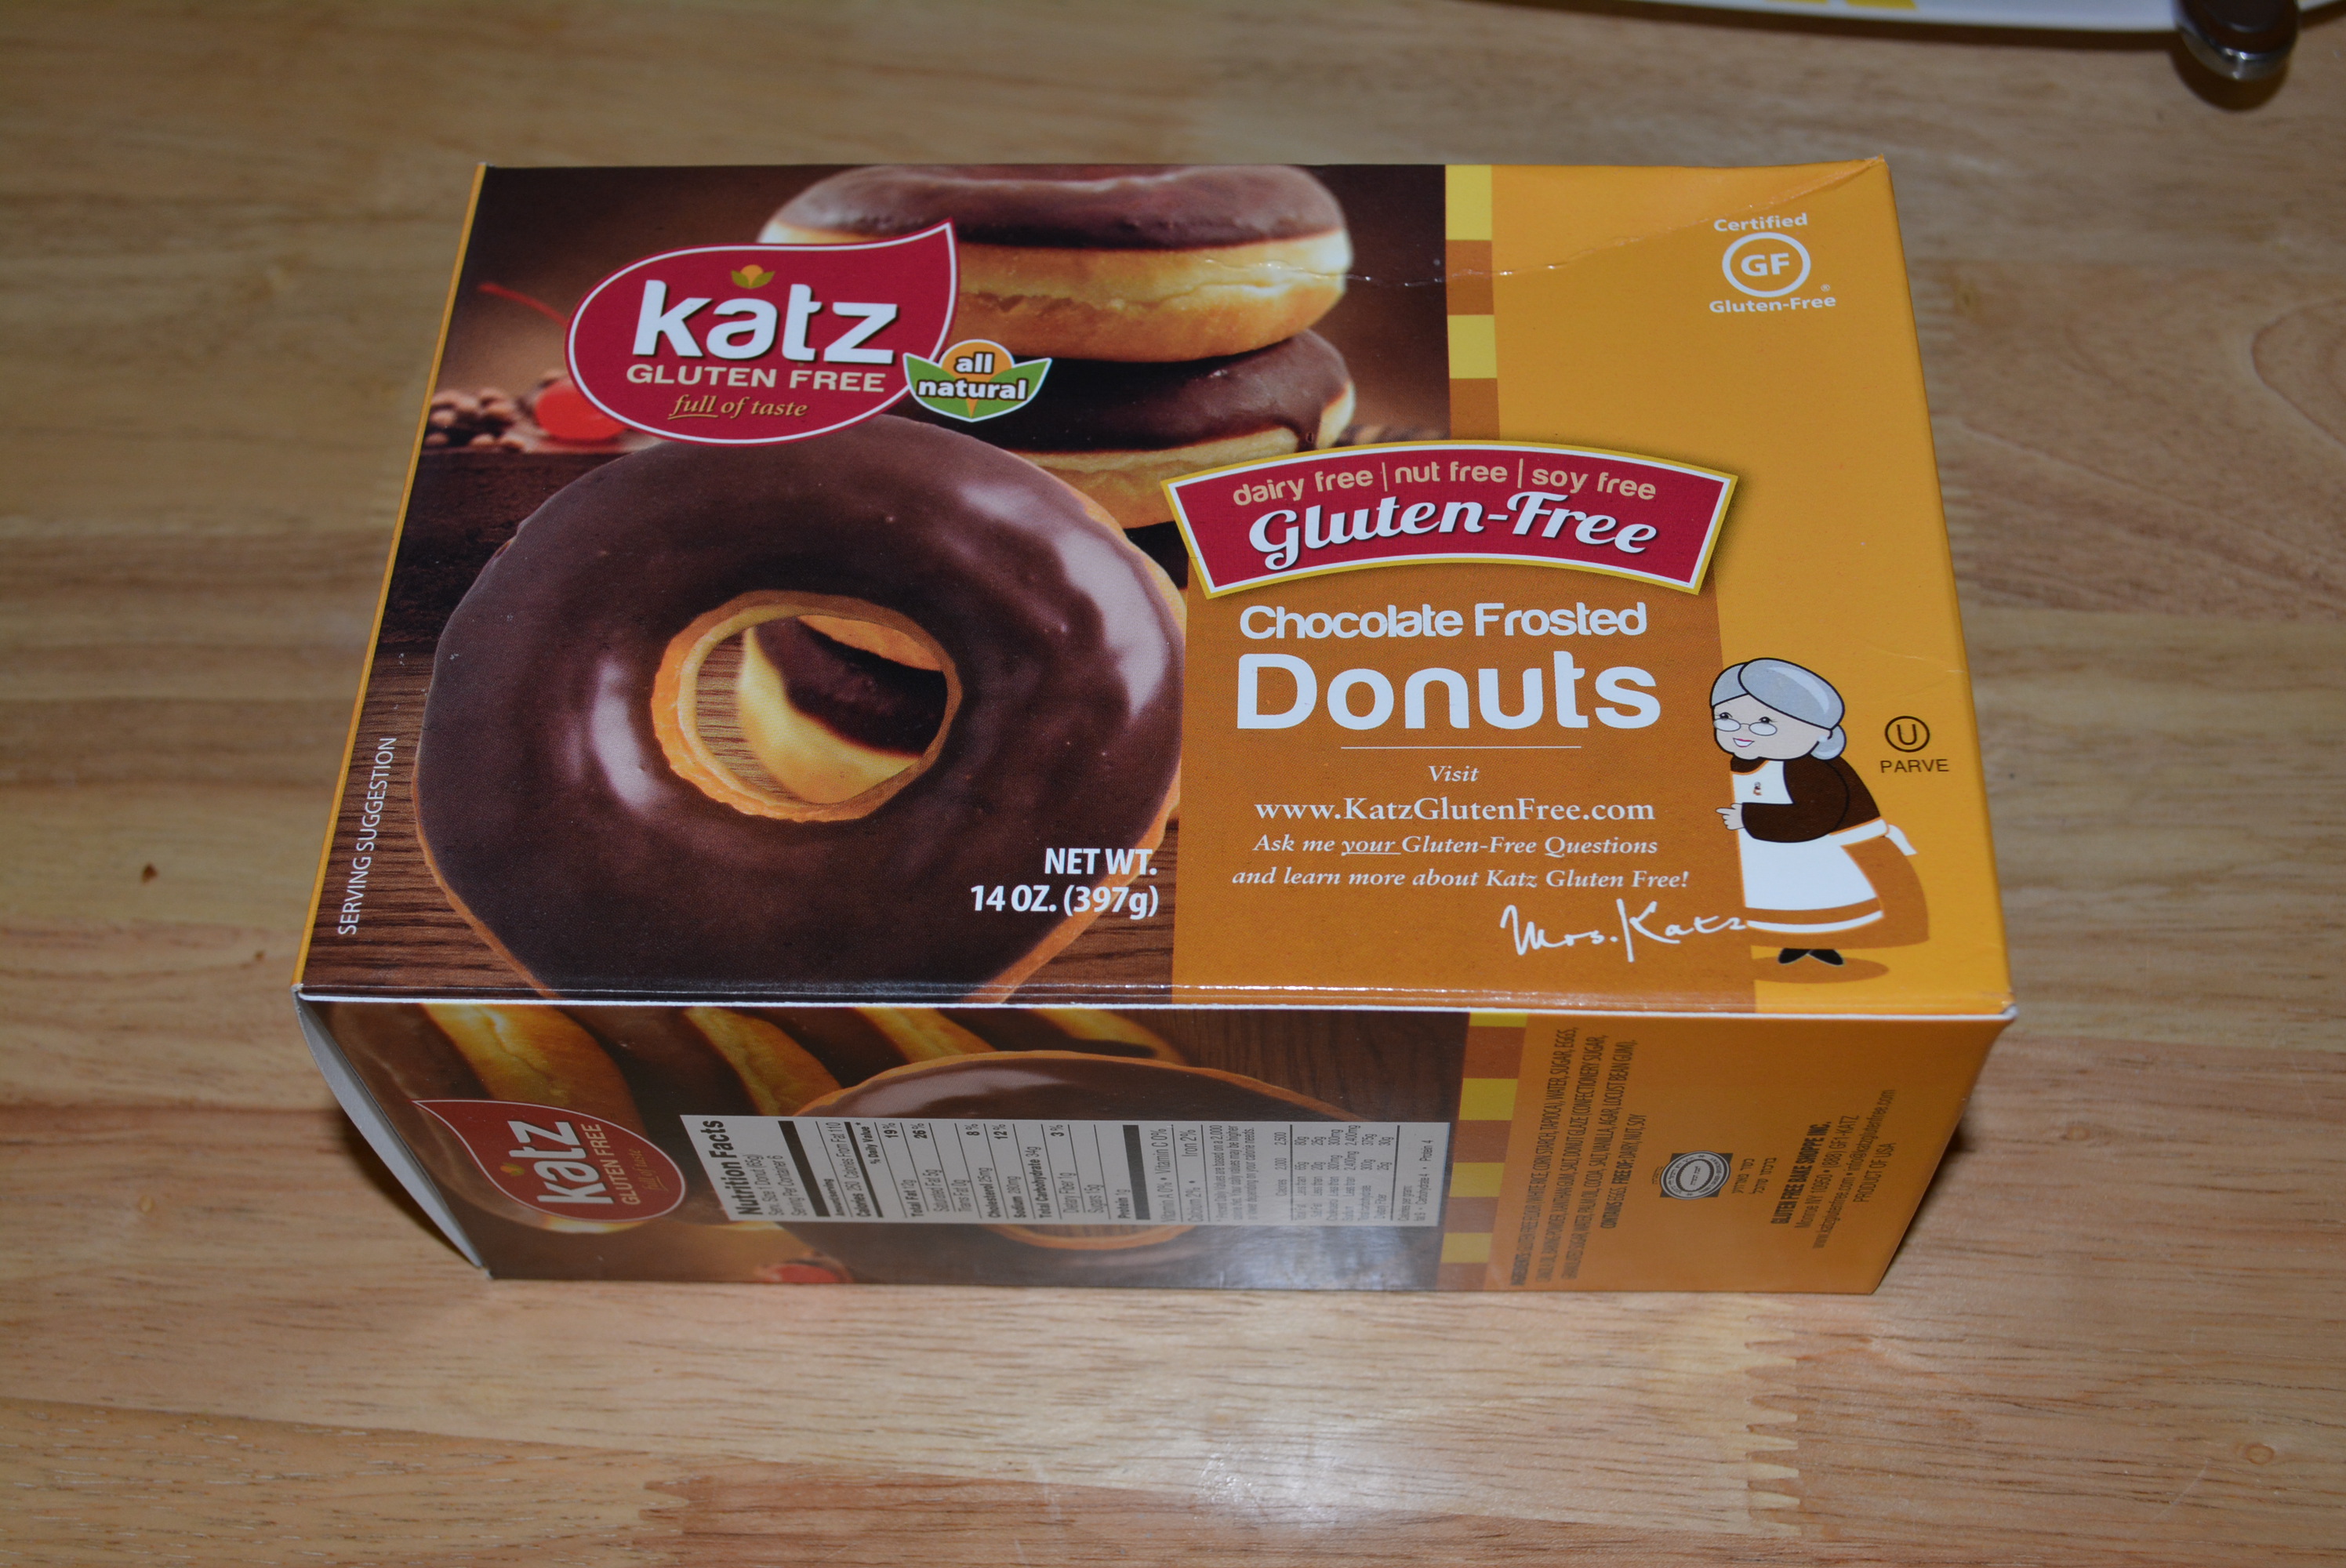
After a quick trip to a local health food store I stumbled upon the holy grail of gf donuts. The brand to which I’m referring is Katz Gluten Free. You’ll soon learn that this is truly one of my favorite brands of gf products. In fact, their site boasts that they accommodate to a number of food allergies so if you face any other dietary restrictions you might just be in luck. While they are known for producing a number of products, today I’ll highlight the donut.

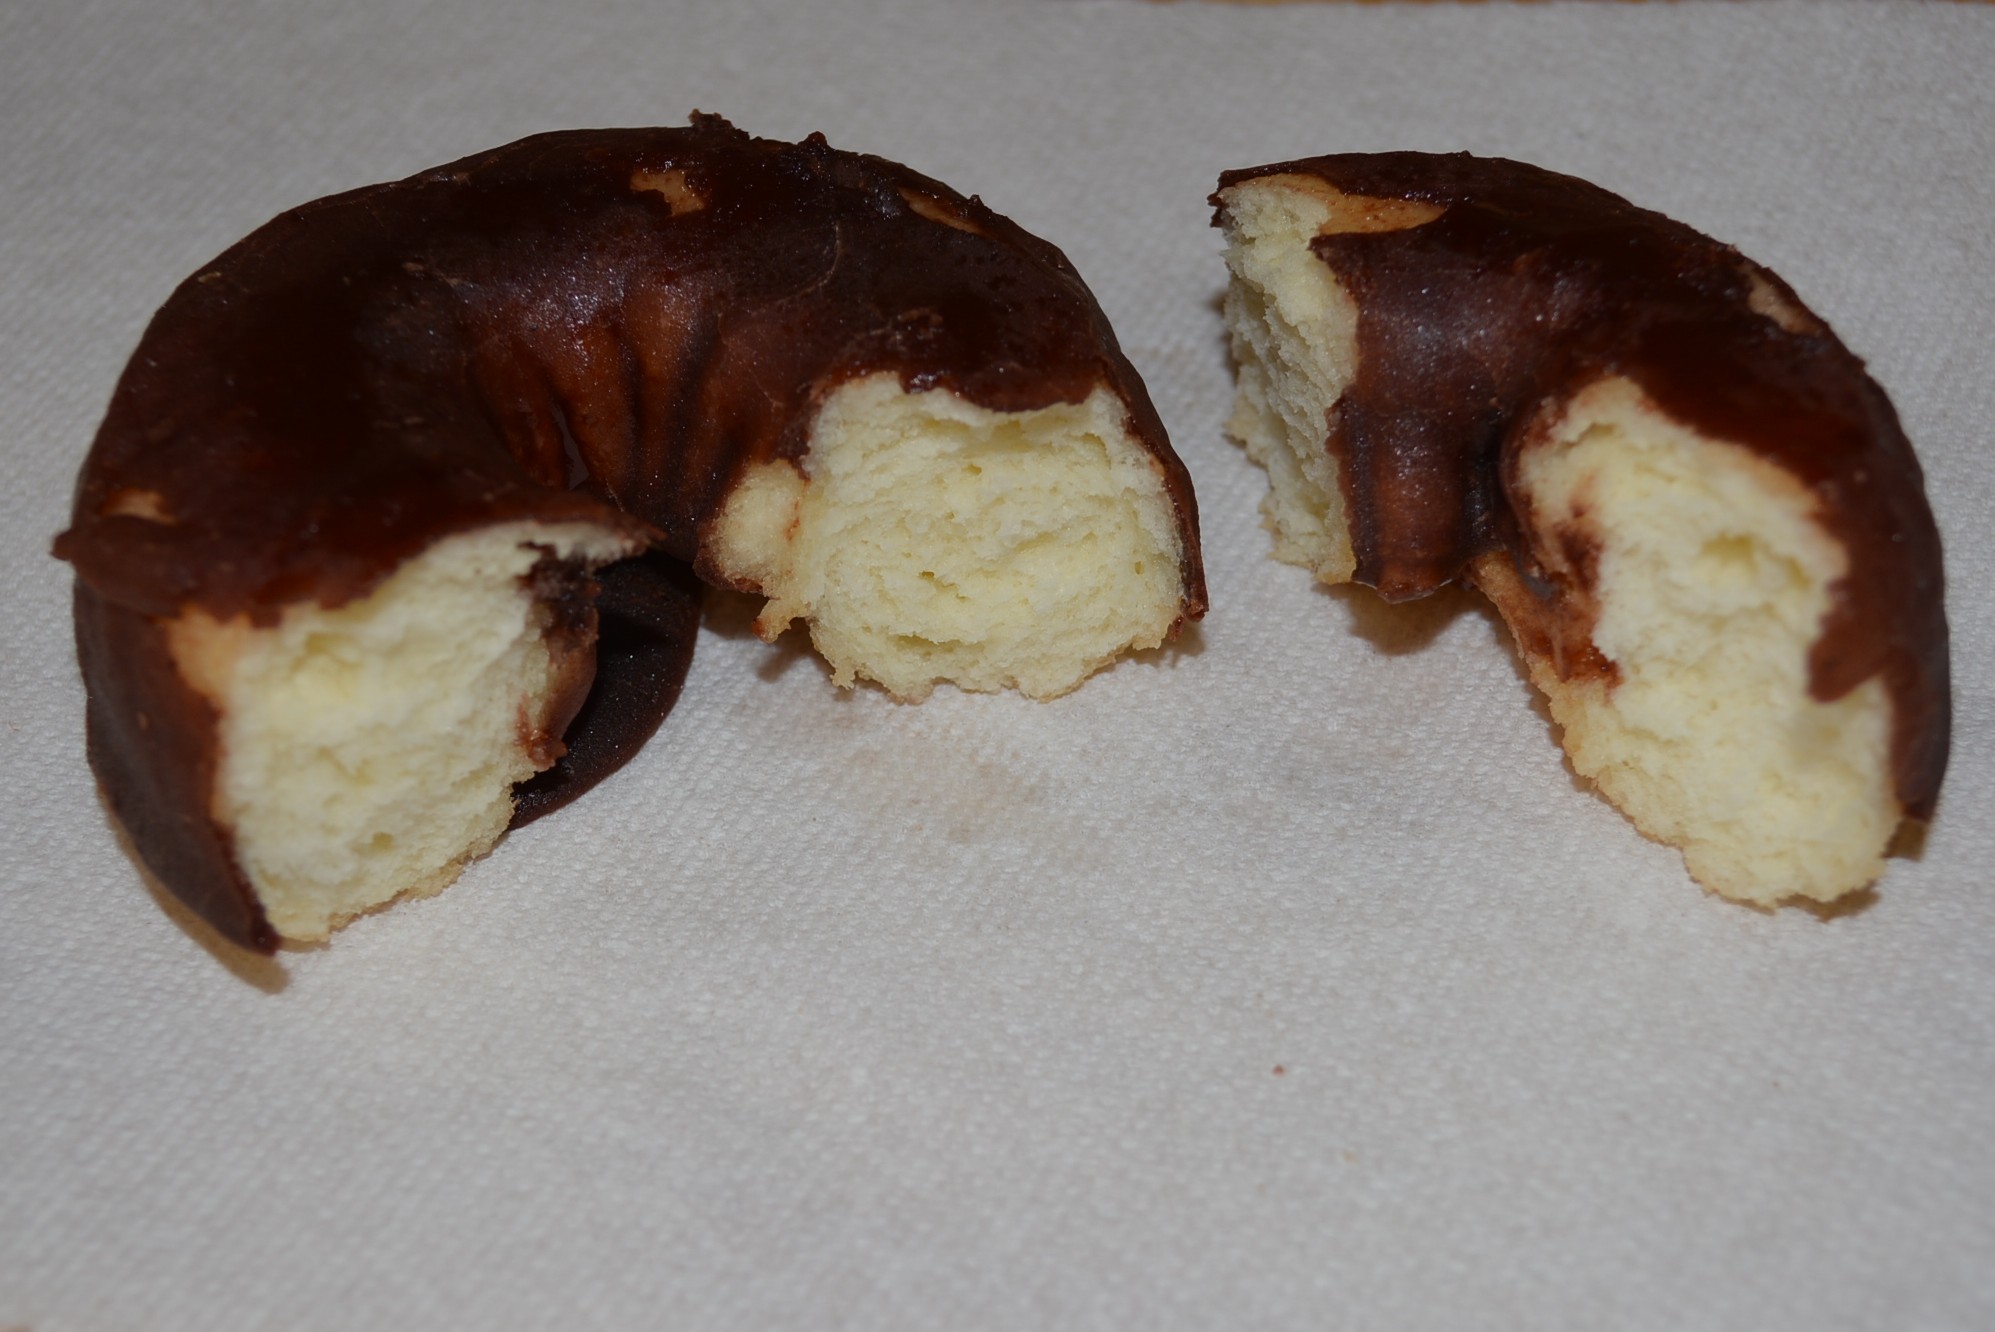
My personal favorite, that I purchased first, was the chocolate frosted donuts. I literally was in heaven when I took my first bite and I certainly was a happy mommy-to-be. They are a perfectly textured cake donut, not too dense and not too crumbly, very reminiscent of Entenmann’s donuts.

Defrosted chocolate frosted donut.
Chocolate frosted donut after defrosting.
Donuts have a perfect texture, not too dense or crumbly.
Donuts have a perfect texture and are very moist.

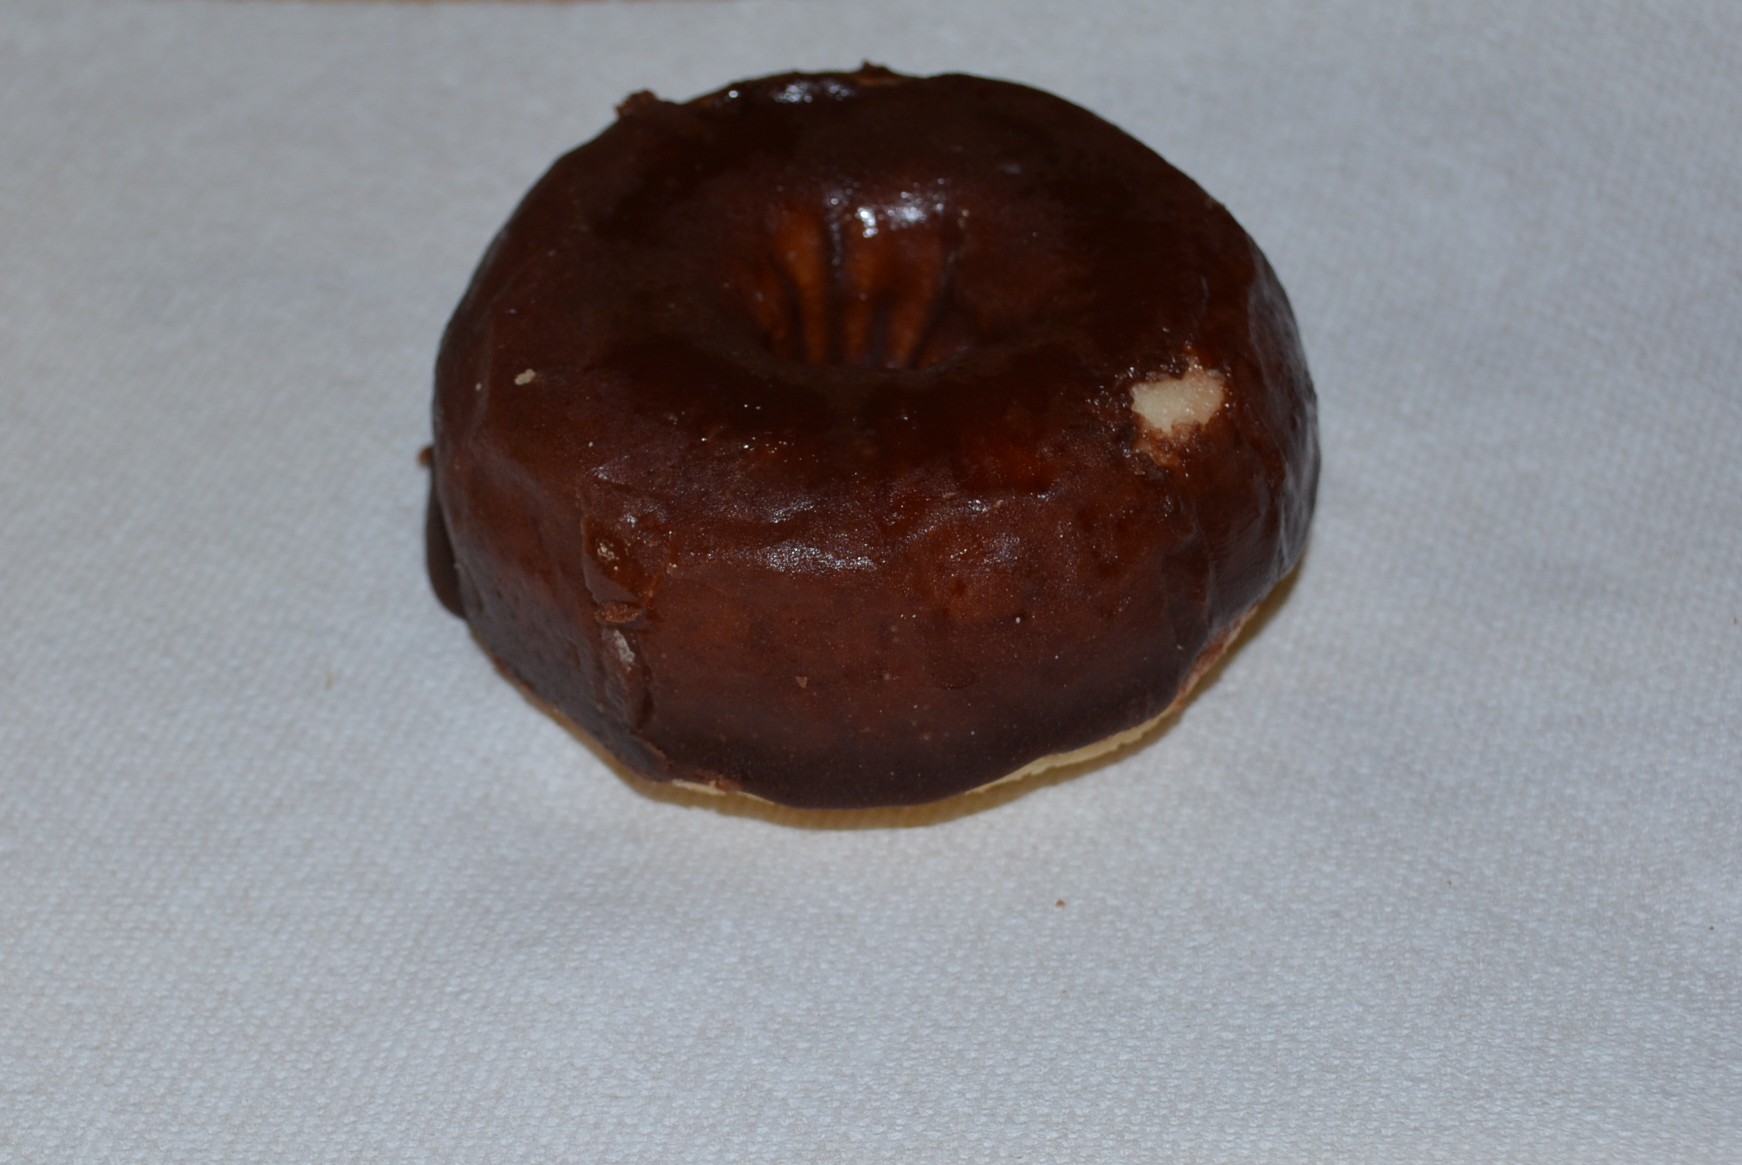
Katz donut selection certainly does not disappoint ranging from glazed to custard filled. Each variety is as delicious as their non-gluten free competitor. Take a look here to browse their entire selection and pick out which ones you’d like to try, you won’t be disappointed!

Most of their products, including the donuts, are stored in the freezer, and can be kept upwards near 10 months. The best method to prepare the donuts is to thaw them at room temperature; it doesn’t take long at all for these to become soft enough to eat. I would recommend to take one out of the freezer when you first get up in the morning, leave it out at room temperature while you get ready, and by the time you’re done you’re morning prep it would be perfect (if you prefer a warmed donut, you can always zap it for a few seconds in the microwave at this point). If you’re in a hurry and you forget to defrost one you can certainly try microwaving, however you want to be very careful as these heat up very quickly with very little heating, and especially those with frosting as they’ll melt completely. I would say to microwave between 5 and 10 seconds to start and see how tender it is at that point and go from there.

Price wise, Katz products are definitely comparable if not cheaper than a majority of the  other brands that offer gluten free donuts. Depending on variety, Katz donuts will end up costing anywhere between $4.49 to $6.99 per box. The chocolate frosted that are my favorite cost $6.99 for a box of six.

Katz chocolate frosted donuts.

Depending on location, Katz products can be hard to find in store though. In my area, I have only been able to find them in a local, privately owned health food shop. That being said though, you can always order online from their entire stock of products with an affordable standard flat rate shipping fee of $7.99. Also, they even offer a sample package for free with a promo code to first time customers which contains several types of breads and pastries, all for only the price of shipping, if you’re interested check it out here!

TIP: Katz offers deals very frequently on their products so sign up for their newsletter today here and you’ll surely receive an offer that’s too good to pass up!

Sincerely,

Lindsay


Moist and Delicious Gluten Free Banana Bread

One of the worst culinary crimes is letting fresh produce spoil, and sadly, I have to admit that despite our best efforts this happens in our house. One fruit in particular that we can never seem to eat fast enough are bananas. My favorite solution to using aged bananas has always been baking a banana bread. Growing up, my mom made banana bread often and I still remember how delicious it was, making the perfect breakfast or lunch for any of us in the family. In recent years, I’ve been hard pressed to find a quality gluten free banana bread recipe and adapting a non-gluten free recipe has posed its challenges. I’m proud to announce though that I’ve finally found a recipe from the Taste of Home magazine that produces a moist and light banana bread that will make gluten free and non-gluten free eaters very happy! Myself and my non-gluten free little girl and husband loved this banana bread and it will be sure to fill many tummies in our household for years to come!

Ingredients:

Banana Bread Ingredients
  • 2 cups gluten free all purpose flour (I use Bob’s Red Mill)
  • 1 tsp baking soda
  • 1/4 tsp salt
  • 4 eggs
  • 2 cups mashed ripe bananas (about 4-5 medium)
  • 1 cup sugar
  • 1/2 cup unsweetend applesauce (Musselman’s applesauce marks gluten free on label)
  • 1/3 cup canola oil (I use Smart Balance oil which is marked gluten free)
  • 1 tsp vanilla extract (McCormick indicates gluten free on packaging)
  • 1/2 cup chopped walnuts
  • For ingredients such as salt, baking soda, sugar, and walnuts I tend to use whatever is on sale or is the cheapest, most of the time this being the store brand in our case. These ingredients are inherently gluten free as is and their labels are short and sweet, only listing one ingredient. Although there is no source of gluten in these products, it is good practice to always call the number listed on the labeling to check gluten content. In fact, even for the products that I listed that I use, be sure to always check the labels each time before purchasing, as companies have been known to make changes to their ingredient labels without any indication on their packaging, better to be safe than sorry for sure.

Directions:

  • Combine all dry ingredients in a large bowl including flour, baking soda, and salt.
  • In a small bowl, mash bananas with a fork.
Bananas
5 ripe bananas mashed!
  • Add eggs, sugar, applesauce, oil, and vanilla to mashed bananas.
Wet Ingredients and Sugar Combined
All wet ingredients and sugar combined!
  • Combine together flour mixture and wet ingredients until thoroughly mixed.
All Ingredients Combined
All ingredients are combined!
  • Transfer to two 8 in. x 4 in. loaf pans coated with cooking spray (I use Smart Balance). Sprinkle top with walnuts. You can use one pan as I did (I only had one loaf pan and limited time) but just adjust the cook time accordingly, i.e. start with the 55 minutes and increase by 10 minute increments if necessary until toothpick comes out clean.
Banana bread ready for baking!
  • Bake at 350 degrees for 45-55 minutes. If toothpick comes out clean from center than the bread is baked through. Cool for about 10 minutes and turn pan to remove and cool completely.
Banana bread is finally finished and cooling!

I personally enjoy my banana bread a little toasted or heated with butter! A tip to add a little something extra special to this bread…heat and top with Land O’Lakes Cinnamon Sugar Butter (gluten free according to their website here, but always check the label before purchasing)! And as an added bonus, my house was filled with a wonderful banana aroma the entire afternoon!

A slice of banana bread for the chef and baby sous chef!

Enjoy!

Sincerely,

Lindsay

1 2 3 4