I’m personally not a huge meat eater, but I certainly have my favorite dishes with my go to proteins. Chicken definitely is at the top of the list and something that we eat very often in our house. It’s our go to protein for salads, stir frys, and baked dishes, either in pre-made, time saving form of Perdue’s Shortcuts and Gluten Free Tenders, which we love, or made from scratch by yours truly. I’ve posted plenty of dishes in the chicken department that’s for sure, which you can check out on the blog here, but who doesn’t like adding parmesan cheese and breadcrumbs to chicken.
I was food shopping one day and spotted one of those little pamphlets with recipe ideas by the Hellmann’s Mayonnaise and spotted one that was too good to pass up. Of course the recipe in the pamphlet was not gluten free,, so I tweaked it a little to work for our family and there you have it, deliciously moist and crunchy Gluten Free Breaded Parmesan Chicken. This recipe is fantastically easy with only four ingredients that certainly do chicken proud. Ready to try it yet? Without further ado, here’s Gluten Free Breaded Parmesan Chicken that has become a favorite in the Gluten Free Mom To Be’s house and will surely become one in yours as well.
Ingredients:
- 1/2 cup Hellmann’s Mayonnaise (Most varieties are gluten free which is stated on the label)
- 1/4 cup grated Parmesan cheese
- 1 1/2 lb skinless chicken breasts
- Seasoned gluten free bread crumbs, about 4-5 tbsp (I season my own Schar bread crumbs like this, but you can also purchase already seasoned gluten free bread crumbs like Gillian’s too.)
Directions:
- Preheat oven to 425 degrees.
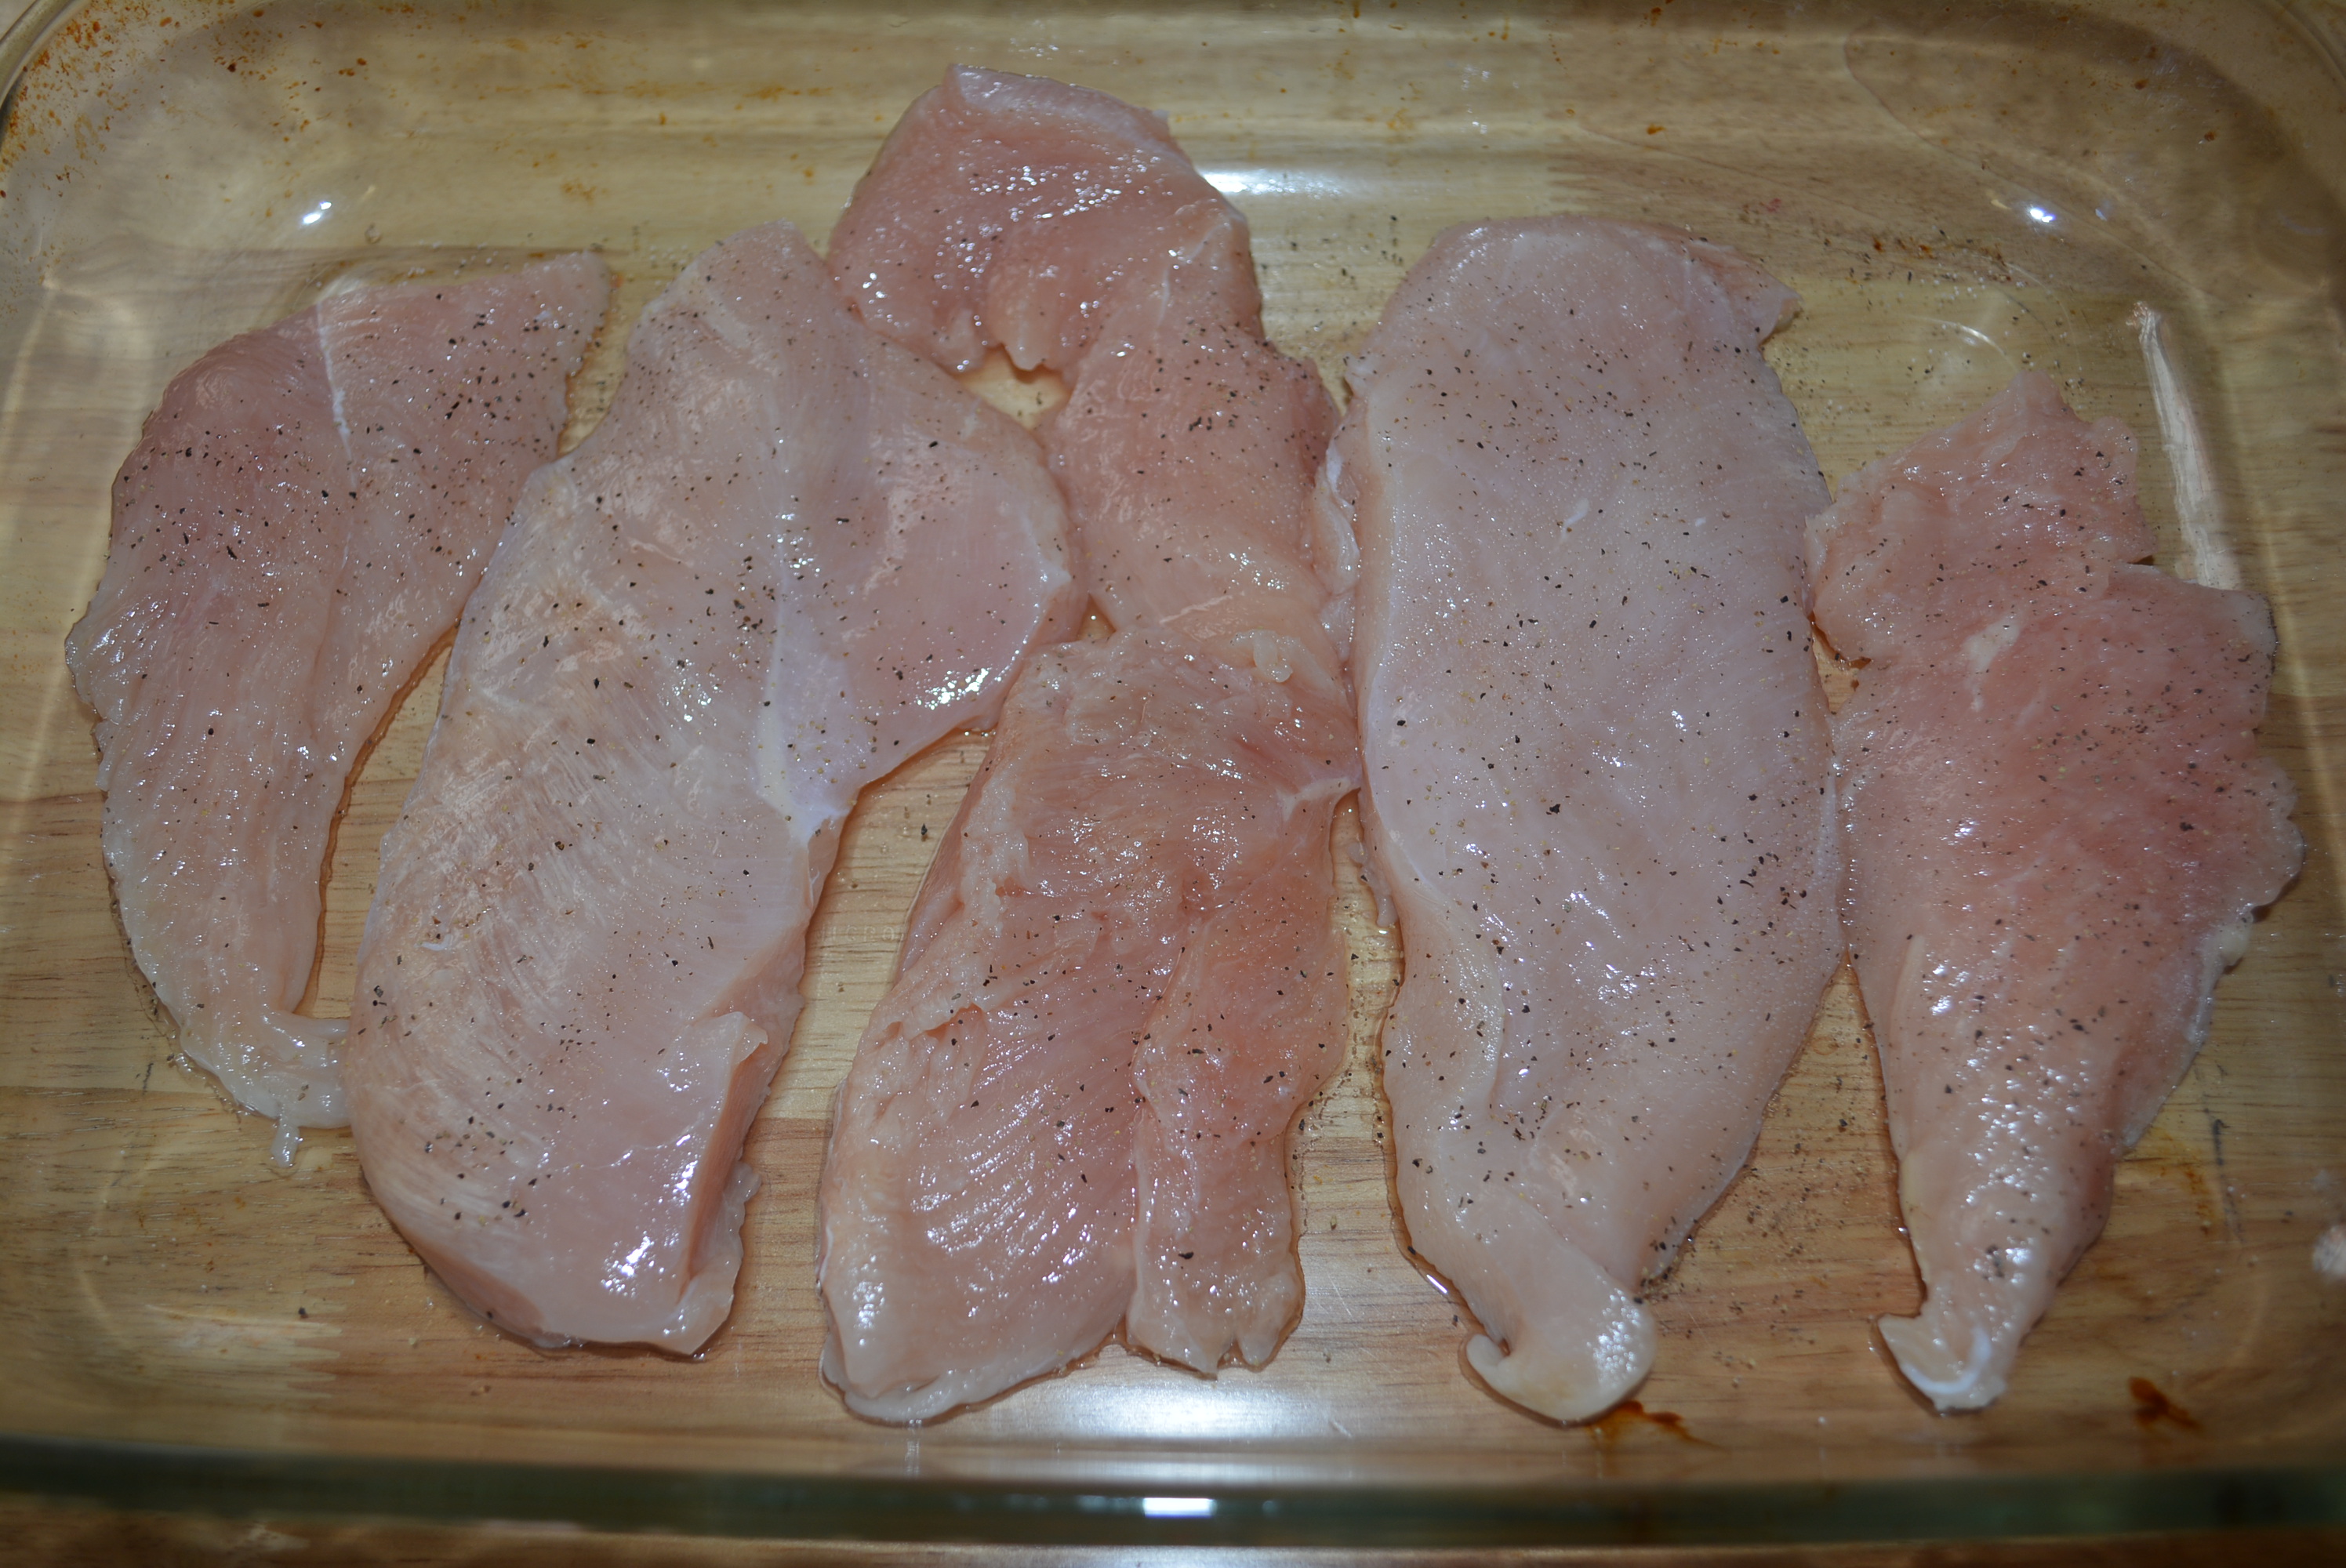
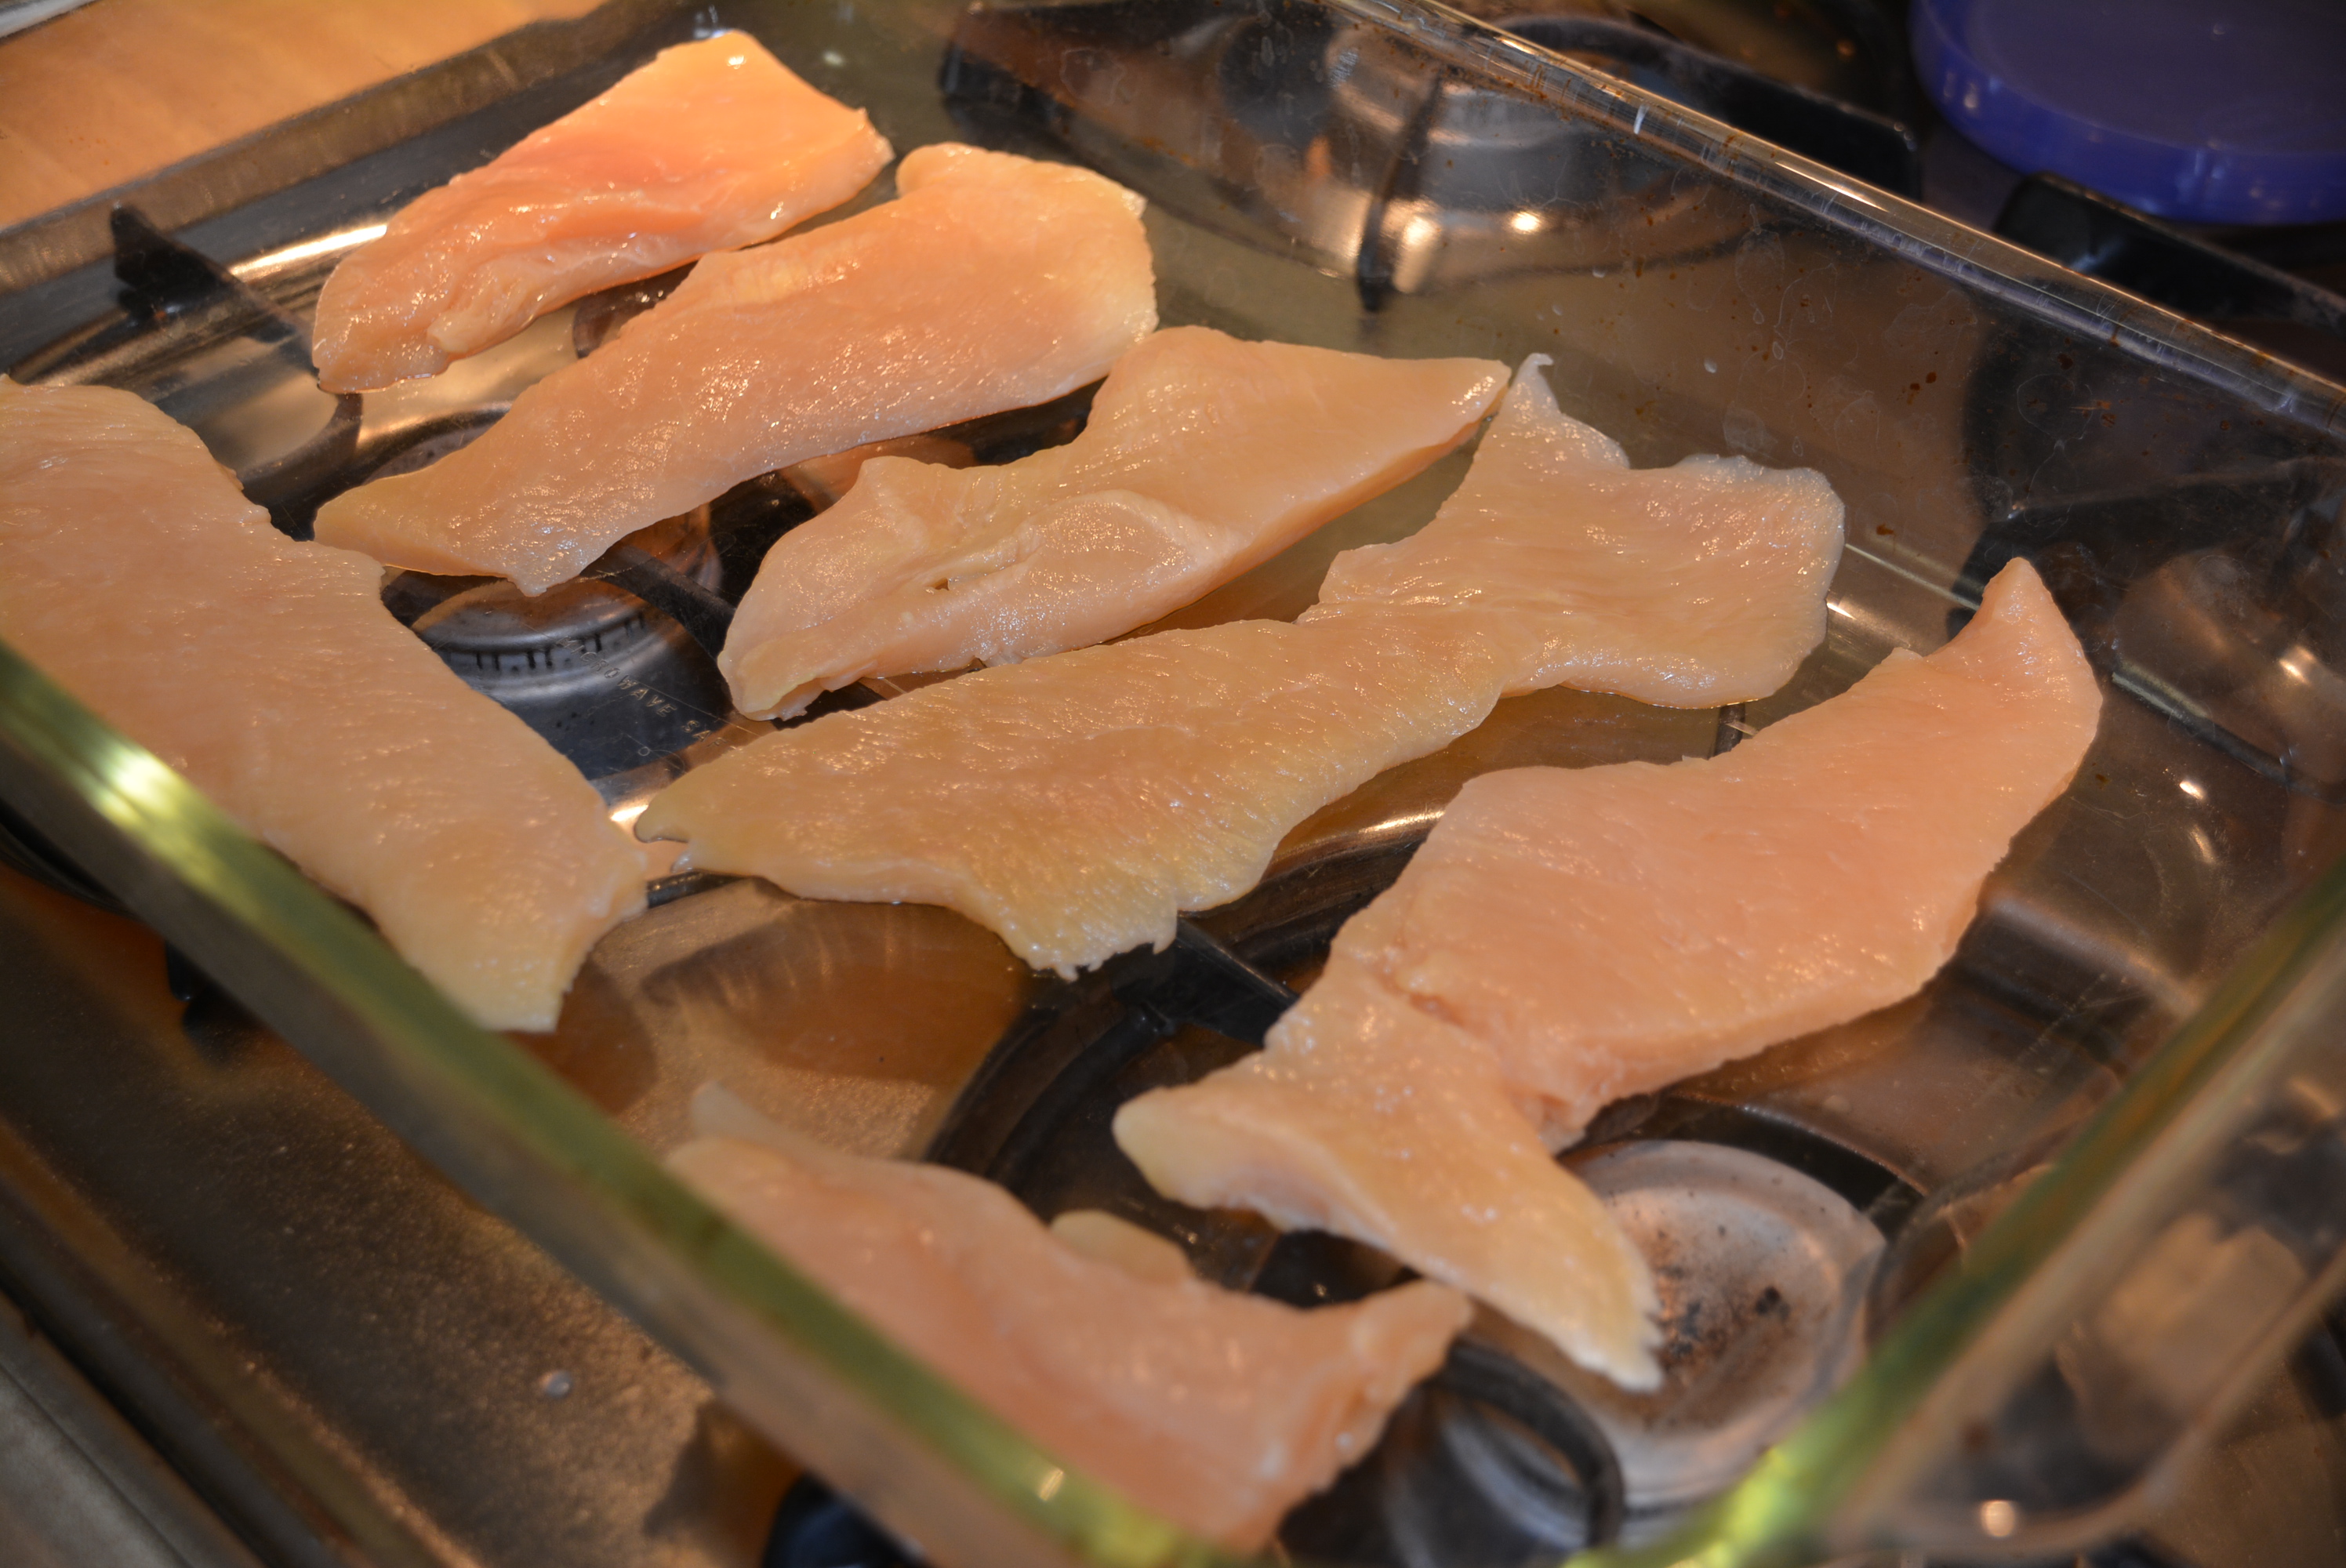
- Clean and trim 1 1/2 lb skinless chicken breasts before adding them to a baking dish.
- Combine 1/2 cup of any gluten free variety of Hellmann’s Mayonnaise and 1/4 cup grated Parmesan cheese (I do this right in my measuring cup, measuring the mayo first and guesstimating the parmesan cheese on top. Less dishes=happy mommy). As far as the mayo, I really like the Olive Oil version, but I usually use either the regular or light options, all of which state gluten free on the label.
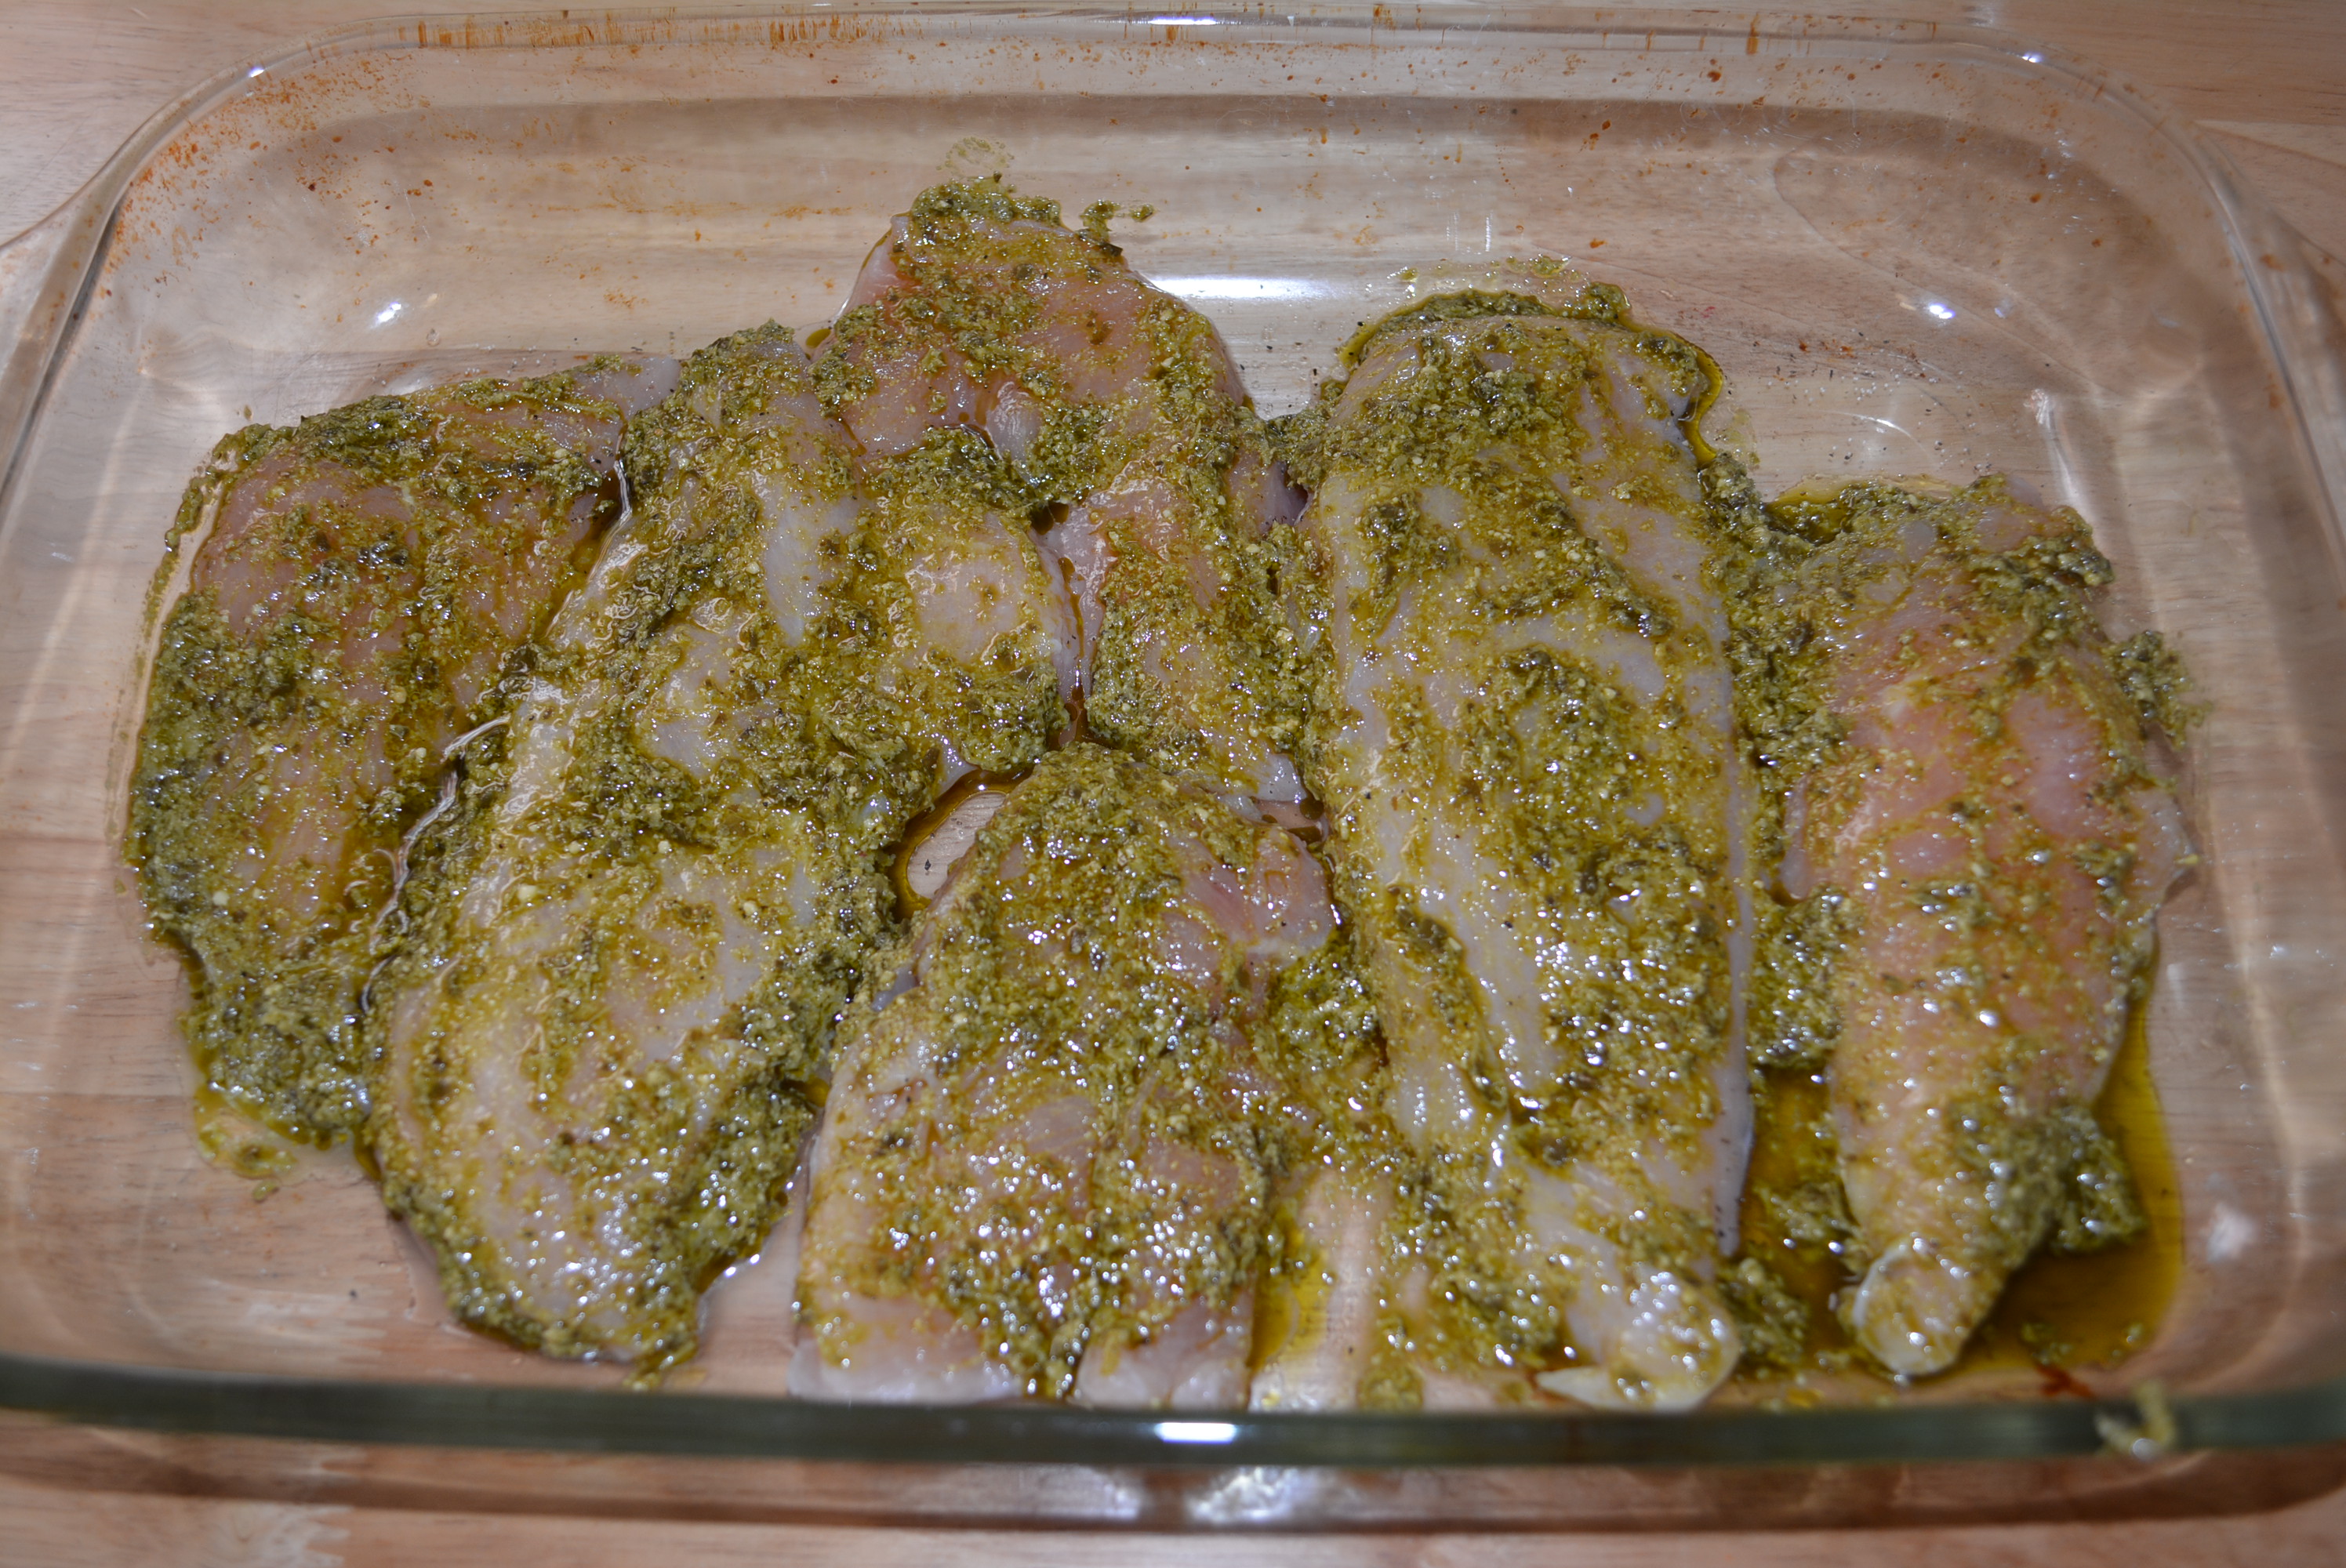
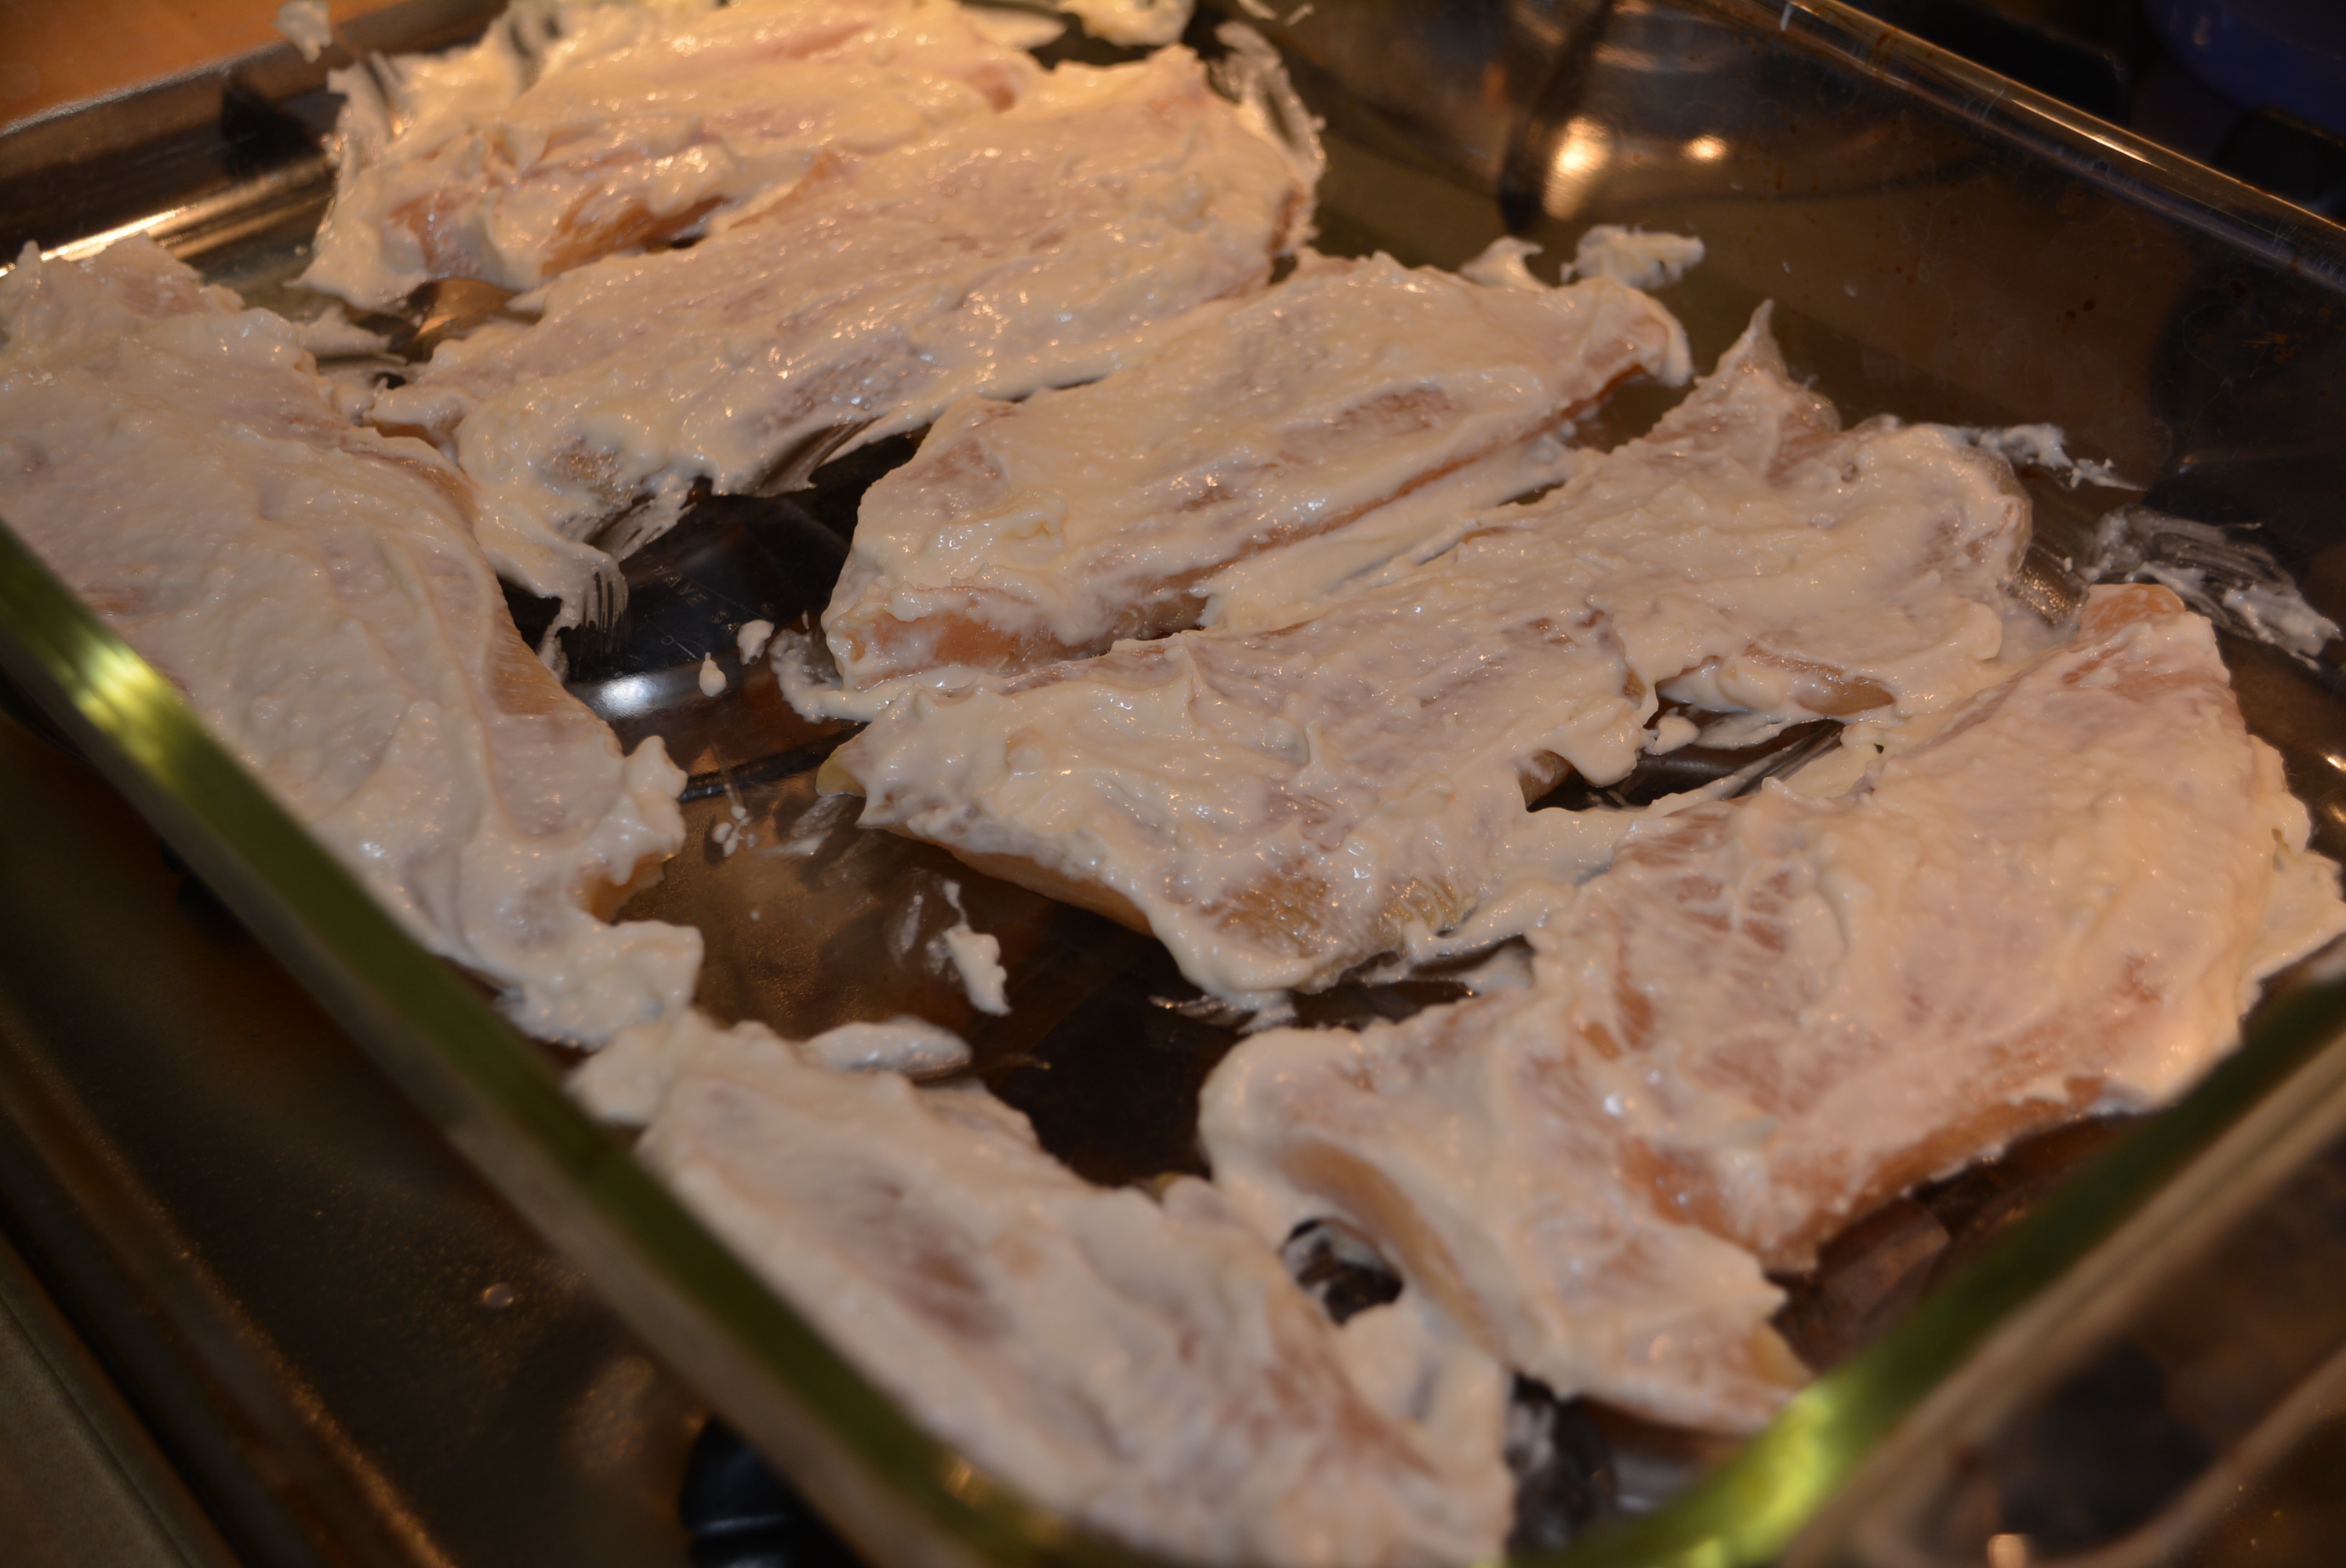
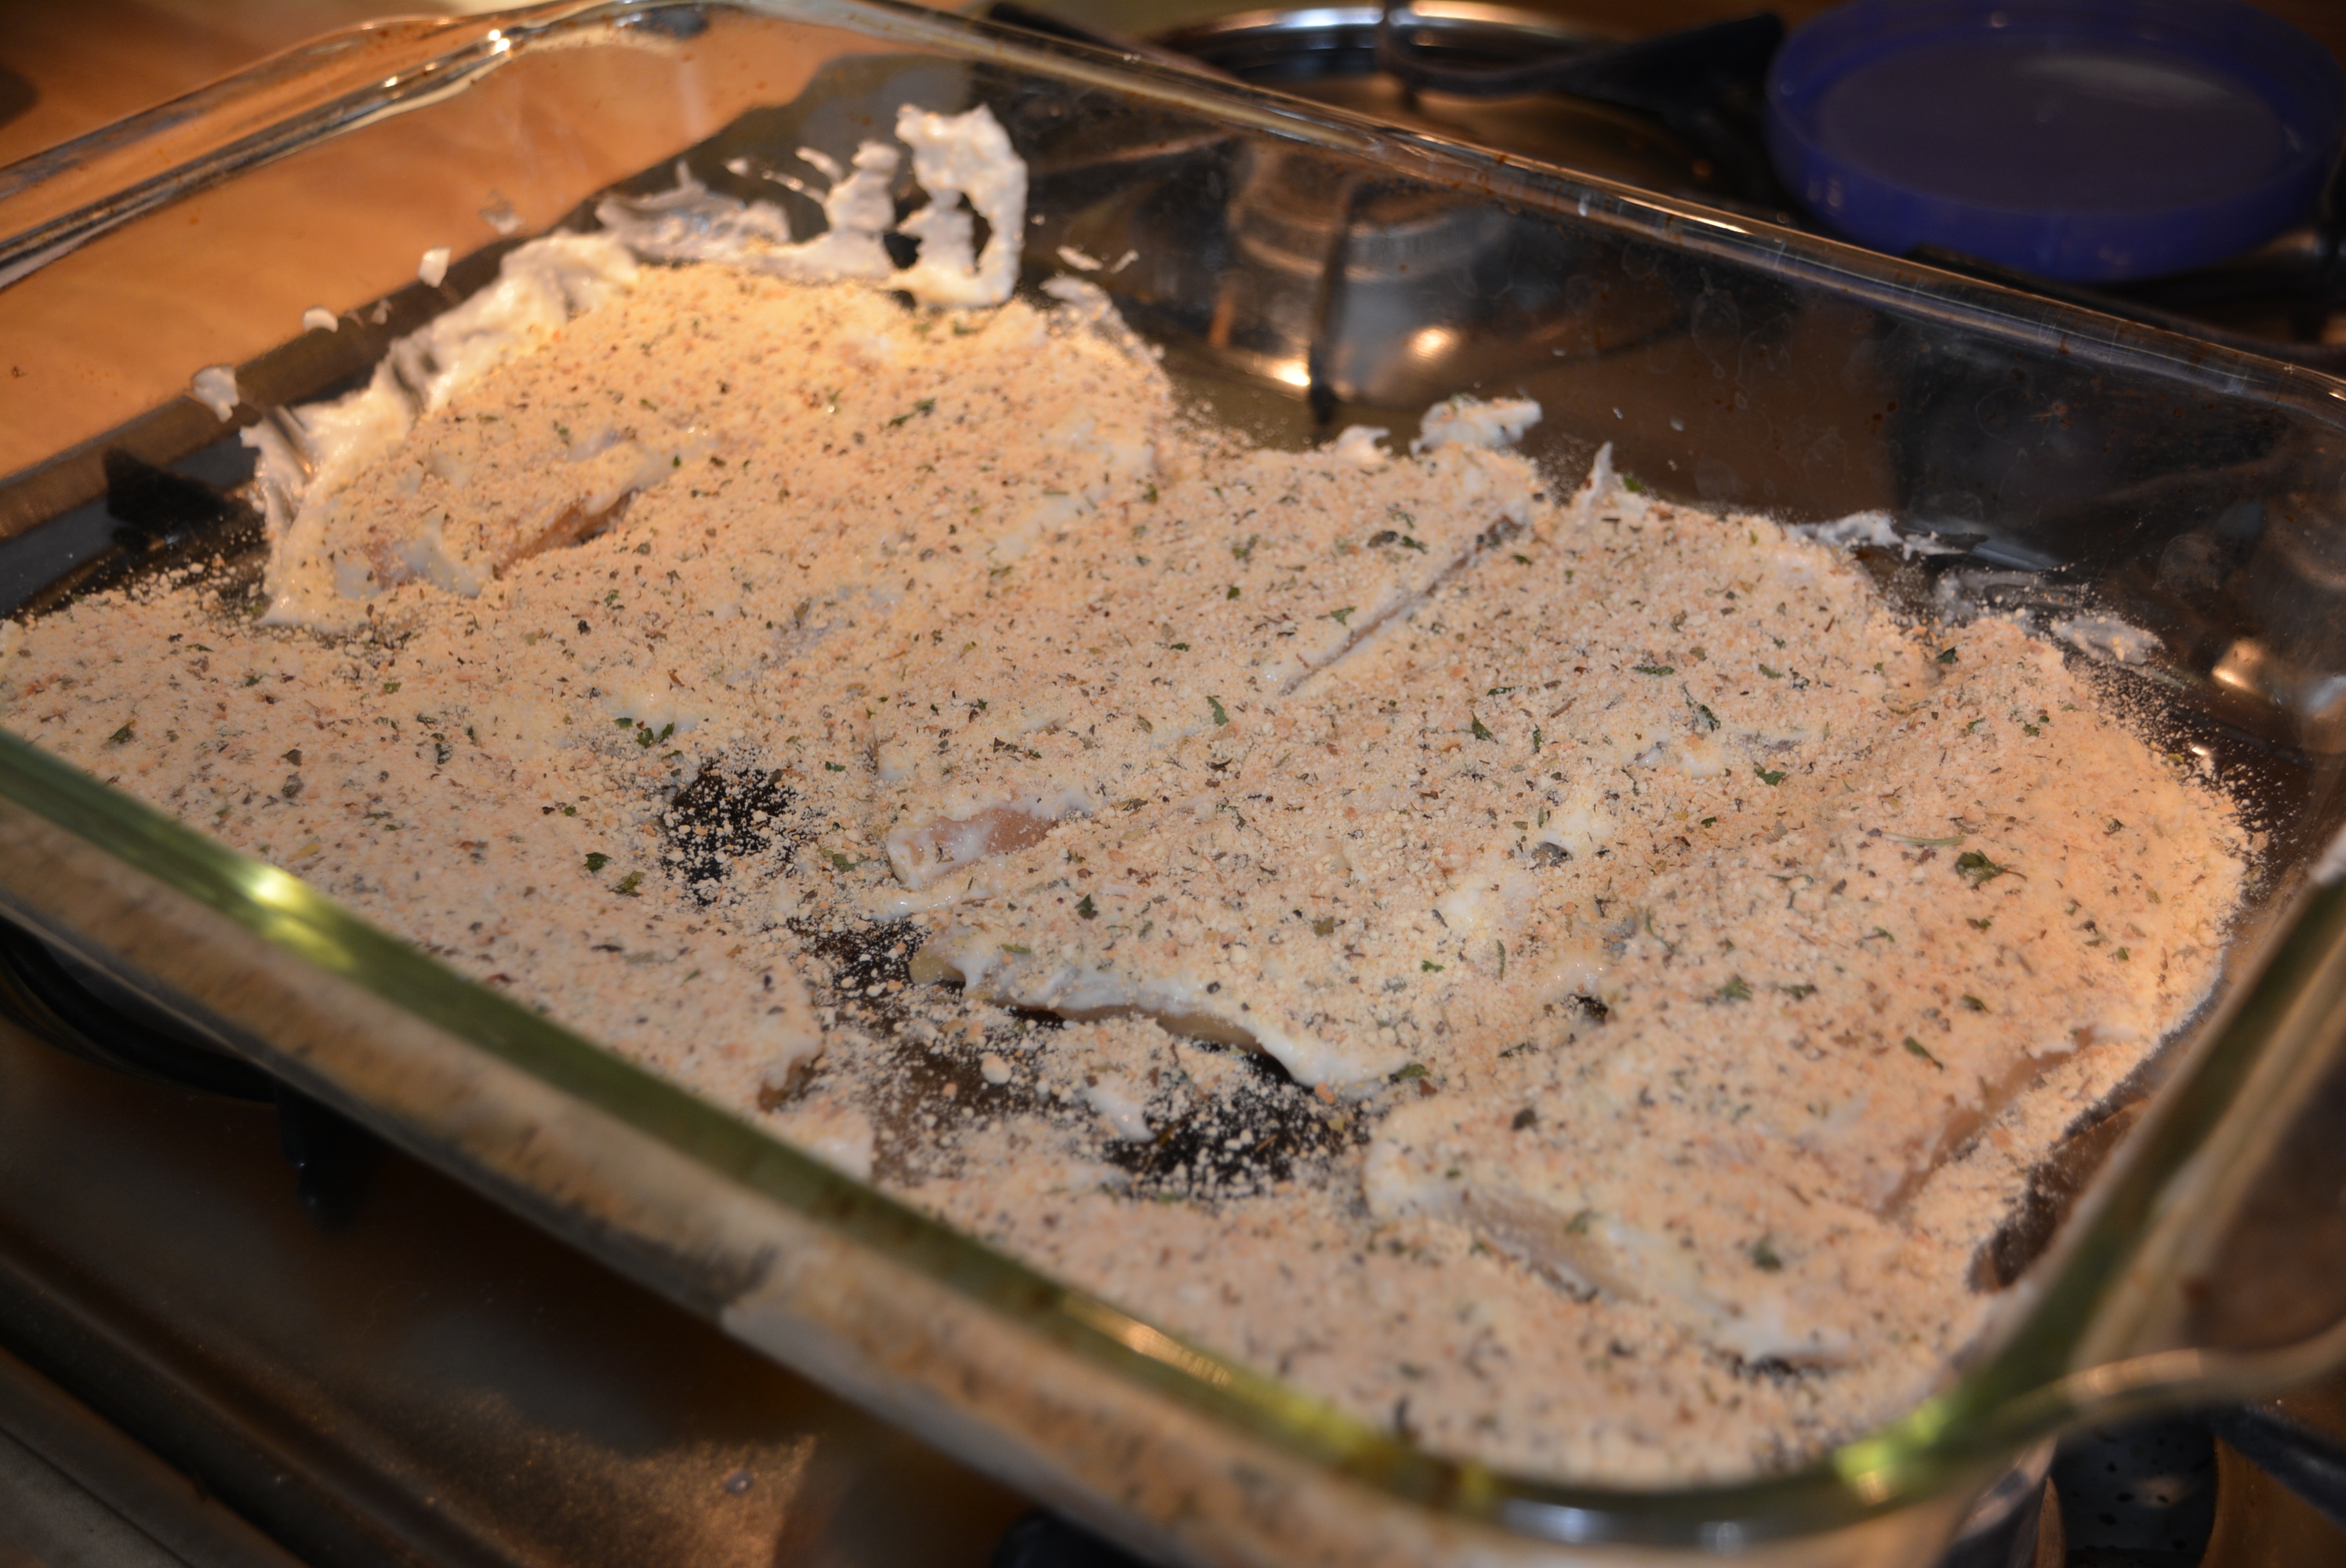
- After mayo and cheese have been mixed together, spoon mixture on top of chicken breasts and spread evenly across each piece of chicken (I just use the back of the spoon for this part).
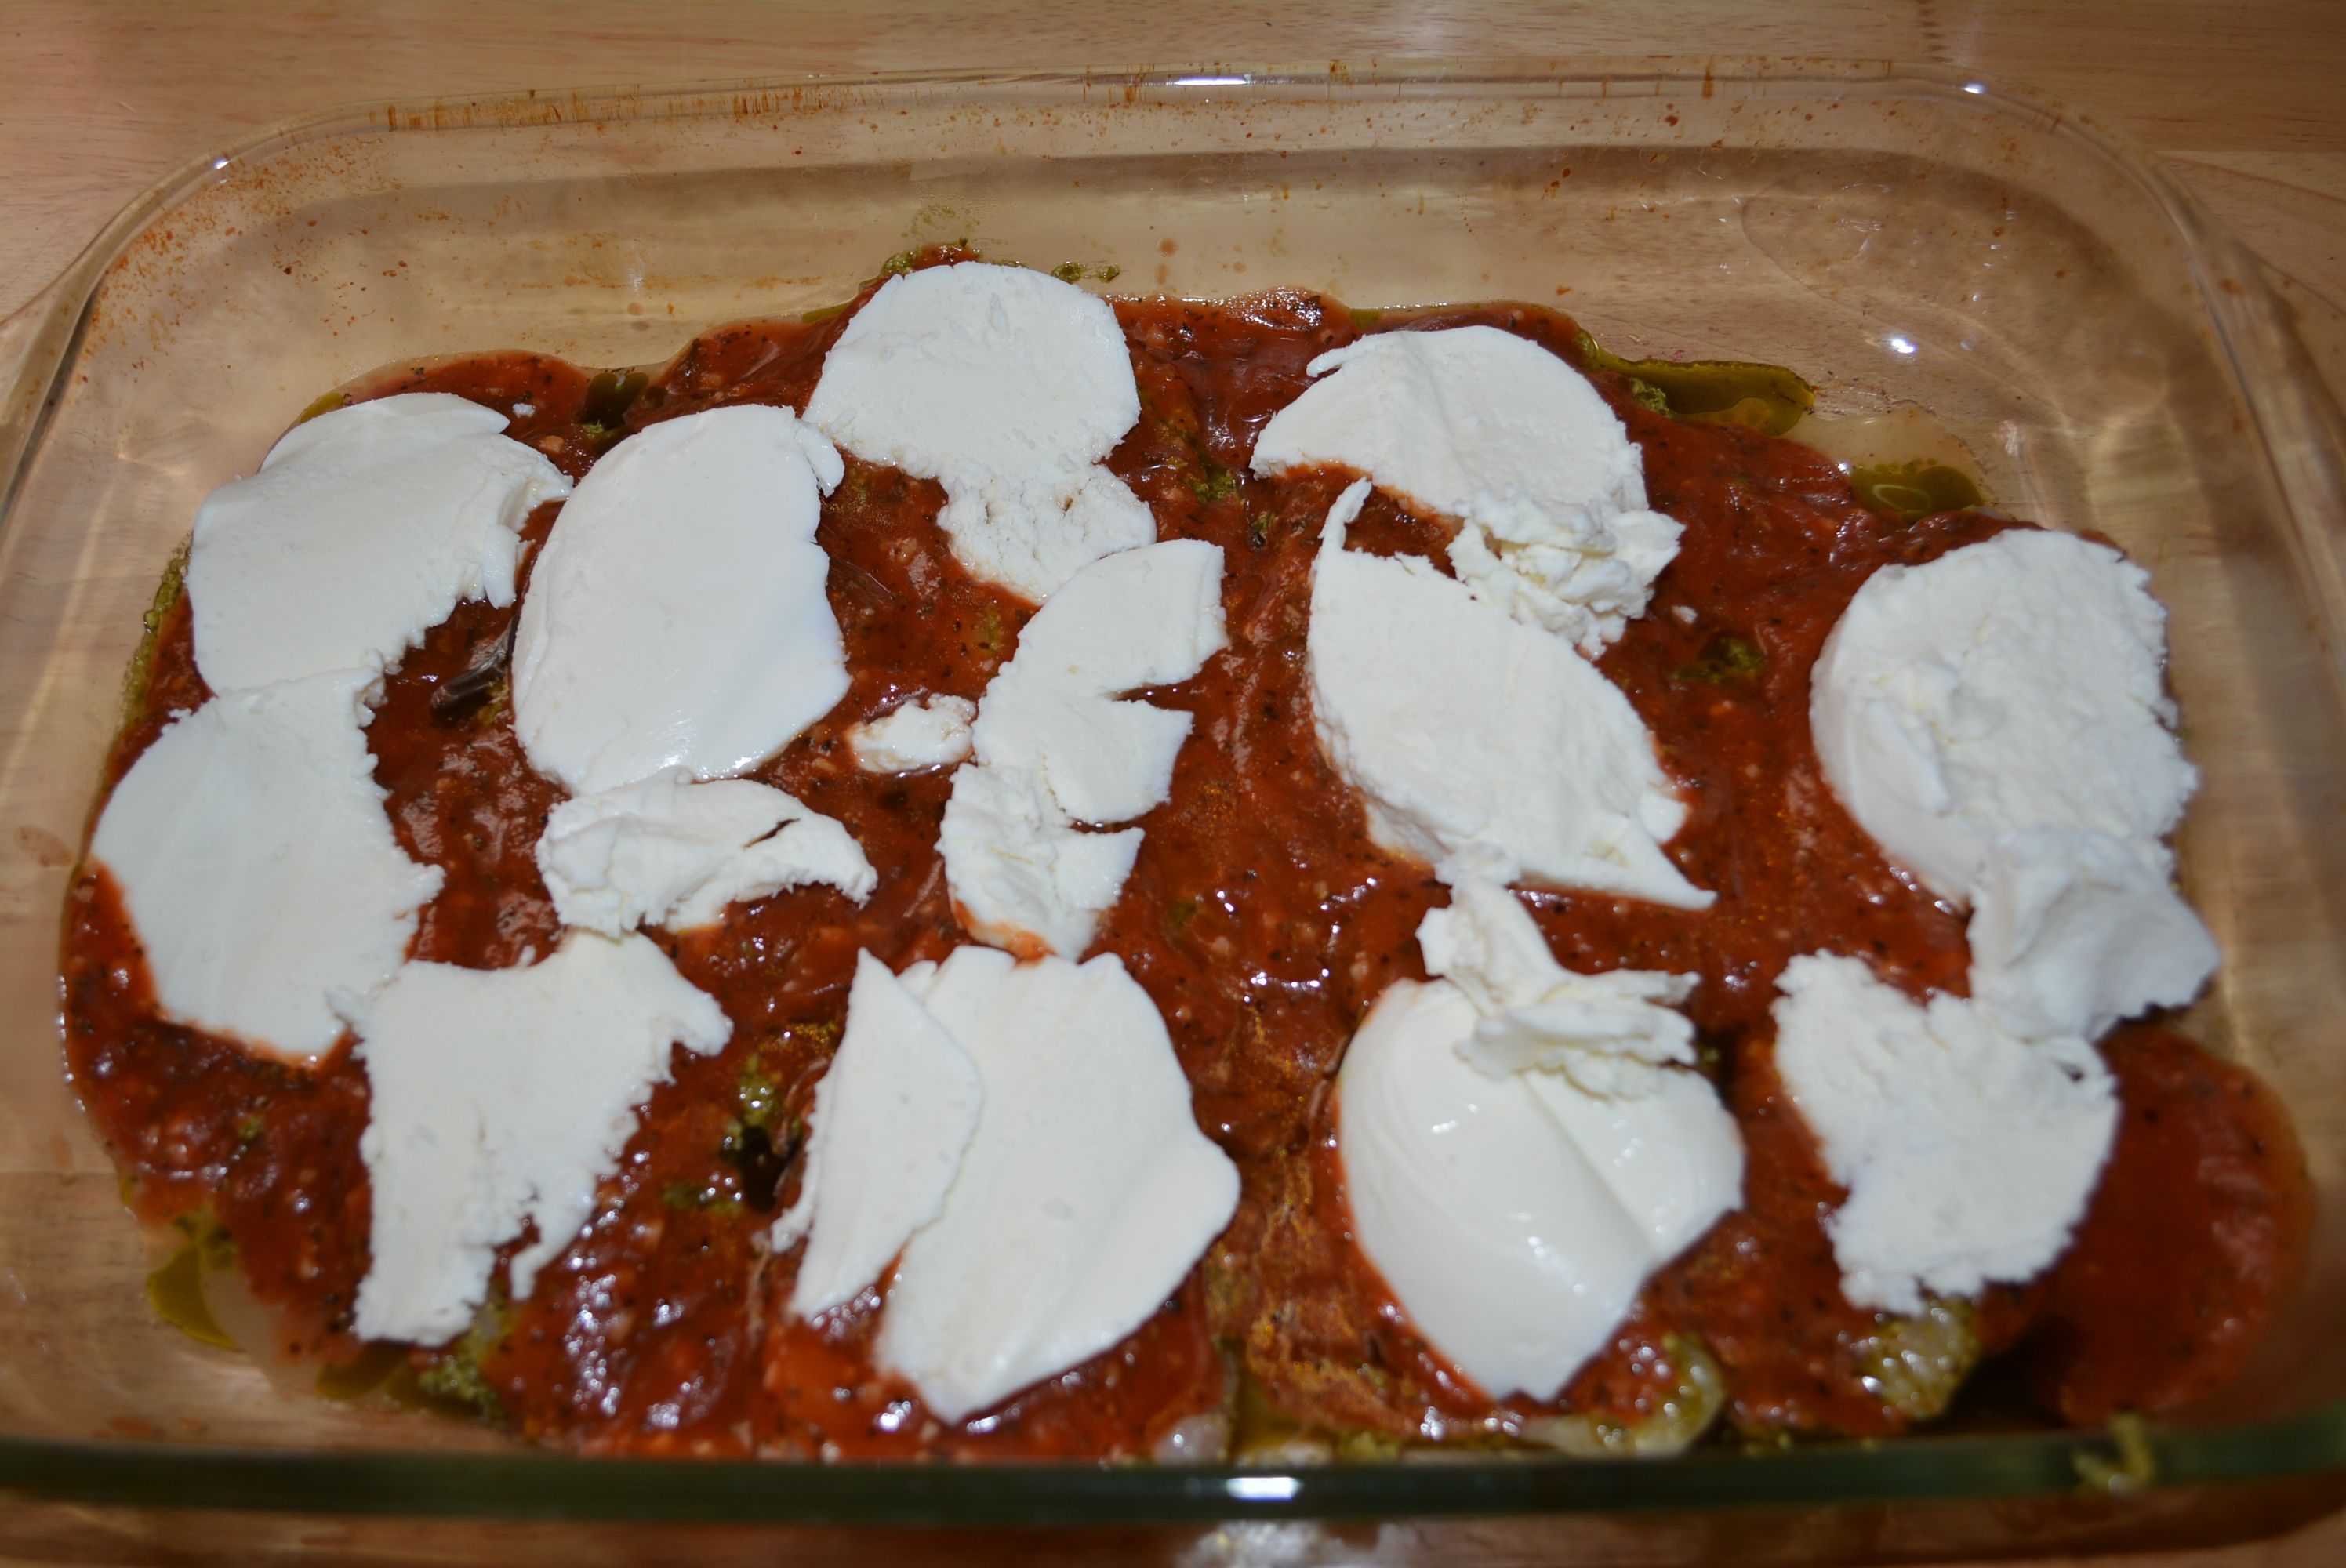
- Once each piece has been coated with the mayo/parmesan mixture, sprinkle seasoned gluten free bread crumbs on top of chicken, making sure that all pieces are fully coated in bread crumbs.
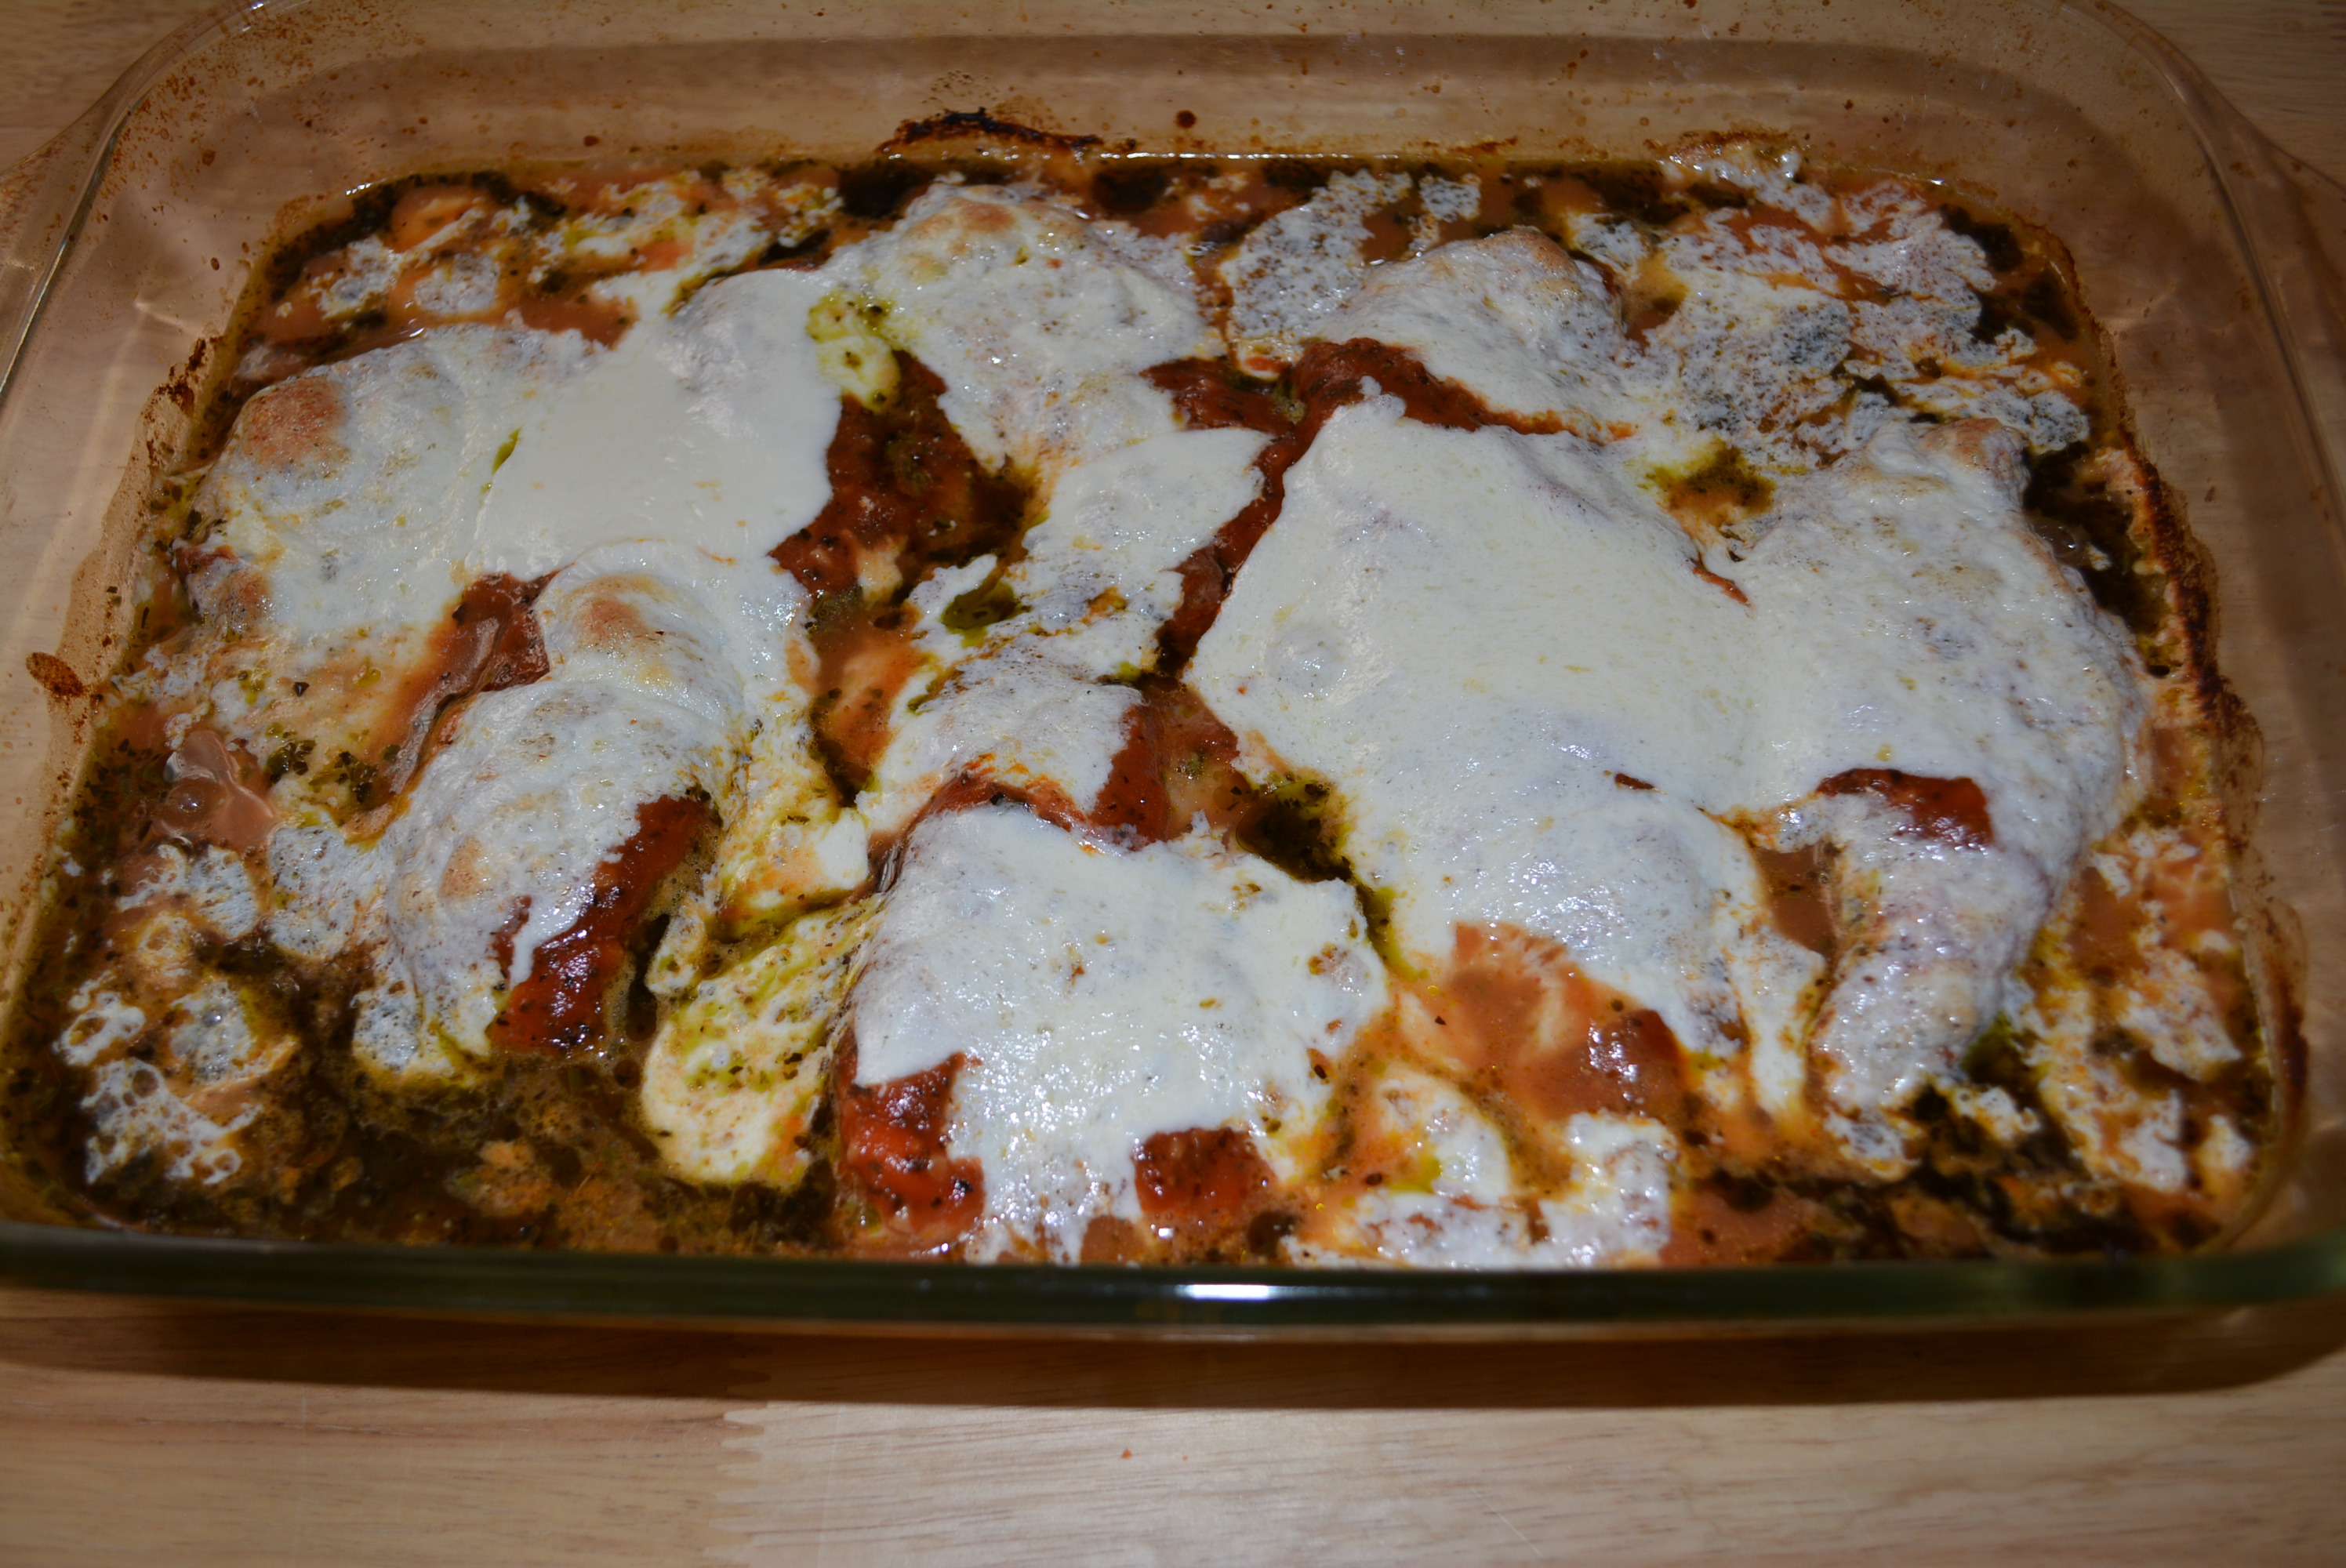
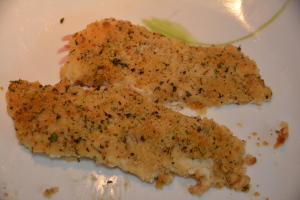
- Bake chicken for about 20 minutes at 425 degrees until chicken is cooked all the way through.

- Enjoy!
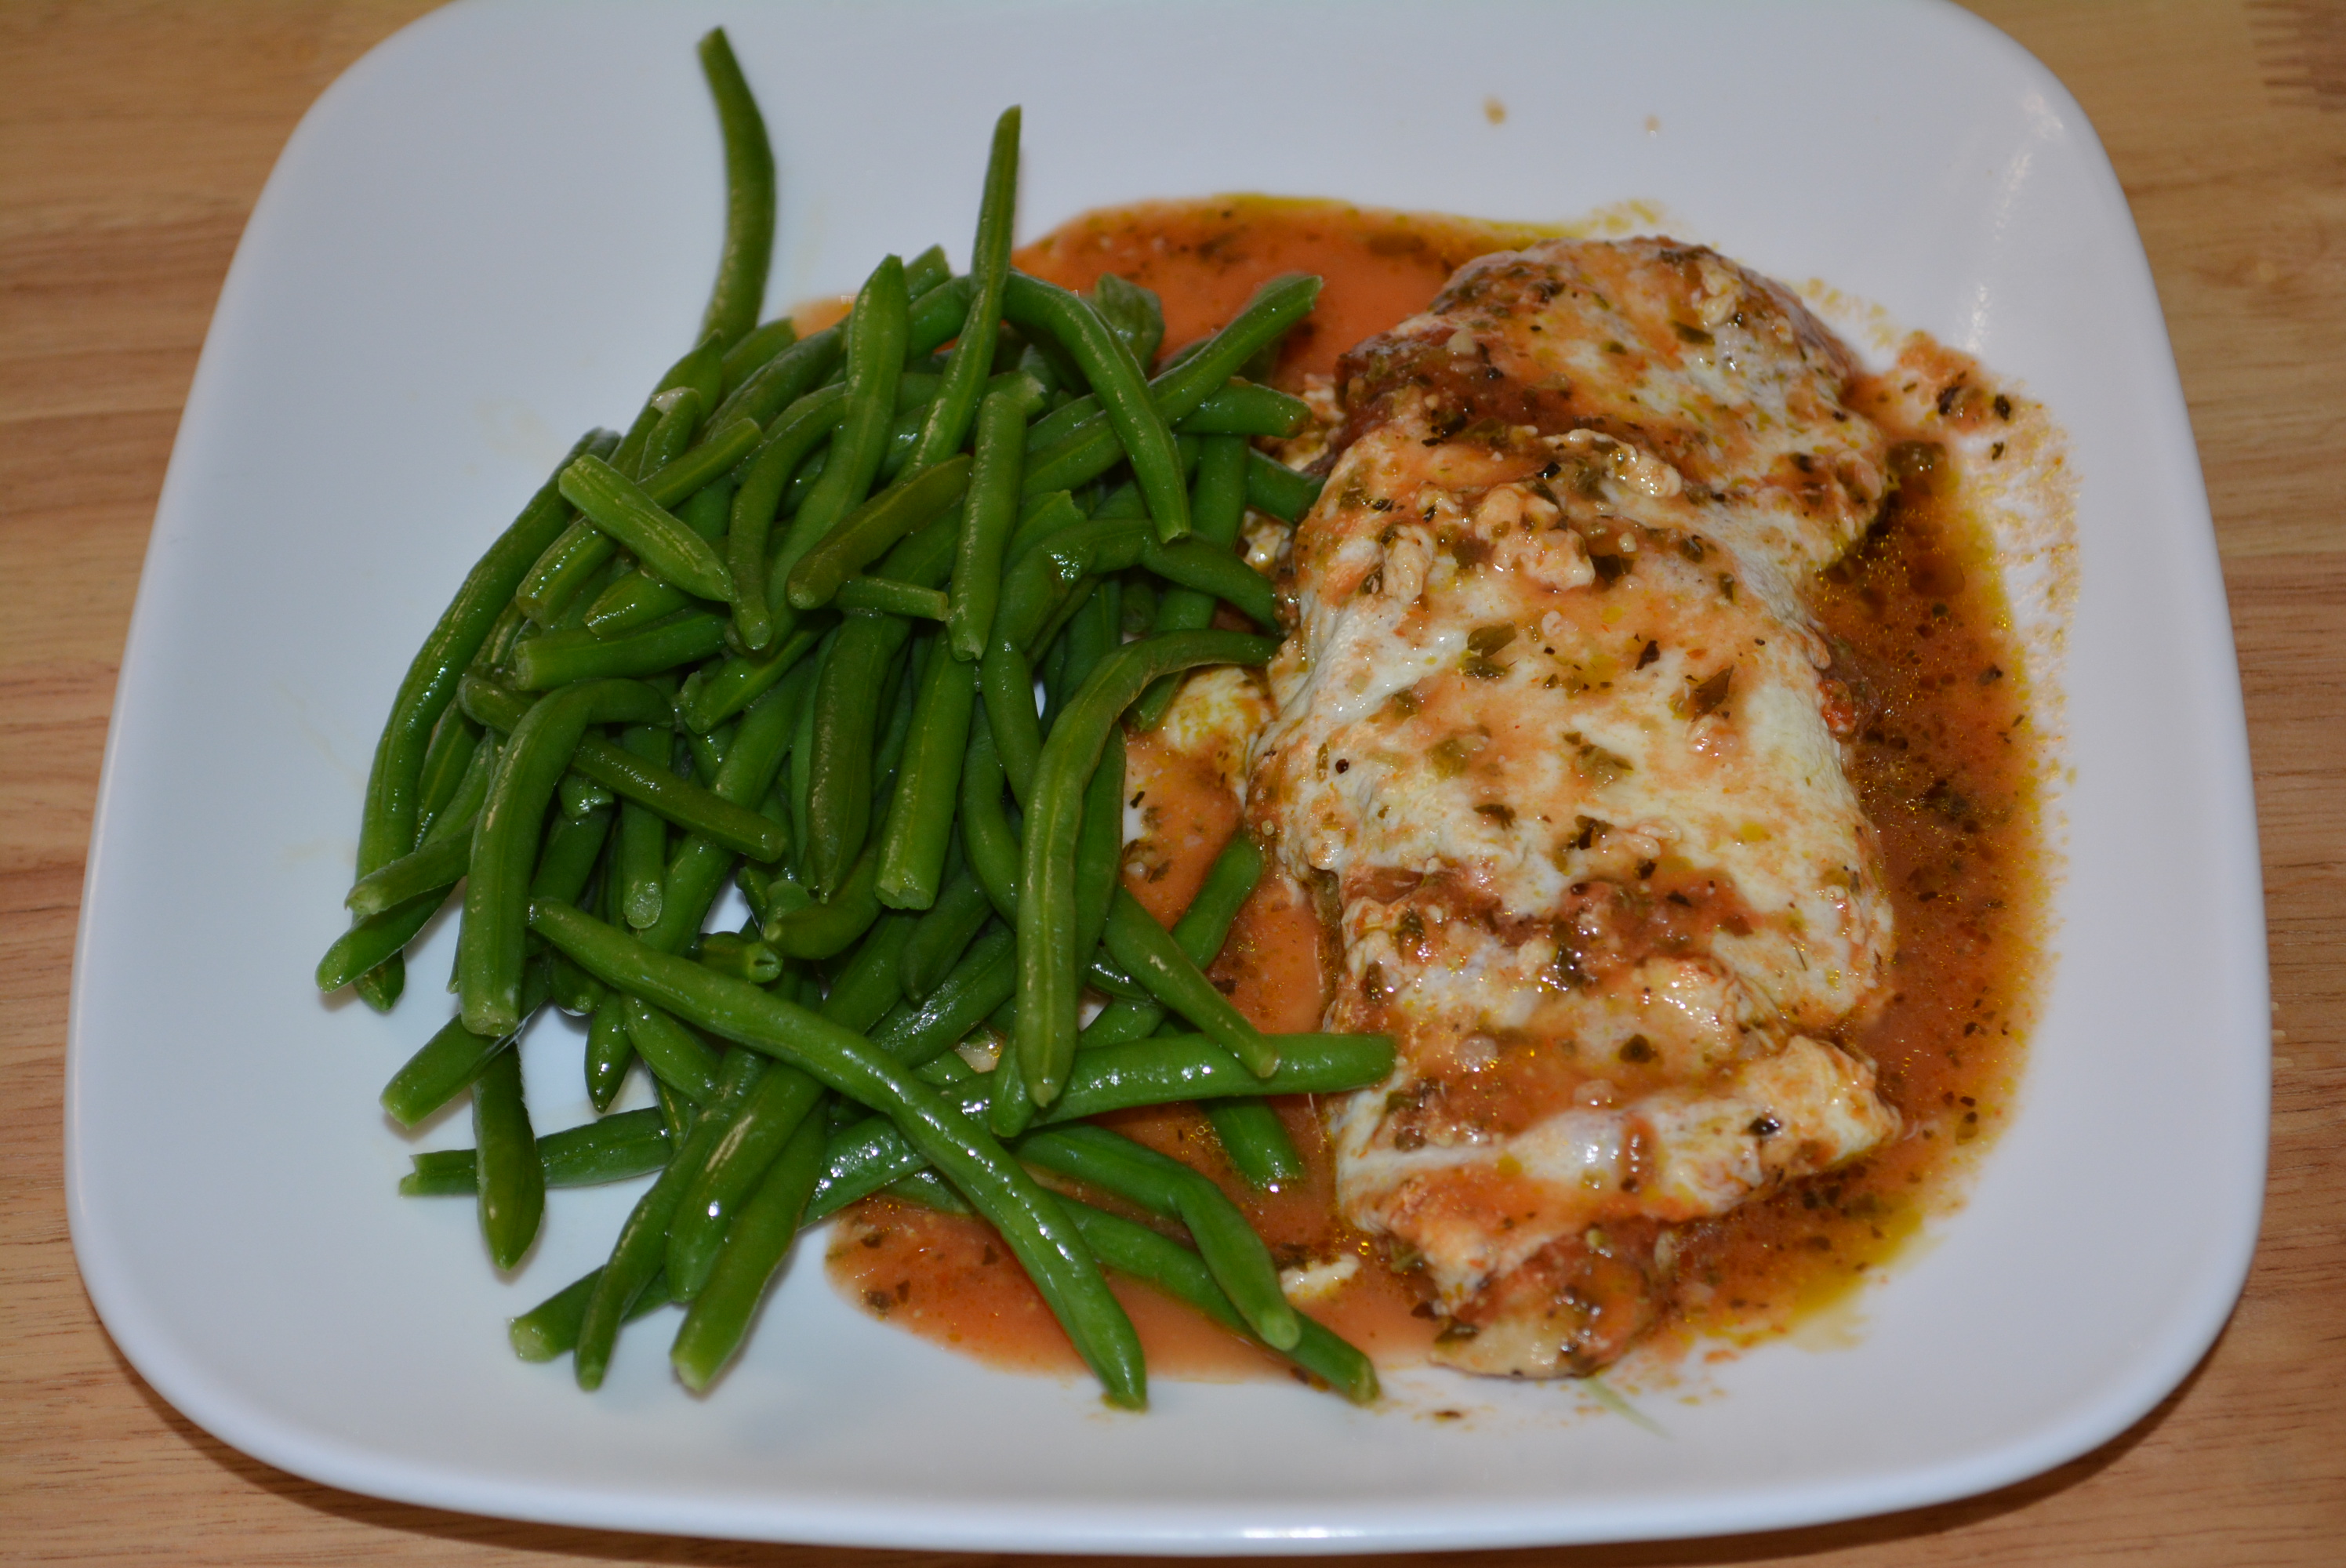
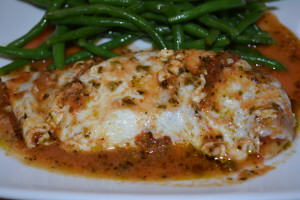
Easy right? Just four ingredients, 10 minutes of prep, and 20 minutes to bake and you have a tasty and healthy dinner on the table. And let me promise you, it’s just as tasty as it looks. The bread crumbs on the outside crisp up just a little while the inside of the chicken gets really flavorful and juicy. A favorite for us for sure! Thanks so much to Hellmann’s for this idea because this makes some amazing gluten free chicken!
Sincerely,
Lindsay
- 1/2 cup Hellmann's Mayonnaise (Most varieties are gluten free which is stated on the label)
- 1/4 cup grated Parmesan cheese
- 1 1/2 lb skinless chicken breasts
- Seasoned gluten free bread crumbs, about 4-5 tbsp (I season my own Schar bread crumbs, but you can also purchase already seasoned gluten free bread crumbs like Gillian's too.)
- Preheat oven to 425 degrees.
- Clean and trim 1 1/2 lb skinless chicken breasts before adding them to a baking dish.
- Combine 1/2 cup of any gluten free variety of Hellmann's Mayonnaise and 1/4 cup grated Parmesan cheese (I do this right in my measuring cup, measuring the mayo first and guesstimating the parmesan cheese on top. Less dishes=happy mommy). As far as the mayo, I really like the Olive Oil version, but I usually use either the regular or light options, all of which state gluten free on the label.
- After mayo and cheese have been mixed together, spoon mixture on top of chicken breasts and spread evenly across each piece of chicken (I just use the back of the spoon for this part.
- Once each piece has been coated with the mayo/parmesan mixture, sprinkle seasoned gluten free bread crumbs on top of chicken, making sure that all pieces are fully coated in bread crumbs.
- Bake chicken for about 20 minutes at 425 degrees until chicken is cooked all the way through.
- Enjoy!