Gluten Free Pasta With Crispy Prosciutto And Roasted Tomatoes In A Basil Cheese Sauce Recipe

Pasta night is a must on our weekly calender. Whether there’s a request for lasagna, penne with a pesto cream sauce, or macaroni and cheese, it never fails, pasta night is one of our favorites! When Barilla released its new gluten free line of pastas, I decided to take a look at their website to learn a bit more on what their new offerings were. While I was there, I took a look at their recipe tab and boy was I glad I did! There I came across a recipe that seemed to put together everything that we like, pasta, basil, prosciutto, roasted tomatoes, and best yet parmigiano reggiano cheese. After I adjusted a few things for my own personal liking, the dish was ready to enjoy and did we ever! My 15 month old keeps surprising me with how adventurous her palate is, certainly not like her picky mommy. She devoured her portion and even enjoyed leftovers the next day for lunch so I guess I can add a couple more items to her list of keeper foods! This recipe is certainly a people pleaser! 

Ingredients:

  • 12 oz box of gluten free elbow pasta (I used Barilla)
  • 5-6 plum tomatoes quartered 
  • 1/2 cup (and a few extra tbsp for cooking) extra virgin olive oil (I use Pompeiian) 
  • 1 heaping tbsp minced garlic
  • 1/2 cup Parmigiano Reggiano cheese (Alternatively, you can use Colonna Grated Parmesan which is gluten free according to the website.)
  • 1/4 lb prosciutto chopped up into small pieces (My local grocer’s store brand prosciutto is marked gluten free, choose whichever brand is gluten free and available at your store.)
  • 10 basil leaves
  • 2 cups arugula (I prefer to cut into smaller pieces, you can leave this whole)
  • Salt and pepper to taste
Gluten Free Prosciutto Pasta
Gluten Free Pasta With Prosciutto Ingredients

Directions: 

  • Preheat oven to 425 degrees.
  • Prepare herbs and prosciutto.
  • Begin to heat a large pot of salted water for pasta.
  • While water is heating up, quarter 5-6 plum tomatoes and toss in olive oil. Season with salt and pepper and add to baking tray. Roast in the oven for about 10 minutes until tender. 
  • To a large saute pan, heat two tbsp olive oil and add chopped prosciutto. Cook prosciutto at low heat until it becomes crispy and light brown. When the prosciutto is finished, add to a bowl and cover to keep warm. 
  • To large saute pan, add 2 tbsp of olive oil and 1 heaping tbsp of minced garlic. Cook garlic at low heat for about 2 minutes until it turns slightly yellow in color. 
  • Remove garlic, combine with roasted tomatoes when they are finished cooking, and set aside. At this point, I like to cut the quartered tomatoes into smaller bite-size pieces but this optional.
  • Water should now be boiling, add 12 oz of elbow pasta (whole box of Barilla pasta) and cook according to directions on box. 
  • In a blender, blend 10 basil leaves, 1/2 cup of cheese, and season with salt and pepper. While blending, add 1/2 cup olive oil, mix until all combined, and set aside. 
  • Once pasta is finished cooking, drain and add pasta to saute pan and toss with the garlic and roasted tomatoes on low heat.
  • Add the basil and cheese sauce, crispy prosciutto, and 2 cups arugula to the pasta and combine. 
fdsfsdfs
Combine all ingredients and add to serving dish.
  • Once all of the pasta is coated with sauce, add to serving dish, sprinkle with parmigiano reggiano cheese and enjoy!
Prosc Pasta Recipe Blog Pics (4)
Sprinkle with parmigiano reggiano cheese!

The combination of roasted tomatoes and crispy prosciutto complements the Barilla elbow pasta perfectly! My favorite part of the dish is the basil and cheese sauce which adds a wonderful creamy element. I am certainly a fan of creamy pasta sauces but must say they can be quite heavy so this a fantastic alternative. The homemade basil sauce is incredibly light thanks to the fresh basil and extra virgin olive oil and would be a perfect addition on many other dishes! One of the best parts of the dish though is the superior pasta that Barilla provides! The taste and texture are perfection and have not let me down yet in any of my dishes including this one! 

TIP: When I prepare this dish I usually make a regular version for my daughter and husband as well as a gluten free version for myself. If you’d like to do this, just simply prepare about 6 oz of each type of pasta separately and keep all of the add-ins separate when preparing. When you’re ready to mix in the sauce and add-ins just simply get two saute pans, add each pasta into whichever pan (keep track of which is which, I like to use a different shape pasta for the regular one so it’s easier), and divide each topping in half between the two pans. It’s easy to split the recipe like this and saves your more costly gluten free pasta, just follow all of the preparation directions in the recipe and be very careful of cross contamination.  

Sincerely,

Lindsay

Gluten Free Pasta With Crispy Prosciutto And Roasted Tomatoes
Gluten free pasta mixed with arugula, prosciutto, and roasted tomatoes, topped with a creamy basil and cheese sauce!
Write a review
Print
Ingredients
  1. 12 oz box of gluten free elbow pasta (I used Barilla.)
  2. 5-6 plum tomatoes quartered
  3. 1/2 cup (and a few extra tbsp for cooking) extra virgin olive oil (I use Pompeiian which states gluten free on their label.)
  4. 1 heaping tbsp minced garlic
  5. 1/2 cup Parmigiano Reggiano cheese (Can use Colonna Grated Parmesan which is gluten free according to their website.)
  6. 1/4 lb prosciutto chopped up into small pieces (My local grocer's store brand prosciutto is marked gluten free, choose whichever brand is gluten free and available at your store.)
  7. 10 basil leaves
  8. 2 cups arugula (I prefer to cut into smaller pieces but you can leave this whole.)
  9. Salt and pepper to taste
Instructions
  1. Preheat oven to 425 degrees.
  2. Prepare herbs and prosciutto.
  3. Begin to heat a large pot of salted water for pasta.
  4. While water is heating up, quarter 5-6 plum tomatoes and toss in olive oil. Season with salt and pepper and add to baking tray. Roast in the oven for about 10 minutes until tender.
  5. To a large saute pan, heat two tbsp olive oil and add chopped prosciutto. Cook prosciutto at low heat until it becomes crispy and light brown. When the prosciutto is finished, add to a bowl and cover to keep warm.
  6. To large saute pan, add 2 tbsp of olive oil and 1 heaping tbsp of minced garlic. Cook garlic at low heat for about 2 minutes until it turns slightly yellow in color.
  7. Remove garlic, combine with roasted tomatoes when they are finished cooking, and set aside. I like to cut tomatoes into bite-size pieces that can be mixed throughout.
  8. Water should now be boiling, add 12 oz of elbow pasta (whole box of Barilla pasta) and cook according to directions on box.
  9. In a blender, blend 10 basil leaves, 1/2 cup of cheese, and season with salt and pepper. While blending, add 1/2 cup olive oil, mix until all combined, and set aside.
  10. Once pasta is finished cooking, drain and add pasta to saute pan and toss with the garlic and roasted tomatoes on low heat.
  11. Add the basil and cheese sauce, crispy prosciutto, and 2 cups arugula to the pasta and combine.
  12. Once all of the pasta is coated with sauce, add to serving dish, sprinkle with parmigiano reggiano cheese and enjoy!
Adapted from Barilla
Gluten Free Mom To Be http://www.glutenfreemomtobe.com/

New Schar Coupon!


Another Schar coupon has been released and this time on coupons.com. Even better news….it can be used for any product that you choose! So get your $1 coupon here today and remember to print it twice!

Sincerely,

Lindsay

My Favorite Gluten Free Easter Dishes: Deviled Eggs

After an extremely long winter, Easter is only three short weeks away. This year my husband, daughter, and myself are hosting the holiday and couldn’t be more excited. I always look forward to planning birthday parties, events, and now this upcoming holiday. Hopefully the weather becomes more Springlike by then to allow for the traditional Easter egg hunt for the kiddies, which yay my little one will be old enough join in this year! But until then, I’ll be planning out the menu and trying out different gluten free as well as other allergen free dishes for my poor little nephew who is allergic to practically every food. Along with the coleslaw, we traditionally put out a big plate of deviled eggs, one of my personal favorites and with only a few ingredients I can easily make these gluten free. So for today’s Easter dish, I’m introducing you to a side that I make year round and on holidays, they’re just that delicious!

Recipe makes 1 dozen deviled eggs.

Ingredients:

  • 6 large eggs
  • 2 heaping tbsp light mayonnaise (Hellmann’s is gluten free)
  • 1 full tsp yellow mustard (French’s is gluten free)
  • paprika for dusting tops of eggs (optional)
  • salt for boiling eggs
Deviled egg ingredients.


Directions:

  • To a large pot of water, add 6 large eggs and sprinkle salt (this helps egg shells to peel off easily).
Add eggs to pot of water before you begin to heat.
  • Bring water to a boil and continue to heat at a boil for 10 minutes. 
Once water has boiled, allow eggs to continue to be heated for 10 minutes.
  • After 10 minutes at a boil, remove from heat and let stand in hot water for an additional 5 minutes. 
  • Pour off hot water slowly and run cool water over eggs until eggs are cool enough to handle.
  • Tap each egg causing shell to crack and then gently peel shell from egg. This is where the salted water is key, the salt loosens the shell from the egg allowing for easier peeling. Sometimes the shells peel very easily and others they are difficult to remove, either way peeling them under running water helps the process along.
Peel shells gently from eggs.
  • After peeling off shells, rinse each and pat dry with a paper towel ensuring all bits of shell have been removed. 
Rinse peeled eggs and pat dry on a paper towel.
  • Cut each egg vertically to create two halves.
Half each egg vertically.
  • Remove yolks from each egg, adding them to a small bowl. These may stick a bit to the egg so try using a teaspoon to gently dig them out.
Gently remove egg yolks, adding them to a small bowl.
Deviled Eggs Blog Pics (9)
Egg yolks ready to be mashed.
Deviled Eggs Blog Pics (10)
Empty eggs ready for filling.
  • Using a fork, push down and loosen yolks until small crumbs form.
Mash egg yolks with a fork.
  • To the crumbled egg yolks, mix in 2 heaping tablespoons of mayonnaise and 1 teaspoon of yellow mustard. Taste mixture, if you’d like you can add a little bit more yellow mustard if you prefer more of a mustard flavor.
Egg yolk mixture ready to be added to the empty eggs.
  • Fill empty eggs with egg yolk mixture.
Filled eggs with mayo/mustard mixture.
Filled eggs with egg yolk/mayo/mustard mixture.
  • Add a sprinkle of paprika to the tops of the eggs or enjoy as is!
To finish you can dust tops with paprika or leave them without.

These deviled eggs are so delicious, you just have to make sure that you make enough! I typically boil up a dozen eggs (double this recipe) to make enough deviled eggs for my entire family on a holiday so just adjust this recipe as needed. An added bonus, deviled eggs are a very easy side dish and use only three ingredients that we keep in our house at all times! So if you’re short on time, want a side dish that won’t break the bank, and best of all will impress all who dine, make these deviled eggs this Easter and you will definitely receive requests to make these every year after!

TIP: If I’m making these for a holiday or special occasion I typically boil up my eggs the night before and just refrigerate them overnight. By prepping the eggs the night before, I only have to put together my deviled eggs the day of and have saved myself a good 20 minutes that I desperately need for many other things. Also, if you’re taking these along with you to someone else’s house, invest in a deviled egg carrier (yes they do exist)! It doesn’t have to be fancy; in fact, I saw a covered carrier at Target in my travels this weekend for only $5. 

Sincerely,

Lindsay

Easter Deviled Eggs
Write a review
Print
Total Time
35 min
Total Time
35 min
Ingredients
  1. 6 large eggs
  2. 2 heaping tbsp light mayonnaise (Hellmann's is gluten free)
  3. 1 full tsp yellow mustard (French's is gluten free)
  4. paprika for dusting tops of eggs (optional)
  5. salt for boiling eggs
Instructions
  1. To a large pot of water, add 6 large eggs and sprinkle salt (this helps egg shells to peel off easily).
  2. Bring water to a boil and continue to heat at a boil for 10 minutes.
  3. After 10 minutes at a boil, remove from heat and let stand in hot water for an additional 5 minutes.
  4. Pour off hot water slowly and run cool water over eggs until eggs are cool enough to handle.
  5. Tap each egg causing shell to crack and then gently peel shell from egg. This is where the salted water is key, the salt loosens the shell from the egg allowing for easier peeling. Sometimes the shells peel very easily and others they are difficult to remove, either way peeling them under running water helps the process along.
  6. After peeling off shells, rinse each and pat dry with a paper towel ensuring all bits of shell have been removed.
  7. Cut each egg vertically to create two halves.
Gluten Free Mom To Be http://www.glutenfreemomtobe.com/

Weekly Highlights in the Gluten Free World 3/29/14

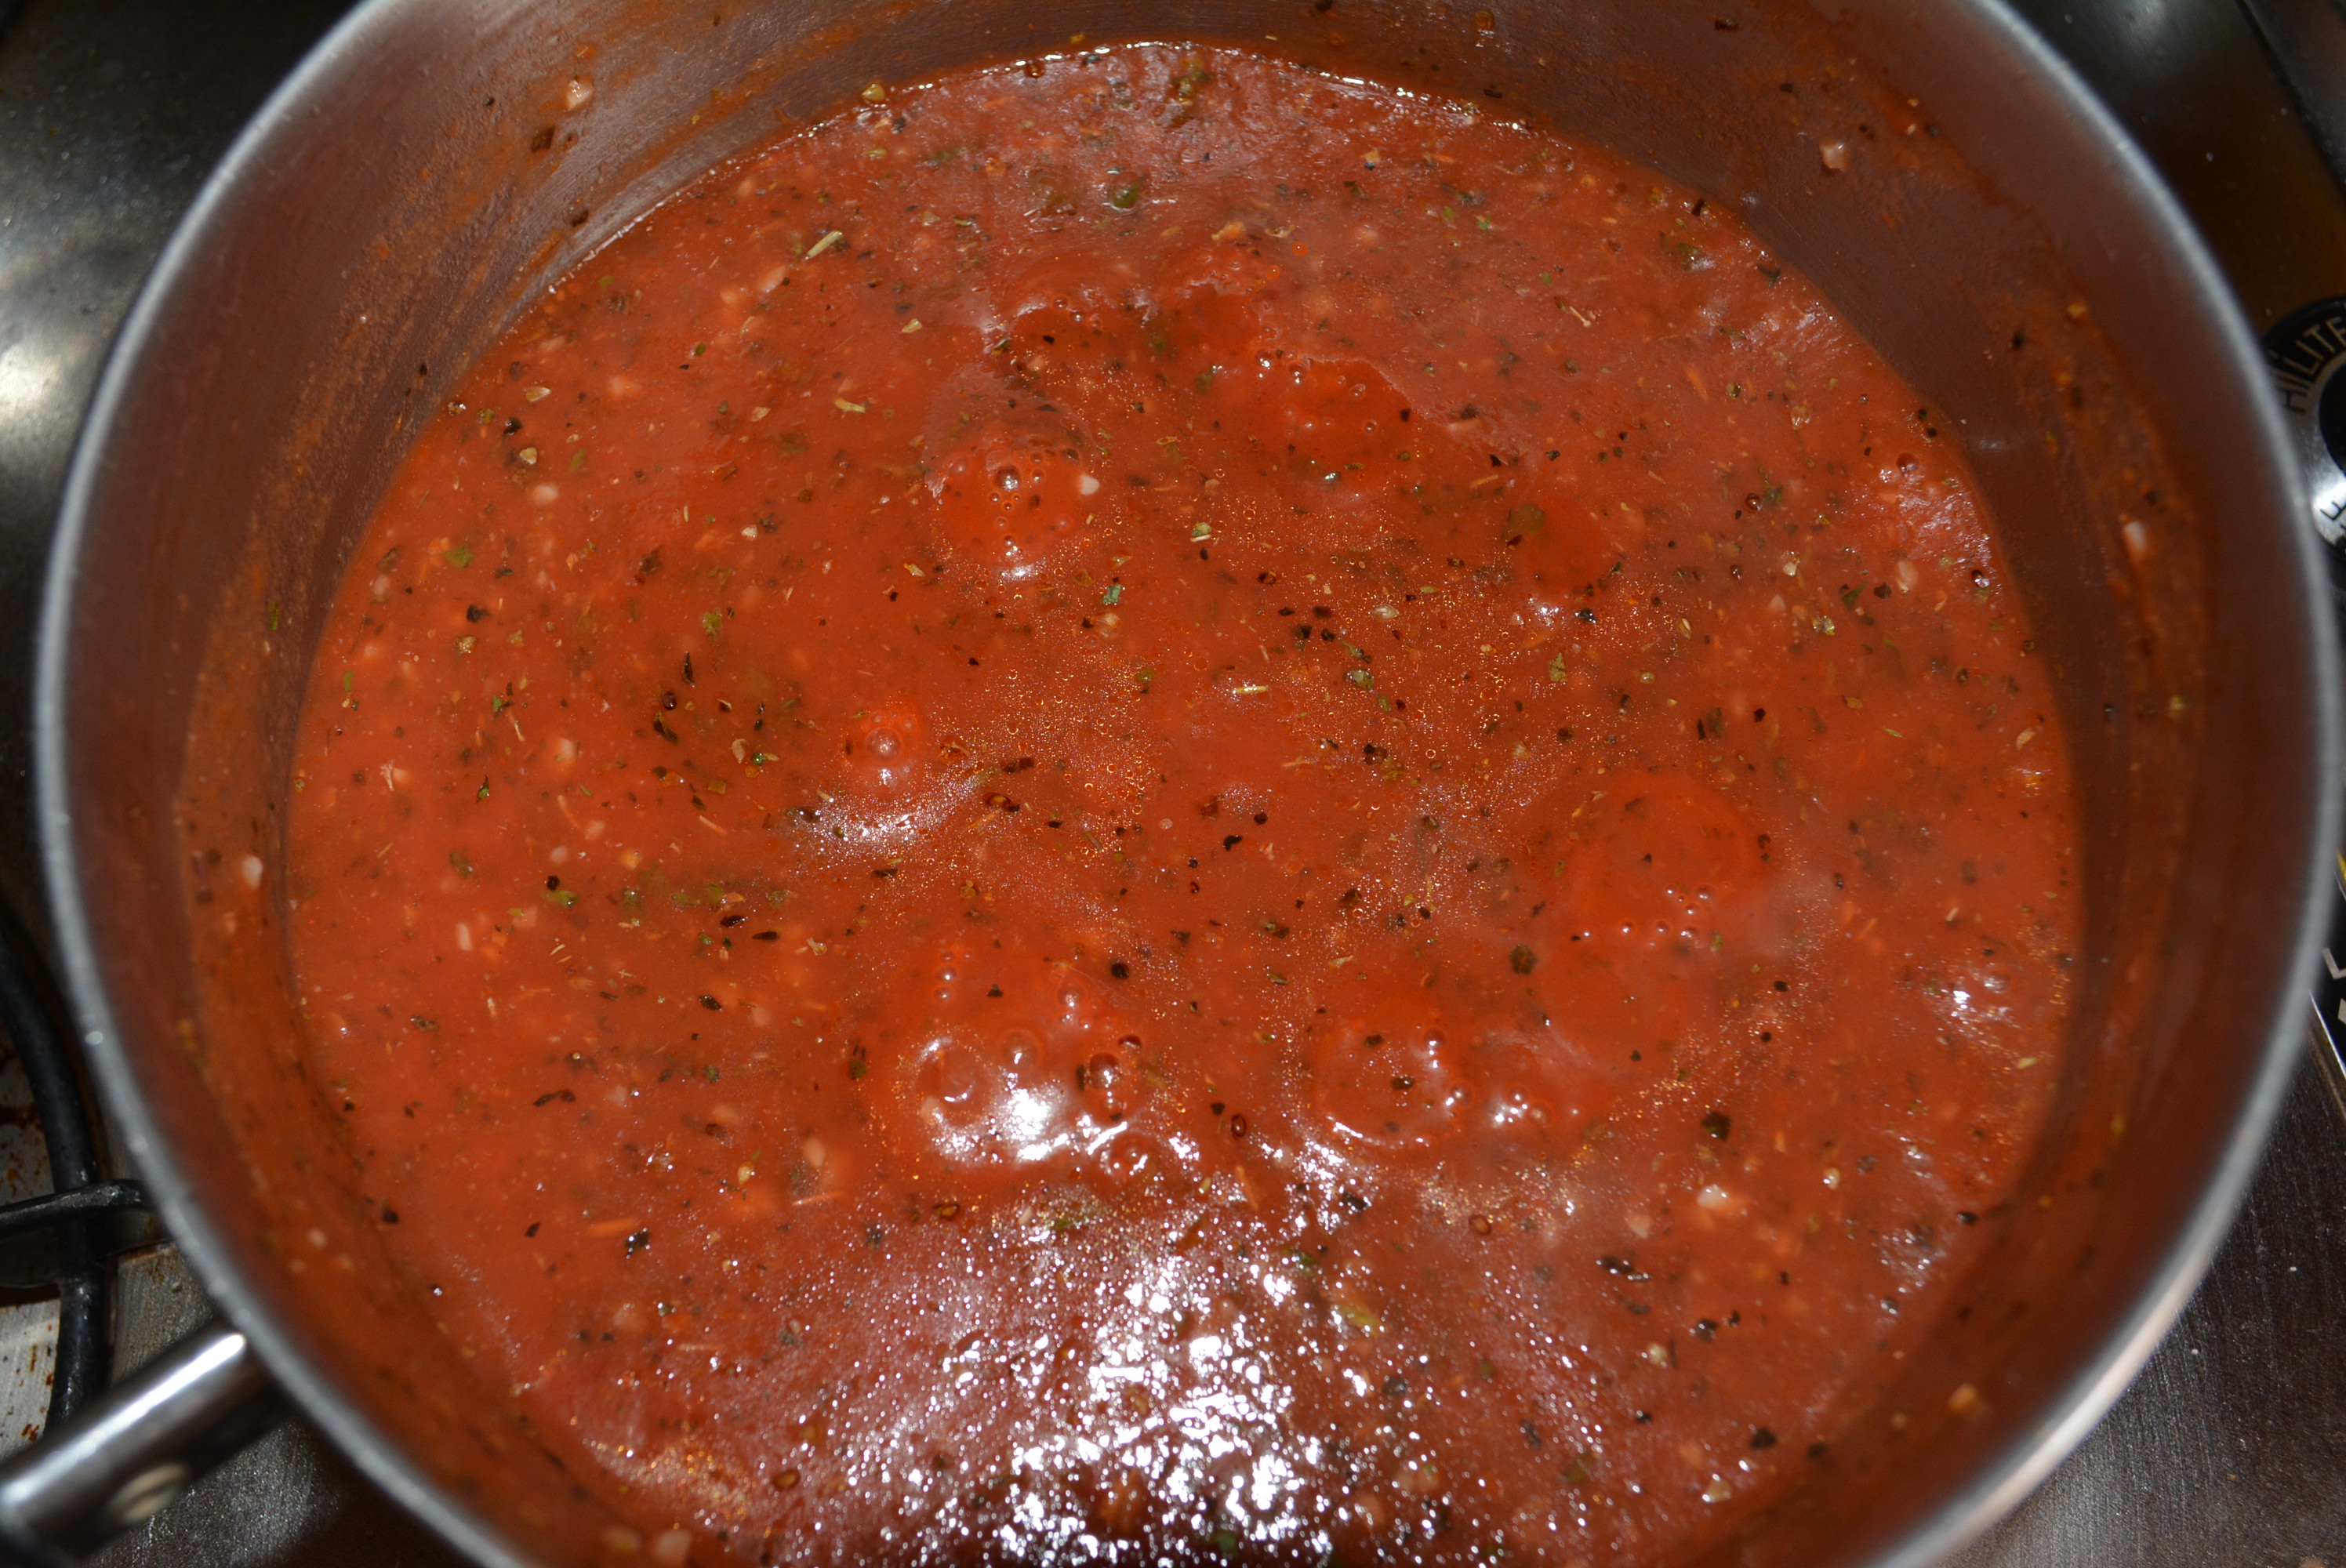
Between Twitter, Google, and Pubmed there are so many interesting gluten free recipes, articles about the diet, and research regarding Celiac and gluten sensitivity. This week I’m sharing a few articles, one in particular addressing non-Celiac gluten sensitivity which happens to be my diagnosis.

Introducing Gluten Free Moon Pies: Do you remember those wonderful packaged treats that your mom and dad would slip into your lunch box for you to enjoy at lunch? Ah yes, I do, unfortunately those memories are getting more and more distant as the years pass. Thanks to adventurers like Cara at Fork and Beans, some of these delicacies will reenter our lives once again. Get ready for this, Cara has smooshed together three graham cookies, separated them with a divine marshmallow filling, and dipped the stacked delight in a chocolatey coating and voila a homemade, gluten free moon pie! These look absolutely delicious, and will make many of us gluten free eaters, children and adults alike, very happy! Ready to give these a try yet? I for one printed and added this recipe to my must make section of my recipe book immediately, so without further ado here you go!

Dr. Peter Green at the Celiac Disease Center: Several years ago, when I was undergoing the tumultuous process of diagnosis, I received countless negative test results. There’s probably nothing more daunting then feeling incredibly sick only to keep receiving negative test results. I finally was tested for Celiac, but much to my dismay came up only with another negative. After learning of a family history of gluten intolerances and Celiac, I tried out the gluten free diet and finally found my own diagnosis. In this interview with Peter Green of the Celiac Disease Center at Columbia University, he addresses the somewhat newness of Celiac and non-Celiac gluten sensitivity. Although the disease is by no means new, it is somewhat under discussed among the medical community, hence the apprehension to suggest a food sensitivity as a diagnosis. Additionally, as in my case, when Celiac tests come up negative either due to true lack of disease or inaccurate testing, there is no additional testing as of yet to diagnose a gluten sensitivity, only suggestion to treat with a gluten free diet. If you’d like to read more of this interview and hear Dr. Green’s take on a future Celiac treatment, follow the link here

Ultimate Guide to Understanding Gluten Free Labeling: When I first went gluten free, to say that I was confused by all of the labeling dos and don’ts would be a serious understatement. Since then, I now can navigate a bit better through a sea of products that do not explicitly state gluten free on their labels. Unfortunately, there still exists so much ambiguity in the world of labeling with regards to allergens, specifically gluten content. Standards for allergen labeling are so inconsistent between companies and draw so much confusion for the gluten free shopper. In the Gluten Free School’s labeling article, they attempt to diagnose the meaning of the term gluten free as well as other common allergen statements. They explain that a gluten free statement generally indicates that gluten levels fall below a threshold of 20 parts per million. Among the products that are labeled gluten free, there exists those which contain a label of certification which differ from others that are generically labeled with the term “gluten free.” Visit Gluten Free School here and you’ll learn much more regarding the ever so confusing allergen statements.

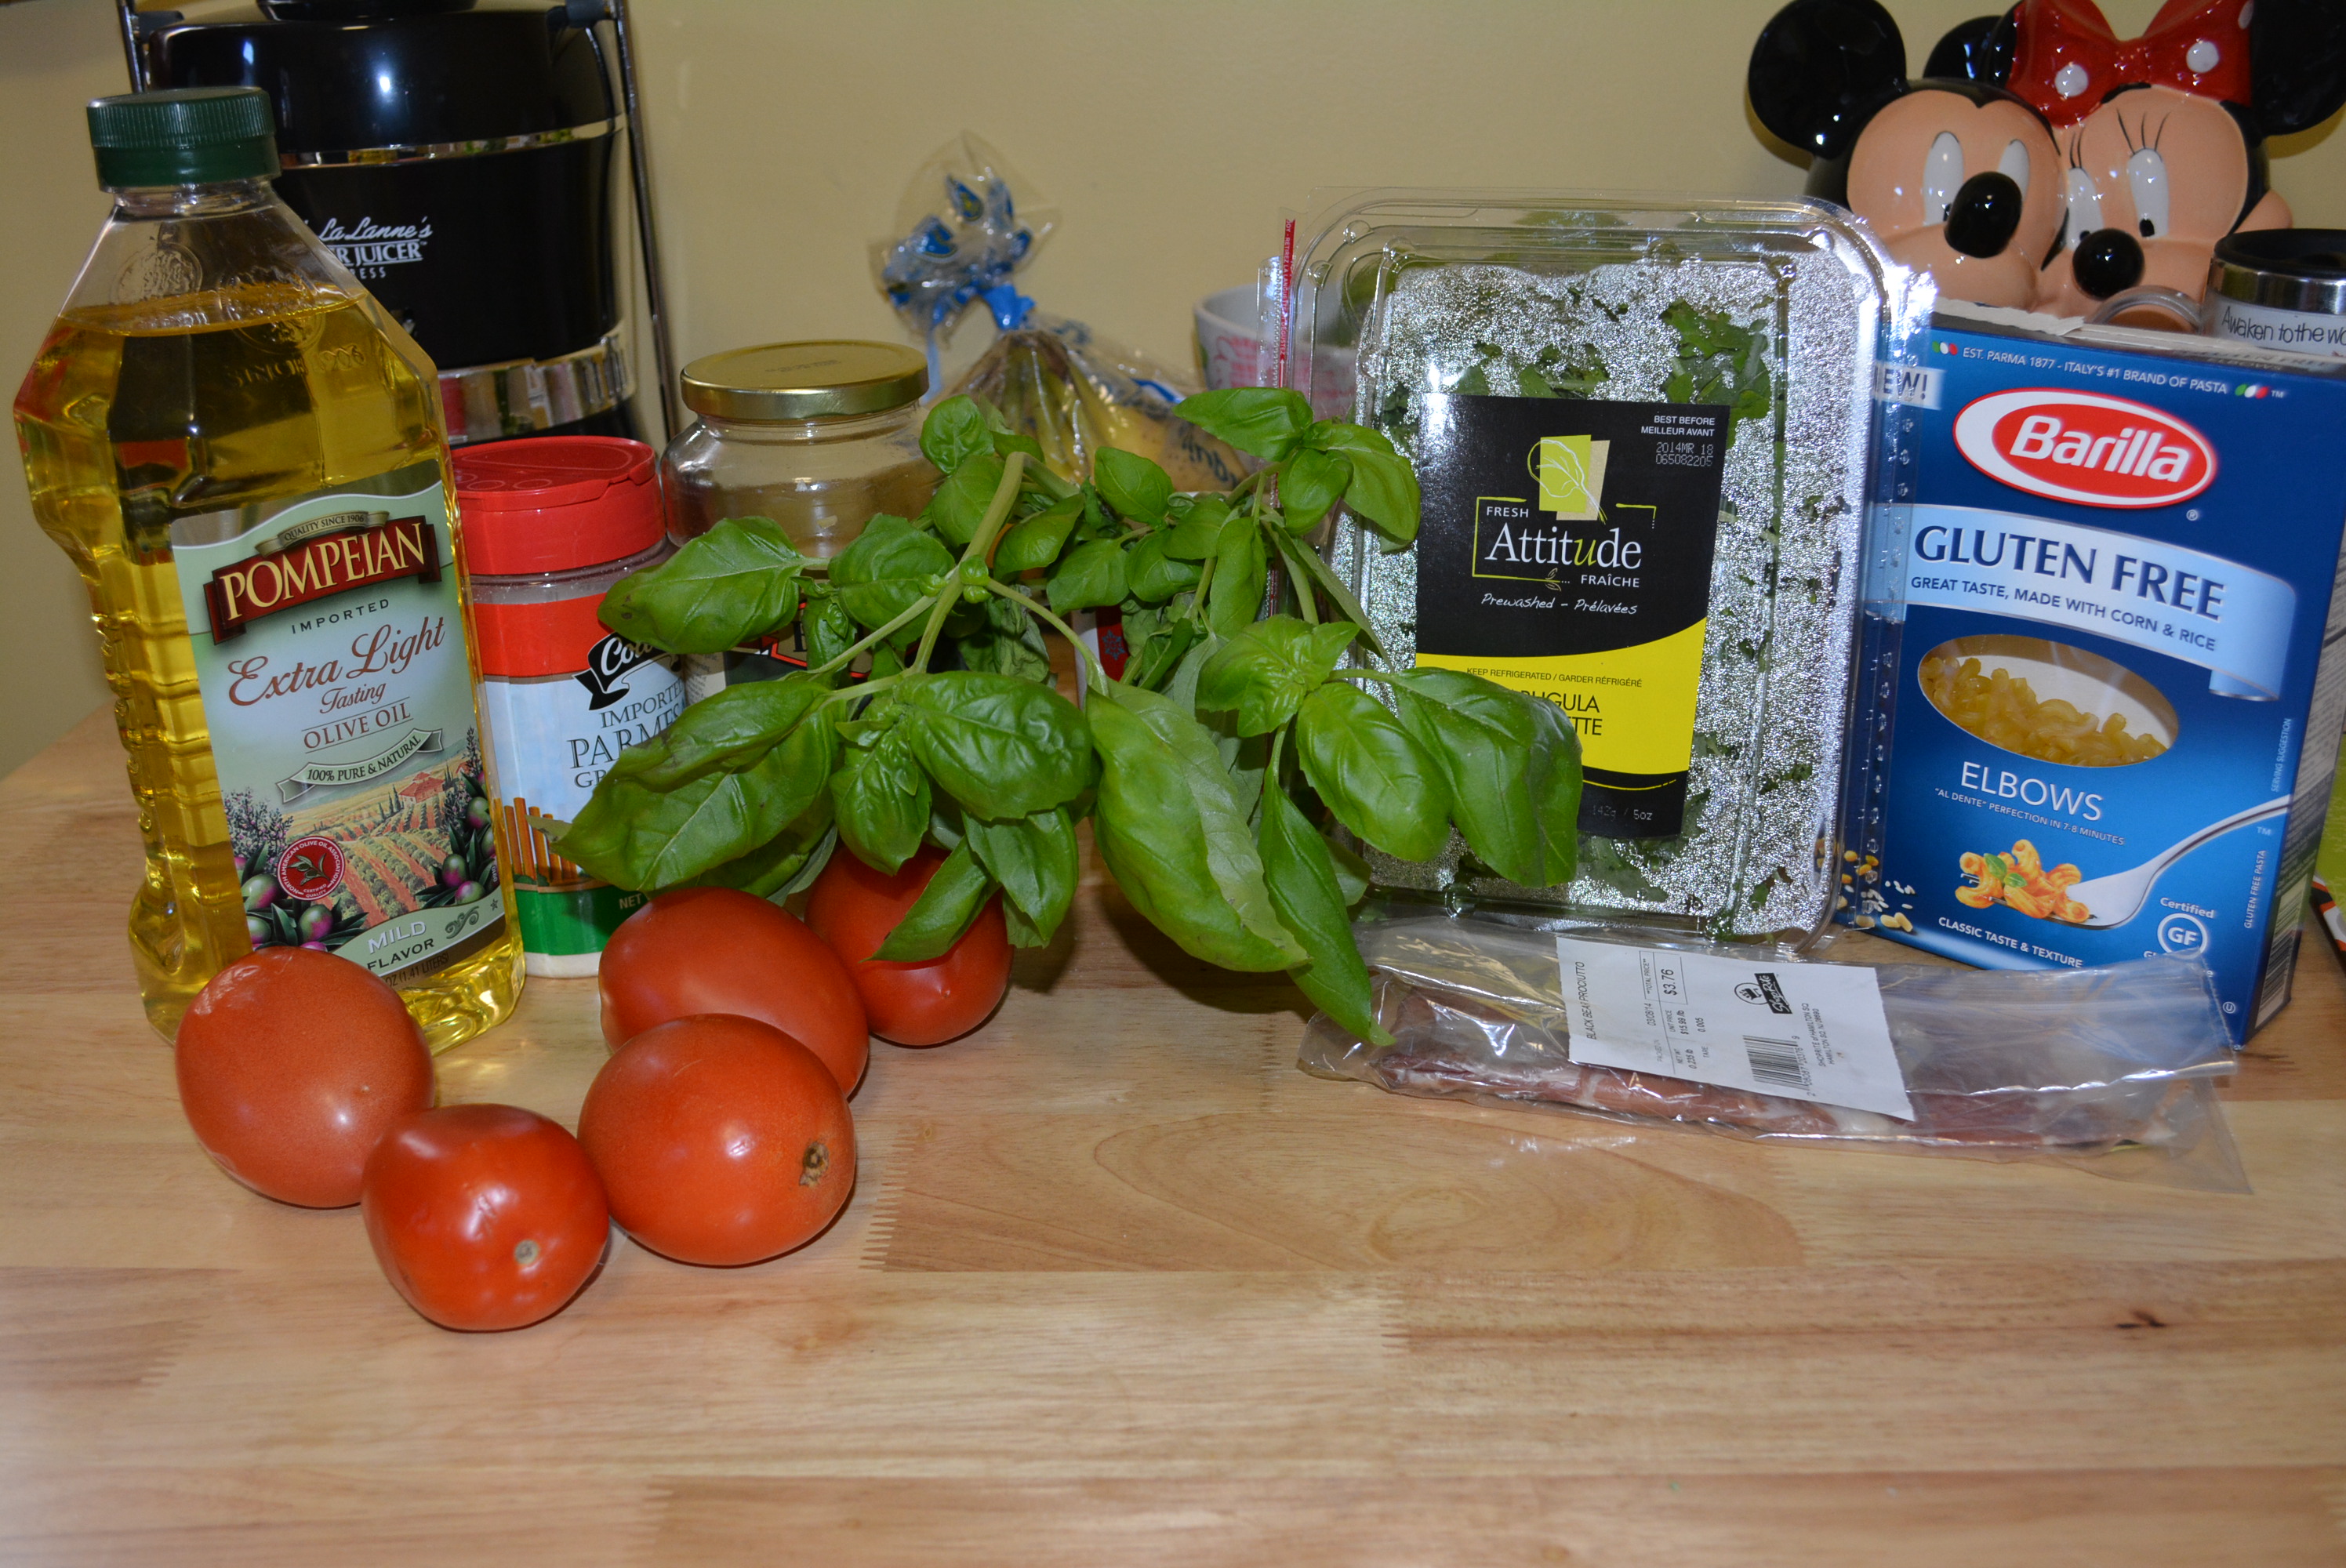
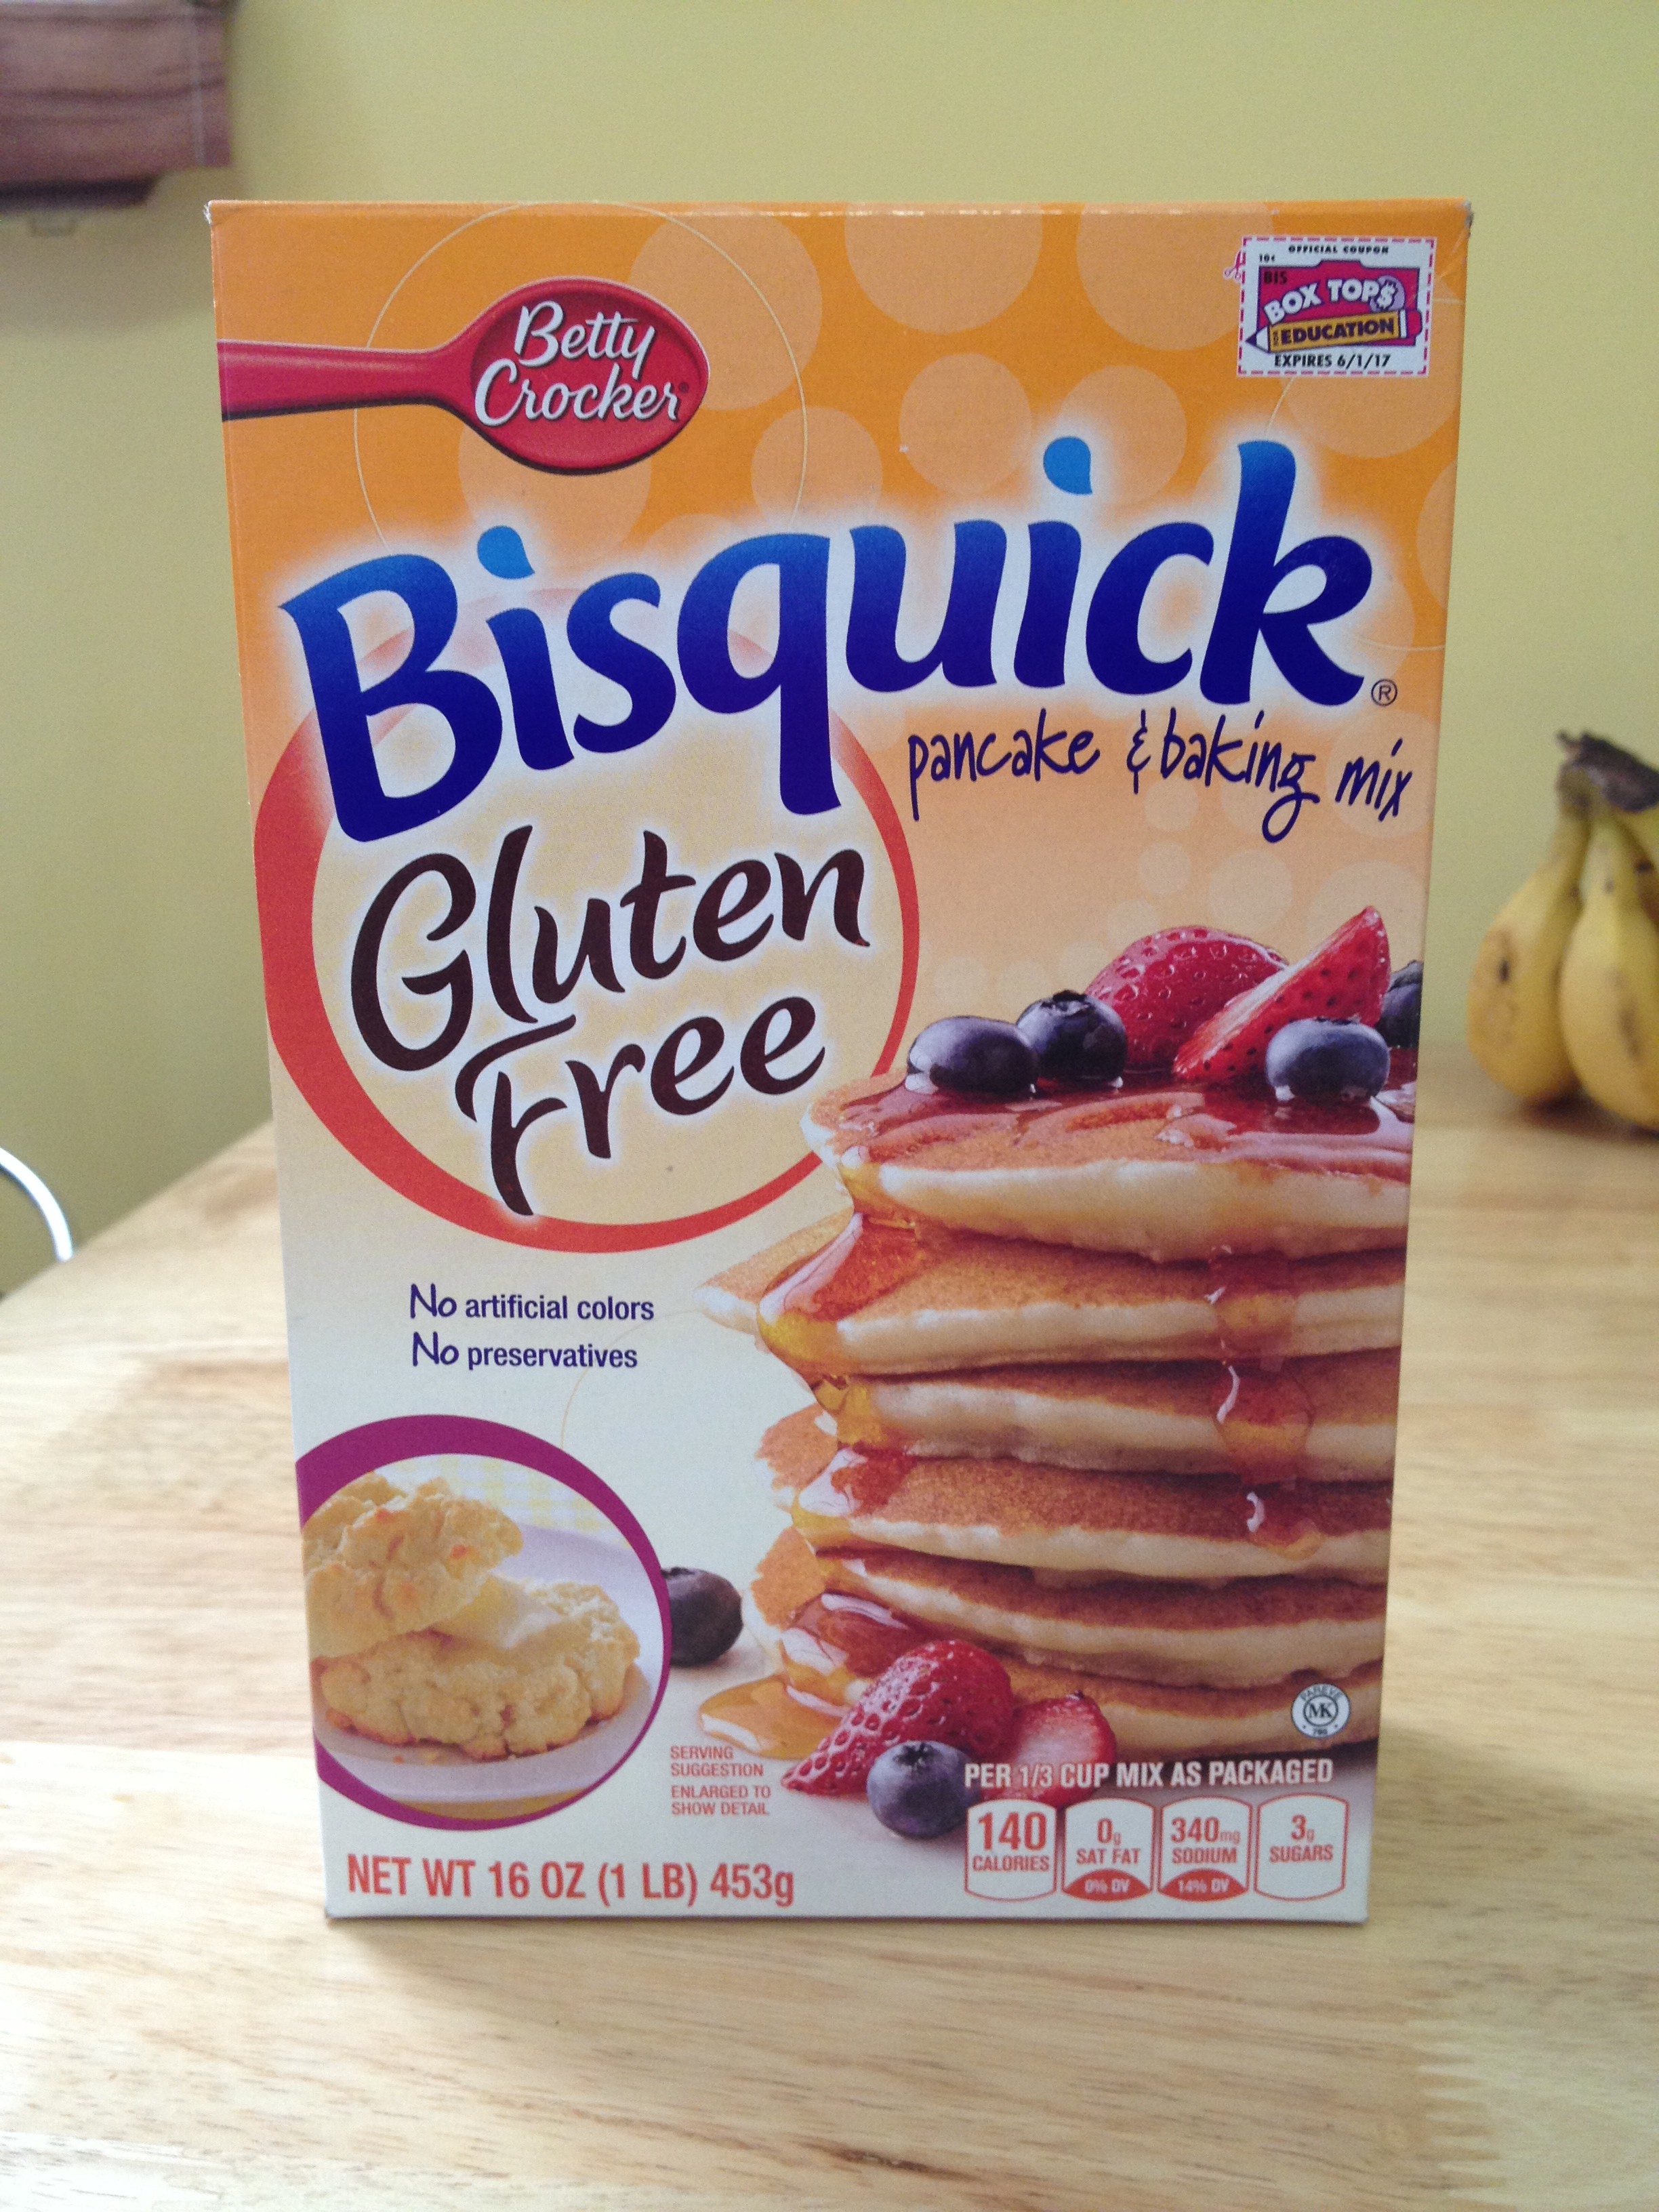
Before You Buy Gluten-Free Products: The availability of gluten free products has markedly increased over the years along with the number of individuals requiring or opting to use these products. As the gluten free diet is being promoted as a healthier lifestyle, there is a growing demand for more gluten free products. Unfortunately, each of the new gluten free shoppers will learn in only a few short shopping trips, the elevated cost associated with gluten free shopping. Despite the growing availability of gluten free groceries these products continue to be more expensive than their regular, non-gluten free counterparts. According to Fox Business, consumer reports estimate that gluten-free products can cost two to three times more than regular non-gluten free products which I completely agree with. Thankfully many mainstream brands, such as Barilla and Betty Crocker, are hopping on the bandwagon and beginning to produce products which are competitive with strictly gluten free brands. Learn a few more gluten free shopping tips here in Fox Business’ article.

Sincerely,

Lindsay

Chocolate, Chocolate, and More Chocolate: Gluten Free Flourless Chocolate Cake

Have you ever had a flourless chocolate cake? If you haven’t, you’re missing out on a little slice of gluten free heaven. Thanks to the missing flour, this dessert by nature is gluten free and has become quite popular in the restaurant circuit. A number of restaurants now offer a flourless chocolate cake as a dessert option, my favorite and where I first tried this divine creation is at Salt Creek Grille.

This sweet treat is best described as a very rich, chocolatey dessert. Depending on where you have tasted it, it can either be very fudgy in texture or resembling more of a lava cake. Either way you taste it, equally delicious! If you like chocolate, this dessert is totally for you and lucky for me I am a chocolate lover. As my husband’s birthday had passed, mine was quickly approaching and this year I had decided to go the chocolate route and indulge a little by making a flourless chocolate cake. After some googling I came upon the perfect recipe from Whole Foods Market for a Flourless Chocolate Cake Topped with a Chocolatey Glaze. After a tweak or two, some shopping, and baking away in my kitchen, my flourless chocolate birthday cake was born and was it ever delicious. This recipe is so simple and easy and the product is truly impressive! So give it a try!   

Ingredients:

  • 12 ounces of semi-sweet chocolate chips or bittersweet chocolate (Hershey’s baking chips are gluten free according to the website)
  • 1 cup plus 3 tbsp unsalted butter sticks (Land O’ Lakes states gluten free)
  • 1 1/4 cup sugar
  • 6 eggs
  • 1 cup unsweetened cocoa powder (I use Hershey’s)
  • 1 tbsp skim milk (can use whole milk if you prefer)
  • 1 tbsp honey (Groeb Farms Pure Honey Clover is gluten free)
  • 1/4 tsp pure vanilla extract (McCormick states gluten free)
Gluten free flourless chocolate cake ingredients.

Directions:

  • Preheat oven to 375 degrees.
  • Heat 2/3 (8 ounces) of the chocolate and 1 cup of the butter in a saucepan at medium low heat. Stir frequently, preventing chocolate from burning and combining butter and chocolate completely.
Melt chocolate and butter together.
  • Remove melted chocolate from heat and transfer to a large mixing bowl. Add 1 1/4 cup sugar and mix well.
  • Add 6 eggs one at a time, mixing well after each addition.
  • Finally, add 1 cup of unsweetened cocoa powder to chocolate mixture and stir until completely mixed.
Flourless Chocolate Cake Blog Pics (6)
Flourless chocolate cake batter.
  • Spray 9 inch springform pan with nonstick cooking spray, line bottom with a circle of parchment paper, and spray paper with cooking spray.
  • Pour batter into prepared pan and bake for 35-40 minutes. Cake is finished when it has risen and formed a thin crust (should be firm in the center).
Bake cake in a 9-inch springform pan.
Bake cake in a 9-inch springform pan until center is firm.
  • Cool cake for 10 minutes and then invert onto a plate, remove sides of springform pan.
  • Allow cake to cool completely (an additional 30 minutes or so).
  • While cake is cooling, prepare the chocolate glaze by melting the remaining 4 ounces of chocolate and 3 tbsp of butter in a saucepan over medium low heat. Stir frequently until all is melted and combined.
  • Once chocolate is smooth, remove from heat and stir in 1 tbsp skim milk, 1 tbsp honey, and 1/4 tsp pure vanilla extract. Set glaze aside to cool slightly (only about 10-15 minutes).
  • Pour glaze on top of the cake.
Drop glaze on top of cooled cake.
Add glaze on top of the cake.
  • Using the back of a spoon, smooth chocolate glaze over the top of the cake, allowing it to spill over the sides.
Push glaze around the cake slowly covering the top and sides.
  • Leave cake uncovered for an additional 30-60 minutes for the glaze to set. Then add fresh or frozen berries for serving. I recommend raspberries whose sweetness complement the richness of the cake perfectly. Fresh are preferred but I used frozen which were much cheaper than the fresh.
Leave cake uncovered for about an hour to allow glaze to harden. Top with fresh or frozen fruit (I recommend raspberries) to serve.
Let glaze set and top with fresh or frozen fruit (I recommend raspberries) to serve.

I don’t know about you but when I first even thought of making this dessert my mouth began to water. It turned out perfectly and certainly was a wonderful divergence from my norm of gluten free birthday cupcakes or brownies. My only downside was that I ran short on time and couldn’t try my raspberry sauce that I had planned but no worries topping each slice with some frozen raspberries was a perfect compliment to the richness of the chocolate. Next time though, I will be making a raspberry sauce to drizzle on top which will literally and figuratively be the icing on the cake.

If you’re expecting company, celebrating a special day or holiday, or just craving chocolate than try this recipe. It was so easy and is a truly impressive dessert to make, not only in presentation but also in taste. Tastewise, I always watch my non-gluten free eaters take their first few bites of whatever gluten free dish I prepare. As my opinion, being the only gluten free eater, is slightly bias I like to hear or rather see the reactions of my fellow diners. In this case, as each of my family members tried a slice of my flourless chocolate cake and immediately after taking their first bite drew a smile, I knew for sure that this recipe was a success and will most certainly be repeated on another special occasion for all to enjoy!

Enjoy!

Sincerely,

Lindsay


Gluten Free Flourless Chocolate Cake Topped with a Chocolatey Glaze
Serves 12
Write a review
Print
Ingredients
  1. 9 inch springform pan
  2. 12 ounces of semi-sweet chocolate chips or bittersweet chocolate (Hershey's baking chips are gluten free according to the website)
  3. 1 cup plus 3 tbsp unsalted butter sticks (Land O' Lakes states gluten free)
  4. 1 1/4 cup sugar
  5. 6 eggs
  6. 1 cup unsweetened cocoa powder (I use Hershey's which states gluten free on website)
  7. 1 tbsp skim milk (can use whole milk if you prefer)
  8. 1 tbsp honey (Groeb Farms Pure Honey Clover is gluten free)
  9. 1/4 tsp pure vanilla extract (McCormick states gluten free)
Instructions
  1. Preheat oven to 375 degrees.
  2. Heat 2/3 (8 ounces) of the chocolate and 1 cup of the butter in a saucepan at medium low heat. Stir frequently, preventing chocolate from burning and combining butter and chocolate completely.
  3. Remove melted chocolate from heat and transfer to a large mixing bowl. Add 1 1/4 cup sugar and mix well.
  4. Add 6 eggs one at a time, mixing well after each addition.
  5. Finally, add 1 cup of unsweetened cocoa powder to chocolate mixture and stir until completely mixed.
  6. Spray 9 inch springform pan with nonstick cooking spray, line bottom with a circle of parchment paper, and spray paper with cooking spray.
  7. Pour batter into prepared pan and bake for 35-40 minutes. Cake is finished when it has risen and formed a thin crust (should be firm in the center).
  8. Cool cake for 10 minutes and then invert onto a plate, remove sides of springform pan.
  9. Allow cake to cool completely (an additional 30 minutes or so).
  10. While cake is cooling, prepare the chocolate glaze by melting the remaining 4 ounces of chocolate and 3 tbsp of butter in a saucepan over medium low heat. Stir frequently until all is melted and combined.
  11. Once chocolate is smooth, remove from heat and stir in 1 tbsp skim milk, 1 tbsp honey, and 1/4 tsp pure vanilla extract. Set glaze aside to cool slightly (only about 10-15 minutes).
  12. Pour glaze on top of the cake..
  13. Using the back of a spoon, smooth chocolate glaze over the top of the cake, allowing it to spill over the sides.
  14. Leave cake uncovered for an additional 30-60 minutes for the glaze to set. Then add fresh or frozen berries for serving. I recommend raspberries whose sweetness complement the richness of the cake perfectly. Fresh are preferred but I used frozen which were much cheaper than the fresh.
Adapted from Whole Foods Market
Gluten Free Mom To Be http://www.glutenfreemomtobe.com/


Homemade Gluten Free Pizza Is Now So Much Easier With Schar’s Premade Crusts

Thankfully gluten free pizzas are typically not hard to come by at your local grocery store. Many of the leading gluten free brands have put out pizza products including pizza mixes, premade pizza crusts that are either frozen or on the shelf, and even frozen premade pizzas in a variety of combinations. Each of these options range in pricing, some being cheaper than others depending on their convenience factor.

Pregnant or not I always keep a couple of pizza crusts in my freezer or cabinet for a quick dinner. For days that I have a bit more time I prefer making my pizzas or calzones from a store bought mix, and as an added bonus, you tend to get more for your money with these as you’re able to make a lot more pizzas for usually less money. While pregnant though, nothing could beat a quick, easy, and tasty pizza in only about 15 minutes. Many of my pregnant days I longed for a large, cheesy pizza from my local pizzeria which are overflowing with gluten, but trust me making a quick pizza for yourself hits the spot just the same without the terrible repercussions. Depending on personal preference, there are options for gluten free thin crust or deep dish versions of pizzas. Schar produces a great thicker crust that is the perfect base for any number of toppings.

Schar Pizza Crusts
Schar Pizza Crusts

They’re about a 1/2 inch thick and once topped and baked create a wonderful deep dish-esque crust. I like to top these with a number of different topping combinations but one of my favorites is just simple homemade tomato sauce, skim mozzarella cheese, and a dusting of dried herbs. If you’re craving something rather than a plain cheese pizza, stay tuned to see the variety of pizza toppings that I love to pair with these crusts!

Schar's thick crust, perfect for a quick meal.
Schar’s thick crust, perfect for a quick meal.

A package of two of these crusts will run you around $6.99, depending on where you purchase them. Although it’s somewhat pricey, either indulge occasionally or wait for them to be on sale and stock up at that time. Also sign up on Schar’s website for Schar Club where you can receive coupons!

It is truly a pleasure to be able to enjoy a doughy pizza crust again without too much of an effort. I can’t lie, while I was pregnant I indulged in homemade pizzas quite a few times. When I could muster up the energy to make homemade pizzas from scratch it was fantastic, but the ease and convenience of these premad Trust me, if you’re craving a deep dish kind of pizza, this one will certainly do the trick! Give them a try today!

Sincerely,

Lindsay

Flavorful Gluten Free Baked Pesto Chicken Parmesan

Get ready for a clever and gluten free version of chicken parmesan that you wish you would’ve tried years ago. I am so excited to share this one with you!!! I am a huge lover of chicken parmesan and have made it countless times since going gluten free. After some time online the other day, I found an amazing new take on your typical chicken parmesan, adding pesto to the mix! That’s right, by adding a pesto layer to your traditional chicken parmesan you create a Baked Pesto Chicken Parmesan that is overflowing with flavor. I cannot believe I never thought to combine one of my favorite dishes with one of my favorite sauces. Thank you Iowa Girl Eats for an ingenious idea! This is a brilliant combination that was added to my recipe book immediately and is definitely one that you should try!

Ingredients:

  • 1 lb skinless chicken breasts (2-3 chicken breasts cut in half or in thirds)
  • 1/3 cup pesto (Cento or Bellino)
  • 1 cup tomato sauce (Tuttorosso, I add fresh garlic, parsley, basil, oregano, and garlic salt)
  • 8 oz sliced fresh mozzarella (BelGioioso)
  • Salt and Pepper
Gluten Free Pesto Chicken Parmesan Ingredients

Directions: 

  • Preheat oven to 400 degrees.
  • Prepare tomato sauce by adding desired amounts of fresh garlic, basil, parsley, oregano, and garlic salt to a can of Tuttorosso tomato sauce. Alternatively you can use the tomato sauce straight from the can or prepared sauce from a jar. 
My homemade tomato sauce.
  • Trim the chicken breasts (I had 2) and carefully cut into halves or thirds depending on your desired thickness.
  • Add chicken to 9″ x 12″ baking dish and season with salt and pepper.
Pesto Chicken Parm Blog Pics (3)
Two chicken breasts sliced into thinner portions and dusted with salt and pepper.
  • Layer pesto on top of chicken breasts making sure to coat evenly.
Layer the chicken breasts with pesto sauce.
  • Cover chicken breasts with tomato sauce and lay fresh mozzarella on top. 
Add red sauce and fresh mozzarella on top of chicken and bake.
Add tomato sauce and fresh mozzarella on top of chicken and bake.
  • Cover with foil tightly and bake for 20 minutes.
All baked up and ready to enjoy!
  • Remove foil and bake for an additional 10 minutes until chicken is cooked through and cheese is golden brown and bubbly
Chicken with a side of extra fine string beans!
  • Enjoy the chicken with any desired vegetable on the side and be sure to cover the chicken with plenty of sauce! 
Pesto Chicken Parm Blog Pics (9)
A close up of this flavorful chicken dish. I cannot wait to make it again!

I cannot say enough good things about this recipe. The combination of pesto and tomato creates an incredible sauce that envelopes the mozzarella covered chicken. The chicken is especially moist and absorbs all of the flavors of the amazing sauce combination perfectly. When serving, pair this with a generous side of extra thin string beans and make sure to ladle extra sauce atop the chicken to enjoy all of the tasty goodness in each bite. I must say, this dish was absolutely delicious and brought an instant smile to my little girl’s face with her first bite (and I believe an “mmmm” accompanied that too). This is definitely a keeper for us and I cannot wait to enjoy this flavor combination again!

Enjoy!

Sincerely,

Lindsay


Flavorful Gluten Free Baked Pesto Chicken Parmesan
Write a review
Print
Prep Time
15 min
Cook Time
30 min
Total Time
45 min
Prep Time
15 min
Cook Time
30 min
Total Time
45 min
Ingredients
  1. 1 lb boneless, skinless chicken breasts (2-3 chicken breasts)
  2. 1/3 cup pesto (Cento or Bellino)
  3. 1 cup tomato sauce (Tuttorosso which I season with fresh garlic, parsley, basil, oregano, and garlic salt)
  4. 8 oz fresh mozzarella cheese (BelGioioso cheeses are gluten free)
  5. Salt and pepper
Instructions
  1. Preheat oven to 400 degrees.
  2. Prepare tomato sauce (either use straight from jar or can or add additional seasonings as I do with unseasoned Tuttorosso sauce).
  3. Trim chicken breasts and cut in half or in thirds depending on width of chicken breast.
  4. Add chicken to 9" x 12" baking dish.
  5. Season chicken breasts with salt and pepper.
  6. Layer pesto on top of chicken and evenly coat.
  7. Spoon tomato sauce on top of chicken and layer with fresh mozzarella.
  8. Cover baking dish with foil and bake for 20 minutes.
  9. Remove foil and bake for about 10 more minutes (cheese should be golden brown and bubbly).
Adapted from Iowa Girl Eats
Gluten Free Mom To Be http://www.glutenfreemomtobe.com/


Gluten Free Bisquick Mix Courtesy of Betty Crocker

Betty Crocker has produced a number of gluten free products mainly in the way of baking mixes. I for one am a huge fan of all of the gluten free baking mixes so when I came upon this little surprise I was thrilled! I couldn’t believe that Betty Crocker had expanded their gluten free line again, this time branching off Bisquick by making Gluten Free Bisquick mix. This mix has made my life so much easier and tastier too! I’ve used it for a number of recipes and each time it has produced a perfect product. Some of my favorites have been my Sour Cream Blueberry Pancakes, that I posted about here, and Garlic Cheddar Biscuits, absolutely delicious! The convenience and flexibility of this mix makes it a permanent item on my pantry shelves.

Gluten Free Bisquick

My only complaint is the actual size of the product which sadly gets used up just way too quickly. Since this product is newer though I think Betty Crocker will wait and see how it is reviewed and hopefully do as they did with the regular Bisquick when they made a larger version, here’s to hoping! Until then, I can see many biscuits, pancakes, and many other gluten free treats in my future! Give this a try and you’ll be so glad that you did!

TIP: Keep an eye out for coupons on Betty Crocker’s website as they have posted coupons for this item recently which help out a ton on its $5.49 price tag at my local grocery store. Shop around though at other grocers or even a Walmart or Target which around me have carried this item as low as $4.18. If it’s not located in any of your local stores check online, for instance you can order it online at Walmart. For me, the versatility of this mix is completely worth the price tag!

Sincerely,

Lindsay

My Favorite Gluten Free Easter Dishes: Coleslaw

So many of my childhood memories are formed around meals, family dinners, holidays, birthdays, everything surrounding food. One of my favorite holidays next to Christmas is Easter, the fresh scent of spring, blossoming tulips everywhere, birds chirping, beautiful hymns being sung in church, Easter eggs scattered around the yard, candy overflowing out of our Easter baskets, all wrapped up with a huge family dinner. I’ll never forget the sights and smells of each of our traditional Easter dishes. One of my all time favorites is my grandmother’s coleslaw. This dish is so far from the cafeteria or store bought coleslaw, trust me. Quite opposite of the stringy, crunchy texture of the side slapped on your plate at most restaurants, this coleslaw is perfectly smooth and creamy with just the right balance of mayo and sour cream.

My first Easter gluten free I was so nervous about what my new Easter dinner might look like. Along with some of own gluten free dishes, I volunteered to take on the family favorite coleslaw and do it gluten free. After some quick instructions from my grandmother I realized it could easily be gluten free, as long as the right brands of ingredients were chosen. After some research and a quick trip to the store I prepared my very first gluten free coleslaw courtesy of my grandmother’s recipe. Judging by the empty bowl and cleaned plates at the end of the holiday, along with a compliment from my grandmother I’d say the coleslaw was a success. Several years since and I’m still providing our Easter coleslaw but done gluten free. I’m so excited to share our family tradition with you and hope it adds a little something extra to your gluten free holiday!

Ingredients;

  • Food Processor (for fine chopping of cabbage)
  • Small Head of Cabbage
  • Paprika
  • 1 1/3 cup Hellmann’s Mayonnaise (either regular or light, both are marked gluten free)
  • 2/3 cup Light Sour Cream (check the label and call the company of whichever brand you choose unless it states gluten free explicitly on the label)
  • Water for cabbage while mixing
  • Salt to taste
Easter Coleslaw Blog Pics (1)
Ingredients for gluten free coleslaw.


Directions:

  • Remove outer leaf and quarter head of cabbage down to the core (discard the core).
  • Chop cabbage into smaller pieces and wash thoroughly.
Easter Coleslaw Blog Pics (2)
Chop up cabbage leaves until core is reached.
  • Mix mayonnaise and sour cream together. Taste mixture, making sure there is a good balance between mayonnaise and sour cream. You may need to prepare more of this mixture later depending on the size of the cabbage.
Mixture of mayonnaise and sour cream.
  • To food processor, add chopped cabbage and a little bit of water.
Add chopped cabbage and water to food processor.
  • Process the cabbage in the water until finely chopped and add to an empty bowl.
Process cabbage until it is finely ground.
  • Once all cabbage is processed, begin to remove the water from the cabbage. I do this using my hands by simply taking a handful and squeezing the water out. It’s a bit messy doing it this way but quick. Alternatively, you can add the cabbage to an extremely fine strainer layered with a paper towel and let it strain slowly or press with a spoon to help the water come out. Once water is removed, add strained cabbage to a bowl.
Squeeze water out of cabbage and add to bowl.
  • Add mayonnaise/sour cream mixture to cabbage and combine completely.
Mix cabbage and mayonnaise and sour cream mixture until thoroughly combined.
Mix cabbage and mayonnaise/sour cream mixture until thoroughly combined.
  • Finally, taste coleslaw and salt if desired. At this point I’ve tasted so many times I usually bring my husband in as the designated coleslaw taster. Feel free to make any little tweaks to the overall taste, i.e. if the coleslaw has too strong of a mayo taste add a bit more sour cream to balance it out. To finish, top with paprika.
Taste mixed cabbage and salt to taste. Dust top with paprika to finish.
Taste coleslaw and add salt if needed.

Thanks to my grandmother who has passed down a wonderful recipe to my family! Try this one out for your gluten free Easter meal this year and all of your diners will definitely enjoy!

Sincerely,

Lindsay


1 22 23 24 25 26